 Hello! I am delighted to be participating in a blog hop celebrating the Spellbinders January 2022 Club Subscriptions. You should have reached me from the blog of Kelly Taylor. (The entire list of participants is included at the end of my post.) For the hop, I created gift card holders with this month’s Large Die of the Month kit “A Pocket Full of Love.” I previously shared a card created with the same die set here.
To celebrate this release, Spellbinders is giving away a $25 gift certificate to 3 lucky blog readers – selected from the comments on the Spellbinders blog. Giveaway closes on Sunday, January 16, 11:59 pm MST. The winner will be announced in the blog hop post the following Wednesday. The winner is responsible for shipping cost, duties and taxes. Please note: store credit (gift certificate) cannot be applied to Club Subscriptions; store credit can be applied to shop past Club products, Club extras, and regular releases.
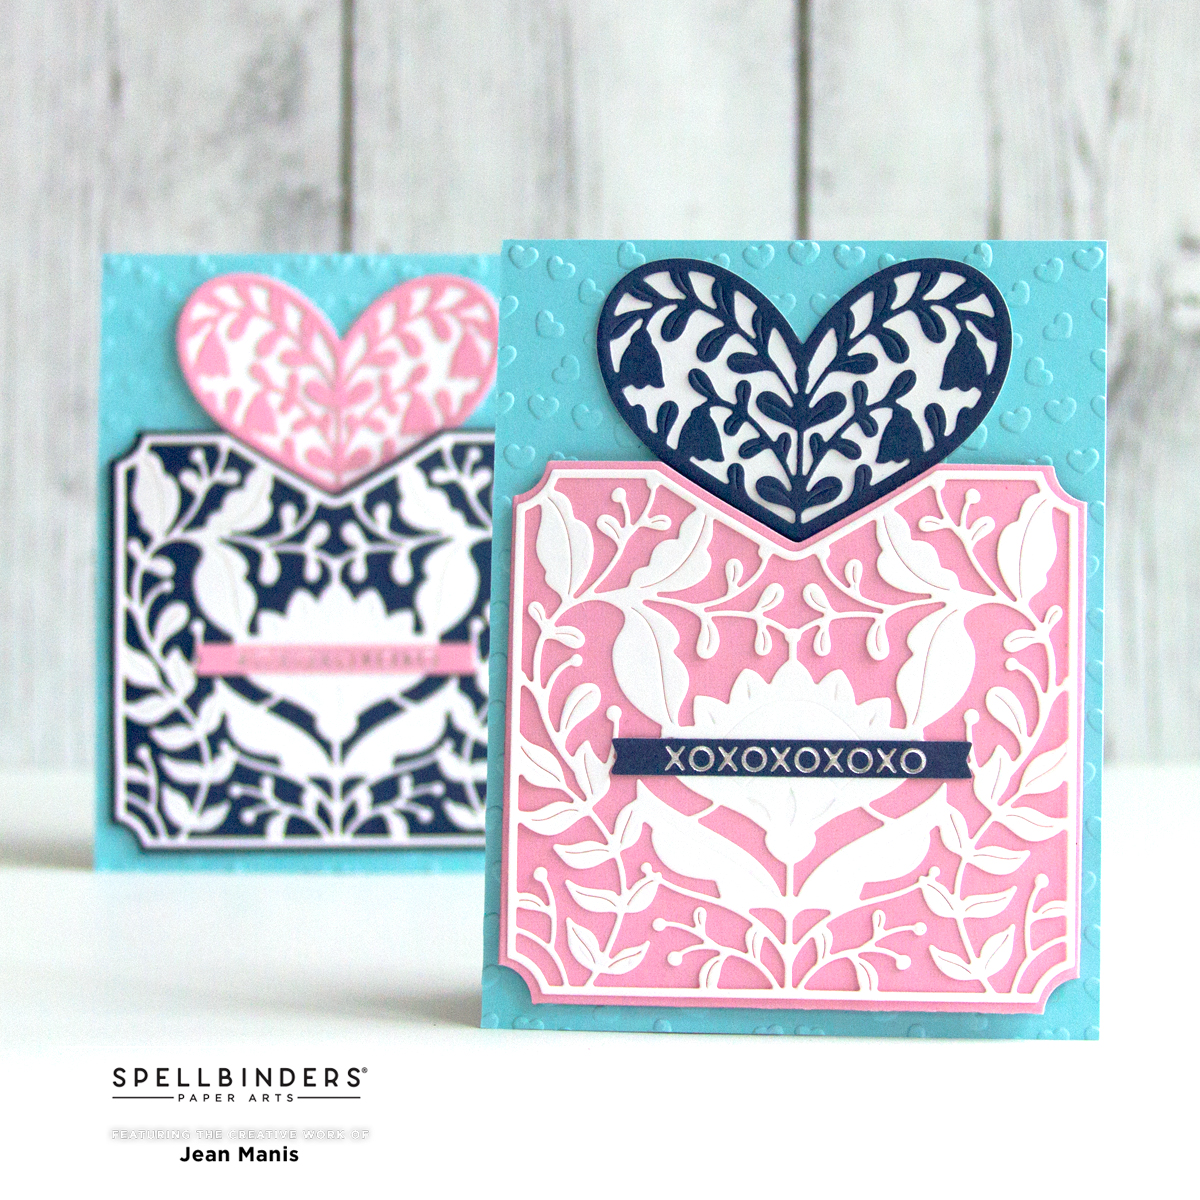
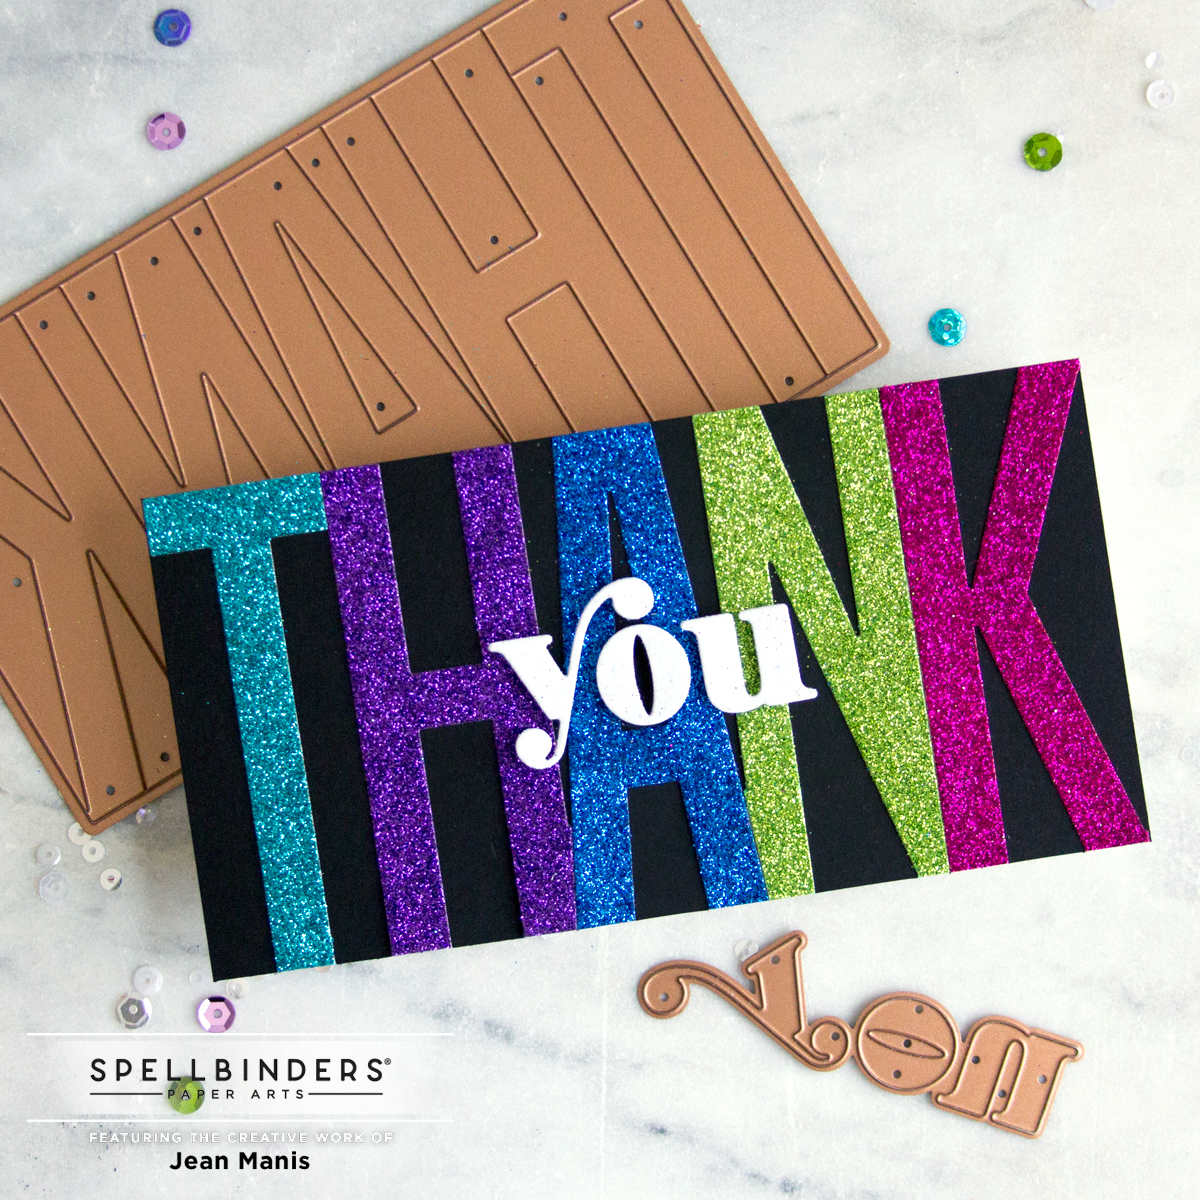
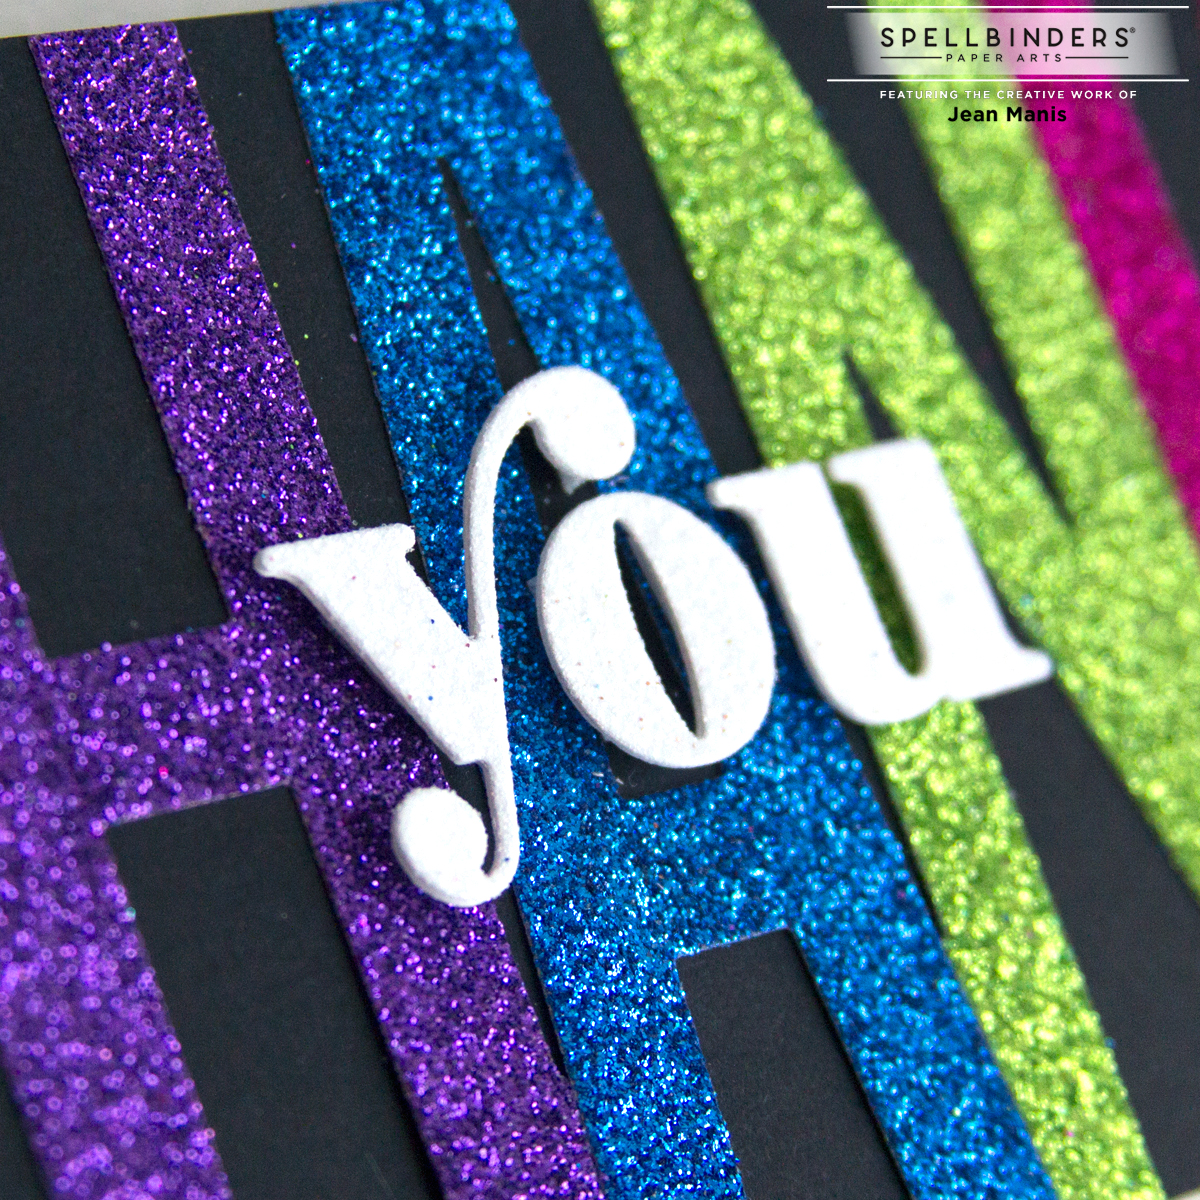
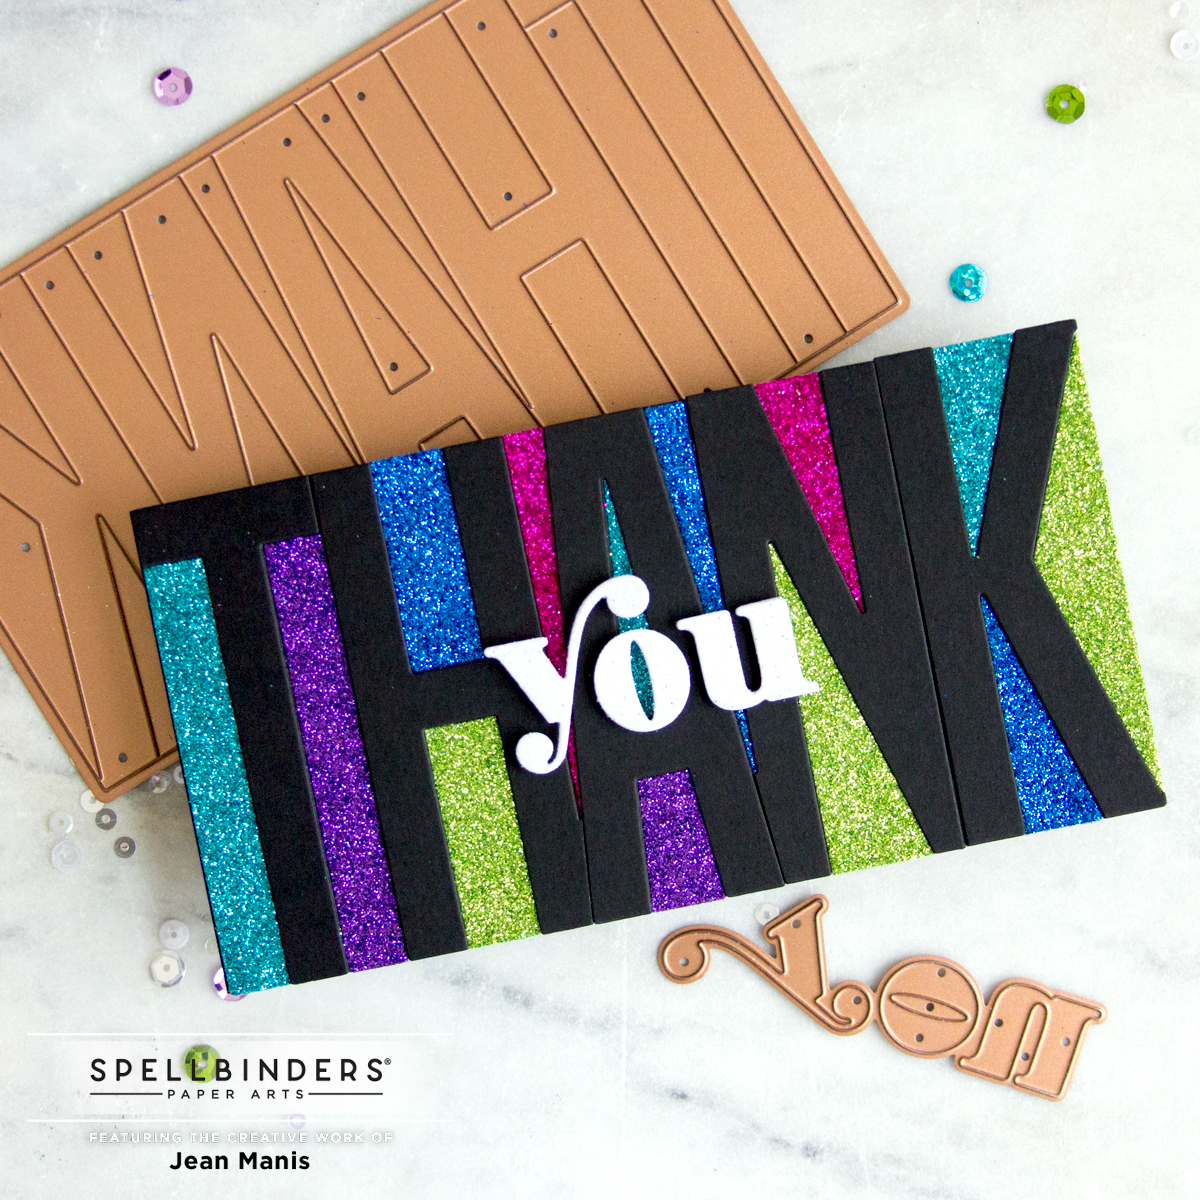
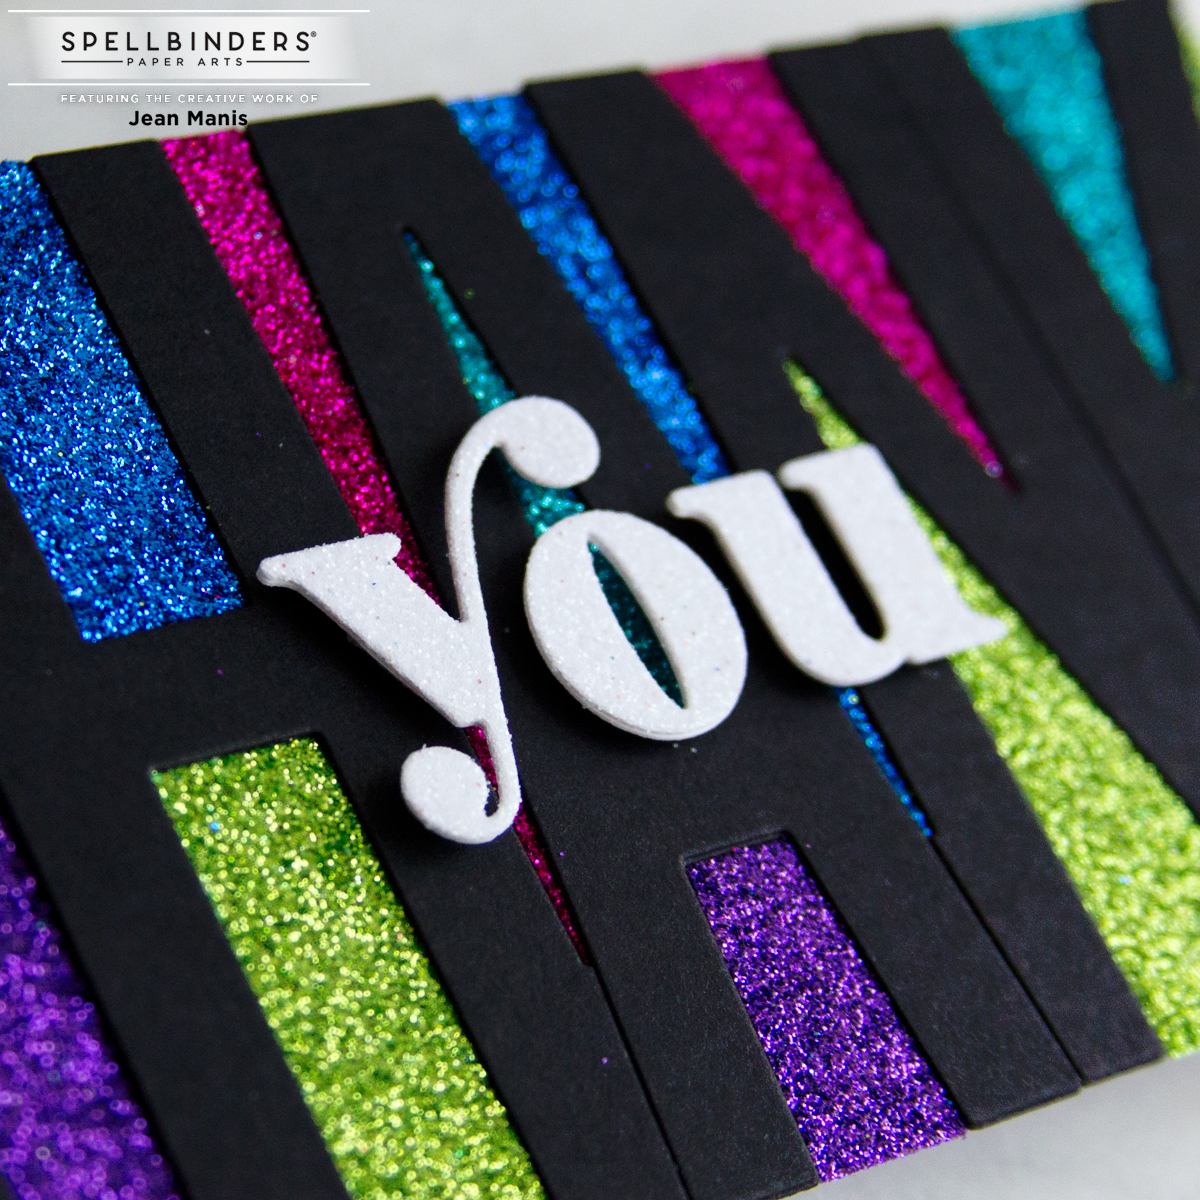
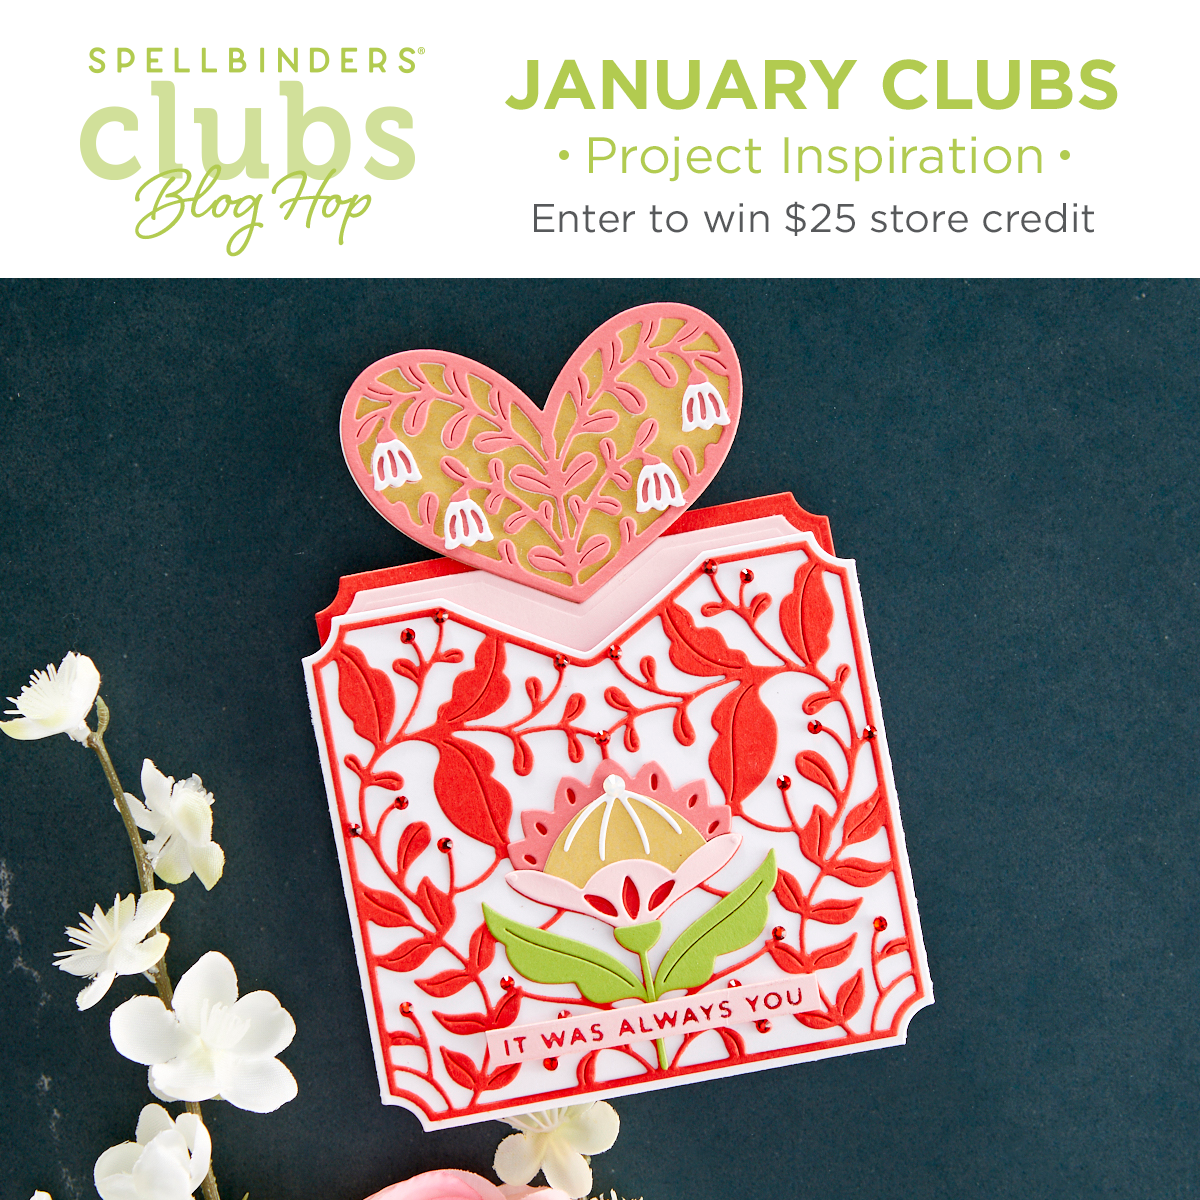
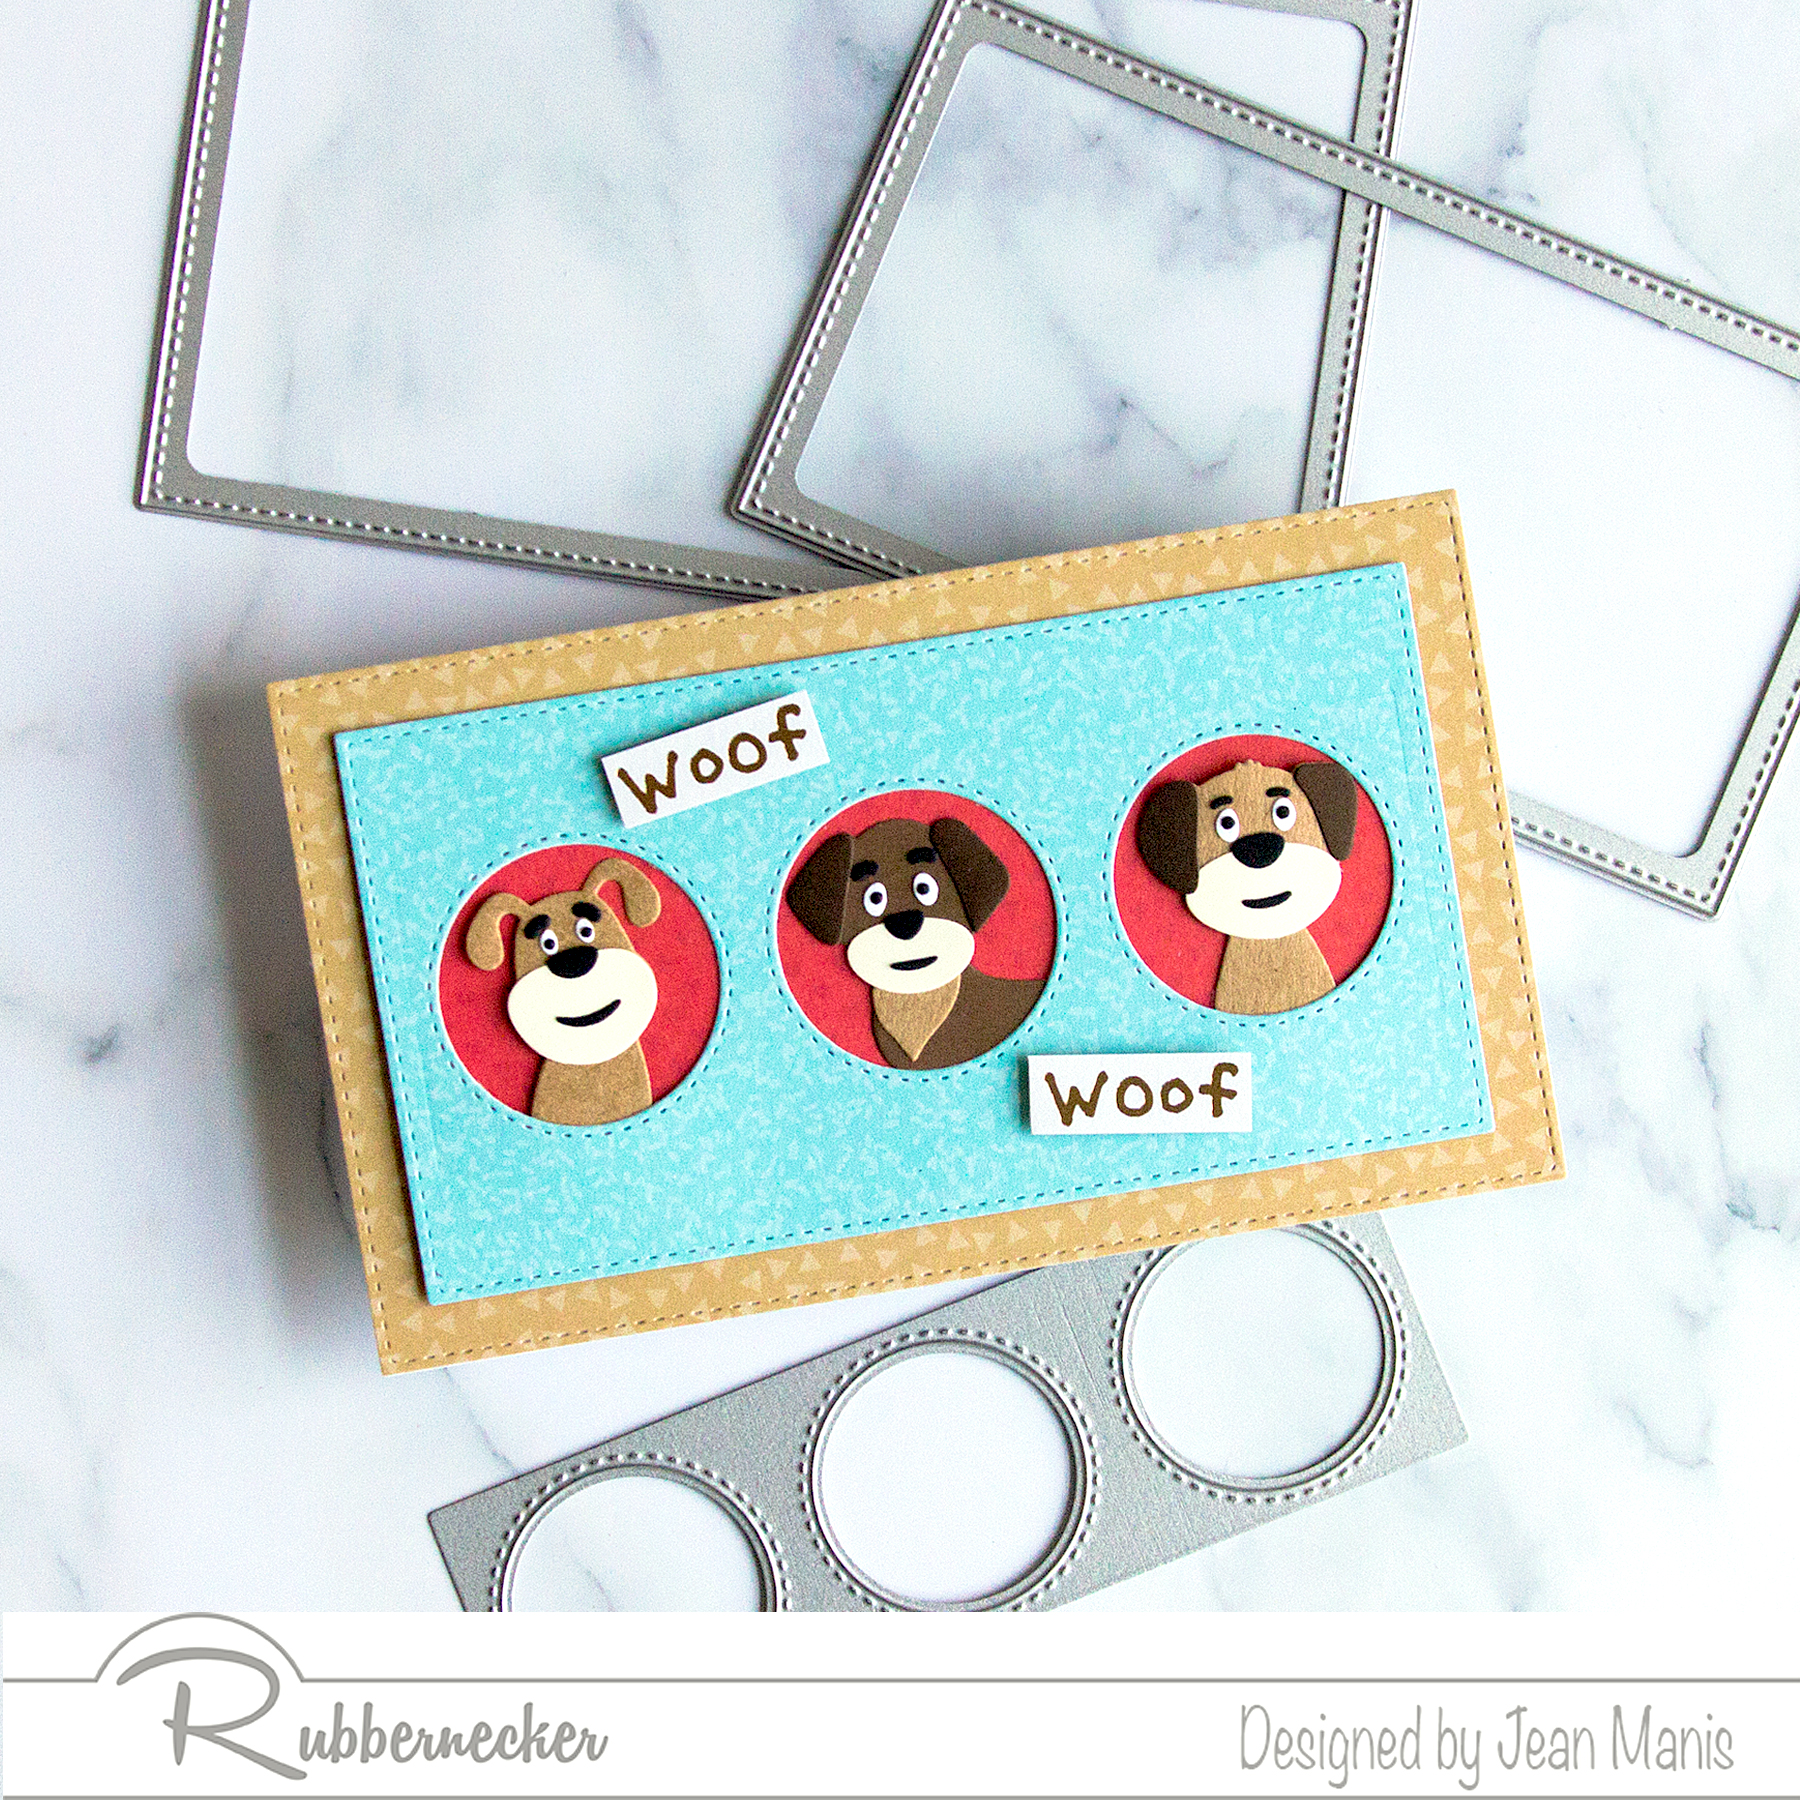
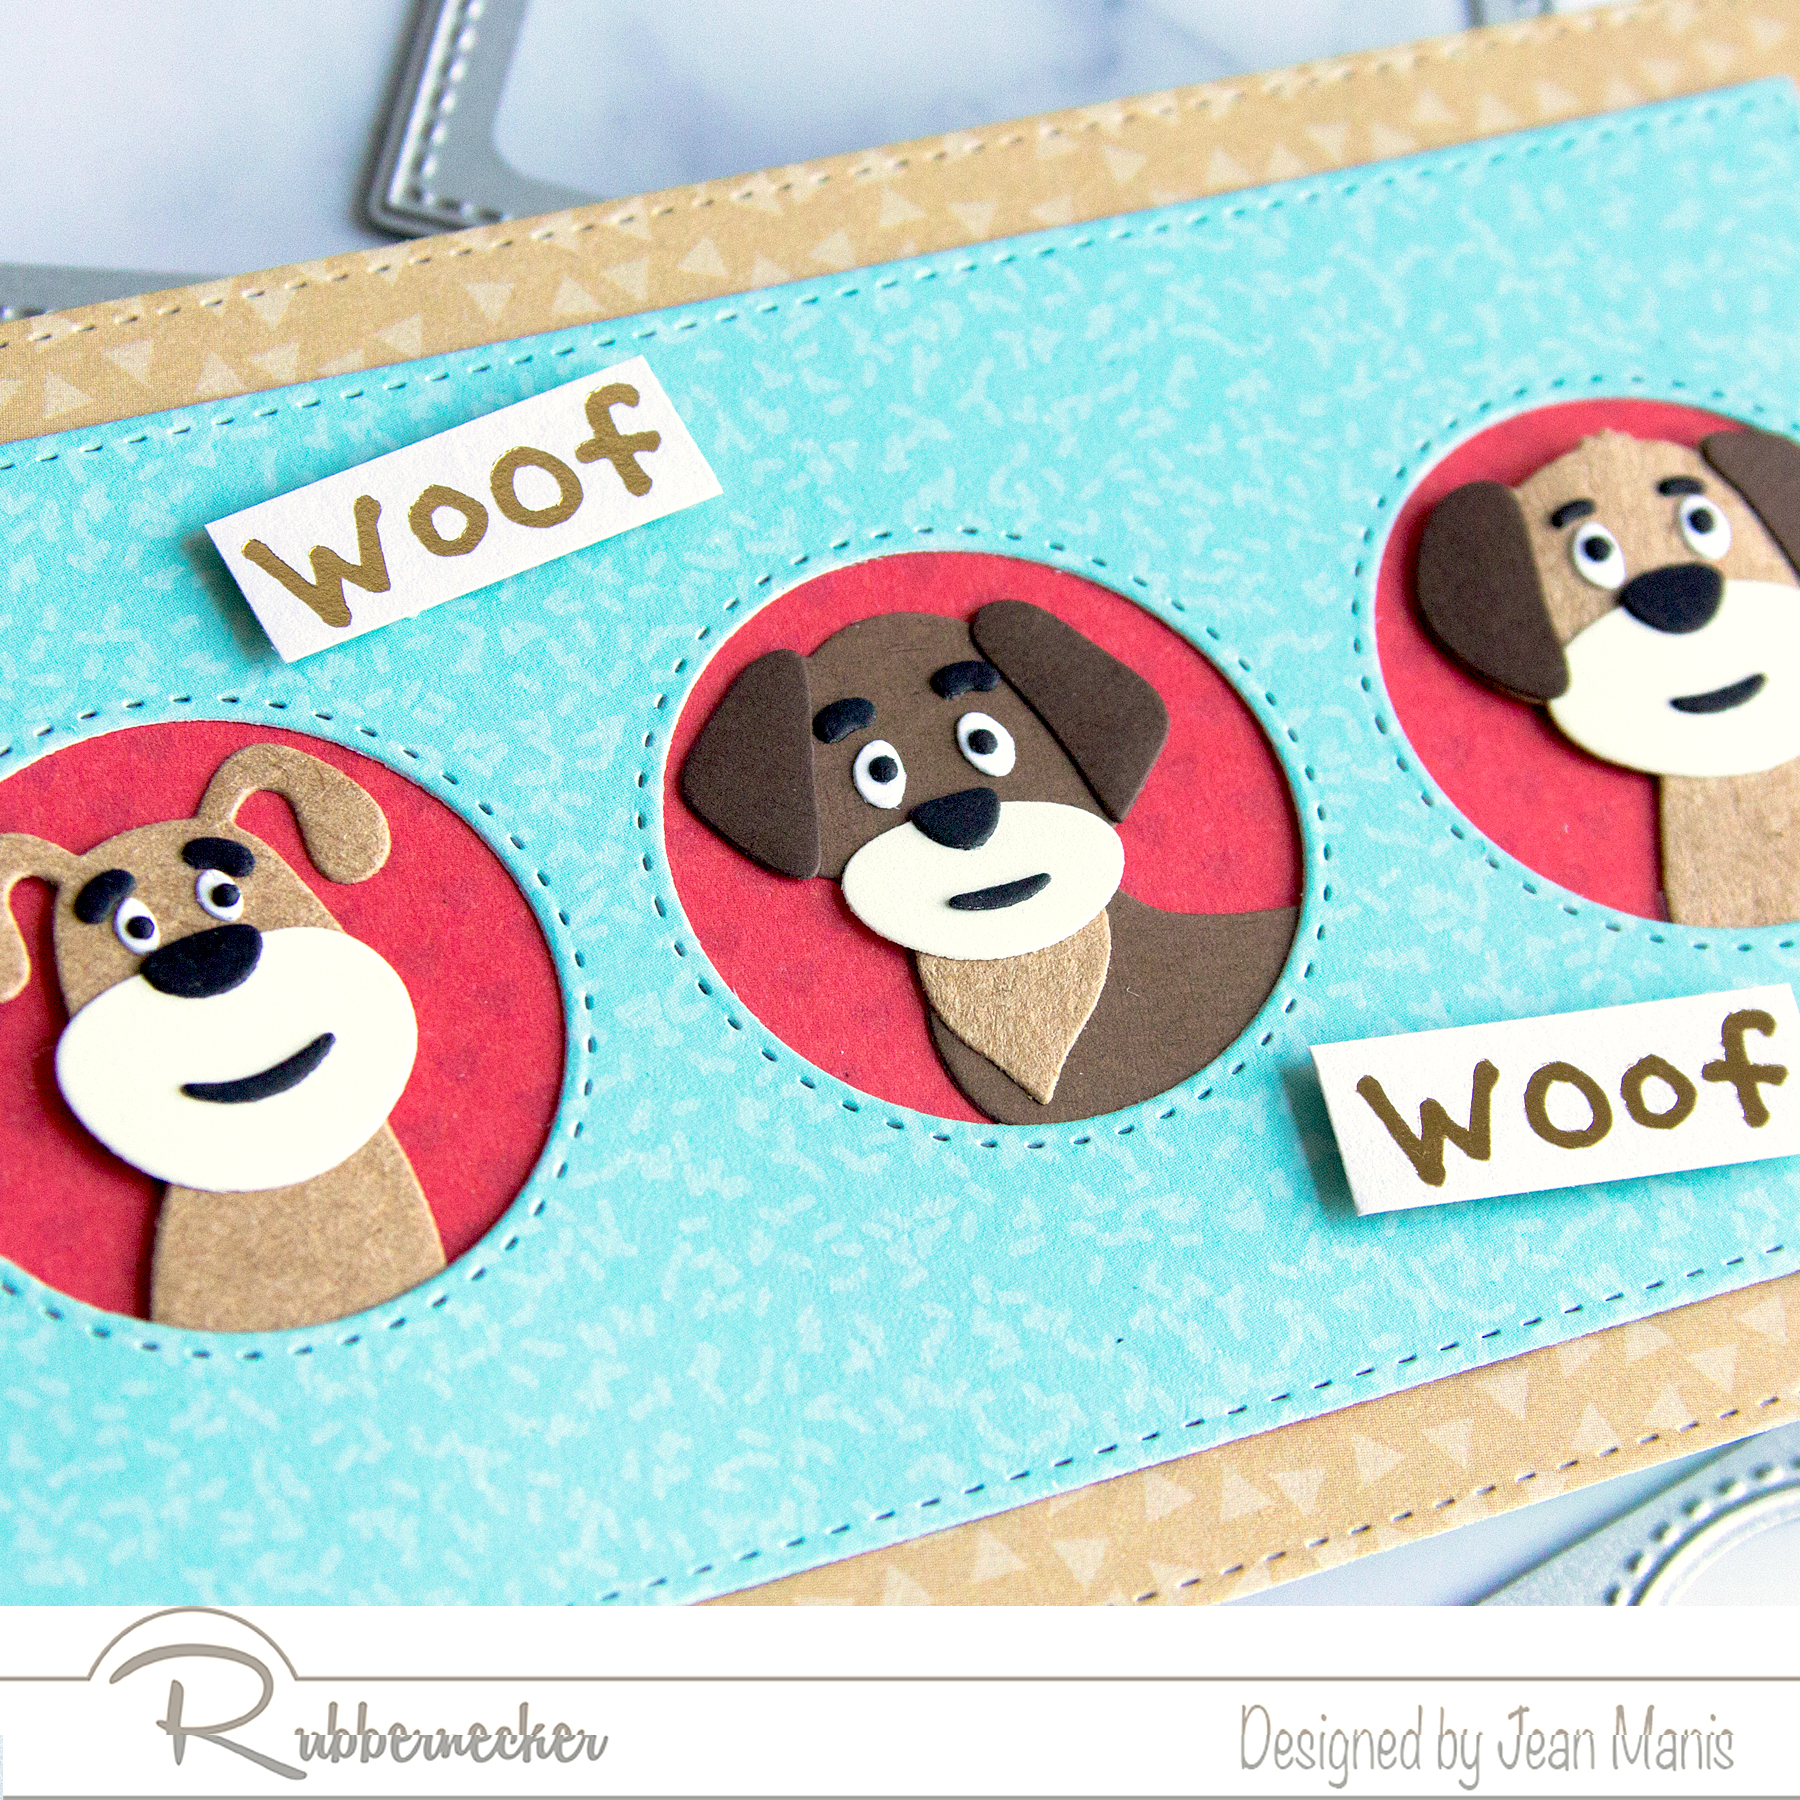
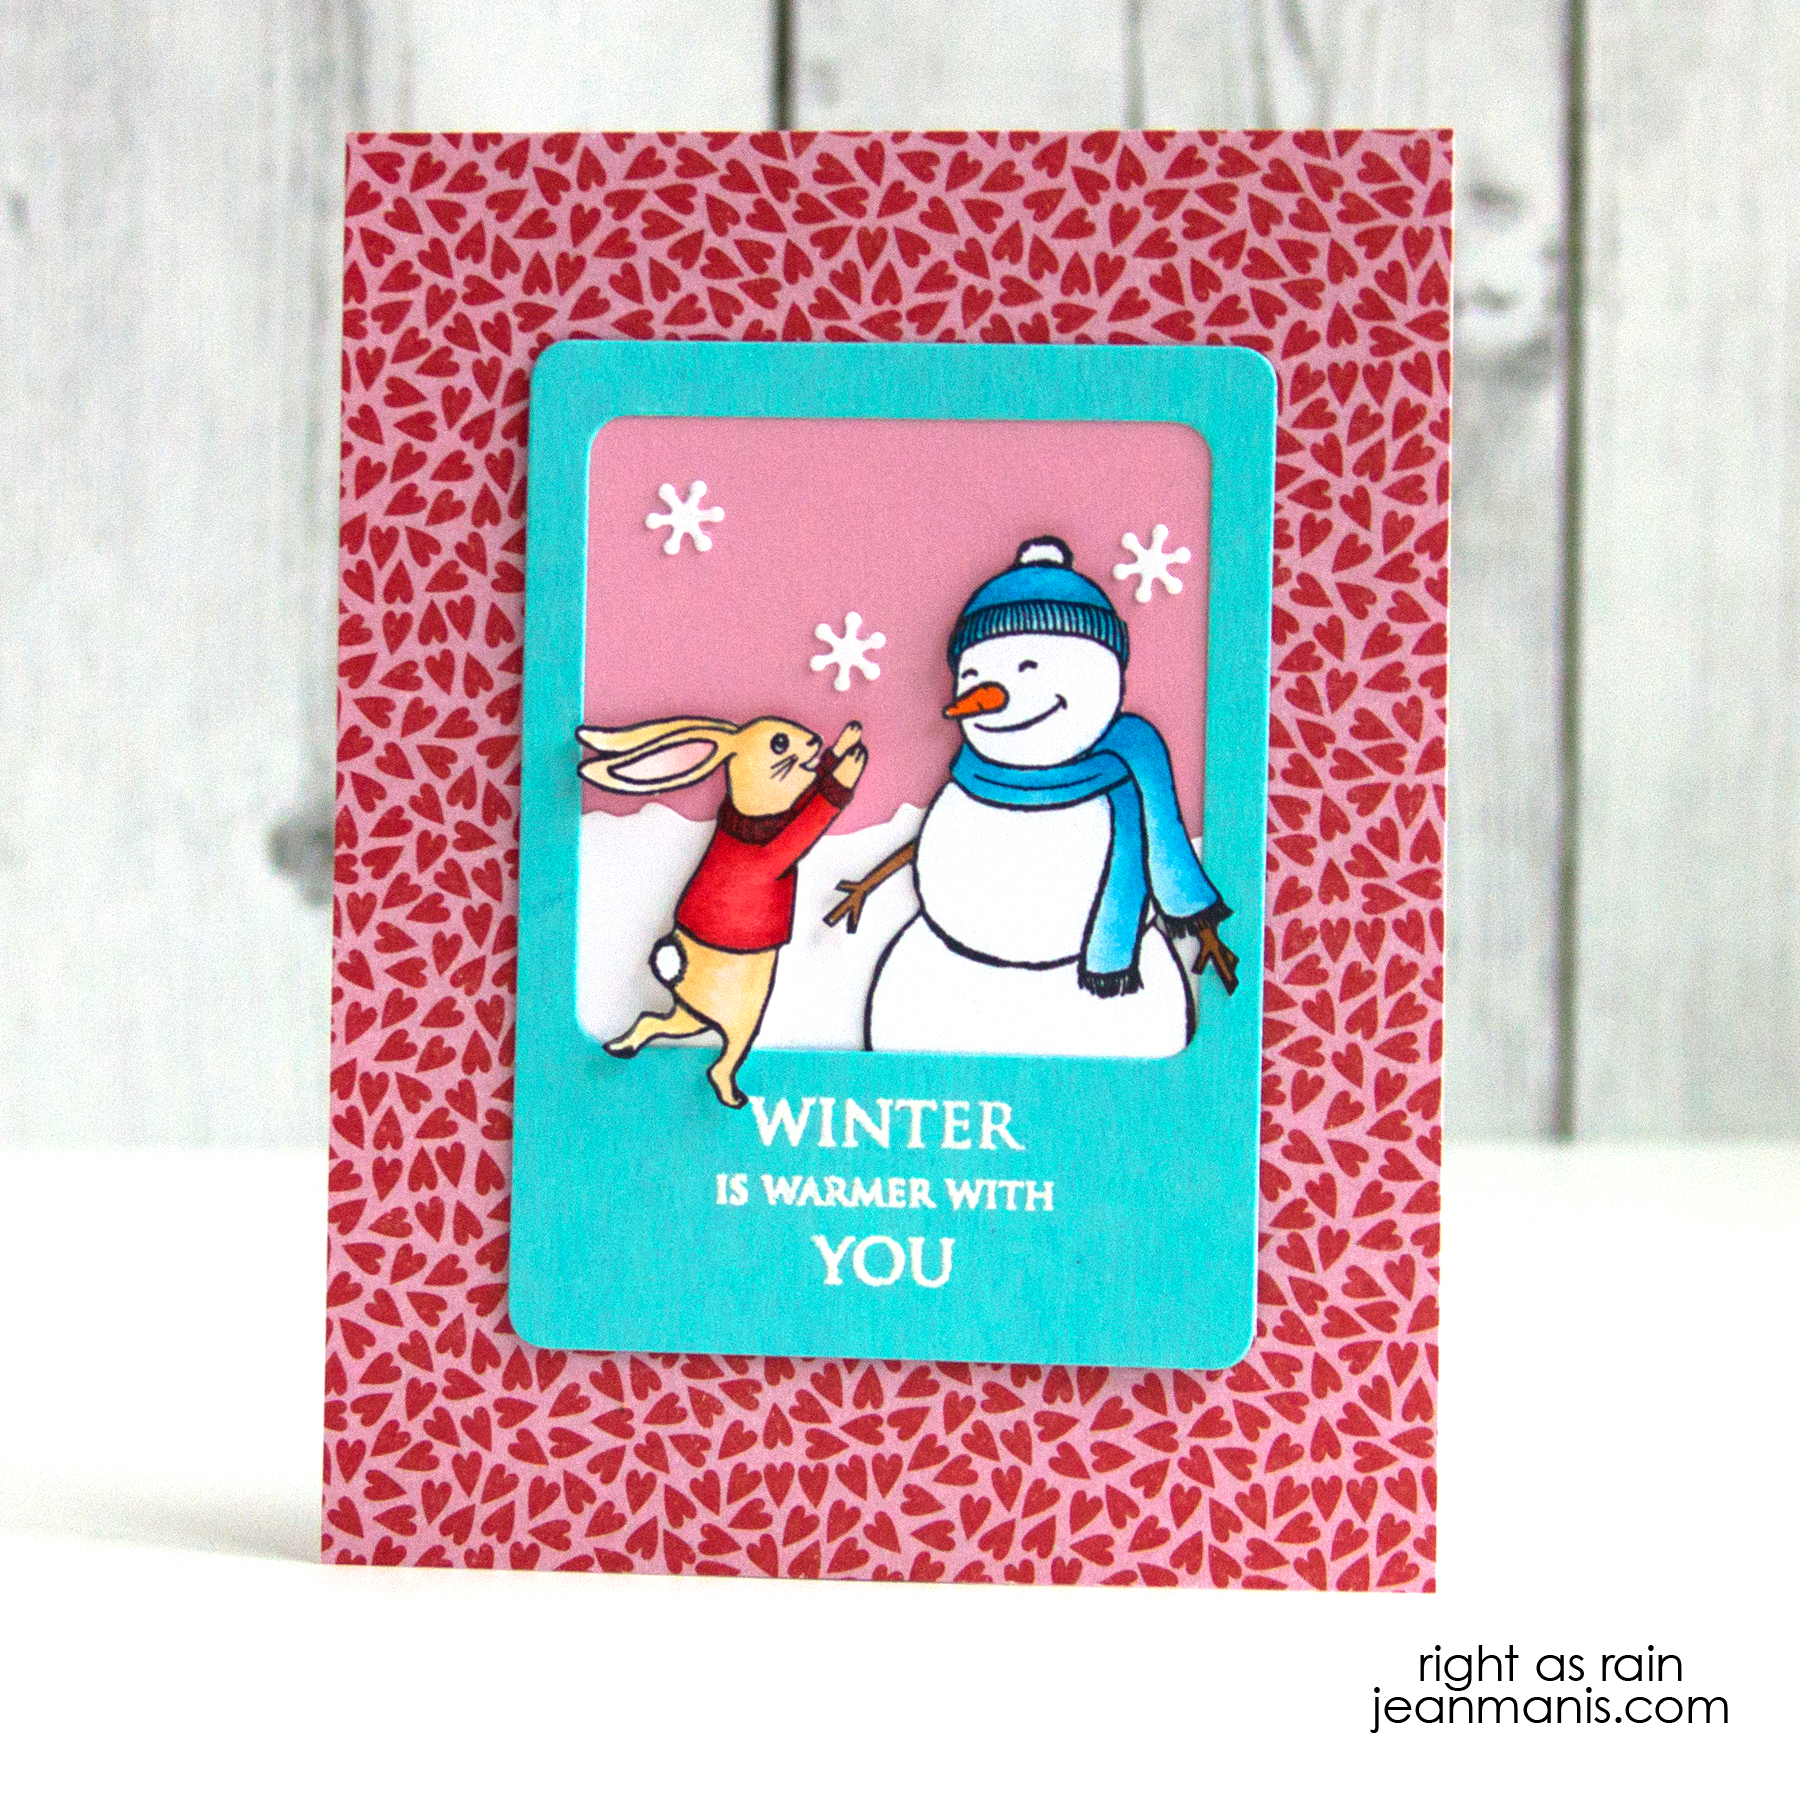
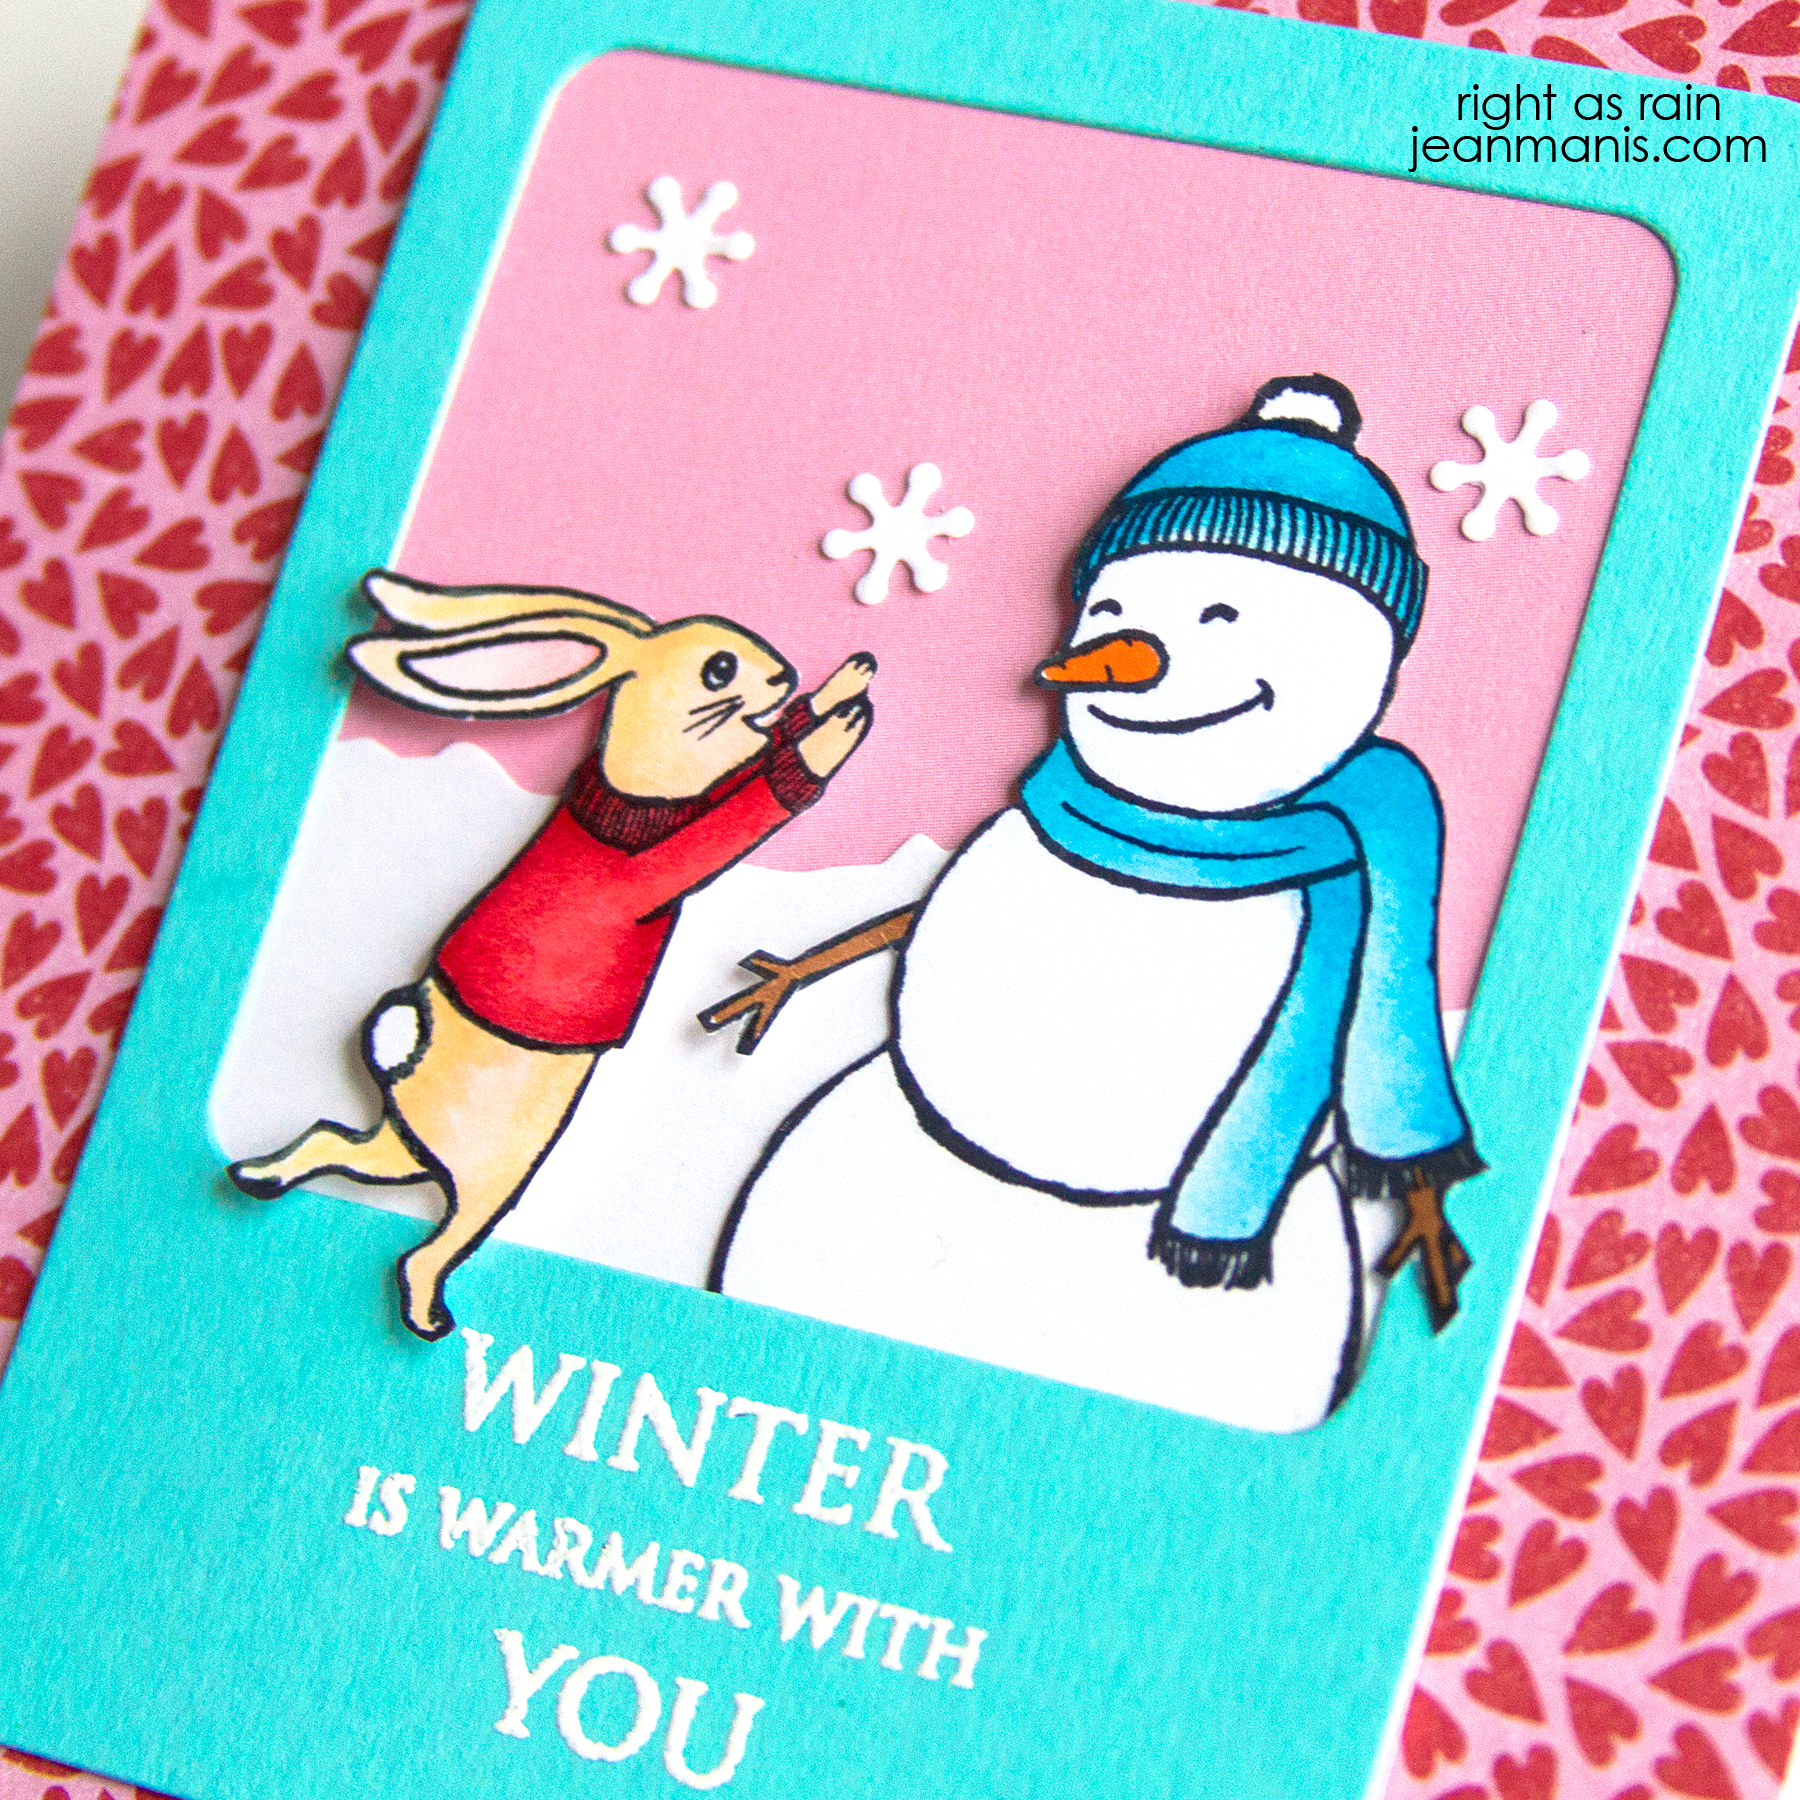
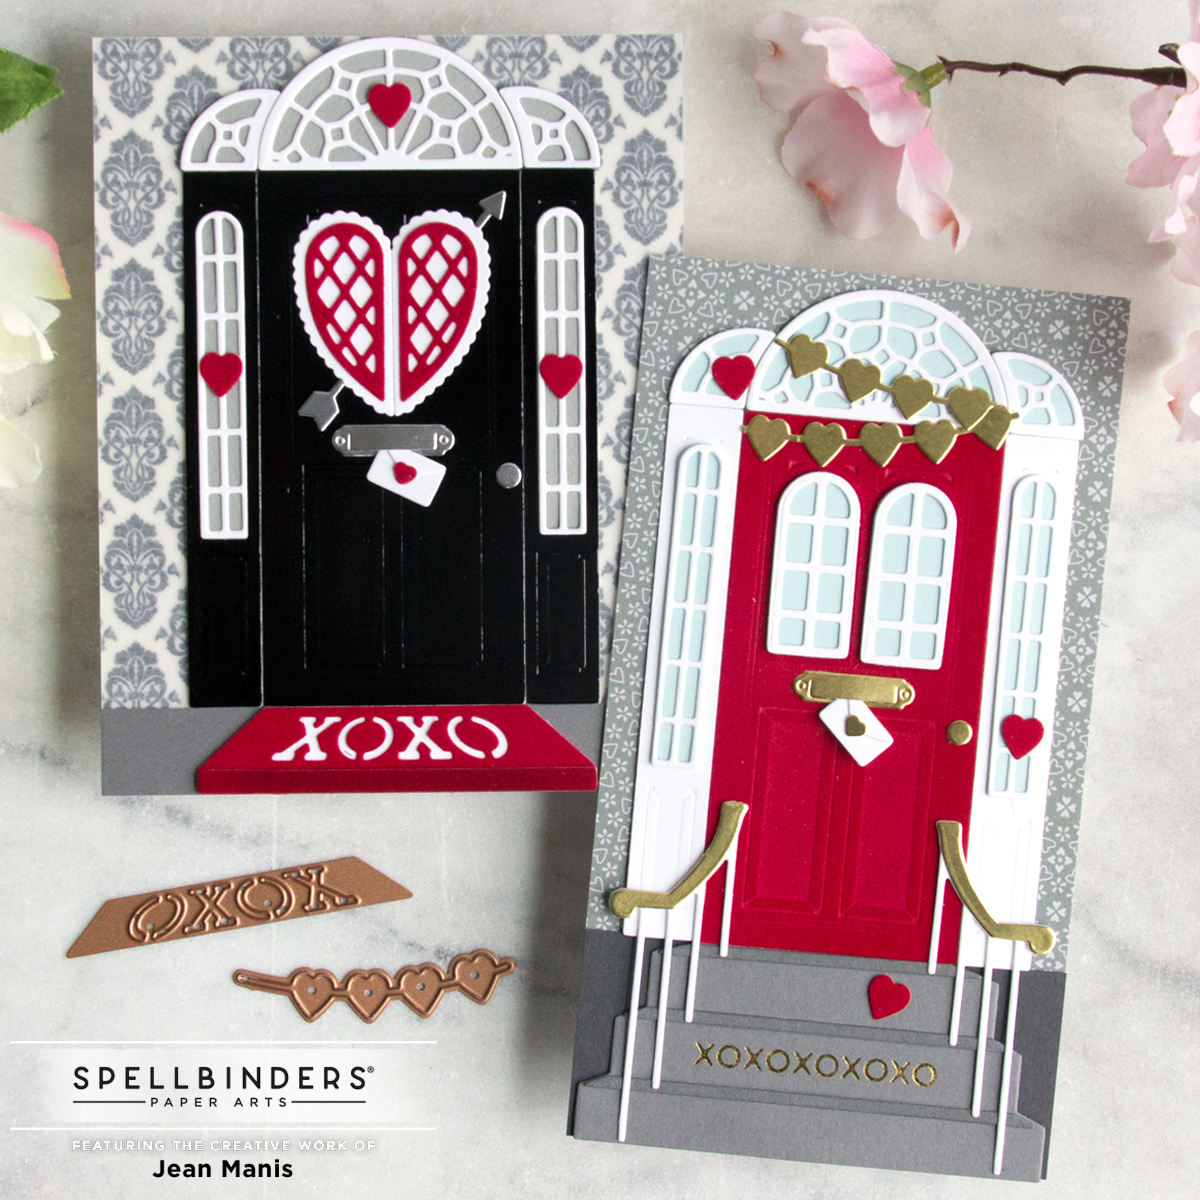
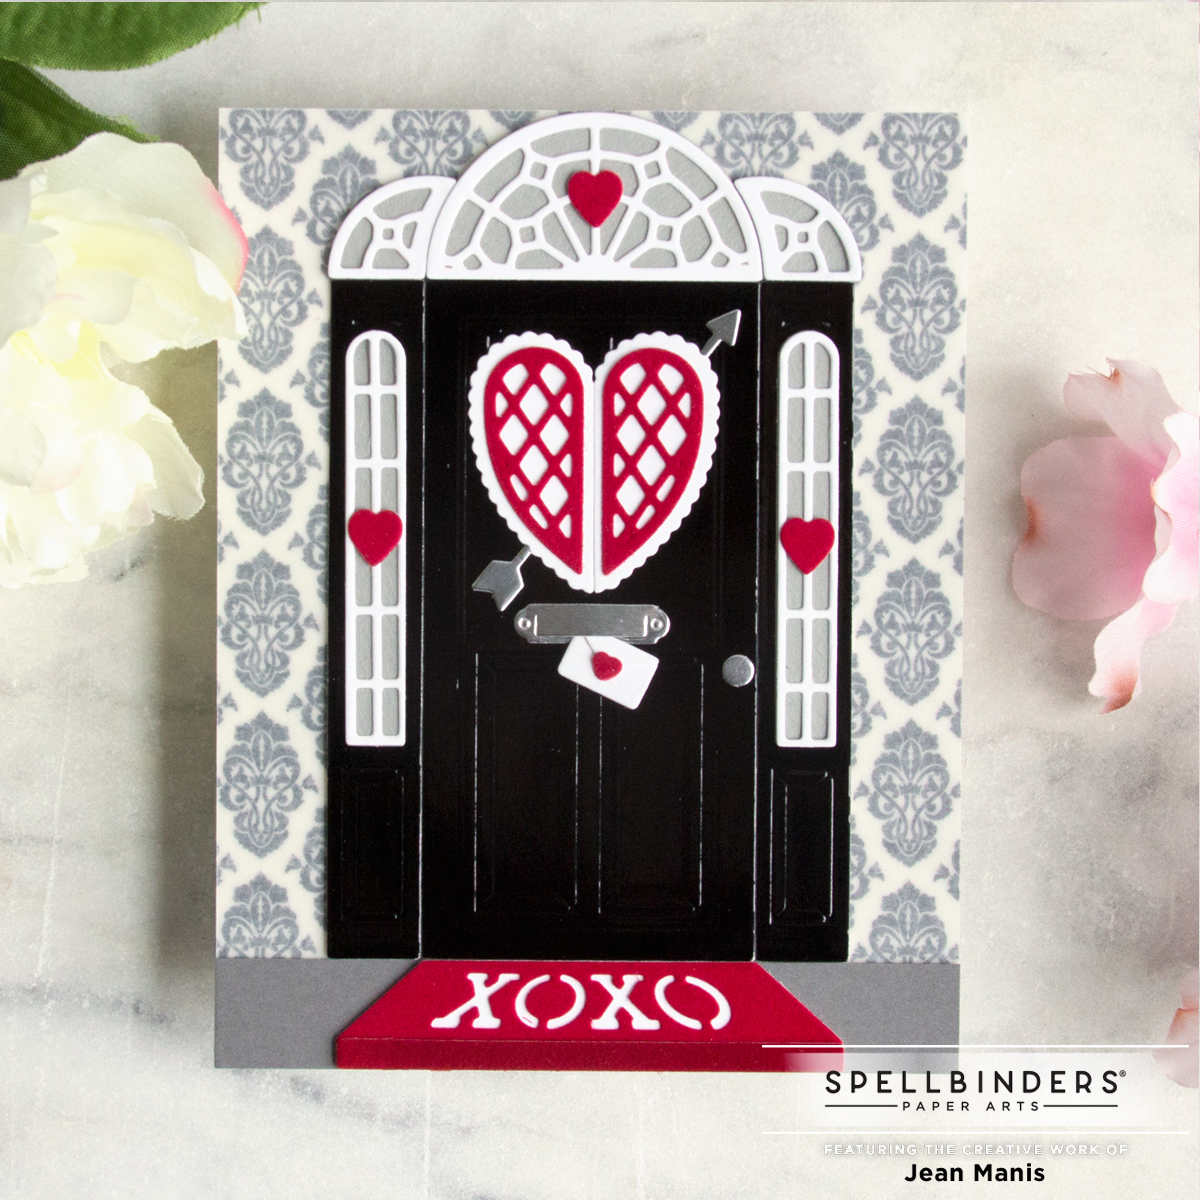
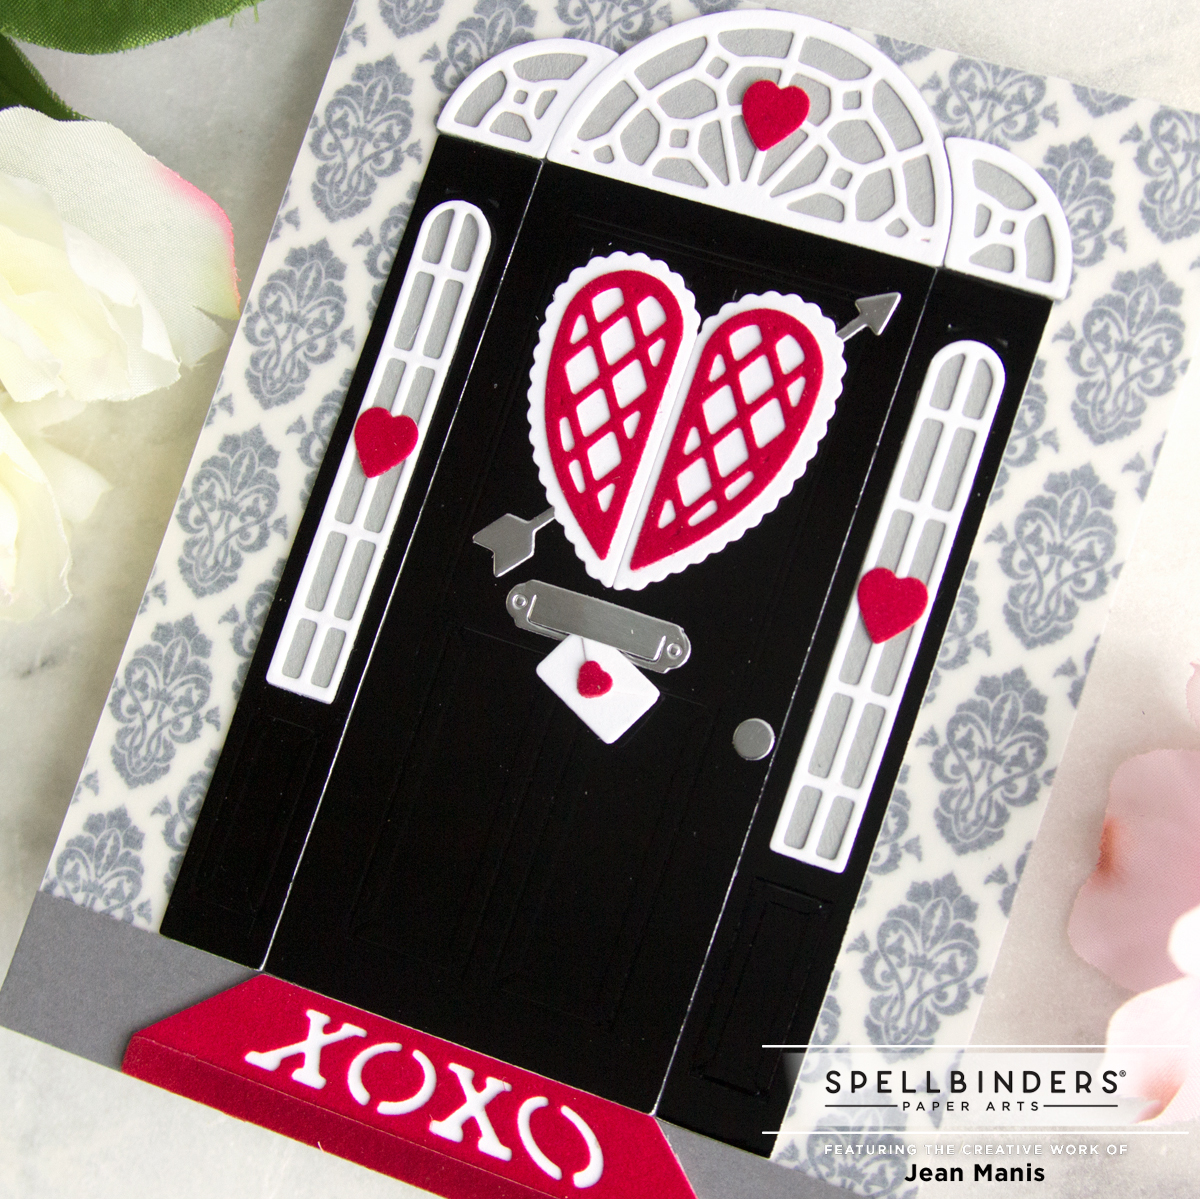
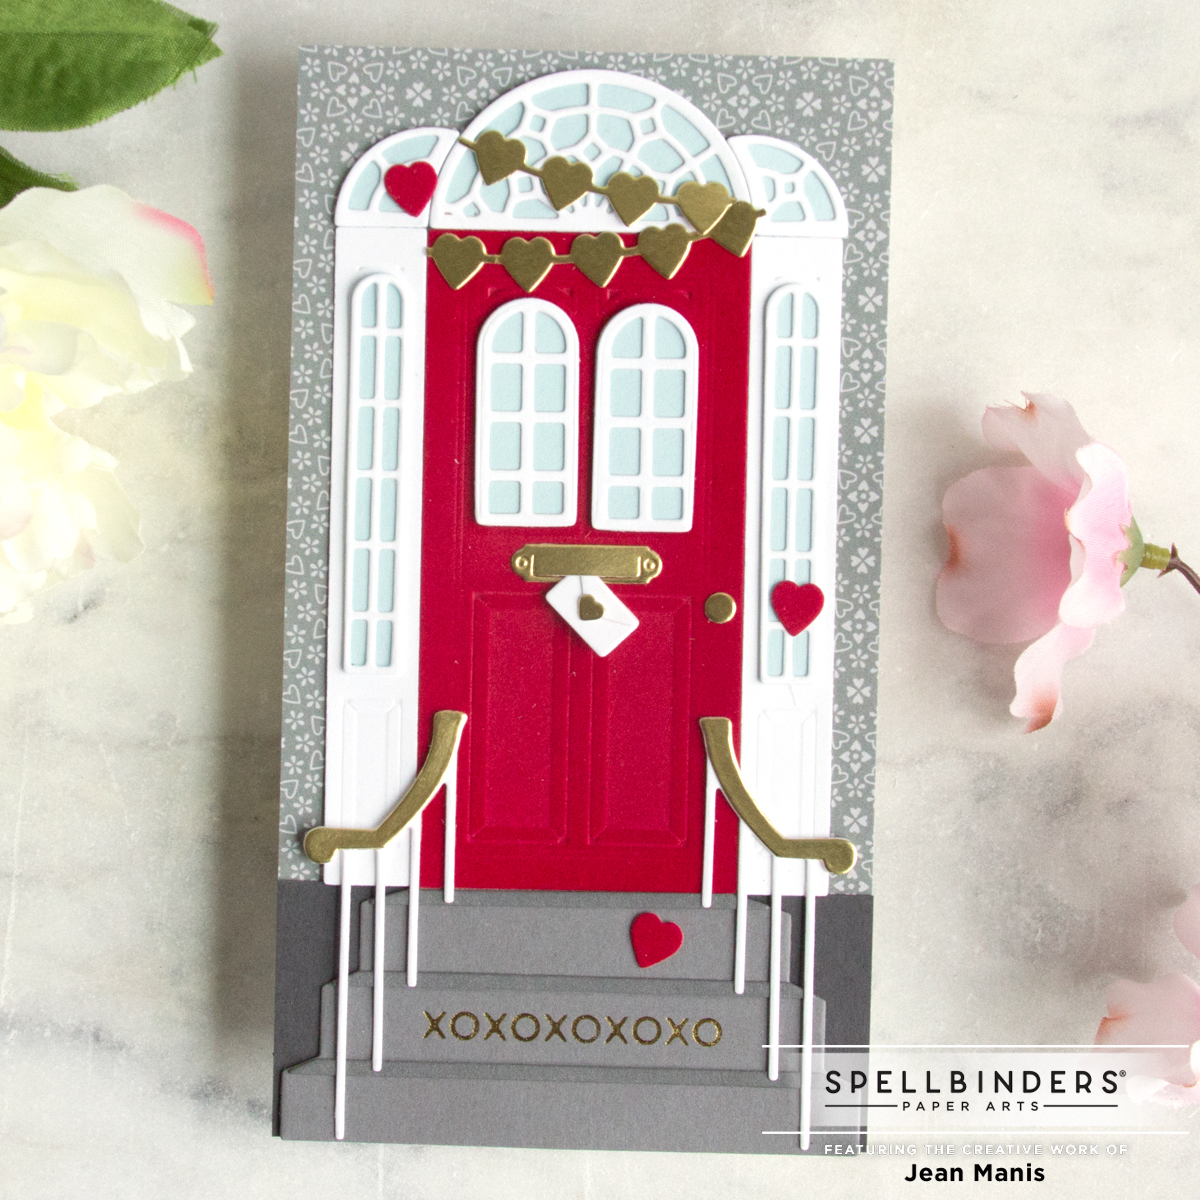
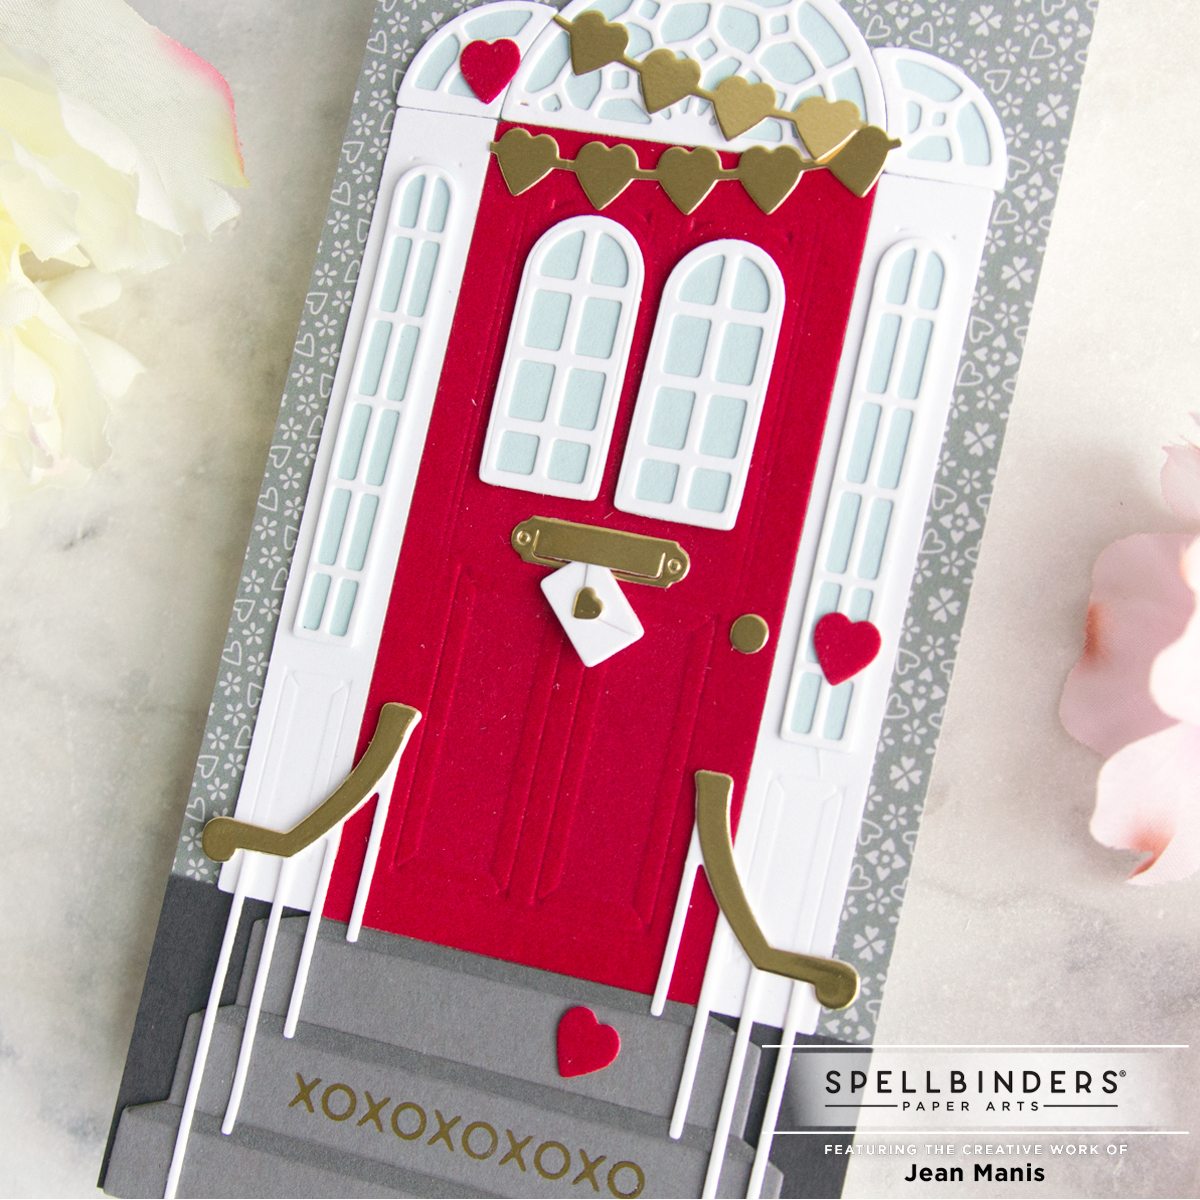
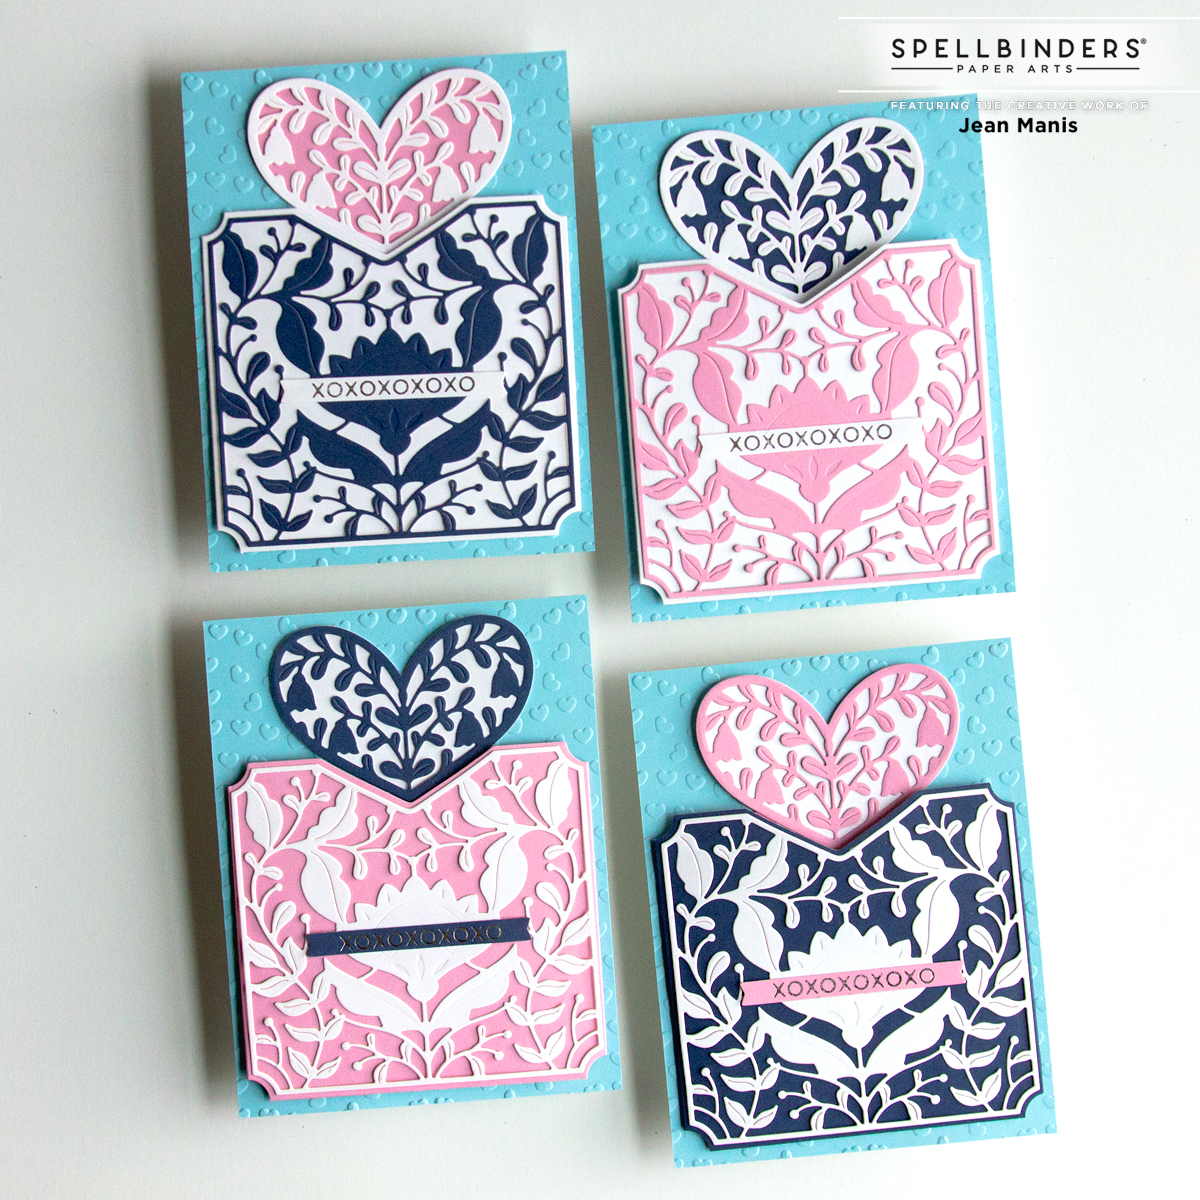
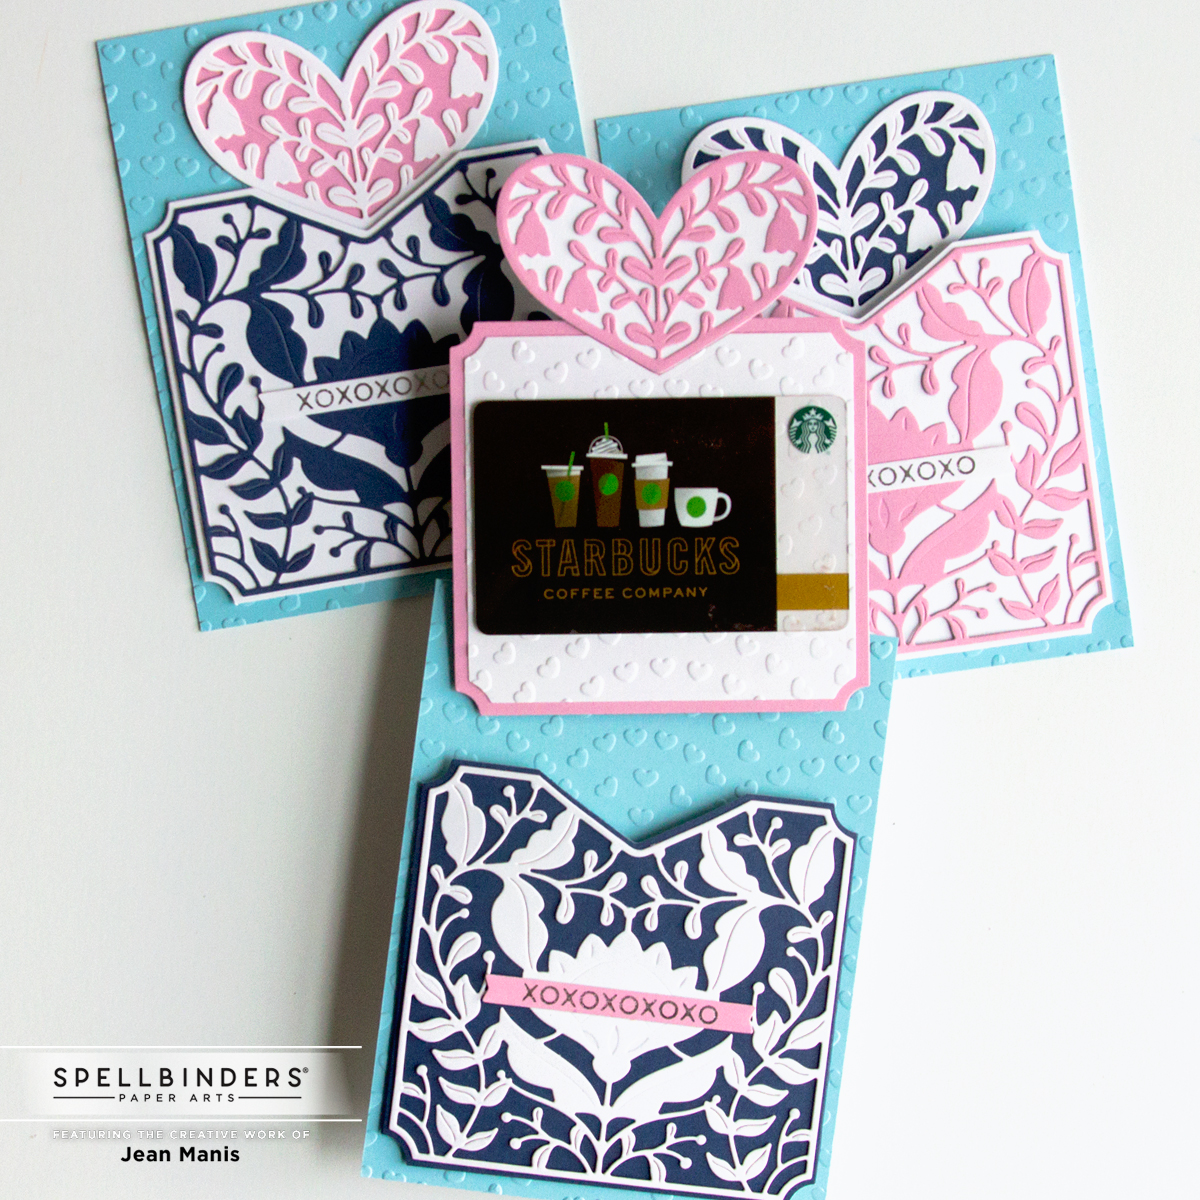
For the gift card holders, I created the same design, varying the colors I used. This unique die set creates a pocket in which to place a note, a photo, a gift card, and more revealed by pulling up the heart.
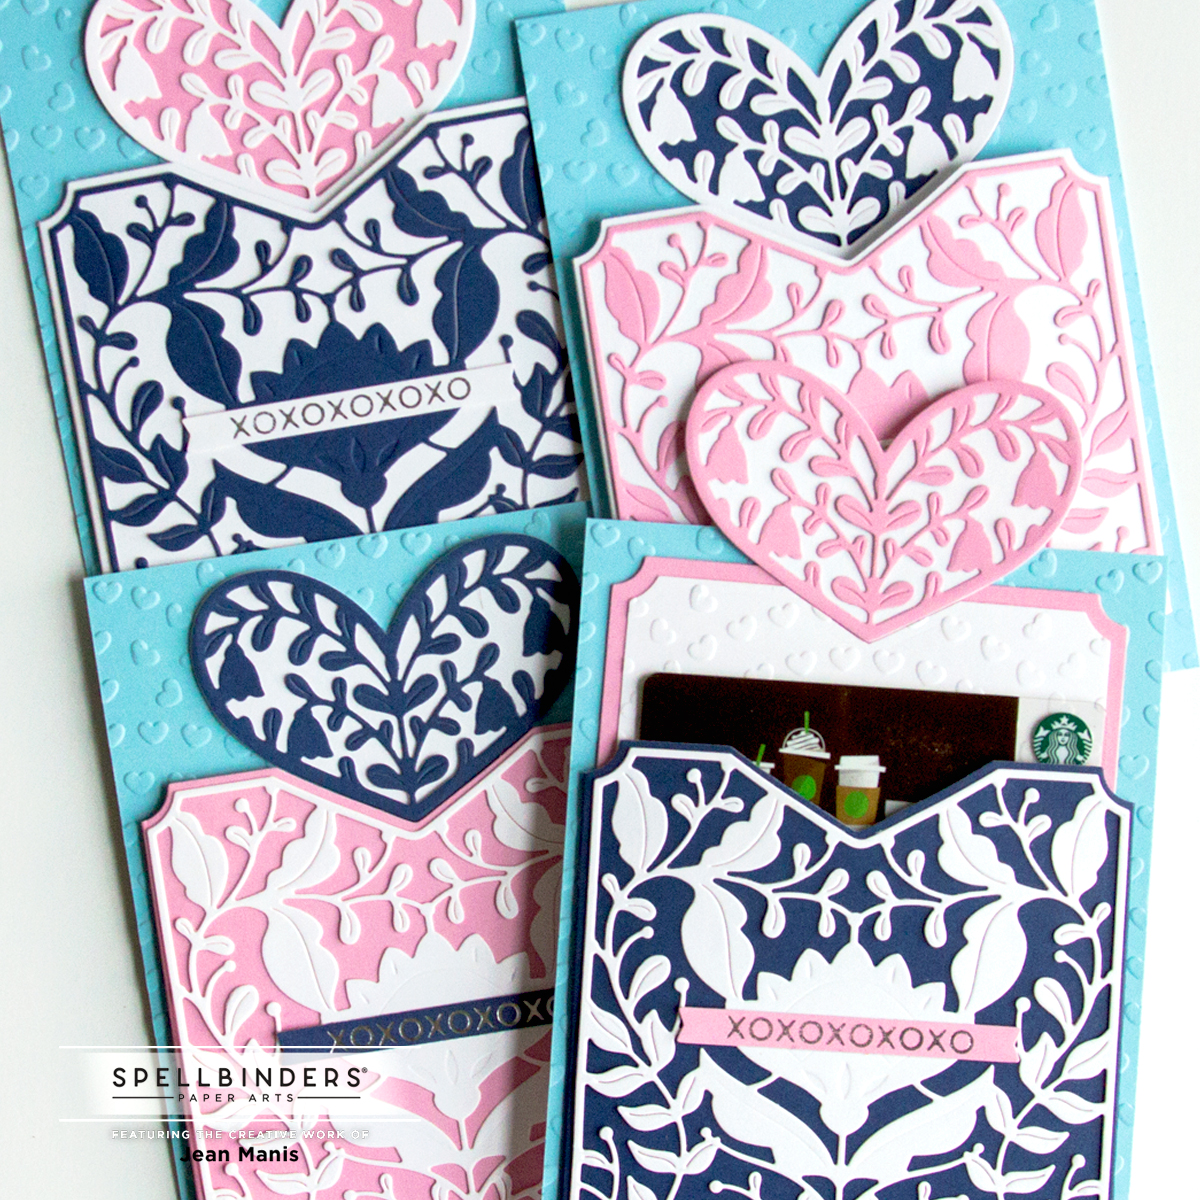
- Create A2-size card bases with the January 2022 Embossing Folder “Spreading Love.” Spellbinders launched the Embossing Folder Club on January 1, and the response has been so overwhelming this Club has sold out. This design may be brought back at a later time (check the “Past Clubs” section). Be sure to sign up for Clubs right away on the first of the month so as to not miss out on any future designs.
- Create the pockets – die-cut, score on three sides – and adhere to dry-embossed backgrounds.
- Die-cut solid hearts, detailed hearts, detailed pocket covers, and enclosure panel pieces. Assemble.
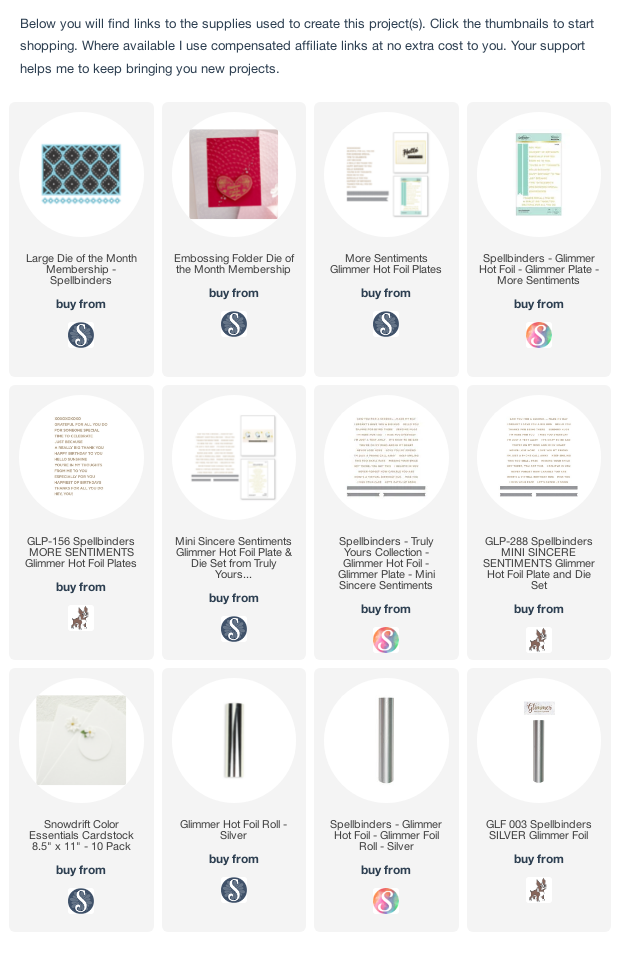
- Glimmer foil the sentiments with the More Sentiments set in silver and cut with a die in the Mini Sincere Sentiments set.
Thanks so much for stopping by! Head next to the blog of Sandra Nagel. Scroll for the full blog hop list.
Blog Hop List:
Spellbinders Blog
Sandi MacIver
Bibi Cameron
Annie Williams
Jill Hilliard
Kelly Taylor
Jean Manis <--You are here
Sandra Nagel
Ilina Crouse
Virginia Lu
Deborah Jenkins
Hussena Calcuttawala
Jeanne Bobish
Rosemary Dennis
Lin Brandyberry
Karen Yagel
Jenny Colacicco
Jessica Vasher
Melody Rupple
Birgit Norton
Alanna Moses
Rebecca Keppel