Dashing through the Snow

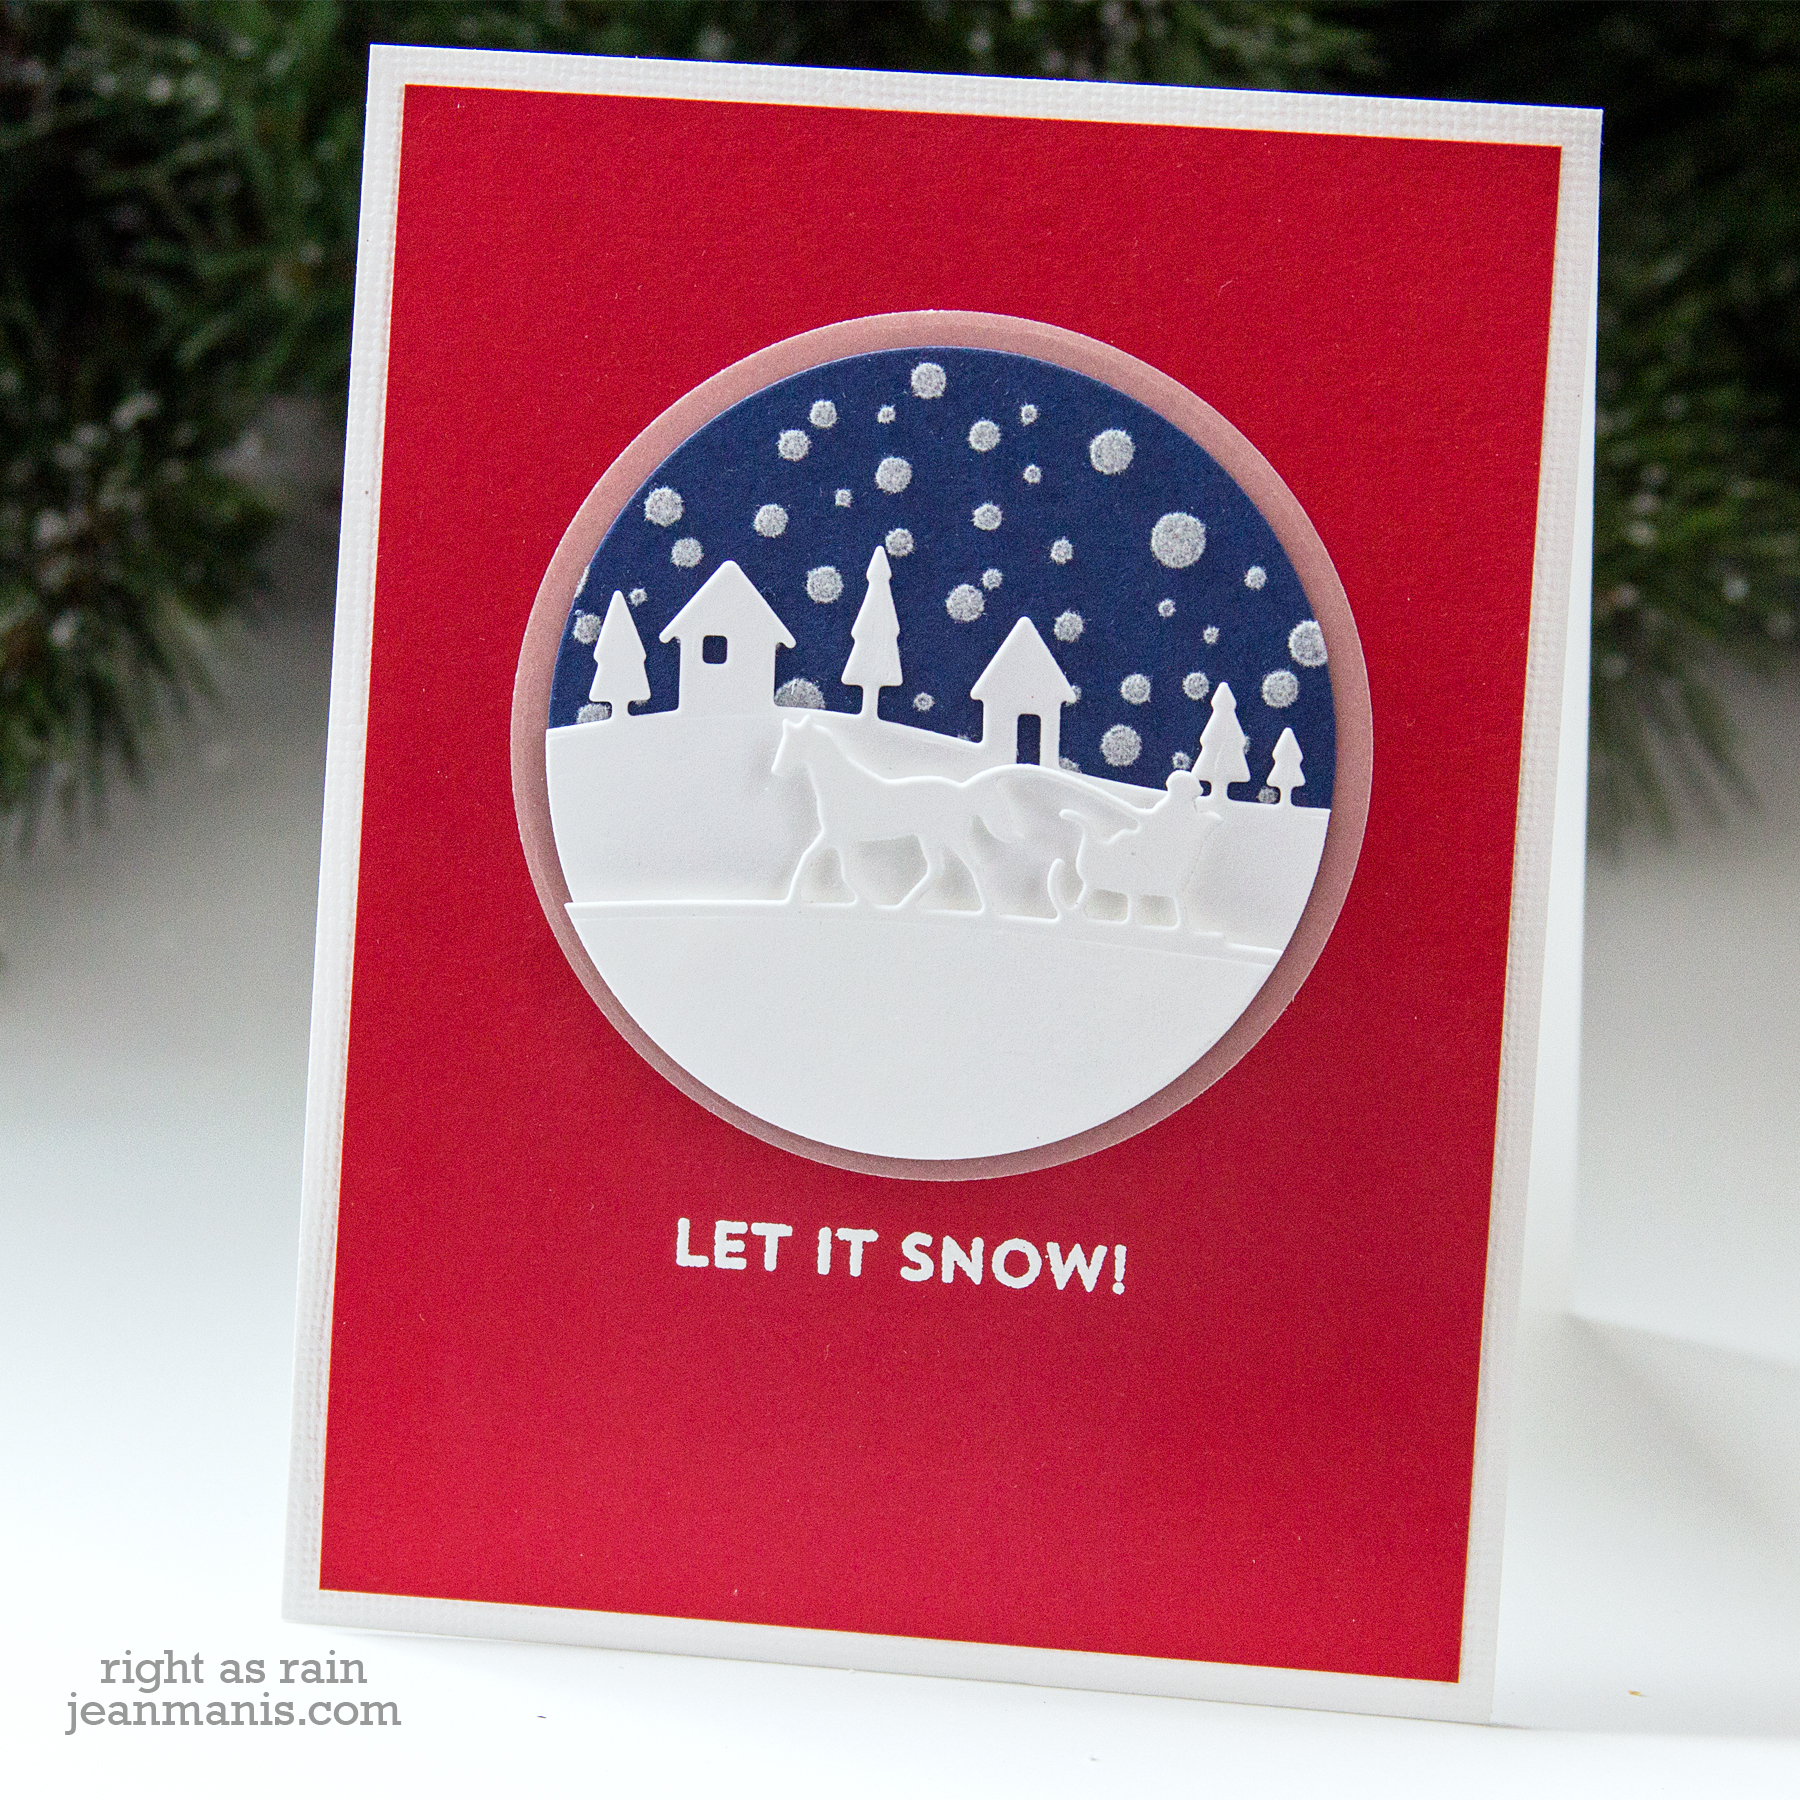
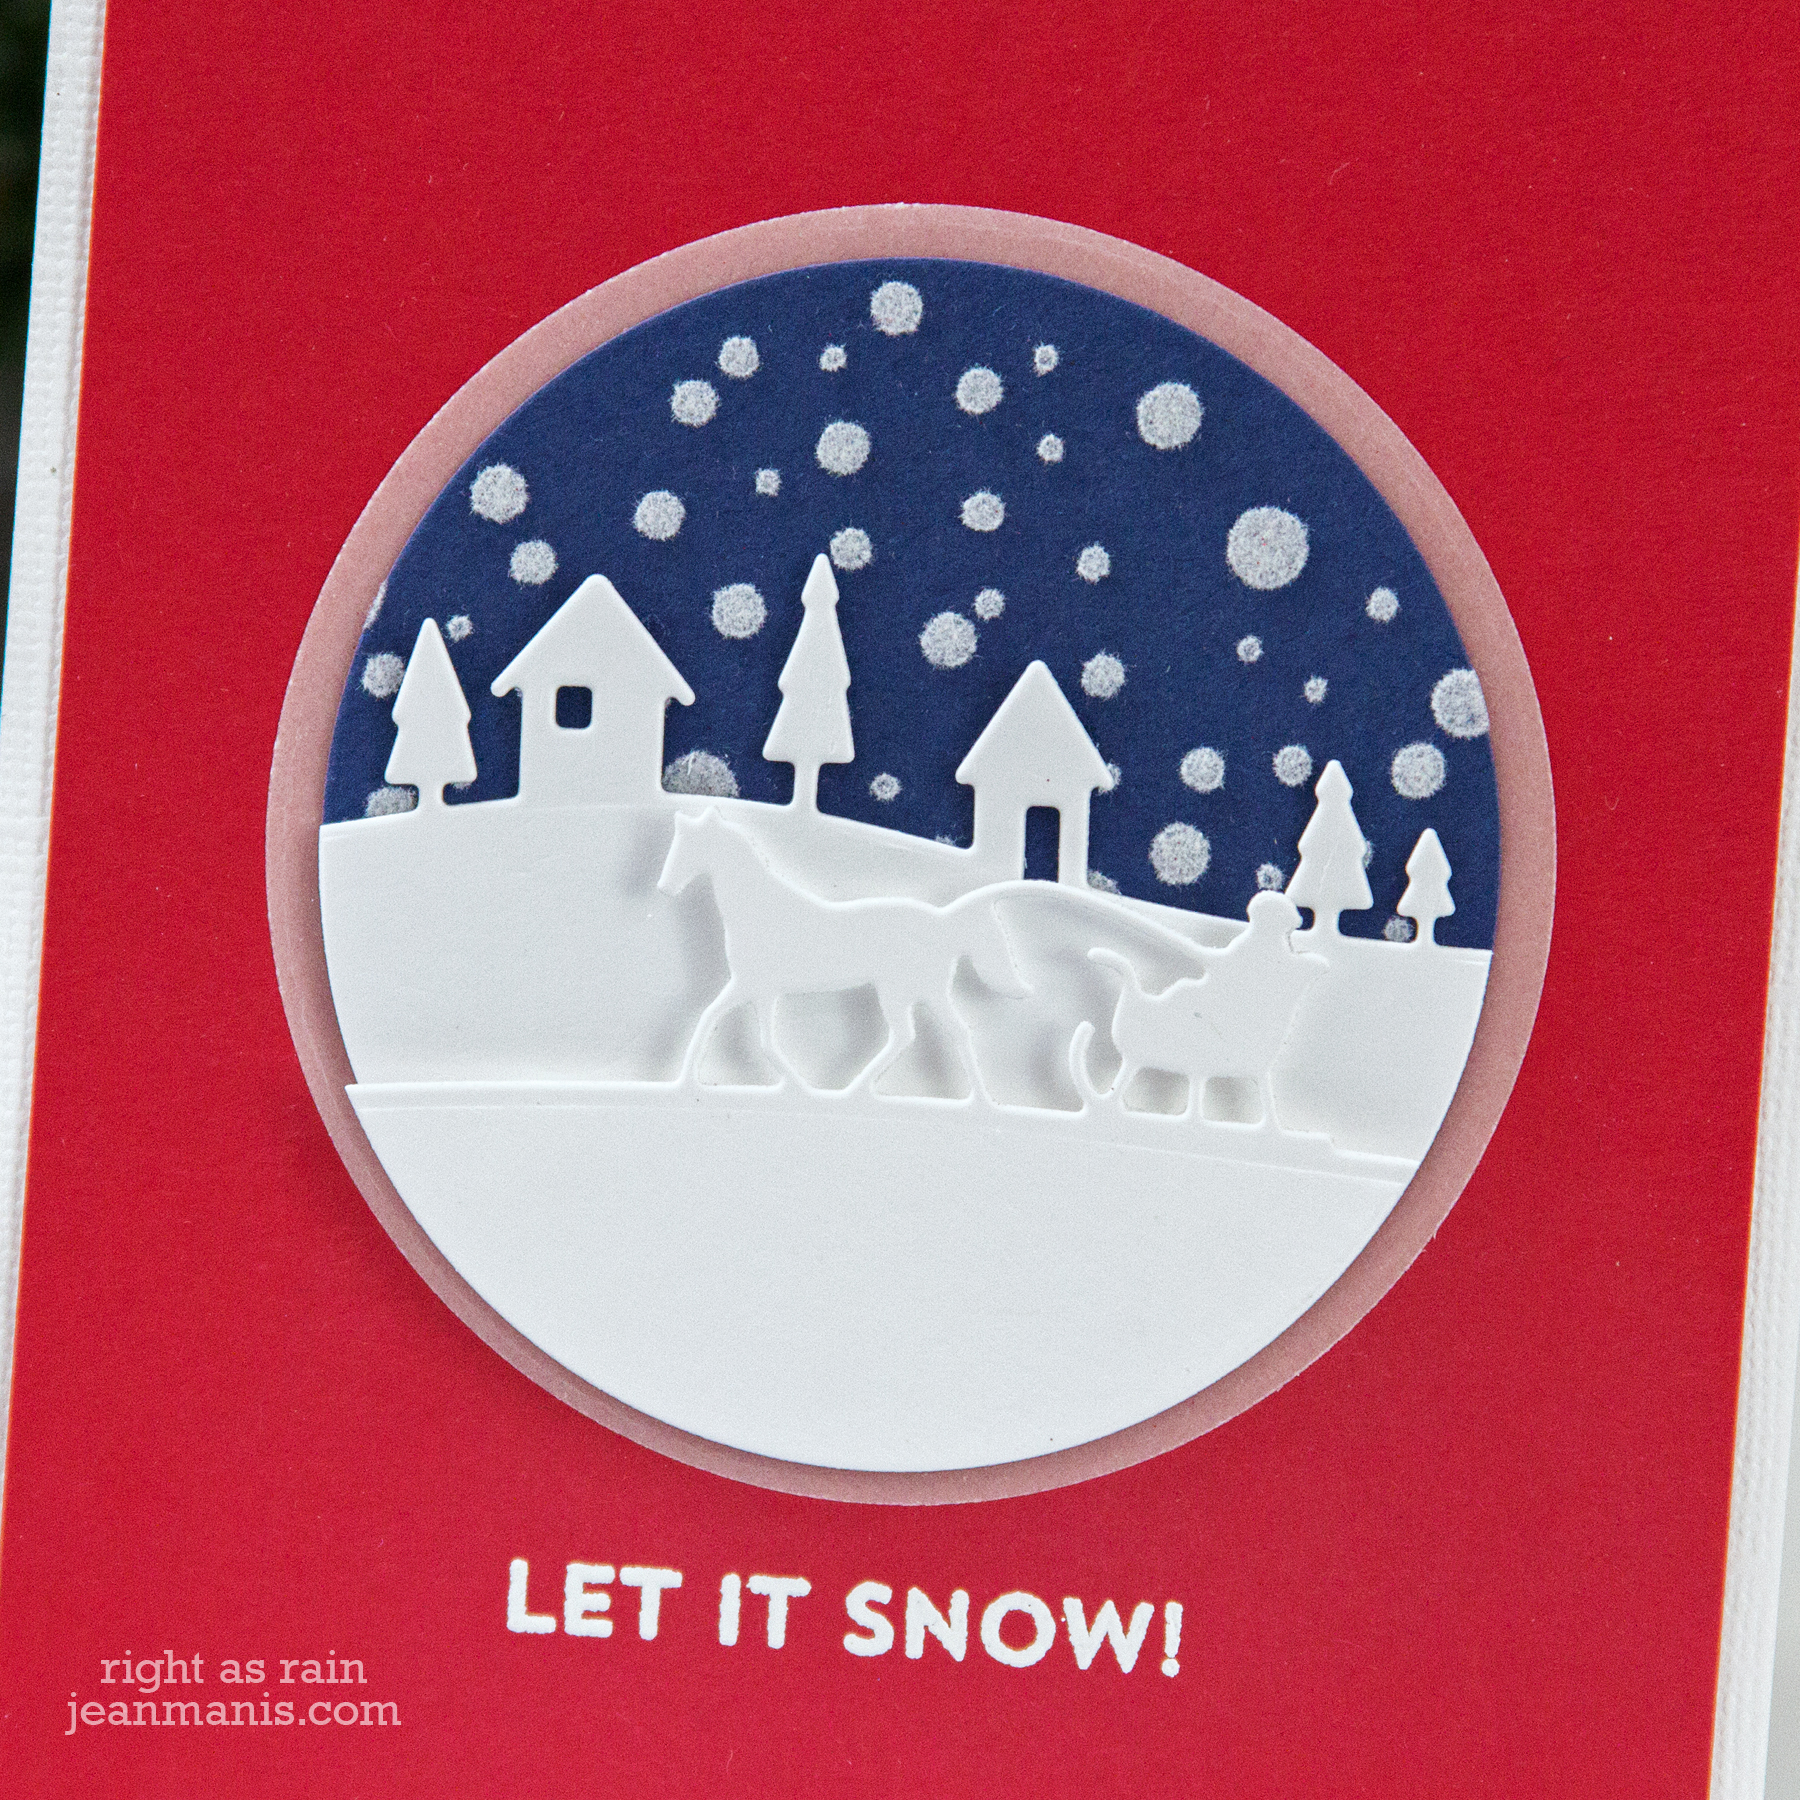
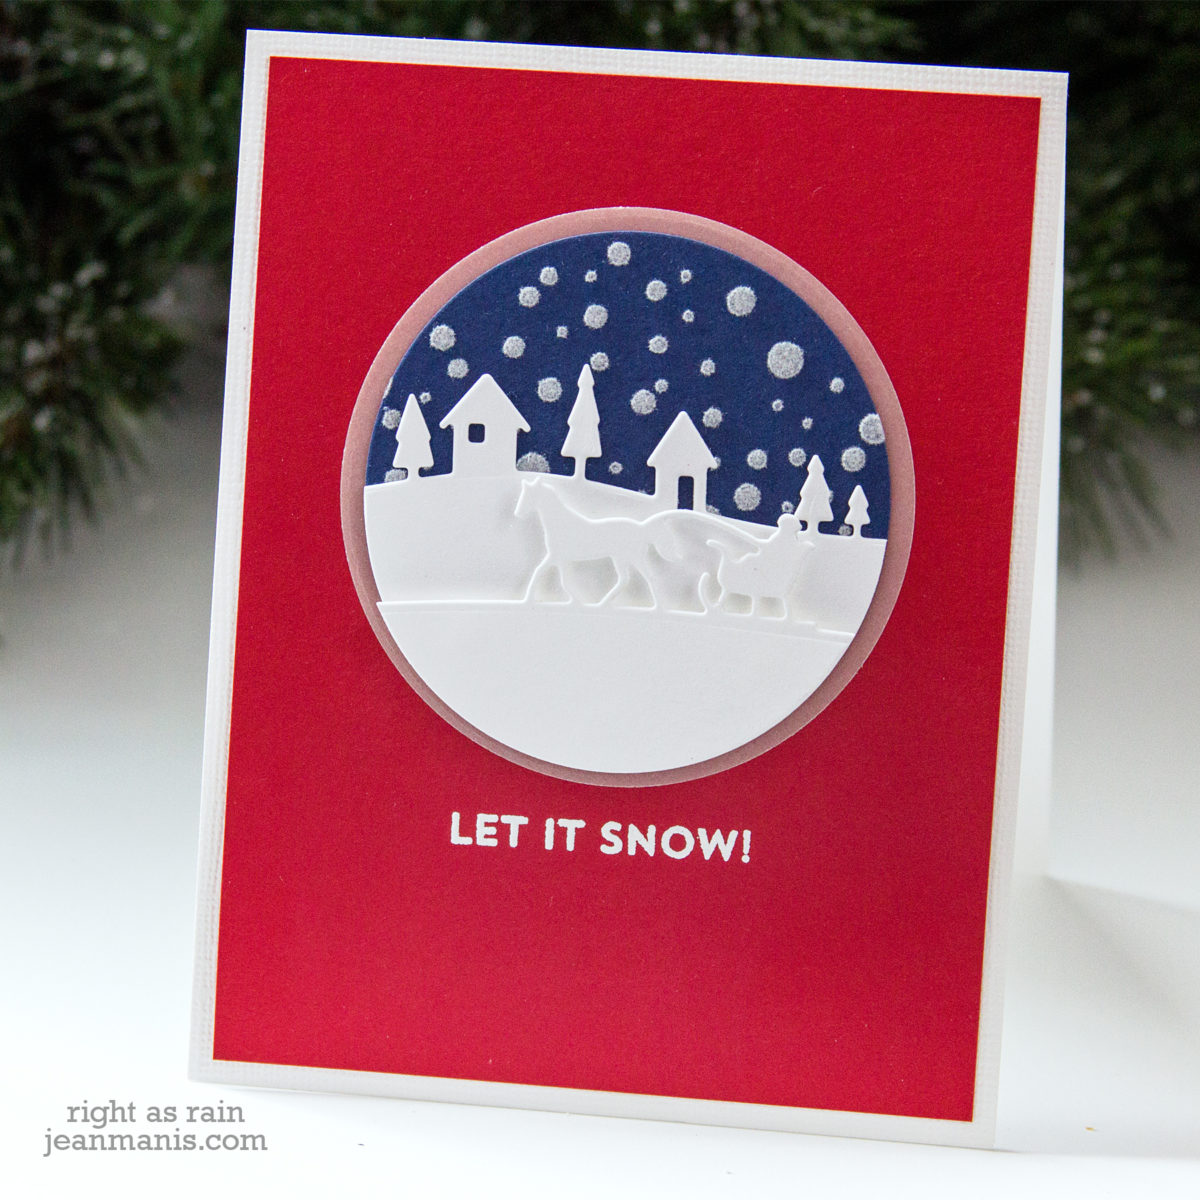
Hello! I have “Jingle Bells” running through my head, and I’m sharing a CAS Christmas card, depicting a one-horse open sleigh dashing through the woods, created with several older Memory Box dies.
Dashing through the Snow

  • I cut Night of Navy cardstock with a circle die and applied transfer gel through the Carta Bella snow stencil on to the circle. I set the circle aside to dry. I mentioned in this post that I wanted to try the flock with the snow stencil.
  • I cut a slightly larger circle from vellum.
  • I cut two white circles and then cut the circles with the Memory Box Horse Sleigh Landscape die and the Country Landscape border dies.
  • I heat-embossed the Snow Globe Sentiments sentiment on a dark red cardstock (Gina K) panel. I adhered the panel to a white linen-finish cardstock base.
  • I ran the stenciled panel through my Minc with white flock. I then assembled the circles, using foam adhesive for the sleigh portion.
  • I adhered the assembly to the card base.
Dashing through the Snow

For more inspiration using these same two Memory Box die sets, here’s a card from several years ago.

Supplies:

CAS Christmas Ornament

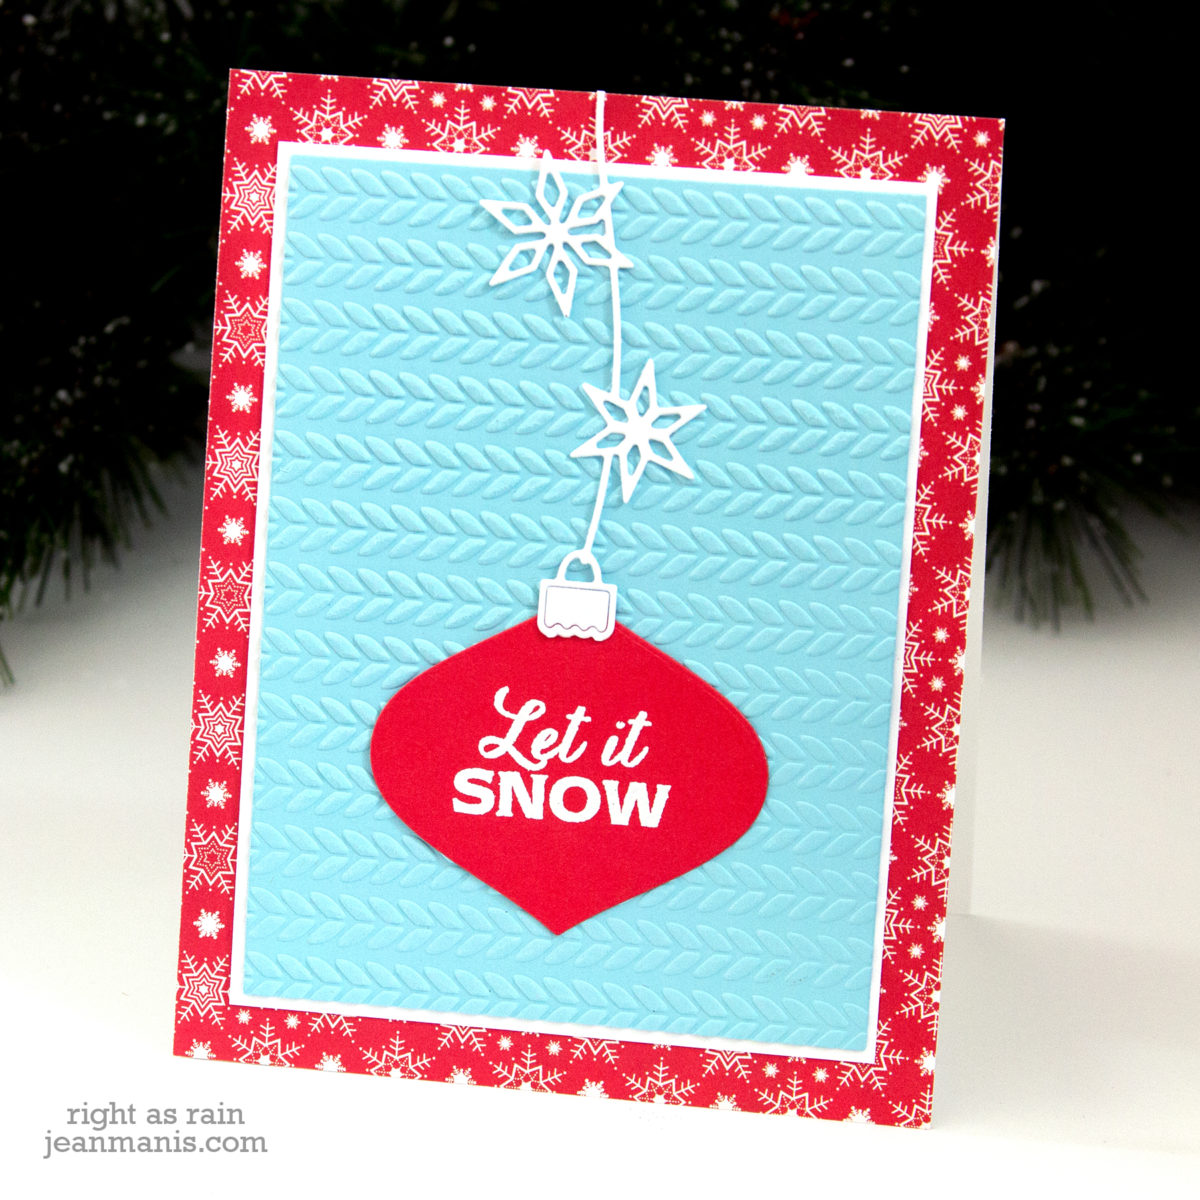
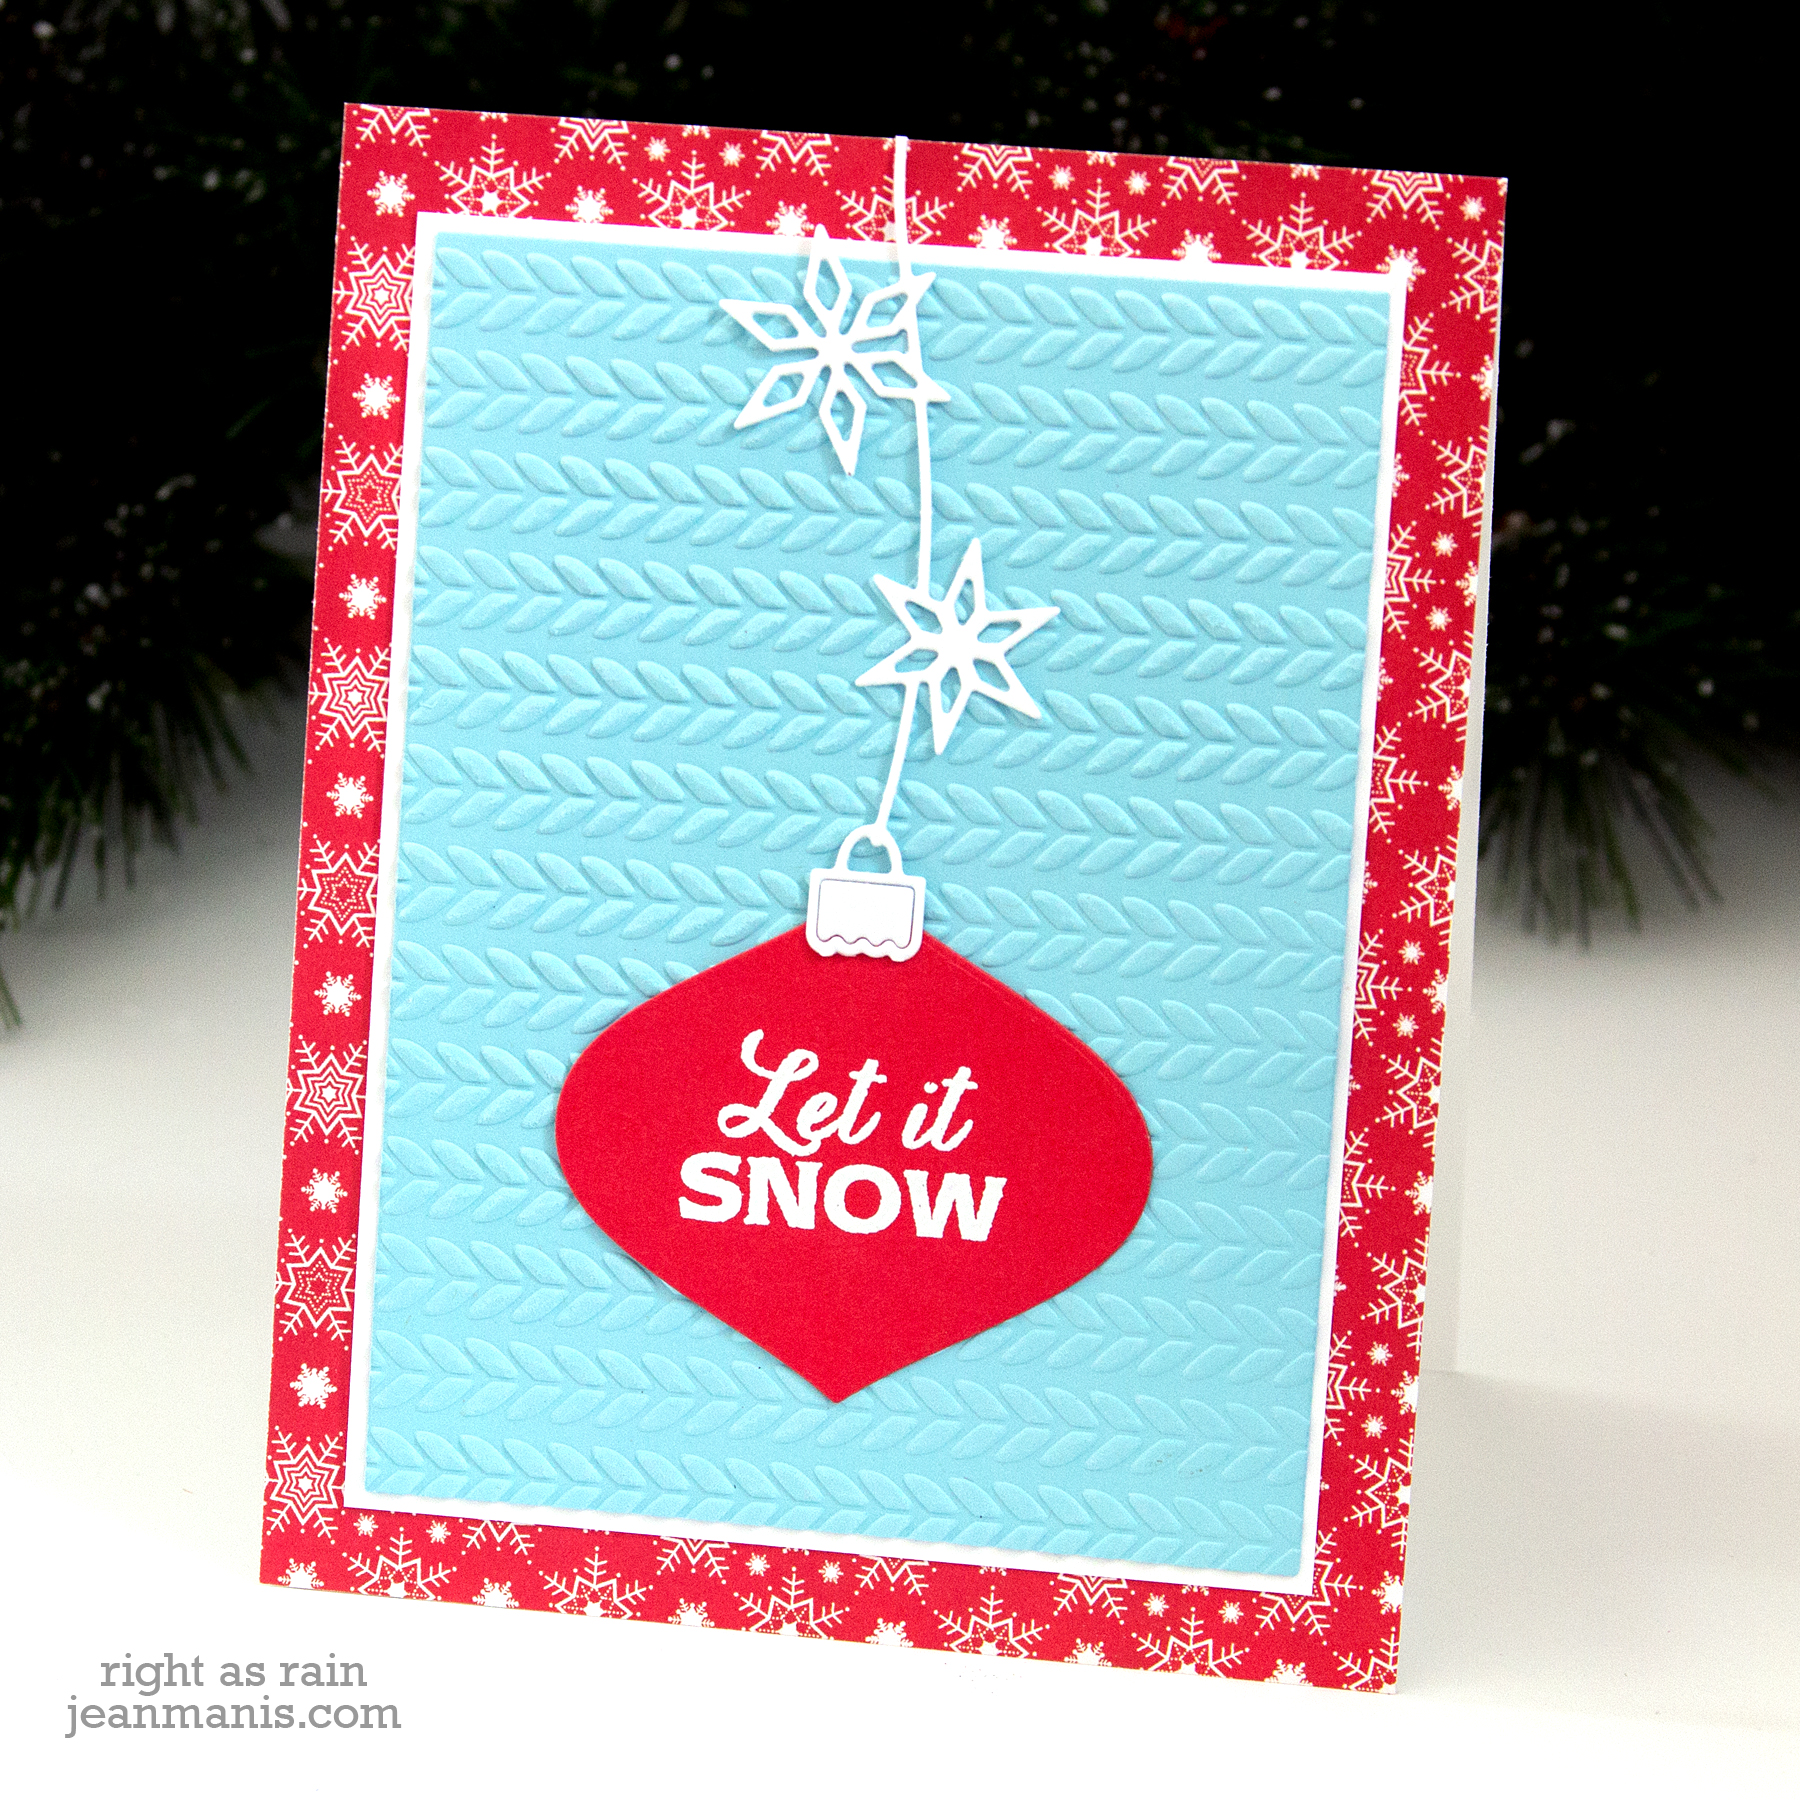
Hello! Today I am sharing a CAS Christmas card on which I’ve combined several older Poppystamps dies.

CAS Christmas Ornament

  • I used the Poppystamps Viviro Ornament die set to cut the snowflake “string” for the ornament. I trimmed off the ornament part of the die-cut in order to use a different ornament.
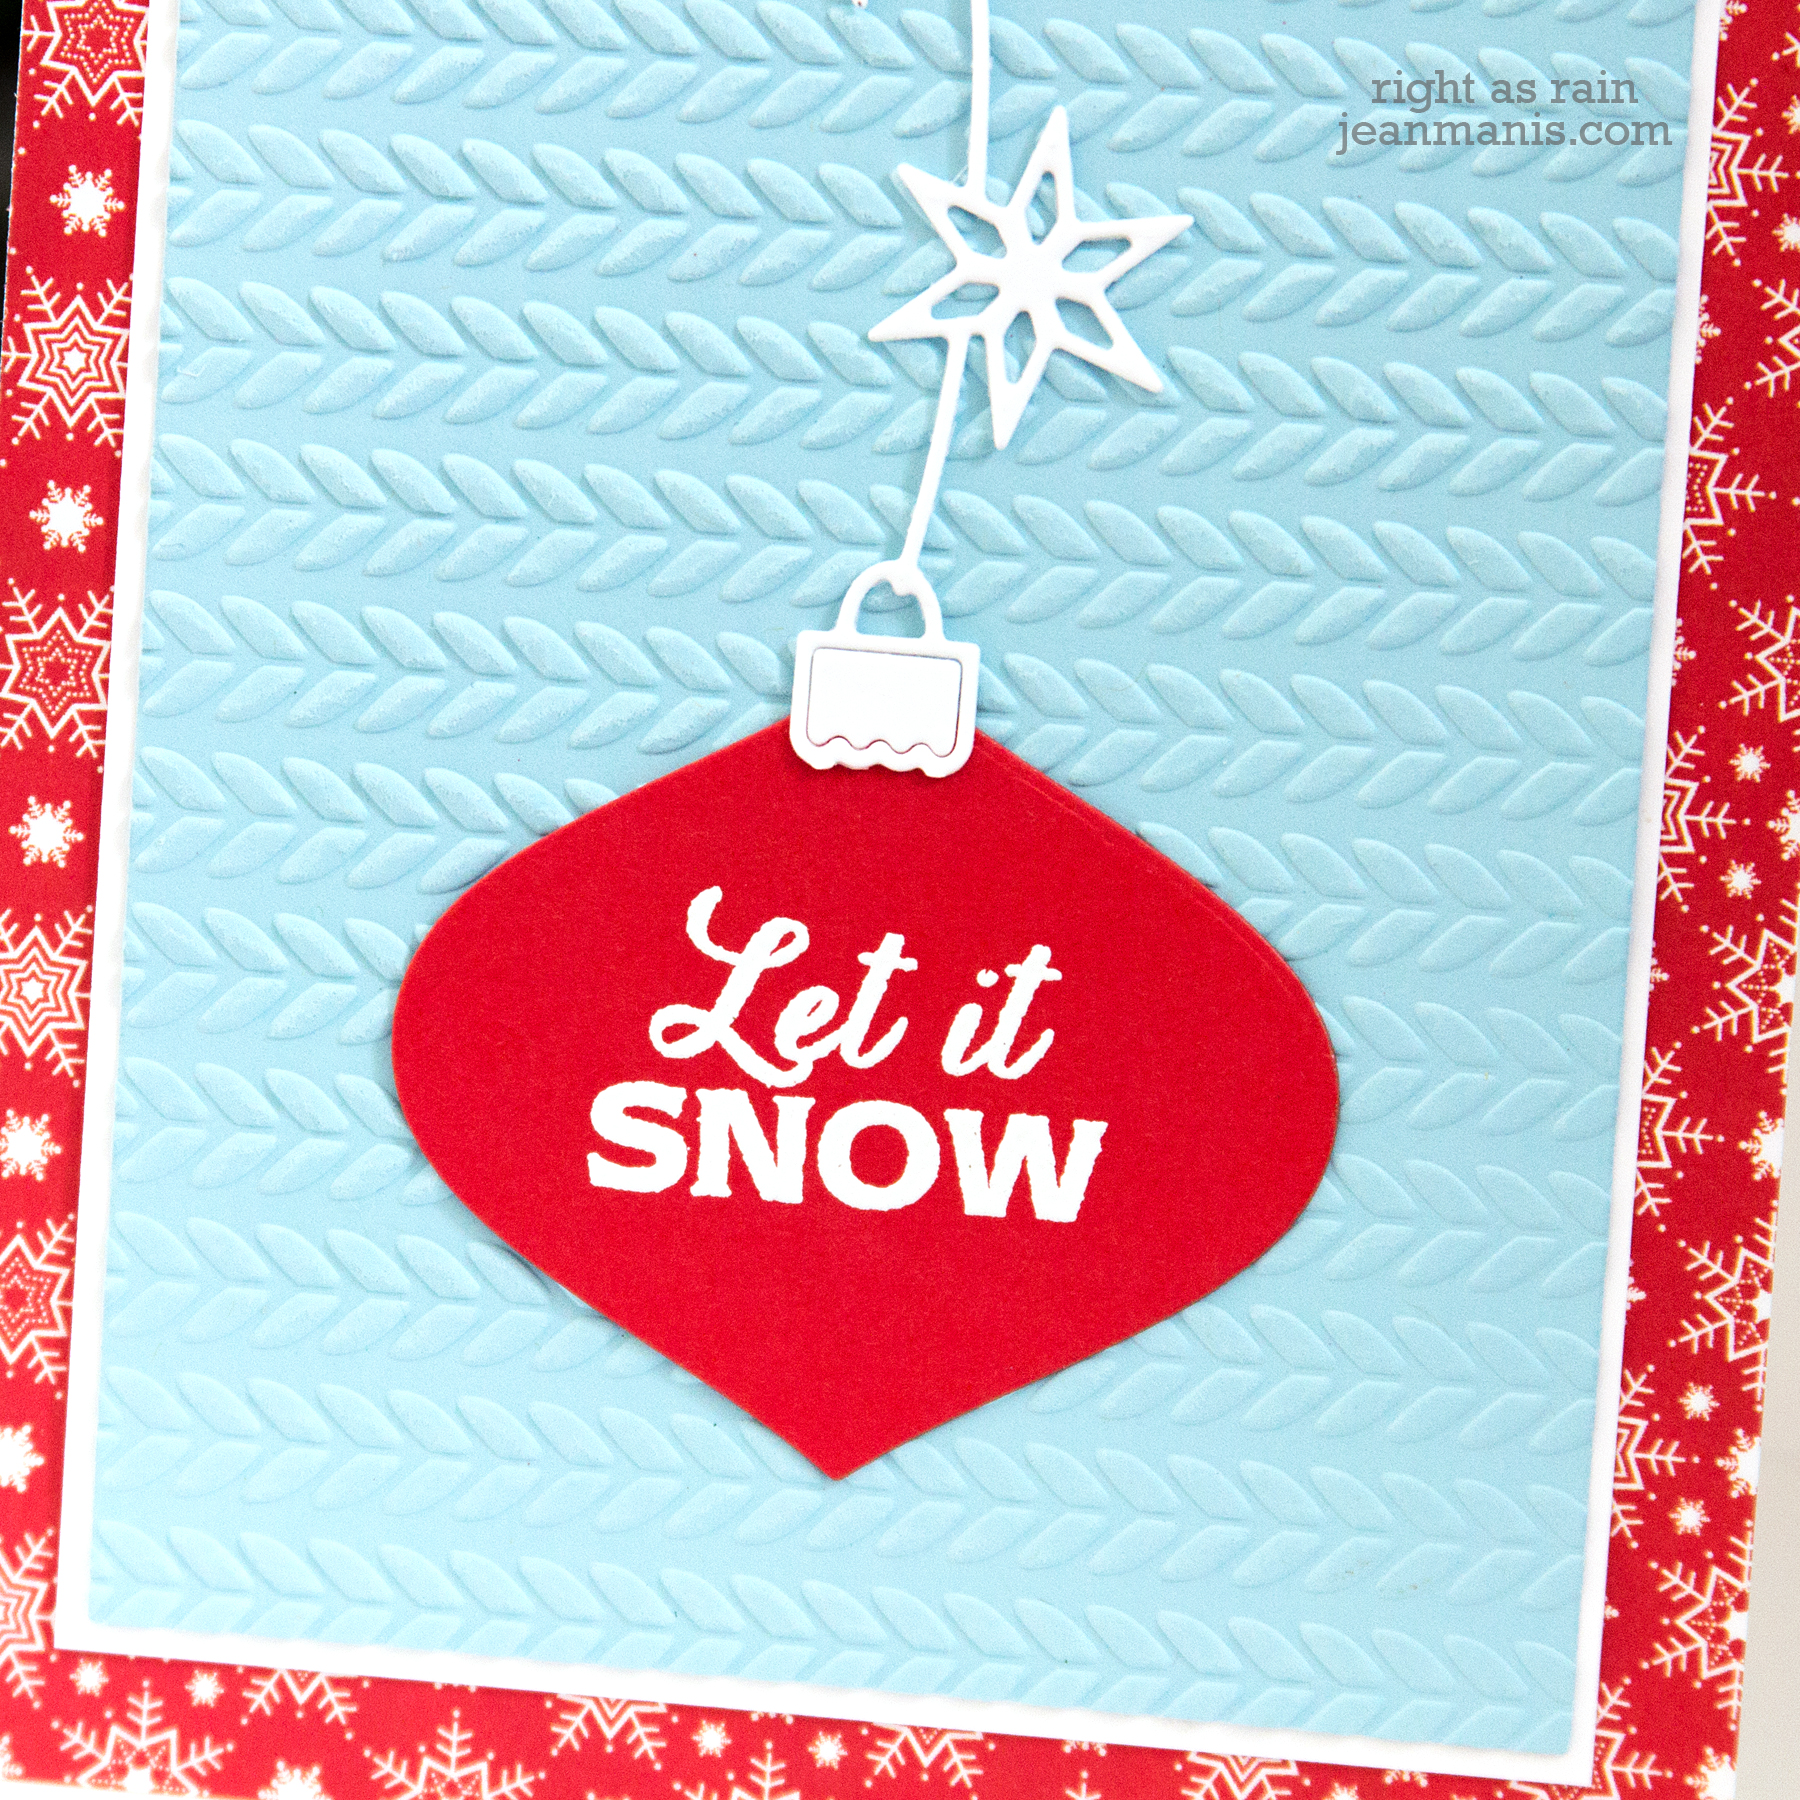
  • I heat-embossed the Hero Arts sentiment on red cardstock and cut it with the Poppystamps Pinpoint Shaker Ornament die.
  • I adhered the two pieces together.
  • I dry-embossed the light-blue background with the Taylored Expressions Cable Knit folder.
  • When I added the dry-embossed panel to the patterned paper base, the transition was too harsh, so I added a white mat.

CAS Christmas Ornament

Supplies:

Penny Black Love Balloons

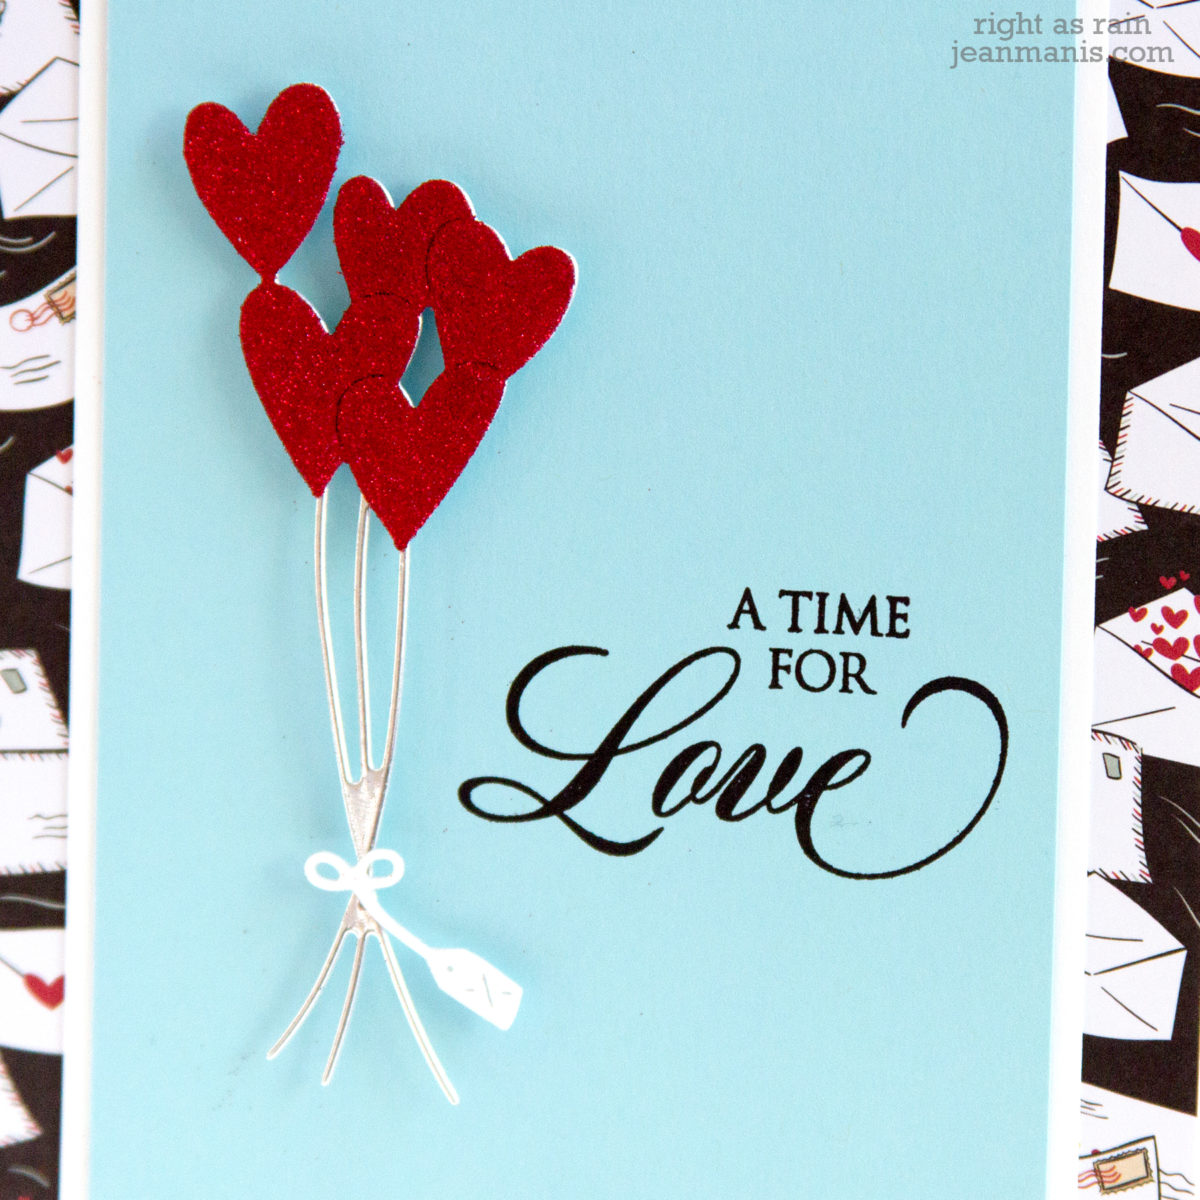
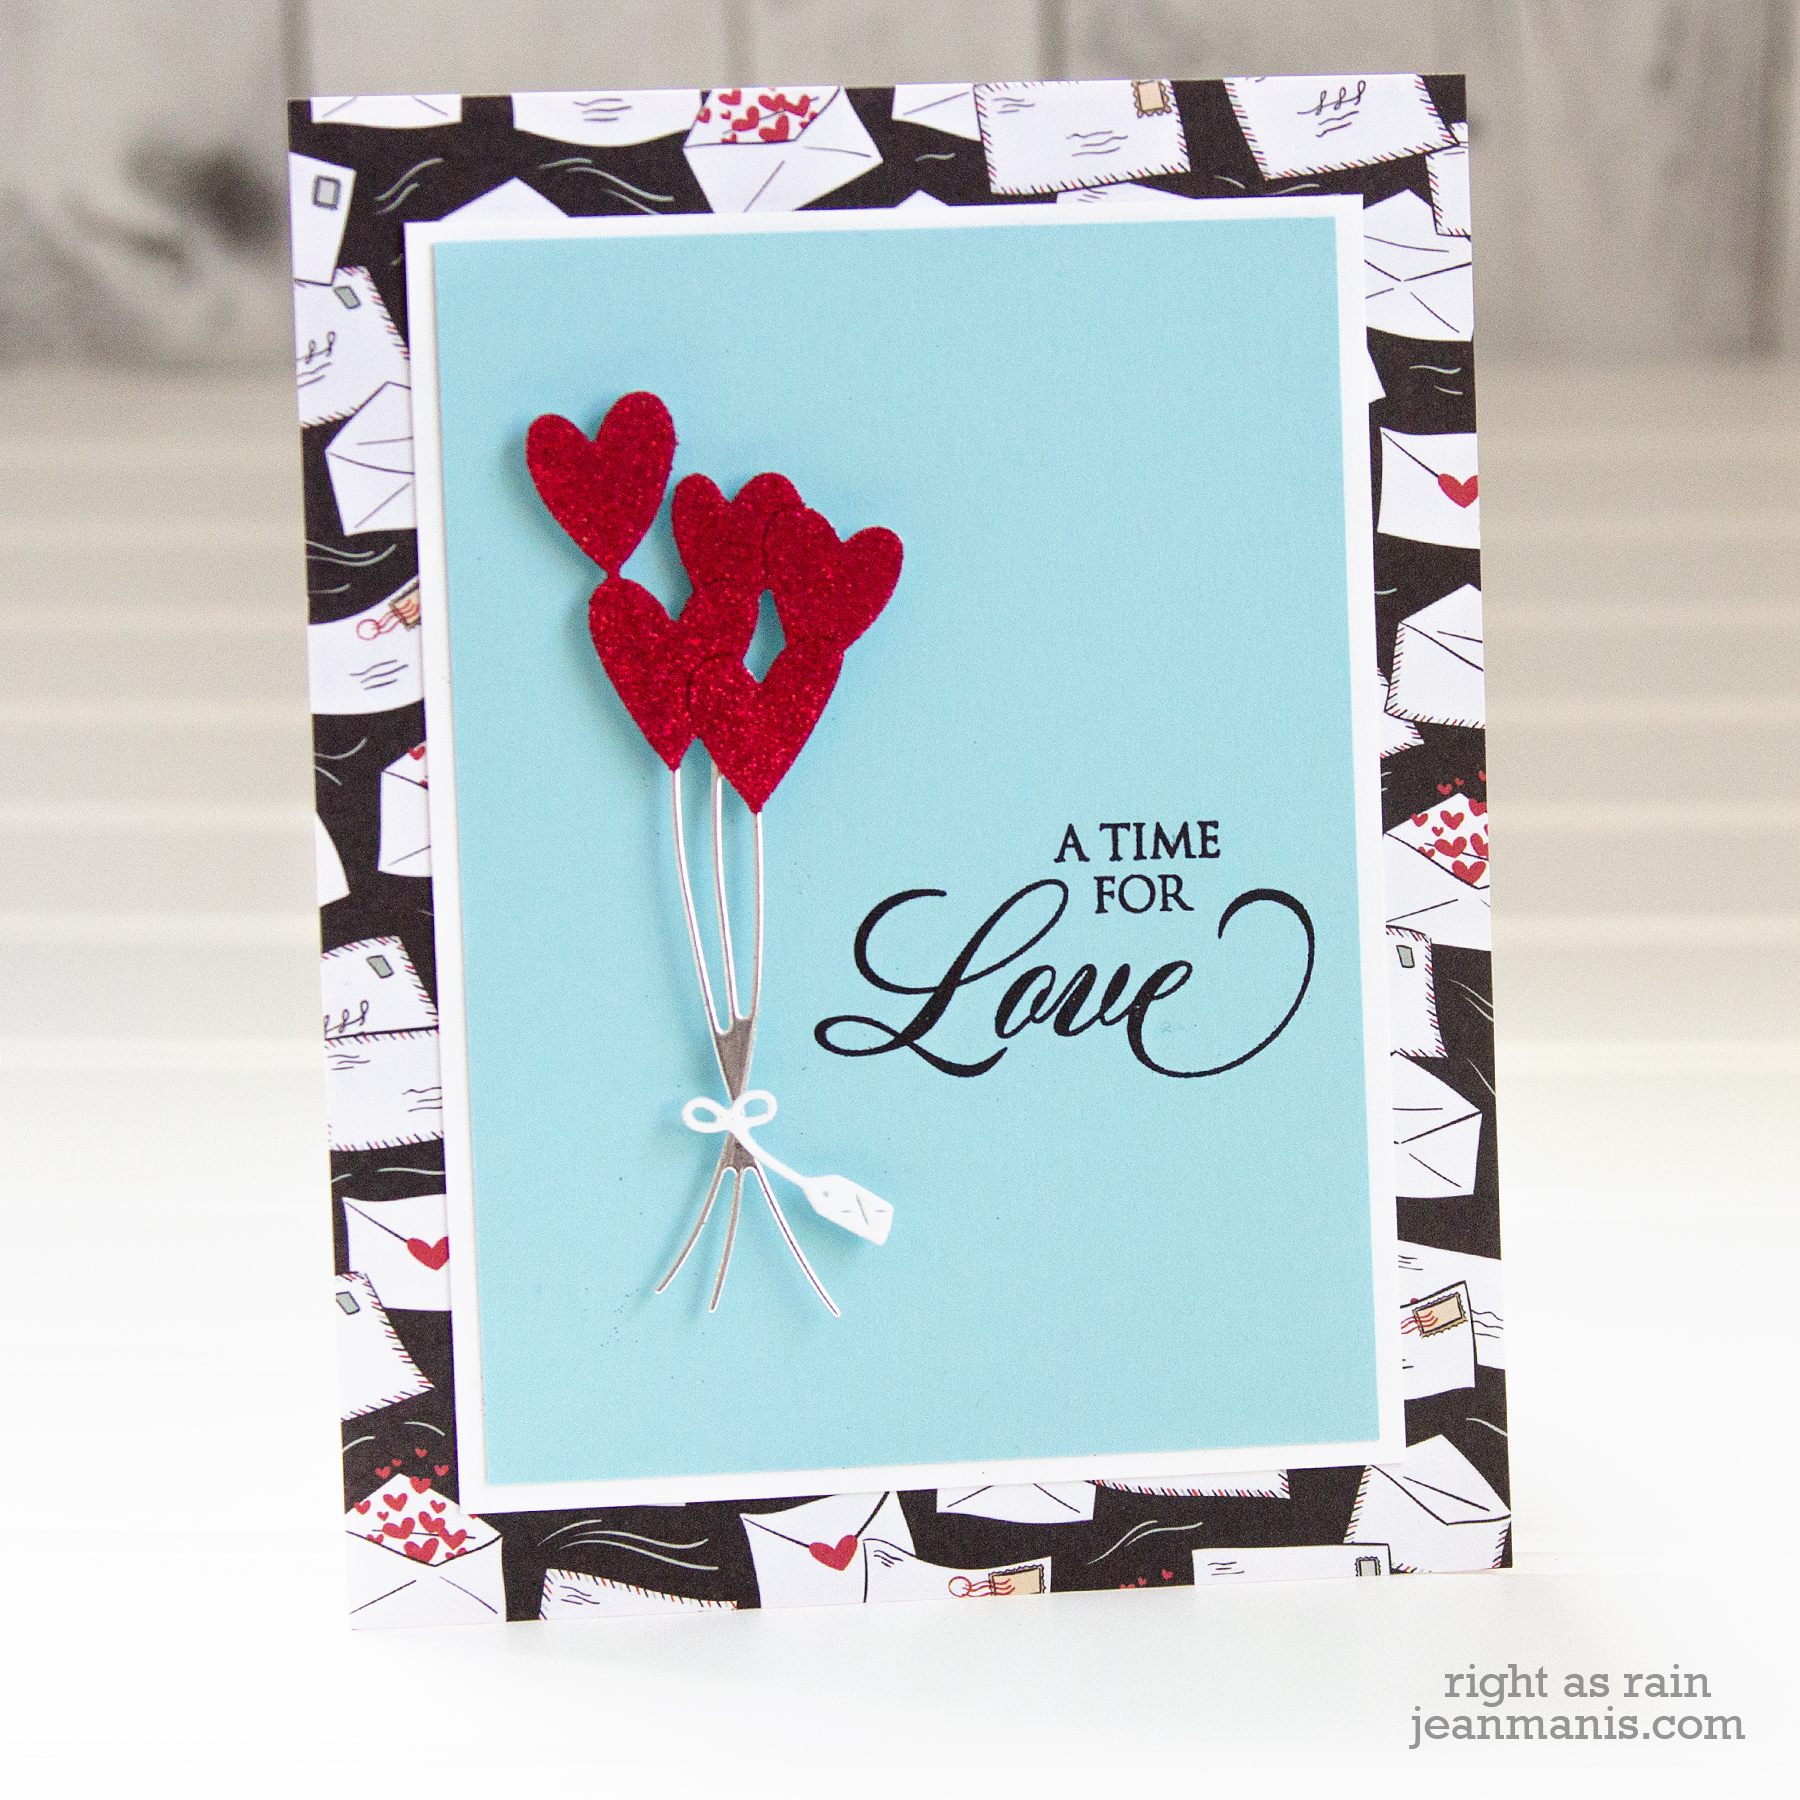
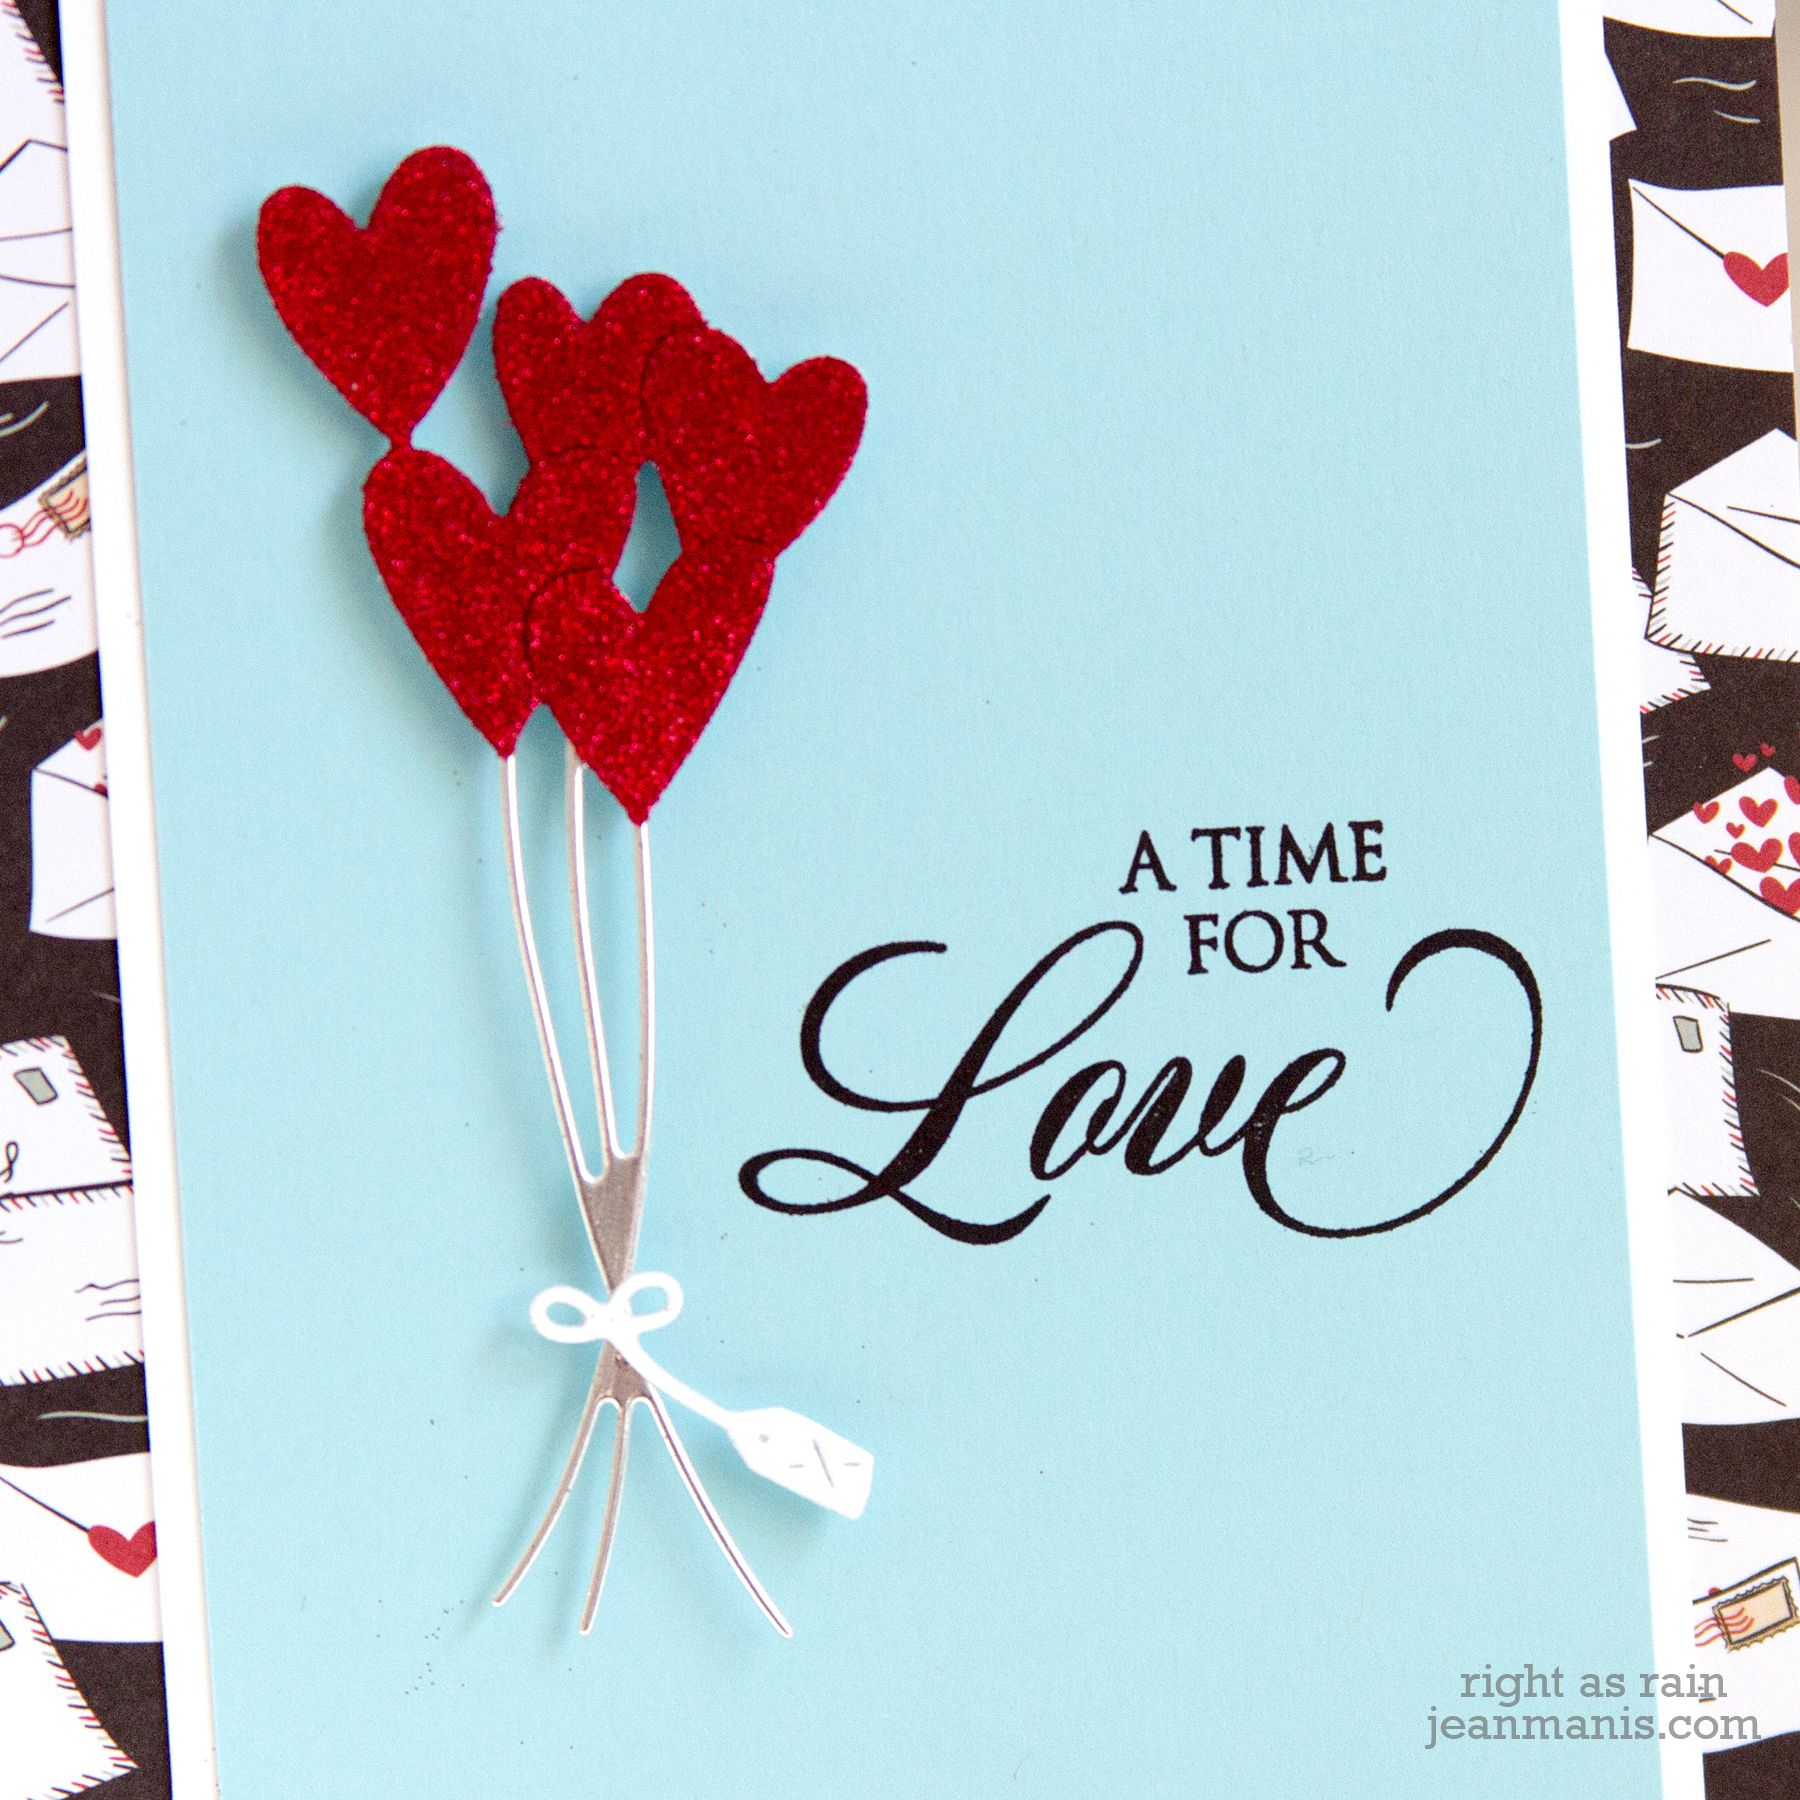
Hello! Today, I am sharing a  CAS Valentine’s Day card created with supplies from the just-released Penny Black “Share the Love” collection.

Penny Black Share the Love Release

Penny Black Love Balloons

  • I cut the #51-595 Love Balloons from silver cardstock.
  • Using the same die, I cut the balloon portion from double-sided adhesive that had been applied to white cardstock.
  • I trimmed the strings from the balloon portion as needed.
  • I exposed the adhesive on the front side and applied red microfine glitter to the balloons.
  • I adhered the glitter balloons to the silver die-cut with glue.
  • I cut the tag/string from white cardstock.
  • I stamped the sentiment from the #30-667 Love Language stamp set in black ink on to a light-blue cardstock panel.
  • I trimmed the stamped panel, matted the panel with white cardstock, and added it to a card base covered with patterned paper.
  • I added the assembled Love Balloons to the card with foam adhesive.

Penny Black Love Balloons

Supplies:


Penny Black Watercolored Christmas Critter

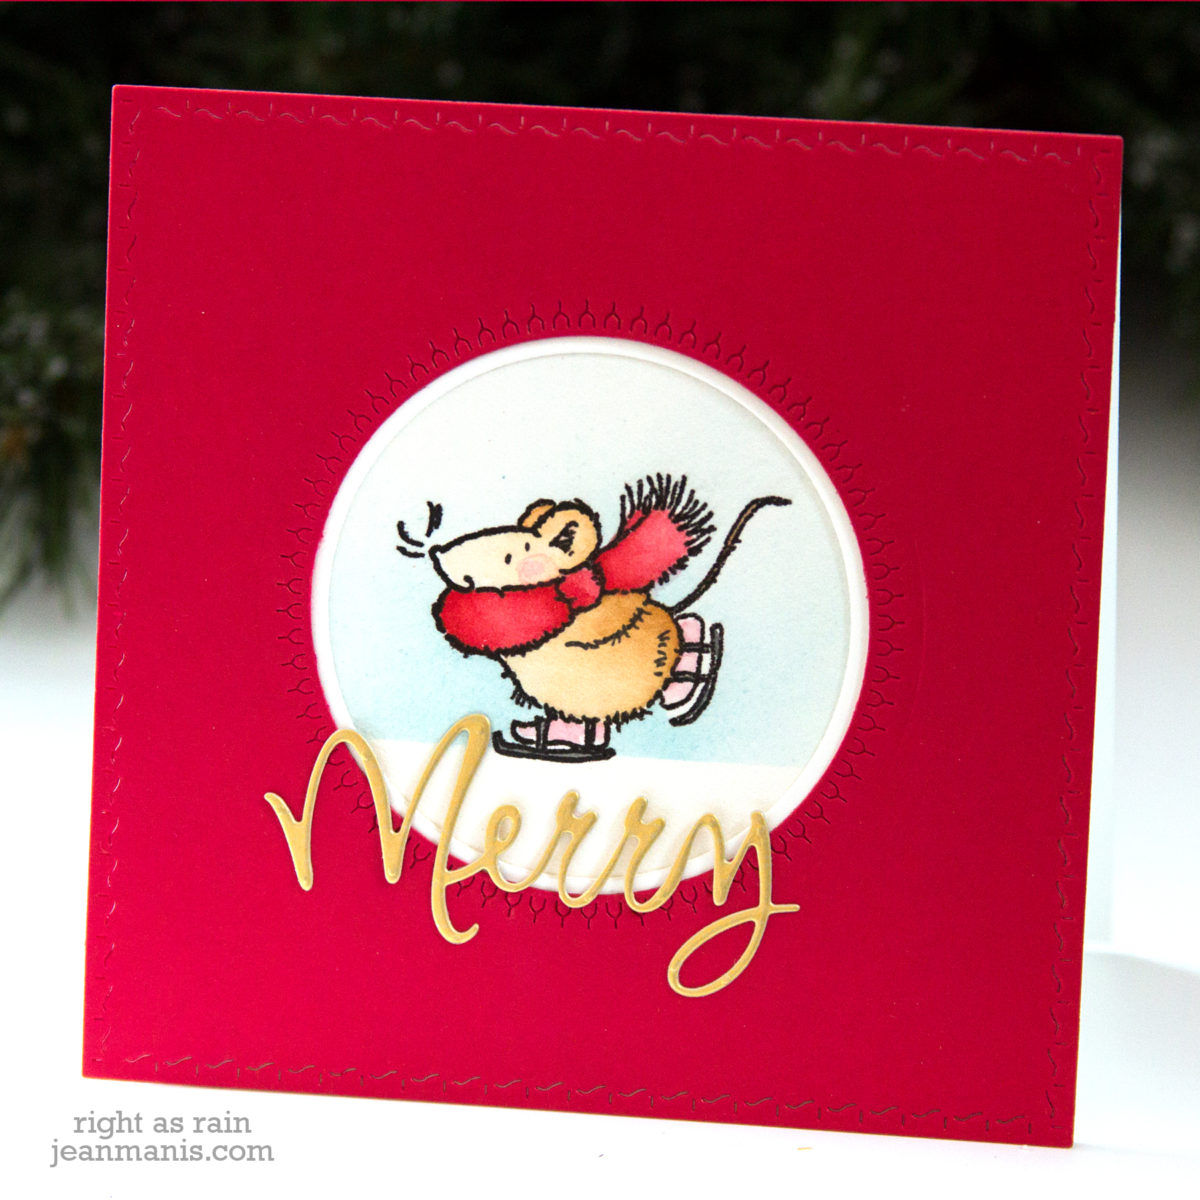
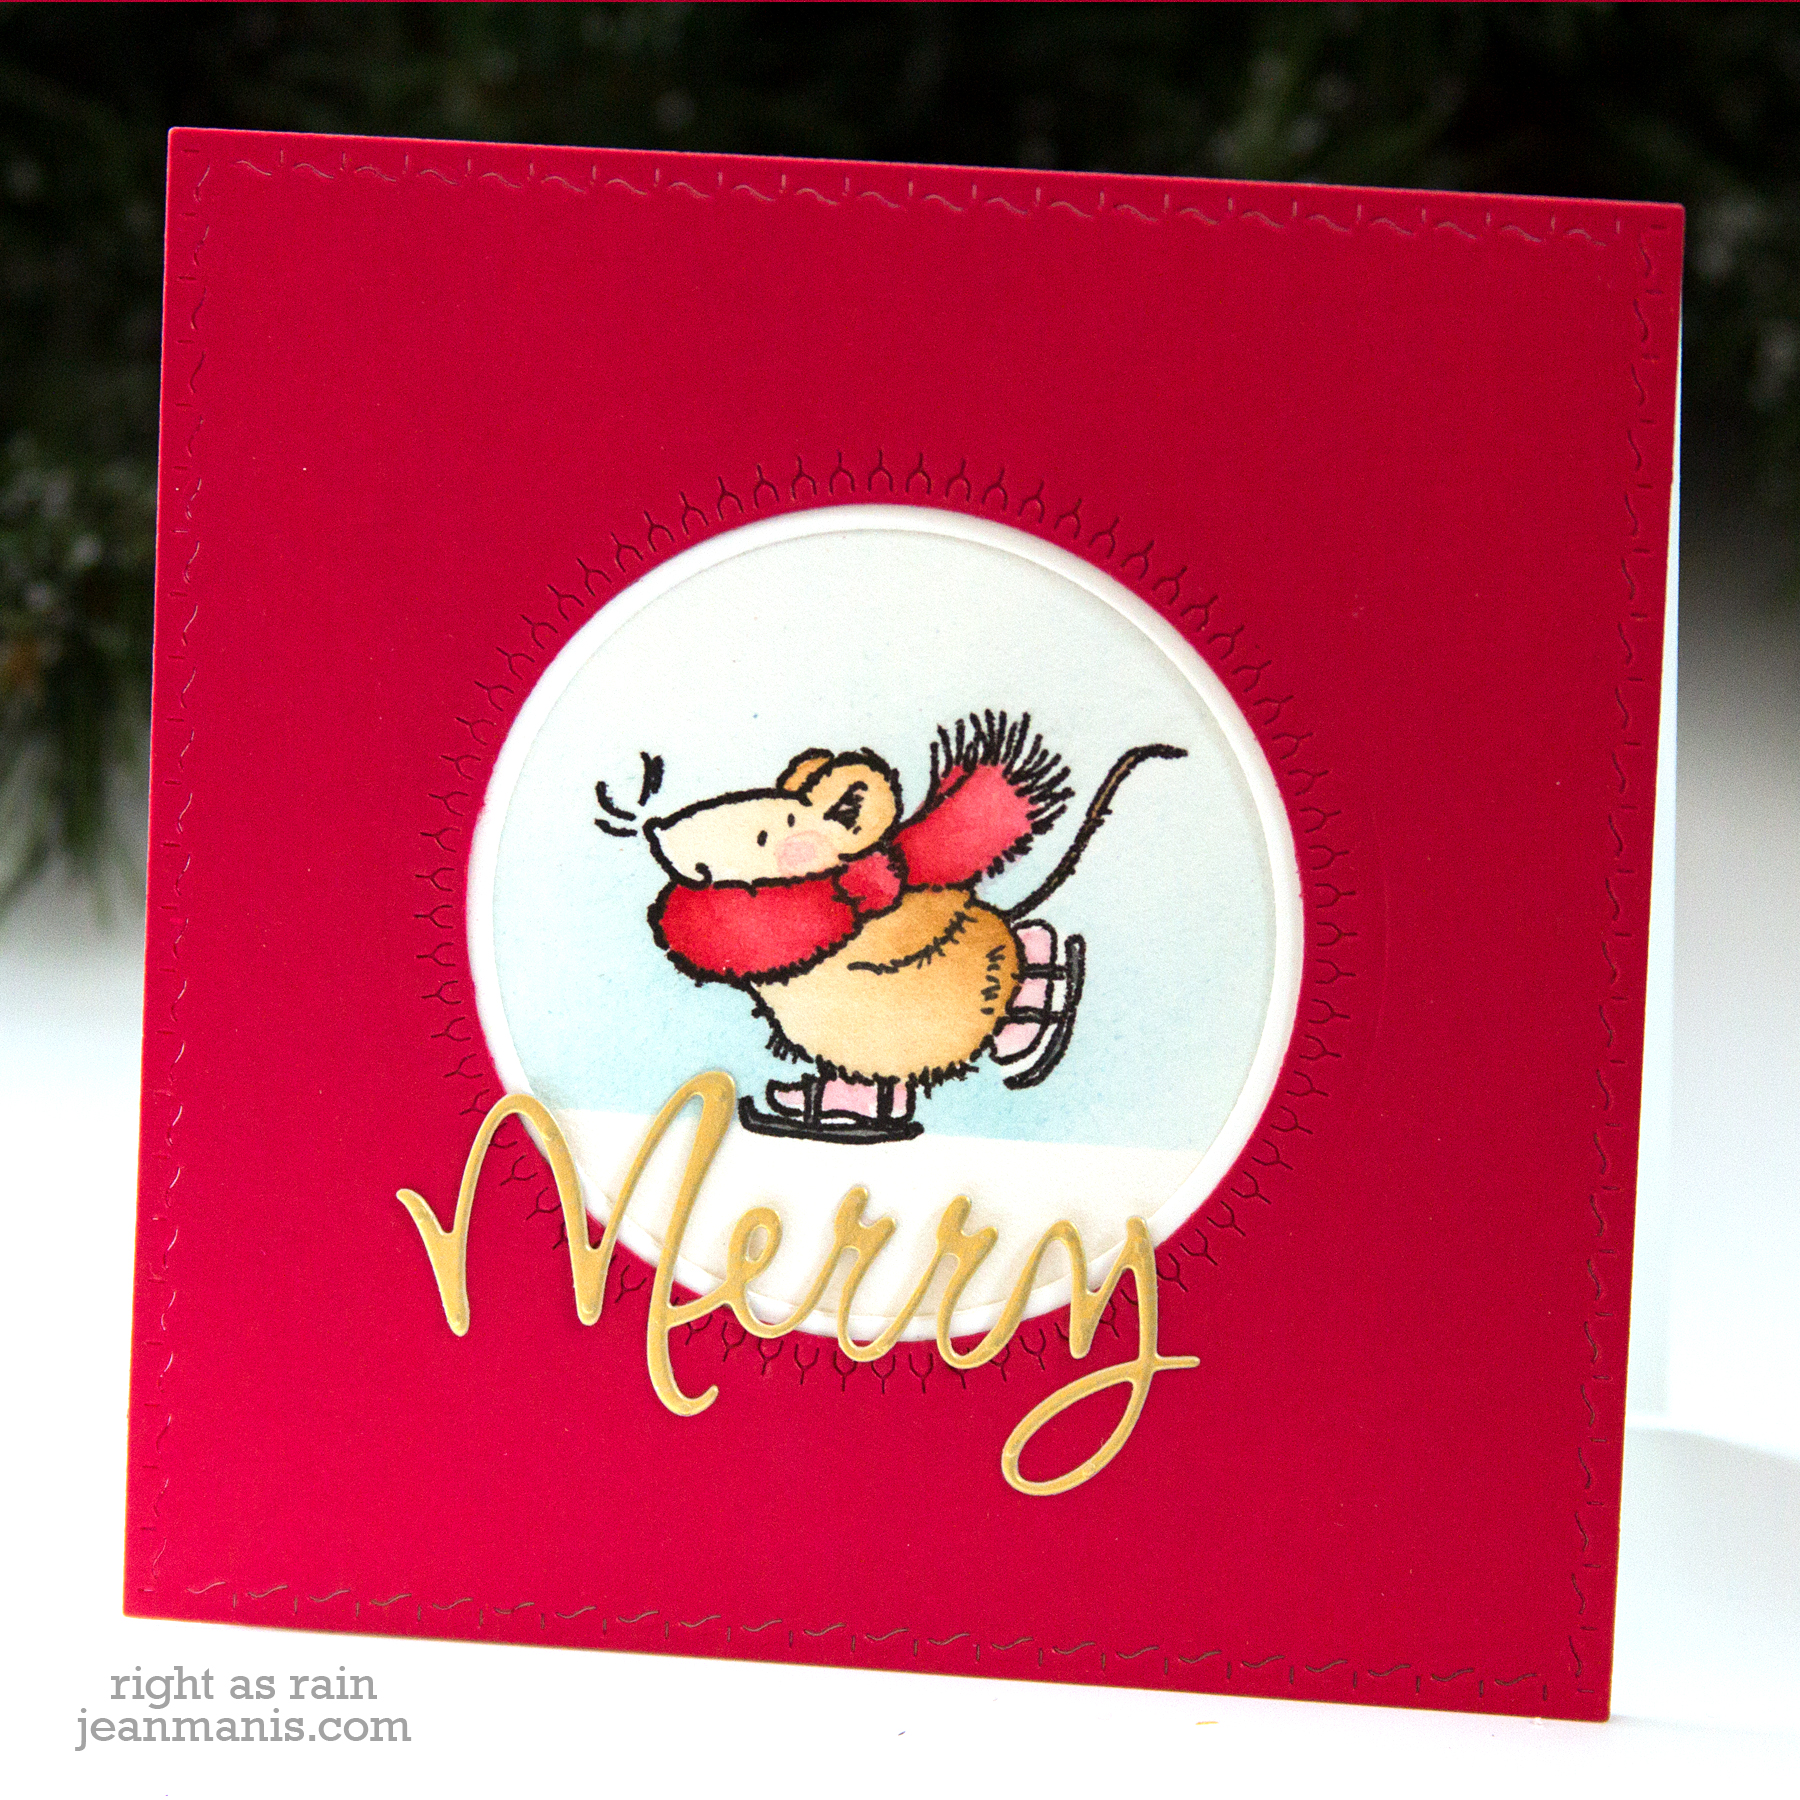
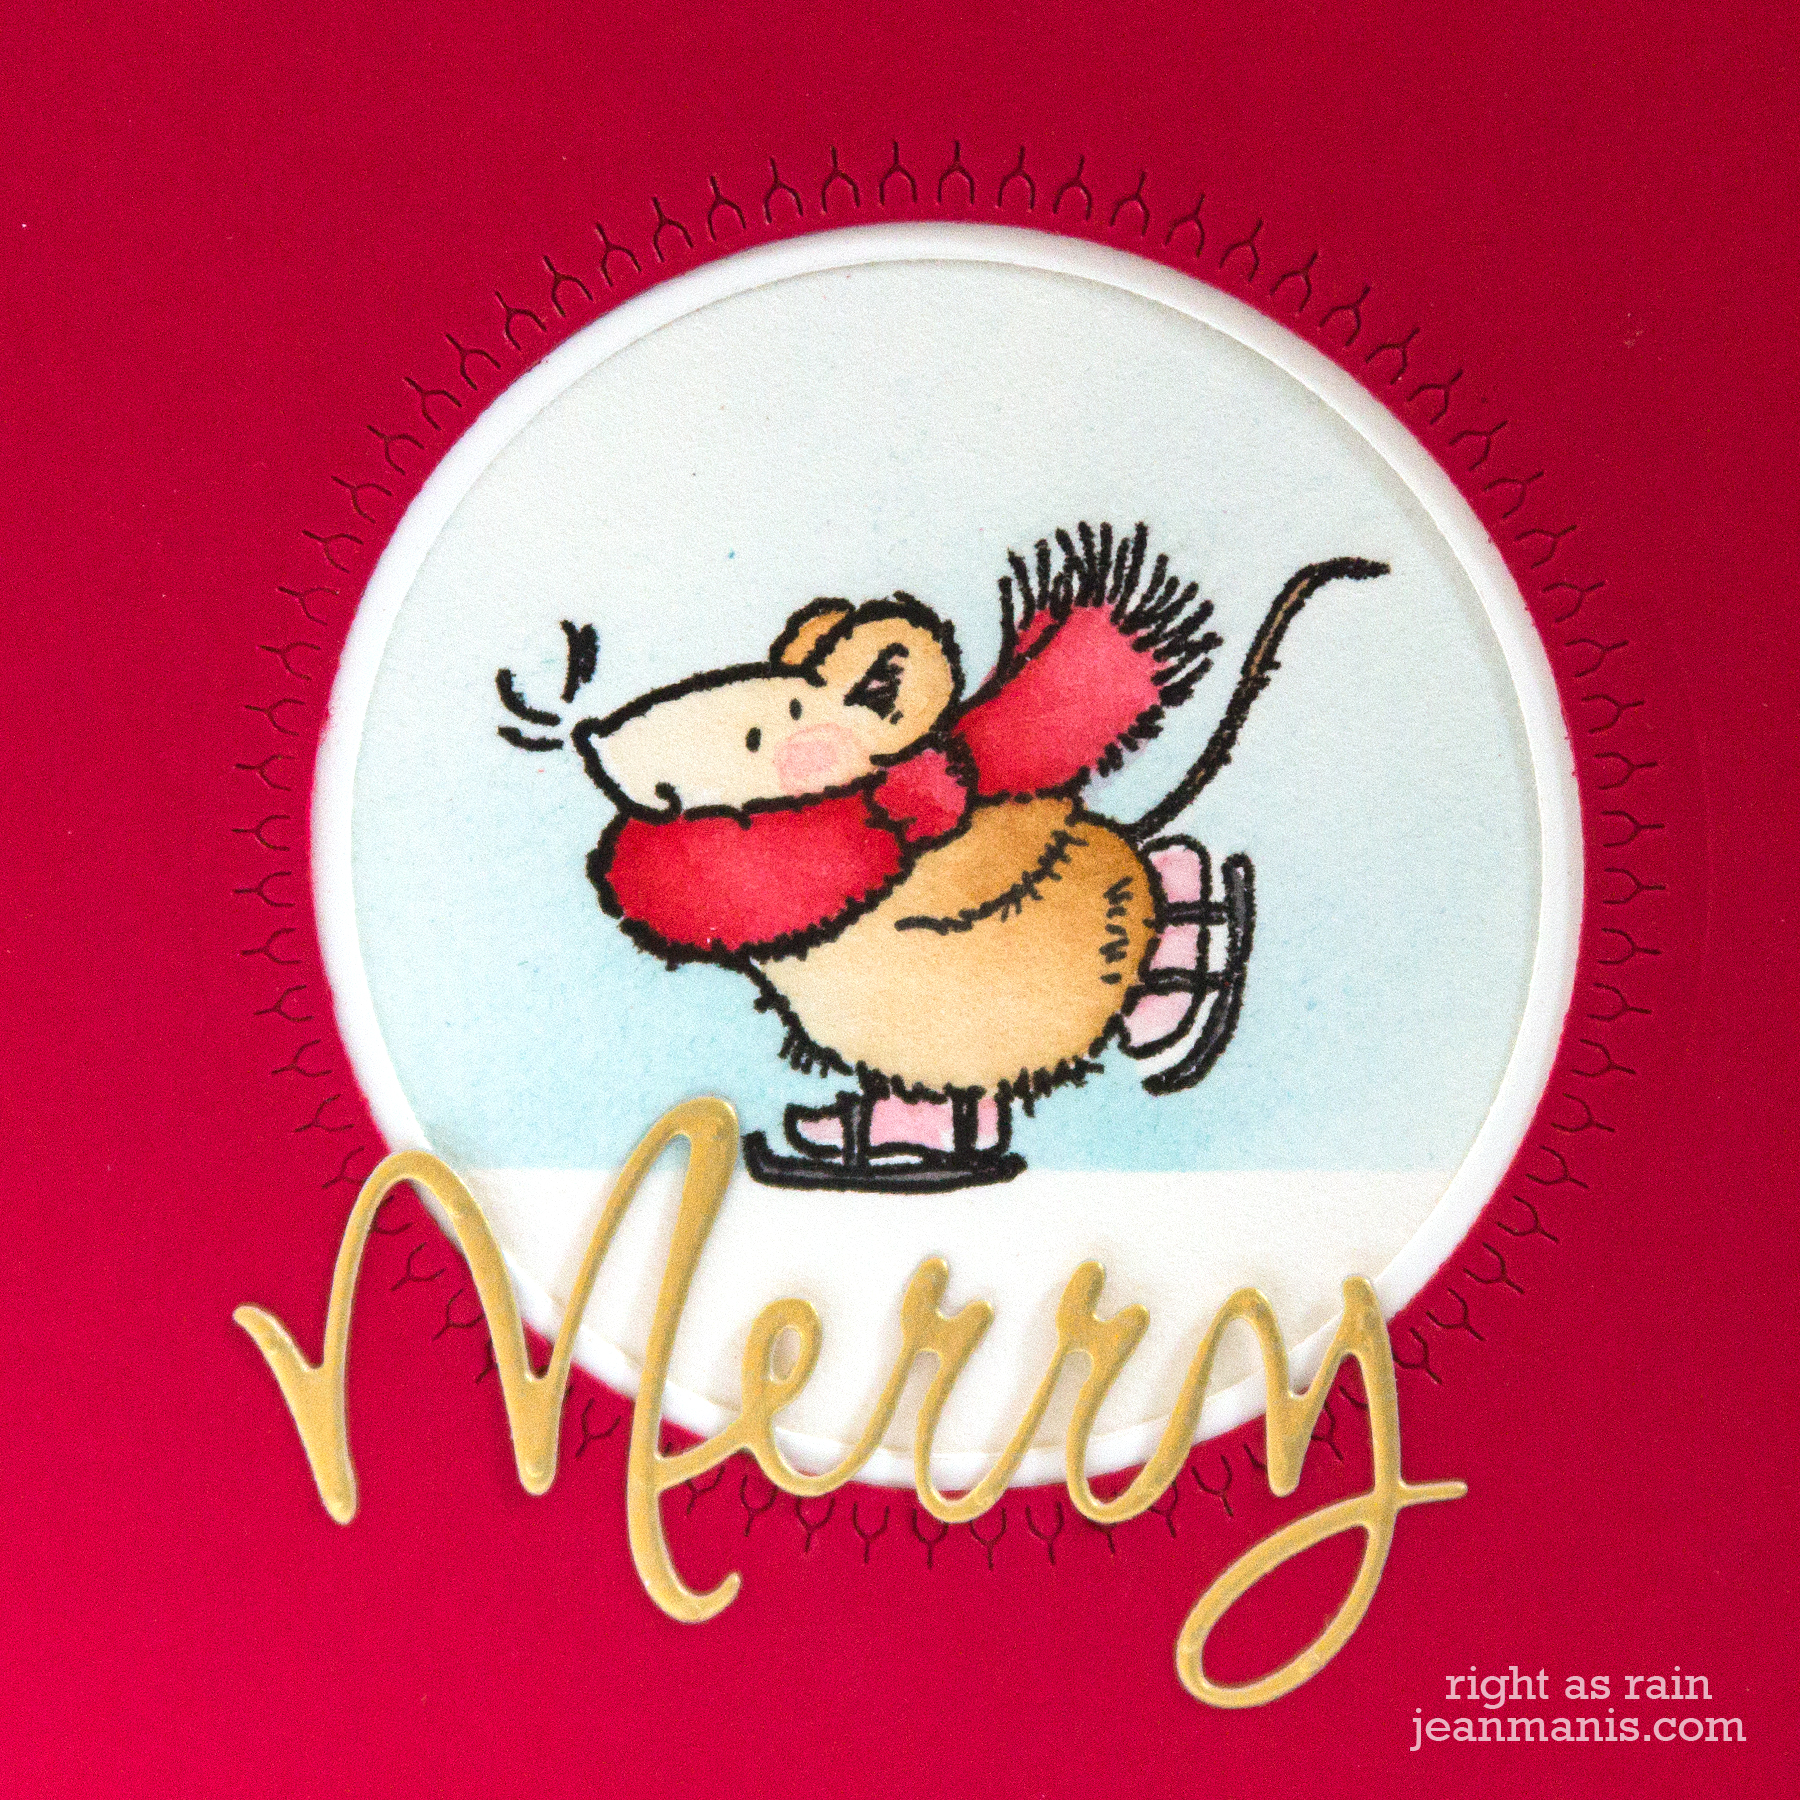
Hello! Today I am sharing a Christmas card featuring a watercolored critter from the Penny Black stamp set #30-385 Santa’s Helpers.

Penny Black Watercolored Christmas Critter


  • I stamped the skating mouse on to Cold Pressed paper with Versafine ink and colored him with Gansai Tambi watercolors.
  • Once dry, I stamped a mask for the mouse and brushed Tumbled Glass Distress ink off of a masked “ice” ground.
  • I framed the image with a cardstock panel cut with the 4 1/2″ square in the #51-422 Stitched Square and Circles die set and a circle in the #51-551 Stitched Circles set, which leaves a pattern on the outside of its cut. I also added an inner mat, which was created with a plain circle die.
  • I added a die-cut sentiment, cut with one of the dies in the #51-021 Love & Joy set from gold cardstock.

Penny Black Watercolored Christmas Critter

Supplies:

Santa at the Window

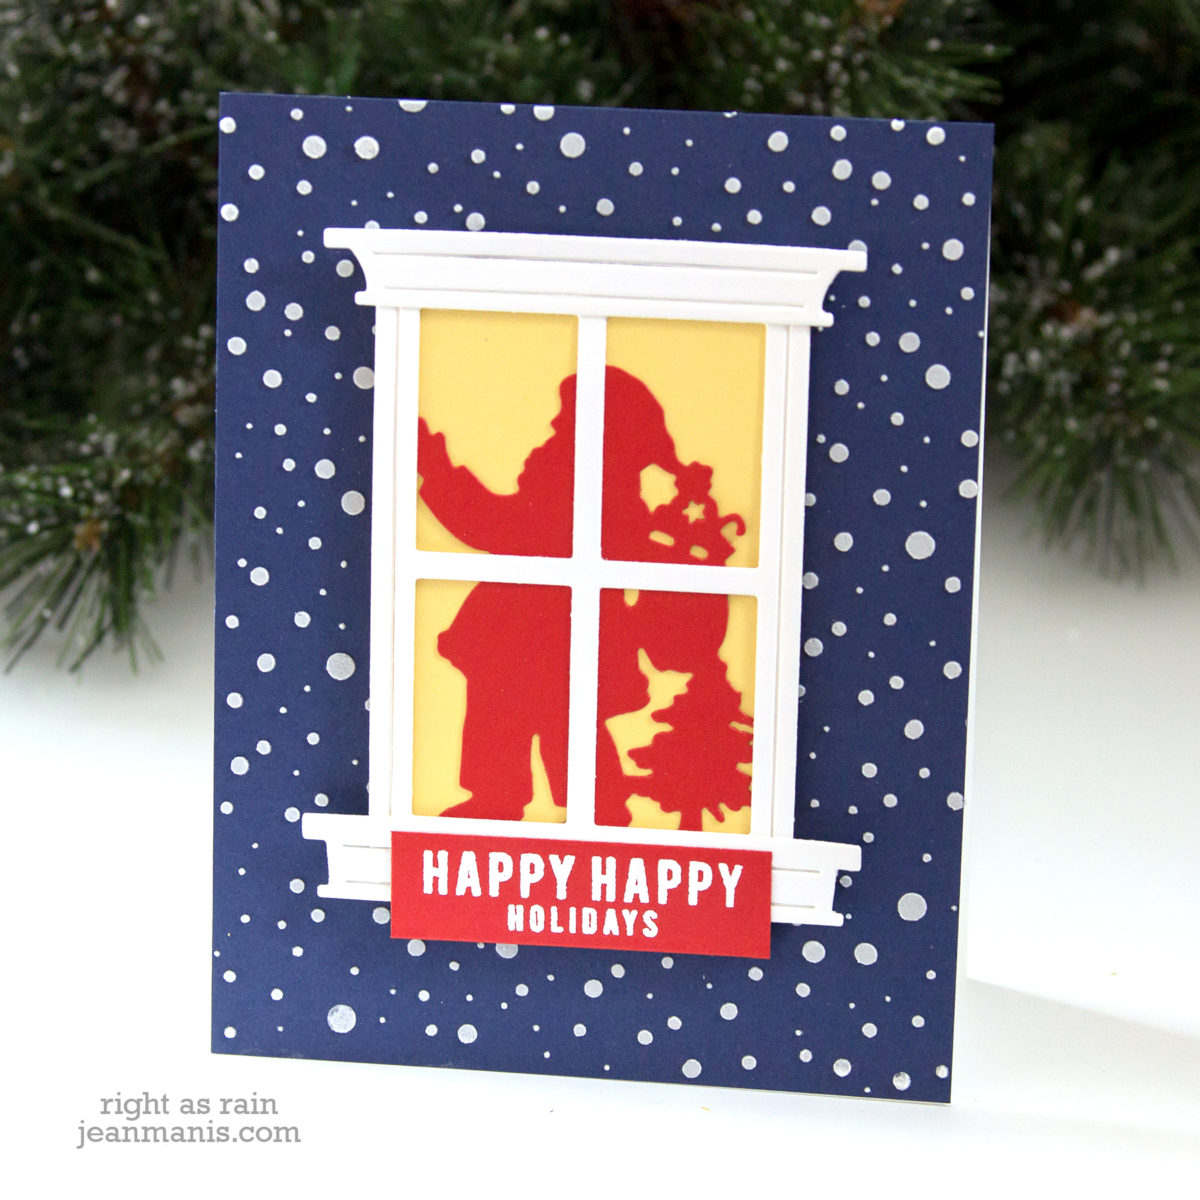
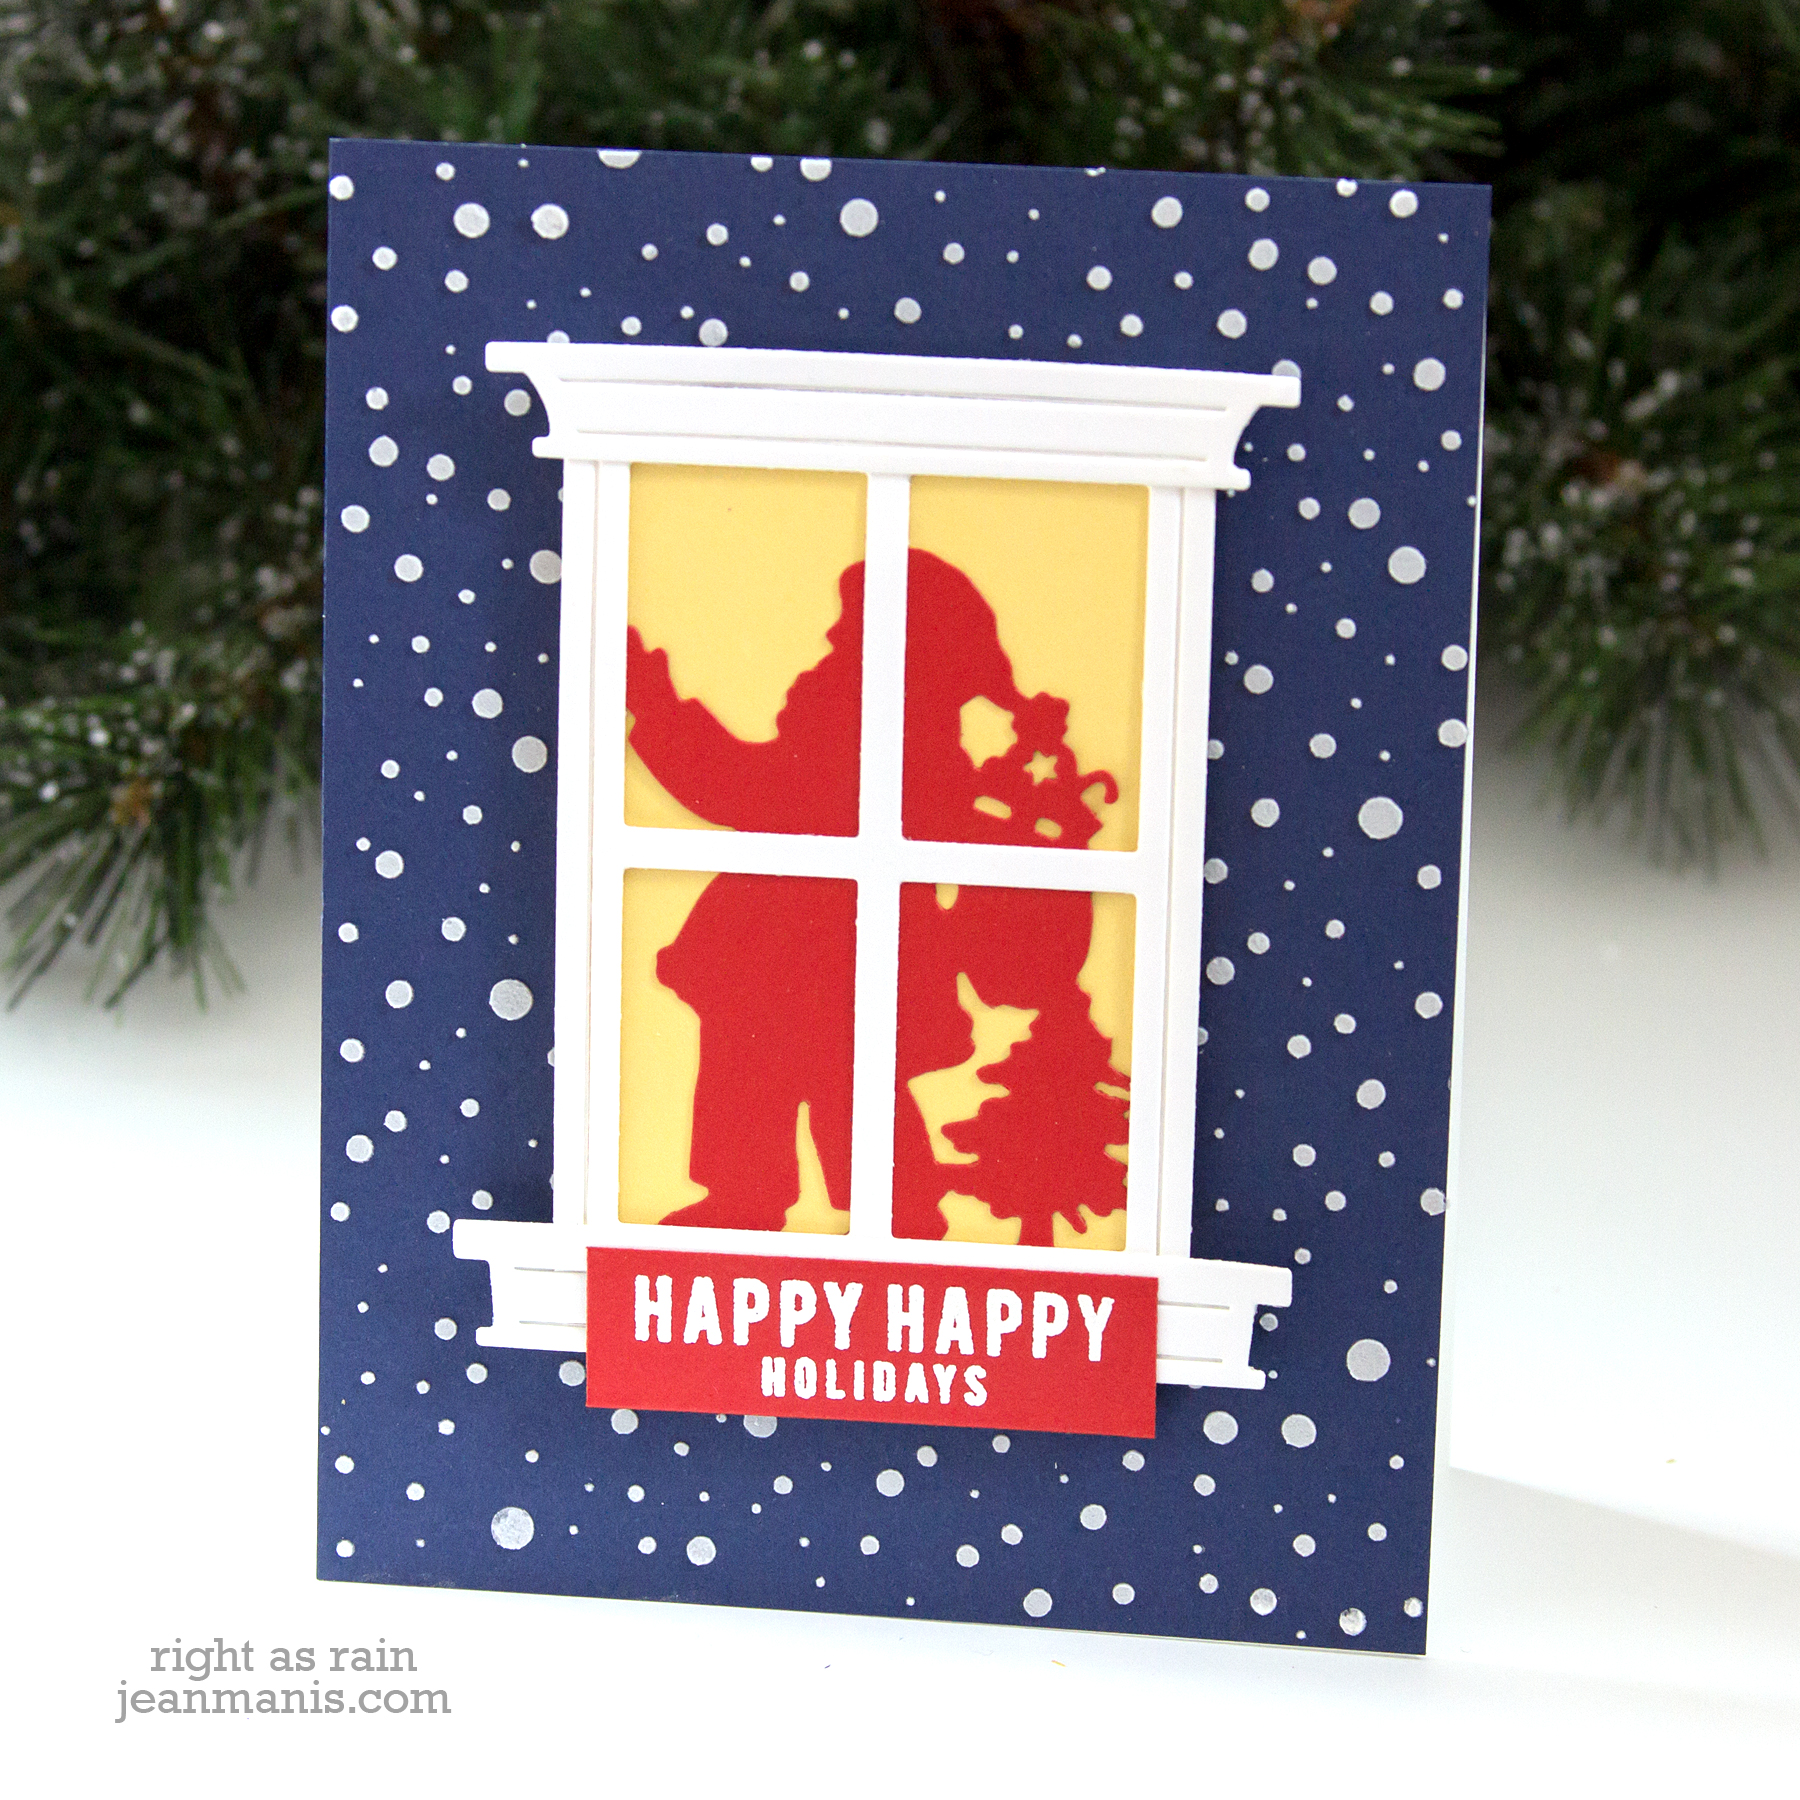
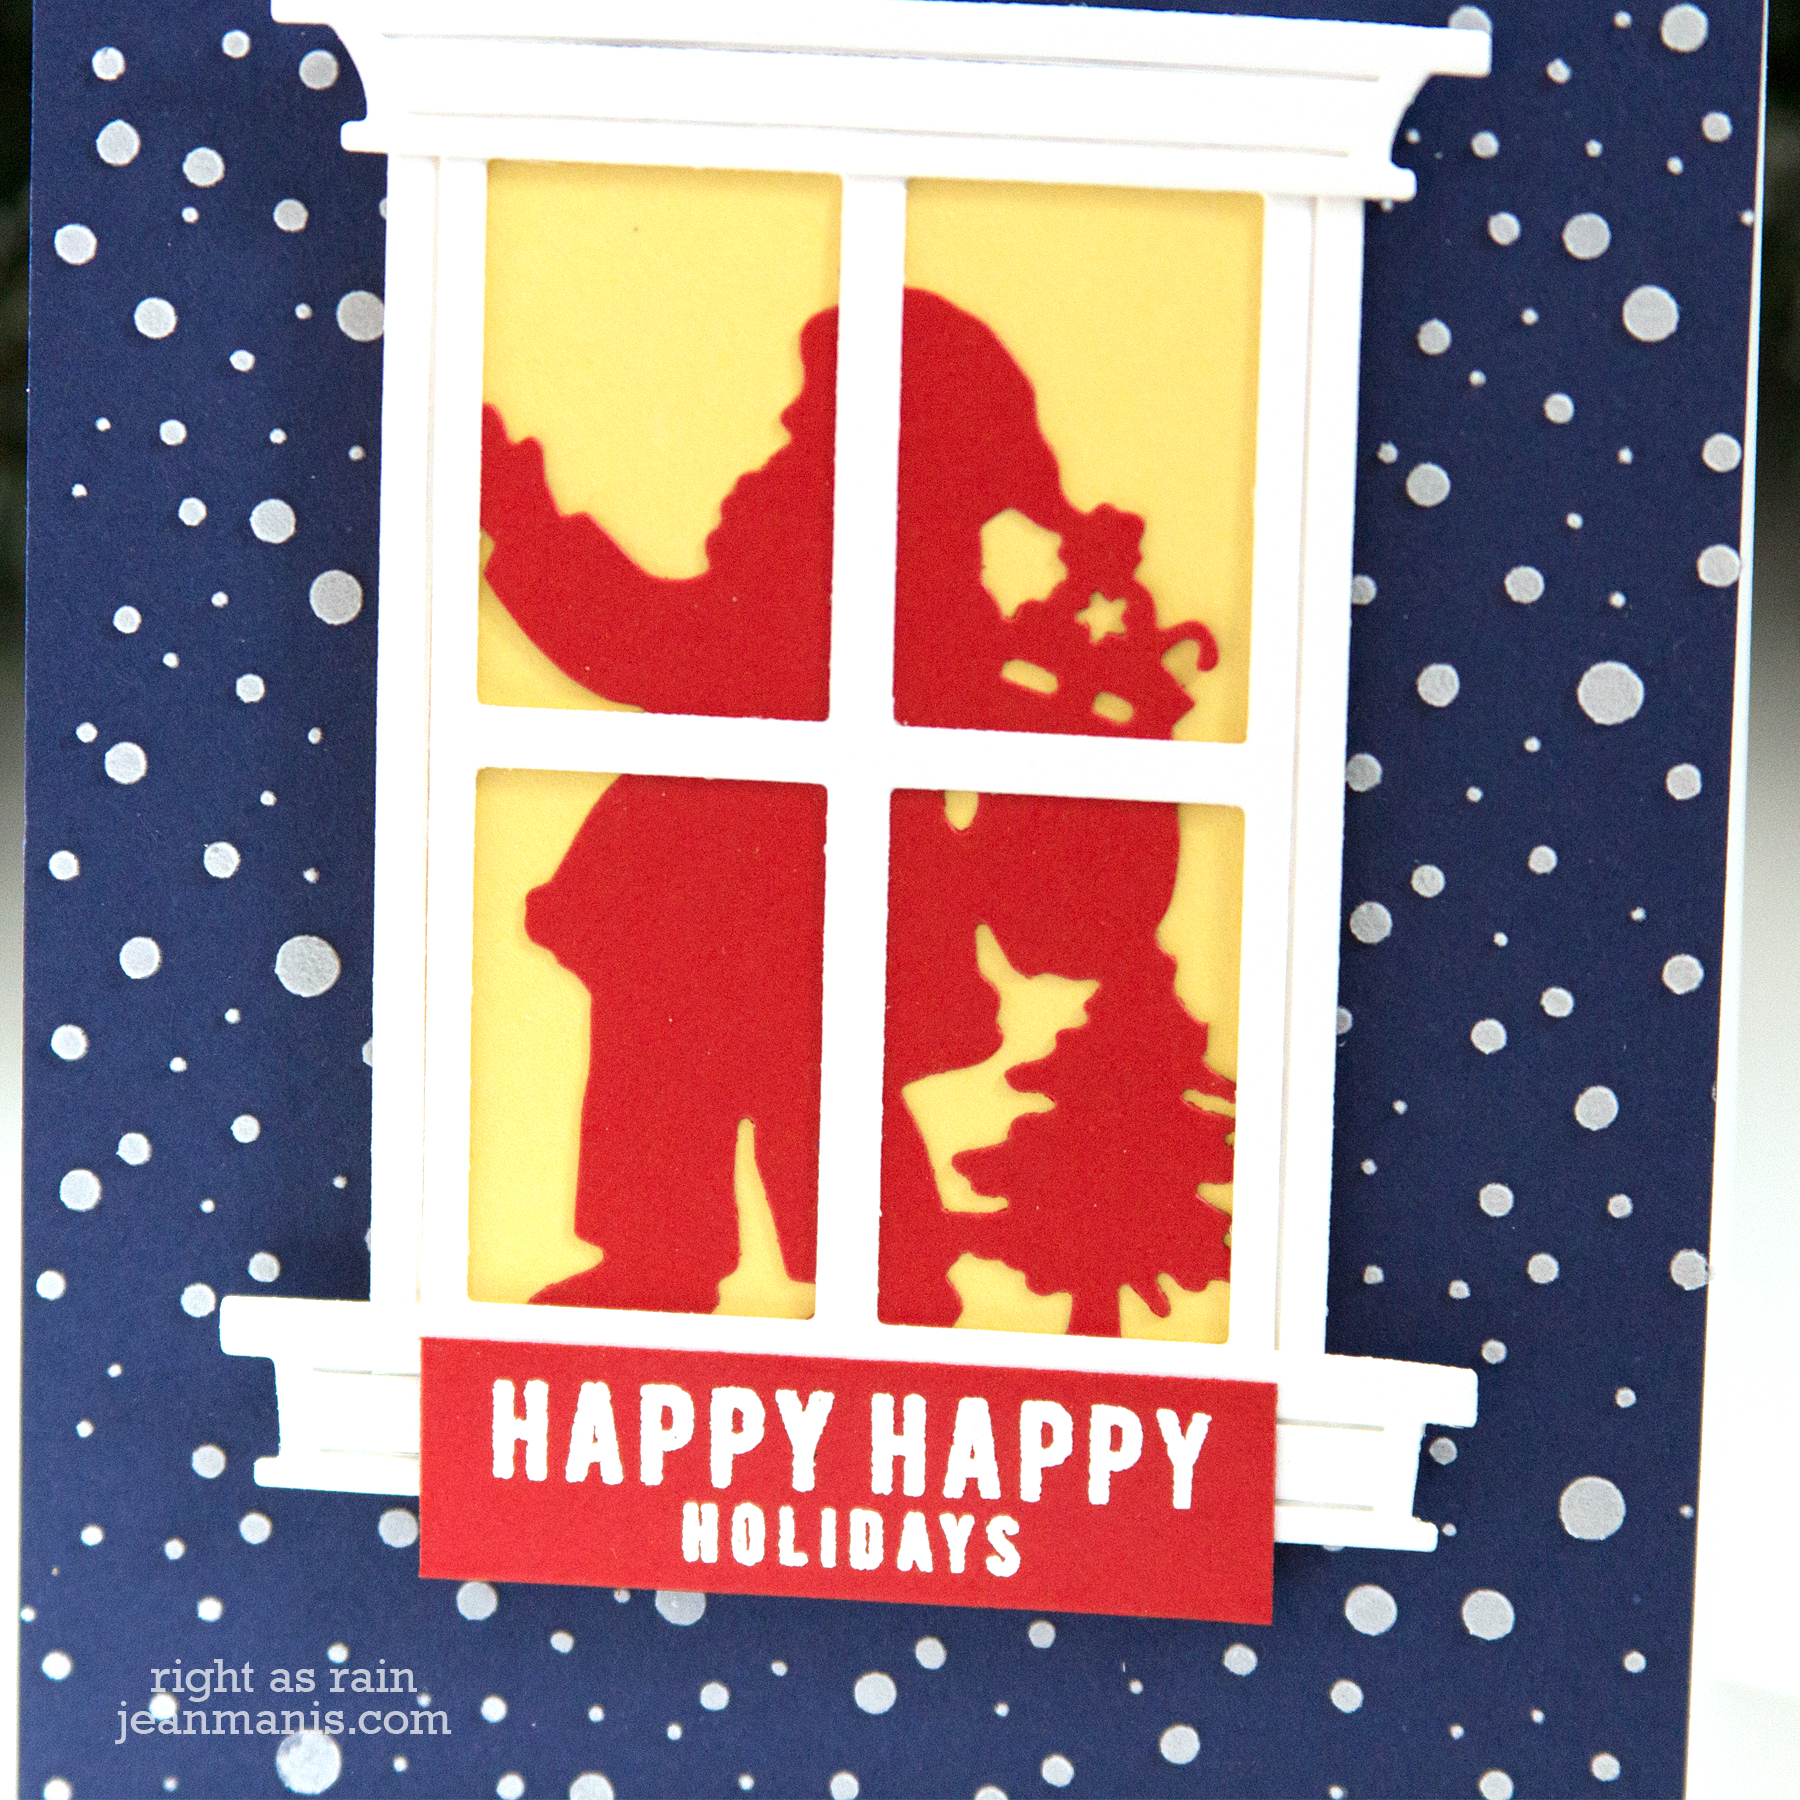
Hello! I recently commented on how much I like cards with windows – today I am sharing a CAS Christmas card with Santa at the window!

Santa at the Window

  • I cut the window pieces with the Window View die set.
  • I cut Santa with the Santa Parade die and positioned him behind the window.
  • I backed the window with soft yellow cardstock.
  • I heat-embossed a sentiment from the now-retired Hero Arts Holiday Animals stamp set.
  • I added embossing paste to the dark blue base through the Carta Bella Snowed In stencil.

Santa at the Window

I originally had the window assembly on a green dry-embossed (pine bough motif) panel, and it just wasn’t quite whimsical or fun enough. I’m so glad I swapped that panel out for the dark blue with snow. Another idea would be to apply the Transfer Gel product through the stencil and run the panel through the Minc with white flock (something I’m just now thinking about).

Supplies: