Hello! Today I am sharing a playful, spring- and/or Easter-themed card inspired by Peeps, the marshmallow candy. I die-cut the elements using a variety of Penny Black sets, including several from the newest collection – Secret Garden.
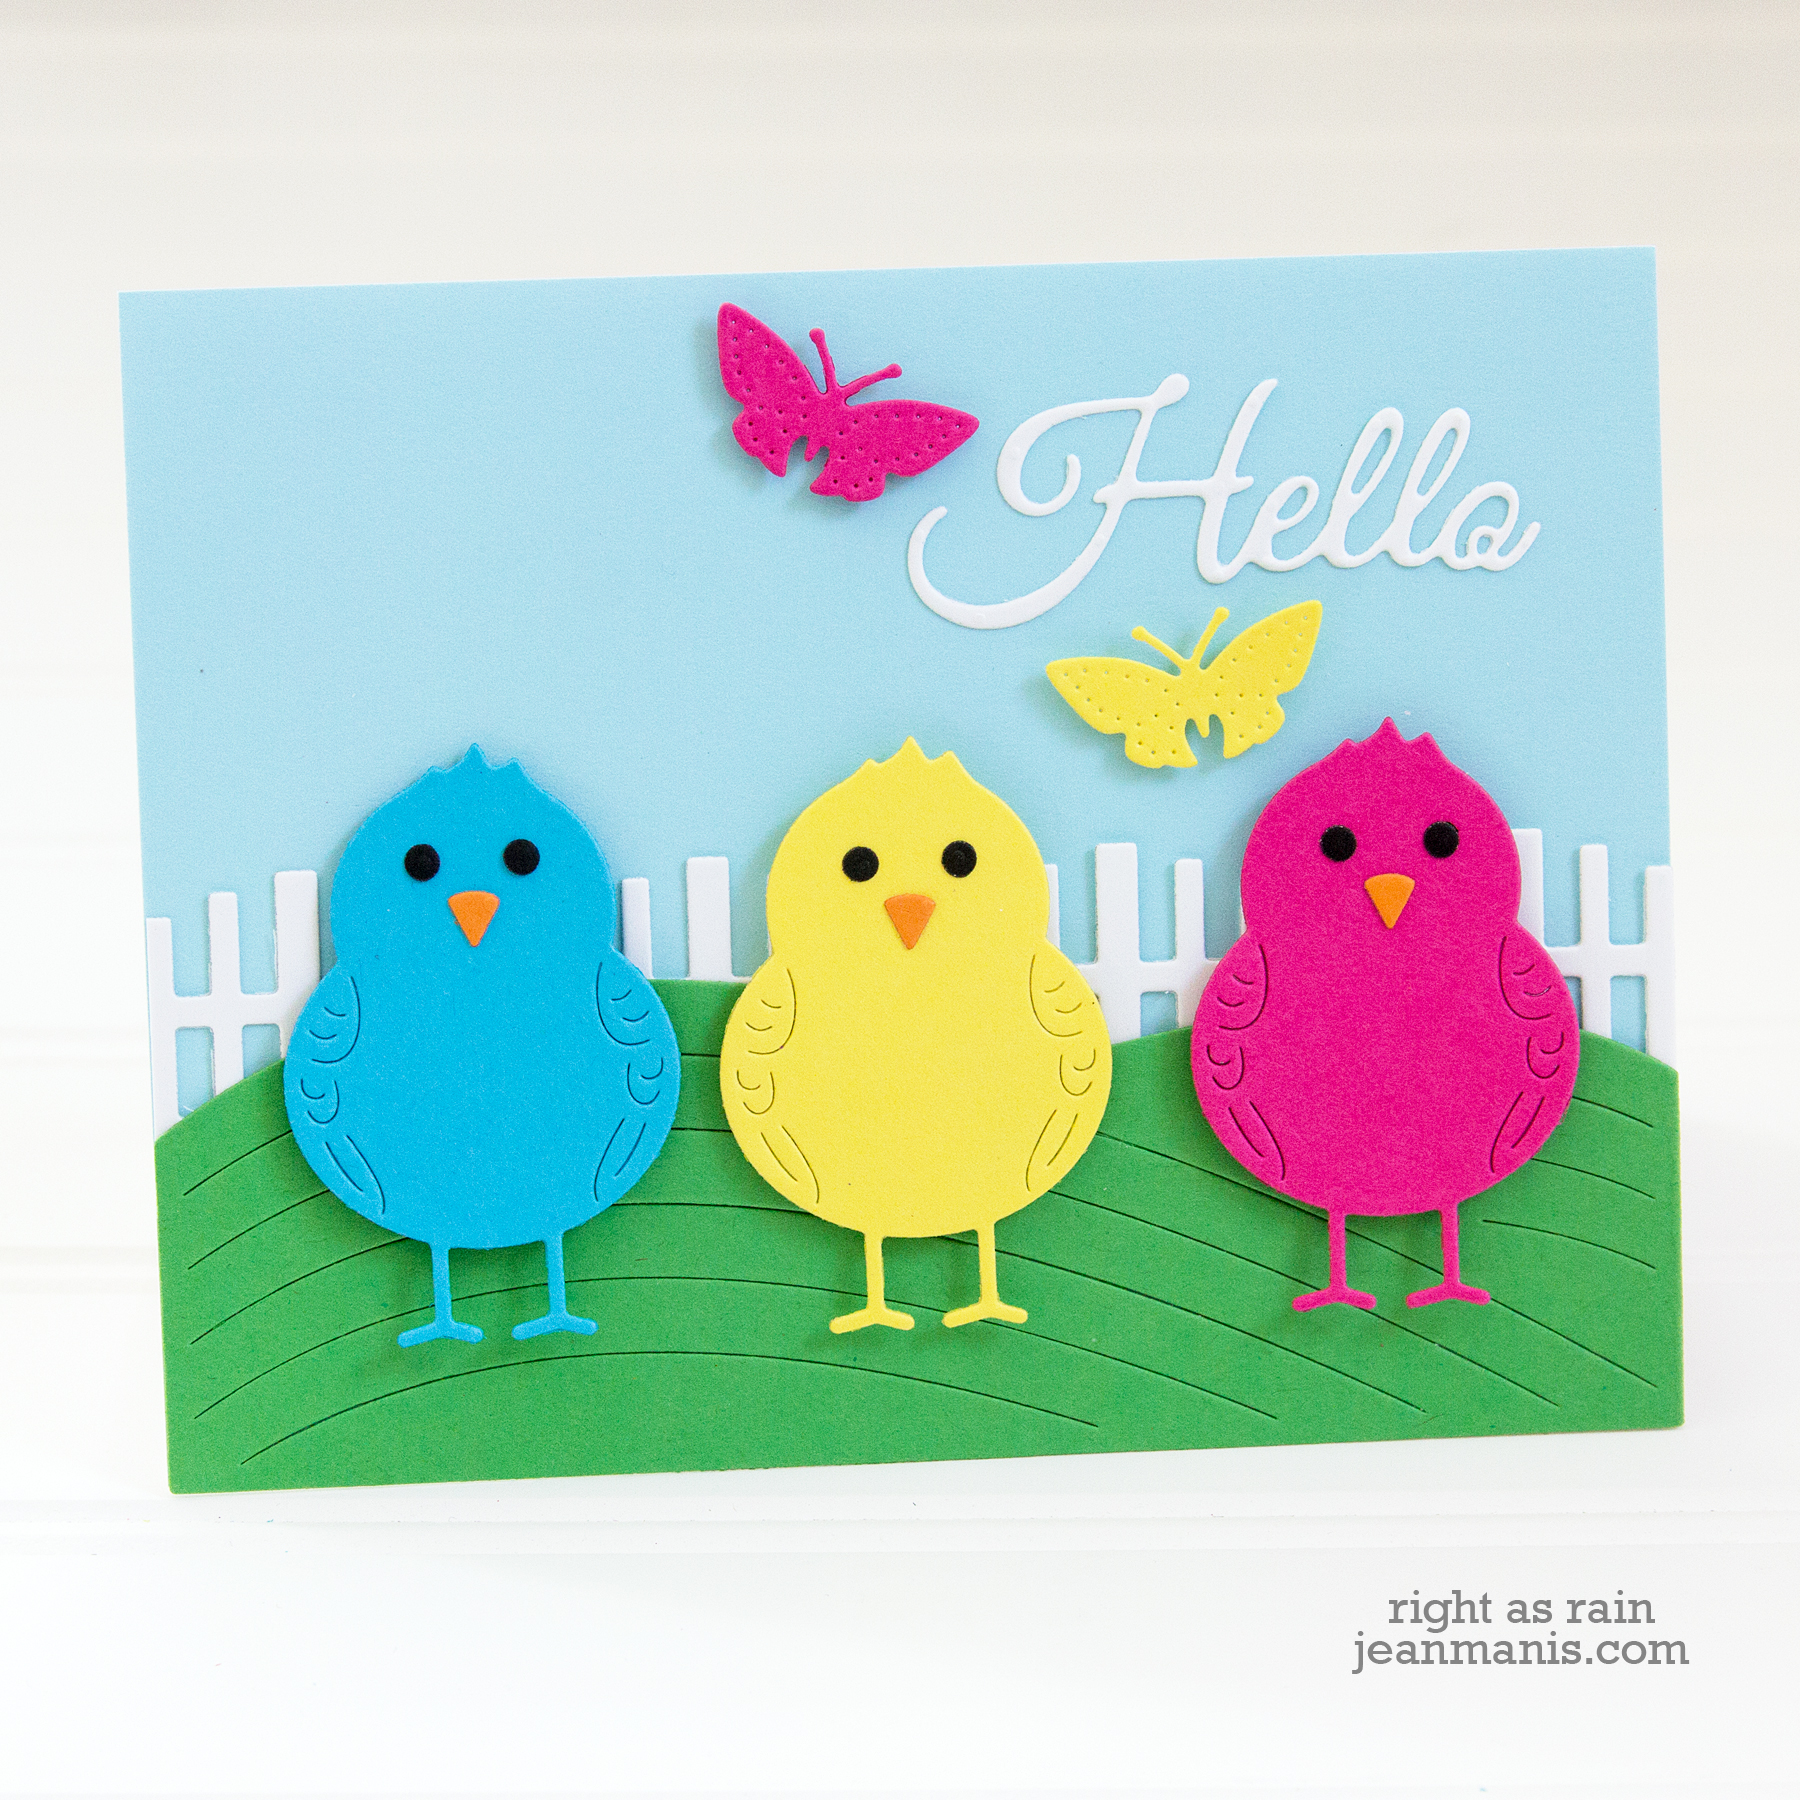
- Using the #51-596 Bird and Branch set, I cut the chicks from bright cardstock – SU Tempting Turquoise (now retired), SU Pineapple Punch, and Taylored Expressions Lollipop. I adhered their eyes and beaks.
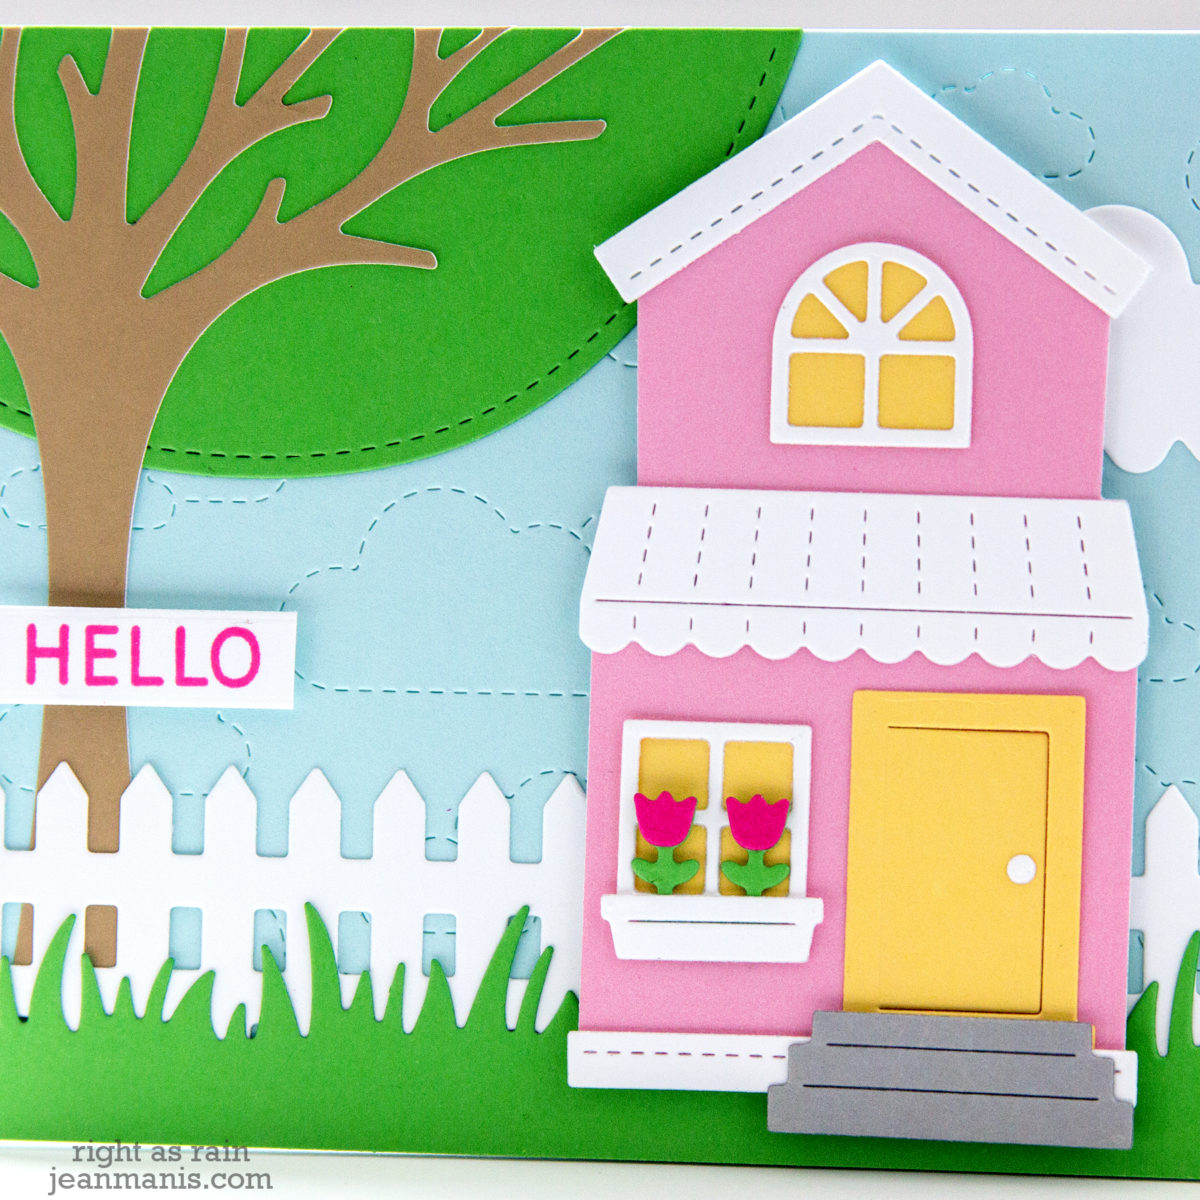
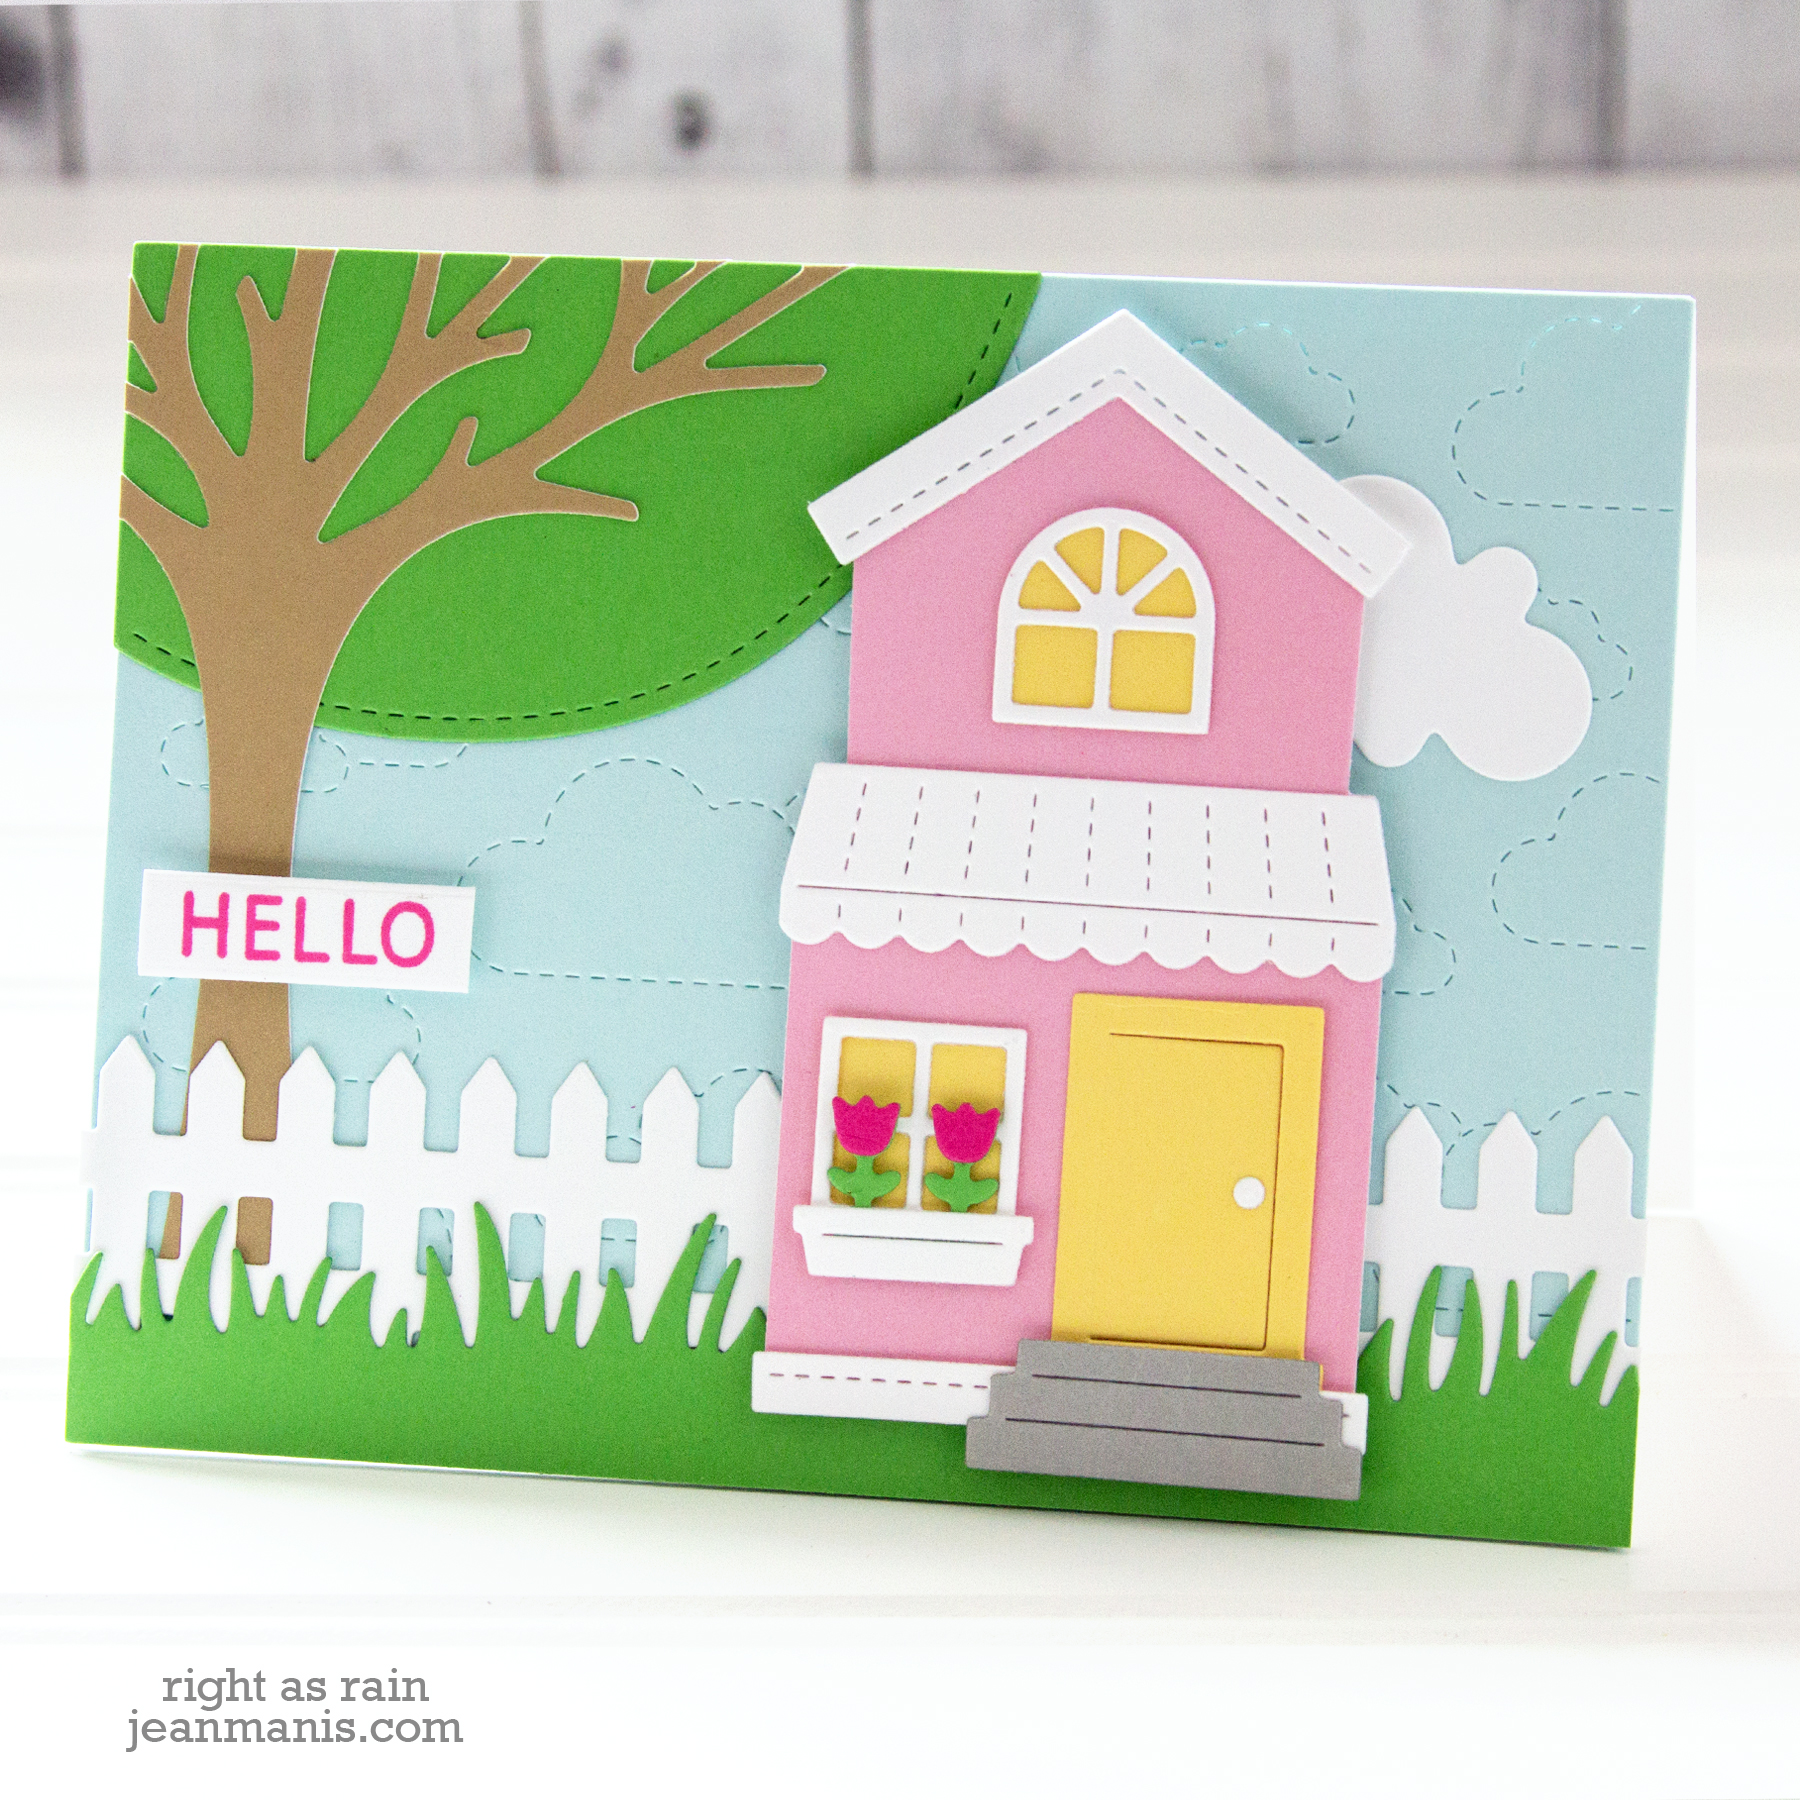
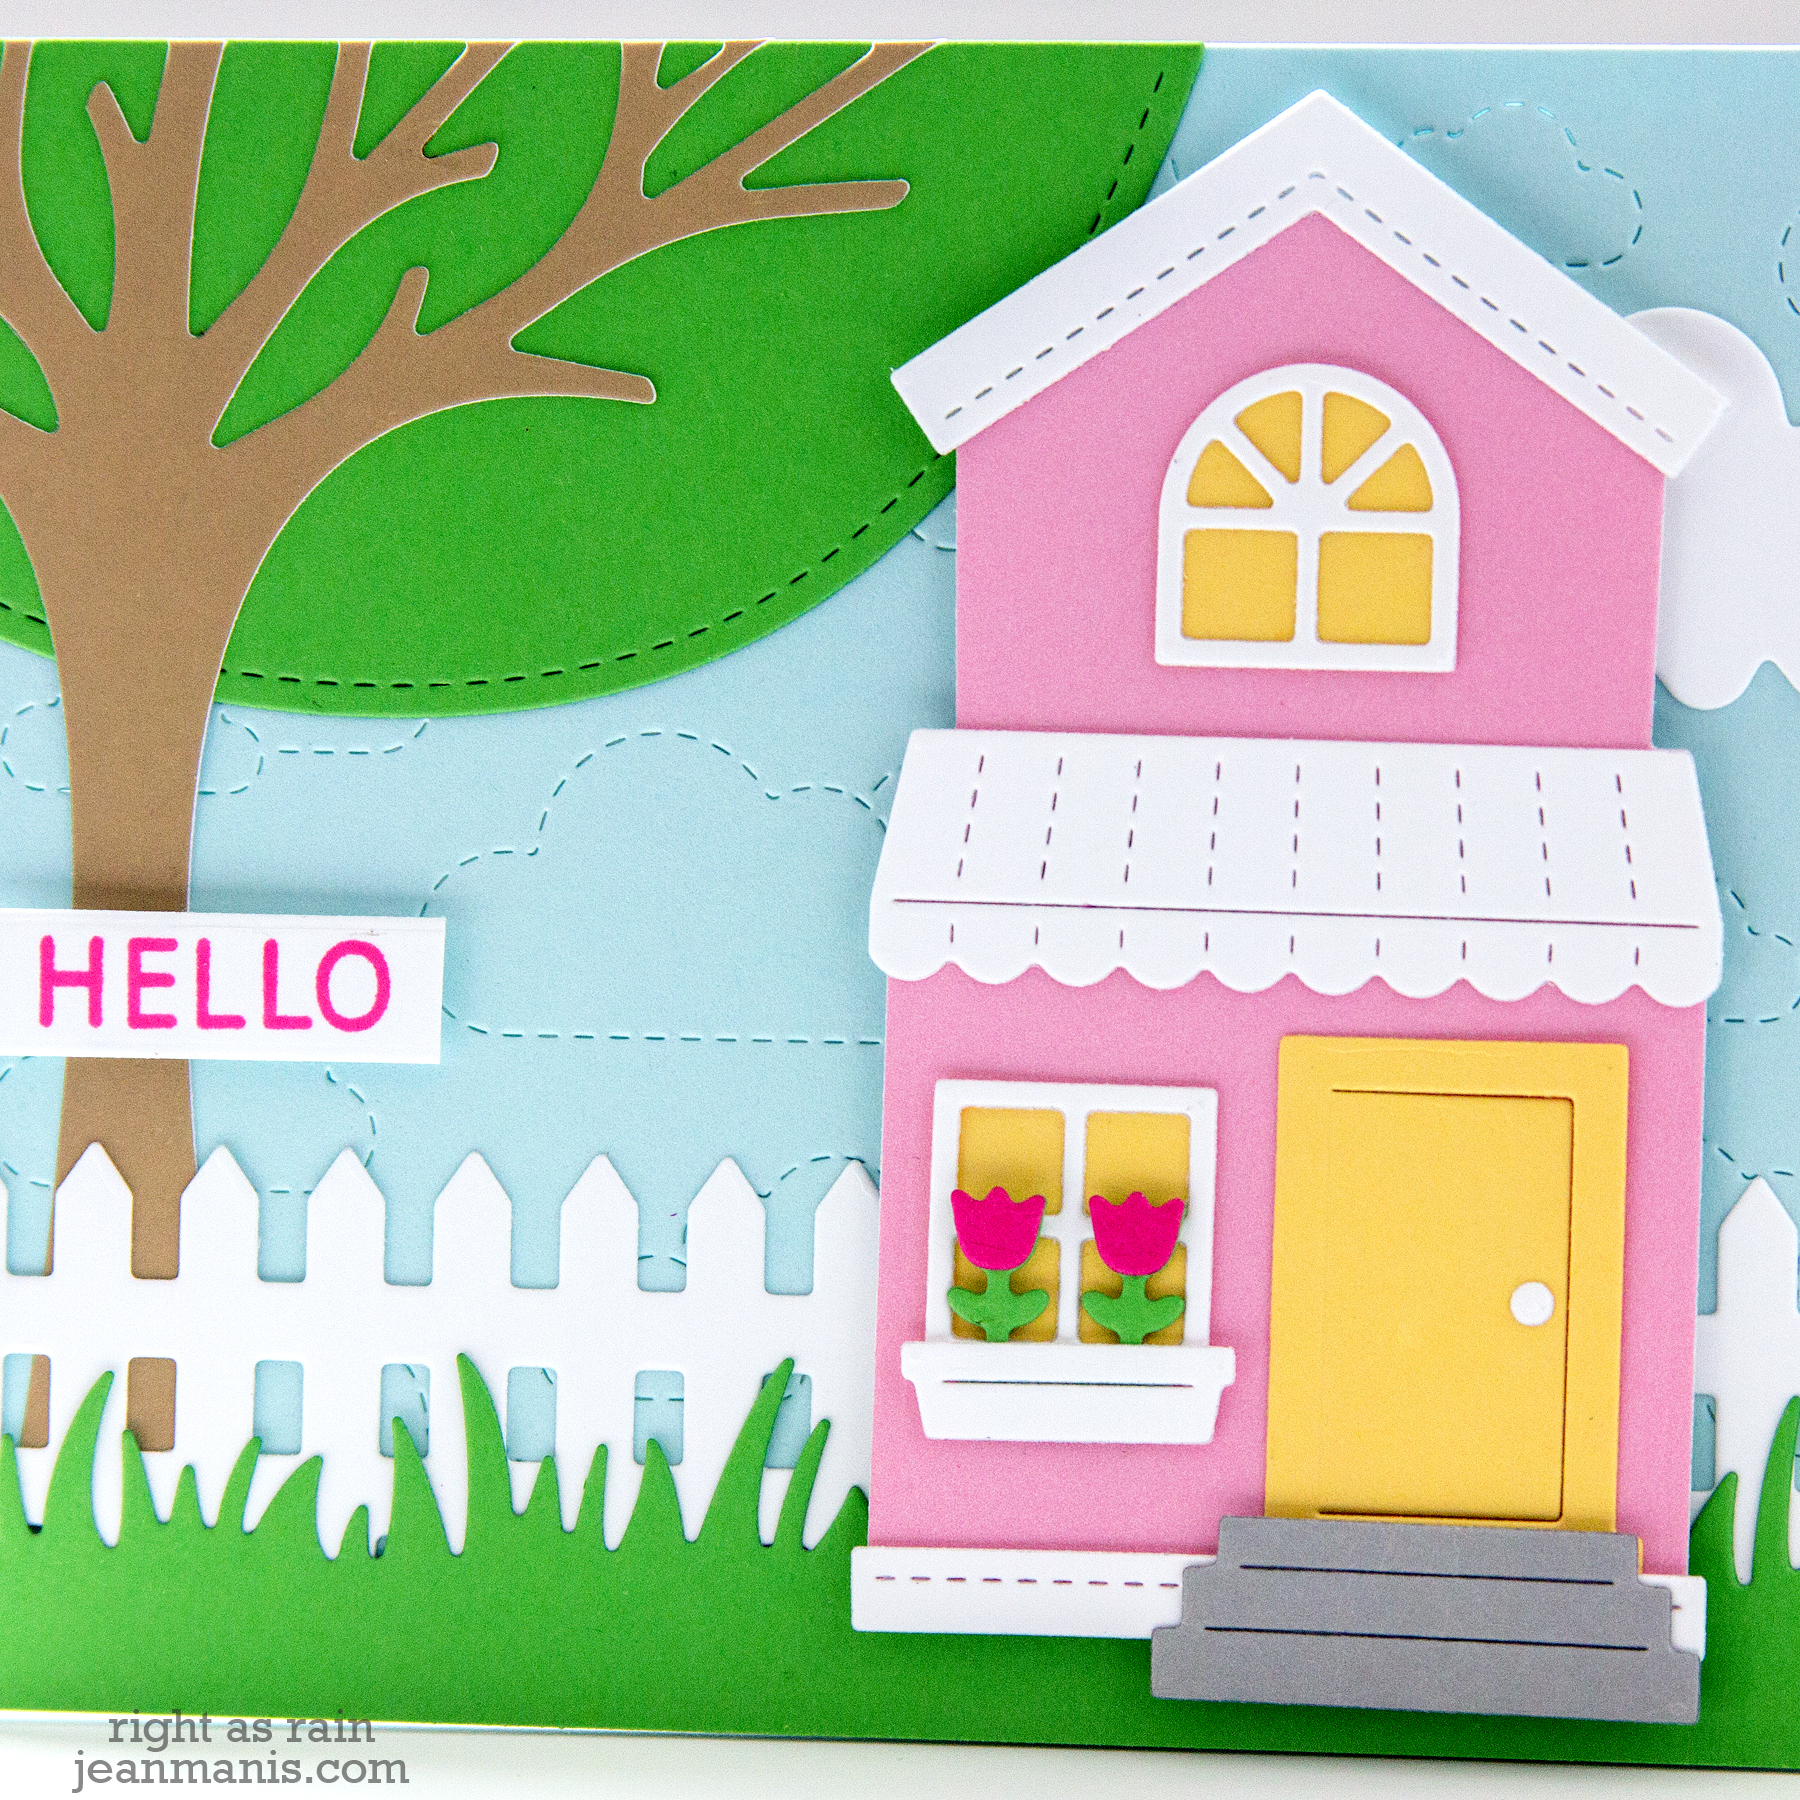
- I used the #51-630 Rolling Hills and #51-623 Pretty Picket sets to create a background for the scene.
- I die-cut the sentiment using the #51-040 Hello Frame die.
- I embellished the scene with butterflies cut with one of the butterfly dies in the #51-132 Flights of Fancy set.
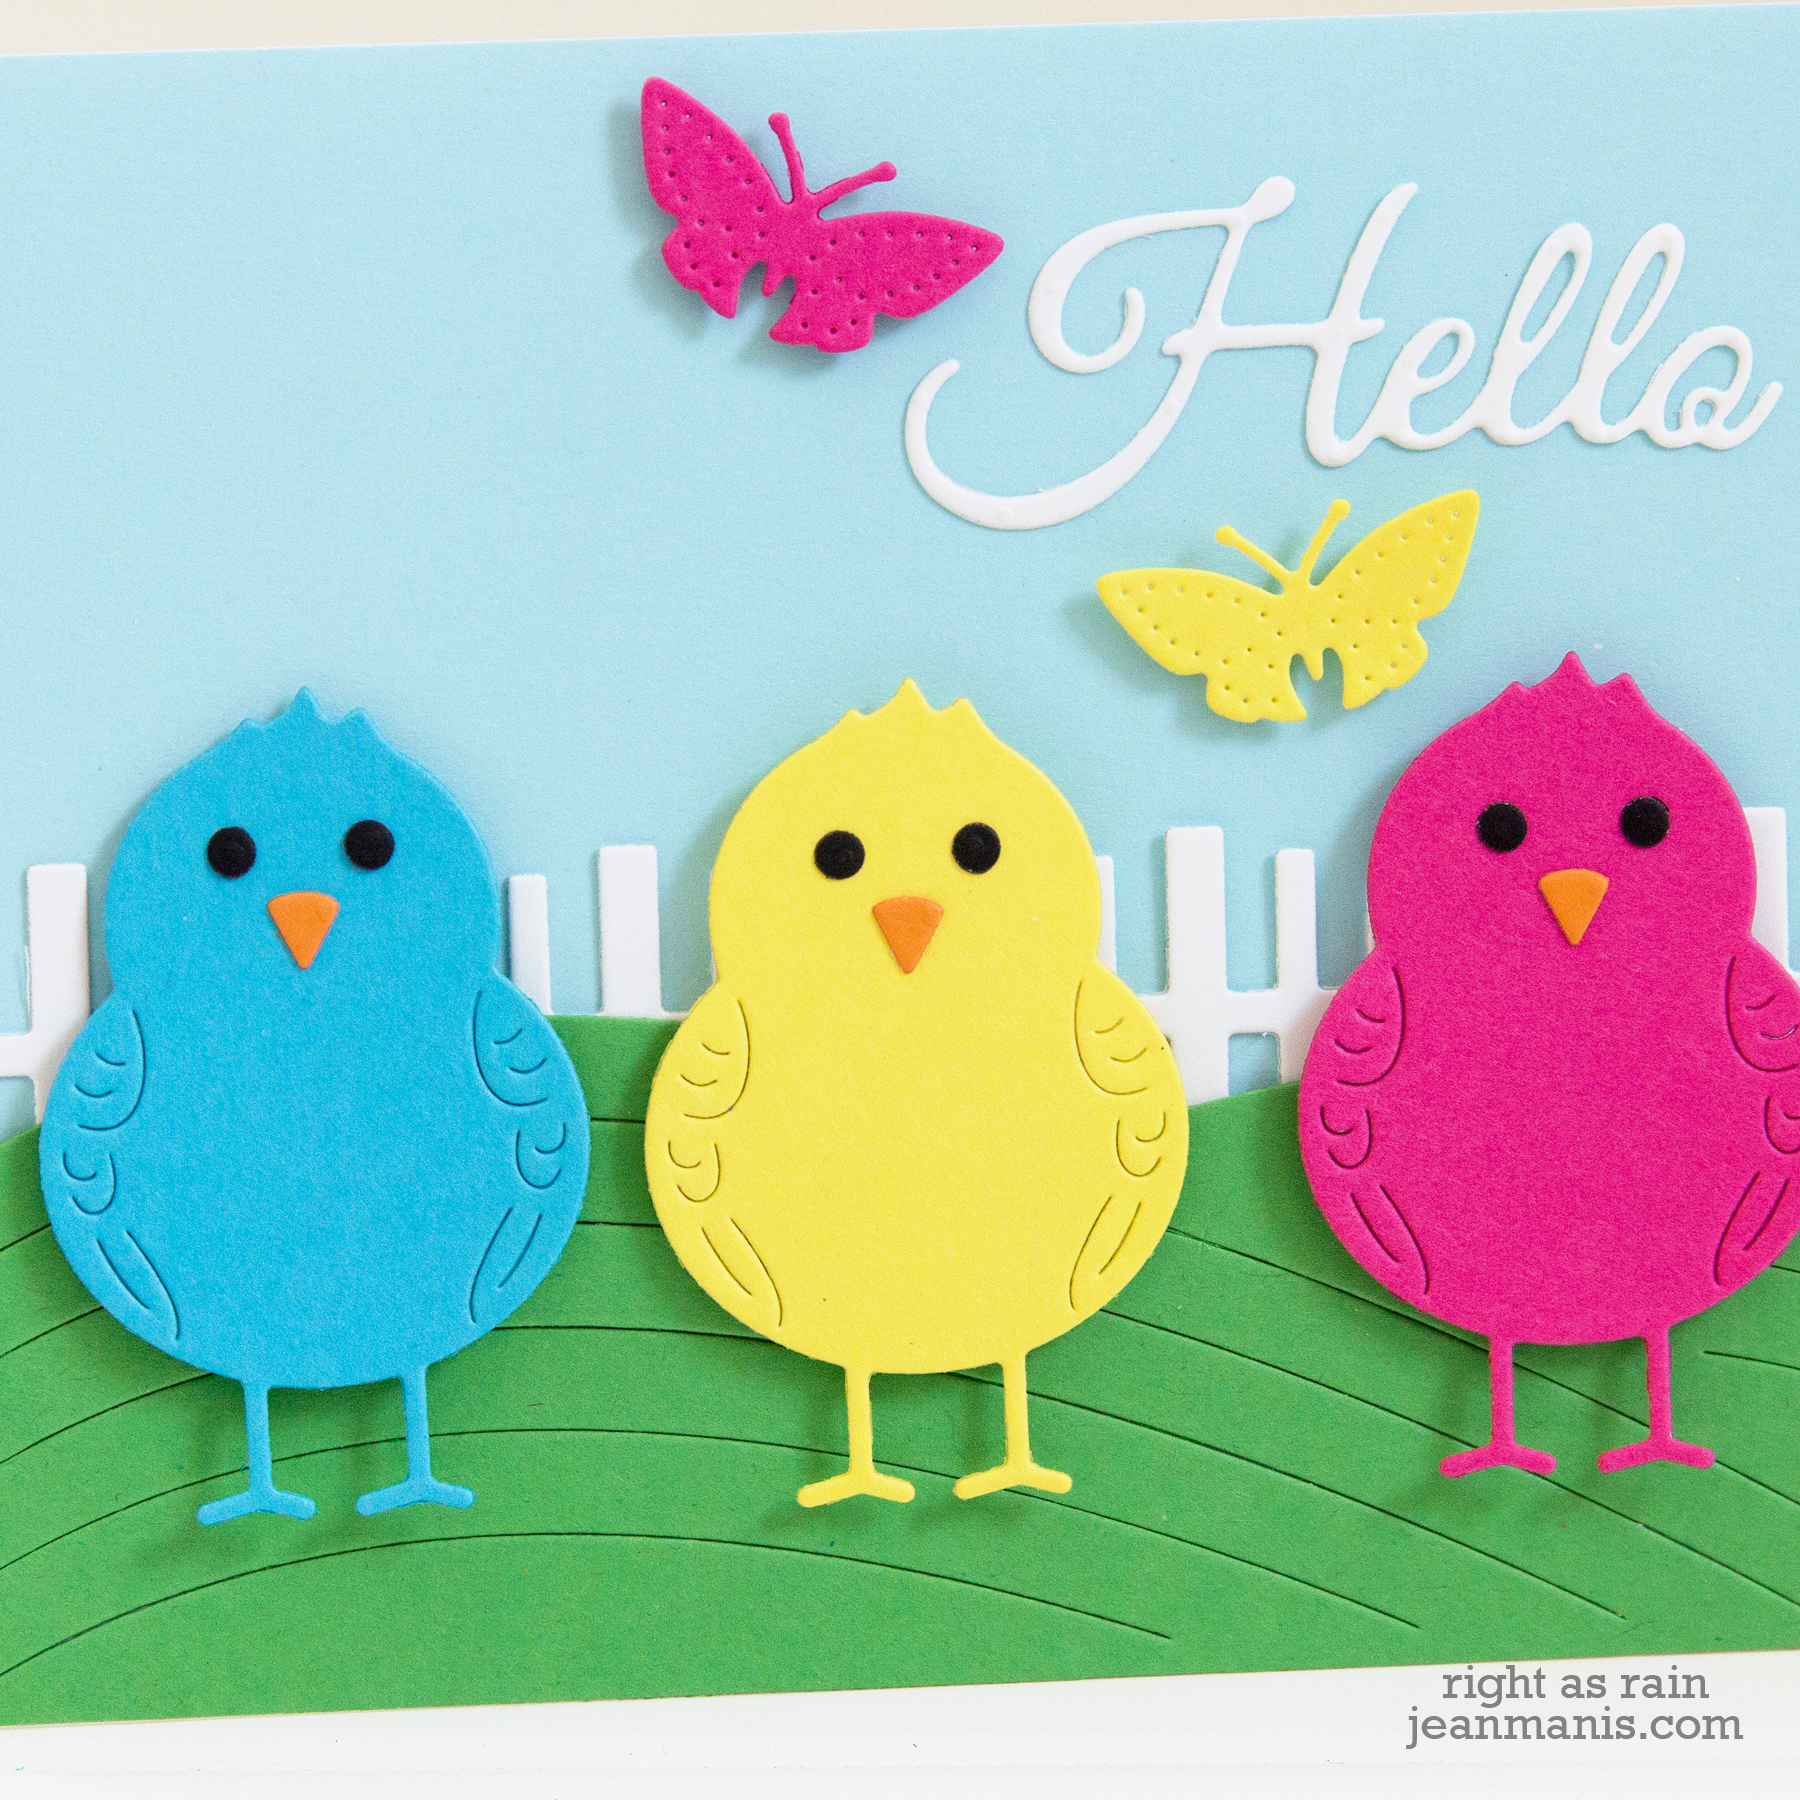
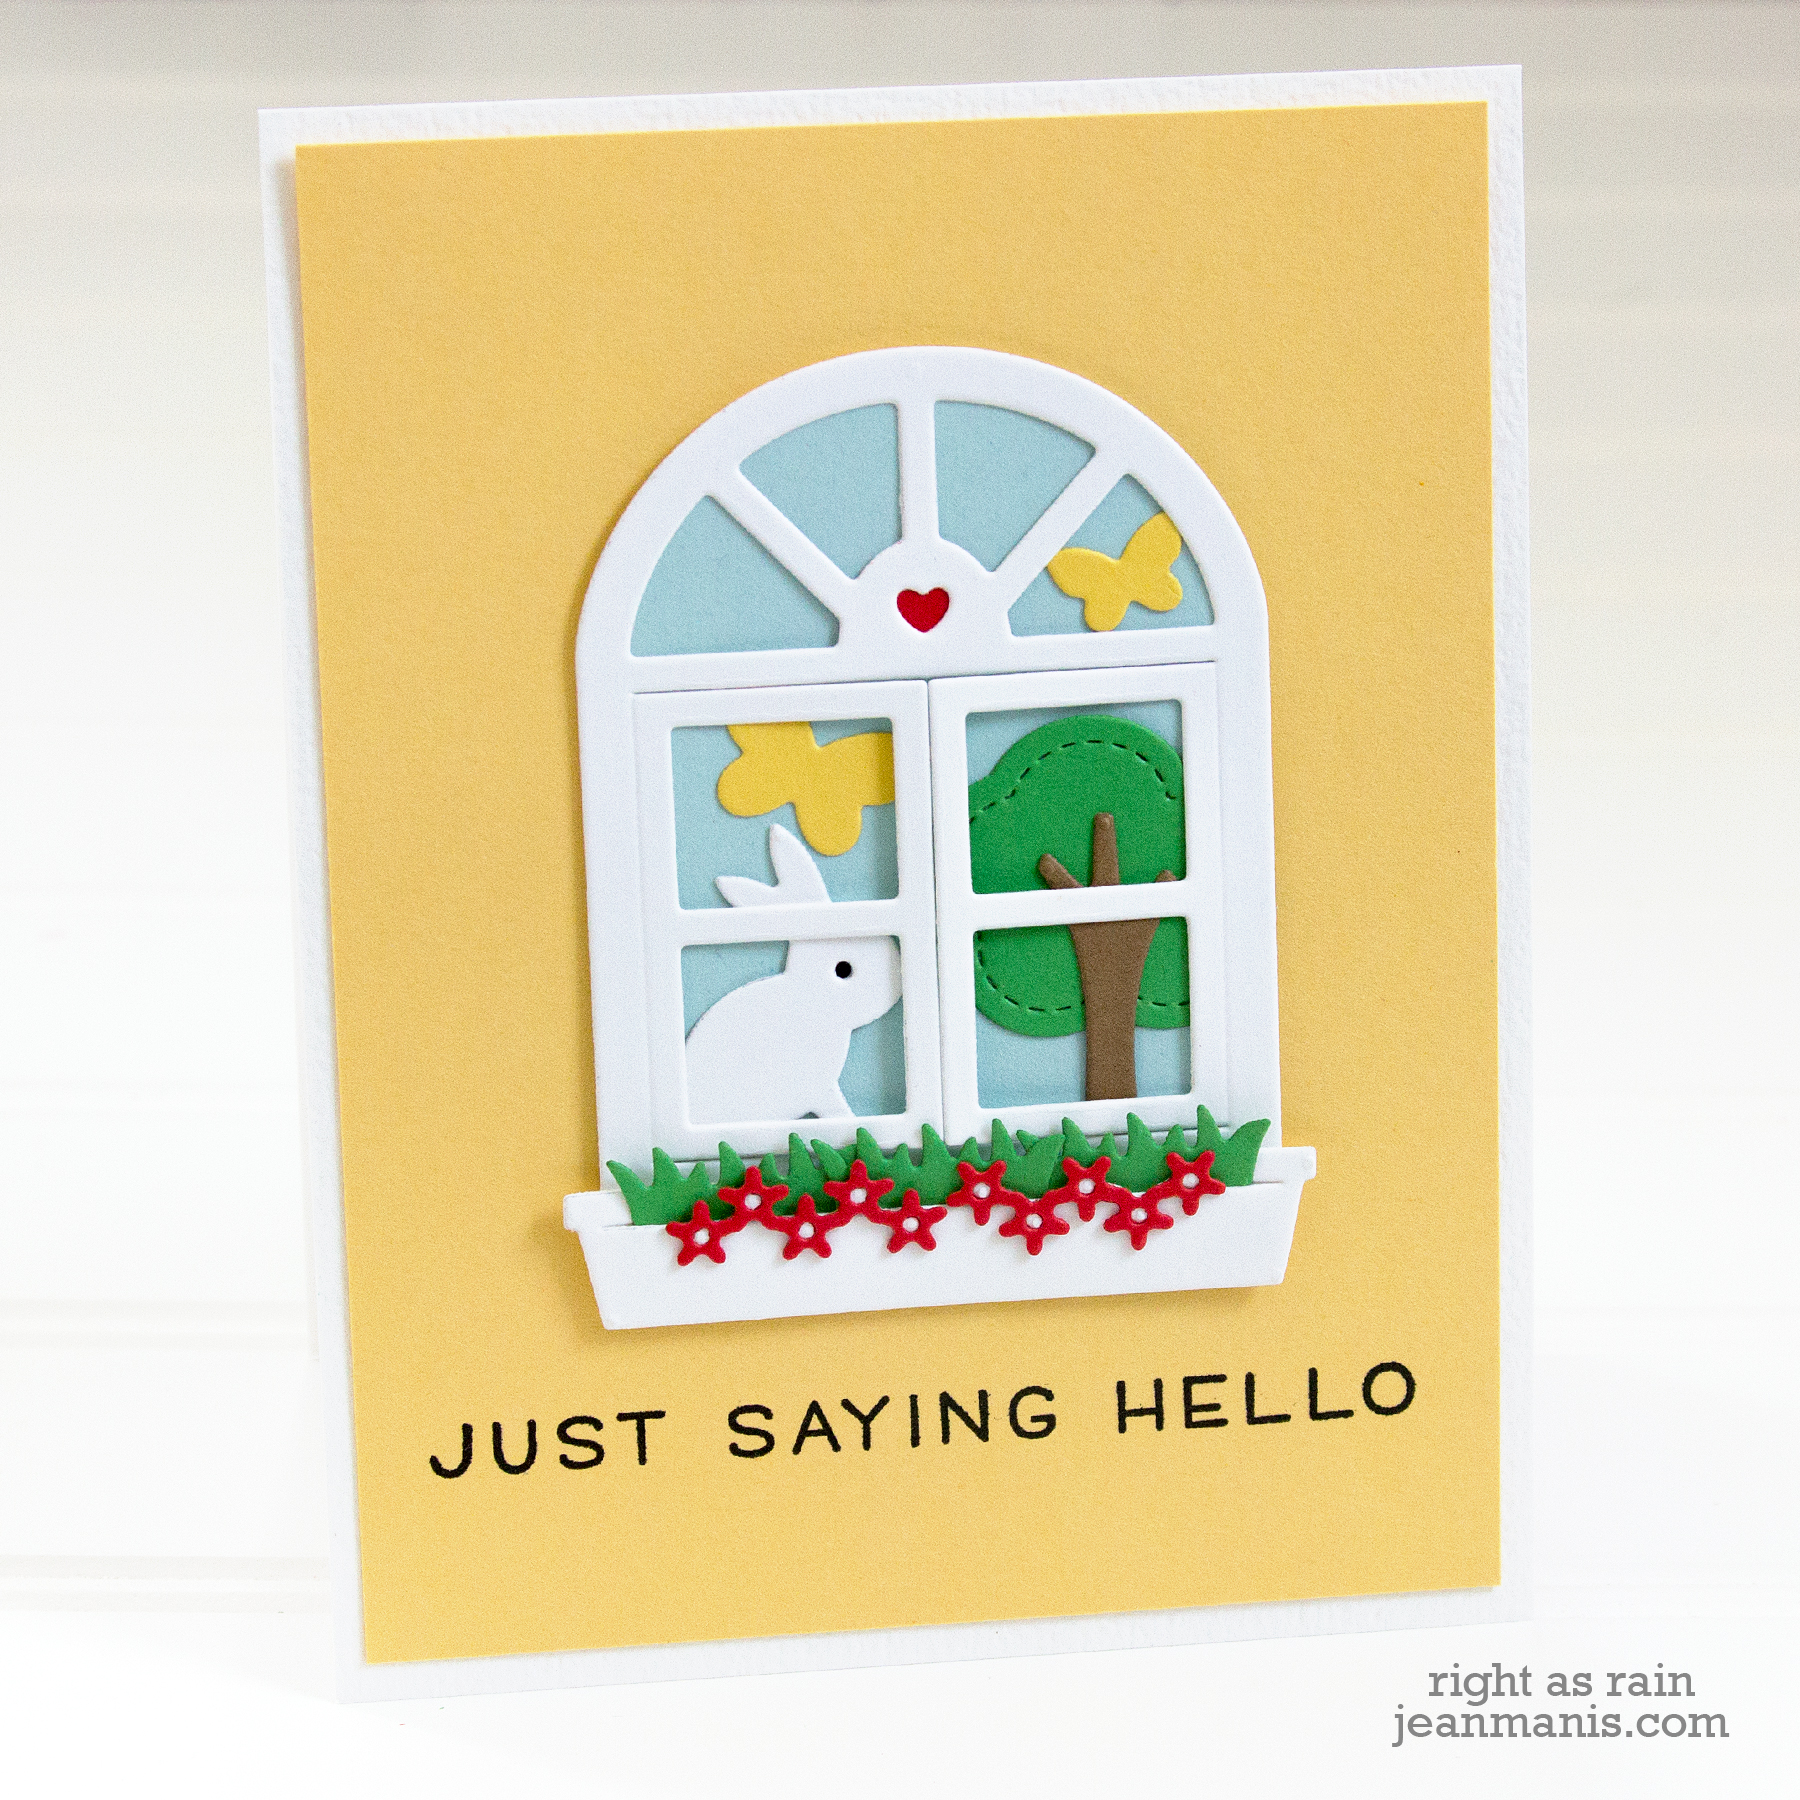
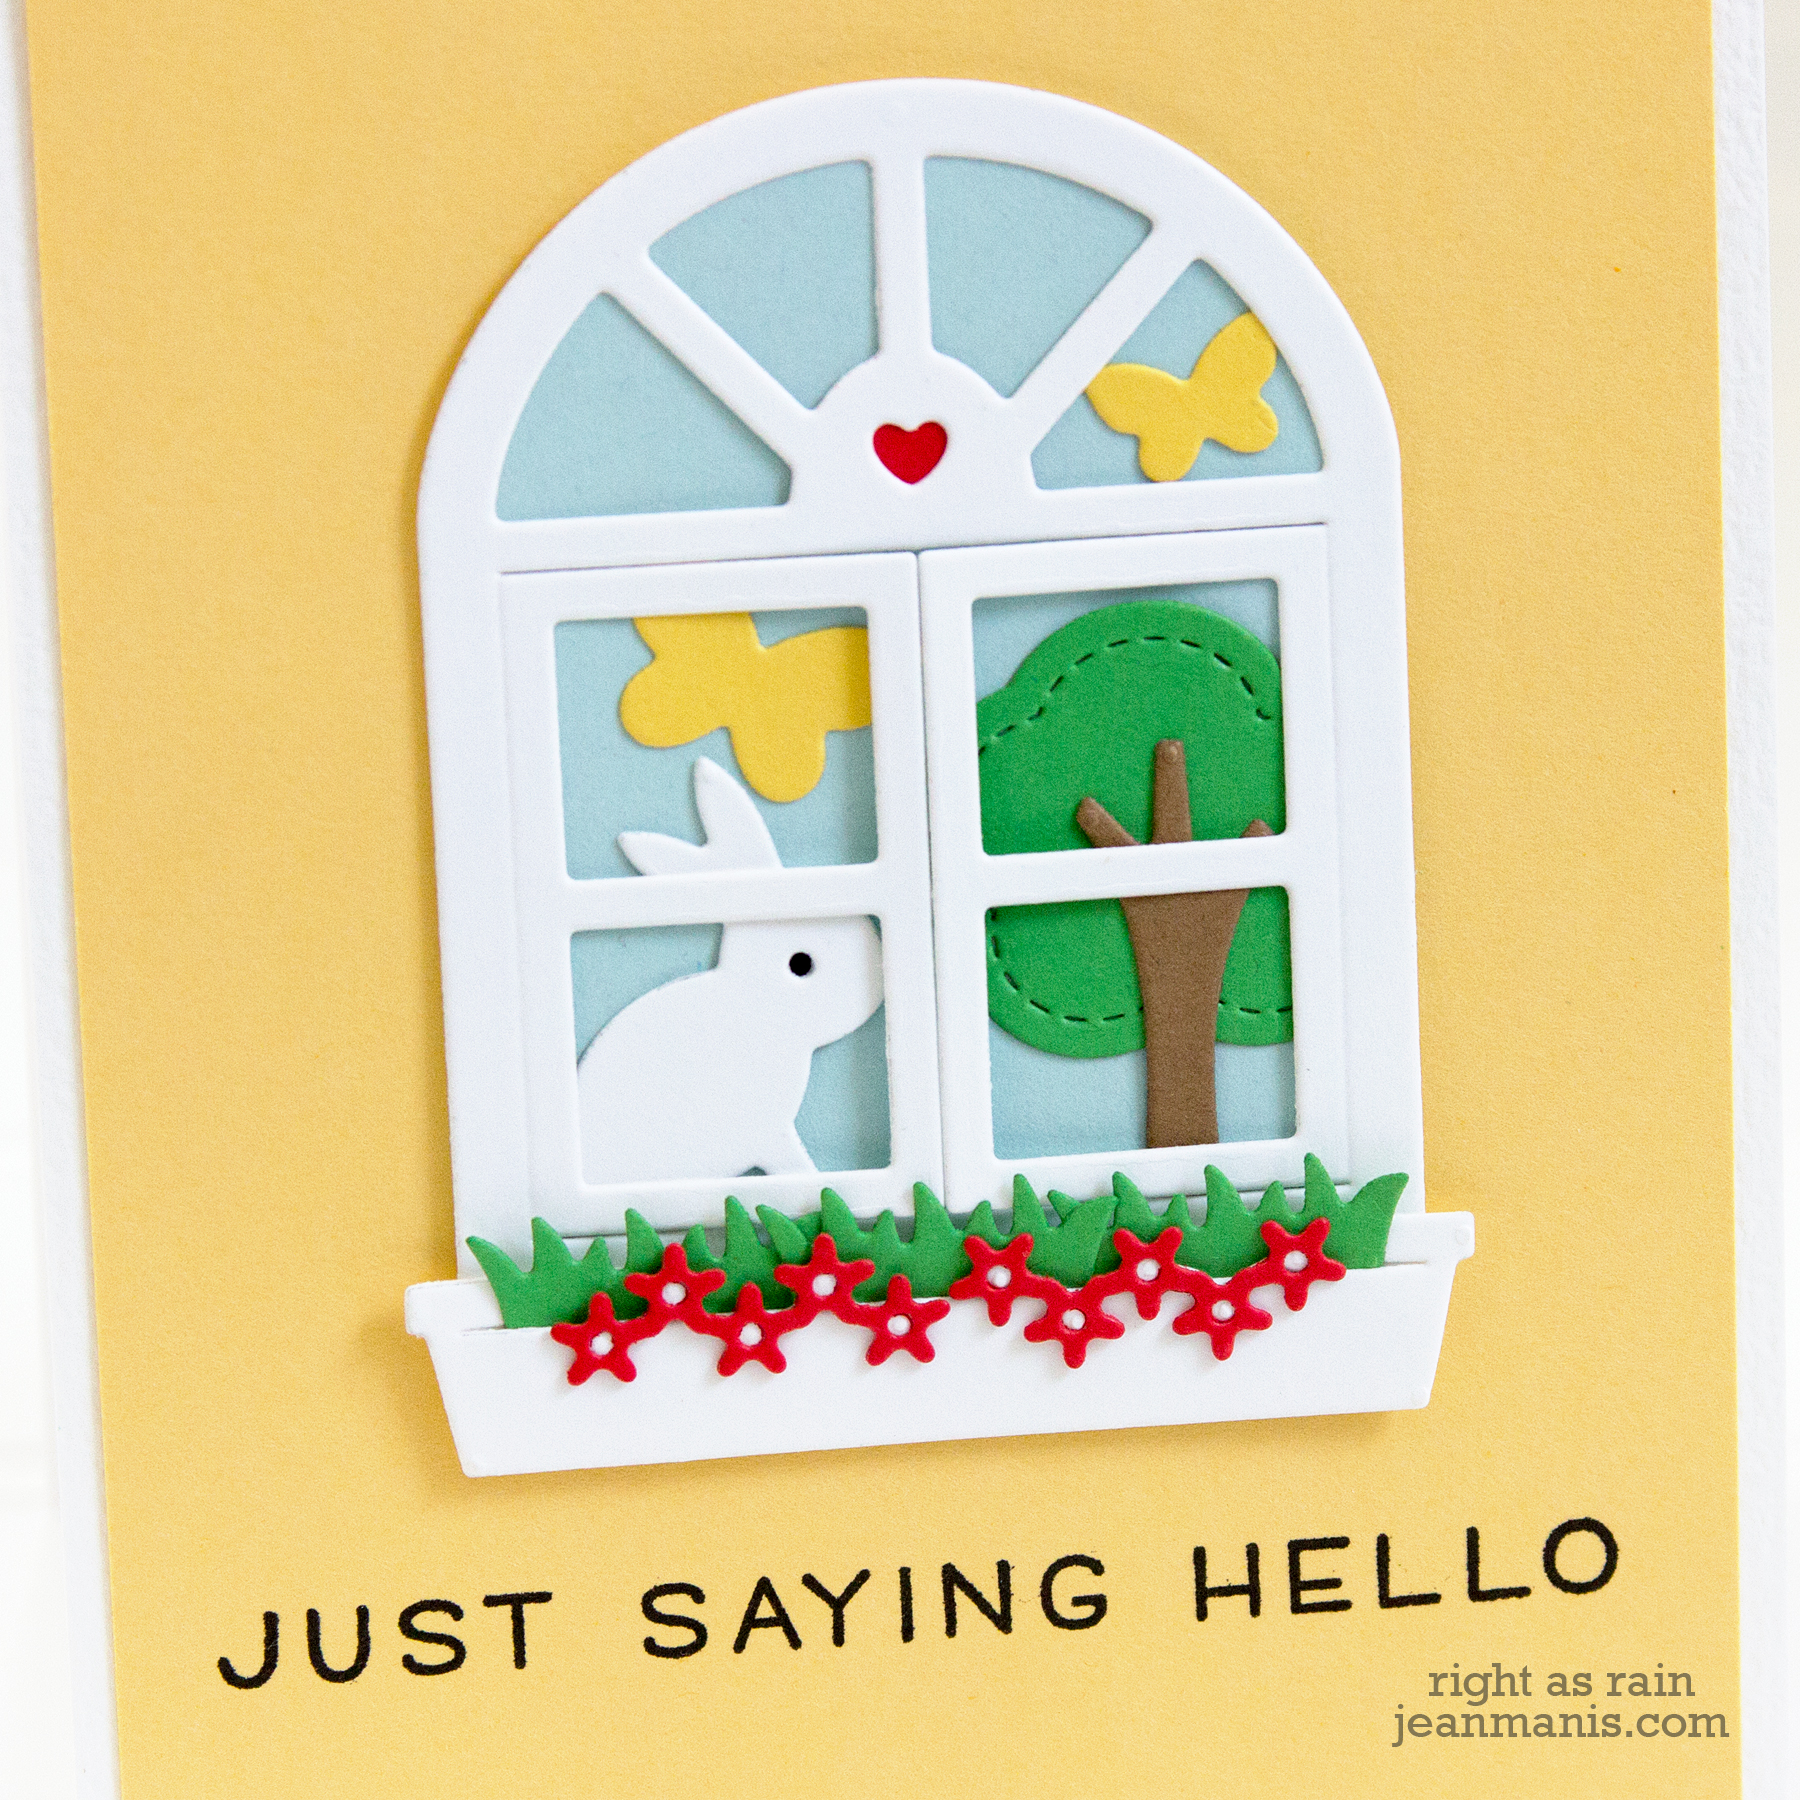
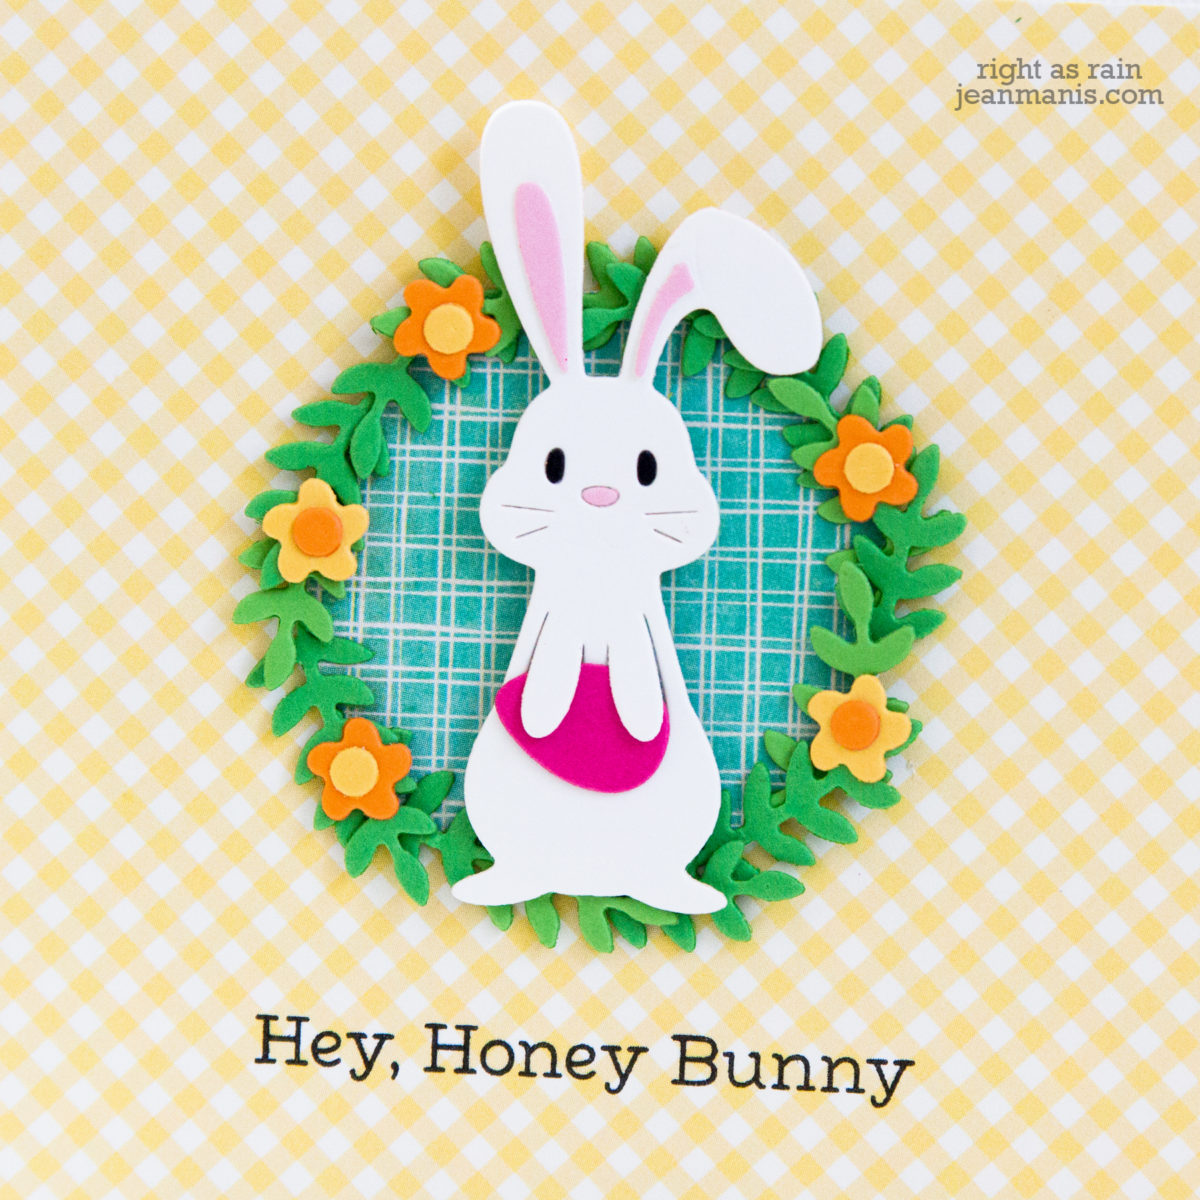
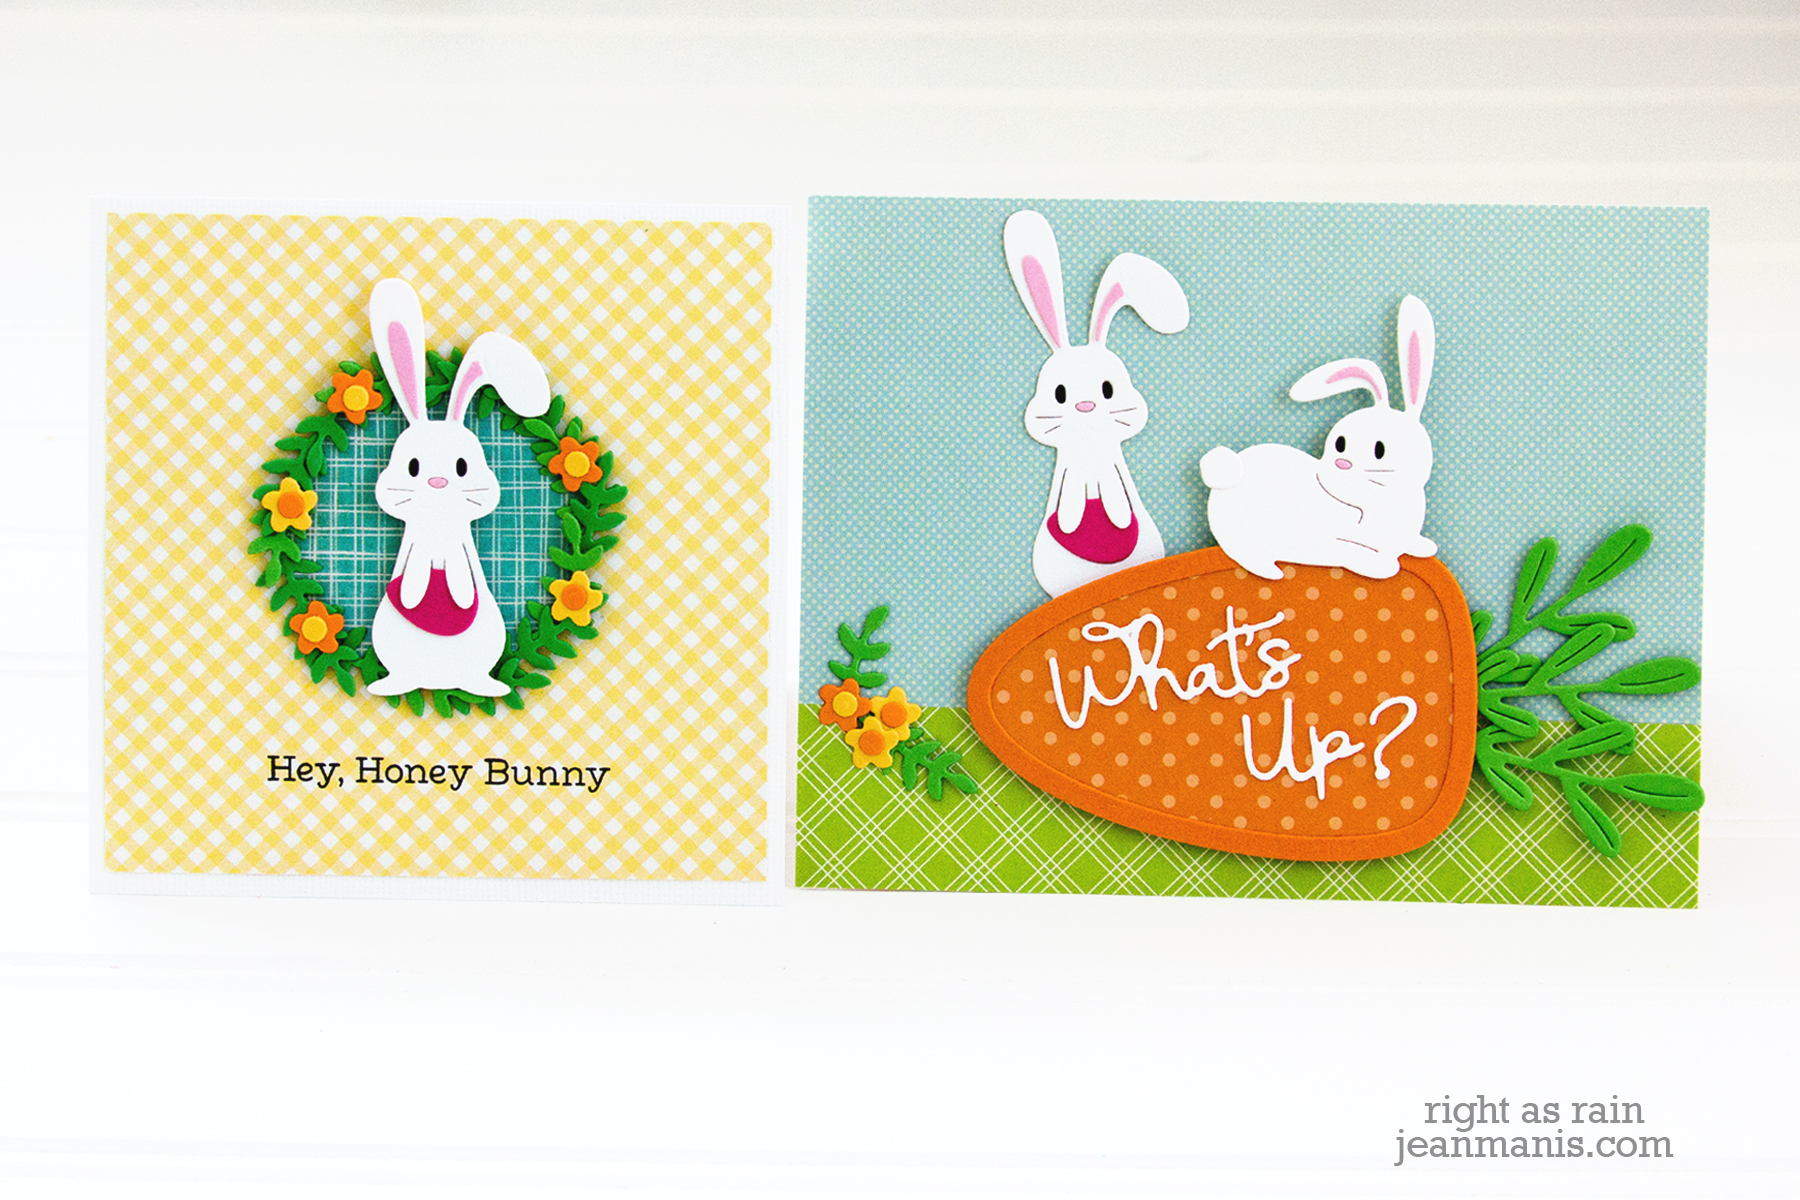
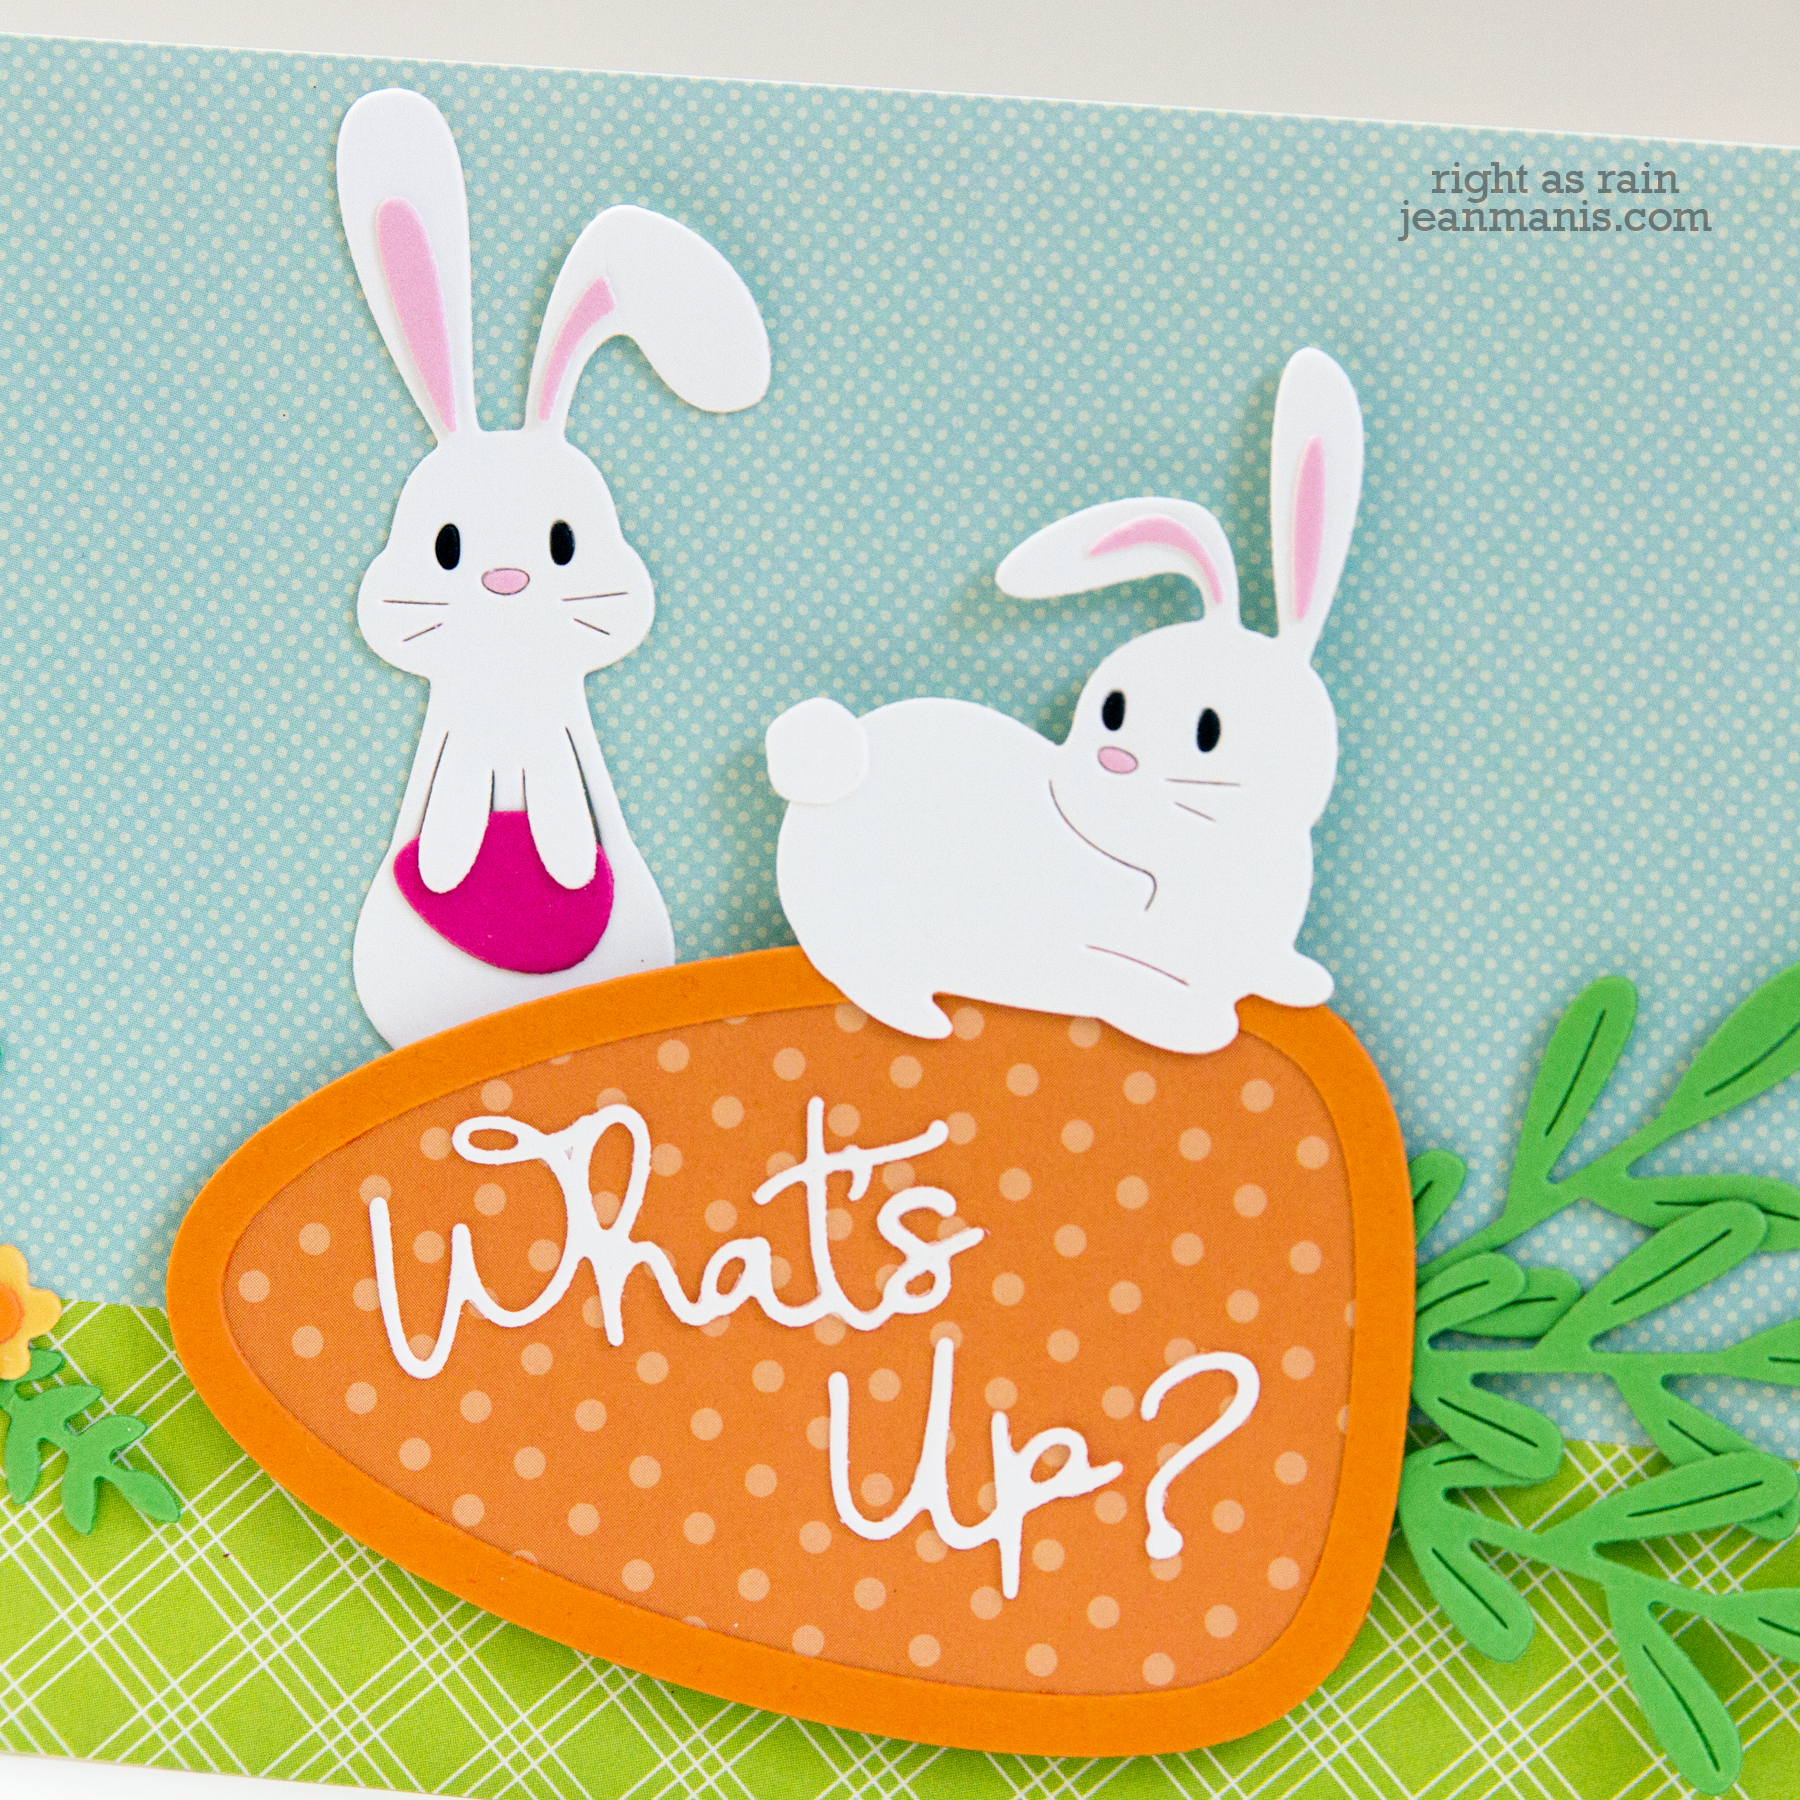
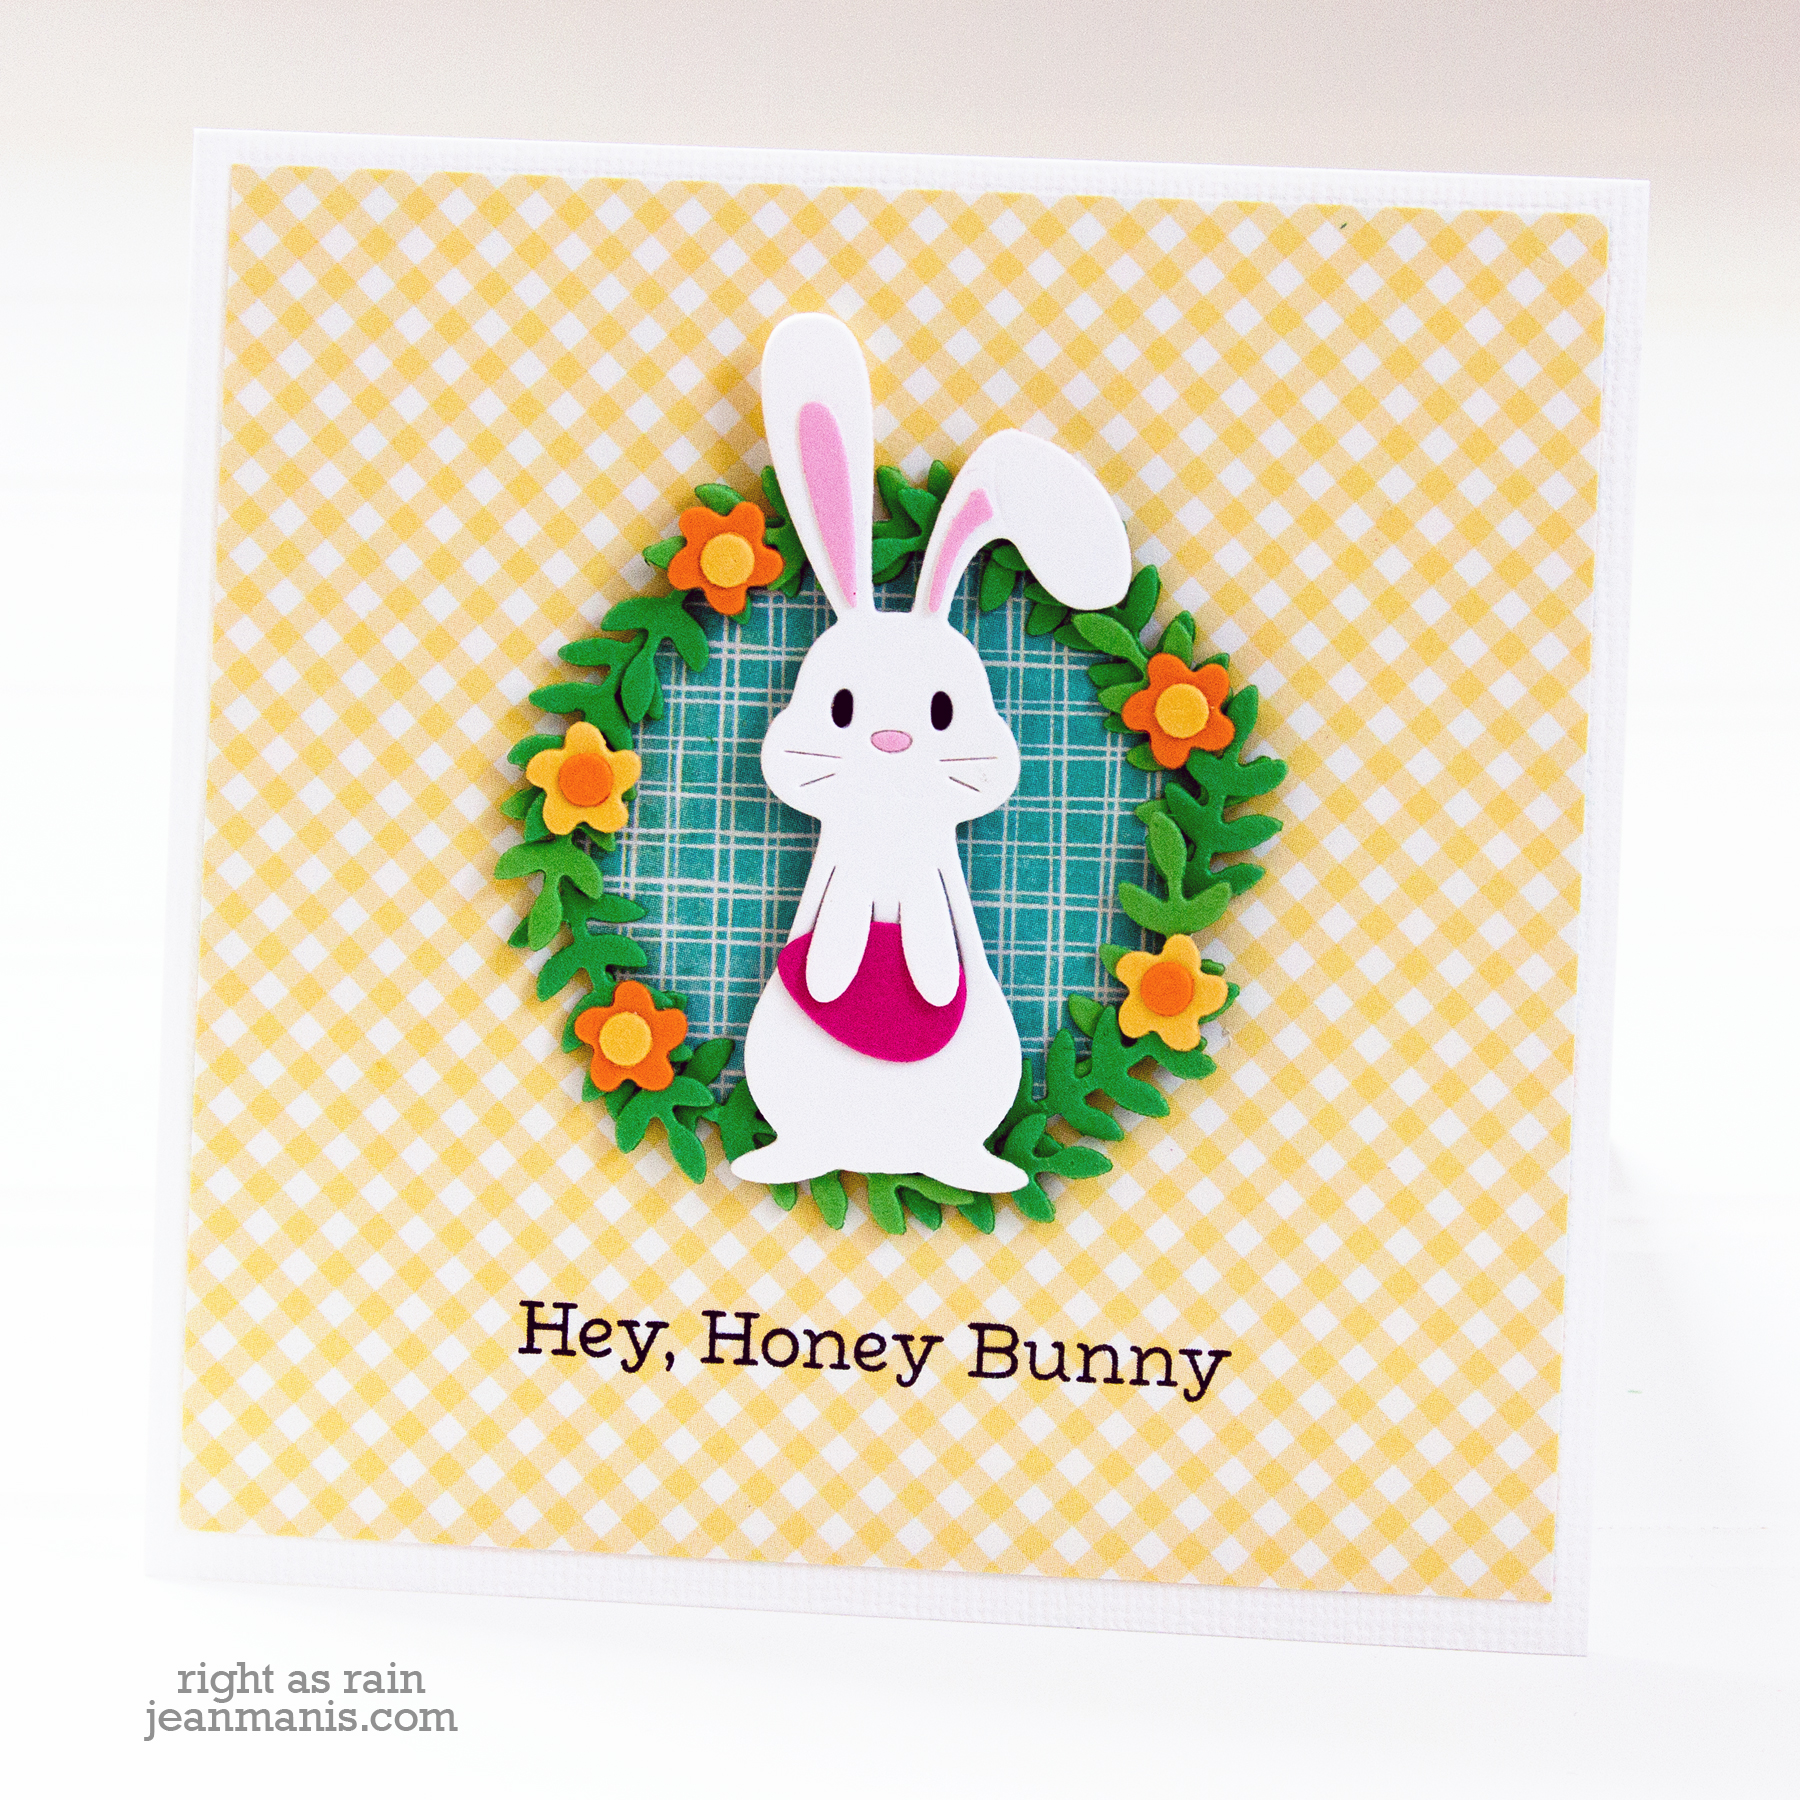
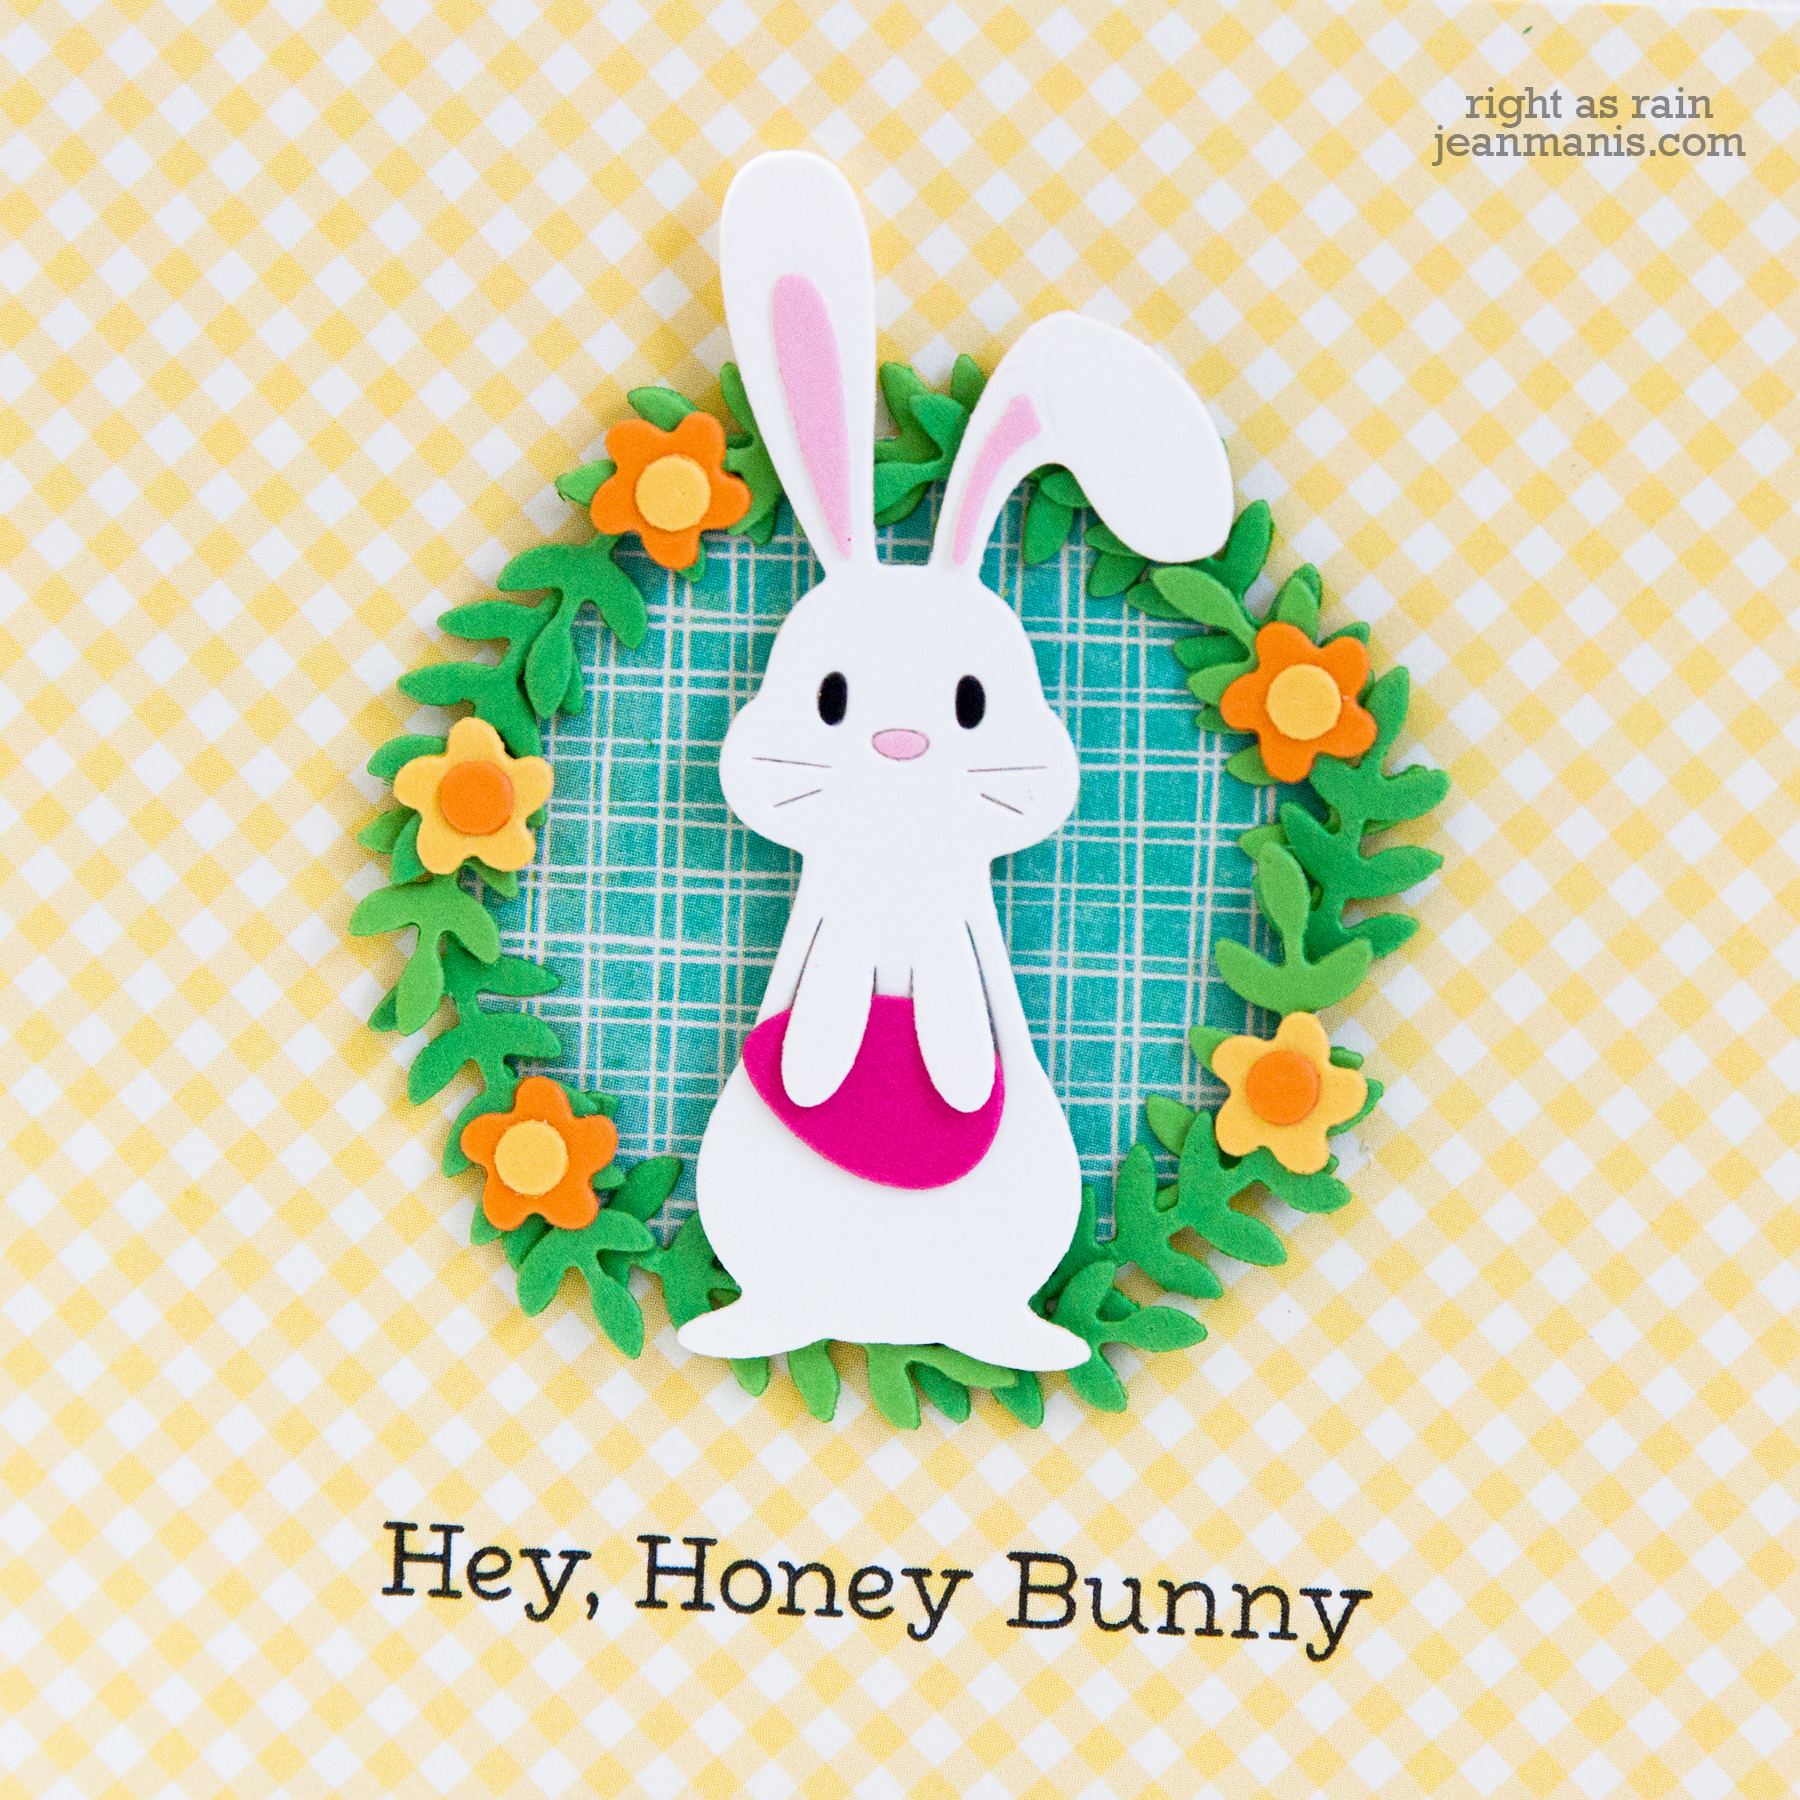
I used several of these same supplies on this card.
Supplies: