Hello! Today, I am exploring the use of stamped backgrounds for handmade cards. This post is a continuation of my series on card backgrounds that includes Paper Based Backgrounds, Embossing Folder Backgrounds, and Stenciled Backgrounds.
Throughout this post, I’ll be using cards from my blog archive as examples. Click on the card image to be taken to the original post. While the specific products used on these cards may no longer be available, the focus is on providing a guide for stamping card backgrounds.
In this post, I am focusing on the inks and techniques used with background stamps, rather than the wide variety of background stamp patterns. That being said, I have included a variety of patterns with the examples. Please note that this post does not cover all available background stamp techniques.
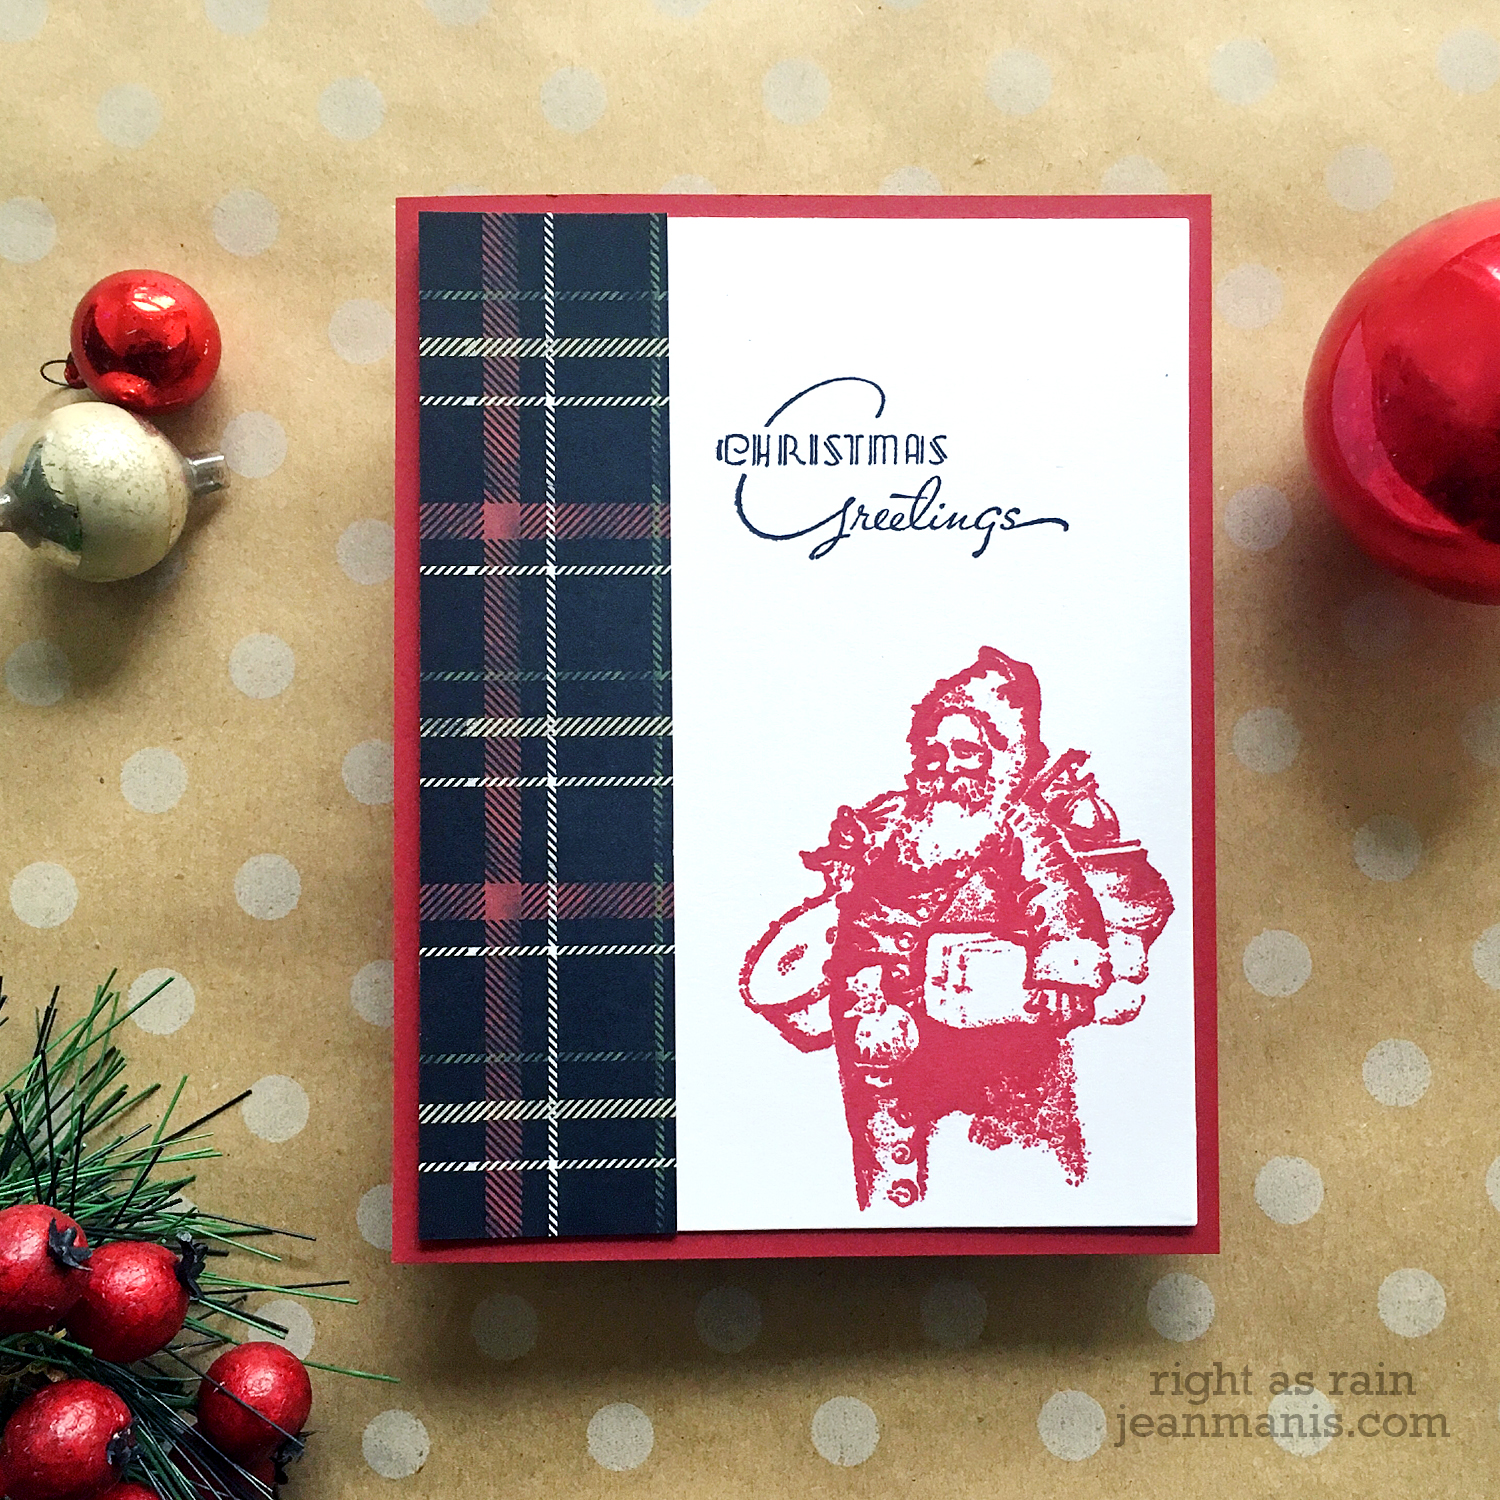
Let’s start with an option that is readily available, affordable, and pairs with any theme – colored ink on white cardstock. Buffalo plaid backgrounds hold a timeless appeal due to their classic and rustic aesthetic.
Some background stamps feature an equal amount of inked and non-inked areas (such as the Buffalo Plaid above) and others feature more inked area than non-inked such as the Penny Black Crystal Pattern below, shown stamped with colored ink on white cardstock.
On the other hand, other background stamps have more non-inked than inked areas, such as this intricate pattern stamp, which I stamped in two different ink colors. Another option for this type of background stamp, which lends a completely different look, is to heat-emboss the stamp and apply inks that are resisted on the heat-embossed sections.
Stamped backgrounds can be mixed to use for scene building.
Background stamps can be stamped with colored ink on to inked backgrounds. In this case, the inked background was created with three Distress Oxide ink colors and the background stamp was stamped with a Distress ink (not Oxide).
Another effective option – stamp the background with an ink that matches the cardstock for a tone-on-tone background.
White pigment ink is a versatile option whose impact changes with the cardstock color on to which it is stamped.
When white pigment ink is stamped on an ombré inked background, the background pattern falls away in the less-inked areas.
Shadow stamping creates a subtle and dimensional effect by stamping the background with a dye ink (the shadow) and again, at a slight offset, with white pigment ink.
Heat embossing with a metallic powder brings elegance to a background.
A background stamp can be heat-embossed over a watercolored background.
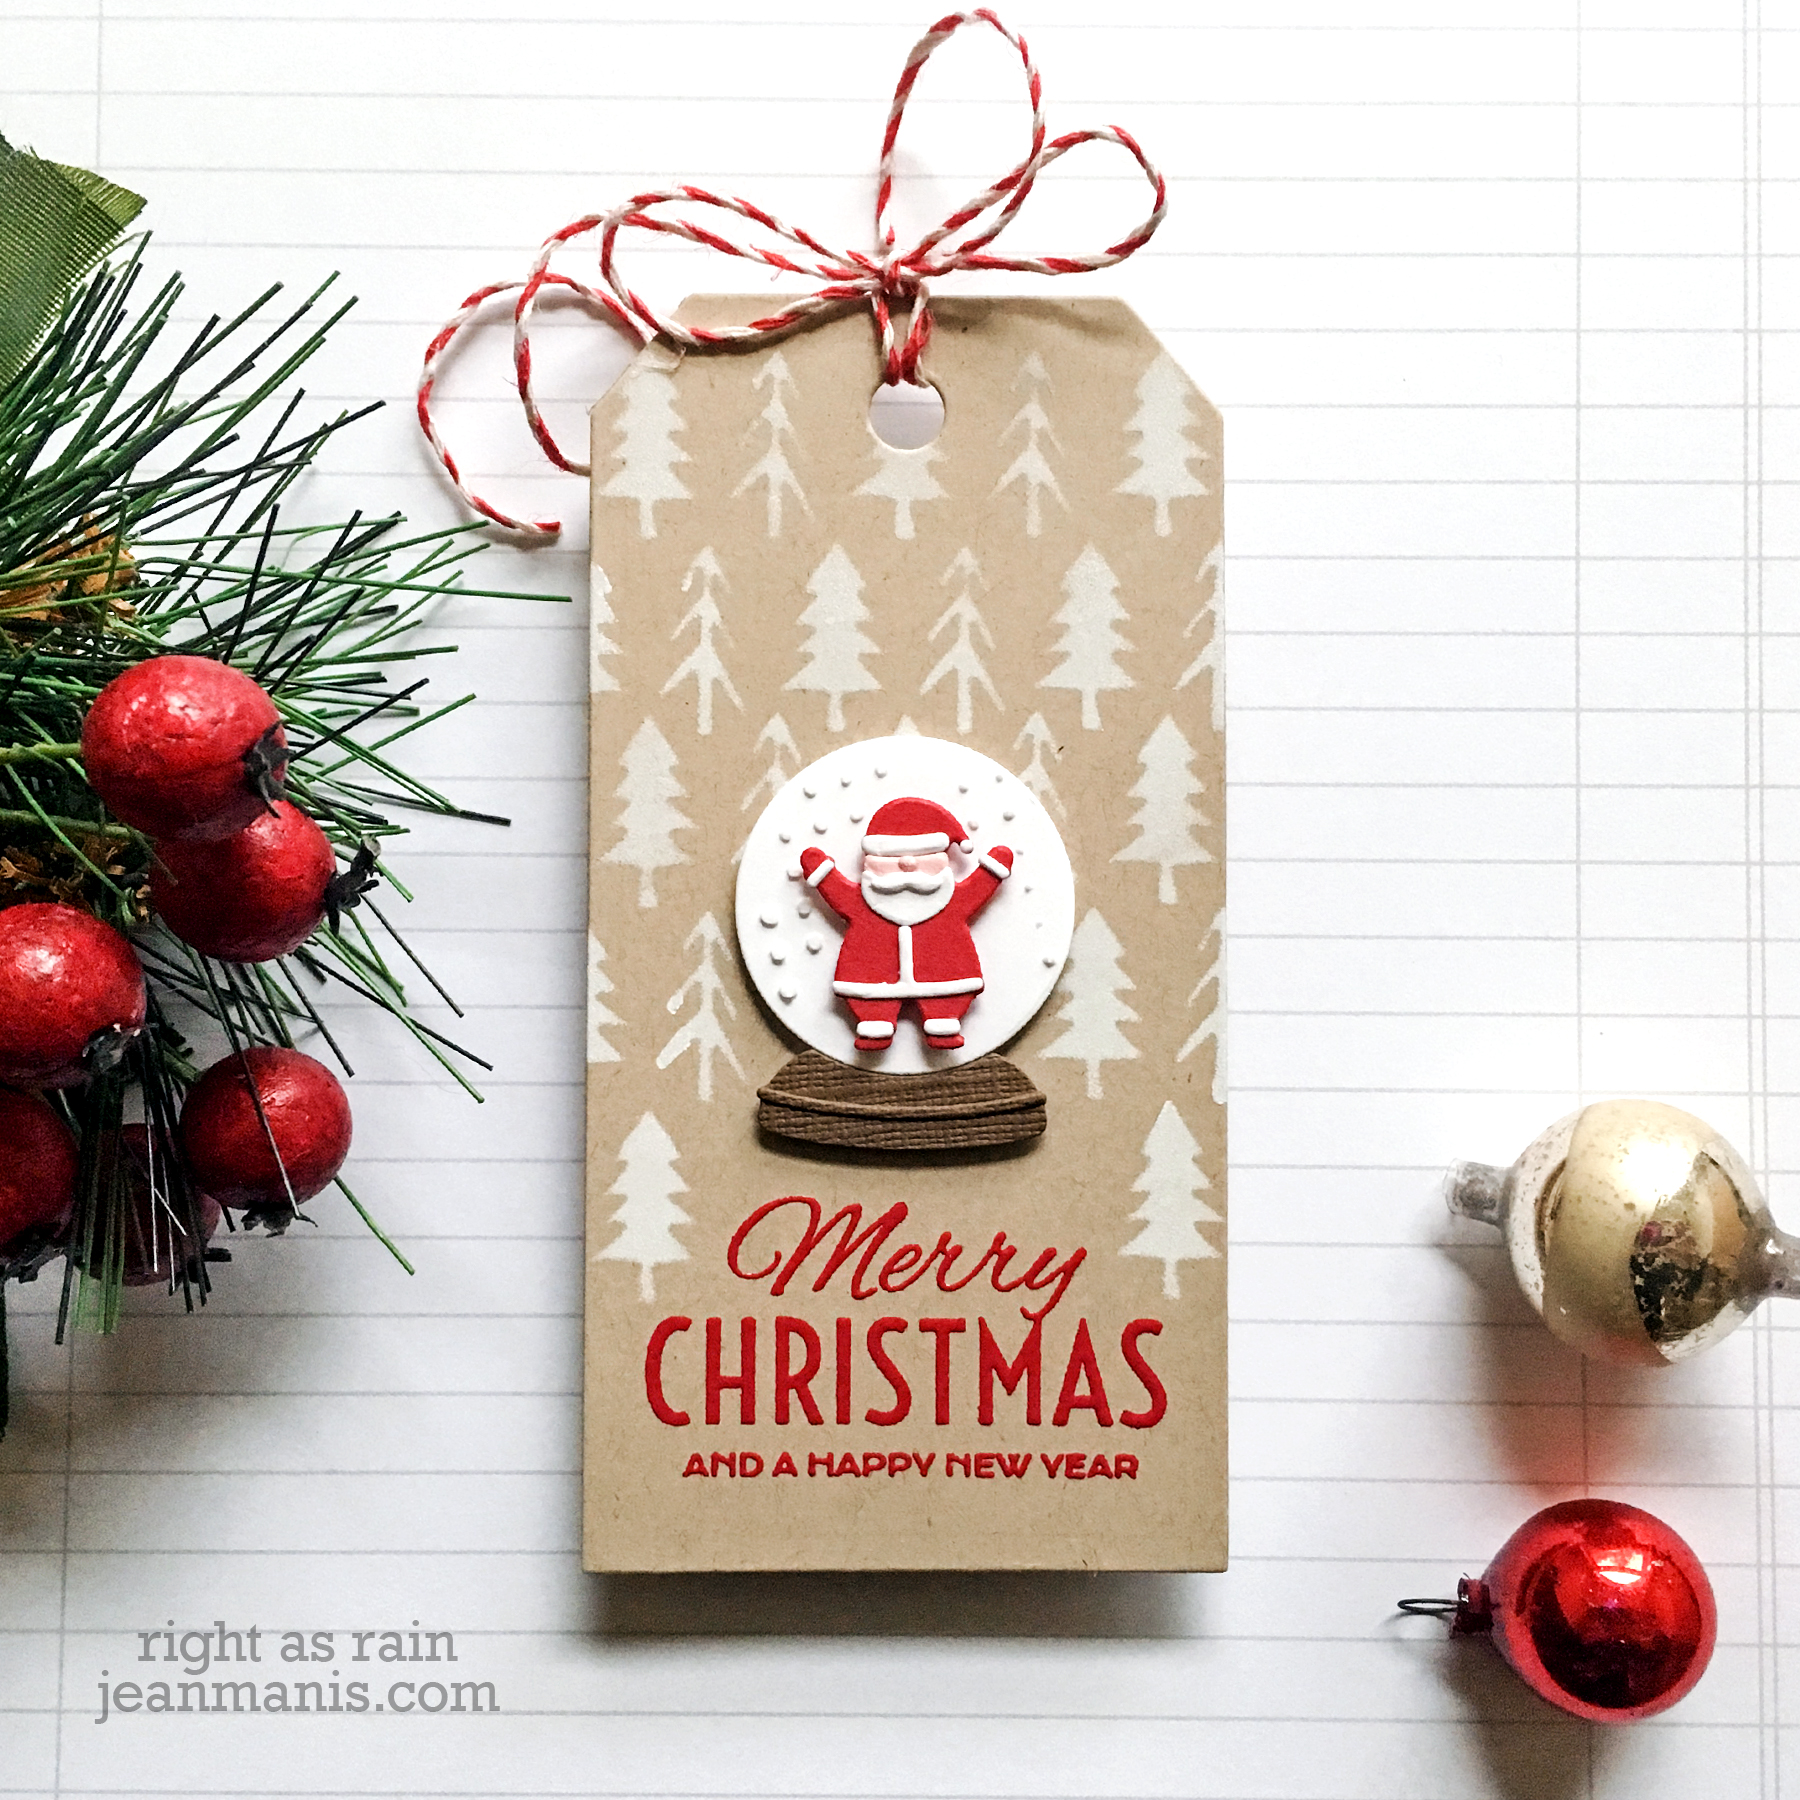
Background stamps can be stamped with paint, which serves as a resist to applied ink. In the example below, the background stamp was stamped on yellow cardstock with white paint. Once the paint was dry, the panel was inked on the edges with yellow ink to better reveal the stamped pattern.
Smaller images can be stamped repeatedly to fill a background.
The invention of the stamp press made possible turnabout stamps, as it is easy to align the cardstock for each color impression.
Background stamps come in dozens of patterns such as stars, florals, hearts, dots, and stripes, each lending its unique character to handmade cards. The choice of pattern significantly impacts the overall feel of the card.
In the early days of my cardmaking journey, I often stamped backgrounds for my cards. Back then, my collection of crafting supplies was still taking shape, and I relied on products from a select few companies, including Hero Arts and Impression Obsession, who offer high-quality rubber background stamps. Over the years, I have used background stamps most often on design team creations for companies that sell background stamps, such as Penny Black and Taylored Expressions. This post has made me realize how much I enjoy the impact of a stamped background, and I plan to dig through my collection!
Do you frequently use background stamps? Which technique is your favorite?