Spellbinders | #1 Foam Finger

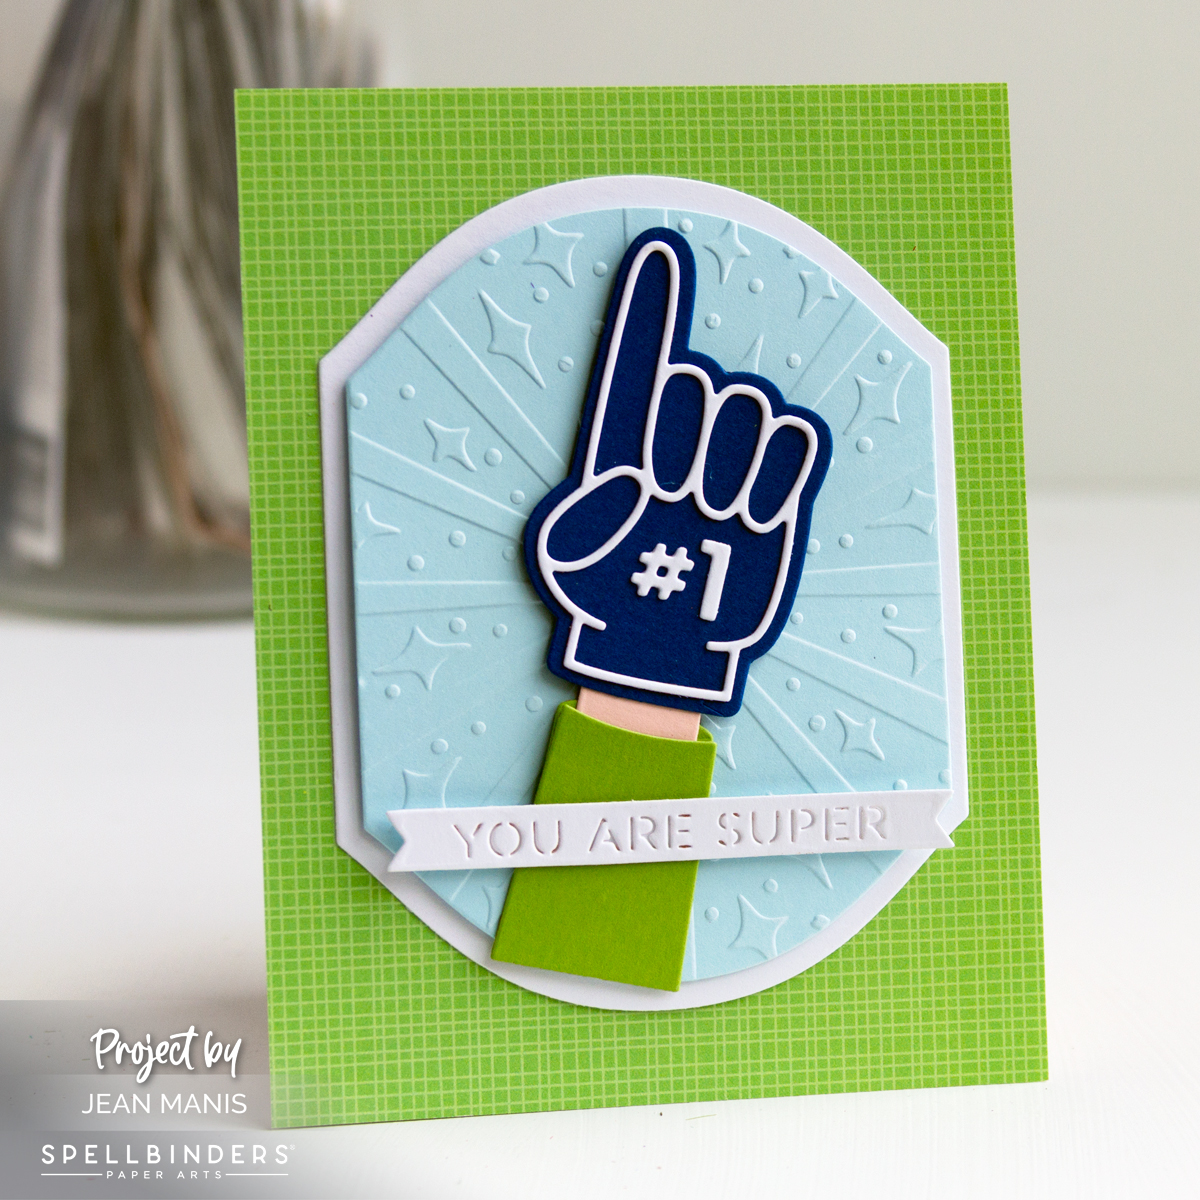
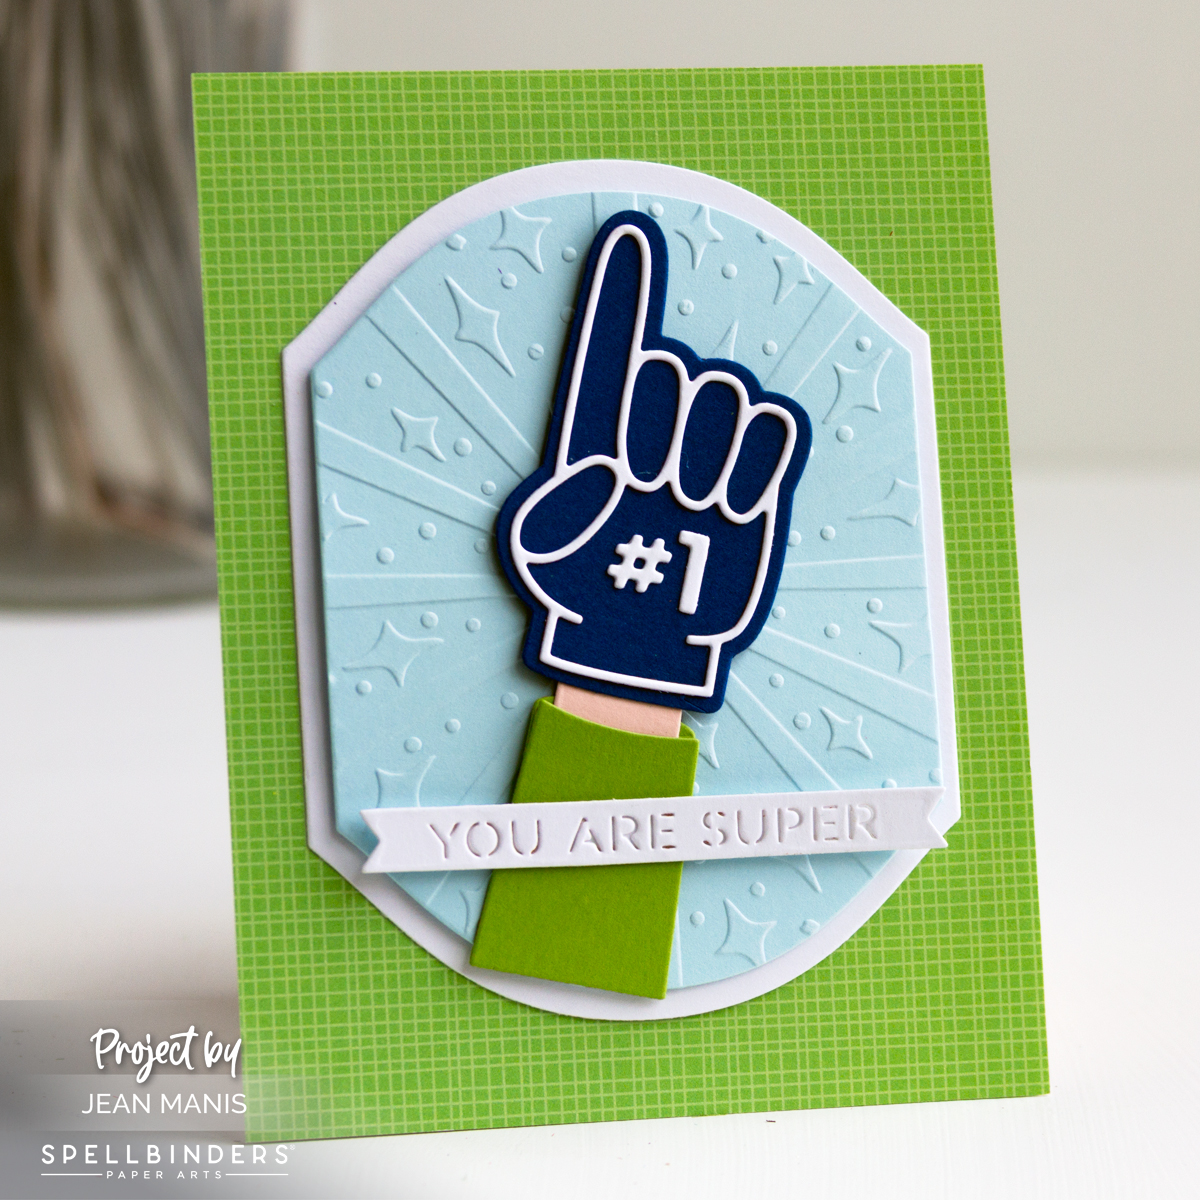
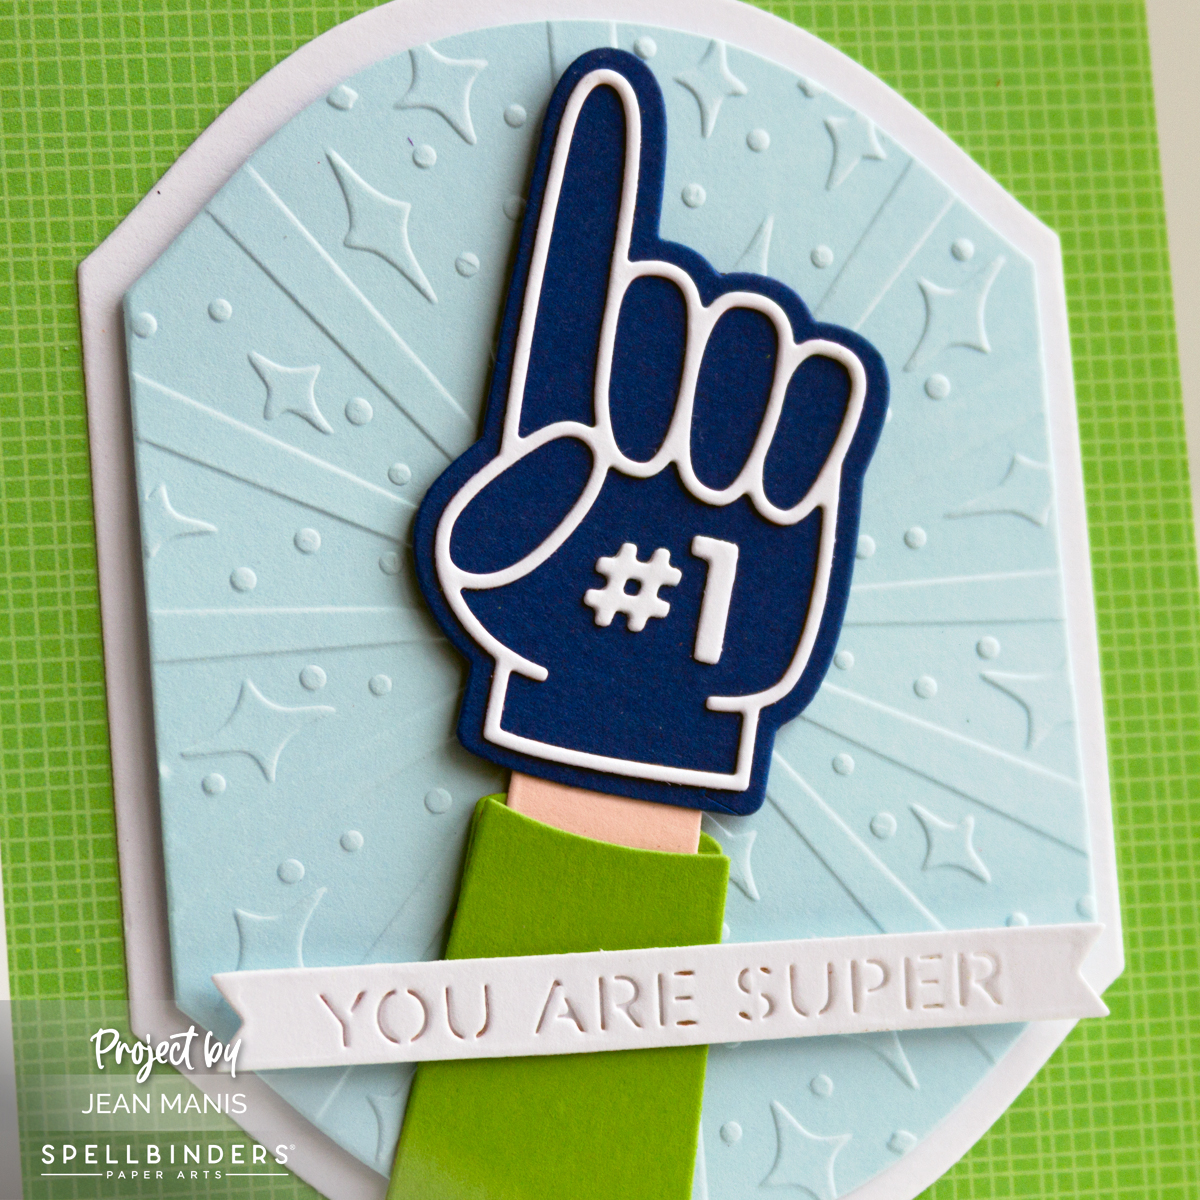
Hello! Show someone they’re a true champion with this playful #1 foam finger card! Created with one of the Spellbinders Crate offerings for March 2026, the design features a foam finger, a die-cut banner declaring “You Are Super,” and a dry-embossing for added dimension.

Spellbinders | #1 Foam Finger

Spellbinders | #1 Foam Finger


Spellbinders | Tulip Fields in Bloom

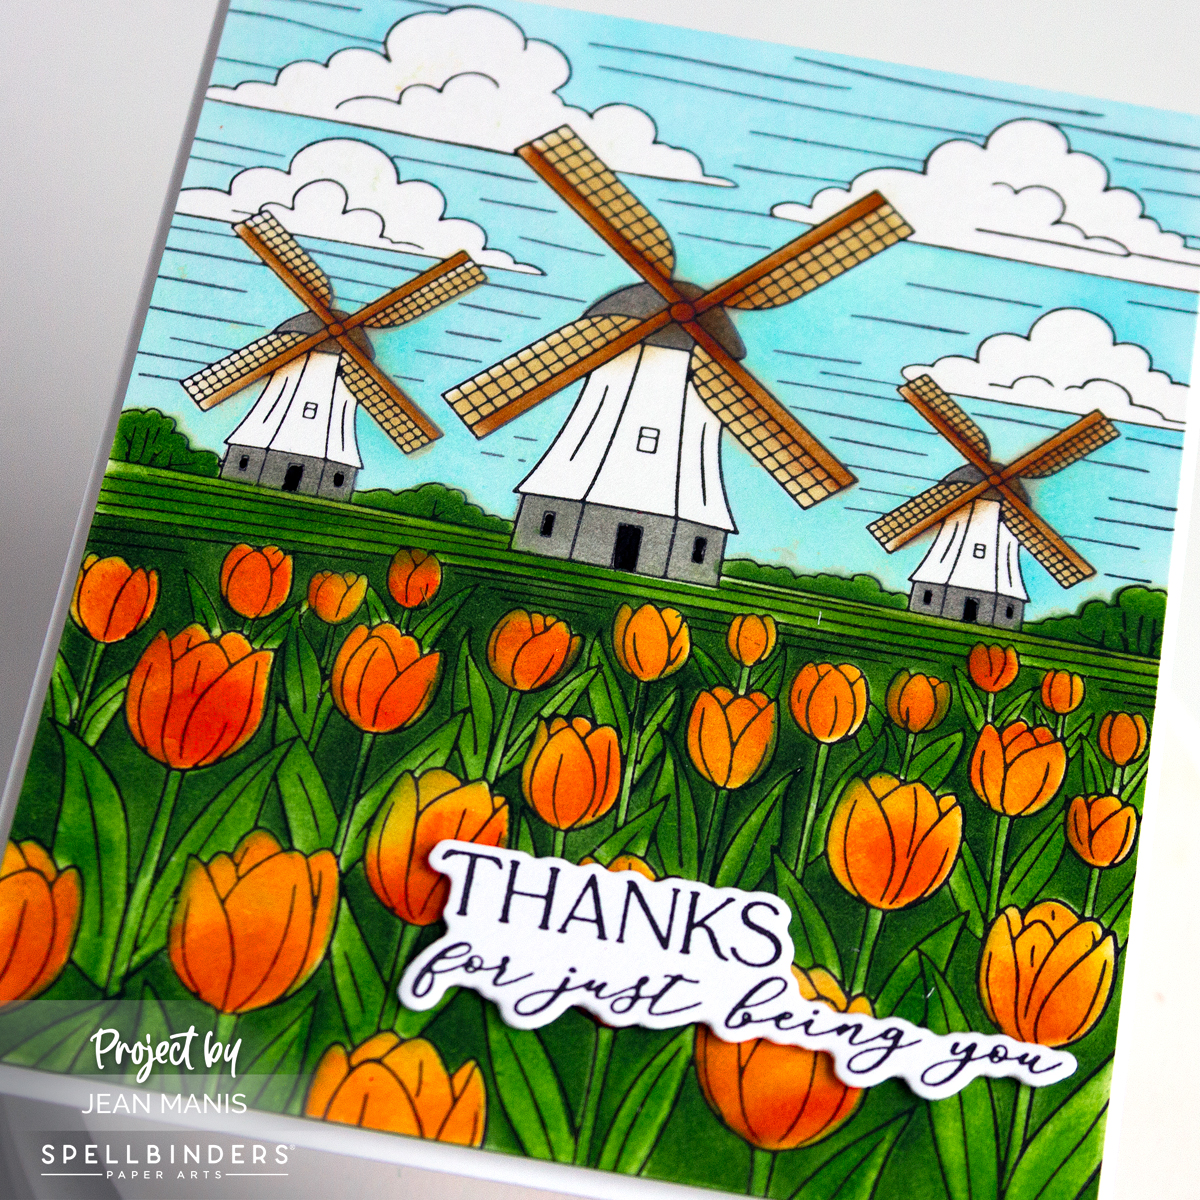
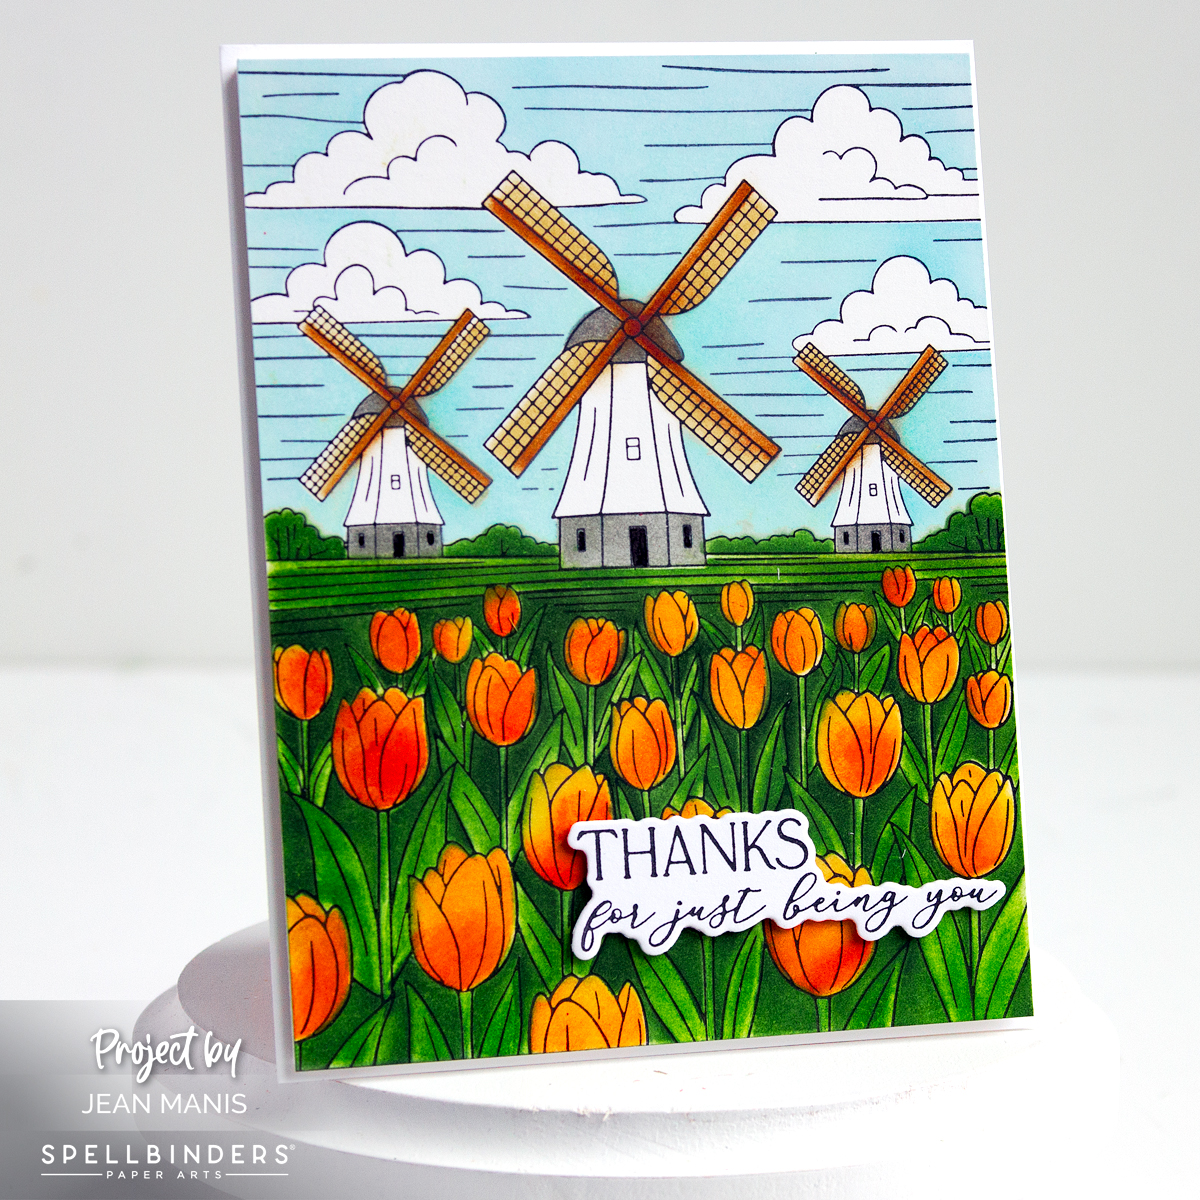
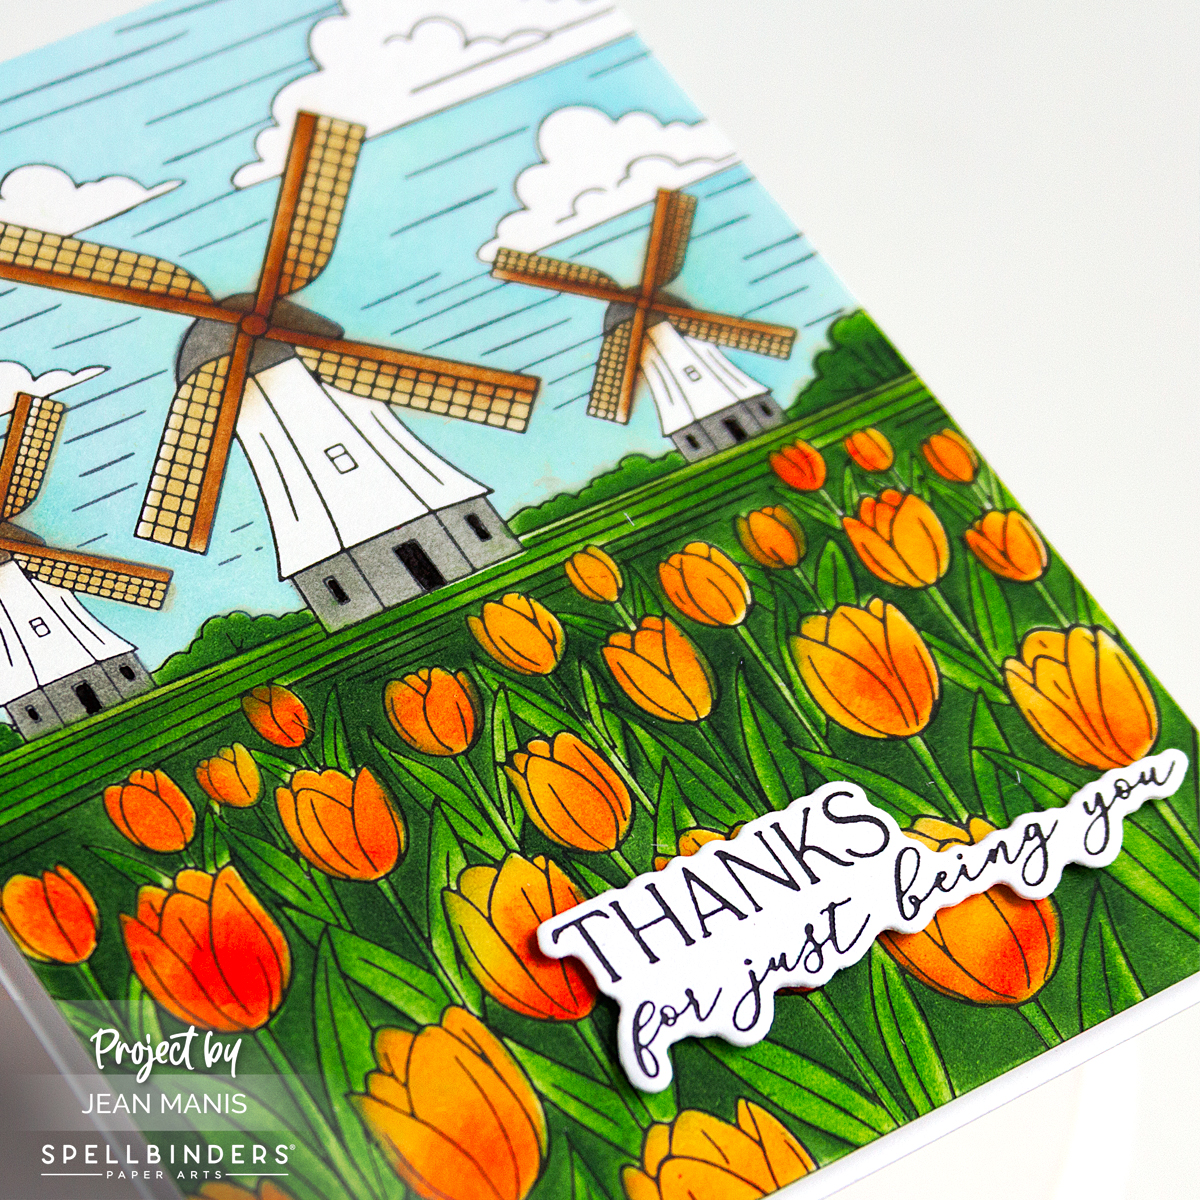
Hello! For this spring card, I used a Spellbinders BetterPress tulip plate with its coordinating stencils, part of the Yana’s Tulips Collection. The BetterPress background makes coloring the scene simple and the Distress Oxide inks through the stencils gives the scene the look of a painted landscape. A BetterPress sentiment ties everything together.

Spellbinders | Tulip Fields in Bloom

    • To begin, press the Windmills and Tulips scene on to white cardstock with black ink.
    • Color the scene with Distress Oxide inks using the coordinating stencils.
    • Trim panel and add to an A2-size card base.
    • Press the You are Everything sentiment, cut with its coordinating die. Add the sentiment to the scene.

pellbinders | Tulip Fields in Bloom


Spellbinders | Superheroine Card

Hello! Today I’m sharing a Mom or friendship card created with the Spellbinders March Small Die kit, featuring a super heroine in the clouds. The dry-embossed sky with a subtle star pattern, adds texture and dimension. The sentiment “You Saved the Day” perfectly complements the theme, making this card ideal for celebrating someone who truly does it all.

Spellbinders | Superheroine Card

    • Create an A2-size card base from Raven cardstock.
    • Cut Breeze cardstock with the largest die in the Mirrored Arch Labels set and dry-emboss with the March Embossing Folder. Add to the card base.
    • Cut the superheroine, clouds, stars, and sentiment with dies in the March Small Die kit from a variety of cardstock colors. Assemble and add to the prepared card base. I added Stickles to the stars and her head crown for sparkle.


Spellbinders | You’re Pure Classic!

For this playful Father’s Day card, I reached for the Spellbinders March Large Die of the Month Kit and leaned into a theme that feels perfectly “Dad.” What’s great about this die set is that it’s versatile enough to create a feminine card as well!

Spellbinders | You’re Pure Classic!

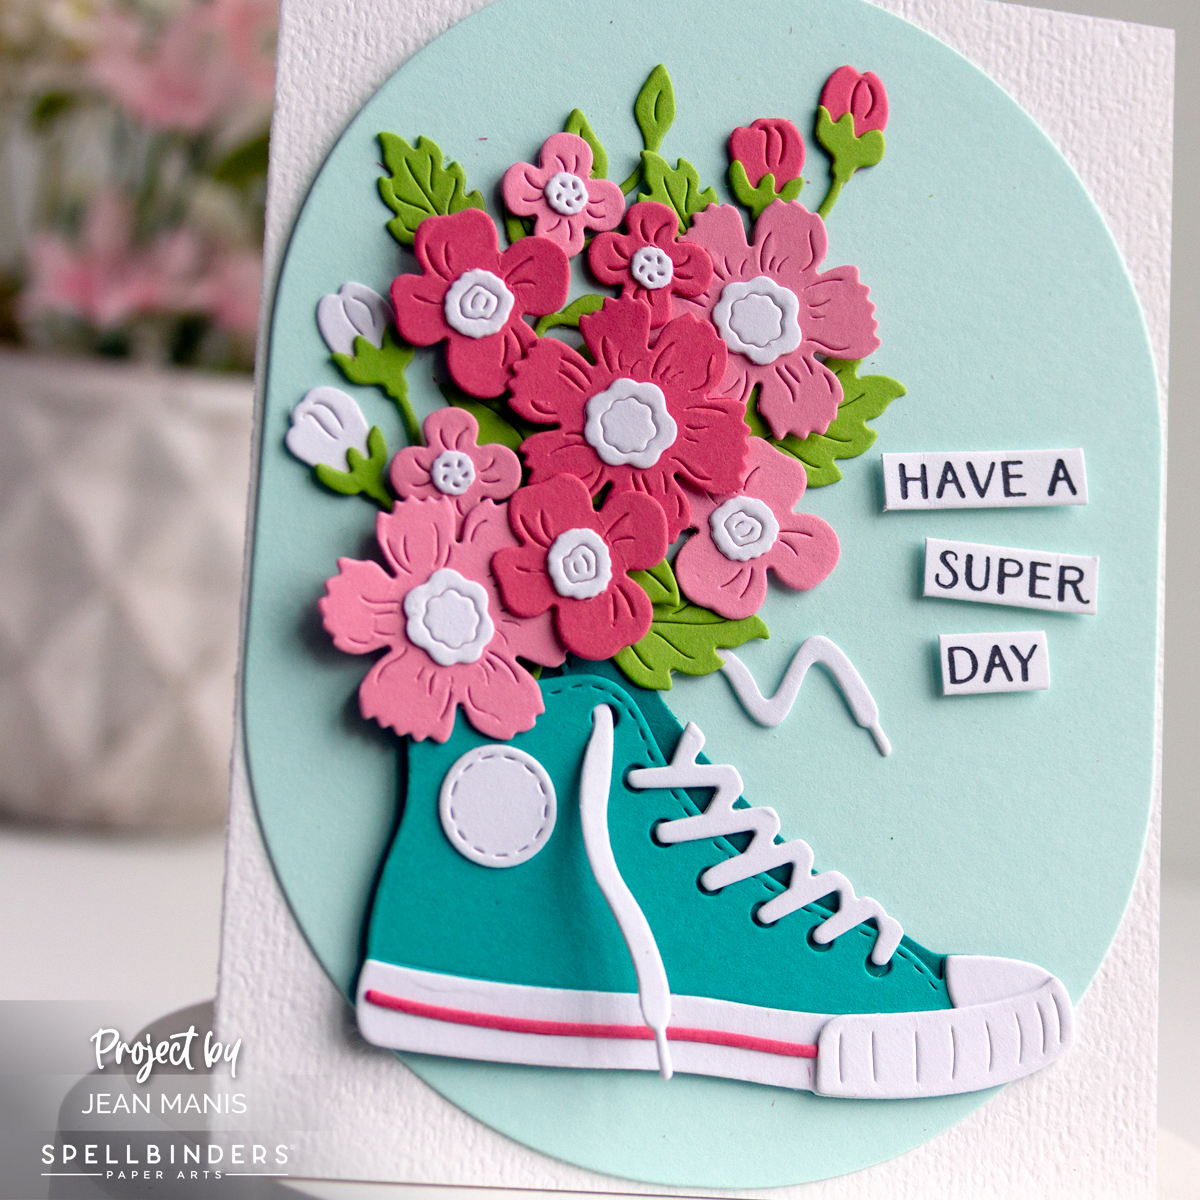
Classic sneakers take center stage, paired with grill implements, a mustard bottle, and a hot dog for a fun backyard vibe. I set the scene against a BetterPress dot grunge background, which adds texture and energy. The sentiment ties everything together and celebrates that timeless dad style. What is great about the is there’s a way to make a feminine card as well!

    • Press the background with blue ink on Malibu cardstock. Trim and add panel to an A-2 size card base. Press the sentiment with the same set and trim.
    • Cut the sneakers, grill tools, condiment bottle, and hotdog with dies in the March Large Die of the Month Kit from a variety of cardstock colors. Assemble.
    • Add the assembled items and sentiment to the prepared card base with glue and foam squares.

Spellbinders | You’re Pure Classic!


Spellbinders | Easter Birthday Card

Hello! A birthday during the Easter season calls for a mashup of spring and celebration. This card combines a variety of Spellbinders supplies including the recently released Bunny Buddies set. I know many of you enjoy seeing how versatile these sets can be. I’ve shared other mashups featuring Simon Hurley designs before, and once again this card shows how easily these pieces can stretch beyond a single holiday or occasion.

Spellbinders | Easter Birthday Card

    • To begin, cover an A2-size card base with patterned paper (Echo Park Party Animal).
    • Cut Cascade cardstock with the largest die in the Mirrored Arch Labels set and dry-emboss with the Floating Balloons folder. Add to the card base.
    • Cut the frame with the Memory Frames die and back with patterned paper (Carta Bella They Say It’s Your Birthday). Add to the card.
    • Cut the balloon with the smallest balloon die in the Color Block Balloons set. Assemble.
    • Cut the sentiment banner, package, and party hat with dies in the Birthday Bear set. Assemble.
    • Cut the bunny with the Bunny Buddies set. Assemble. I previously shared a card with the Bunny Buddies die set HERE.
    • Add assembled elements to the prepared card with foam and dot adhesive.

Spellbinders | Easter Birthday Card