Here in the Northern Hemisphere, the days are growing longer, cherry trees and daffodils are in bloom, and the birds are chirping. Additionally, Easter is just around the corner – March 31. I am revisiting spring-themed cards from my blog archive. Going through this process provides a fresh perspective on the supplies I already own, as well as designs and color schemes I may want to use again.
Throughout this post, I’ll be using cards from my blog archive as examples. Click on the card image to be taken to the original post.
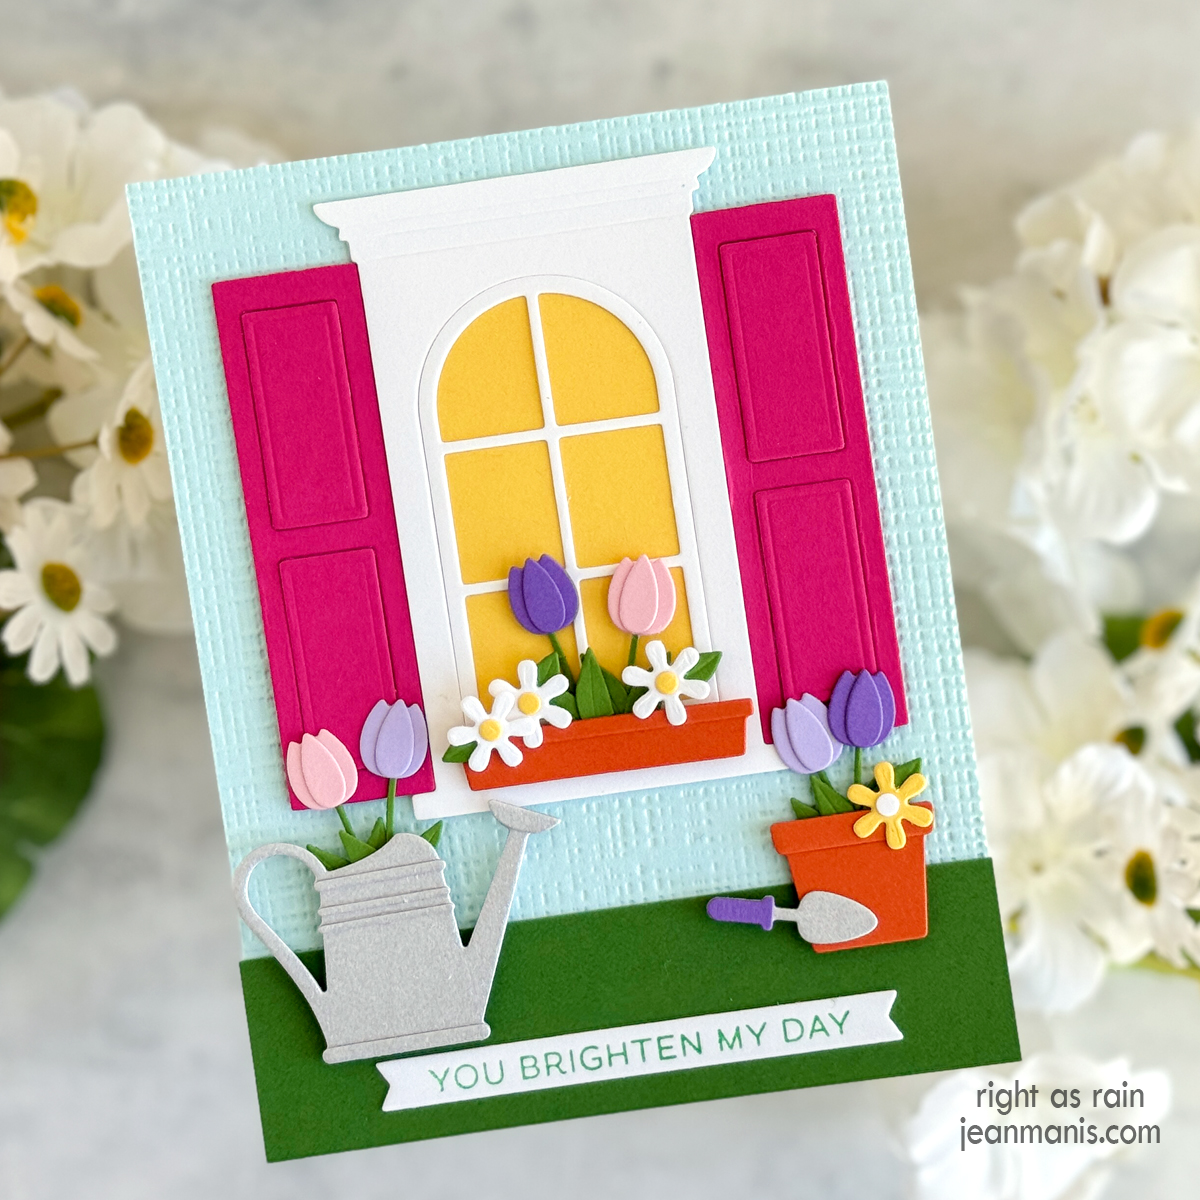
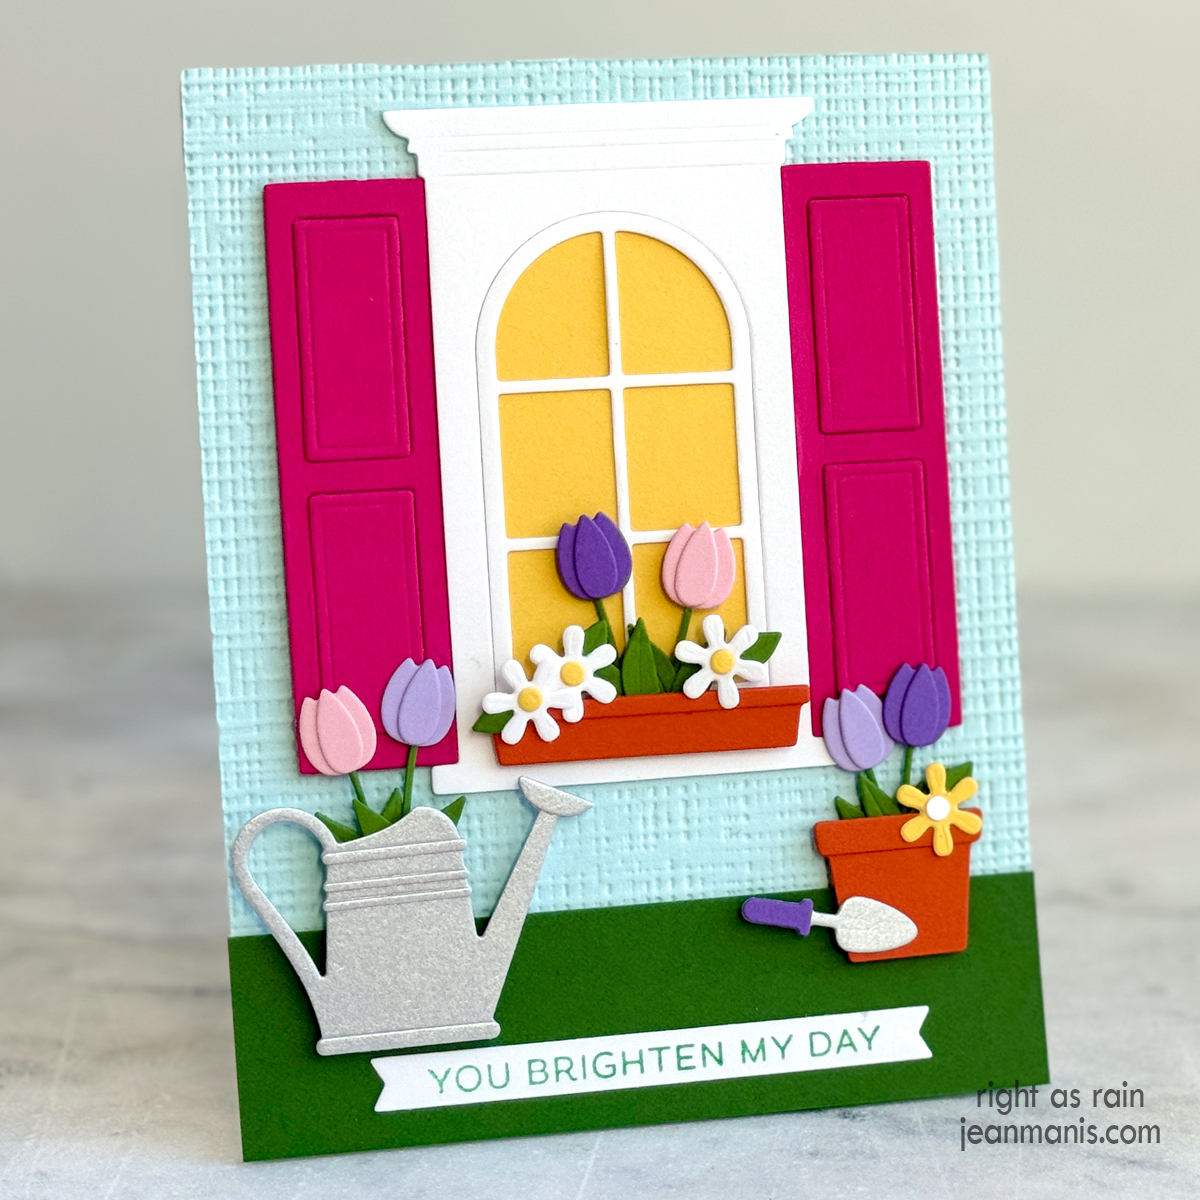
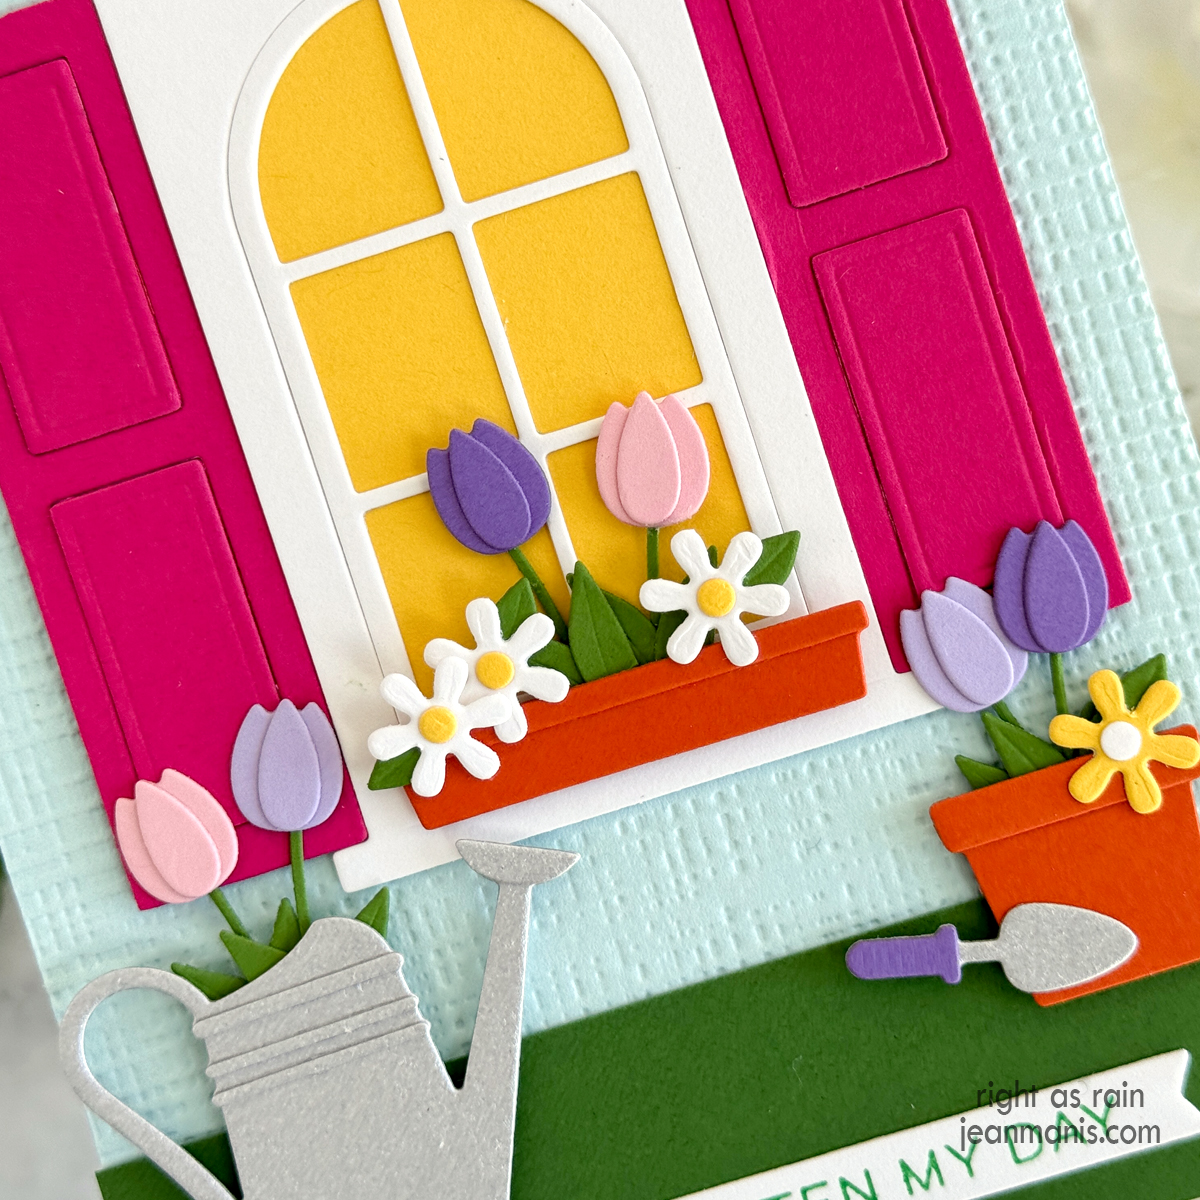
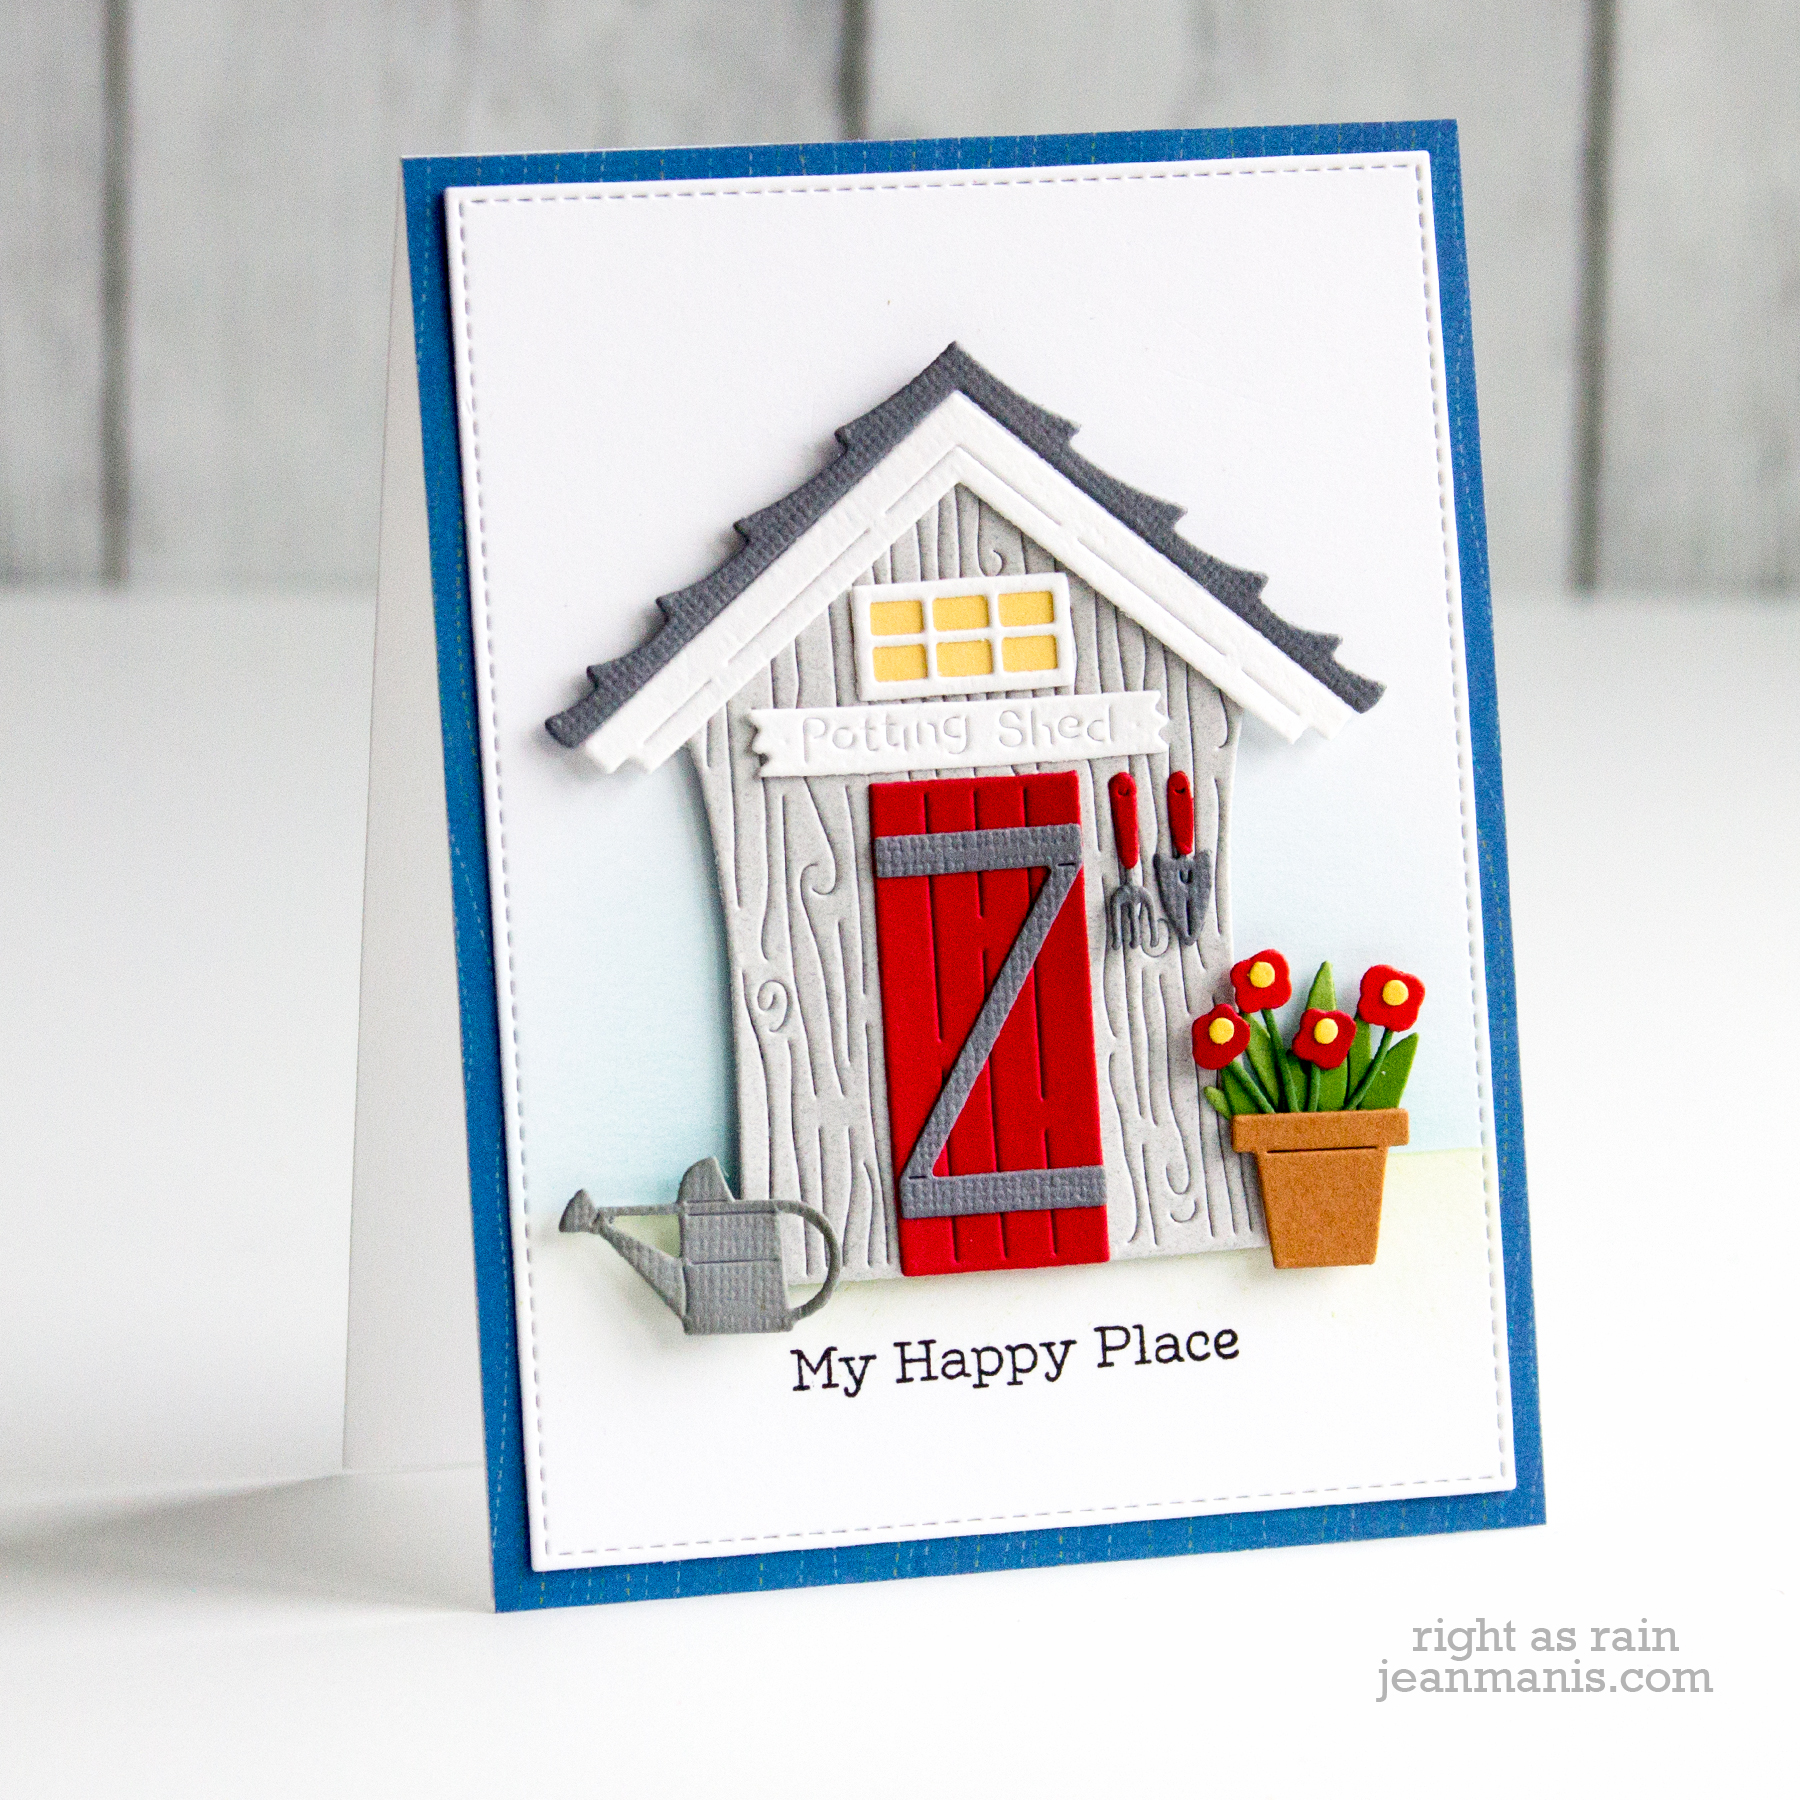
A quaint garden shed with gardening tools and a pot filled with blossoms illustrates the joy of getting back into the garden.
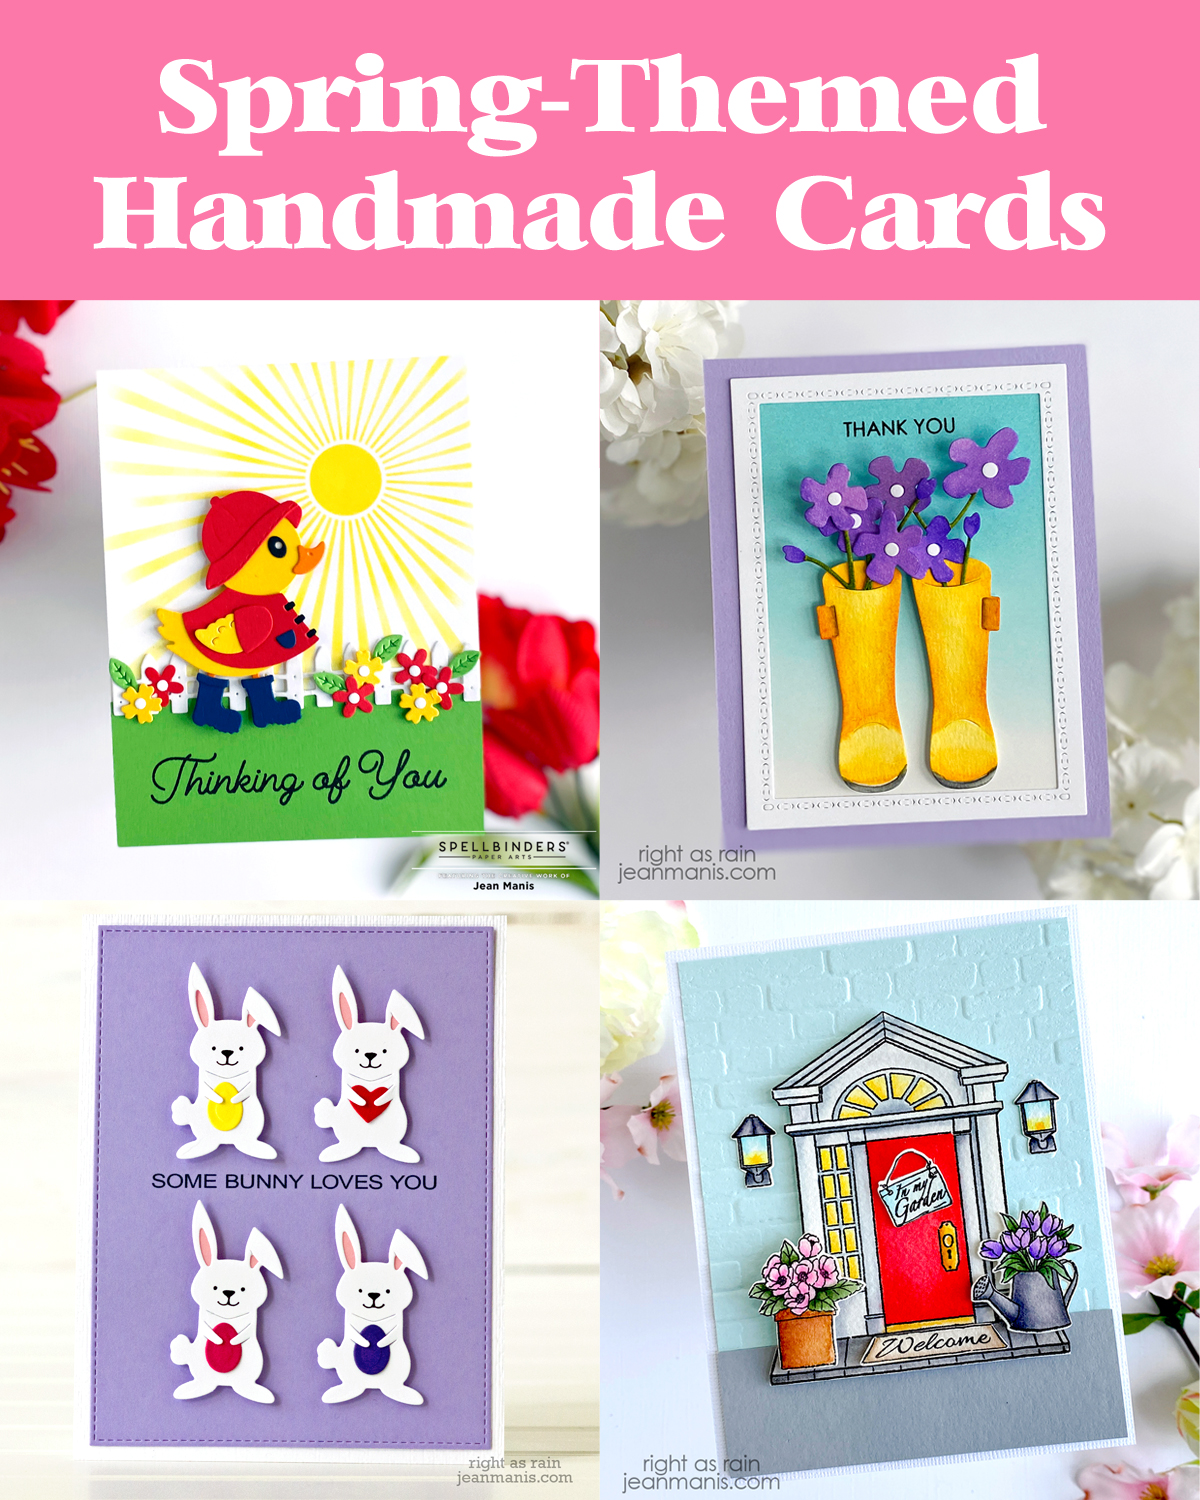
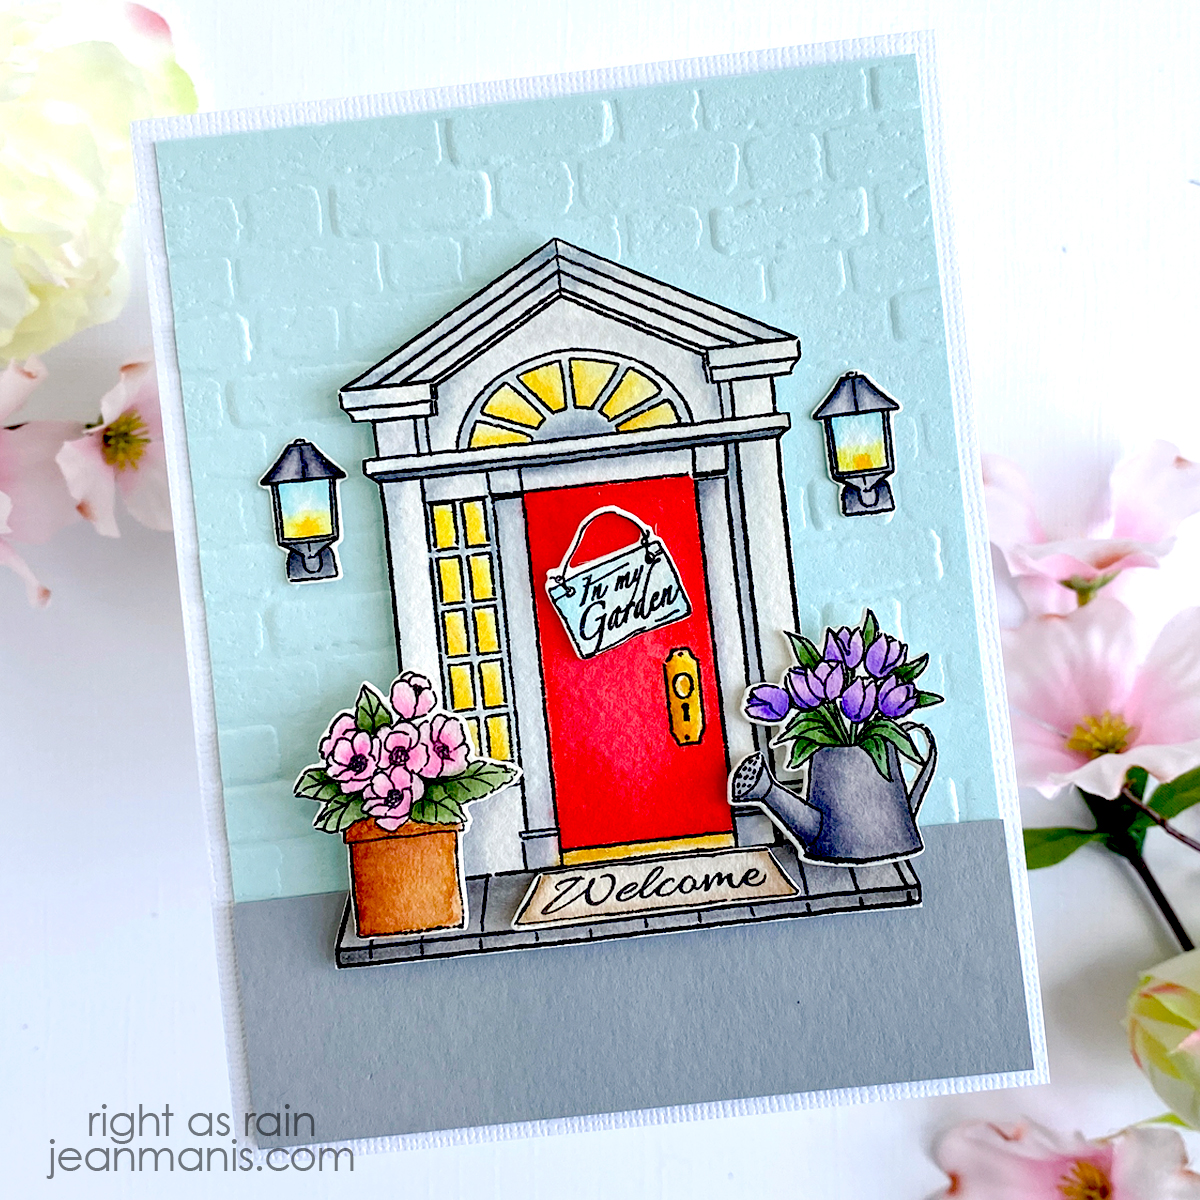
A welcoming front door, artfully decorated for the season, invites the warmth of the season into our hearts.
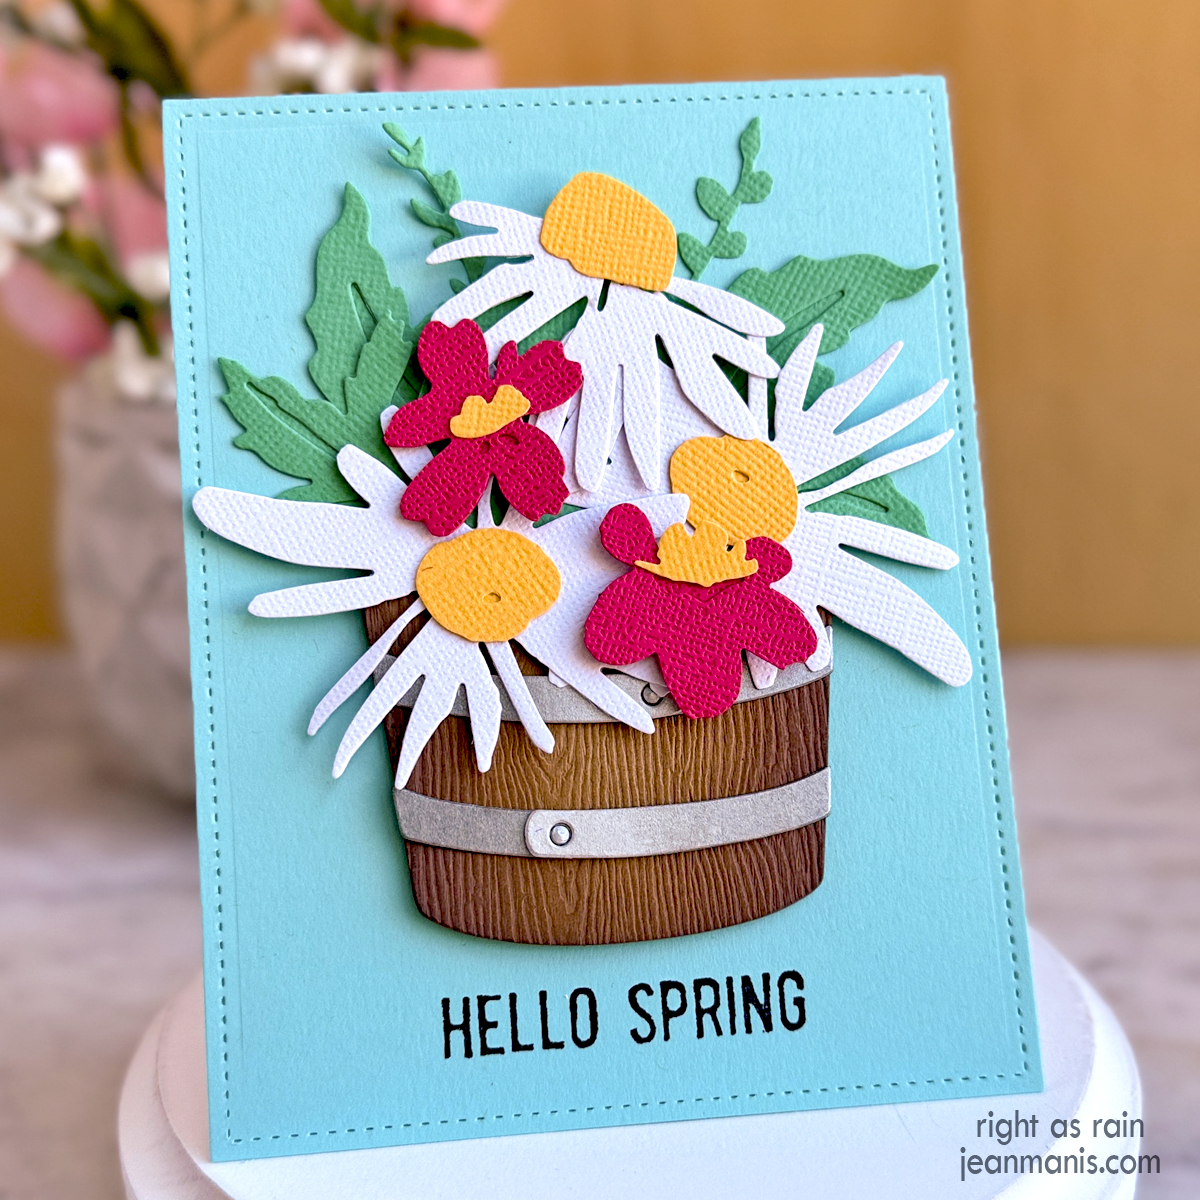
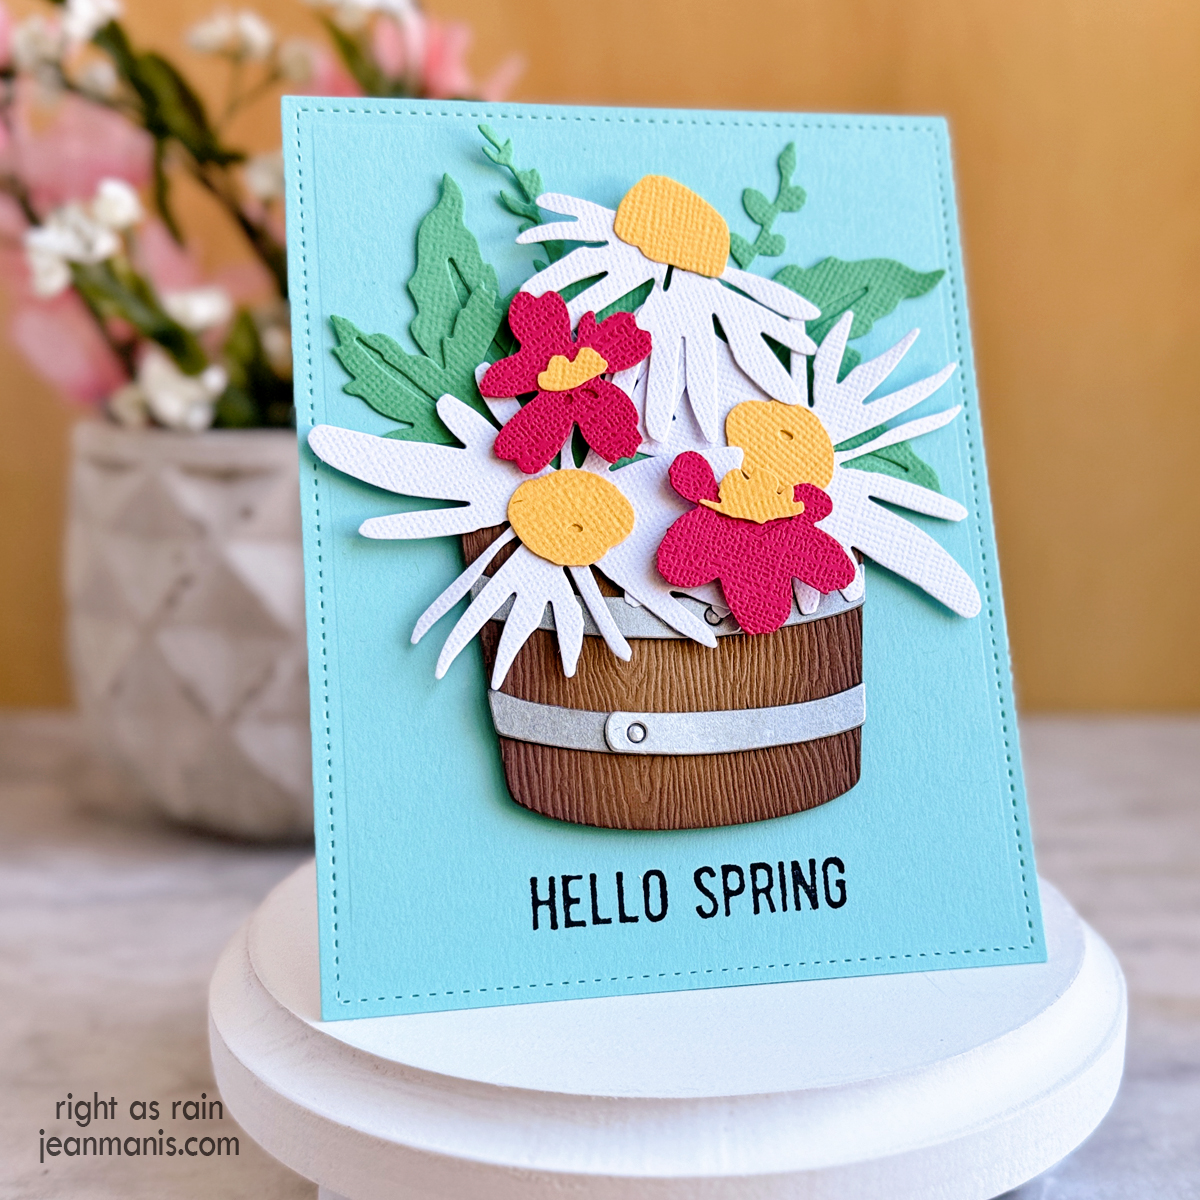
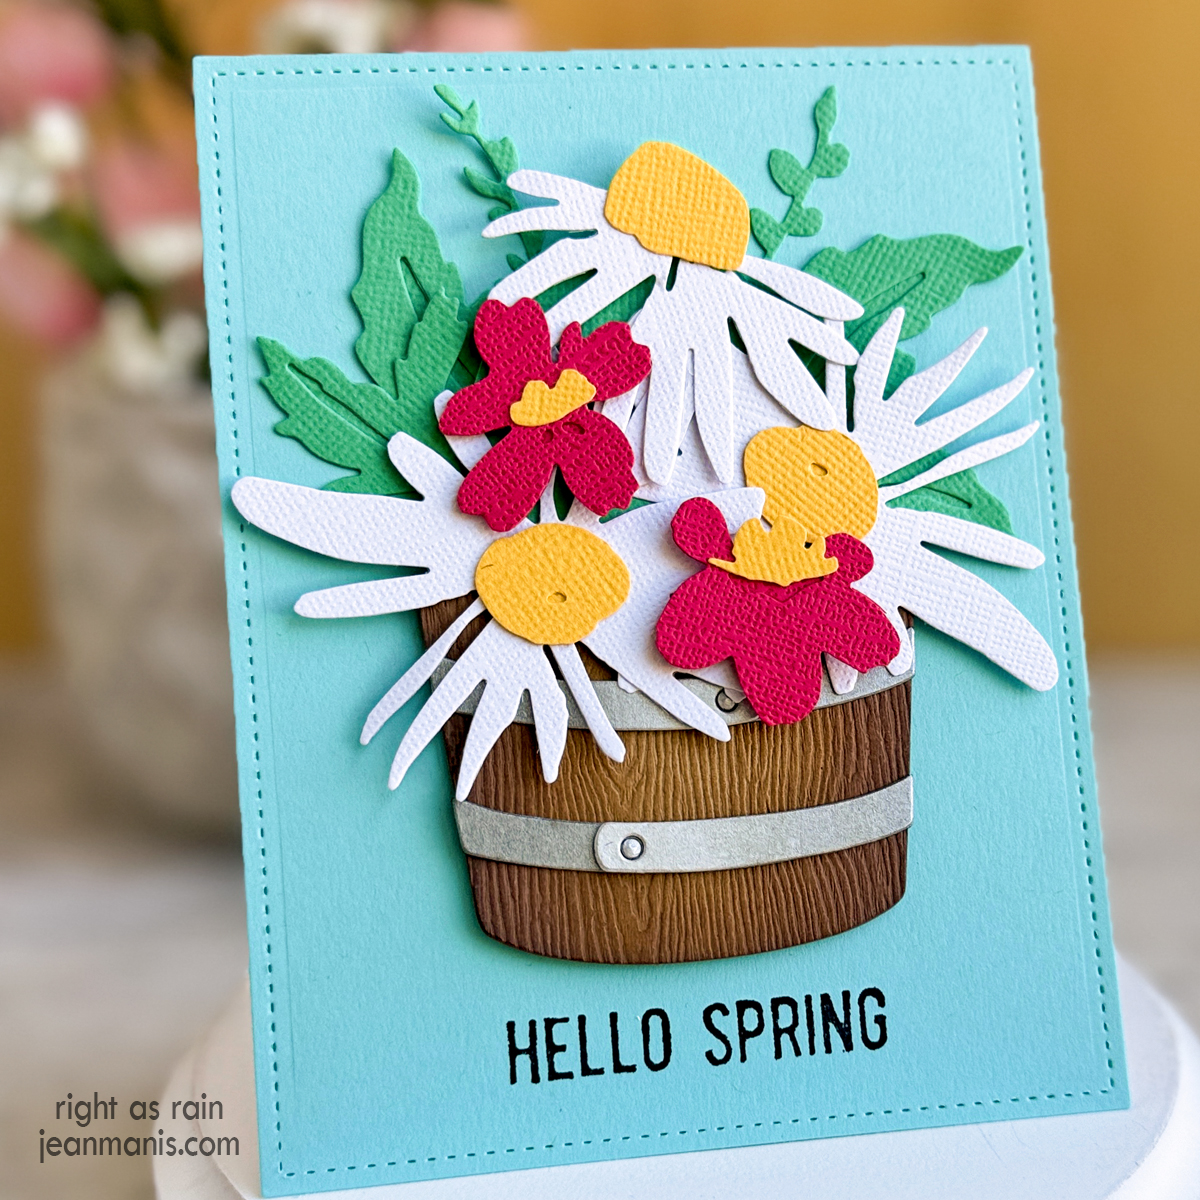
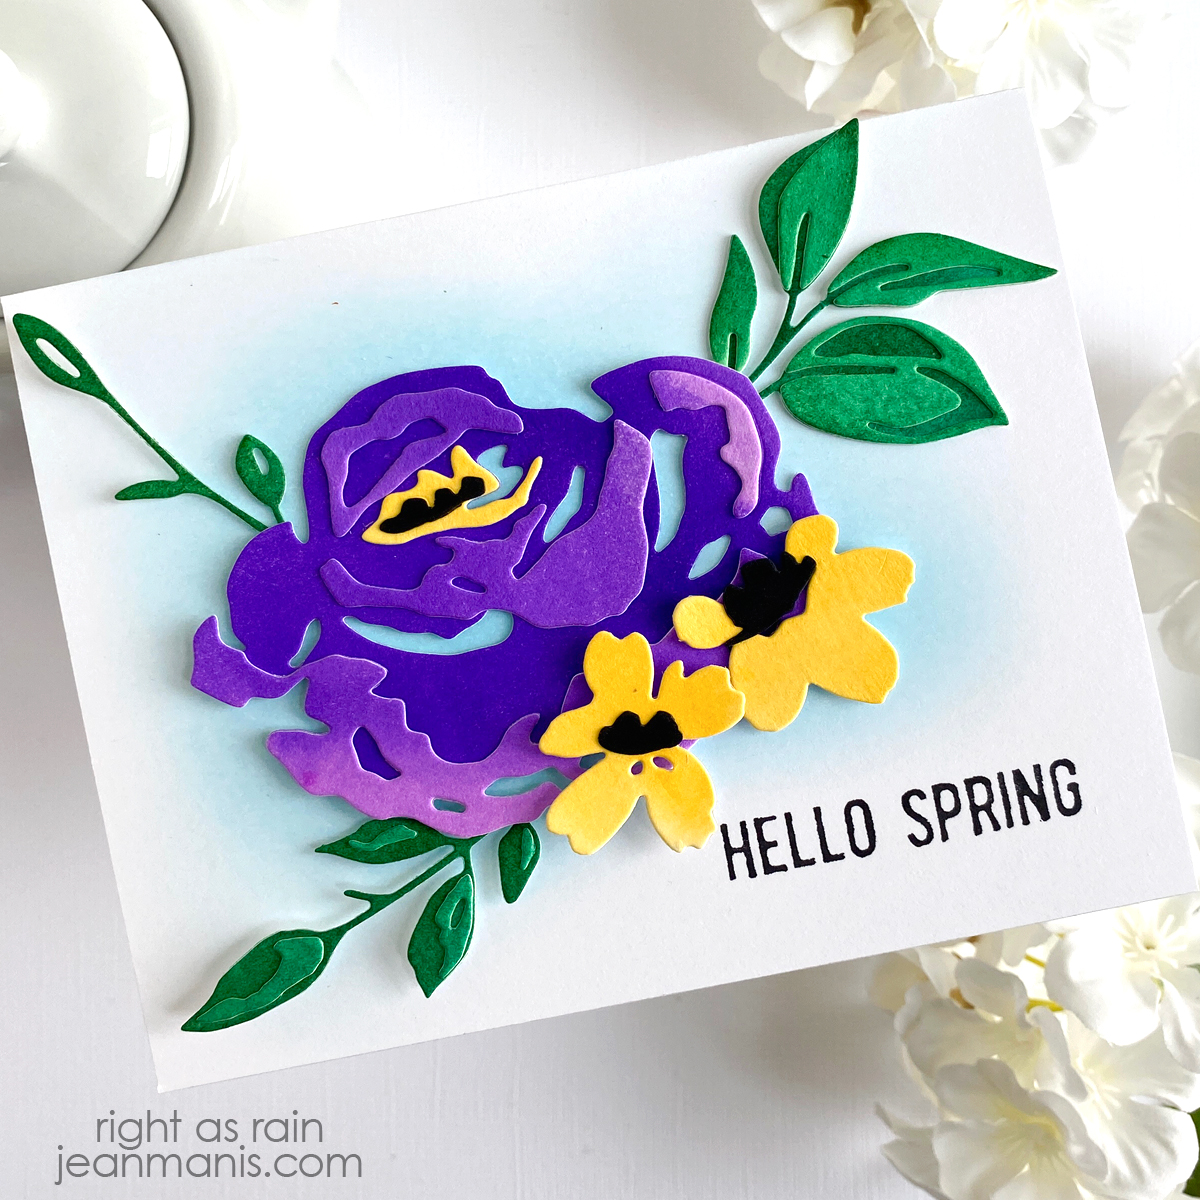
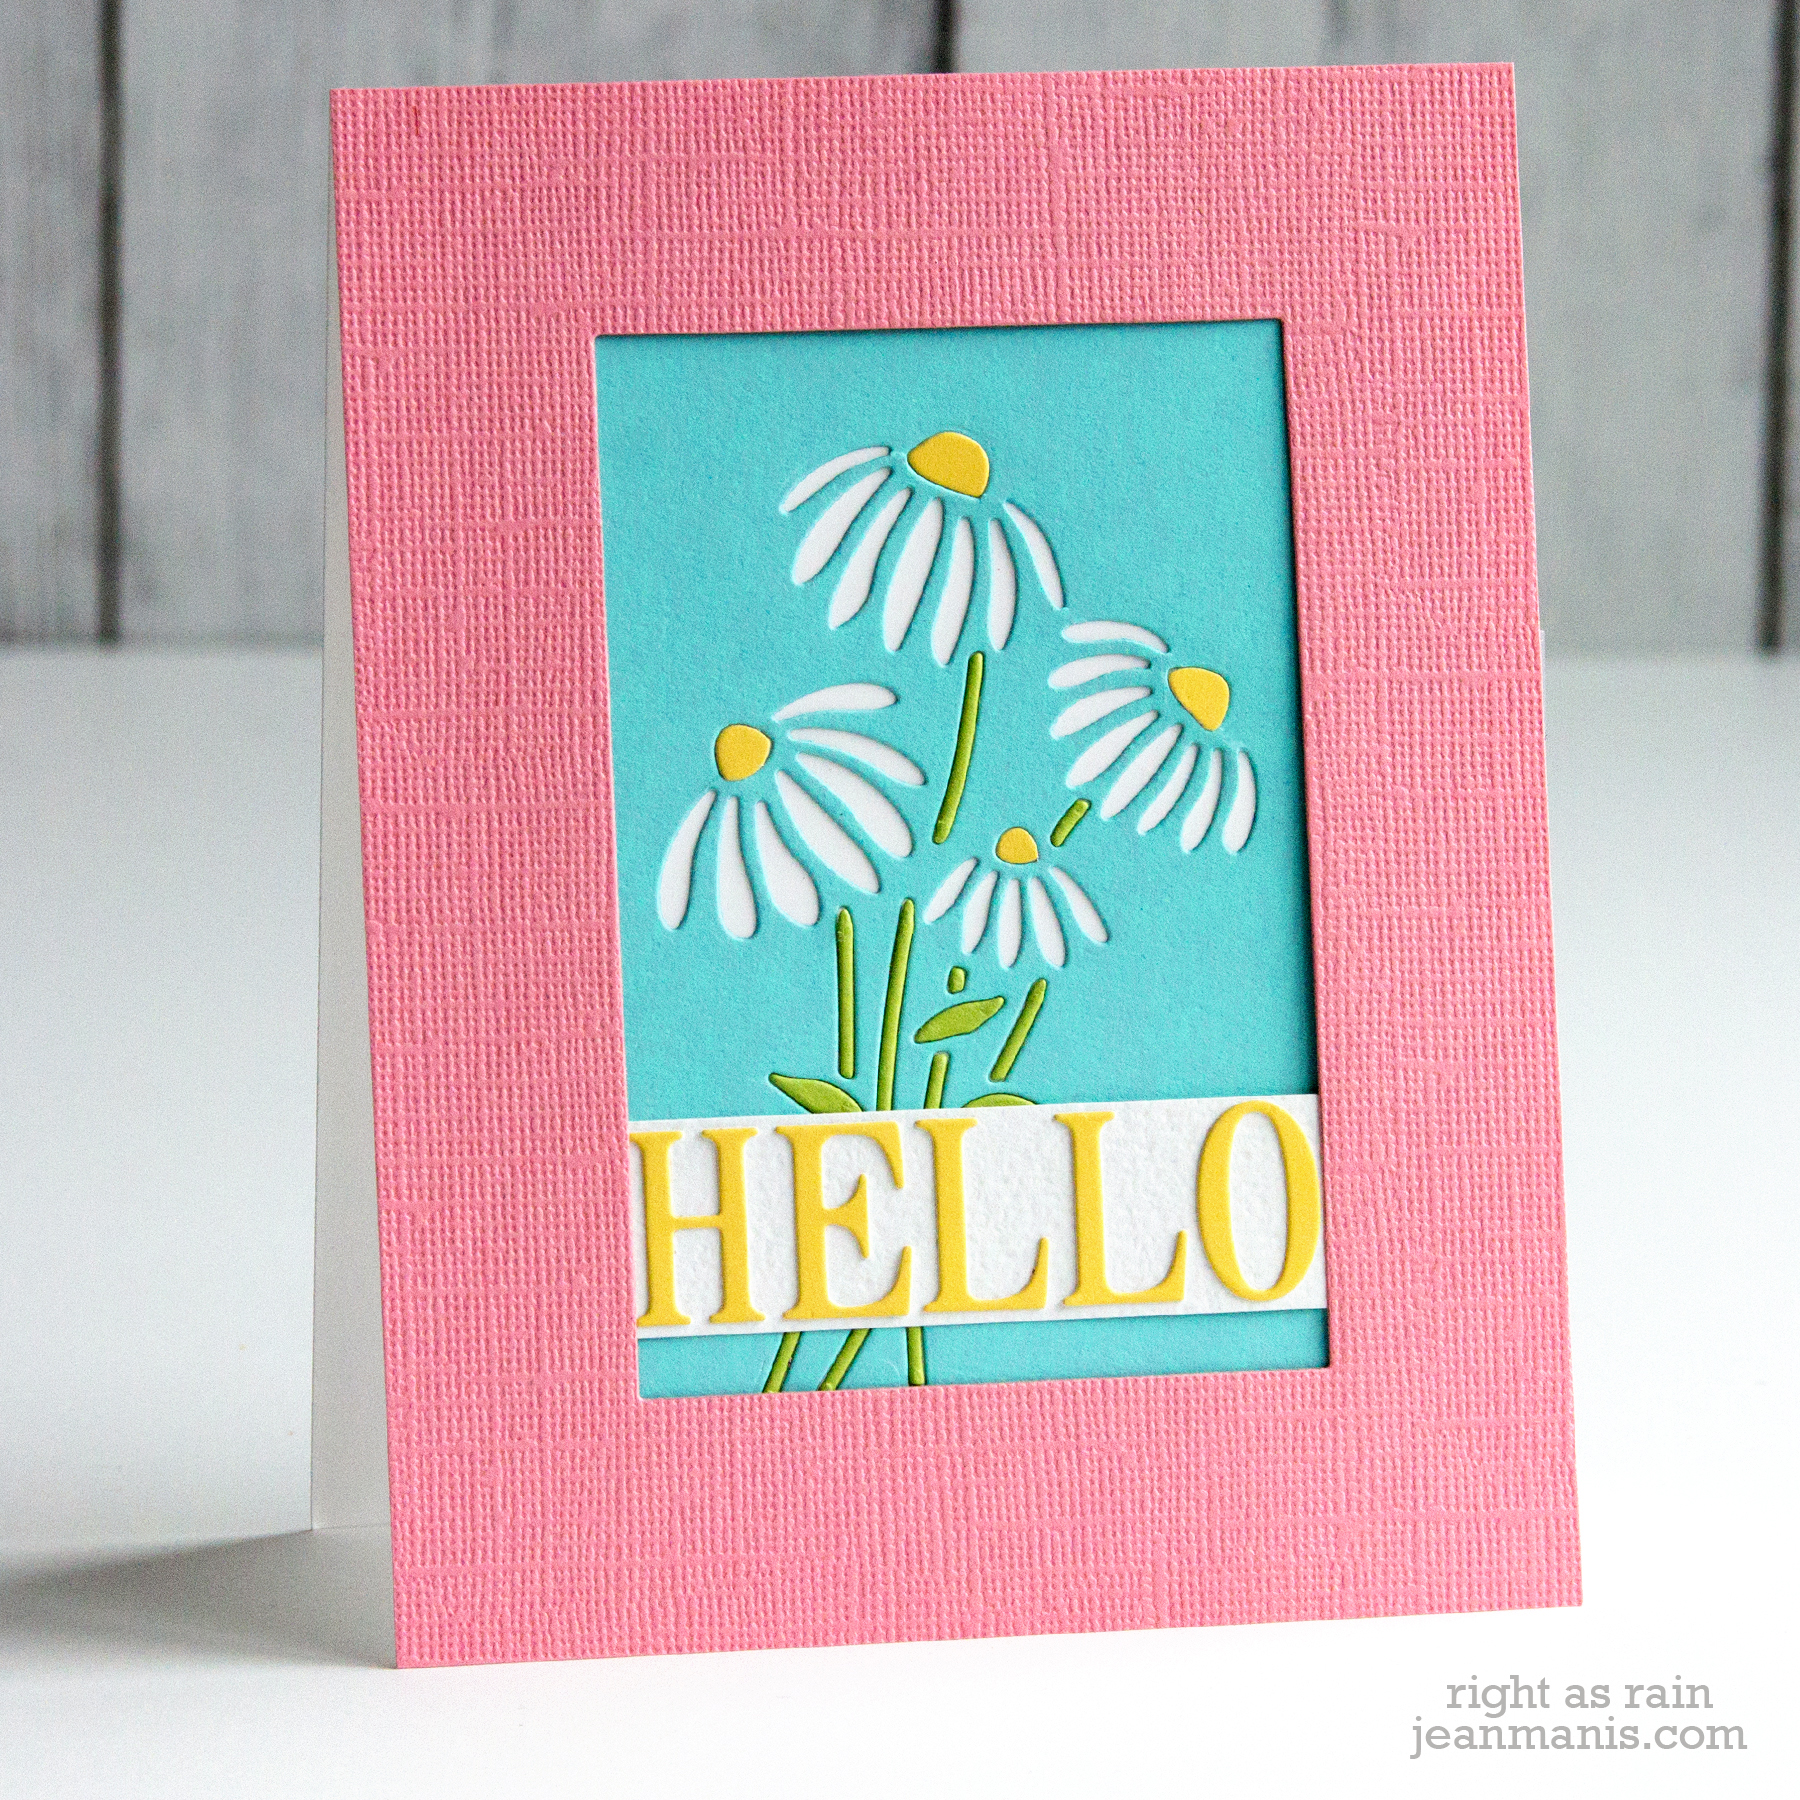
Say “hello” with spring florals that capture the season’s essence.
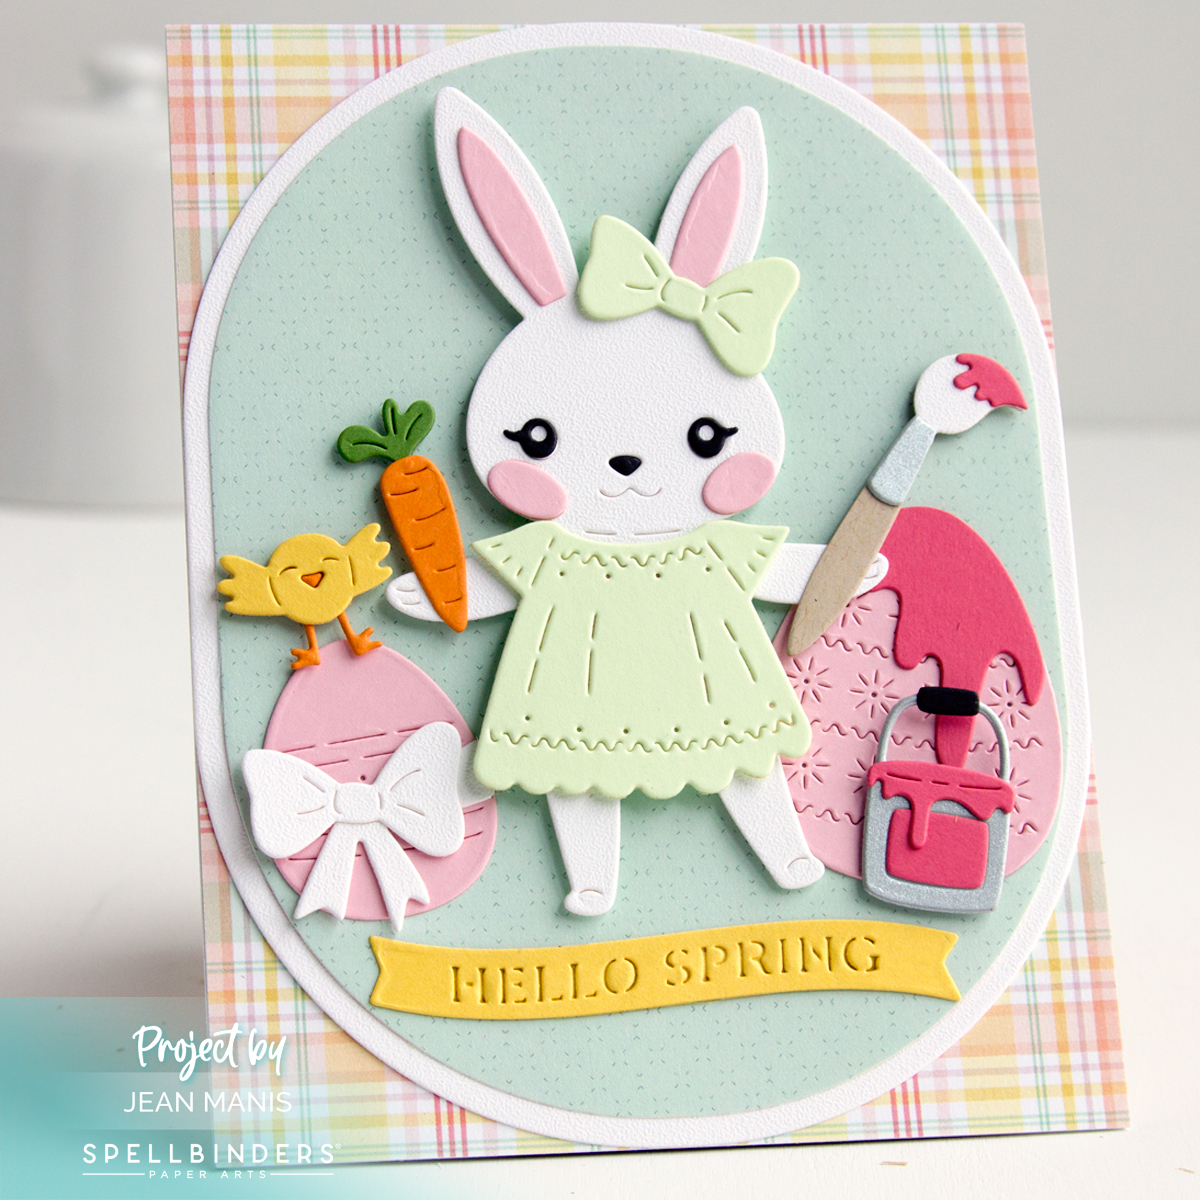
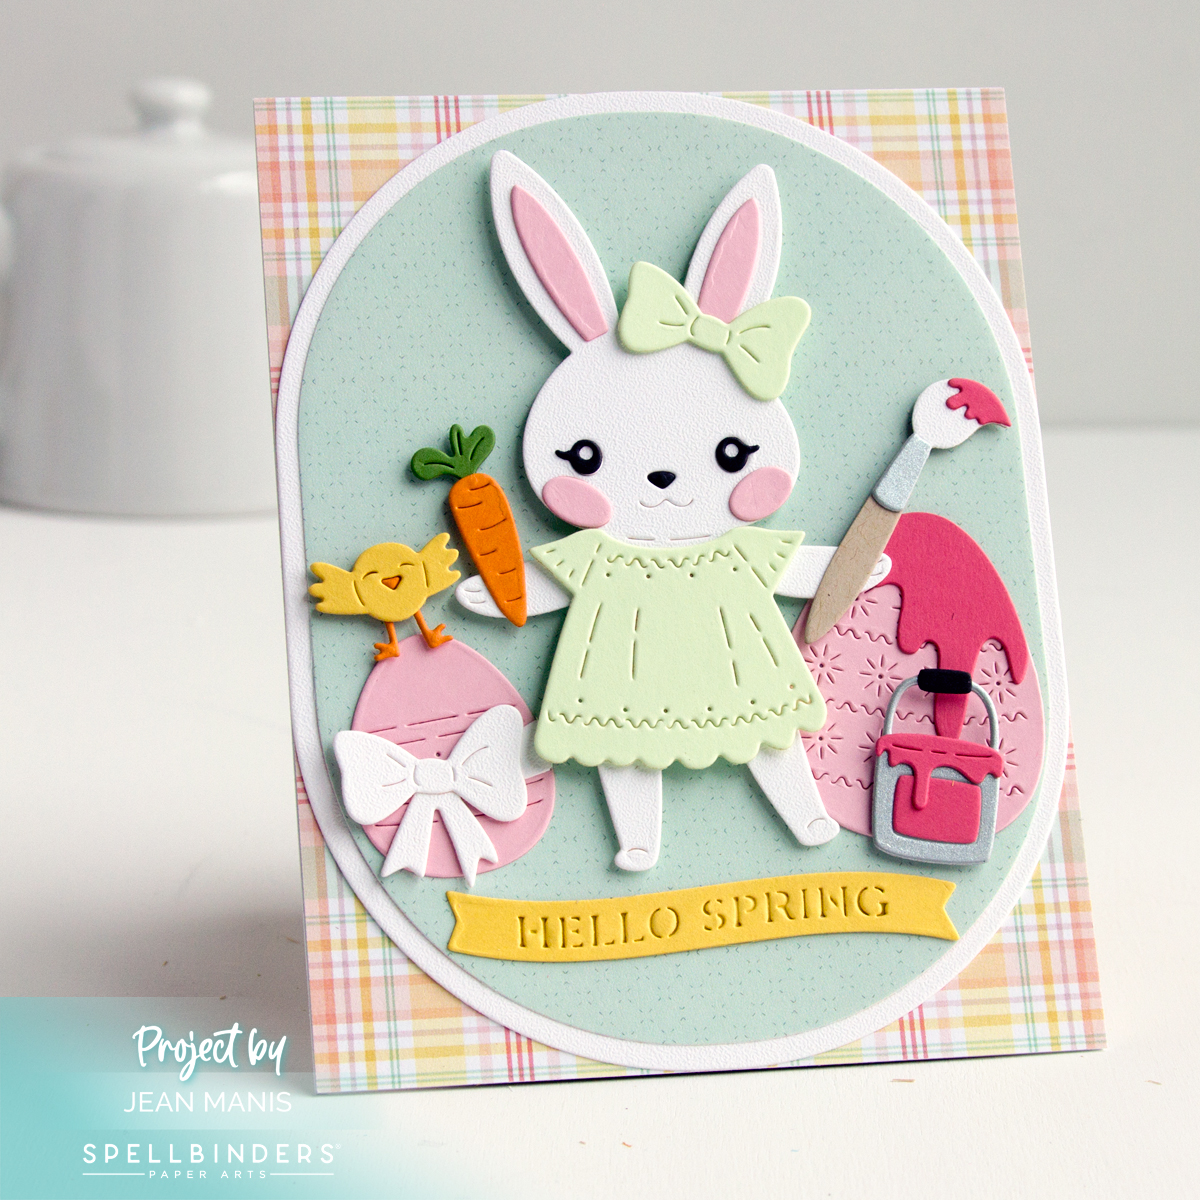
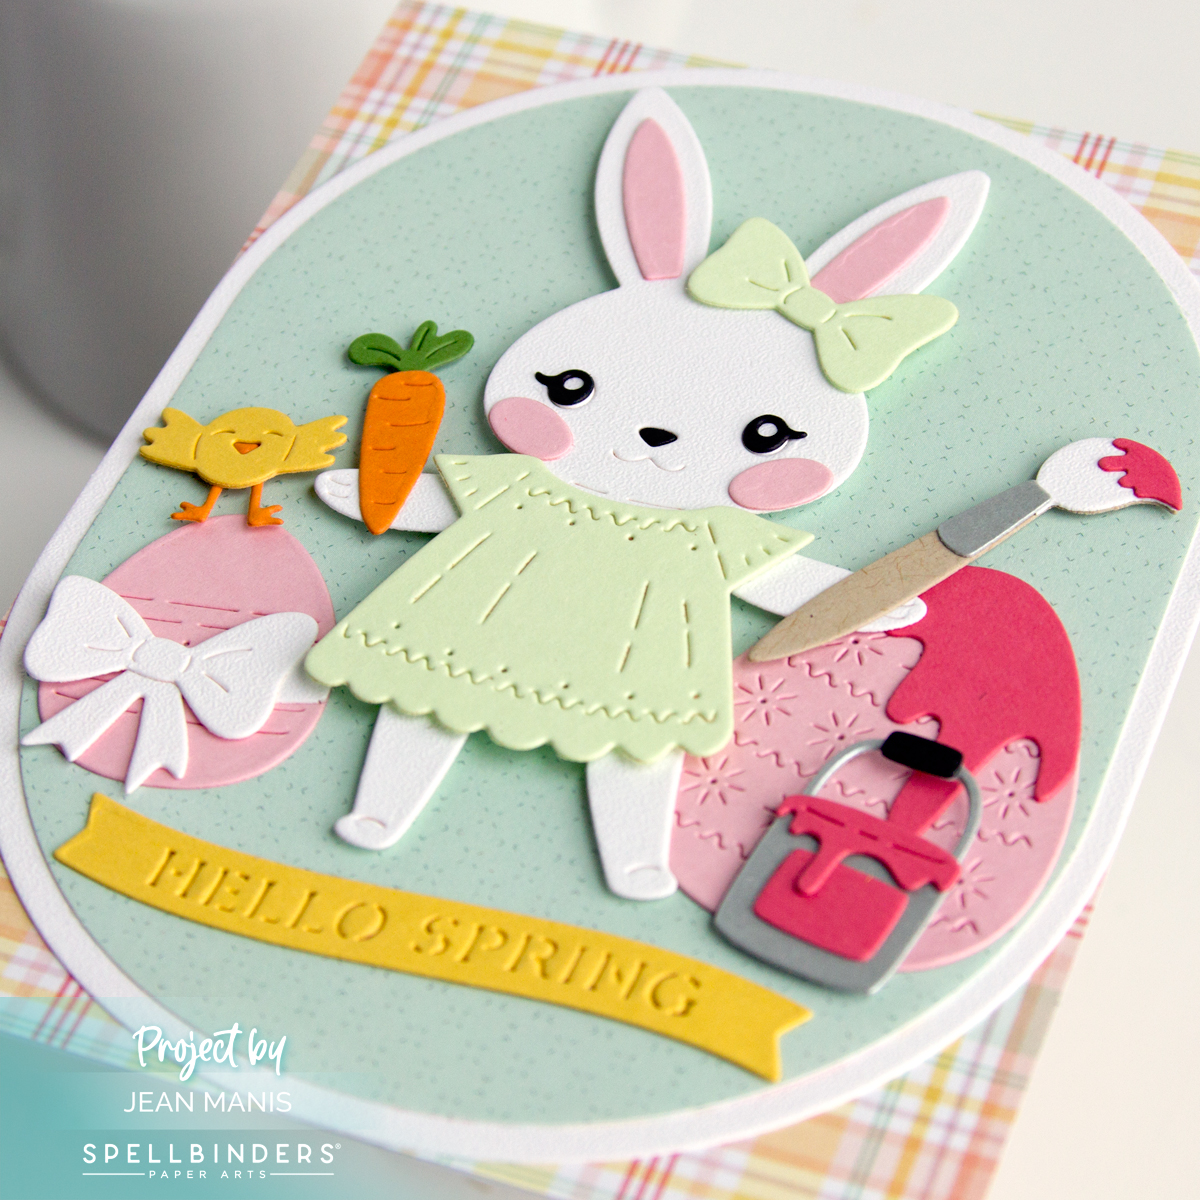
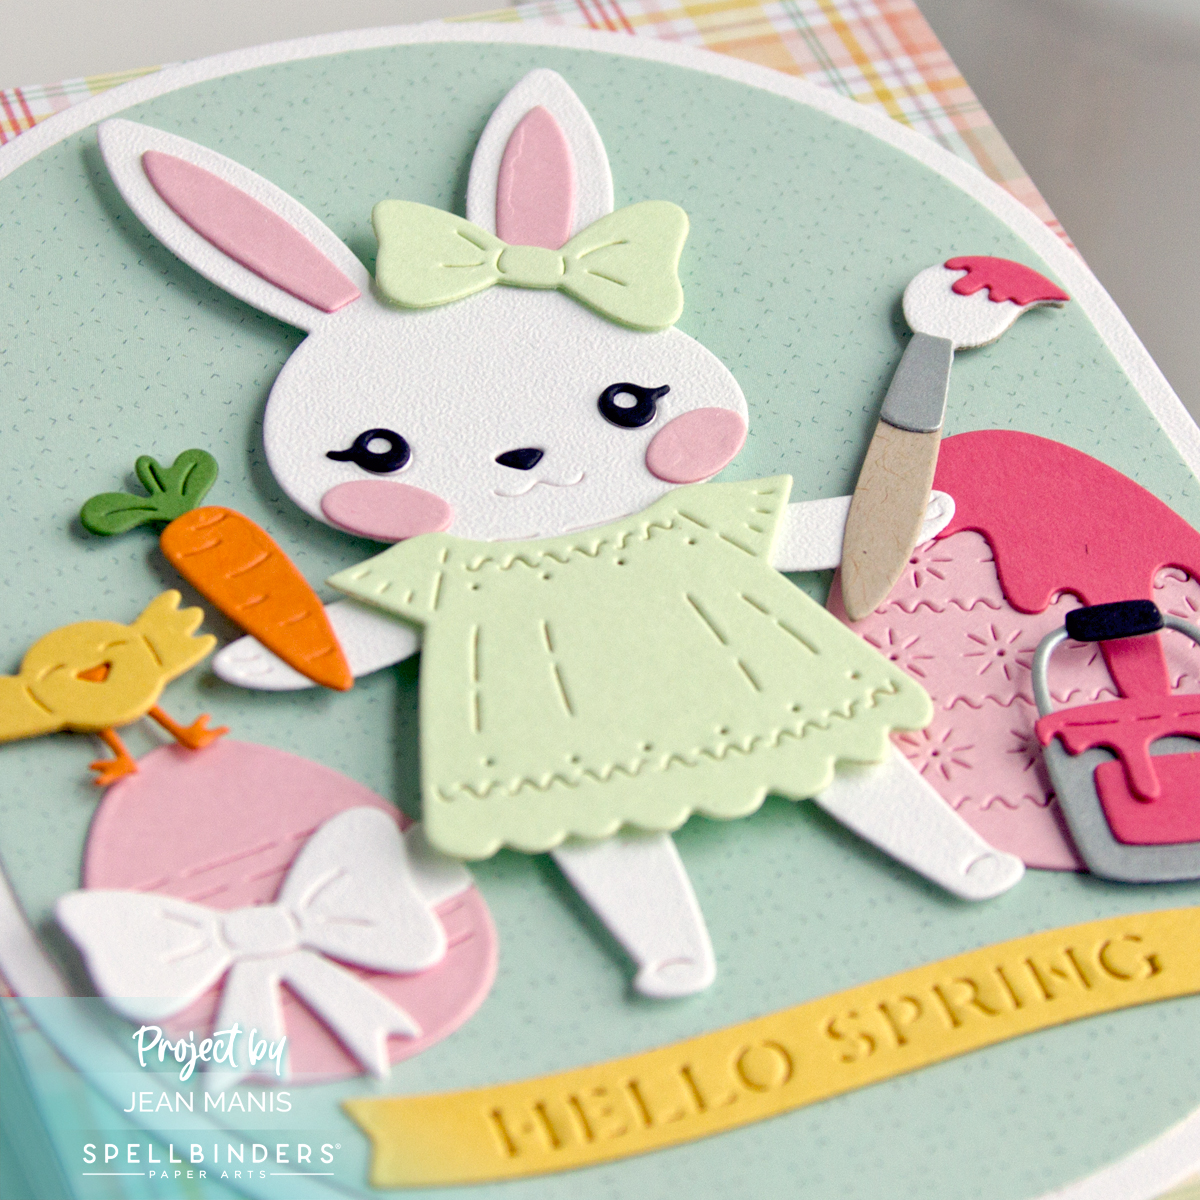
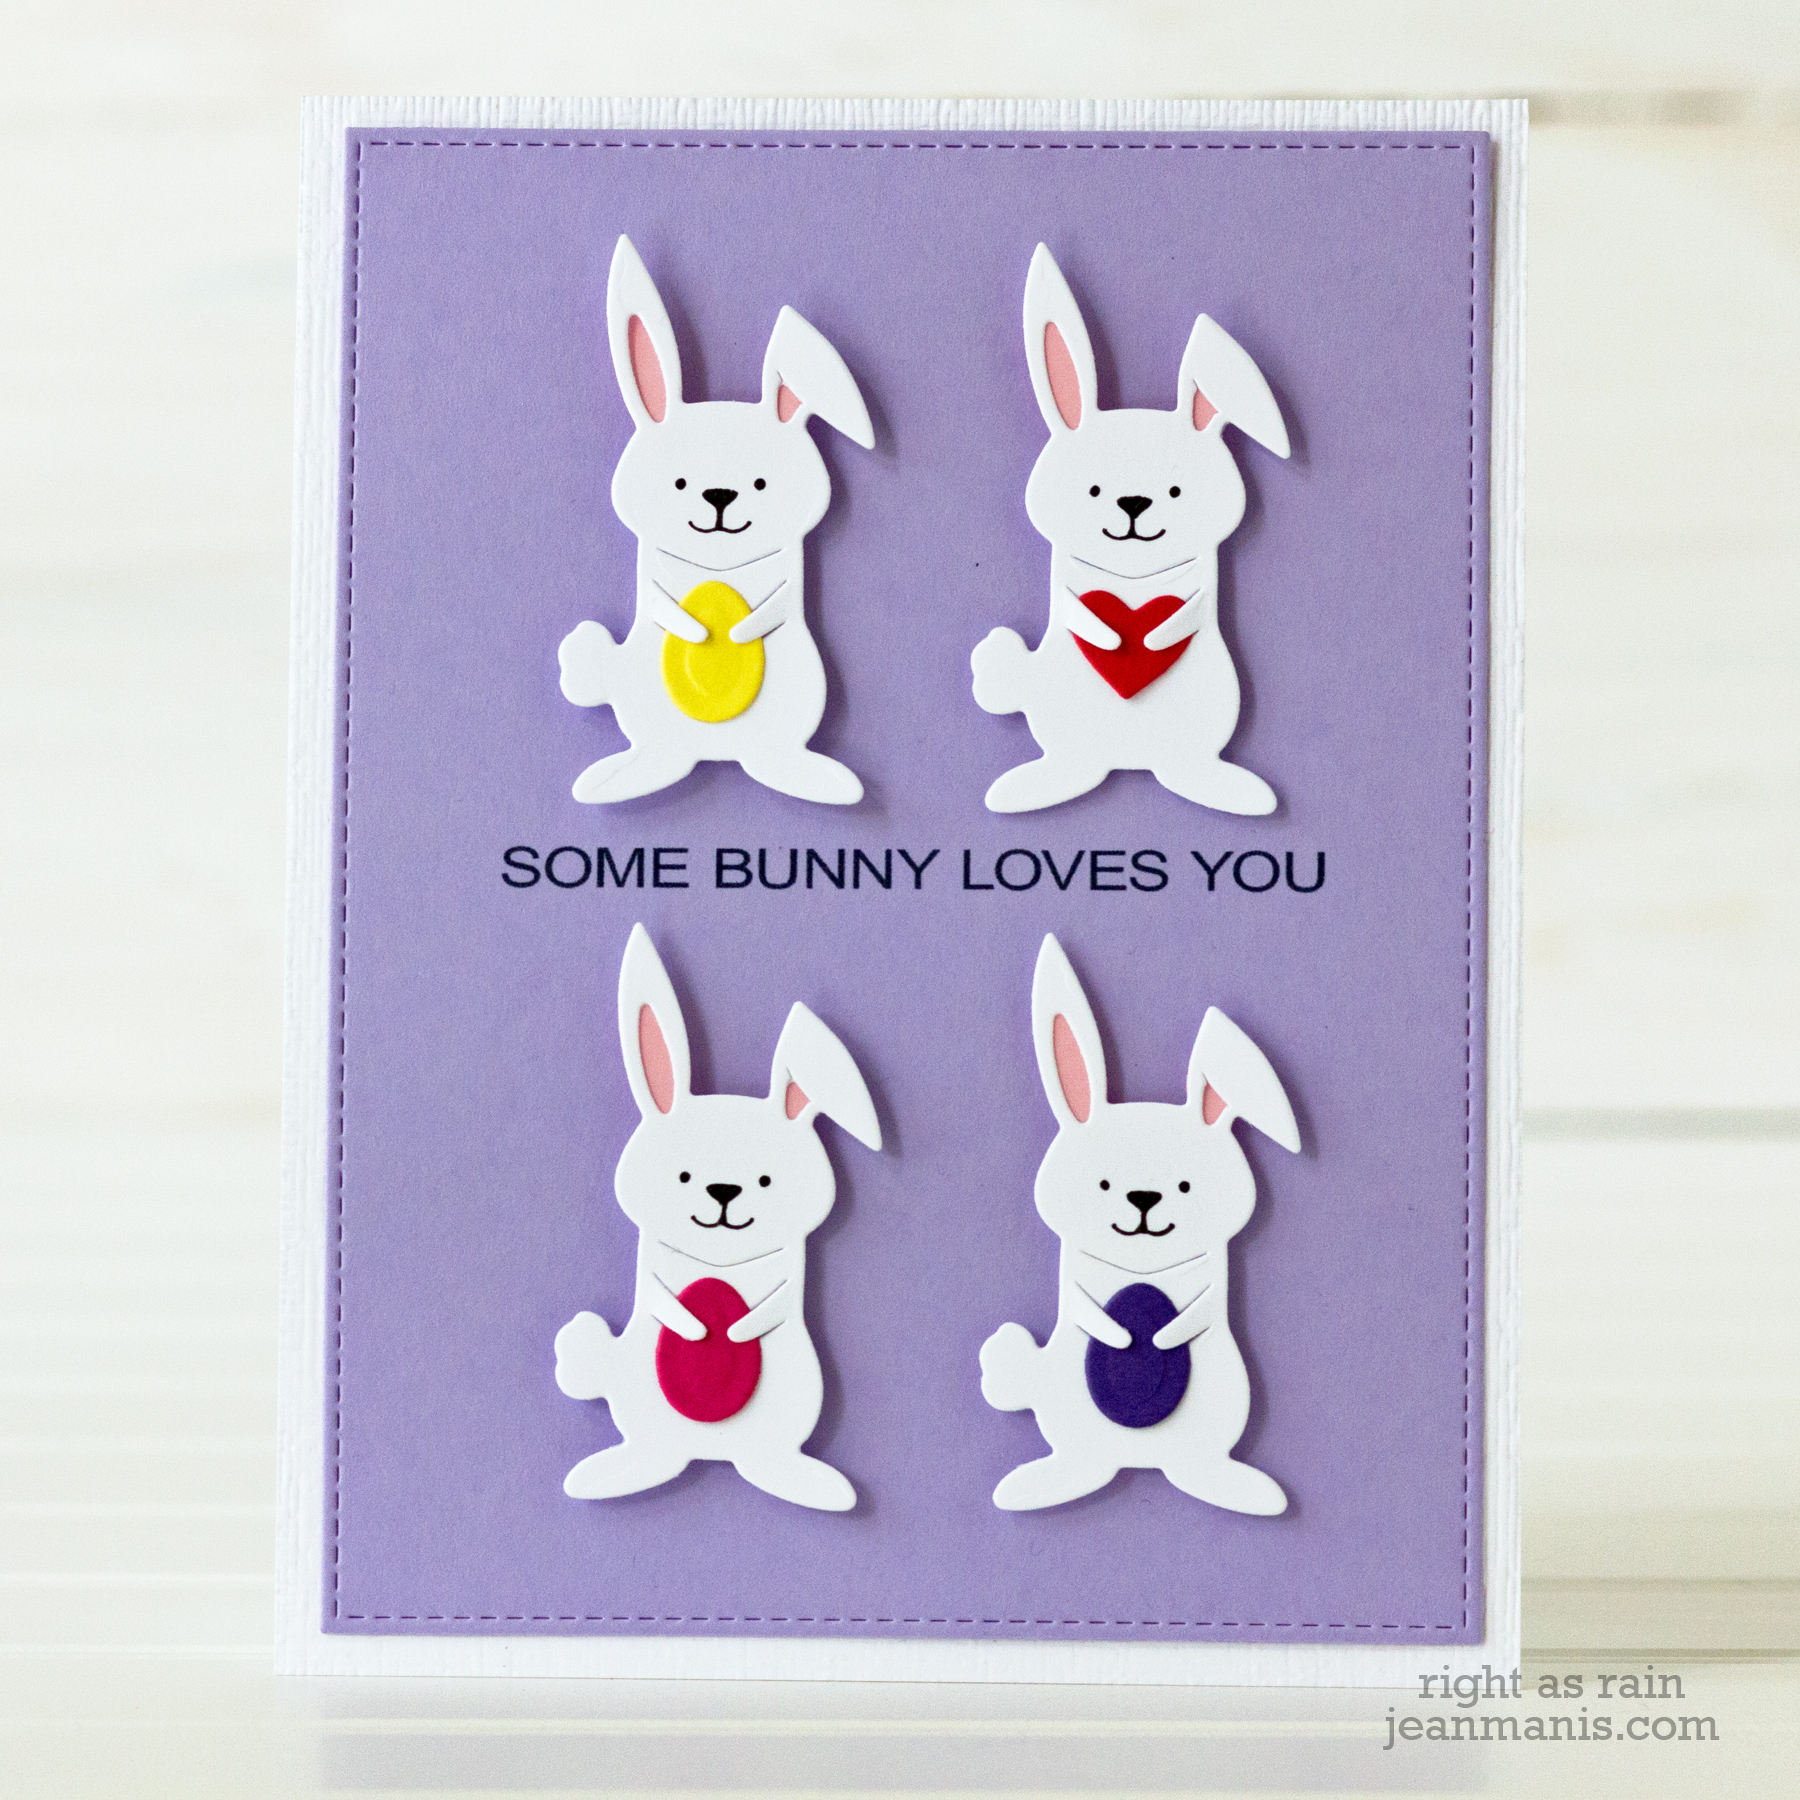
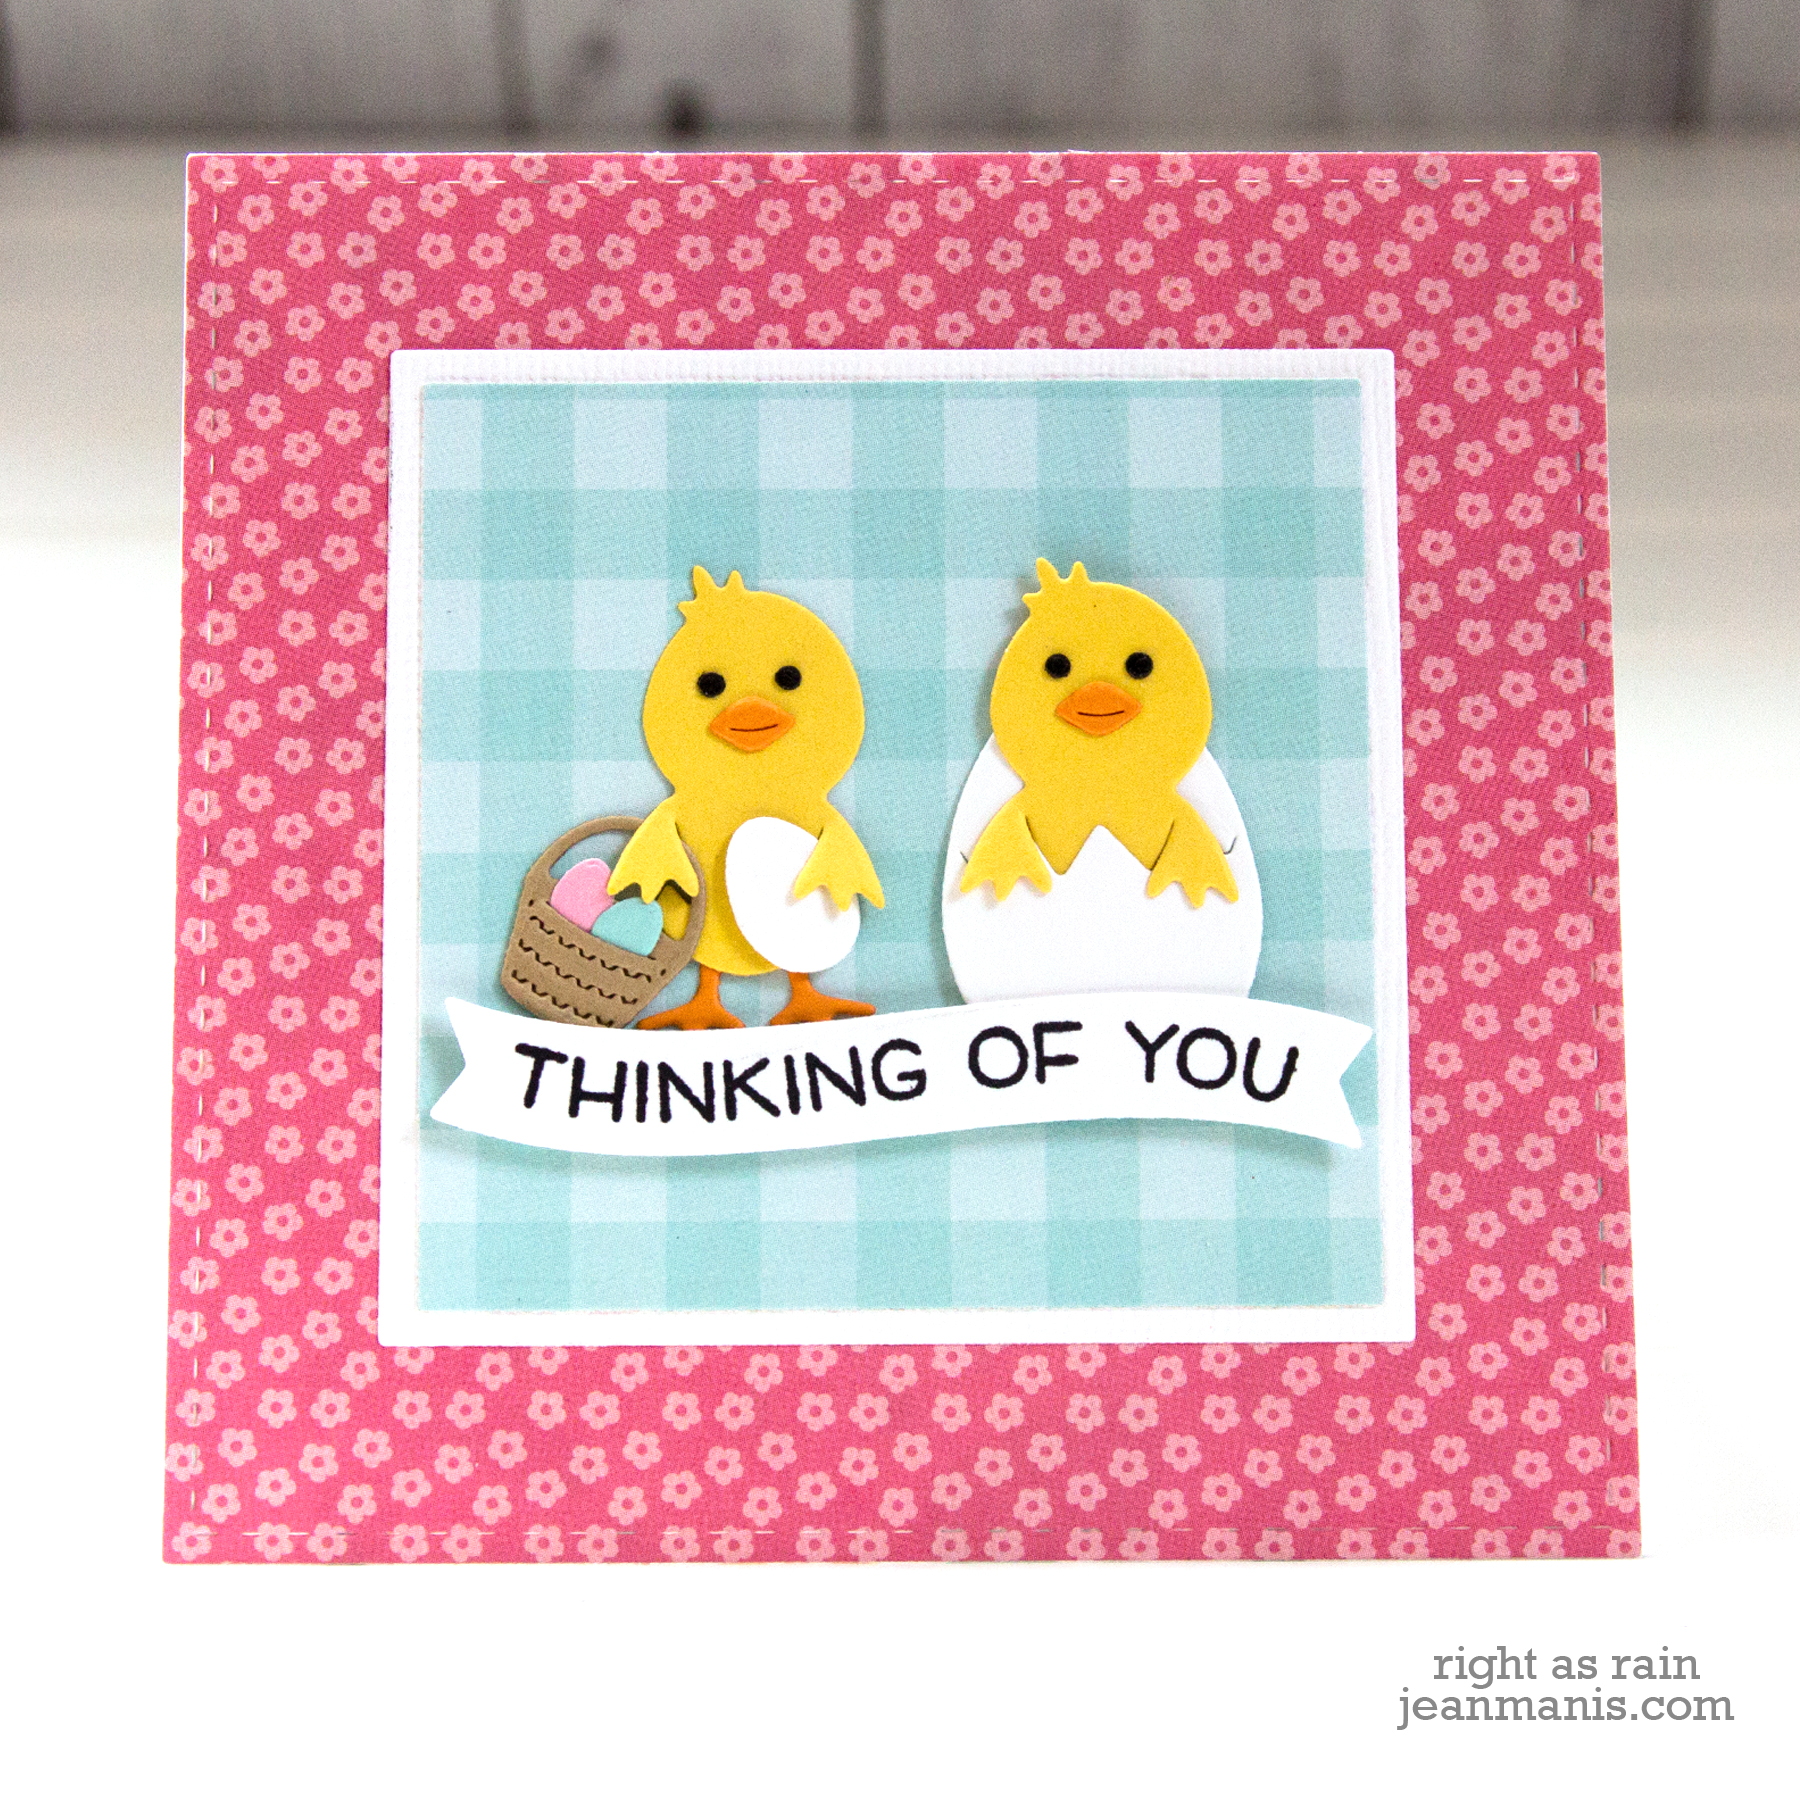
Cute chicks and bunnies capture the joy of Easter.

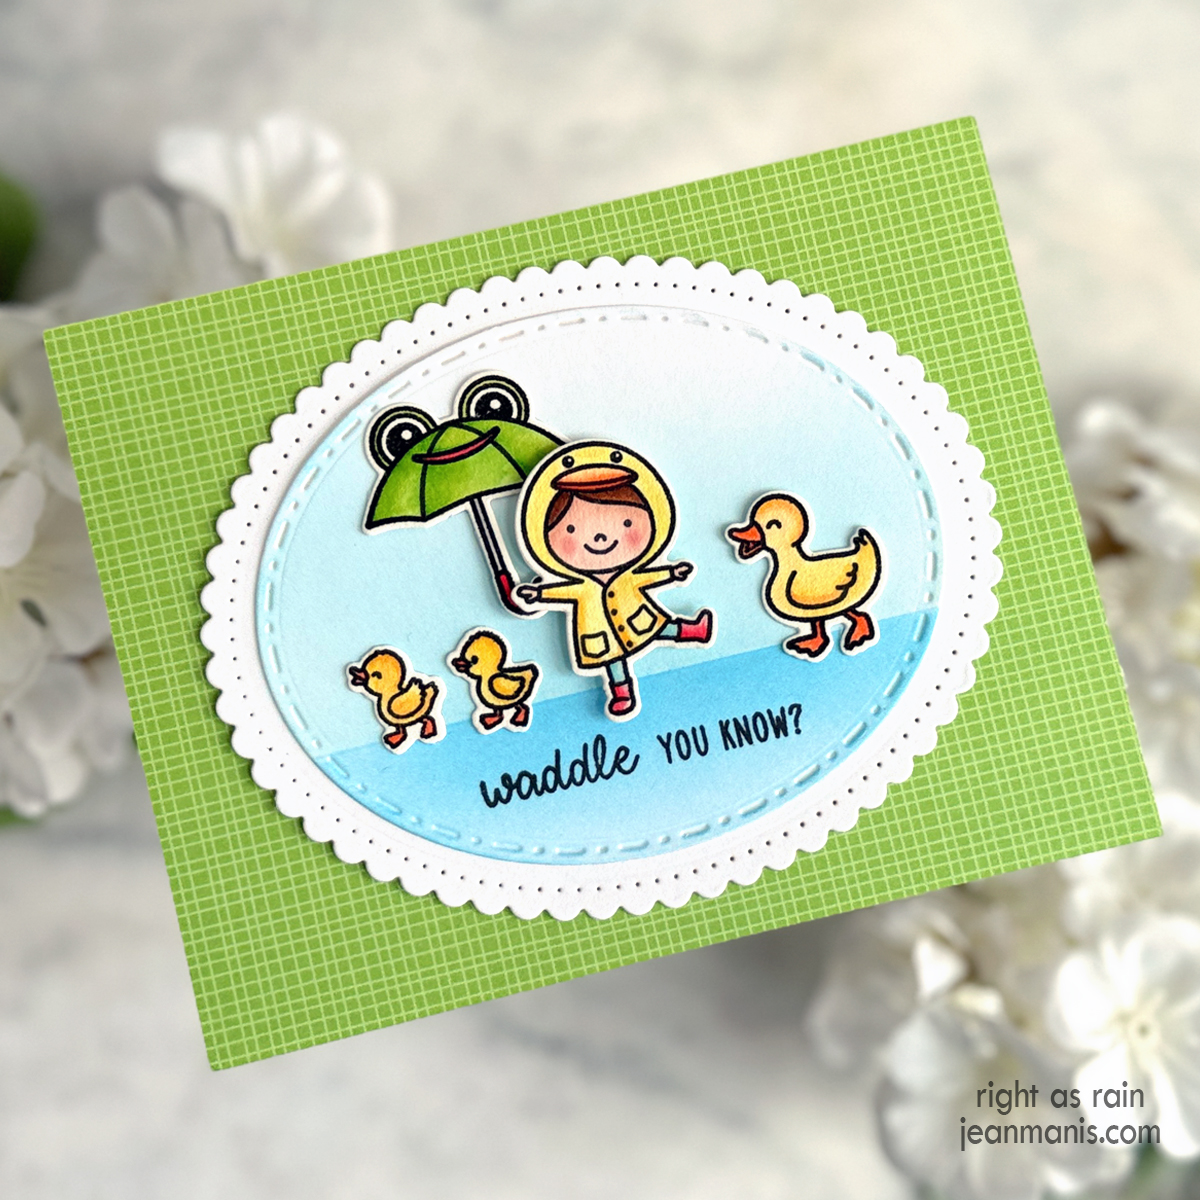
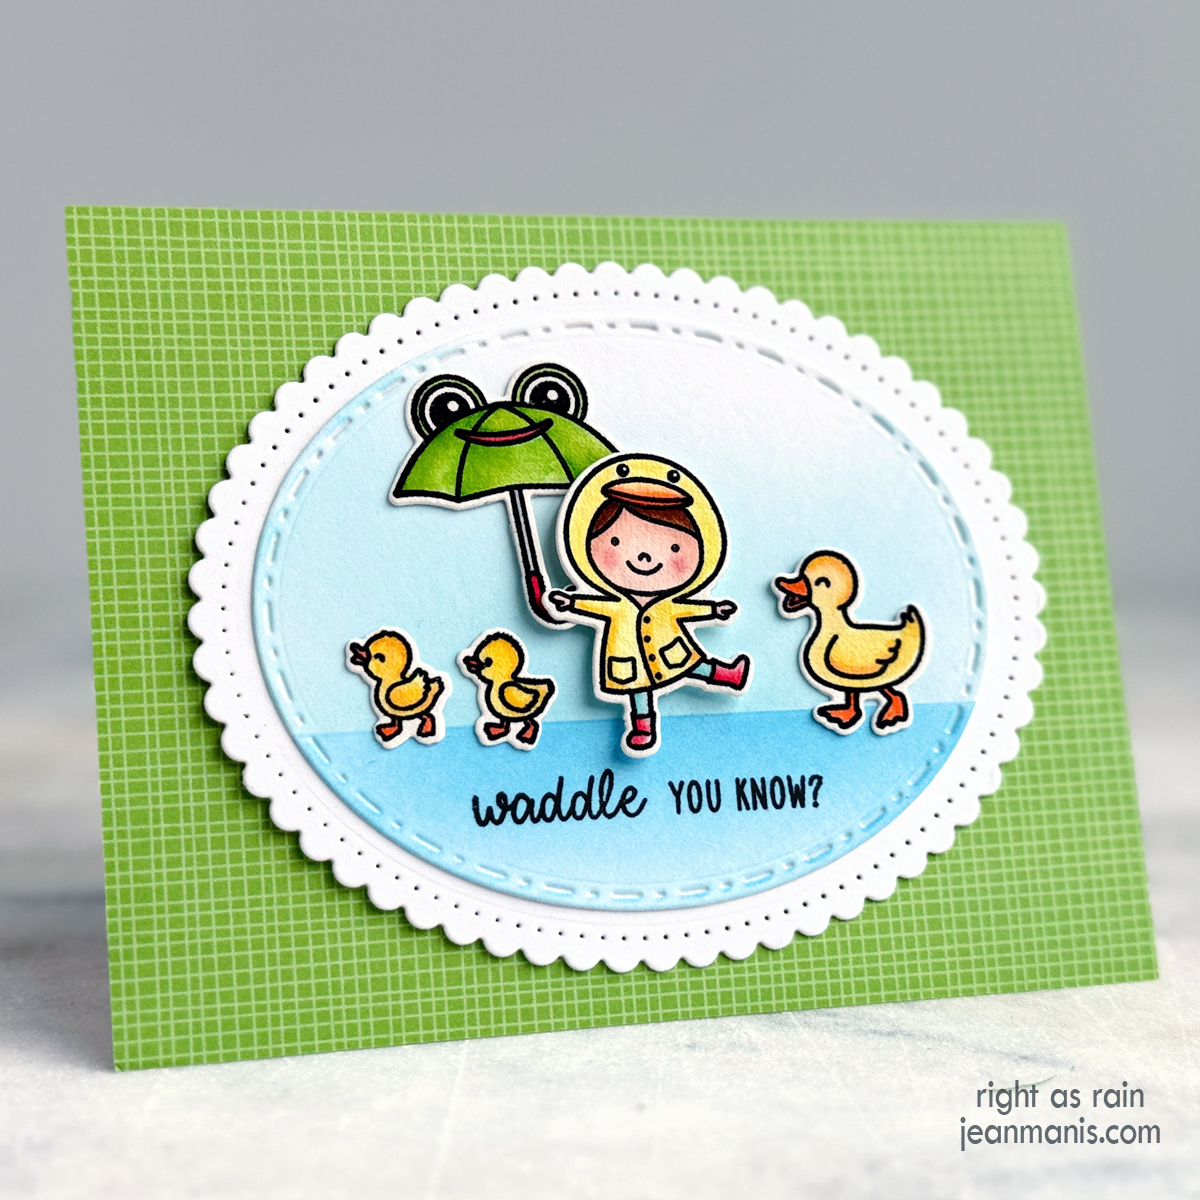
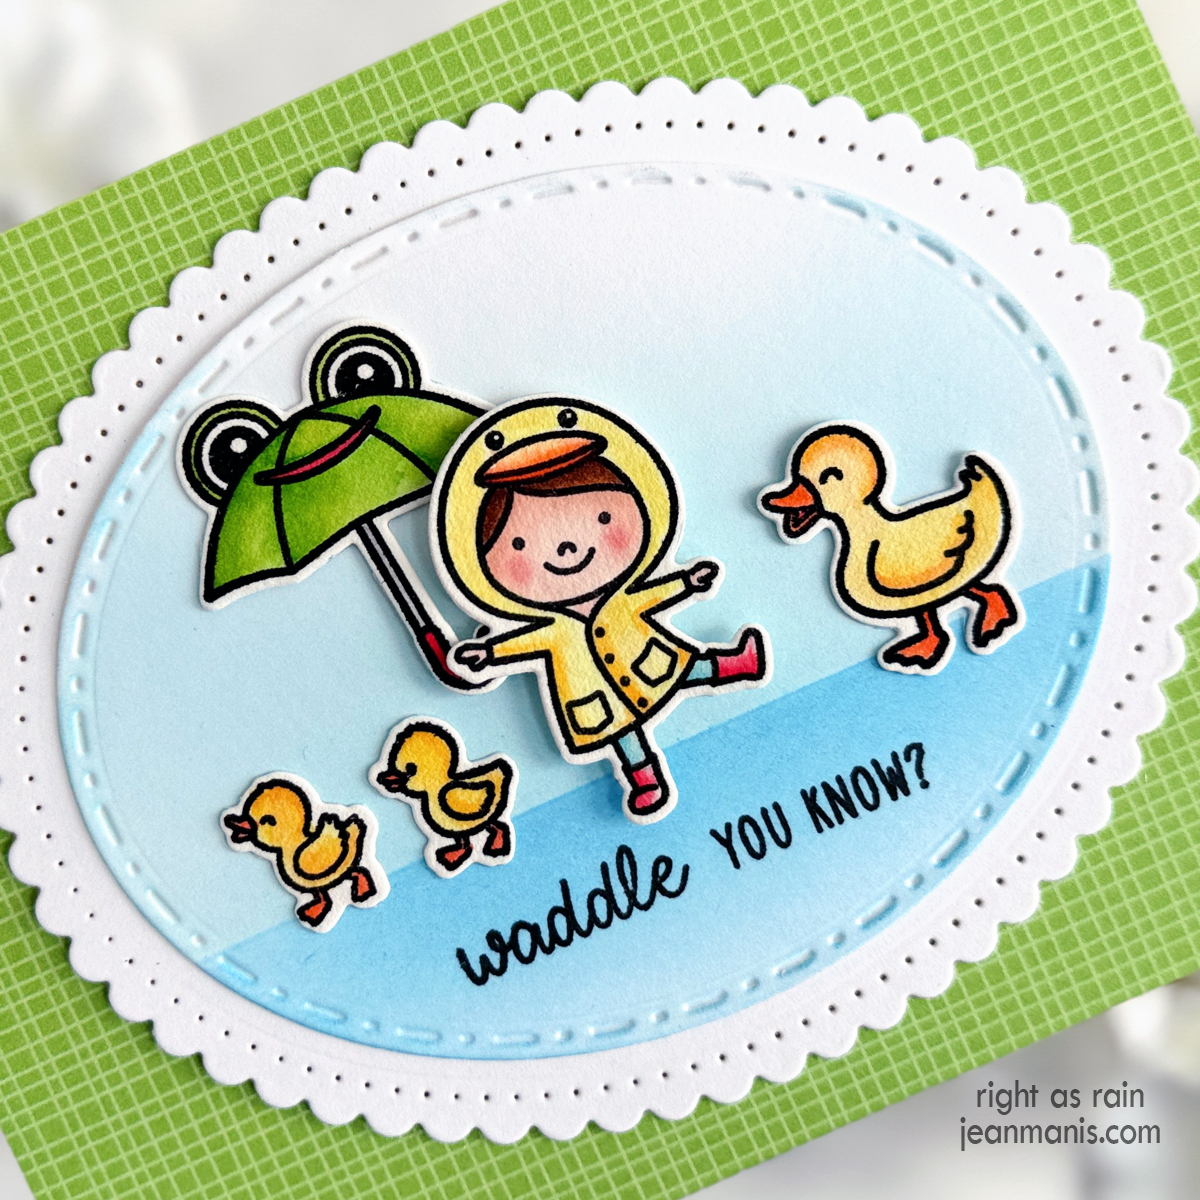
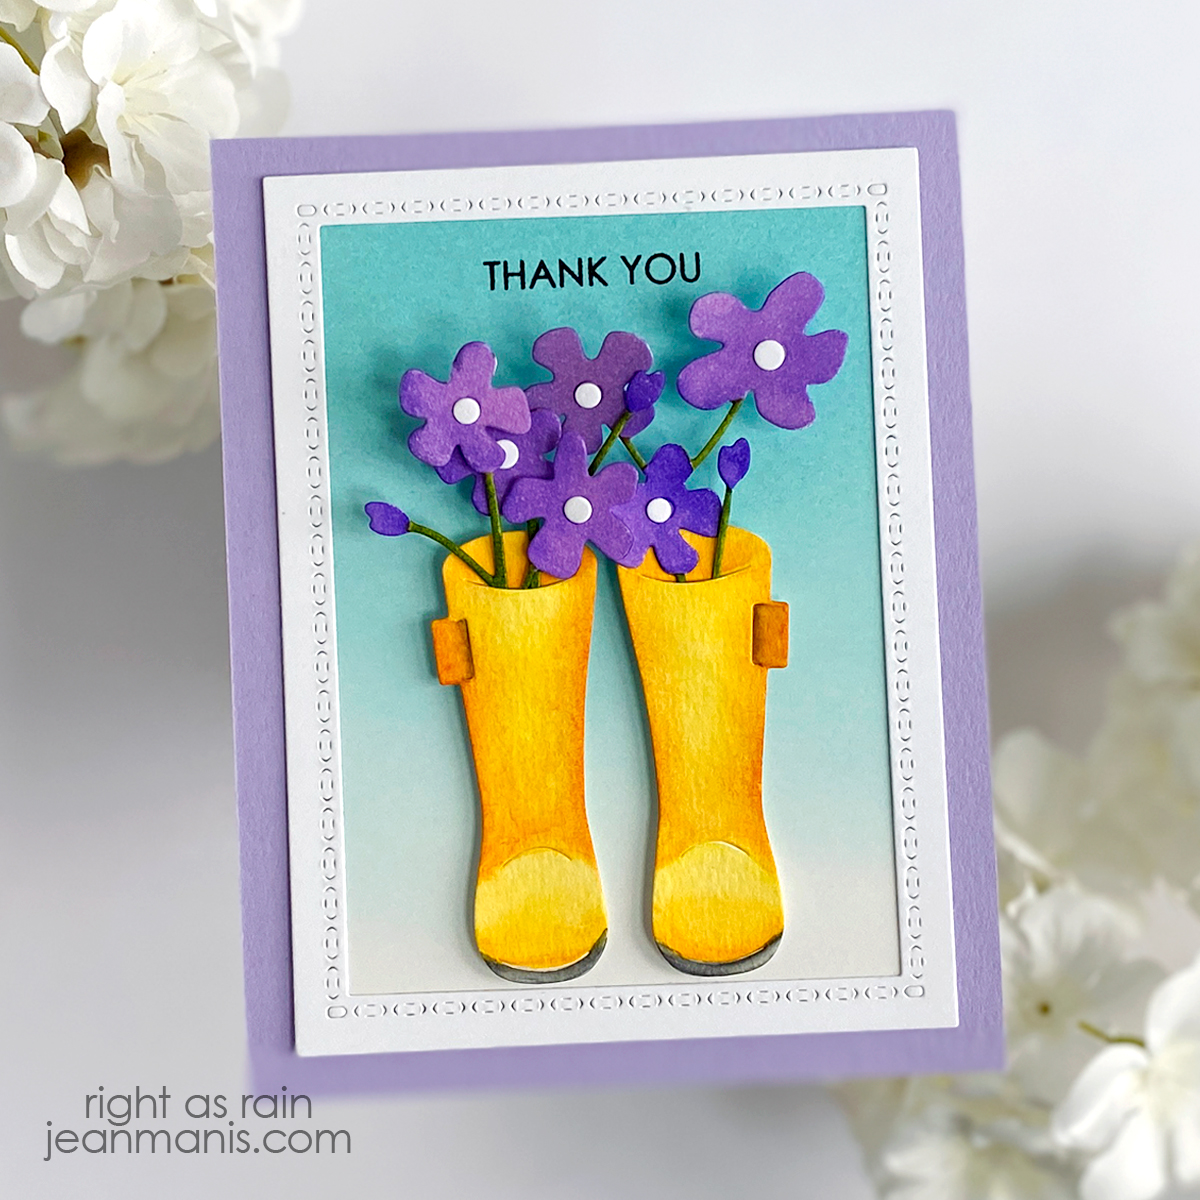
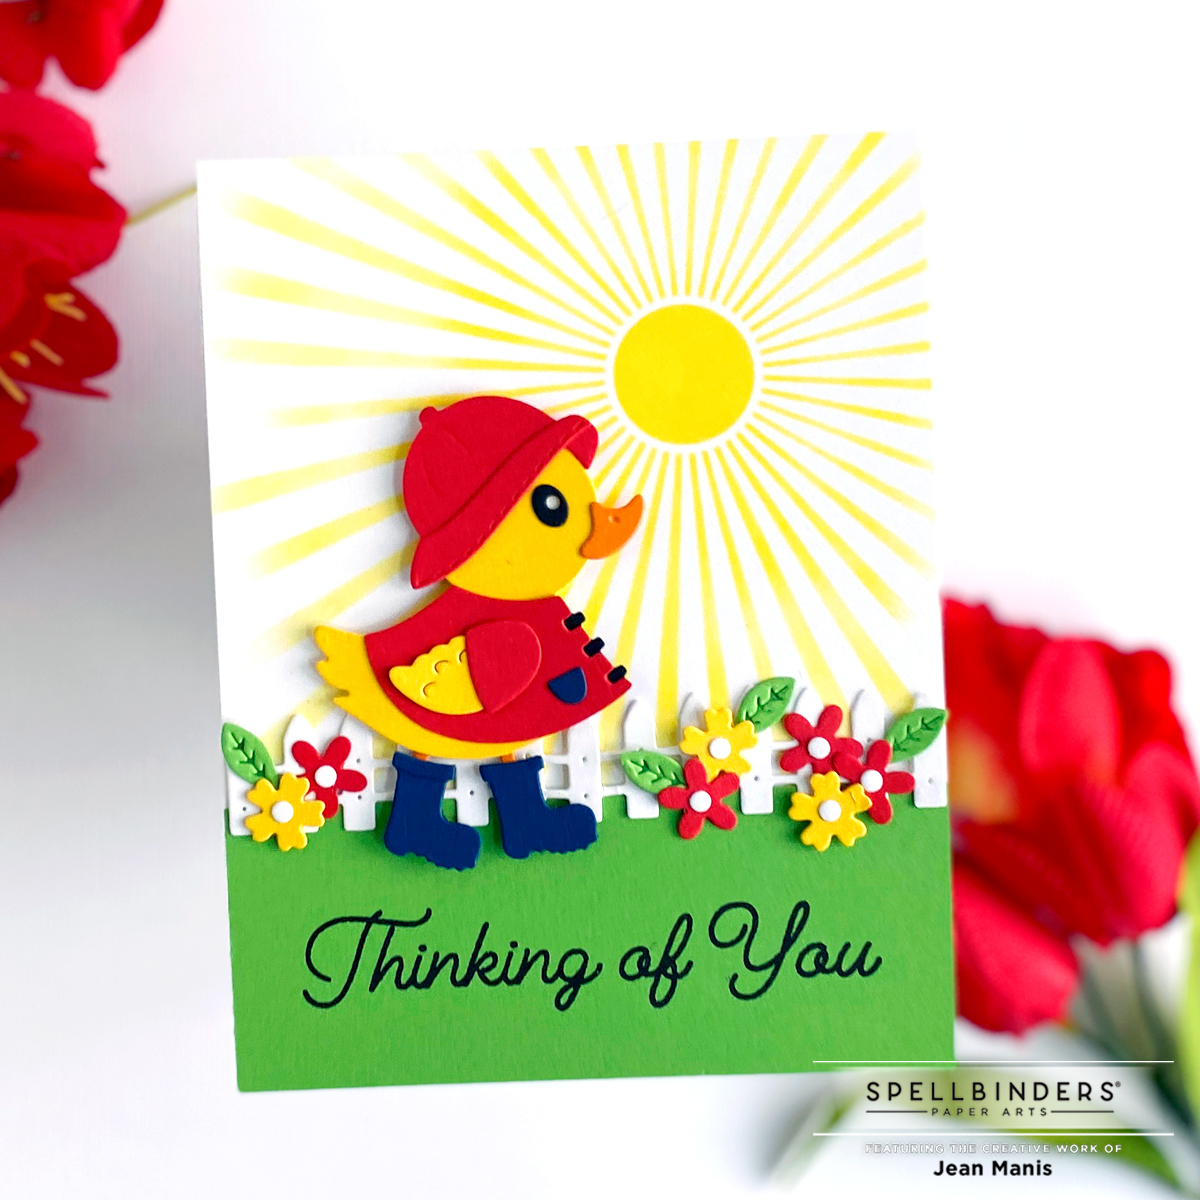
Embrace the dynamic nature of spring by incorporating weather-related elements on your cards such as rainboots and raincoats. Cheerful floral-adorned boots brave the spring showers and a sunny scene with a duck, dressed for rain, adds a playful touch.
A CAS friendship card featuring colorful butterflies adds whimsy and signifies the arrival of warmer weather and blooming flowers.

Insights This post has made it clear that I have plenty of spring-themed dies and stamp sets in my collection. What I did not feature in this roundup were cards with spring-themed embossing folders, although I know I have many. You can find inspiration for using embossing folders to create impactful backgrounds HERE. I also did not feature cards that include stamped backgrounds. Find inspiration for using backgrounds stamps HERE.
This theme is versatile and can be adapted to various spring occasions, such as Easter, Mother’s Day, or simply as a way to say “hello” or “thinking of you” during the spring months. It appeals to a broad audience, from friends and family to neighbors and colleagues. I hope this roundup sparks your imagination to create your own spring-themed cards.