Taylored Expressions Feb 2018 Release – Rain or Shine

Hello! Welcome to Day 2 of the Taylored Expressions February 2018 Release Sneak Peeks. The spring- and Easter-themed  products will be released Thursday, February 8 @ 7 AM PST!

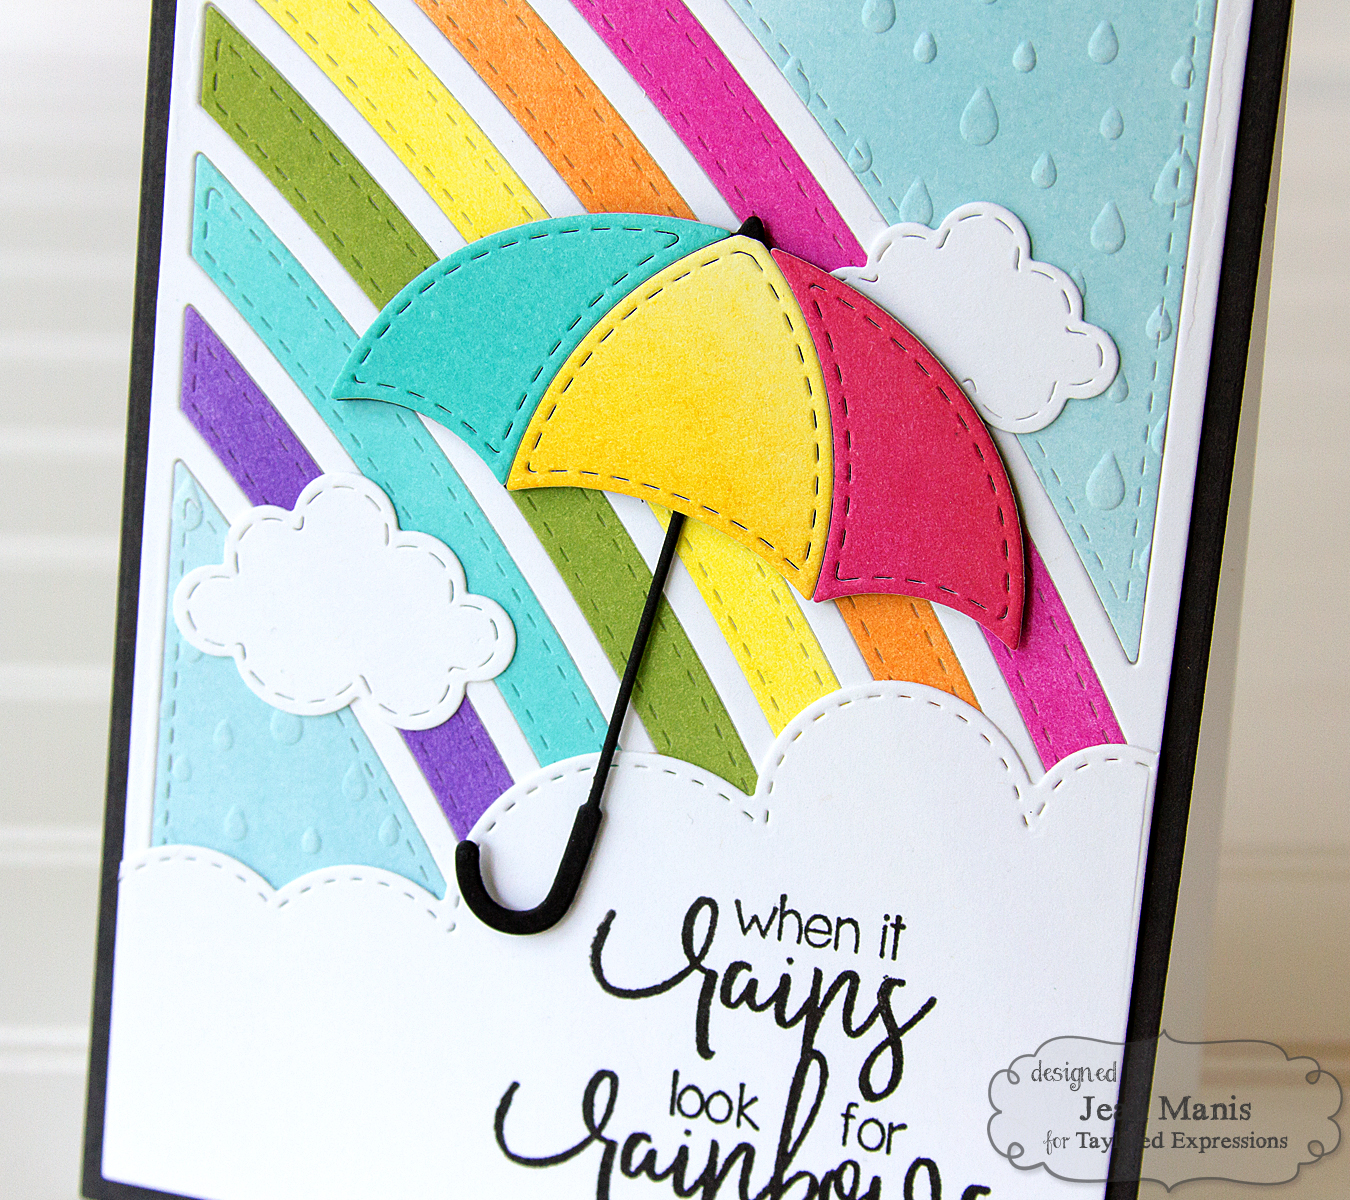
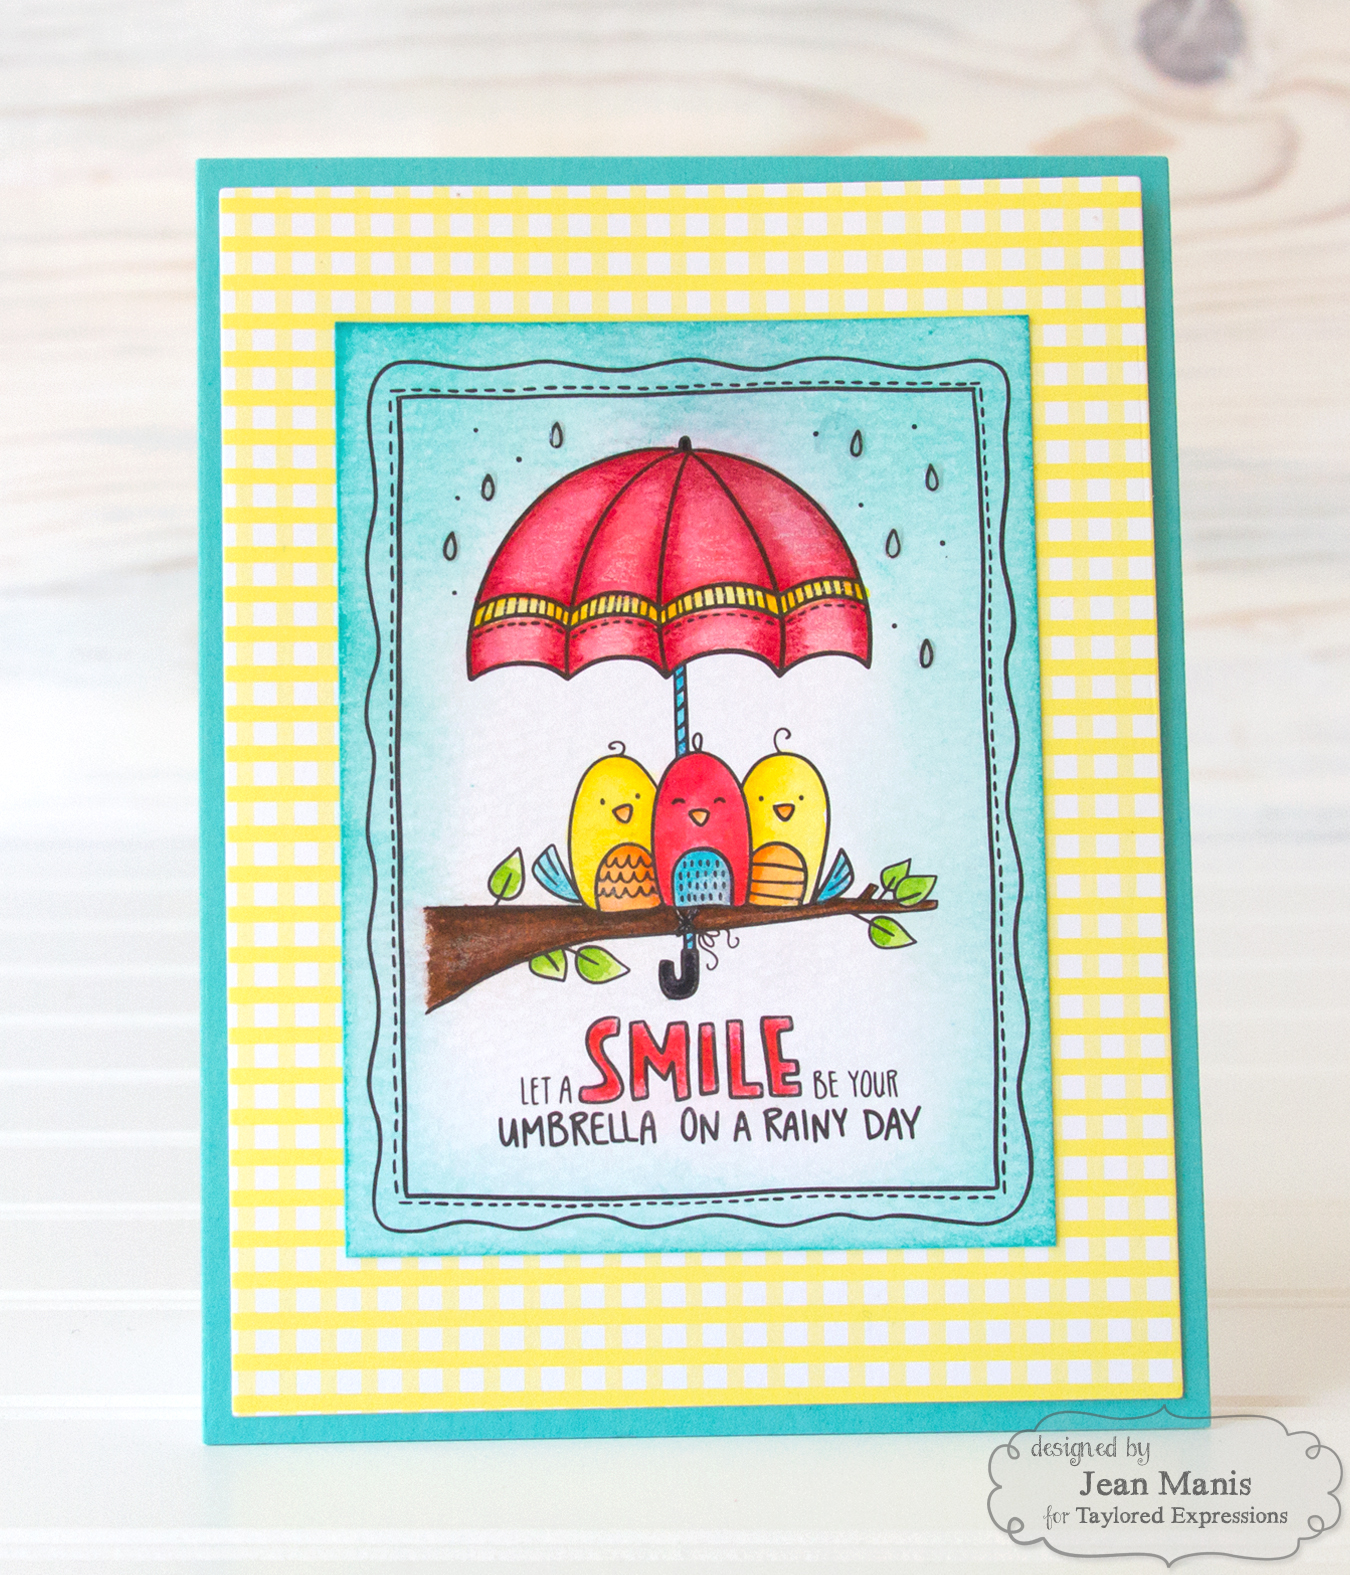
For my first project, I created an encouragement/friendship card combining die-cuts, new and old, and a fabulous sentiment from Rain or Shine.

Taylored Expressions Feb 2018 Release

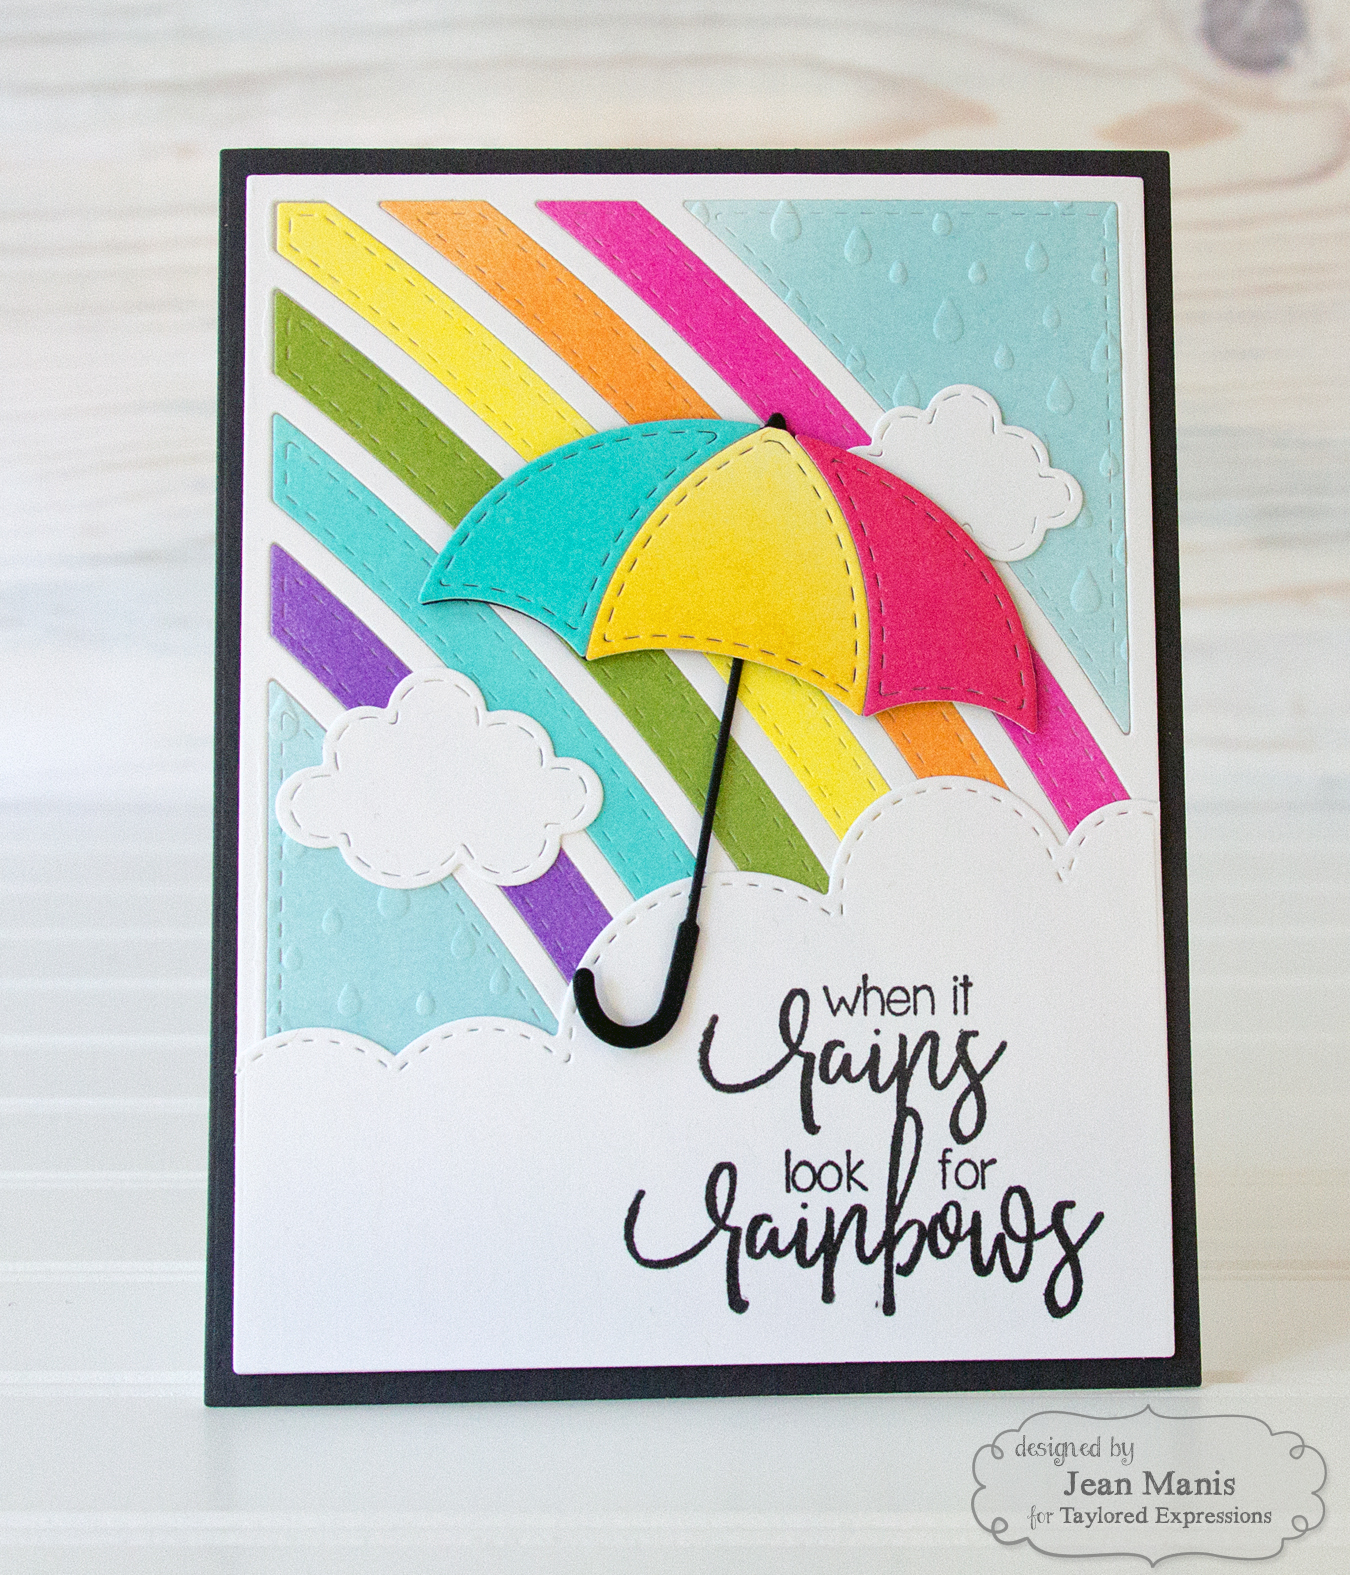
I colored Sugar Cube cardstock with a variety of TE inks to create the colors of the rainbow, which I cut with the Rainbow Cutting Plate. I used the Raindrops embossing folder to add texture to panels in the upper-right and lower-left corners. I cut the When It Rains umbrella from Oreo cardstock and inked cardstock. I stamped the Rain or Shine sentiment and then cut it with the one of the Build-a-Scene Rolling Clouds dies. I also added clouds cut with the Stitched Cloud Duo.

Taylored Expressions Feb 2018 Release

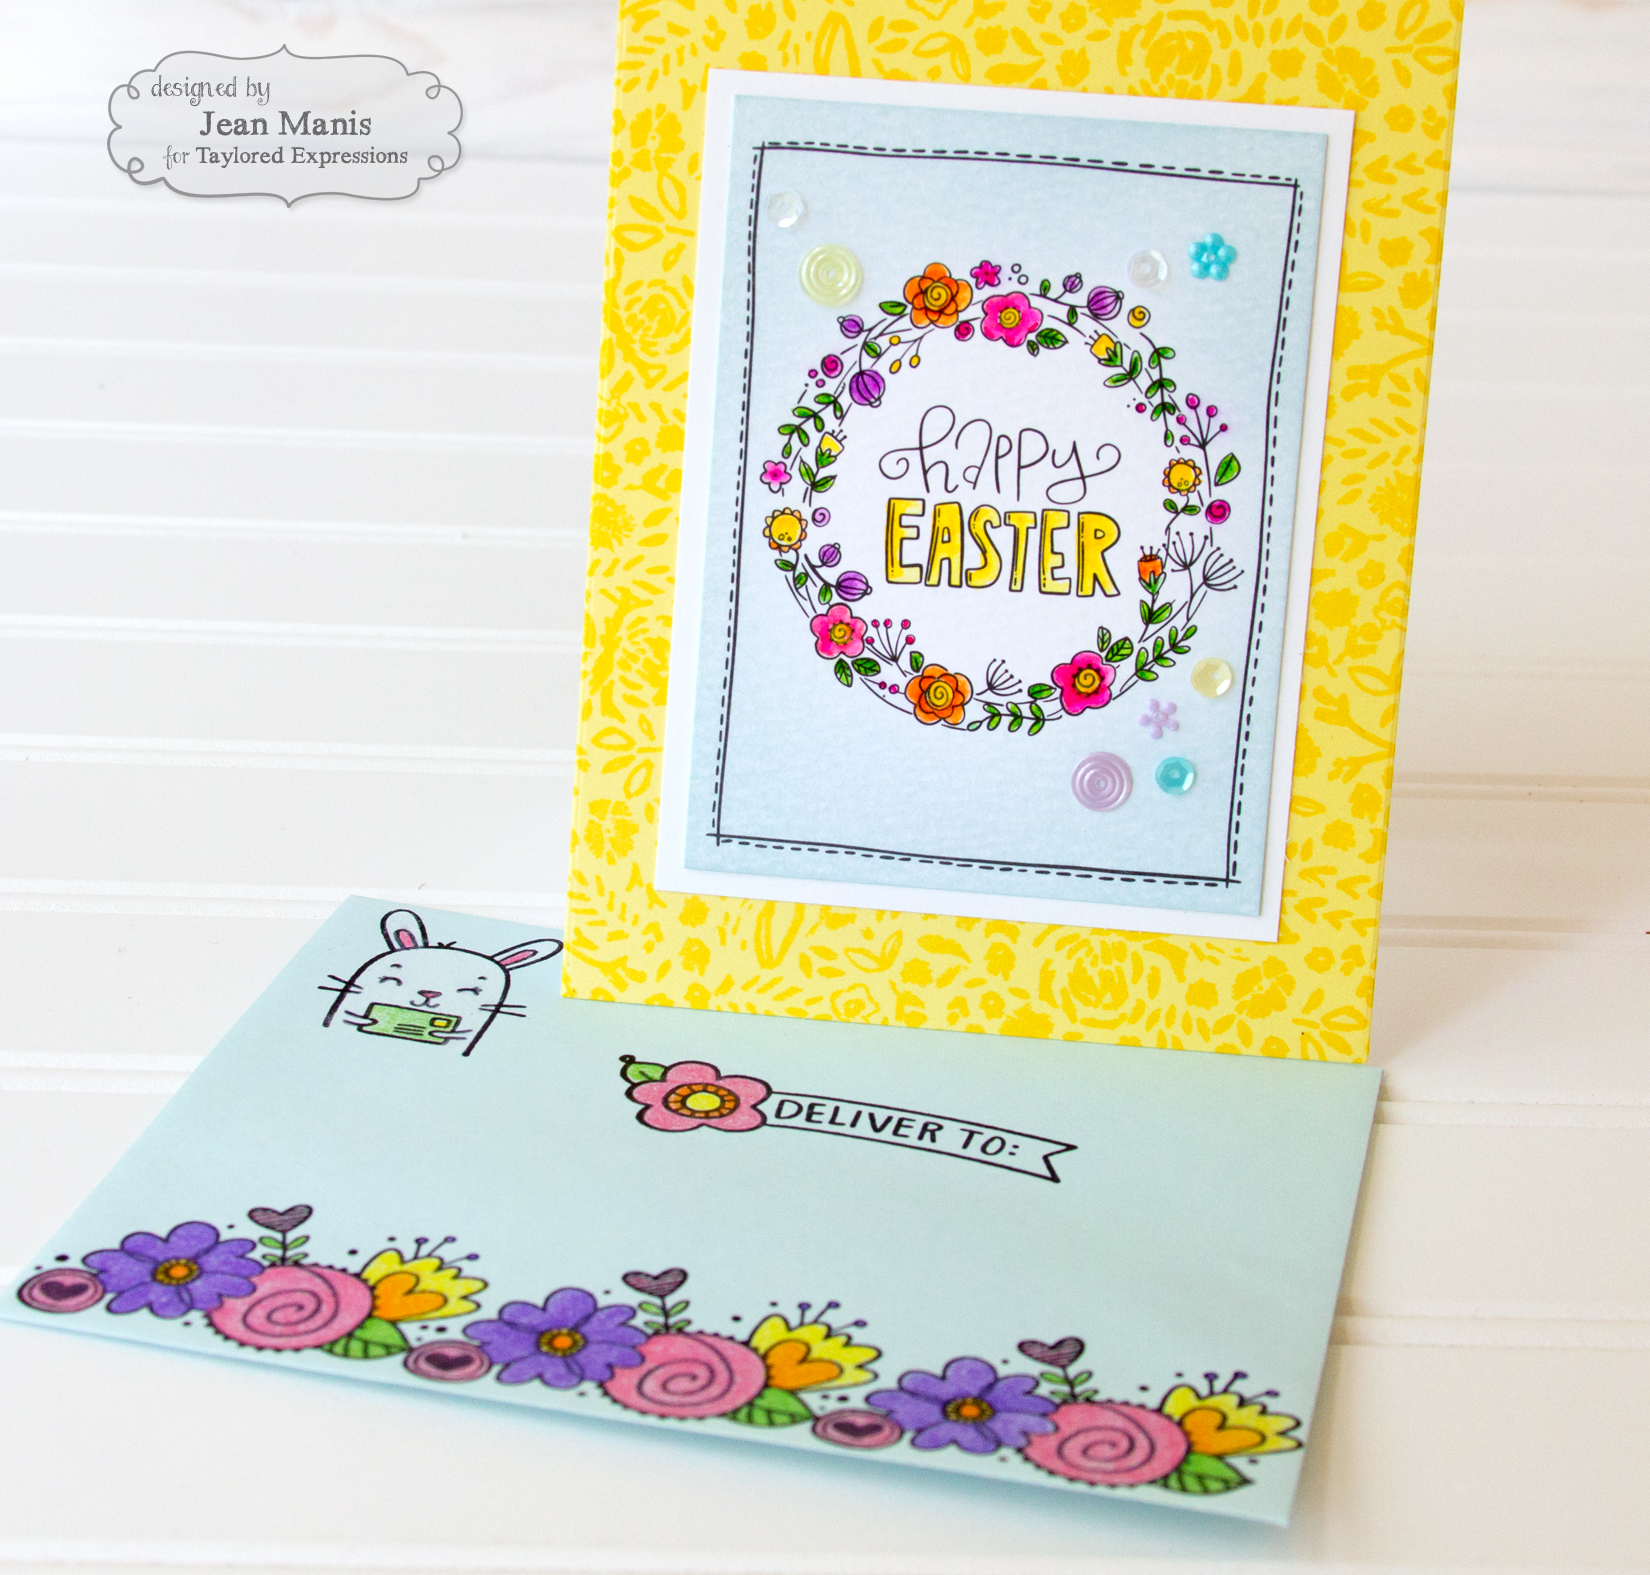
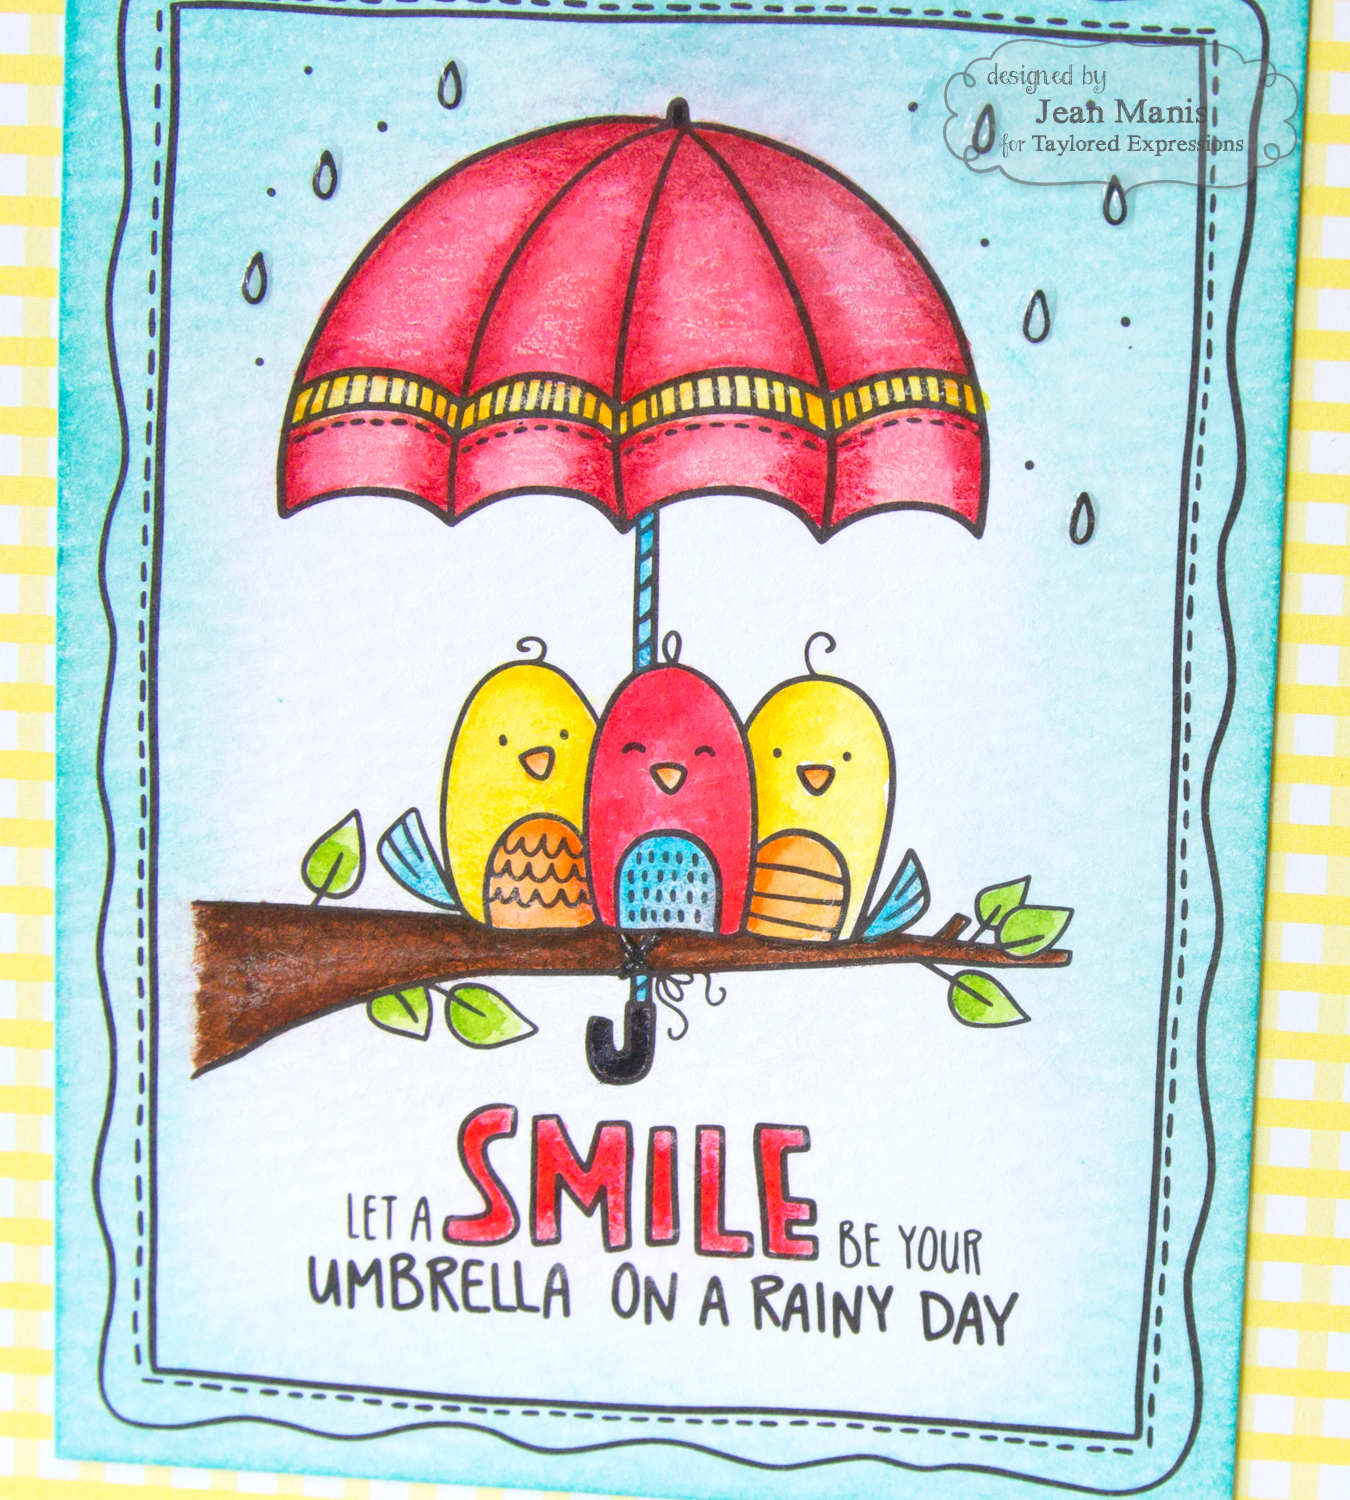
For my second project, I created cards with the 3 x 4 Watercolor Panels – Easter set and a decorated envelope.

Taylored Expressions Feb 2018 Release

I watercolored this sweet scene from the set, and added Cookie Monster ink around the edges before attaching the panel to a card base on which I used the Playful Patterns – Sweet patterned paper.

Taylored Expressions Feb 2018 Release

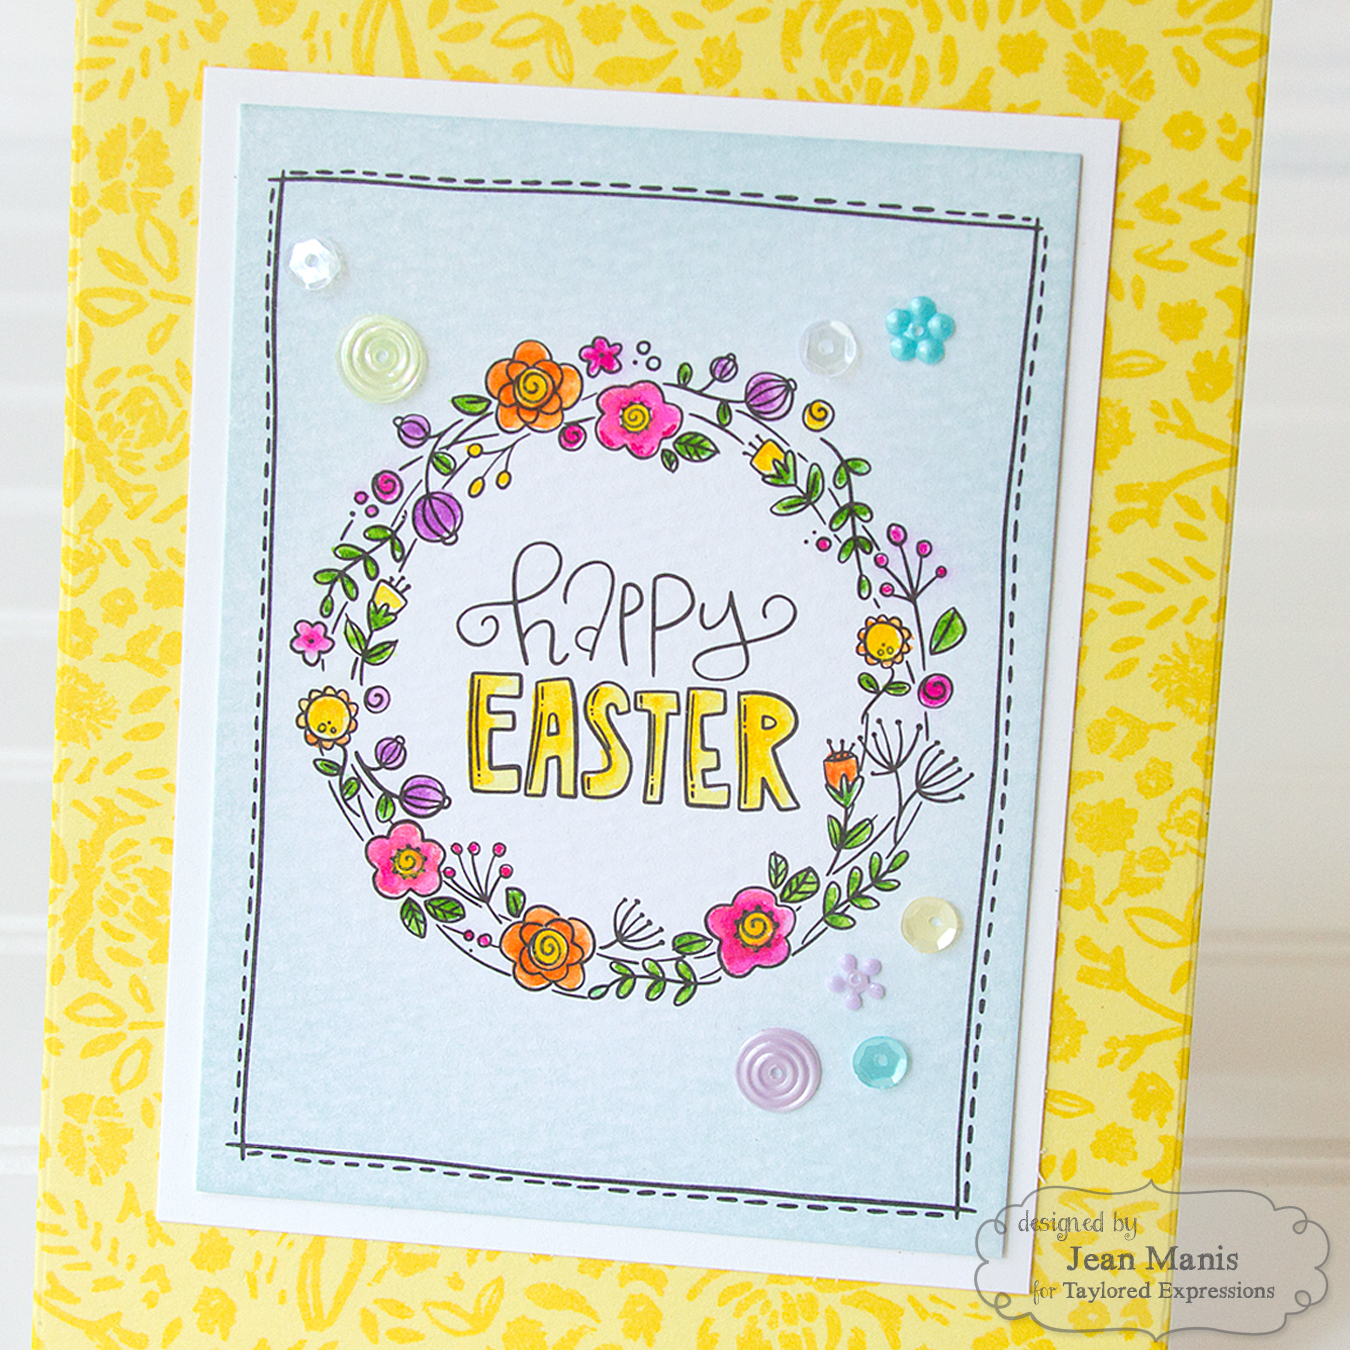
Similarly, I colored the Happy Easter panel to which I added Pretty Pastels sequins for texture.
Taylored Expressions Feb 2018 Release

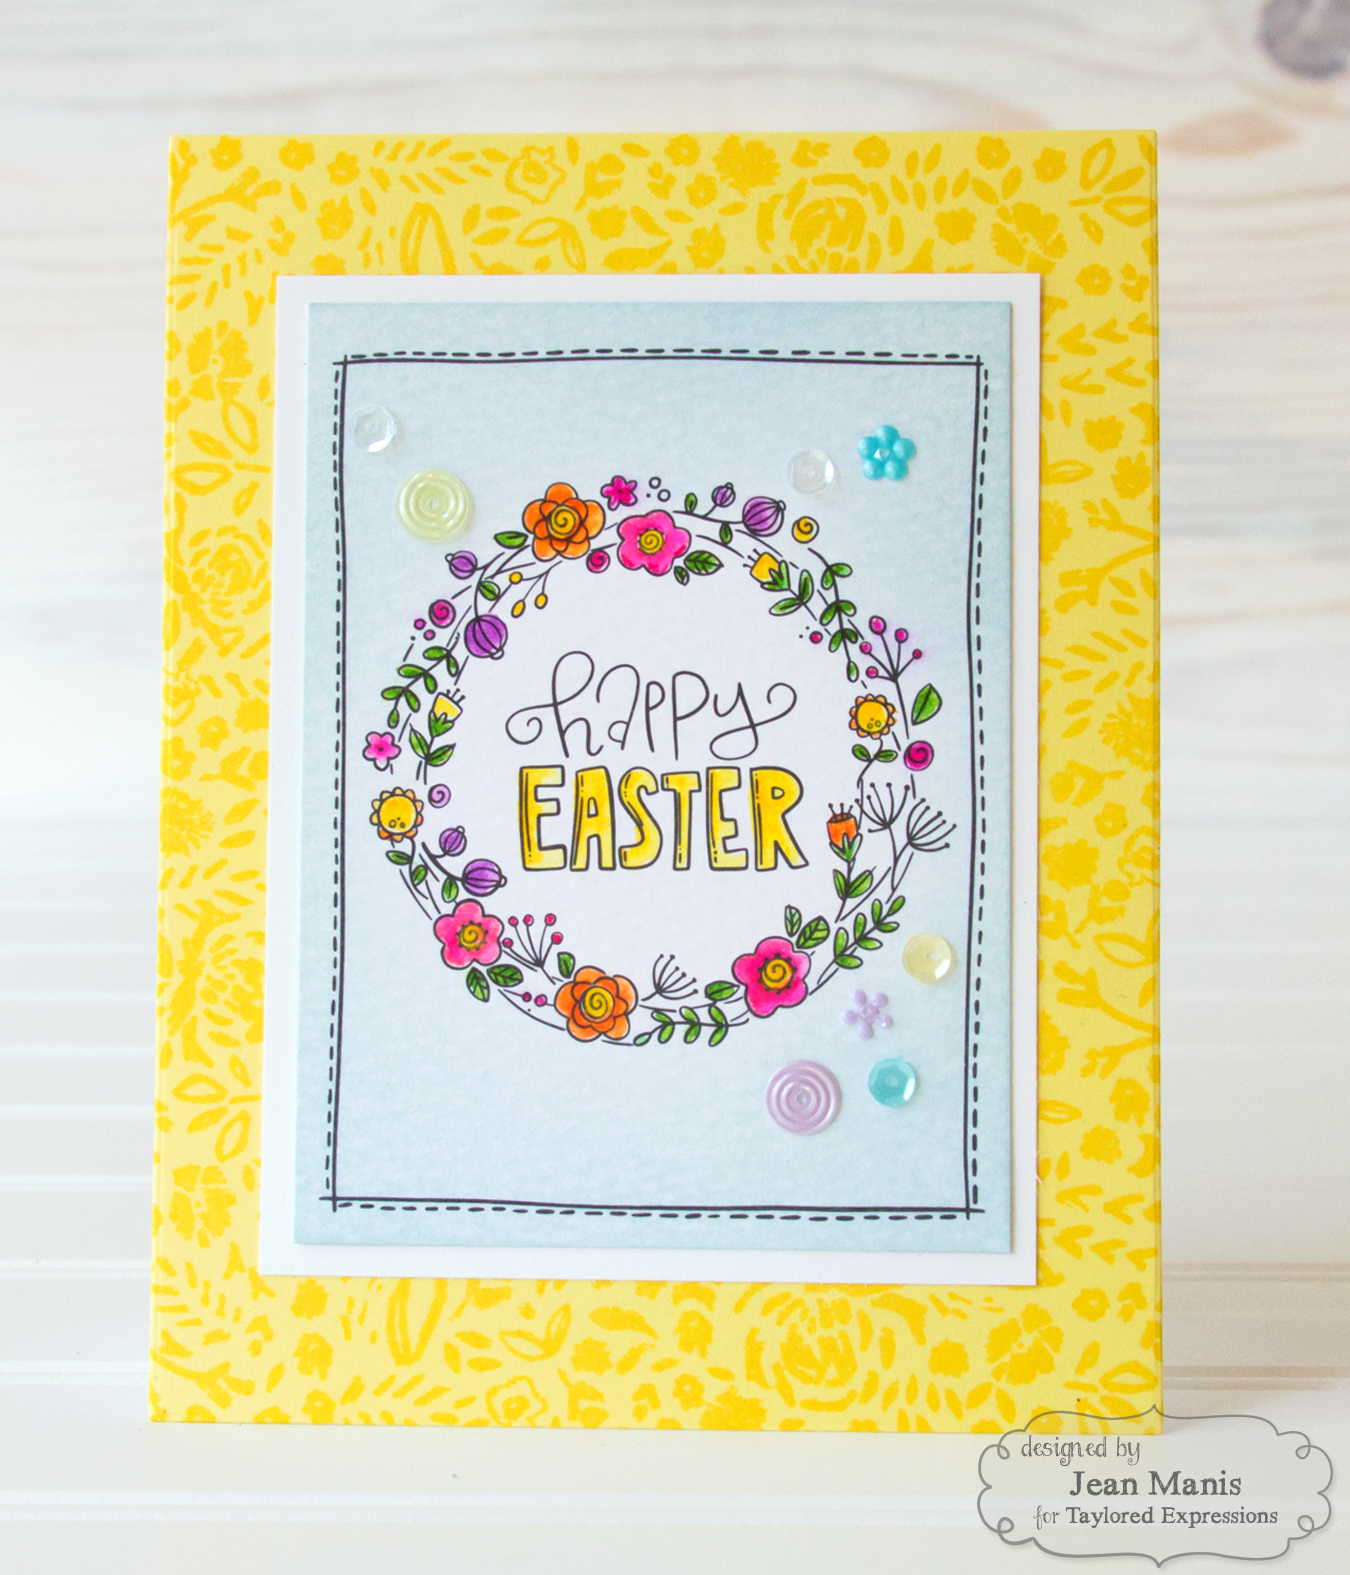
To create the card base, I stamped Petite Petals background with Lemon Meringue ink on Potato Chip cardstock.

Taylored Expressions Feb 2018 Release

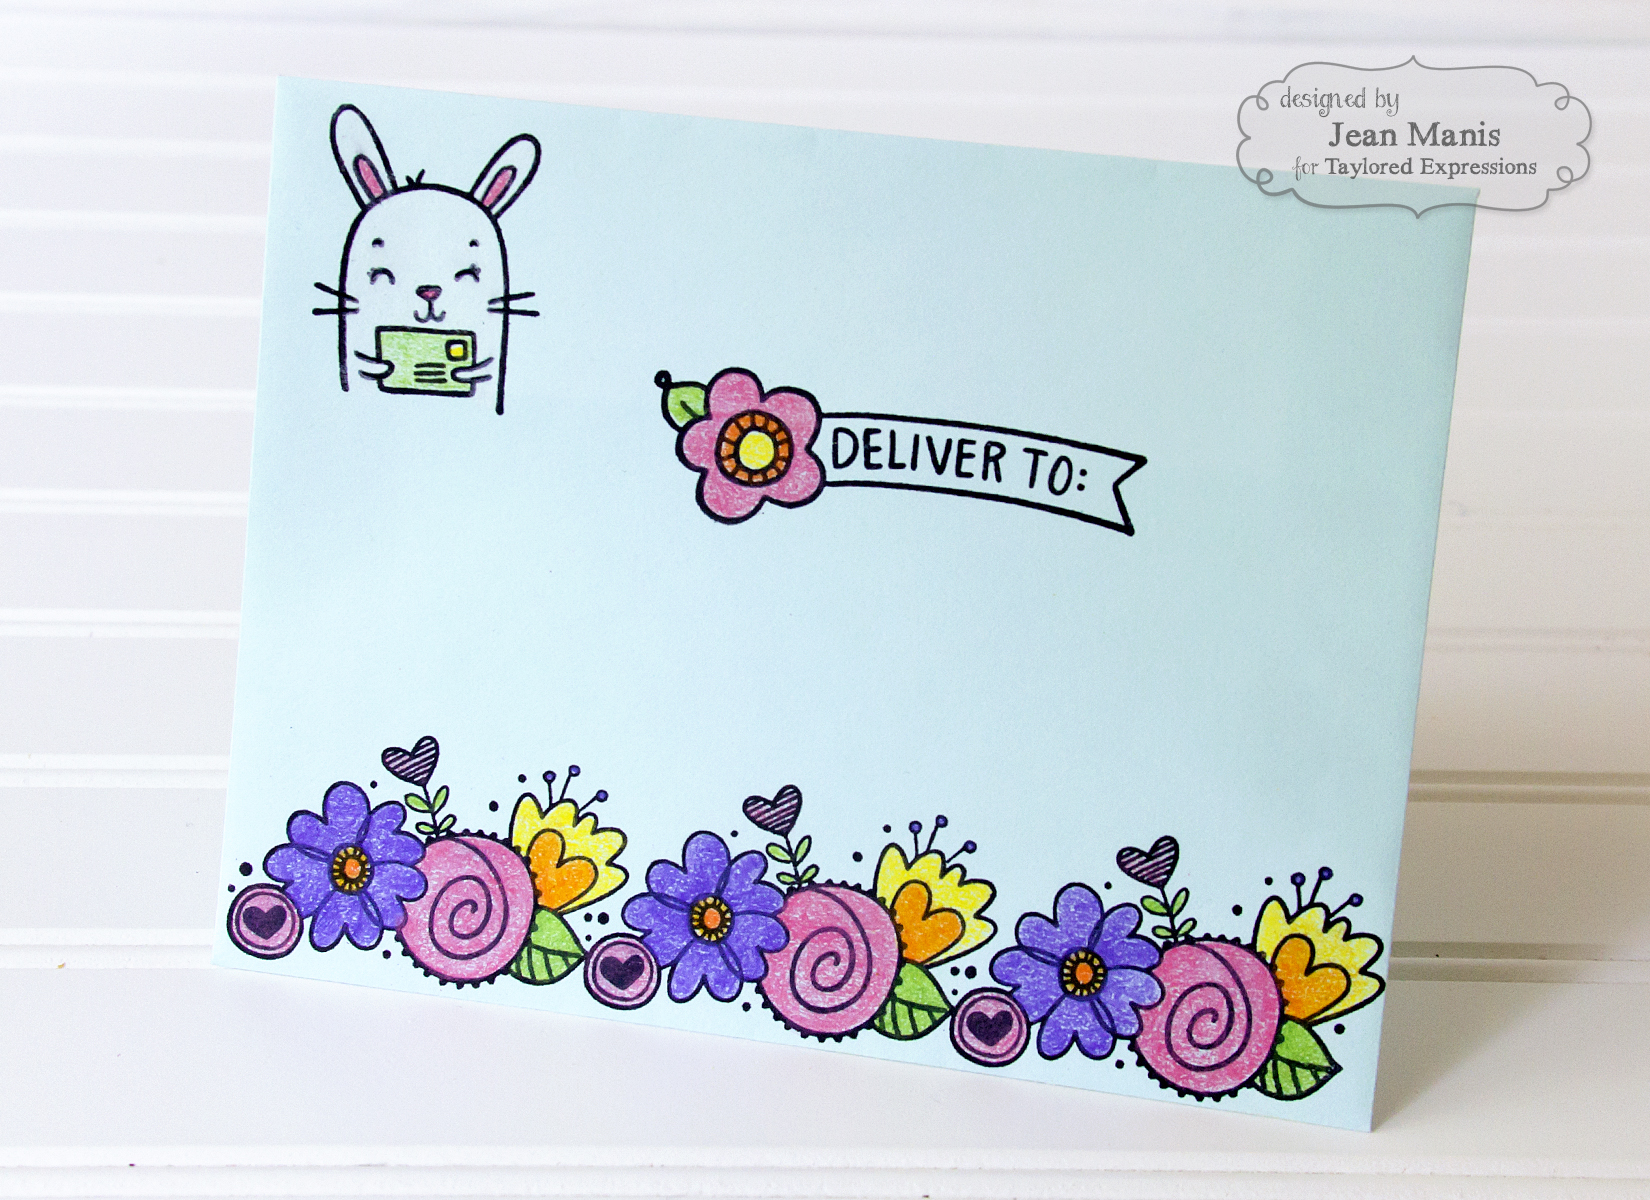
I stamped an envelope with several of the images in the Happy Mail set and colored with colored pencils.

Taylored Expressions Feb 2018 Release

Taylored Expressions Feb 2018 Release

Taylored Expressions – Bee Mine! – Die-cut Valentine

Hello! Today, I am sharing a Valentine which showcases the Taylored Expressions Roly Poly – Bee die set.

Taylored Expressions - Bee Mine!

I stamped the Brushed Hearts background with Strawberry Milkshake ink on Strawberry Milkshake cardstock (for a tone-one-tone look) and then stamped the sentiment from Simply Said – Valentine in Oreo ink. To reinforce the Valentine’s Day theme, I added hearts cut with Little Bits – Hearts, including some for the bee’s cheeks!

Taylored Expressions - Bee Mine!

Supplies: Taylored Expressions Roly Poly – Bee die set, Simply Said – Valentine stamp set, Brushed Hearts Background stamp, Little Bits – Hearts die set, Stitched Circle Stacklets die set, Oreo, Strawberry Milkshake, Cherry Pop, Lemon Meringue, Sugar Cube cardstock, Strawberry Milkshake, Oreo ink

Taylored Expressions May 2017 Release – Day Three Sneak Peeks

Hello! Welcome to Day Three of the Taylored Expressions May Sneak Peeks. This month’s release features a variety of products appropriate for Father’s Day, masculine and little boy projects, and 4th of July!

My first project is a Father’s Day card.

Taylored Expressions May 2017 Release

I cut the Little Bits – Tools from Metallic Neutrals cardstock and other colors (for the handles) adding the assembled tools to a card base on which I stamped the sentiment from the Simply Said – Dad set. I added Block Party – Dad and a frame cut with Frame in Frame Cutting Plate. The card base was dry-embossed with the Plaid folder to reinforce the masculine theme.

Taylored Expressions May 2017 Release

My second project is a masculine notecard set showcasing the Gunny Sack Background stamp.

I stamped both Sugar Cube and Toffee cardstock with the Gunny Sack Background stamp, using four different TE ink colors – Pumpkin, Sweet Basil, Blue Corn and Chocolate Truffle. I die cut the Initially M from cardstock in those same colors (twice for each card for extra depth). For the Sugar Cube cards, I paired the initials with different colors than the background colors; the Blue Corn initial with the Pumpkin background, for example. For the Toffee cards, I paired initials with the same colors as the background colors. To package the gift set, I used the Simply Said – Dad with the Noteworthy Belly Band and Clear Card Box.

Merry Christmas – Taylored Expressions Oct 2016 Sneak Peeks

Welcome to Day 2 of the Taylored Expressions October Sneak Peeks. It’s beginning to look a lot like Christmas! The October products will be released Thursday, October 6 @ 7 AM PST!

My first project features the Holiday Florals stamp set, which continues the tradition started with the Fresh Florals and Fall Florals sets.

Taylored Expressions October 2016 Release

This stamp set is packed with greenery for the holidays. I stamped and die cut the images and arranged them around a frame cut with a die in the Stitched Oval Stacklets set and Stitched Rectangle Stacklets set, which I dry-embossed with the Embossing Folder – Peaceful Poinsettia. I heat-embossed the sentiment in gold to coordinate with the cardstock used for the frame (a gold metallic in the Metallic Neutrals package).

Taylored Expressions October 2016 Release

My second card design, of which I created two versions, features the Merry Christmas Cutting Plate. I created two to show you just how easy it is to change this up.

Taylored Expressions October 2016 Release

My first version uses the white metallic cardstock in the Metallic Neutrals pack set against a card base created from Cherry Pop cardstock.

The interior features a sentiment from Ornamental. This system works well for our family. I can create the inserts and then get the signatures of all family members, simply adhering the insert to the card when we’ve all signed!

Taylored Expressions October 2016 Release

My other version of the card shows the Merry Christmas Cutting Plate overlay cut from Cherry Pop cardstock and put against a background created with a paper in the TE 6×6 Paper Pack – Playful Patterns – Holiday, to which I adhered TE Premium Vellum (with Elizabeth Crafts – 6×6 Adhesive Sheets) to soften its look. For this version, the card base is a gold metallic (Metallic Neutrals package).

Taylored Expressions October 2016 Release

Taylored Expressions October 2016 Release

Splash! – colourQ challenge #348

I’m playing along with colourQ challenge #348 with a CAS summer-themed card.

CQC348

I thought about this combination of colors for a bit and kept trying to figure out which color should have the most emphasis and which the least. In the end, I decided to give the colors more or less the same amount of emphasis and employed my design friend – repetition.

colourQ challenge #348

I colored Ranger Glossy Cardstock with Distress Inks to cut with the Little Bits – Beach Ball die. I cut the base of the balls and the Mini Caps Alpha & #’s from uncolored Glossy Cardstock. I like how the glossy cardstock emulates the plastic of blow-up beach balls. I colored the background using Loll Thompson’s “splash” watercolor technique using Tumbled Glass Distress Ink- her video is here. I had “splash” on the brain, since that’s what I used for the sentiment!

colourQ challenge #348

Supplies: Tim Holtz wave embossing folder, Taylored Expressions Pockets & Pages – Stitched Essentials, TE Little Bits – Beach Ball, TE Mini Caps Alpha & #’s