Masculine CAS Hello – Color Blocked Die-Cut Horse

Hello! Today I am sharing a masculine, Western-themed, CAS “Hello” card. This card is headed to my brother, who recently moved. I used color blocking to create the background; the focal image is the now-retired Galloping Stallion from Poppystamps. Let’s take a look!

Masculine CAS Hello - Color Blocked Die-Cut Horse

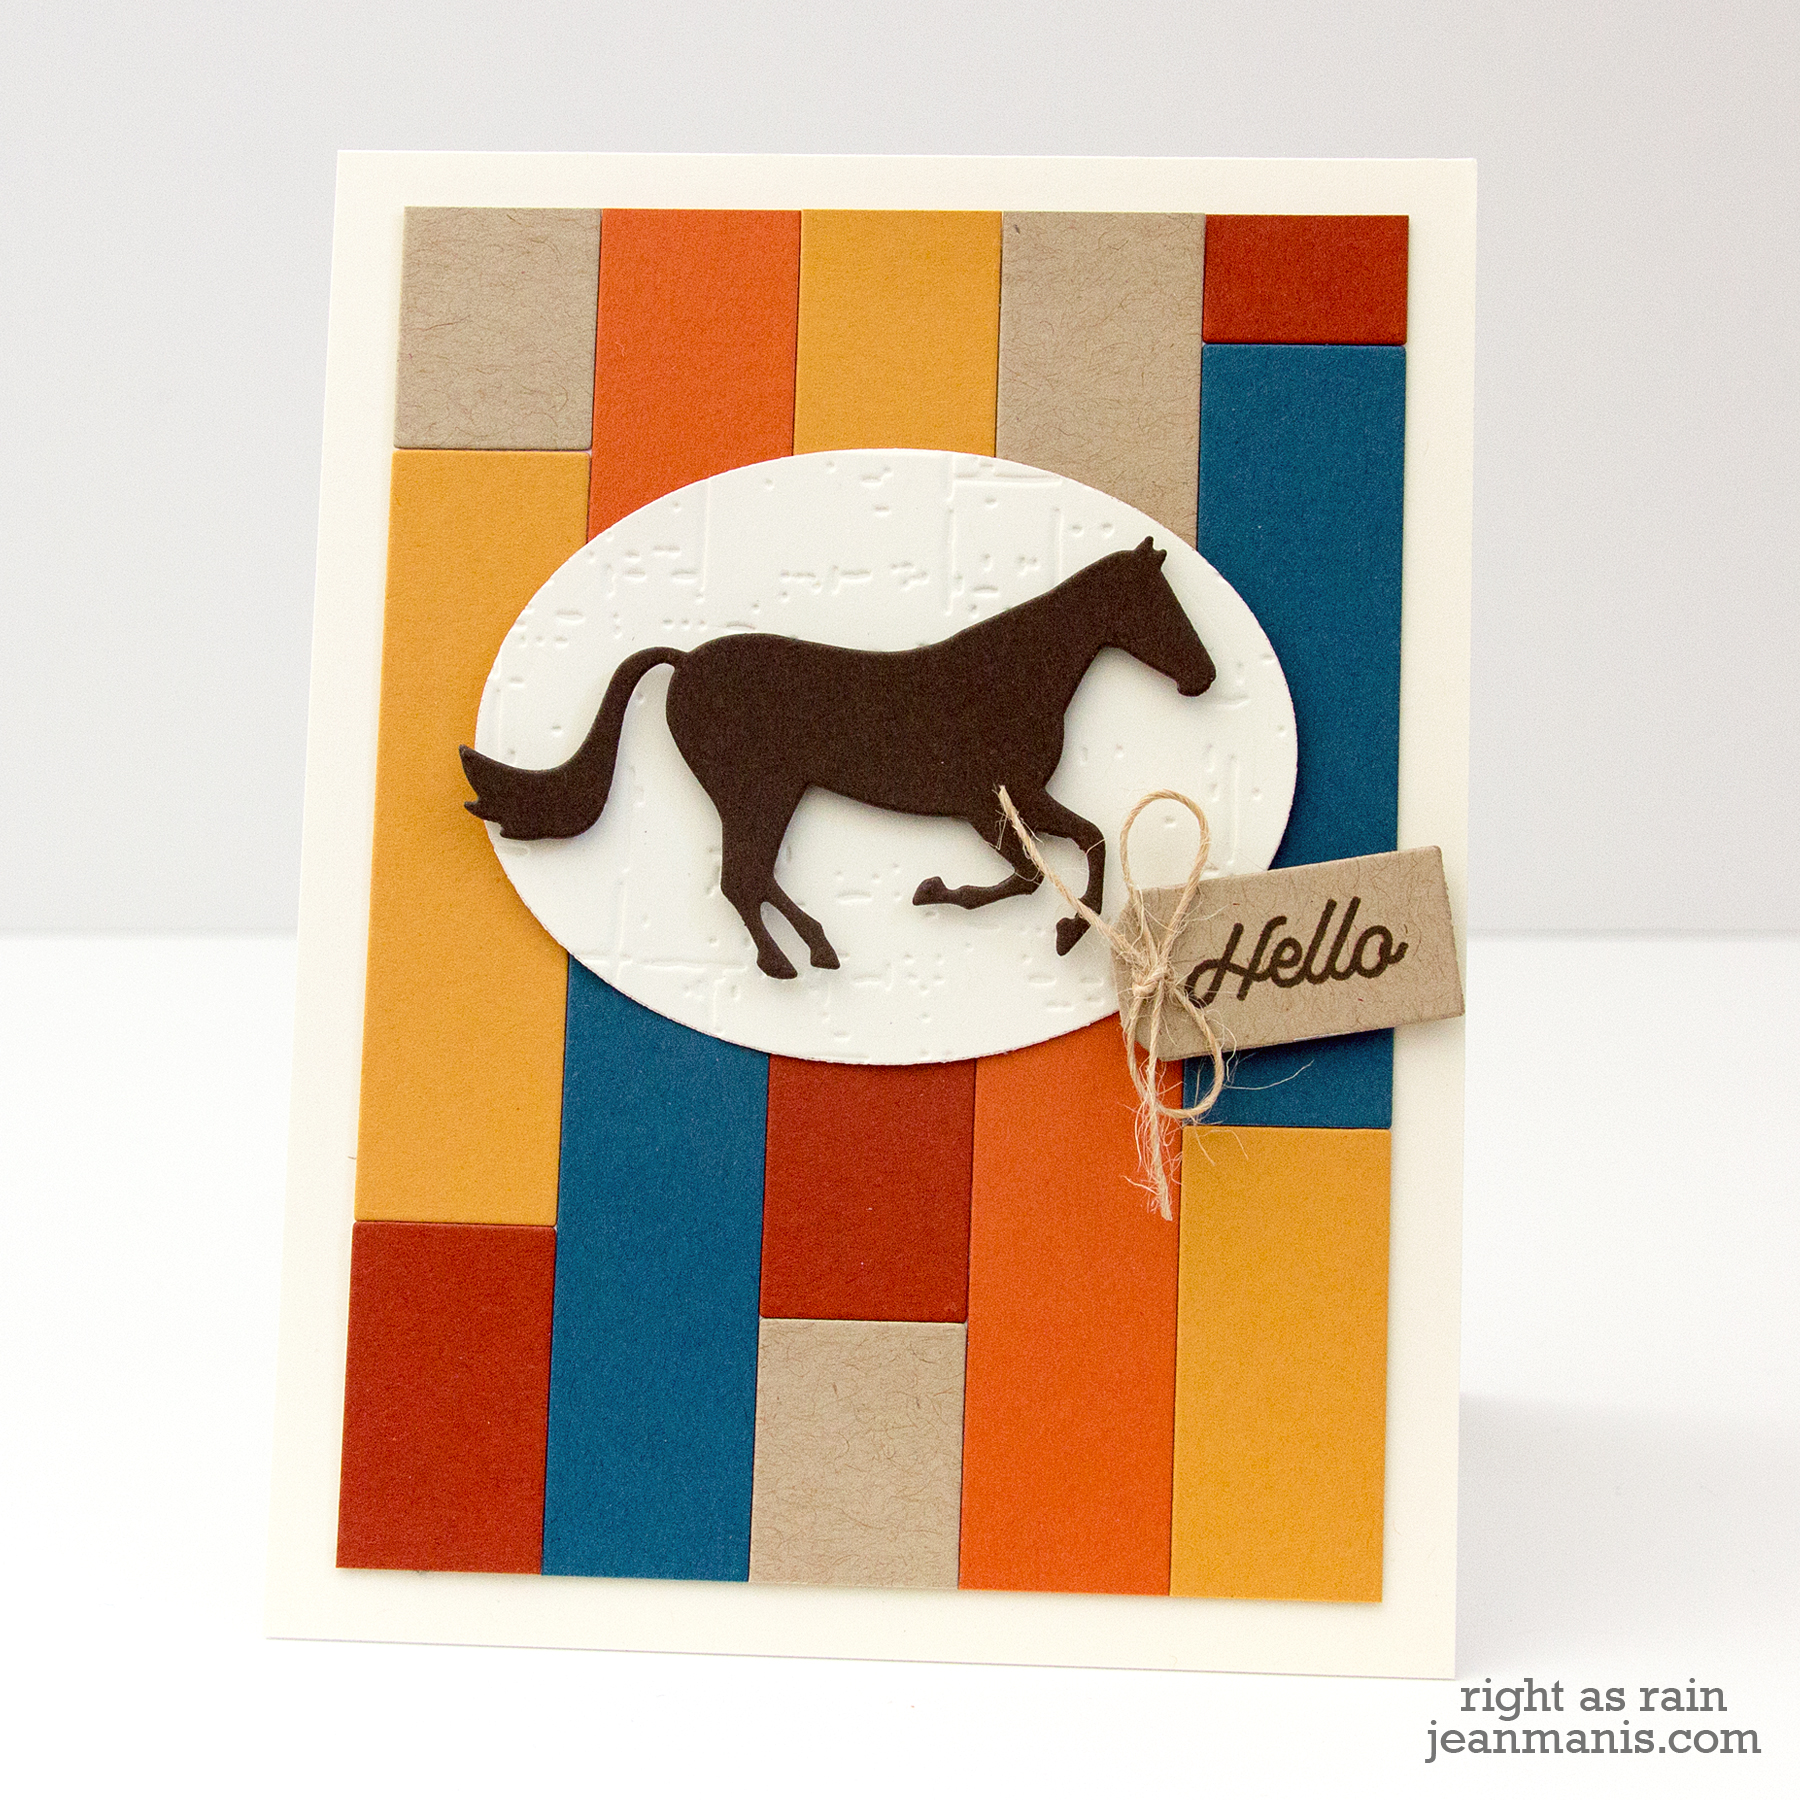
  • I used a die from a Reverse Confetti treat bag set (the rectangle is 3/4″ wide x 2 7/8″ long) to die-cut five different colors of cardstock – Taylored Expressions Toffee, Stampin’ Up Cajun Craze, TE Sweet Potato Pie, SU More Mustard, and SU Not Quite Navy. This particular treat bag is now retired, but a rectangular die will work. I wanted the colors to convey a western feel – think Pendleton blanket.
  • I attached the rectangles to a 3 3/4″ wide by 5″ wide panel.
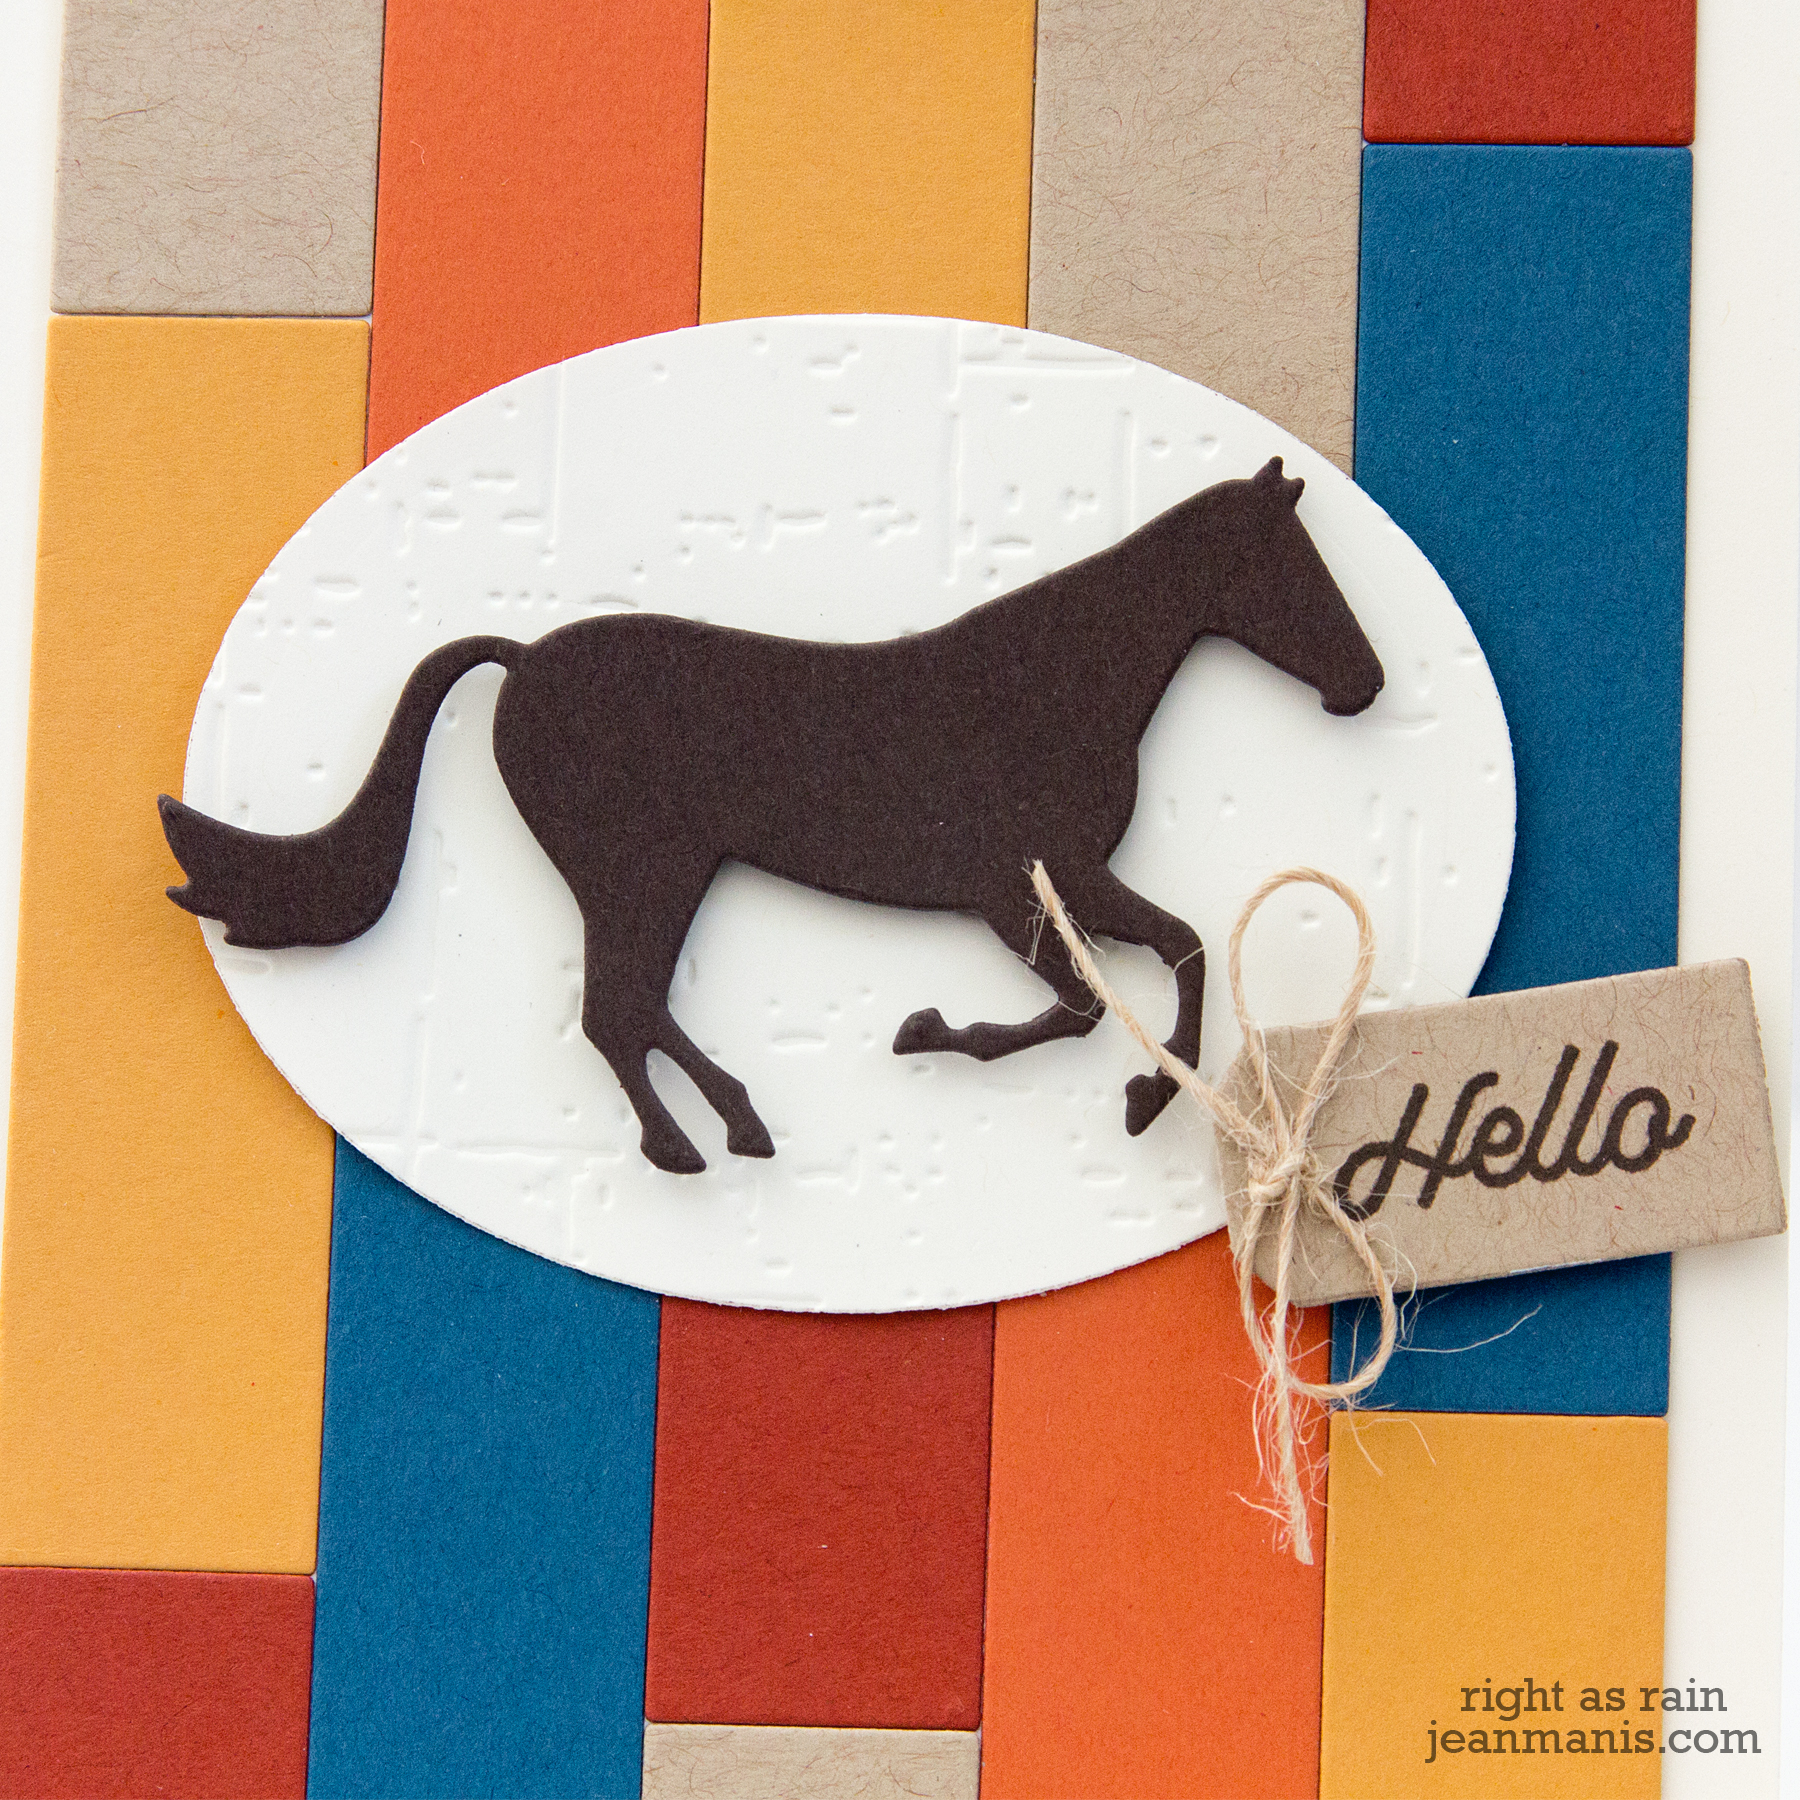
  • I die-cut the stallion from Taylored Expressions Chocolate Truffle cardstock and attached him with foam adhesive to an oval, cut with a Spellbinders Nestabilities set from Stampin’ Up Very Vanilla and dry-embossed with the TE Weathered embossing folder.
  • I stamped the sentiment with Archival Potting Soil ink on Taylored Expressions Toffee cardstock and cut it with a TE tag die. I added May Arts twine, which ties in with the rustic theme.

Masculine CAS Hello - Color Blocked Die-Cut Horse

Die-Cut Nautical Scene – Two Takes

Hello! Today, I am sharing two nautical-themed cards with similar designs.

Die-Cut Nautical Scene - Two Takes

For both cards, I cut the sailboat (Poppystamps Marina Sailboats die) from white cardstock and red cardstock. I trimmed off the sails and added them to the white boat body. The red sail on the card with the window is SU Real Red and the other sail is SU Poppy Parade.

Die-Cut Nautical Scene - Two Takes

Die-Cut Nautical Scene - Two Takes

On both cards, I cut the sky and ocean from cardstock using the wave die in the sailboat set. For the card without a window, I taped the sky and ocean together on the back and cut the cardstock with a Lil’ Inker rectangle die. For the card with the window, I simply trimmed the piece down to fit behind the window. The card without the window has a sky and ocean that are more green/teal than the card with the window. I don’t have the names of those colors as I  pulled the cardstock out of a scraps bin. (I have a lot of paper scraps that I need to either put back with the full reams or at the very least sort!) The sky and ocean colors for the card with the window are SU Balmy Blue and SU Blueberry Bushel.

Die-Cut Nautical Scene - Two Takes

For the card without the window, I dry-embossed the background with the My Favorite Things Geometric Grid stencil. As I have mentioned previously, I am boxing up my supplies for an upcoming move. Most of my embossing folders are packed up. I have several wave embossing folders which I might have used if they’d been handy. Luckily, it’s easy to dry-emboss with a stencil!

Die-Cut Nautical Scene - Two Takes

For the card with the window, I added embossing paste through the English Brick stencil on kraft cardstock.

For both cards, I added a heat-embossed sentiment (My Favorite Things You Float My Boat stamp set) which I cut with the MFT Horizontal Hearts in a Row banner.

Thanks for stopping by!

Supplies:

Winter Wishes – Die-cut Ornaments

Hello! I like the ornament motif on holiday cards, and I have a collection of ornament dies. Today, I am sharing a card showcasing the newest addition to my collection – the Poppy Stamps Pinpoint Shaker Ornament. I liked it so much, I cut it twice!

Winter Wishes - Die-cut Ornaments
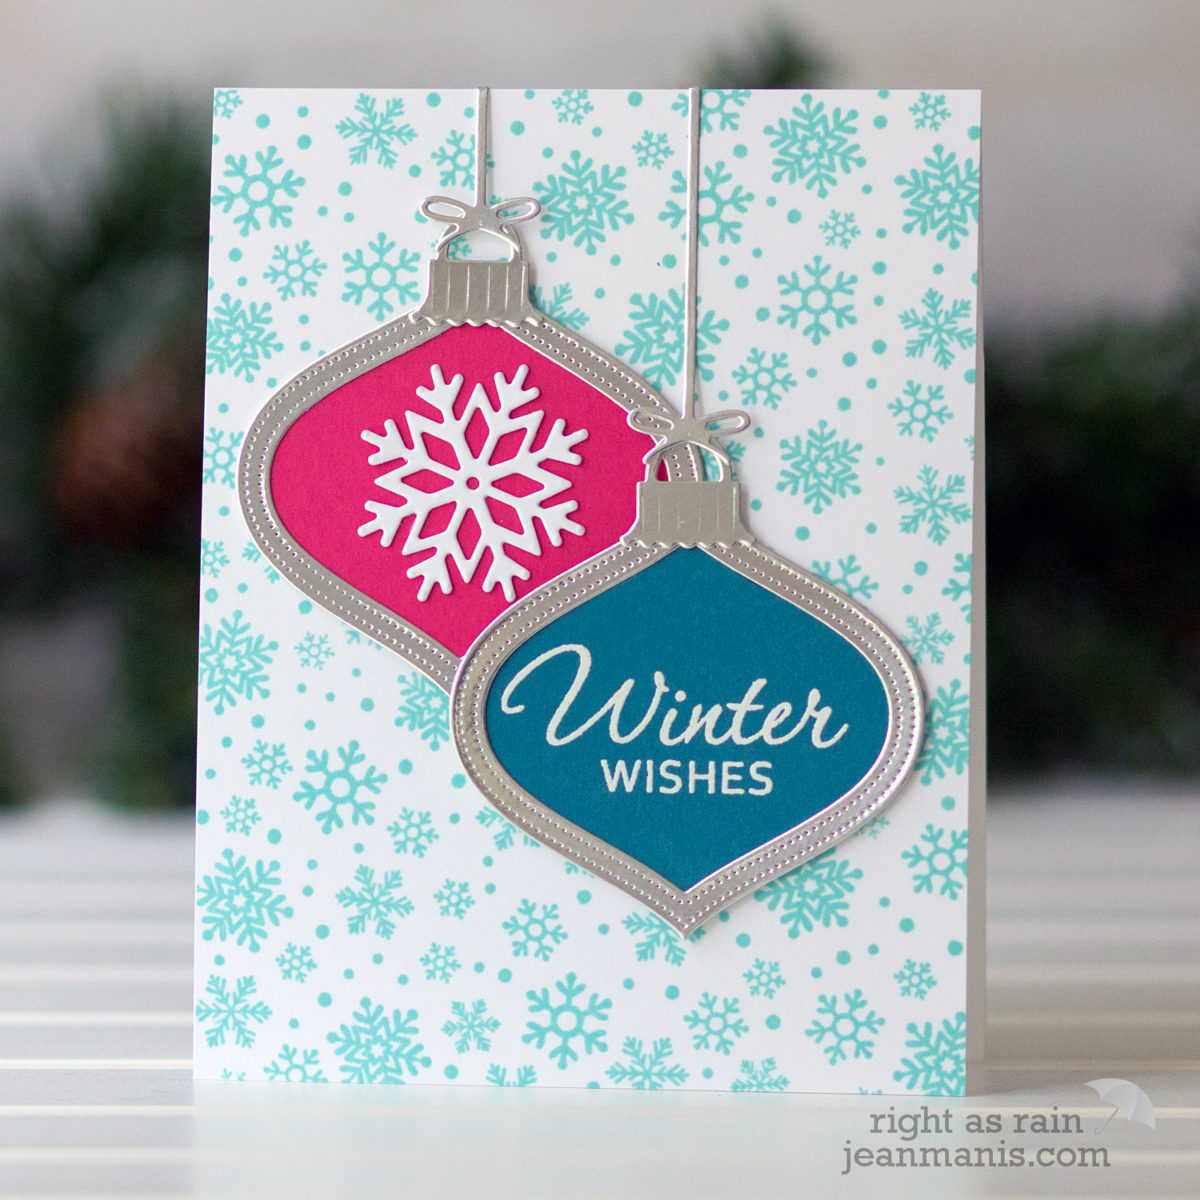
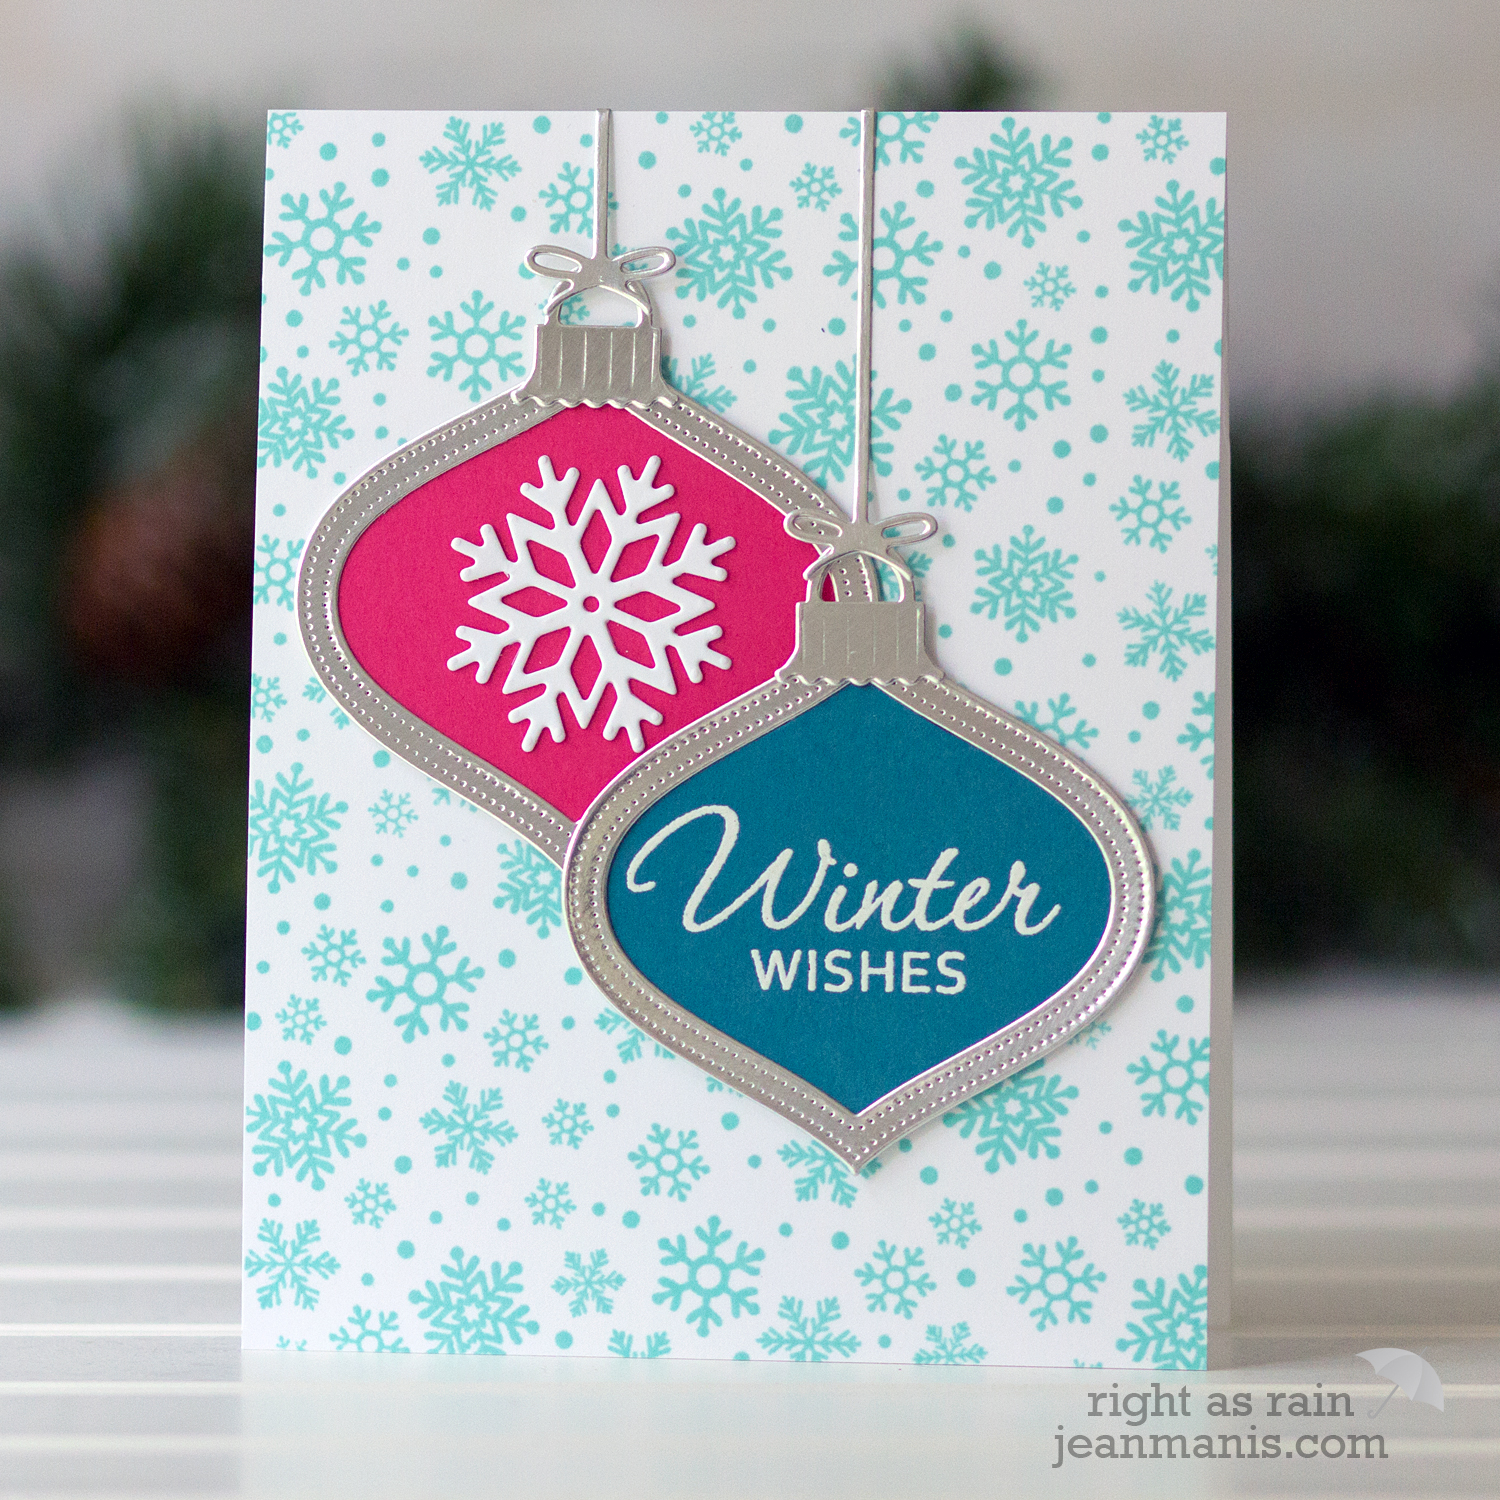
The Poppy Stamps Pinpoint Shaker Ornament die is designed to work with the Retro Ornaments die set. I don’t own that set but found that the Impression Obsession Vintage Ornament die set worked for my purposes. I white heat-embossed one of my favorite sentiments (from the now-retired Hero Arts Operation Write Home Winter Wishes set) on deep blue cardstock. I cut the other ornament from pink cardstock and added a Savvy Stamps snowflake.
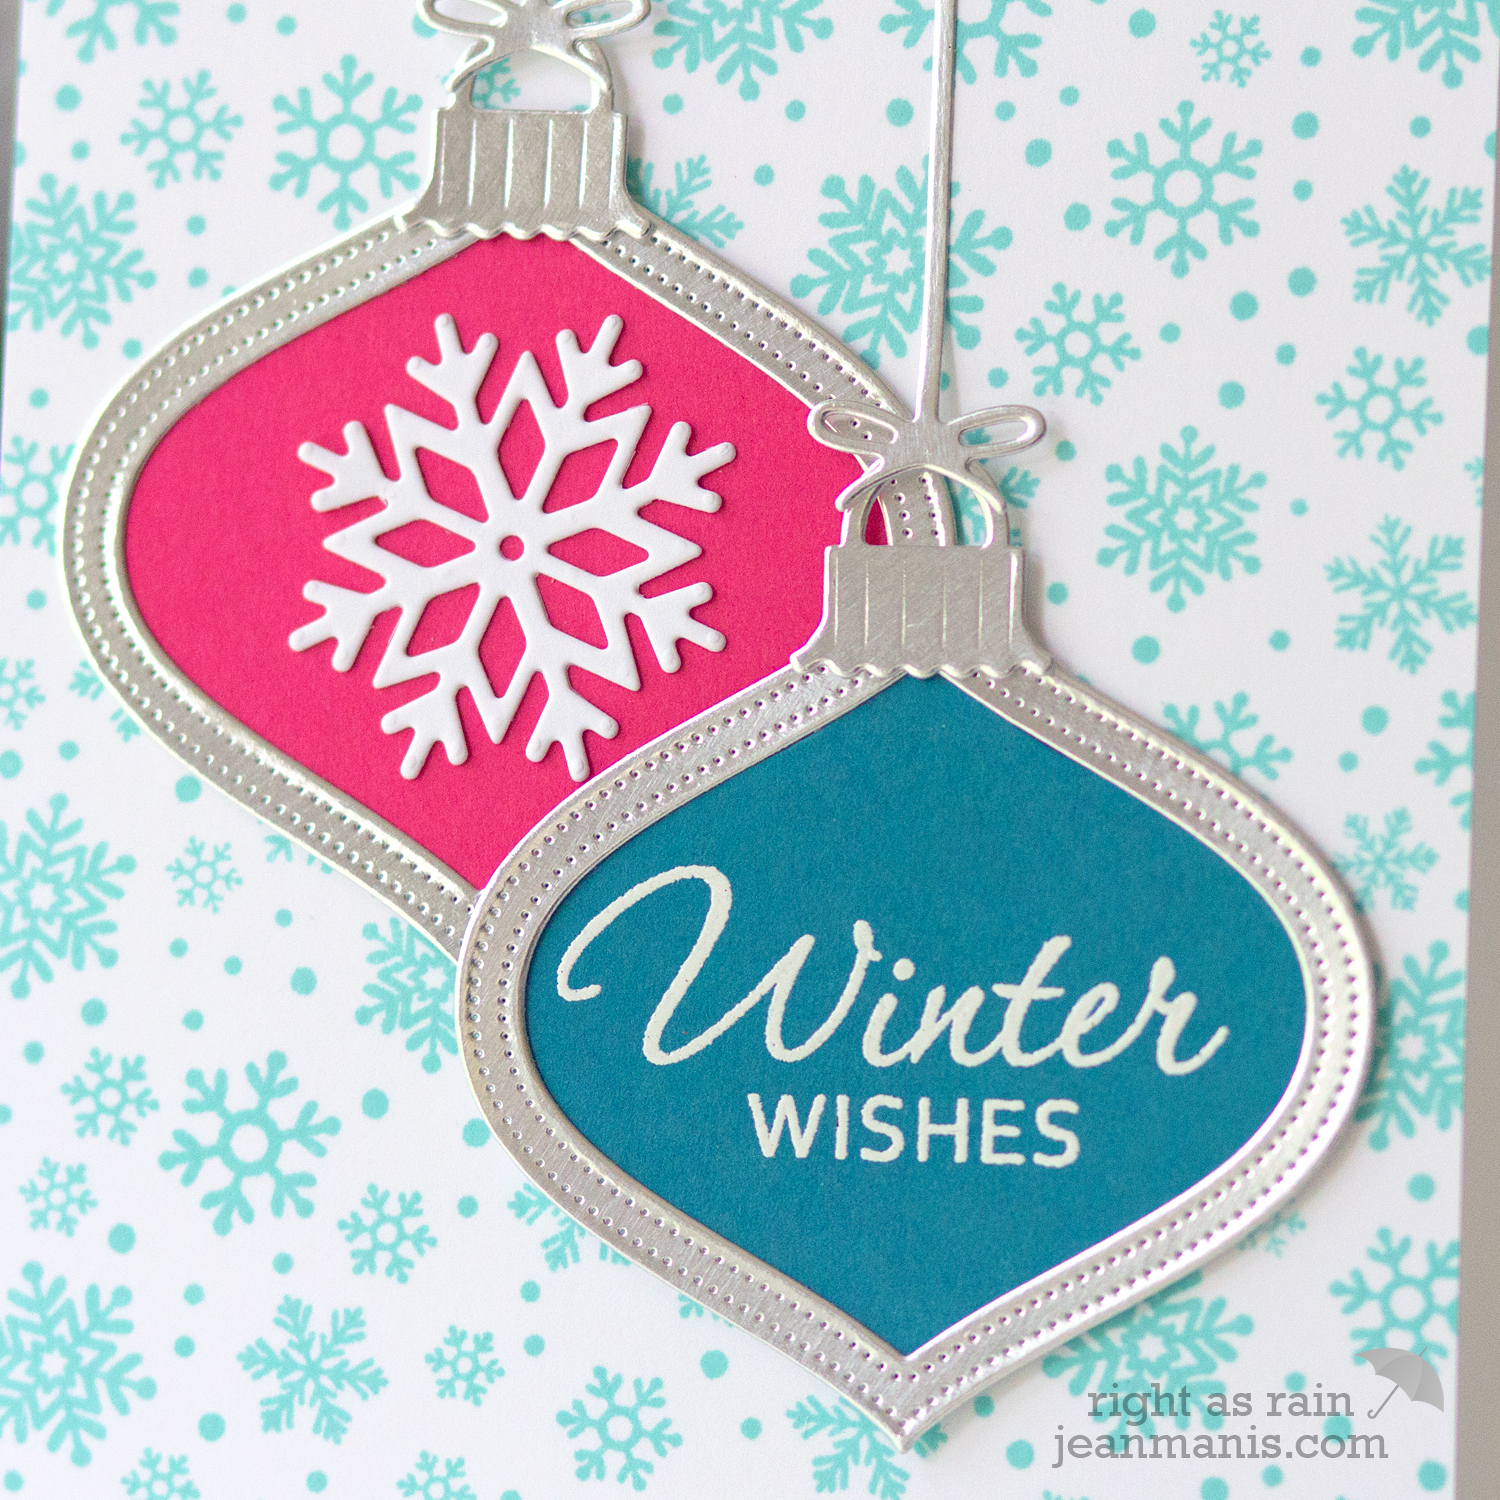
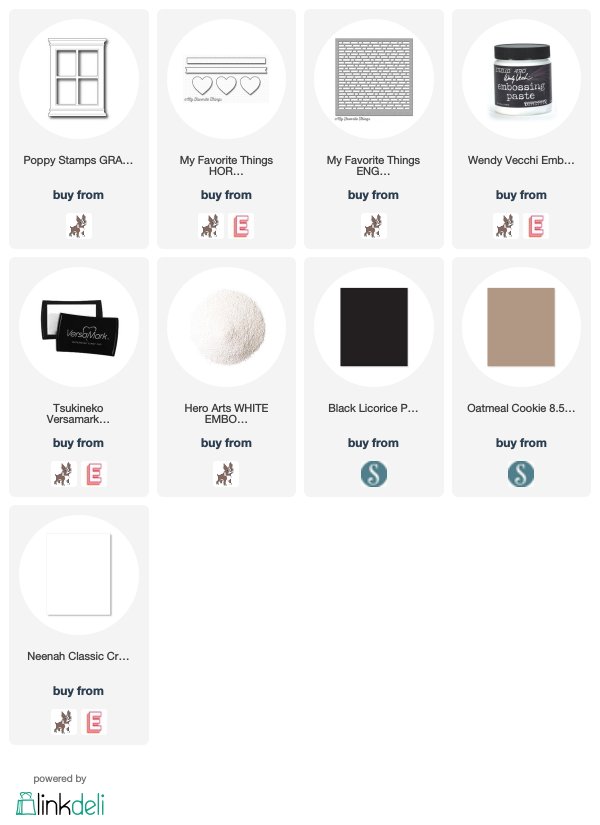
Winter Wishes - Die-cut Ornaments

The ornament strings were cut with the Impression Obsession Vintage Ornament set. To create the background, I stamped the Taylored Expressions Snow Day Background stamp in Sea Glass ink on white cardstock.

Winter Wishes - Die-cut OrnamentsSupplies:

MFT Stamps – Beast Friends

Hello! Today, I am sharing a winter-themed, friendship card showcasing the MFT Stamps Beast Friends set.

MFT Stamps - Beast Friends

I stamped the Yeti figures and colored them with Copics. I went for a crazy fur color. (Since I have never seen a Yeti, or a Sasquatch, I am not certain about the color of their fur!)

For the sentiment, I cut a black strip of cardstock with the Poppystamps Let It Snow Frame die. To create the slit in the Snow Drift, I cut apart a seldom-used square die and used a portion to cut the straight line. (I could have cut the slit with an X-ACTO knife, but I wanted to try the idea of cutting with a portion of a die.) I tucked the sentiment into the slit and taped it from behind.

MFT Stamps - Beast Friends

I had everything assembled when I realized I had left off the snow! I cut two sizes of the Mini Snowflakes and added them to the background.

Supplies:

Fresh Snow in the Woods

Hello. Today, I’m sharing a winter scene featuring Memory Box and Poppystamps dies.

Die-Cut Christmas Sleigh

I took some artistic license with the Reindeer Parade die-cut – I’m imagining the reindeer flying off, leaving the sleigh in the woods! The heat-embossed sentiment is from Lawn Fawn Merry Messages – one of my favorite sets of the season.

Die-Cut Christmas Sleigh

May your day be Merry & Bright!

Supplies: Memory Box, Fresh Pine Trees, Memory Box Fresh Pine Curved Border, Memory Box Reindeer Parade, Poppystamps Santa’s Magic Sleigh