

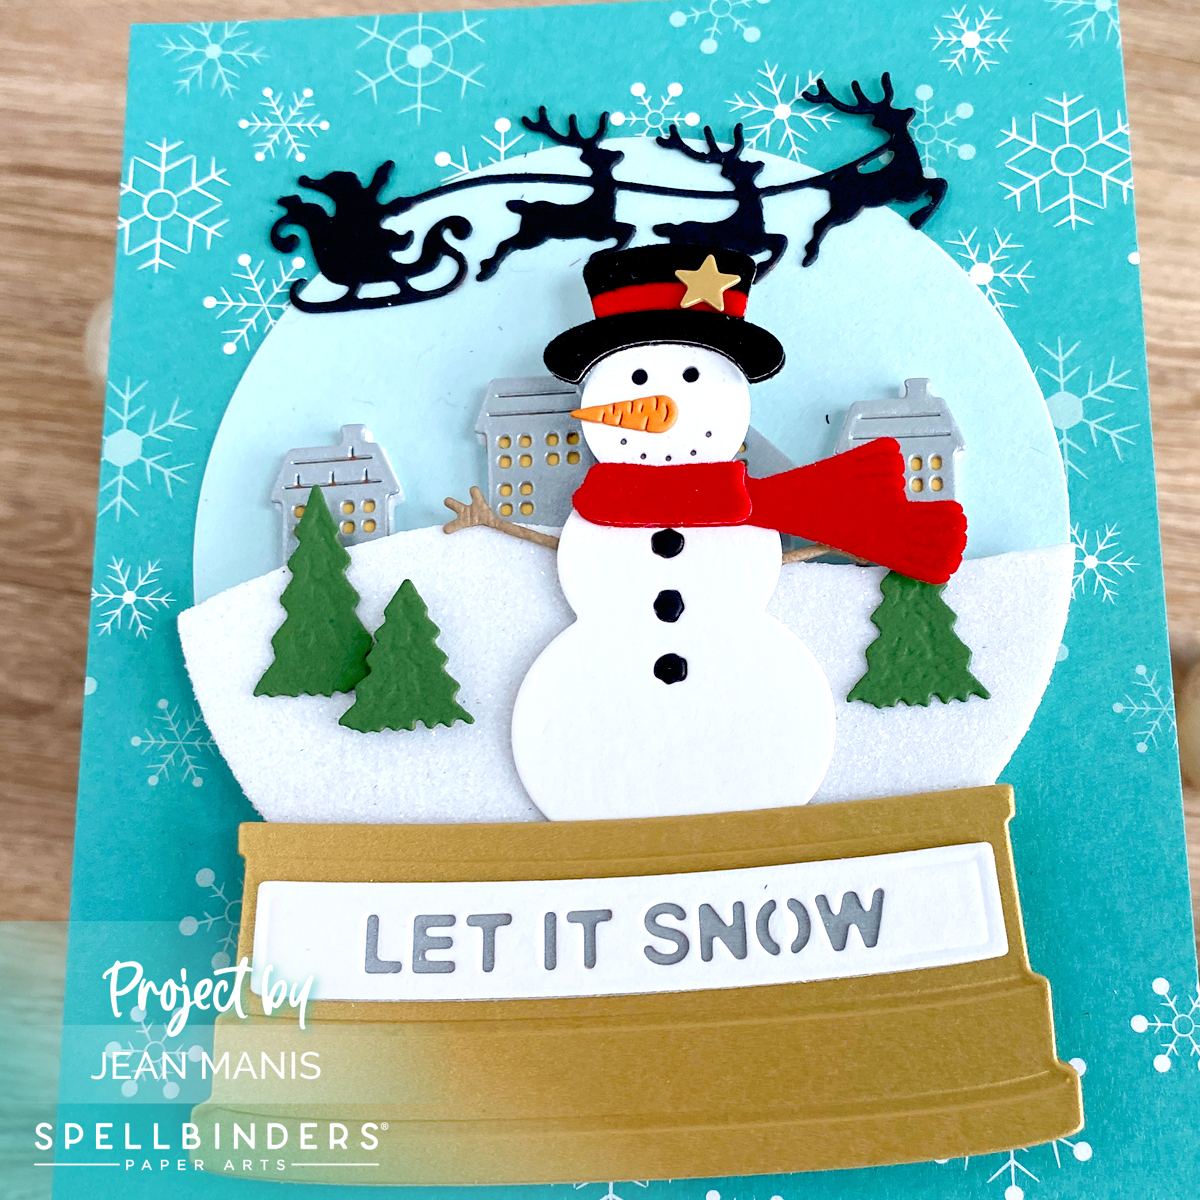
Hello! Today, I am showcasing die sets in the Simon’s Snow Globes Collection by Simon Hurley at Spellbinders. The holiday card captures the depth of a three-dimensional snow globe scene within the confines of a two-dimensional space. Inside the globe, a charming snowman stands in front of a row of charming houses while Santa and his sleigh fly overhead.
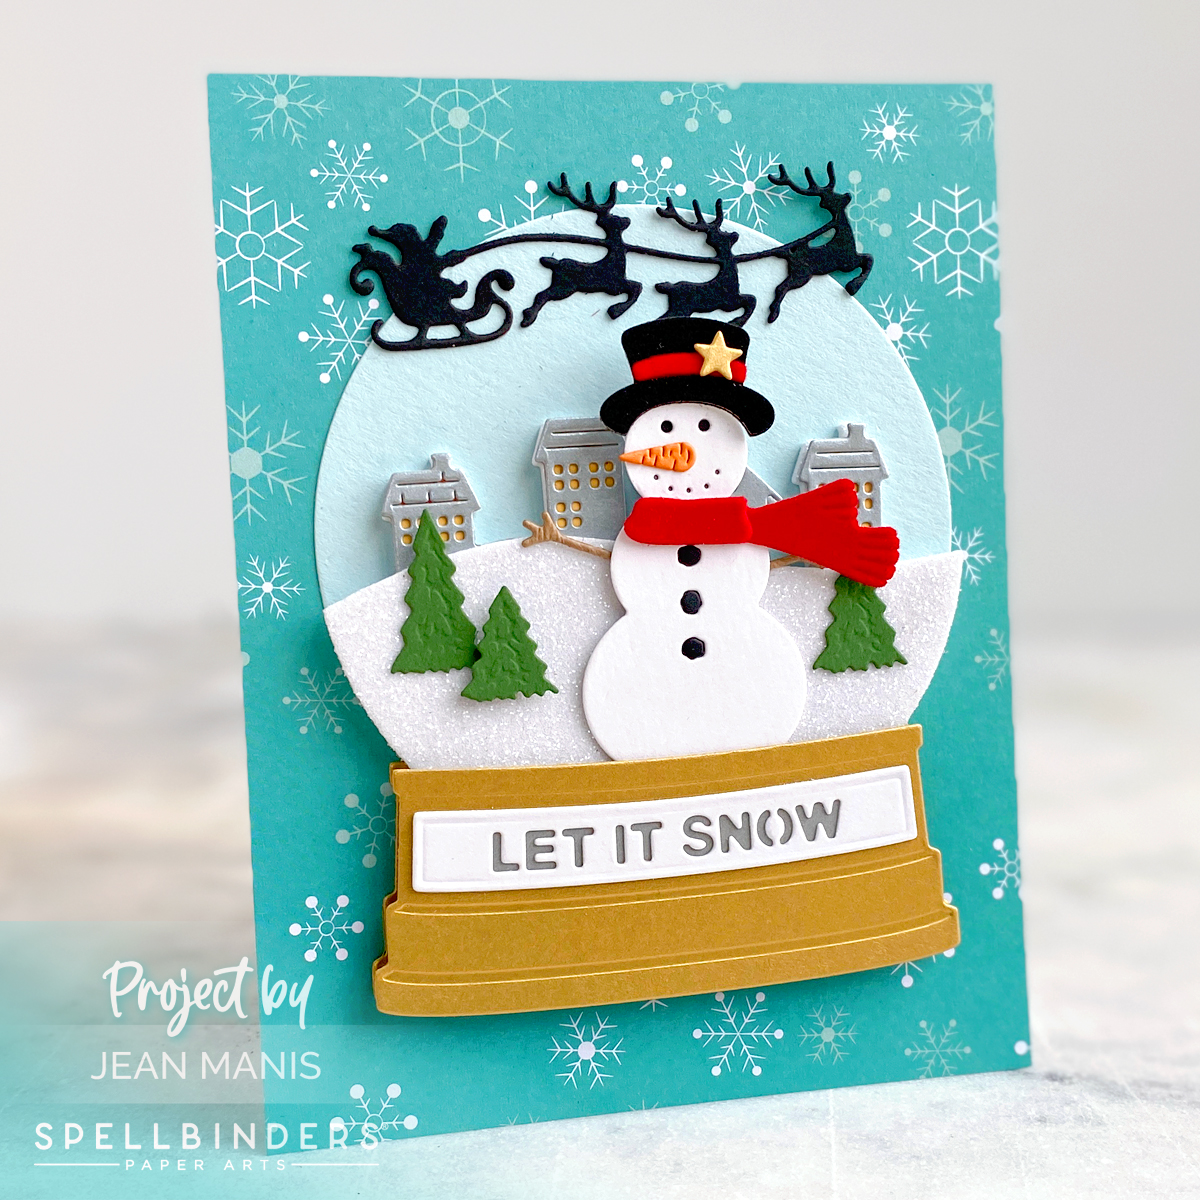
- For the background, cut an A2-size piece of patterned paper and attach to a card base.
- Next, create the snow globe. With the Simon’s Snow Globe die set, cut snow globe pieces – glass and base – from Sea Glass and Brushed Gold. Use the sentiment die in the Snowman Scene set to cut “Let It Snow” from Snowdrift and Brushed Silver cardstock.
- Cut Santa and reindeer, trees, and village from cardstock with dies in Simon’s Snow Globe set. Cut the village two more times with white glitter foam. Set one aside; this one goes in the back and helps create depth. With the other village section, to create the front snowbank, cut off the houses from the top then cut the bottom with the globe circle. Back the windows of the silver village section with Beeswax cardstock to simulate light. Attach the silver village section to the intact white glitter foam section. Adhere the trimmed snowbank to the front. Add assembly to the light-blue globe.
- With the Snowman Scene set, cut the snowman pieces. Assemble.
- Adhere Santa and reindeer above the snow globe assembly. Add snowman to scene, tucking the bottom of the snowman into the snowbank. Add globe base. Optionally, for a more finished look in the back, cut an additional globe base and slide in the back.
Save up to 40% on select Spellbinders dies, now through October 13.

Darling snowman scene in your snowglobe, Jean! Love the snowflake paper behind it too!!
So cute. The Santa sleigh is perfect for that card. So many textures and colors!