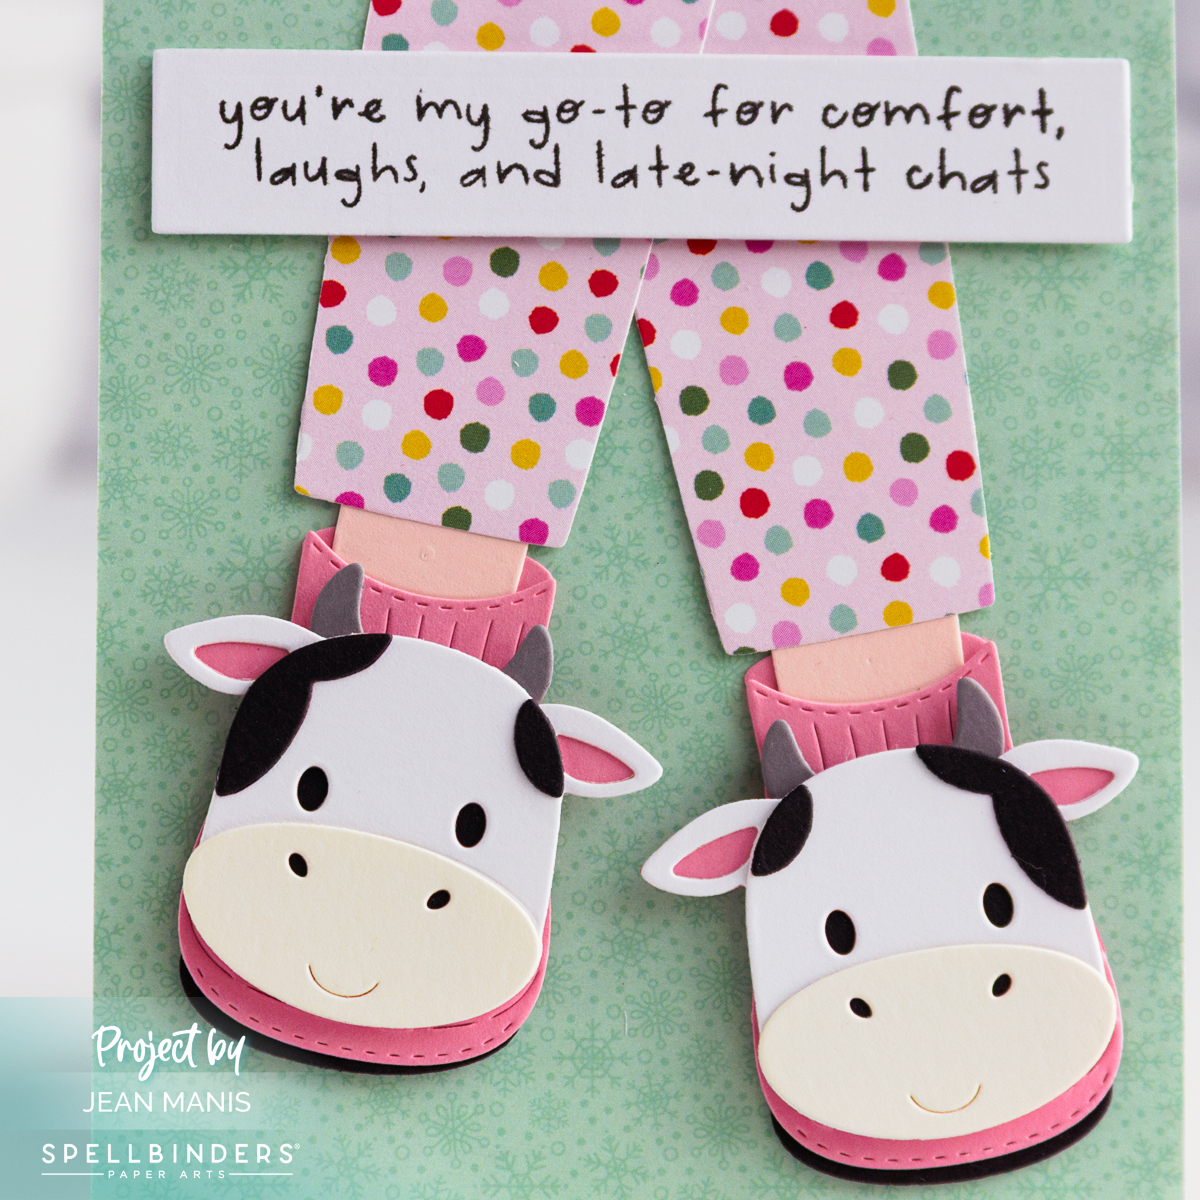
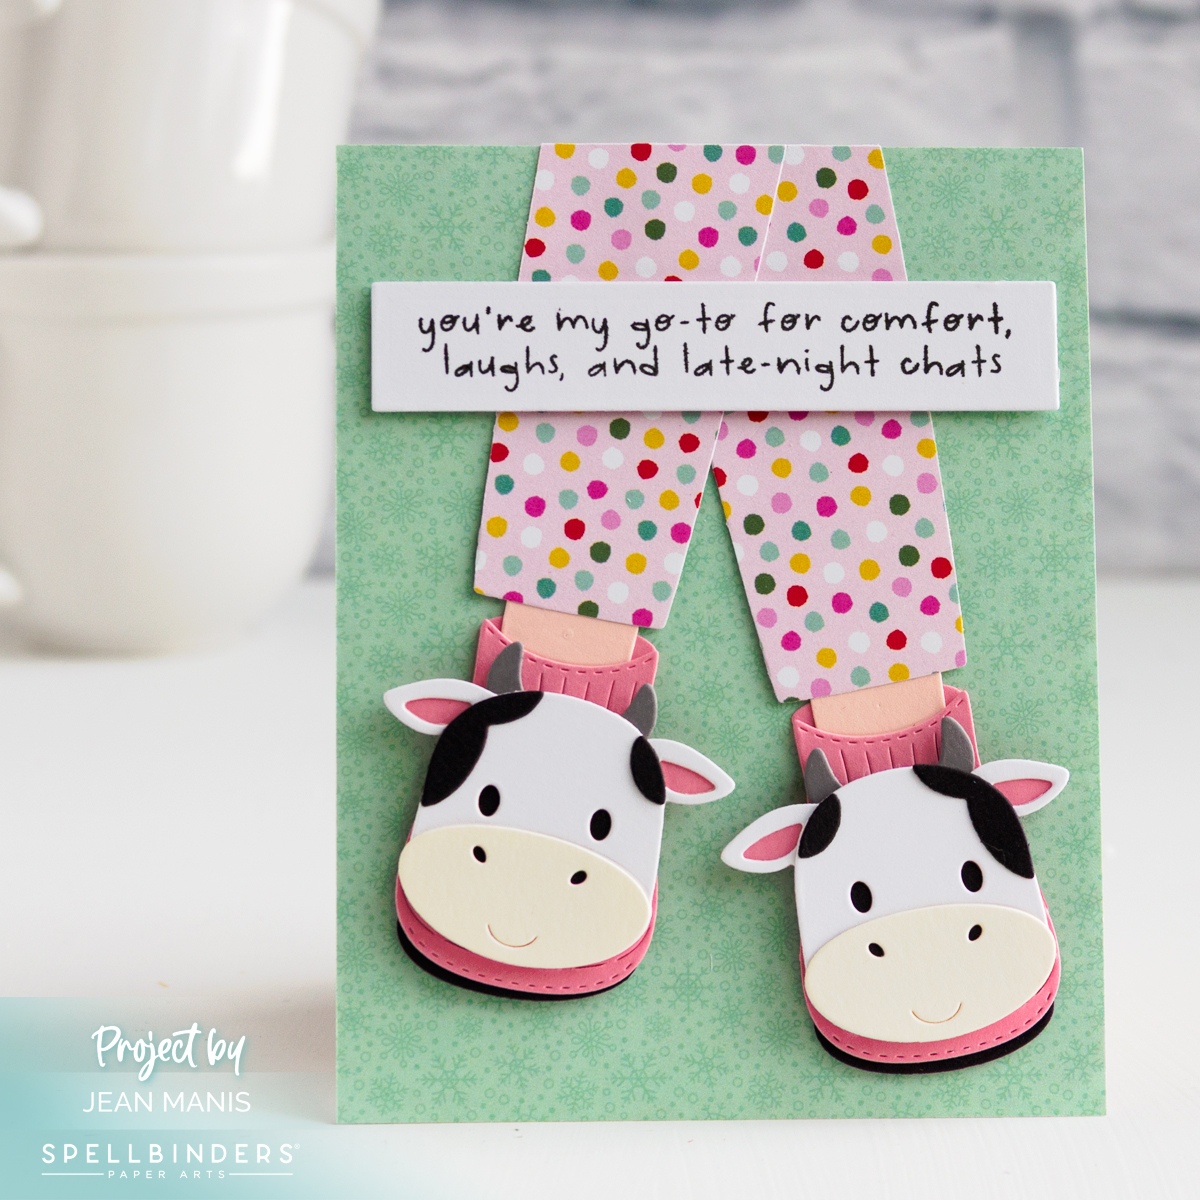
Hello! Spellbinders has introduced a new batch of slipper faces and coordinating sentiments for the Cozy Toes Slippers die set (originally the October 2024 Large Die of the Month). These additions make it easy to create playful, friendship-themed cards all year long. For today’s design, I used the cow face dies and paired them with a sentiment from the Cozy Toes Friends stamp set: “You’re my go-to for comfort, laughs, and late-night chats.” The success of this card comes down to the color and pattern choices. I dressed my slippers in multi-colored polka dot pajamas that complement the black-and-white cow design.
-
- Cover an A2-size card base with patterned paper (Doodlebug Tinsel Time).
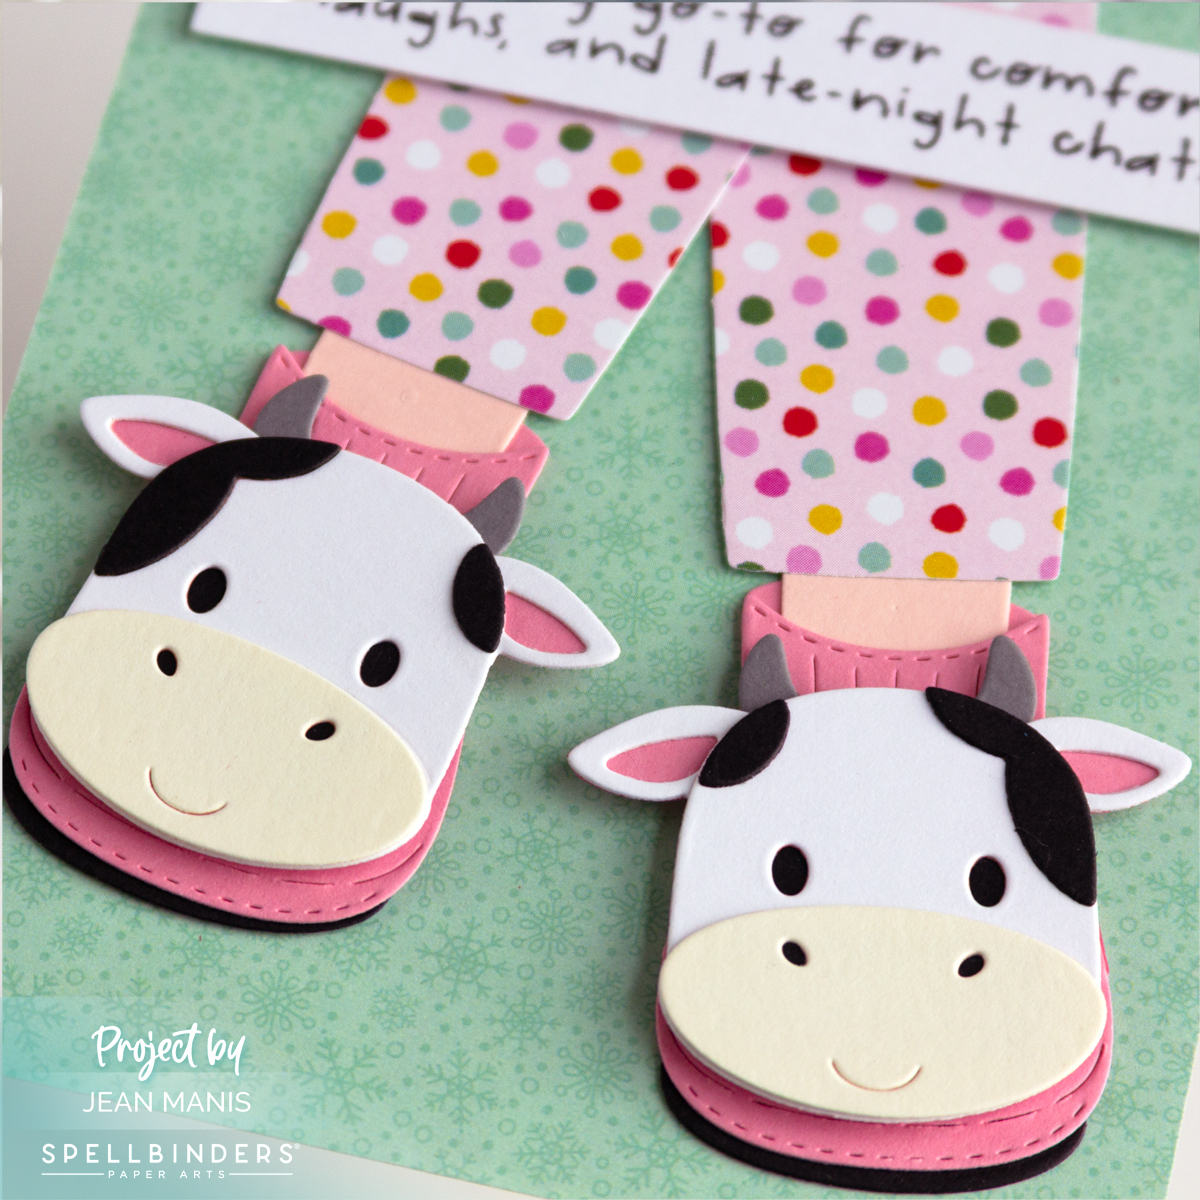
- Cut the cow faces with dies in the Cozy Toes Friends set and assemble.
- Cut the pajamas and slipper bases with dies in the Cozy Toes Slippers set. Assemble.
- Stamp the Cozy Toes Friends sentiment and cut with a banner/rectangle die.
- Add elements to the prepared card base.
I love when a well-loved product gets new life through additional designs. These new slipper faces expand the creative possibilities of the original set.