Today, I’m sharing a mixed-media, faith-based bookmark featuring one of the sentiments from the Reverse Confetti God Is Good set.
Both Reverse Confetti God Is Good and Walk By Faith stamp sets can be used for Bible journaling. I don’t own a Bible with a journaling margin so decided to make a bookmark.
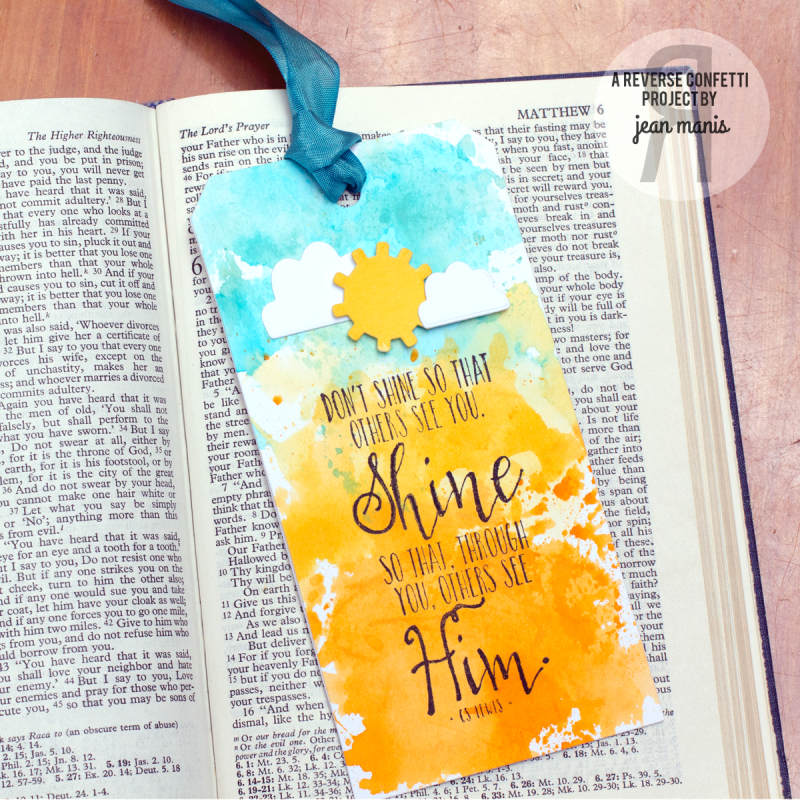
To begin, I applied three colors of Peerless Watercolors to watercolor paper and then die cut a large tag out of the watercolored paper. I stamped the sentiment and added clouds and a sun die cut with the Weather It Together Confetti Cuts set. The sun was also colored with Peerless watercolors. To finish I added ribbon that I dyed with Distress Stain.