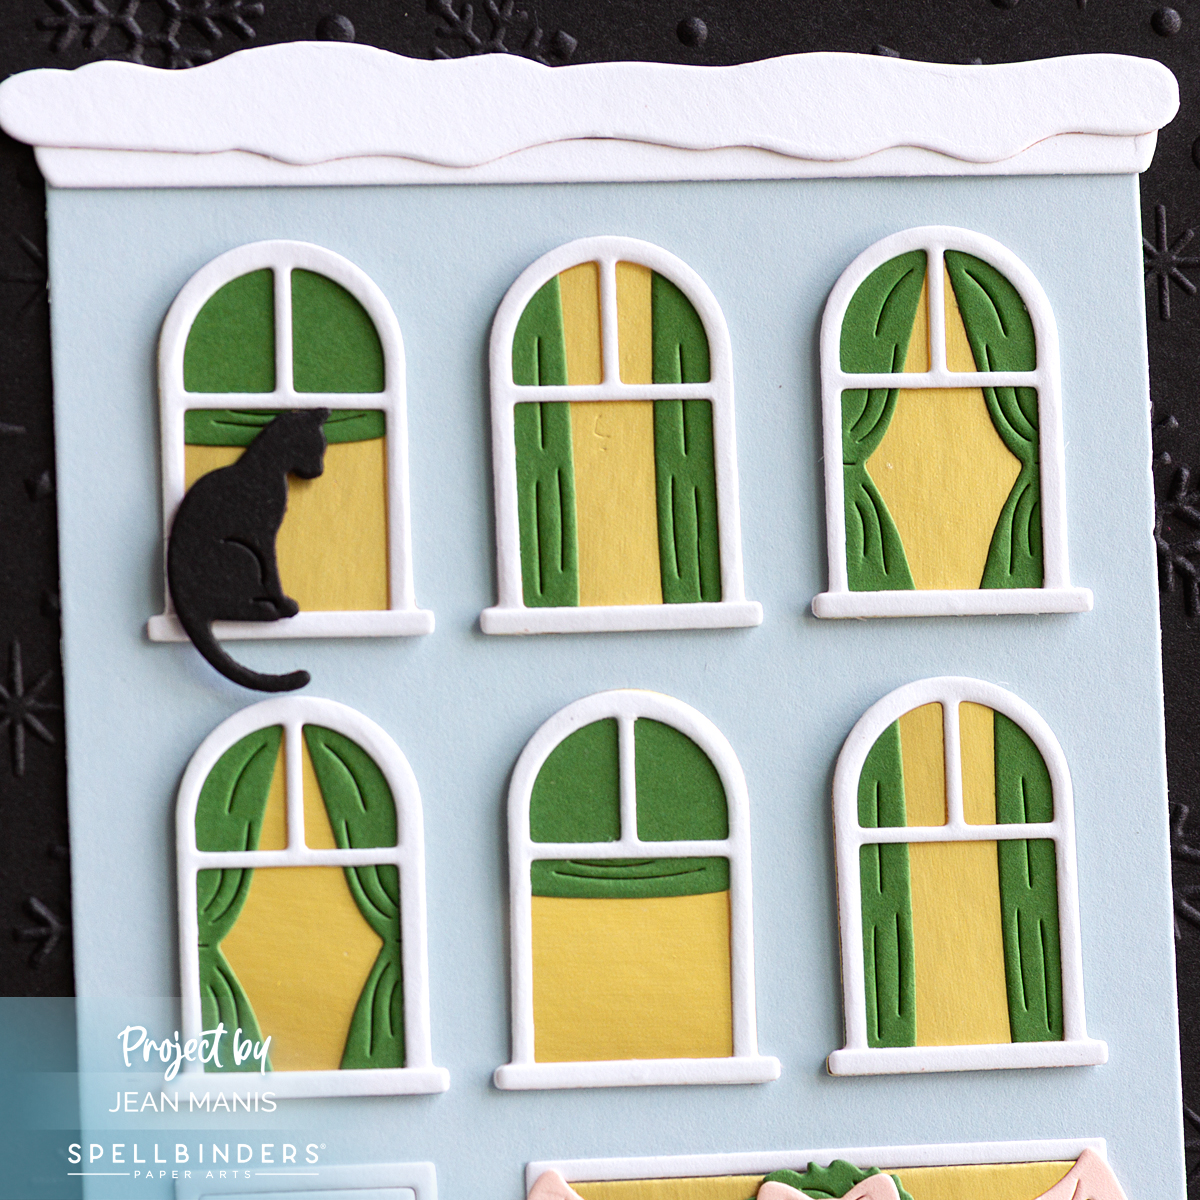
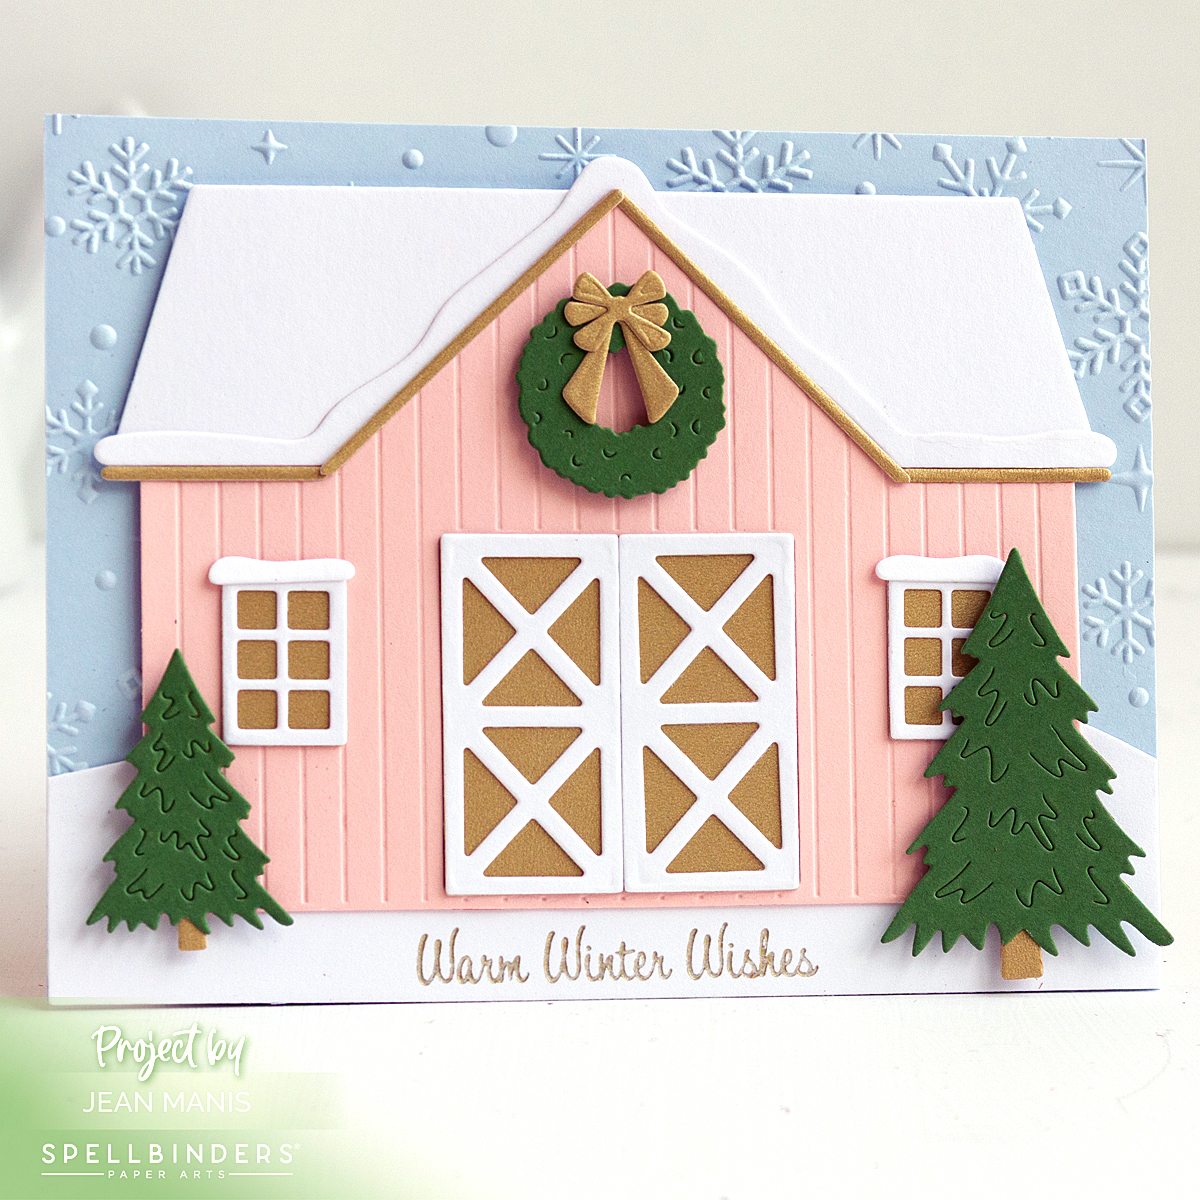
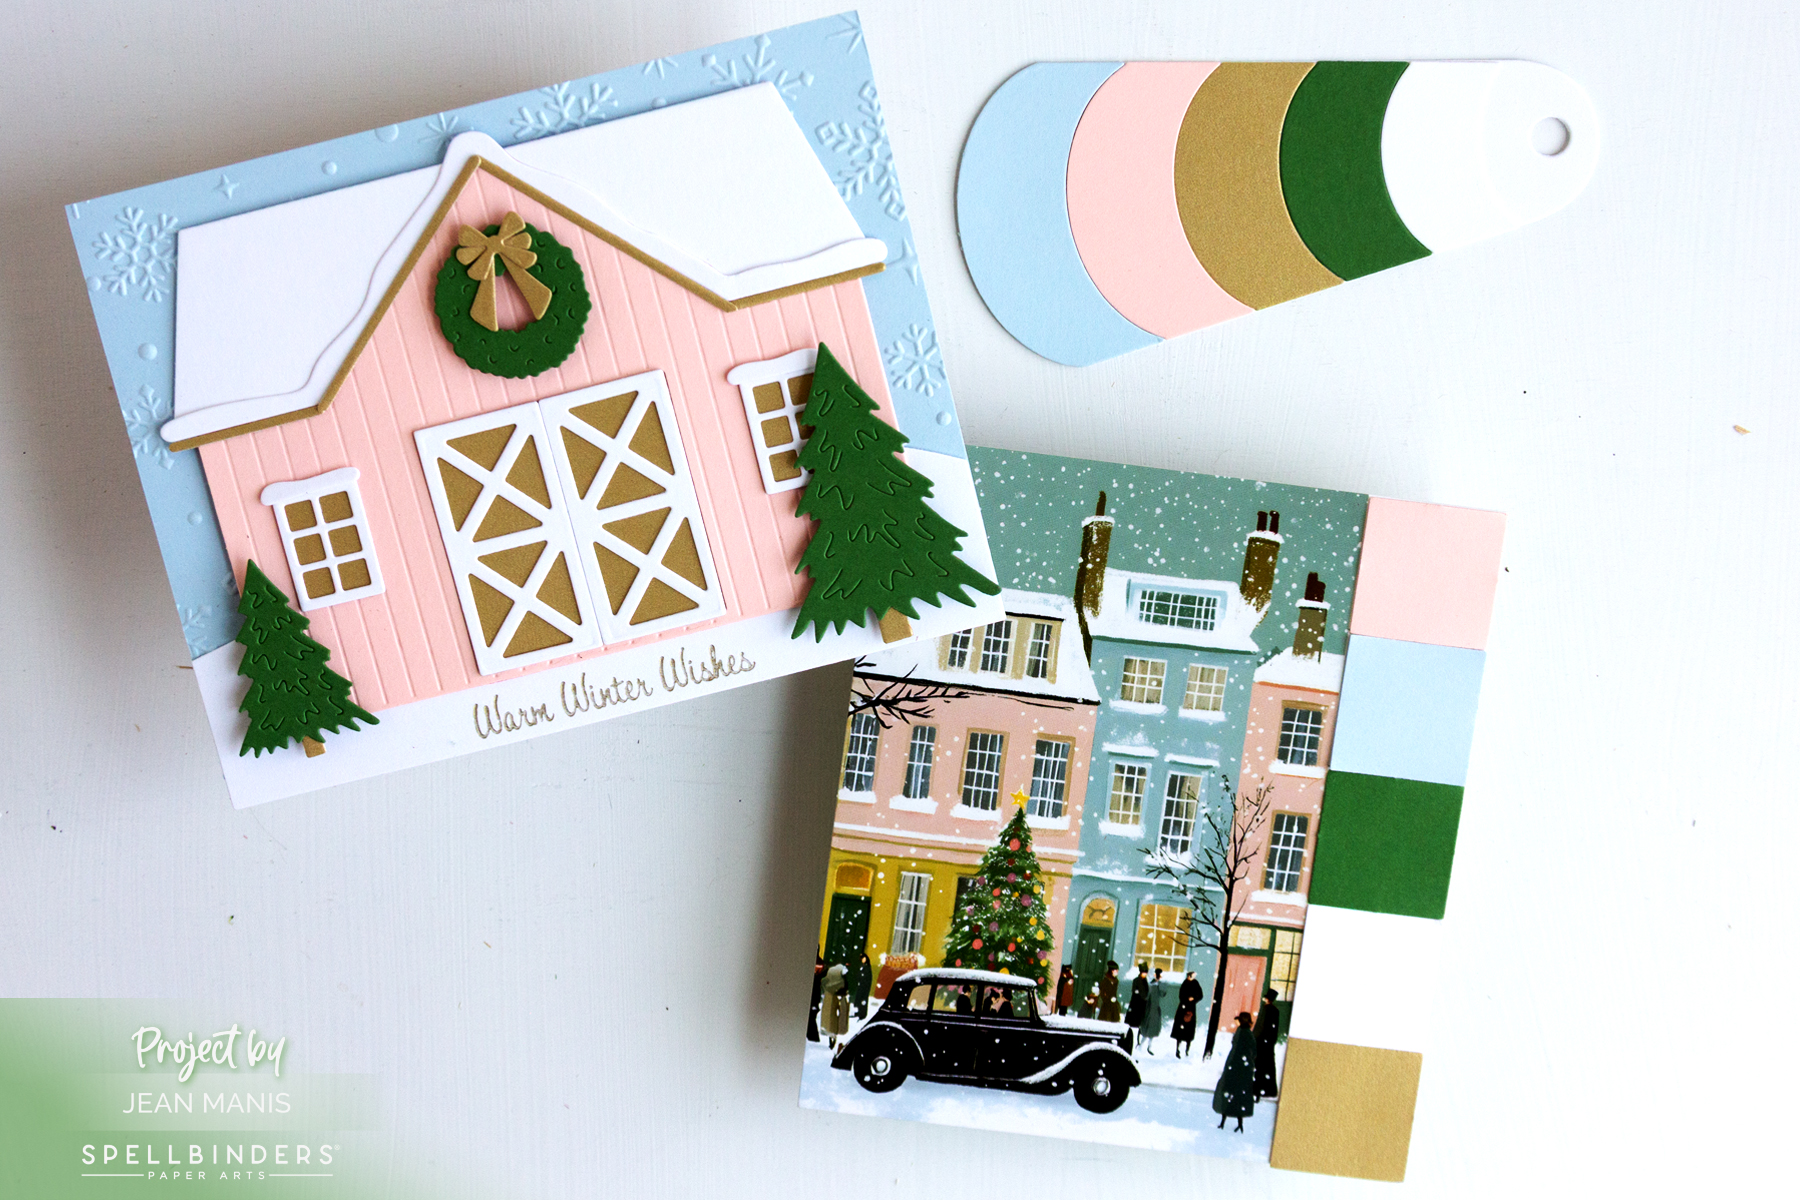
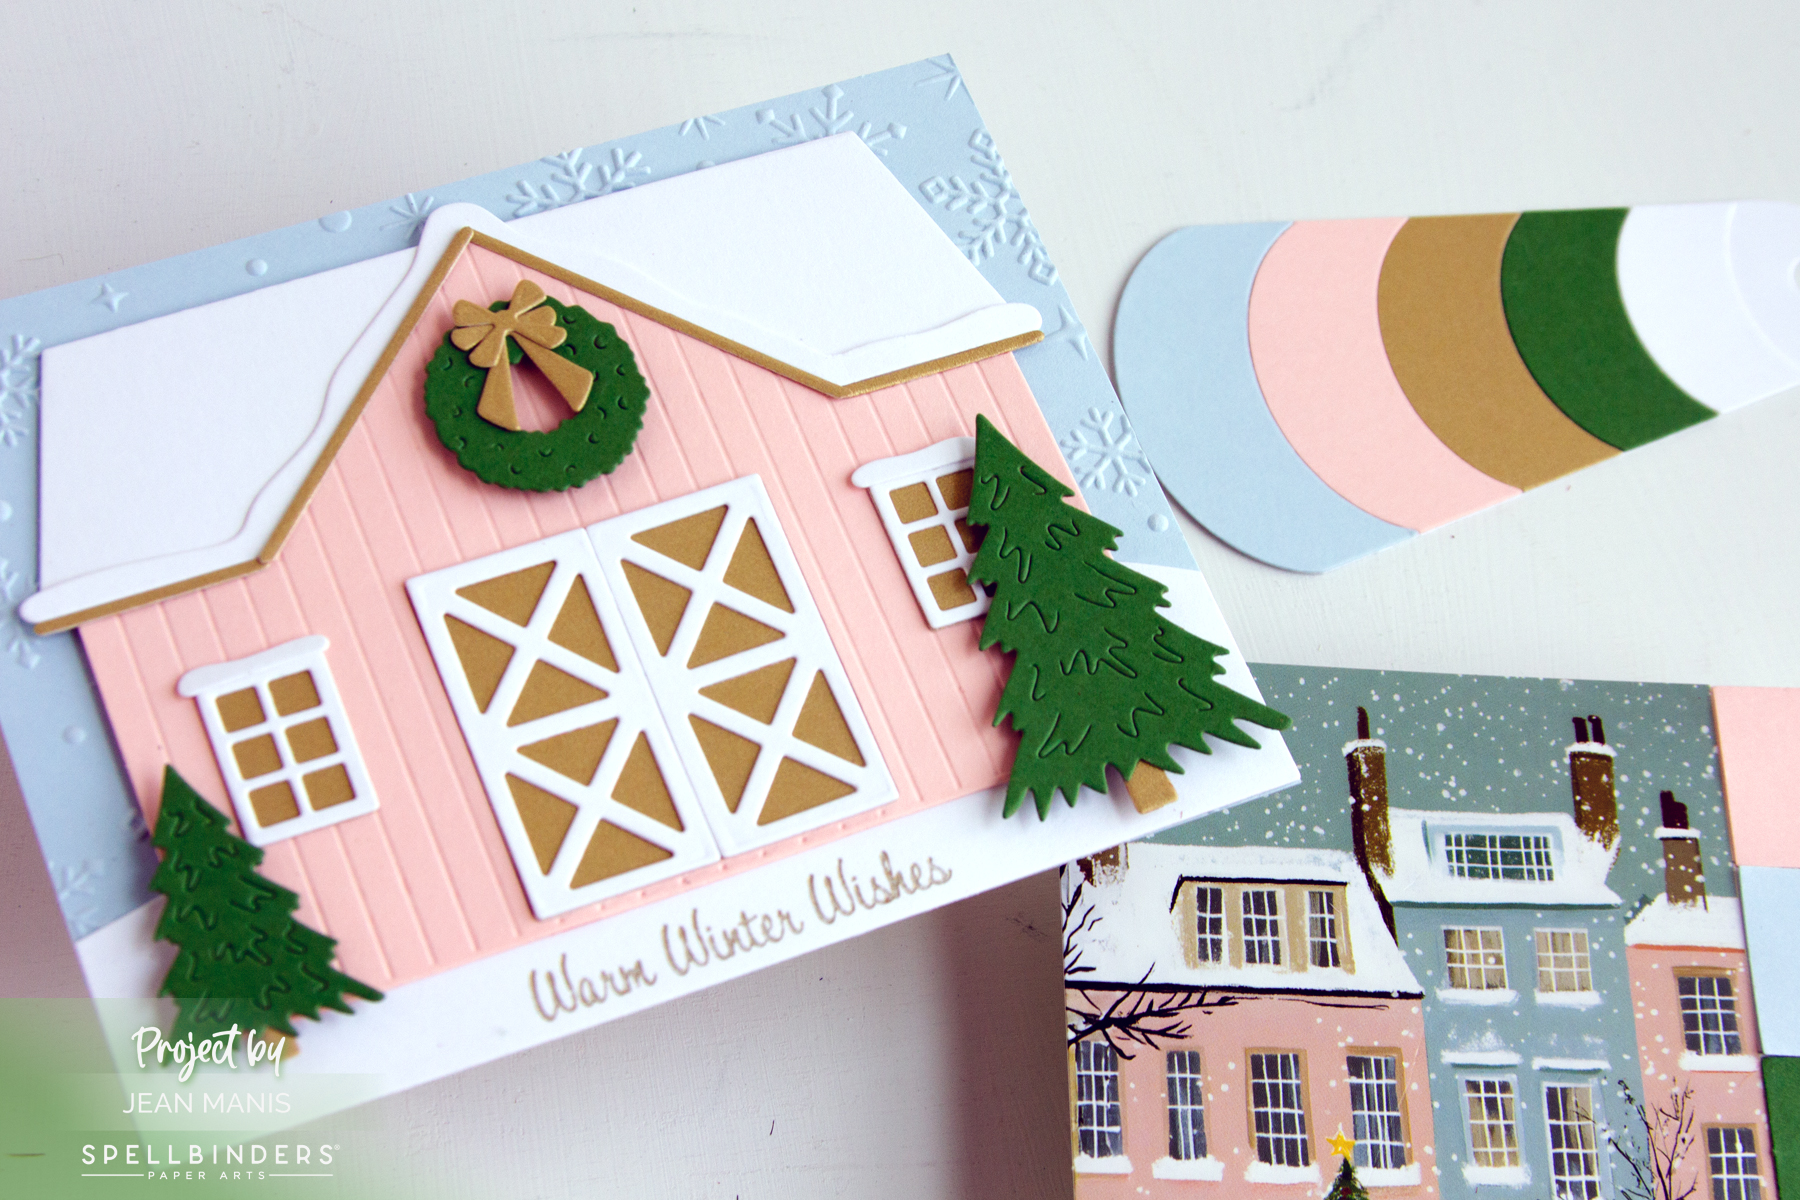
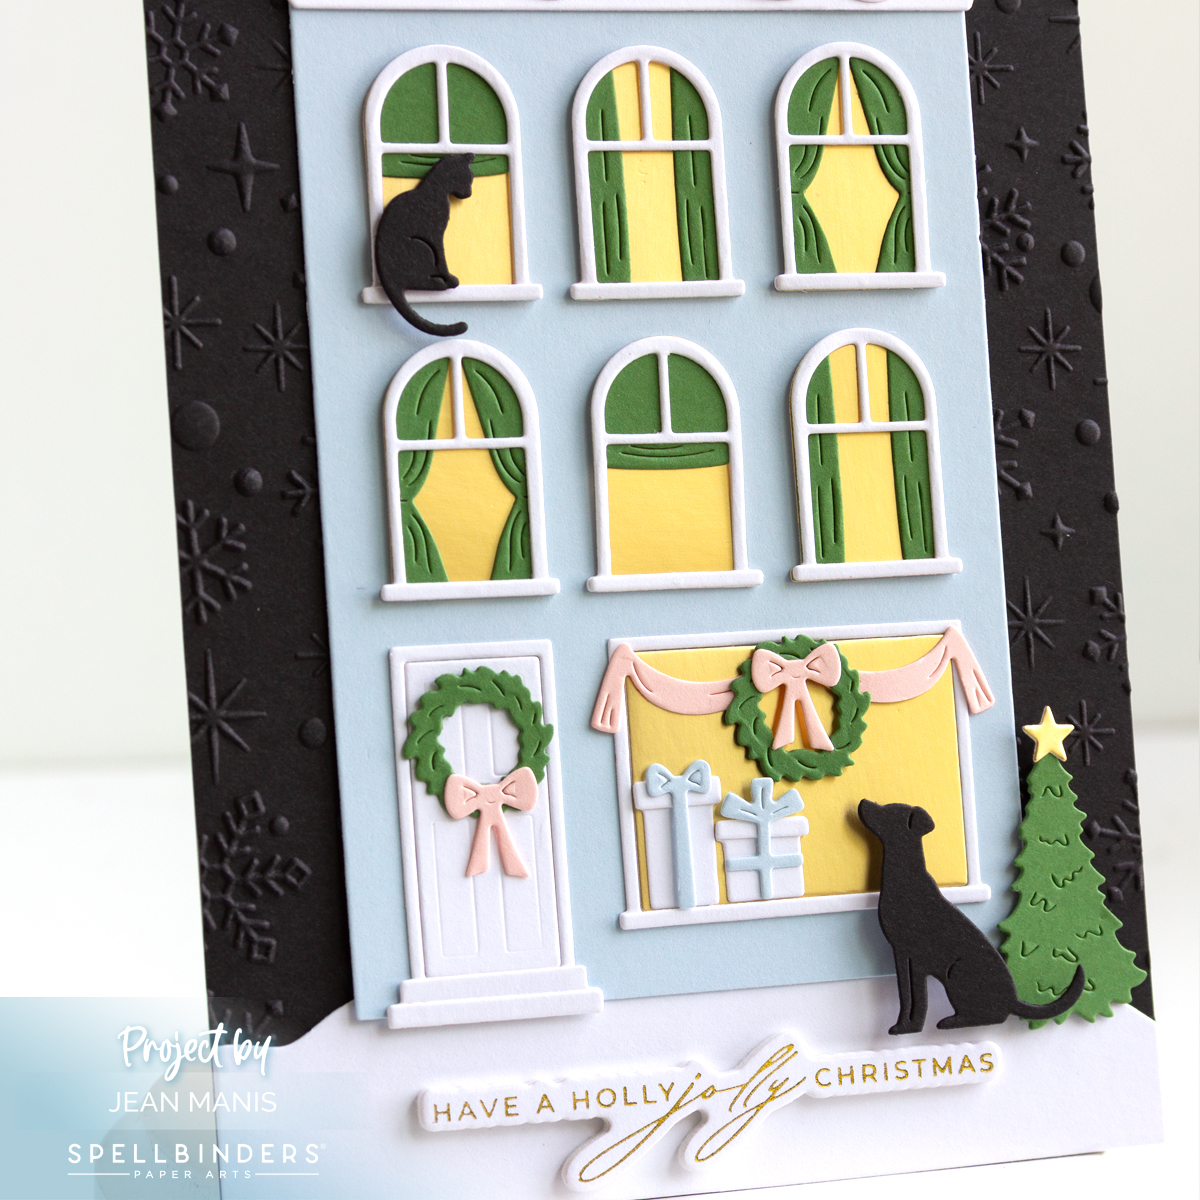
Penguin Card with Let It Snow Sentiment

Hello! After sharing a roundup of snowy techniques for handmade cards in this post, I couldn’t resist using those ideas to create my own! This whimsical penguin card, complete with a “Let It Snow” sentiment, brings together some of my favorite methods for capturing the magic of winter. Scroll for Early Black Friday sales at Spellbinders and Hero Arts!

Penguin Card with Let It Snow Sentiment

    • To begin, create an A2-size card base from textured white cardstock.
    • Cut Snowdrift cardstock with the Large Emerald Cut Scored die in the Emerald Cut Labels set and add to the card base.
    • Use the Large Label Insert die in the Emerald Cut Labels set to cut patterned paper for the snowy sky.
    • Use that same die to cut white glitter cardstock.
    • To create a snowy ground for the scene, cut the white glitter cardstock piece along the top with one of the Color Block Scenic Scape dies. Adhere to the patterned paper insert and add assembly to the card base.
    • Cut Dancin’ Penguin from a variety of cardstock colors and assemble.
    • Press the sentiment in black ink on Snowdrift cardstock and cut with the coordinating die.
    • To create the snowflakes, cut white glitter foam with dies in the Christmas Wreath Add-Ons set.
    • Add penguin to card with foam squares, adhere the sentiment and snowflakes with glue.

Penguin Card with Let It Snow Sentiment

This card combines die-cut snowflakes, snowflake-patterned paper, and a glitter cardstock hill to create a layered, snowy scene full of winter charm.

Hero Arts Early Black Friday 2024


Spellbinders | Beads of Friendship Collection

Hello! I’m thrilled to be a guest on the Spellbinders blog sharing three cards created with the Beads of Friendship Collection at Spellbinders. Inspired by Taylor Swift’s friendship bracelets, the collection features die sets, BetterPress sets, and a stamp set. I created a Halloween card, a Christmas card, and a card celebrating the spirit of friendship. I hope you will take a look and leave me a comment!


Penguins in the Snow: A Festive Holiday Card

Hello! Charming penguins, dressed for the holidays, steal the spotlight on this card made with the Playful Penguins dies from the Let It Snow Collection by Simon Hurley for Spellbinders.

Playful Penguins - Spellbinders Let It Snow Collection

      • To begin, cover an A2-size card base with patterned paper.
      • Cut penguins and accessories from a variety of cardstock colors; assemble. These are easy to put together.
      • Next, create snowbanks with dies in the Color Block Scenic Scape set. Trim as required and add to the card base.
      • Add the penguins to the scene with dot adhesive.
      • Finally, BetterPress the sentiment in black on white cardstock and cut with its coordinating die. Add to the card with foam adhesive.

Playful Penguins - Spellbinders Let It Snow Collection


Amaryllis Christmas Card with Embossed Details

Hello! I’m excited to share my second Christmas card created with with Spellbinders supplies in the Amaryllis Christmas Collection by Yana Smakula. You can see my first card HERE. You may notice that this card is more detailed than my first card, with the addition of a dry-embossed panel created with the Amaryllis Garden embossing folder from the collection. The embossed texture, floral element, and timeless sentiment come together to create a refined and elegant holiday card perfect for the season.

Amaryllis Christmas Card with Embossed Details

    • Cover an A2-size card base with patterned paper. I used Echo Park paper from my stash.
    • Cut gold cardstock with the largest die in the Essential Stylish Ovals set. To soften the effect of the gold, cut a vellum oval with the same die. Adhere the ovals together in the center, which will be covered by the dry-embossed panel, and add to the card base.
    • Next, cut dark green cardstock with the next smallest die in the Essential Stylish Ovals set. Dry-emboss the oval with the Amaryllis Garden embossing folder and add to the card front.
    • With a die in the Yana’s Amaryllis set, cut the bloom from red cardstock. Carefully turn the piece over and tape from behind to keep the outline and interior pieces together. Cut two more blooms from darker red cardstock, removing the interior pieces and keeping the outlines. Next, adhere these together and adhere to the piece with the full bloom intact. Cut the flower once more from gold cardstock. Fussy-cut and add the gold stem to the bloom piece. Cut two leaves from gold cardstock.
    • Add the amaryllis to the card front with foam adhesive.
    • Press the Home for Christmas sentiment in Spruce ink on white cardstock. Cut with the coordinating die and add to the base of the assembled amaryllis.

Amaryllis Christmas Card with Embossed Details

Elegant Amaryllis Christmas Card

Hello! I’m excited to share a CAS, elegant Christmas card featuring a single, stunning amaryllis created with Spellbinders supplies in the Amaryllis Christmas Collection by Yana Smakula. The focal point is accompanied by a BetterPress sentiment. This simple yet elegant design captures the beauty of the holidays with a timeless floral motif and a joyful message.

Elegant Amaryllis Christmas Card

      • Press the Home for Christmas sentiment in black ink on the Evergreen Season Collection paper. Trim to 4″ x 5 1/4″ and add to an A2-size card base.
      • With a die in the Yana’s Amaryllis set, cut the bloom from red cardstock. Carefully turn the piece over and tape from behind to keep the outline and interior pieces together. Cut two more blooms from darker red cardstock, removing the interior pieces and keeping the outlines. Adhere these together and then adhere to the piece with the full bloom intact. Cut the flower once more from gold cardstock. Fussy-cut and add the gold stem to the bloom piece.
      • Finally, trim the completed bloom and the bottom and add to the card front.

Elegant Amaryllis Christmas Card

Save $25 off your $125 purchase. Offer discount will be calculated and automatically applied at checkout if the order qualifies. Now to 10/20/2024 11:59 PM PST.