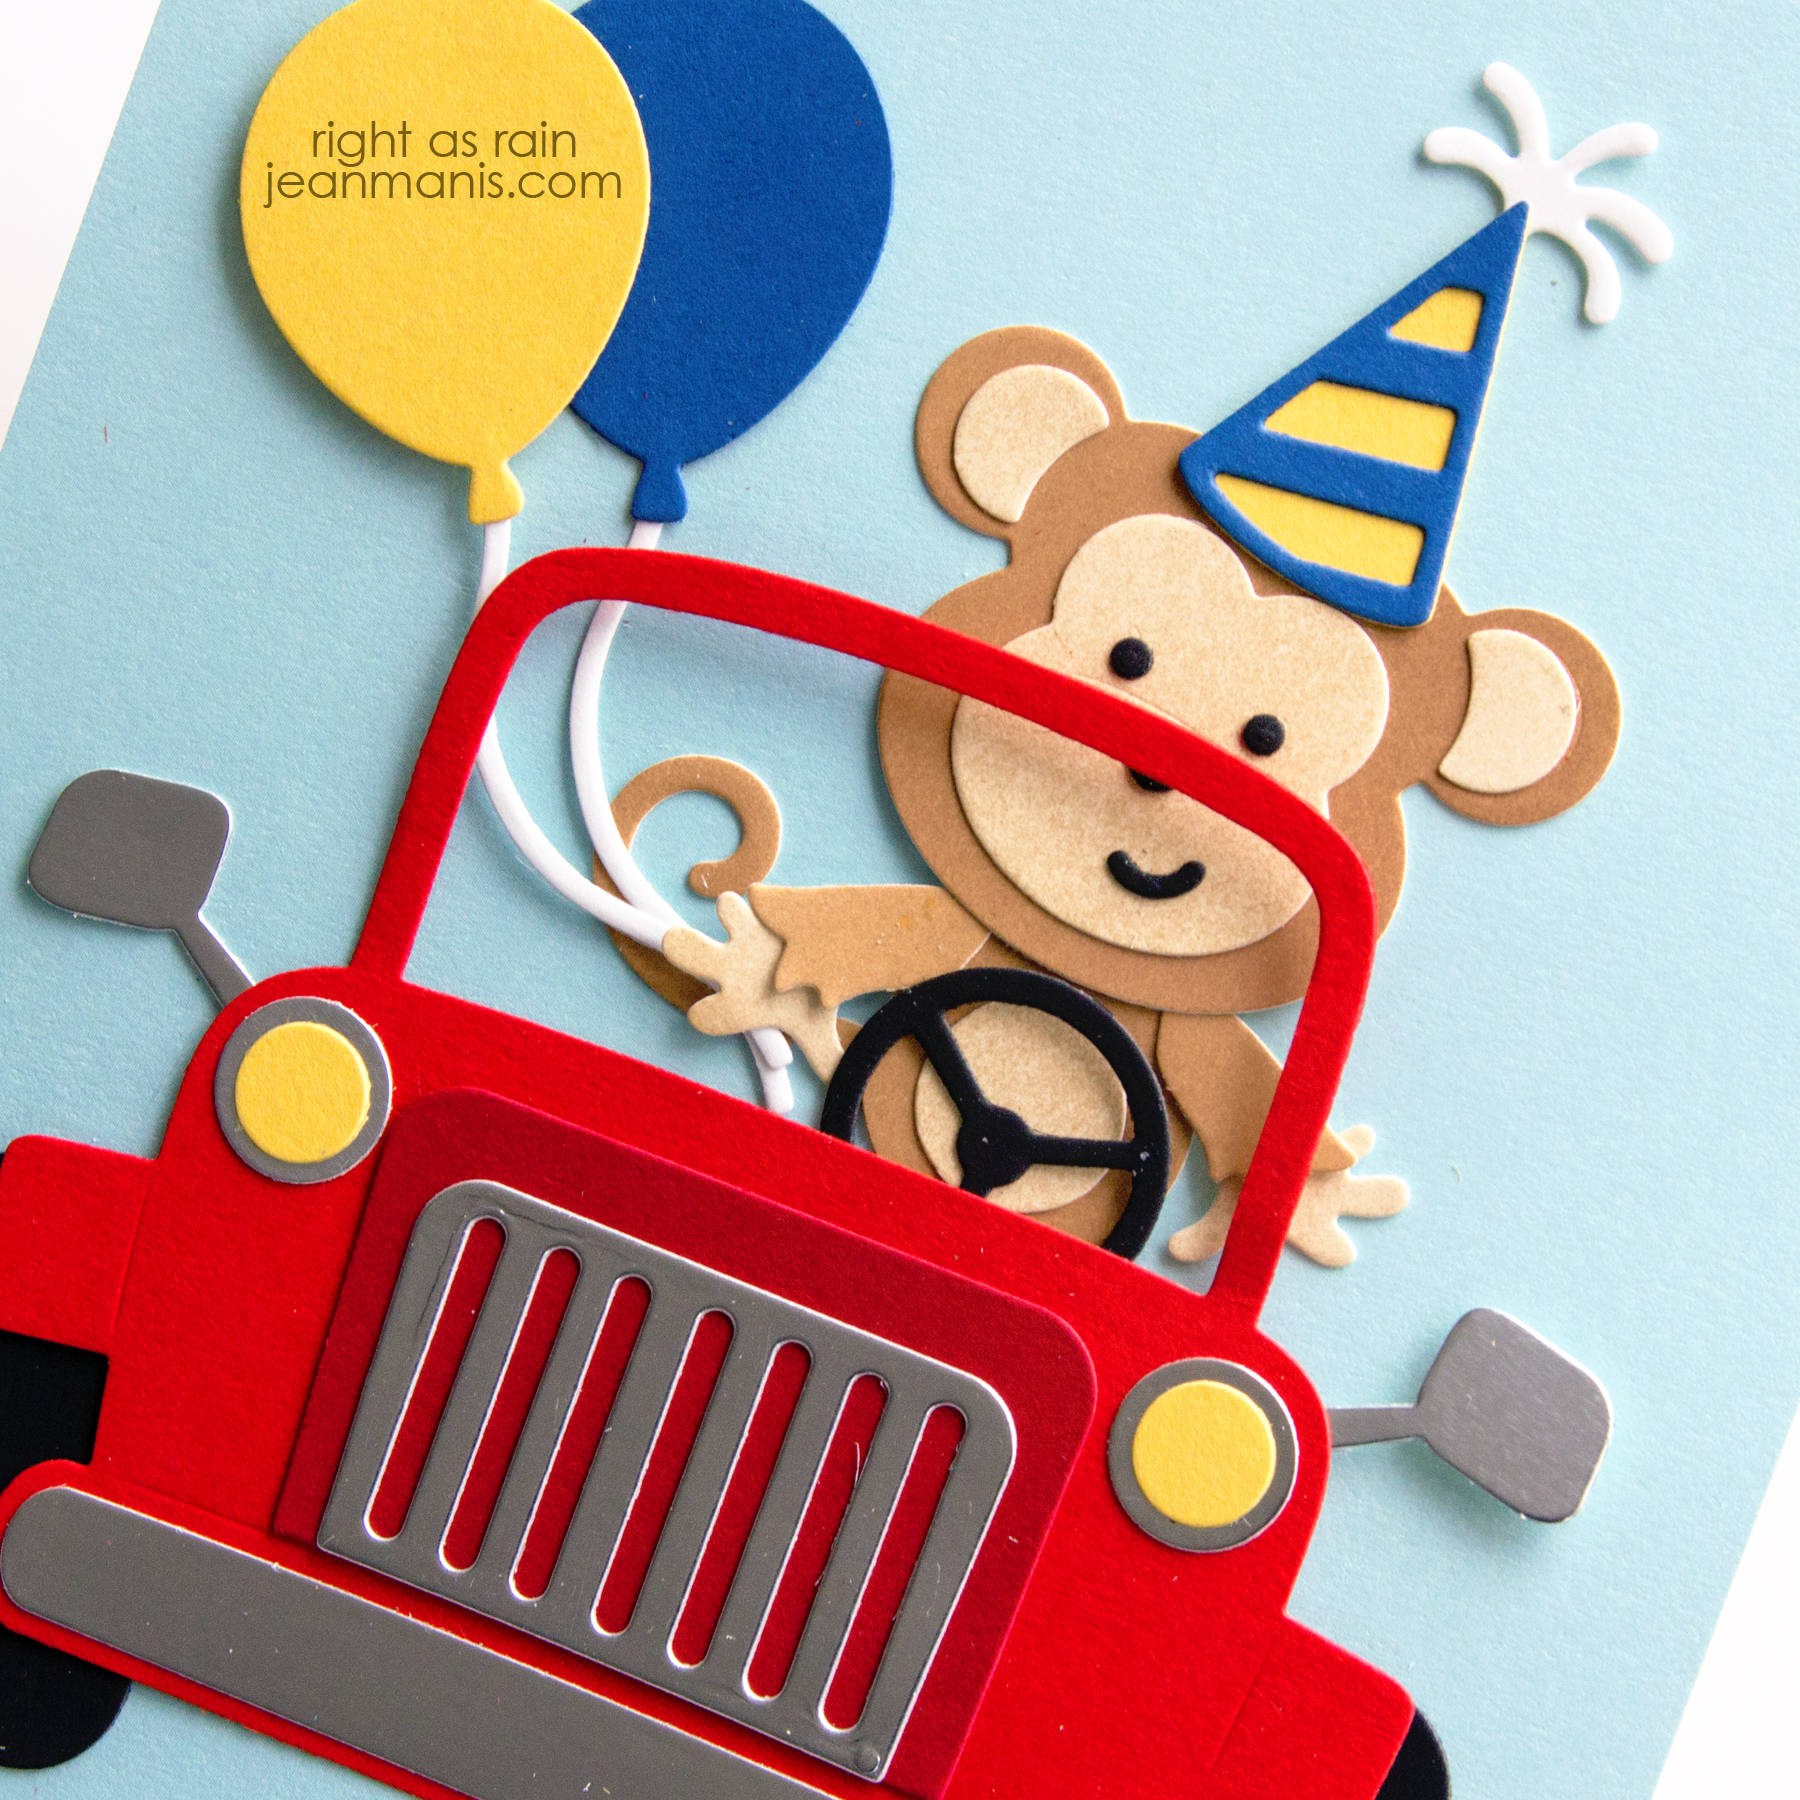
Elizabeth Craft Designs Monkey Birthday Card

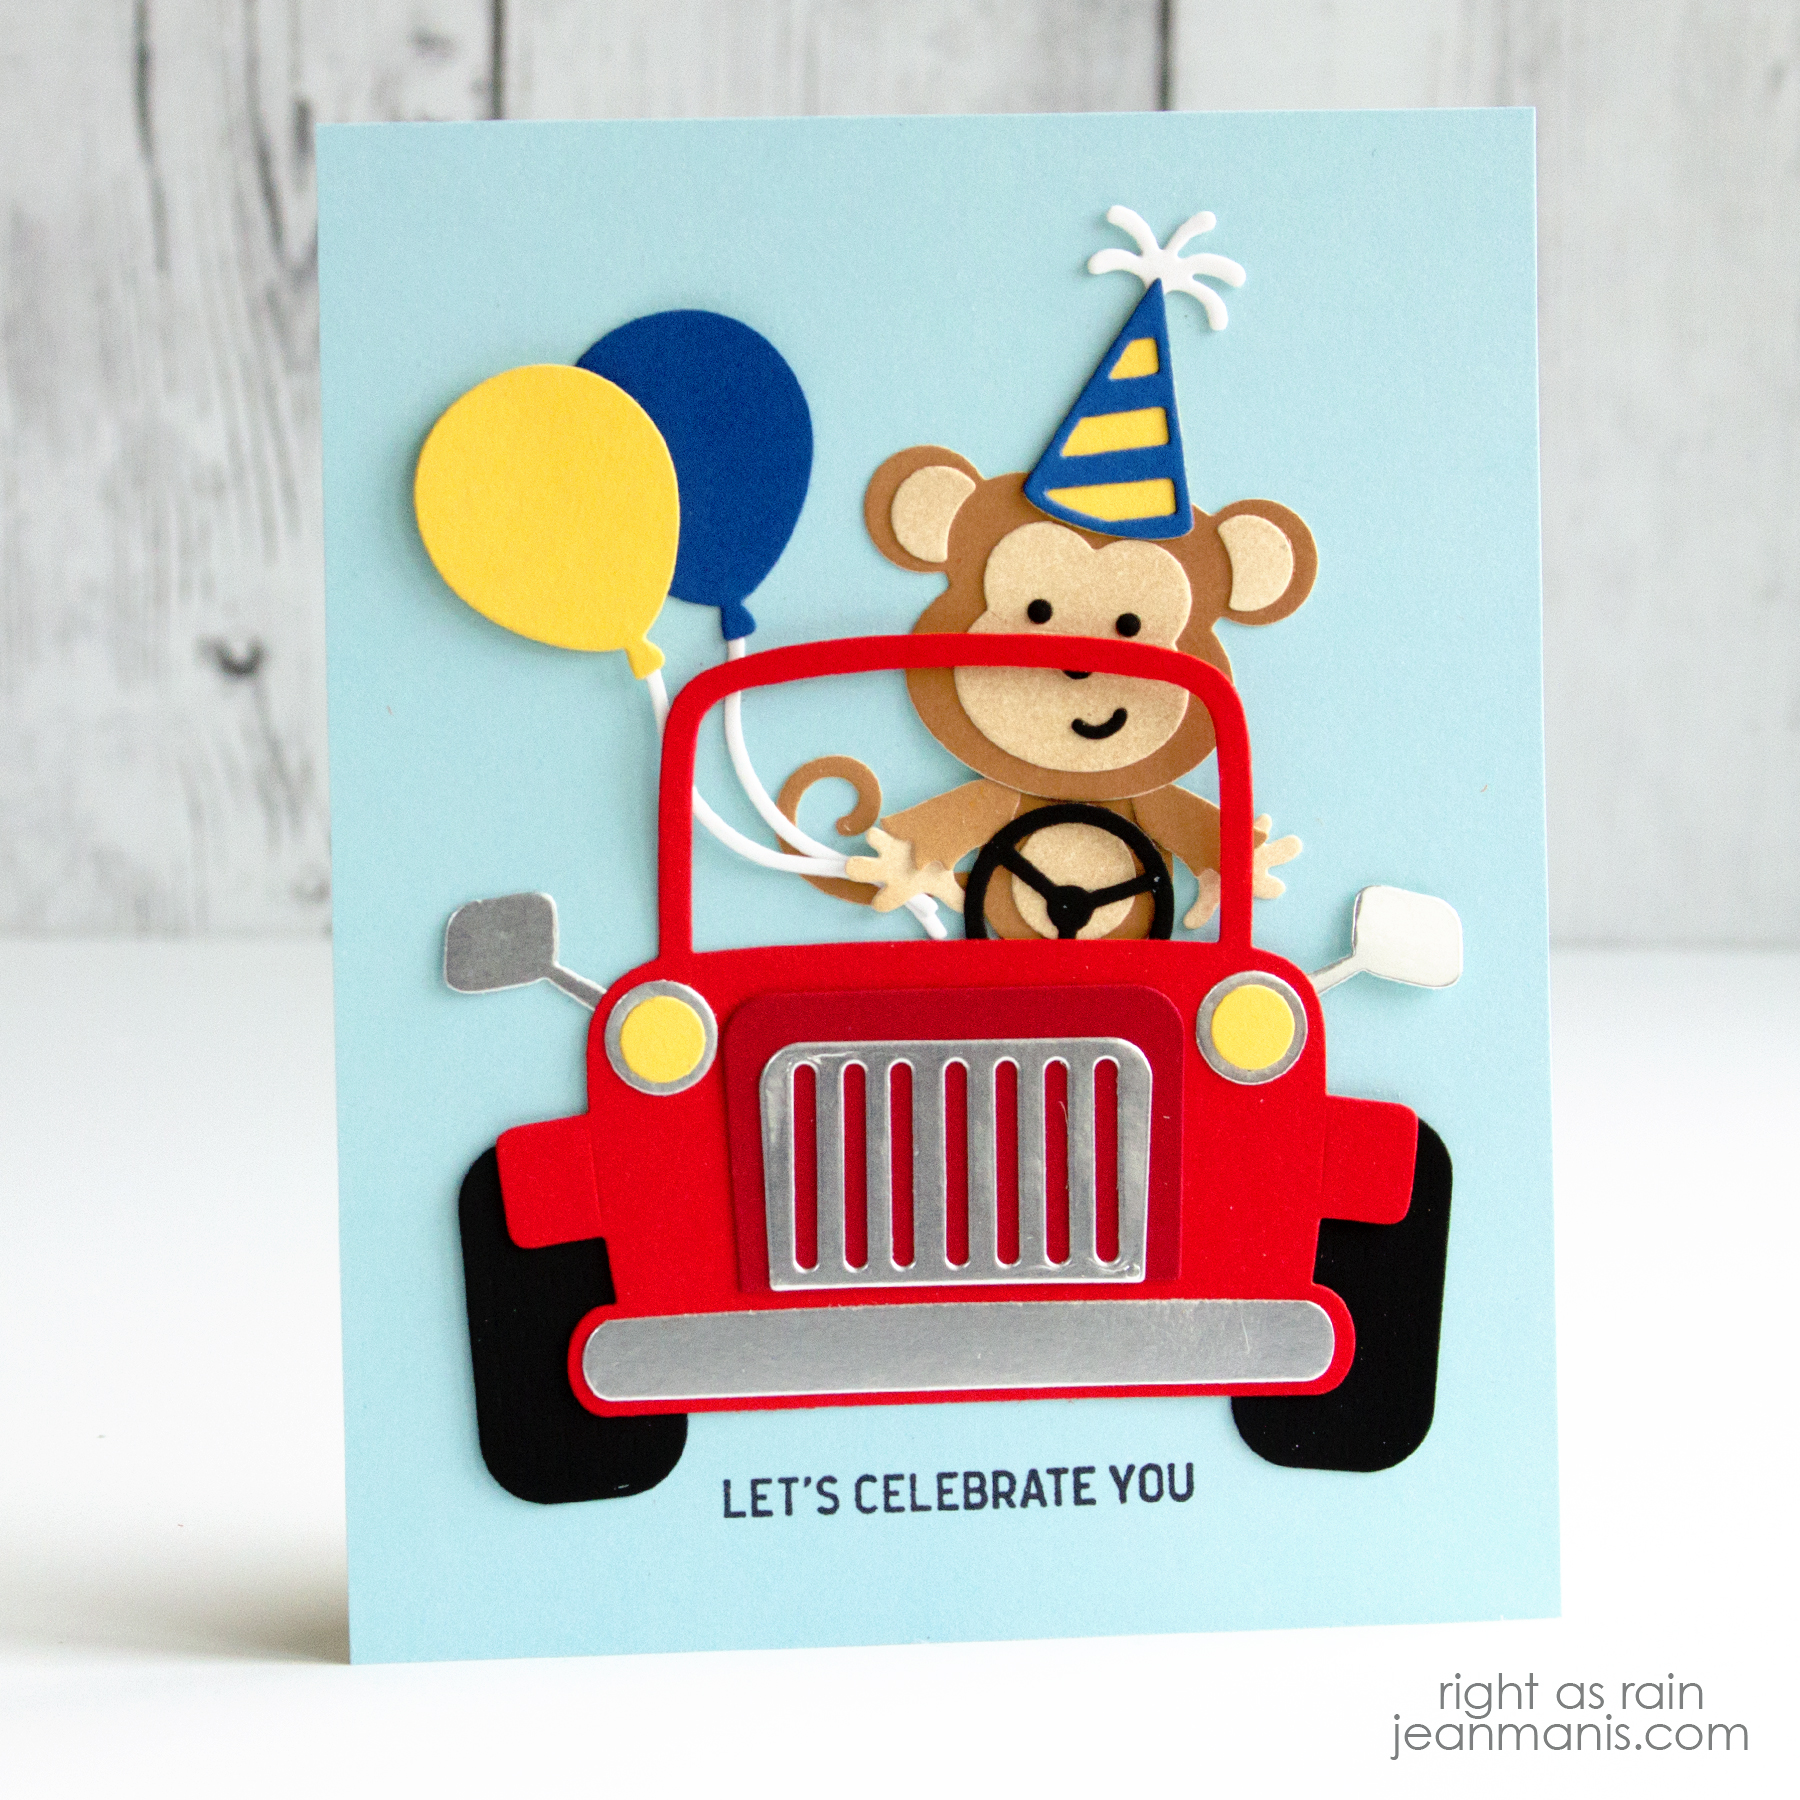
Hello! I recently created a listed of occasions for which I regularly need cards. While I create a lot of holiday-specific cards (Halloween, Christmas, Easter),  I’m often short on Thank You and birthday cards. Today I am sharing a whimsical birthday card featuring the Elizabeth Craft Designs Monkey. I’ve previously used this set here and here.

Elizabeth Craft Designs Monkey Birthday Card

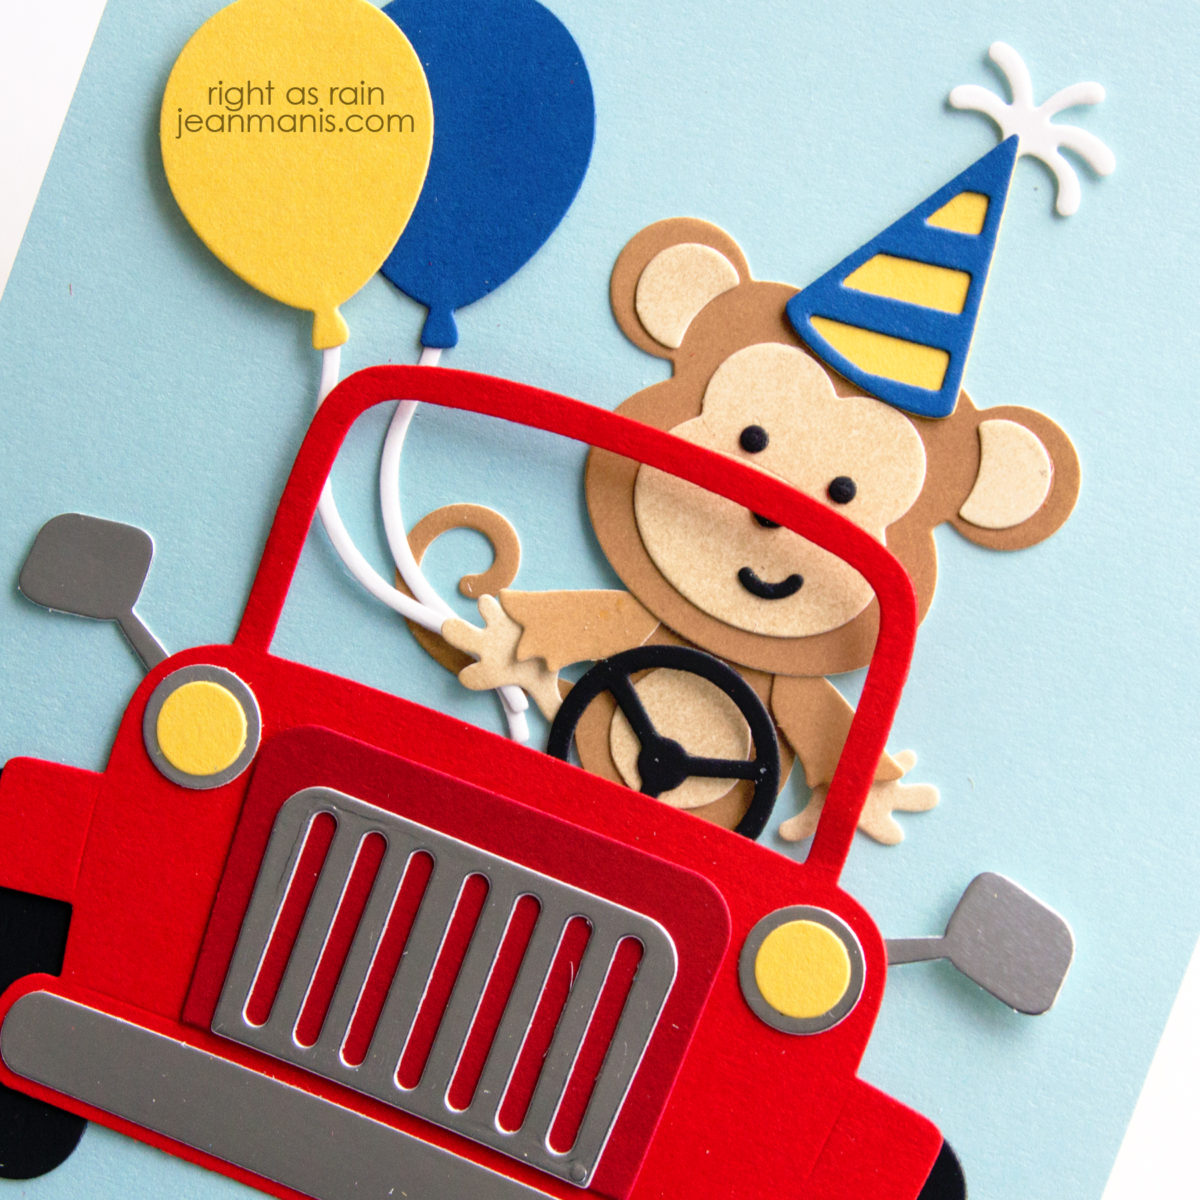
  • I die-cut the Monkey body from Bazzill 12 x 12 textured cardstock in brown and ivory. I own a lot of 12 x 12 cardstock from the period of time during which I scrapbooked.
  • I used the Make Me Smile dies to cut the eyes, nose, and mouth from black cardstock.
  • I assembled the monkey. Once assembled I decided that the ivory cardstock needed a little more color and I added Tea Dye ink with a small sponge applicator.
  • I cut the balloon and party hat using the Party Accessories set.
  • I stamped the sentiment on to a patterned paper rectangle.
  • I added the elements to the card.

Elizabeth Craft Designs Monkey Birthday Card

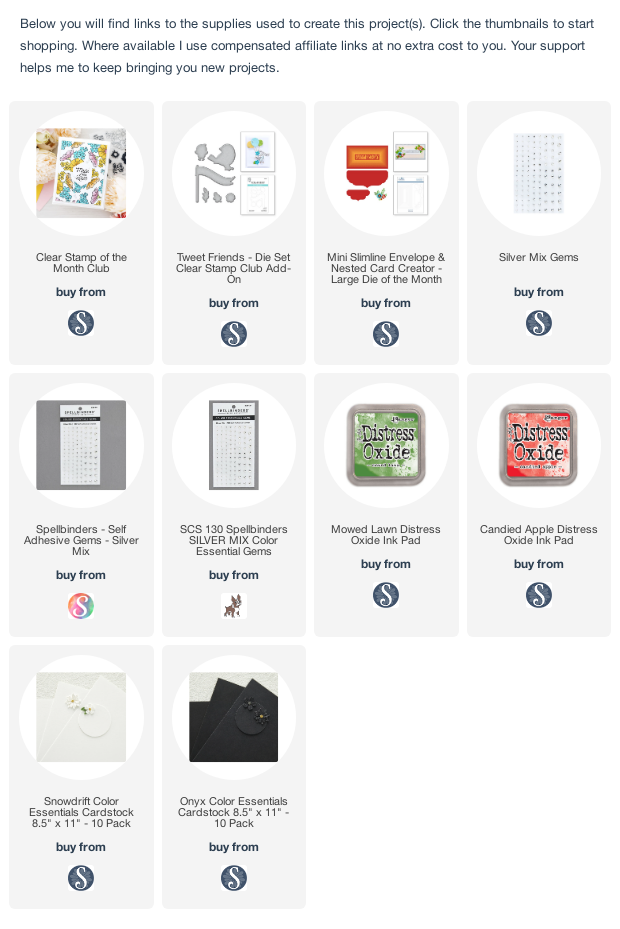
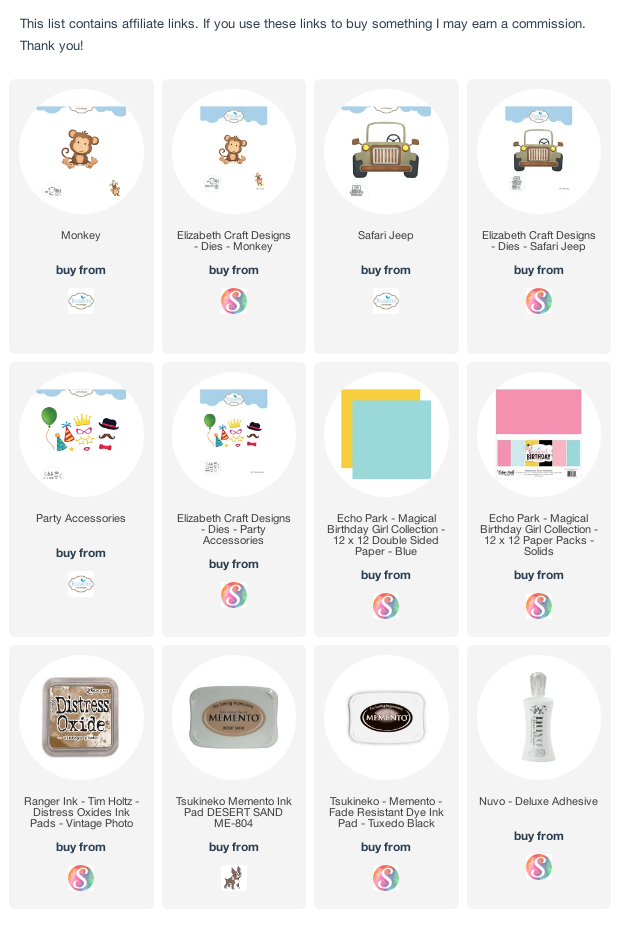
Supplies:

Elizabeth Craft Designs – Winter Birthday

Hello! I recently posted about how I’m trying to embrace winter this year rather than resist it. To that end, I am making winter-themed projects including this birthday card featuring Elizabeth Craft Designs dies.

Elizabeth Craft Designs - Winter Birthday

  • I cut the Polar Bear from soft finish cardstock and colored him lightly around the edges with the Hickory Smoke ink. I colored the eyes and mouth (I used the Paper Smooches Snowman 2 die for the mouth) with black Copic marker. I then assembled the bear.
  • I cut the Polar Bear’s hat and assembled it.
  • I cut the balloons using the Balloons and Party Accessories die sets.
  • I sponged Tumbled Glass ink on to the card base.
  • I stamped the MFT Ready Set Snow sentiment in the upper left corner.
  • I added the balloons and bear to the card base.

Elizabeth Craft Designs - Winter BirthdaySupplies:

My Favorite Things – Birthday Cake Take Two

Hello! Today I am sharing a second card featuring the My Favorite Things Birthday Cake die set. On this card, I incorporated the My Favorite Things Confetti stencil set. You can see the first card I created with this die set here.

My Favorite Things - Birthday Cake Take Two

  • I cut the cake layers, cake plate, and decorations from white, yellow, and pink cardstock. The decorative pieces were glued. I assembled the cake stack by taping the layers together on the back.
  • I stenciled the confetti in Spun Sugar and Tumbled Glass inks. The set contains two stencils.
  • I stamped the sentiment (from the You Wow Me stamp set) with Picked Raspberry ink on the stenciled panel.
  • To help the cake stand out from the stenciled background, I die-cut a circle.
  • The assembled cake was added to the circle with foam adhesive. The circle was added to the card base with foam adhesive.

My Favorite Things - Birthday Cake Take Two

Supplies:

It’s Your Birthday – CAS Die-cut Birthday Cake

Hello! Today I am sharing a CAS birthday card featuring the My Favorite Things Birthday Cake die set. It’s a versatile set – you can easily change up the look just by changing the colors. How about coordinate the card colors to a birthday party’s color scheme? I went with a favorite combo of mine – yellow, orange, and teal blue.

It's Your Birthday - CAS Die-cut Birthday Cake

  • I cut the frame from Bazzill Marshmallow cardstock.
  • I cut the cake layers, cake plate, and decorations from Bazzill Marshmallow Chick, Circus Peanut, Candy Necklace, and Marshmallow cardstock. The decorative pieces were glued. I assembled the cake stack by taping the layers together on the back.
  • I stamped the sentiment with black  on to Bazzill Robin’s Egg cardstock and trimmed the panel slightly smaller than the A2-sized frame.
  • The assembled cake was added to the stamped panel with foam adhesive.

It's Your Birthday - CAS Die-cut Birthday Cake

Supplies:

A WOW Birthday

Hello! Today I am sharing a CAS birthday card in bright colors (for whatever reason I’m drawn to bright colors this past week). Let’s take a look.

A WOW Birthday

  • To begin, I die-cut the Paper Smooches balloons, the balloon strings (retired Taylored Expressions set), and the MFT Stamps WOW sentiment. I chose colors (Simon Says Stamp Lipstick Red and SU Daffodil Delight; I don’t know the manufacturer of the orange cardstock) to coordinate with the Echo Park patterned paper.
  • I heat-embossed the birthday sentiment on SU Tempting Turquoise cardstock. The sentiment panel and patterned paper panel were cut to be equal height so that the WOW letters were positioned between the two.
  • I assembled the papers on to a larger piece of white cardstock.  I then adhered the WOW letters with dot adhesive and the balloons (which I assembled with liquid adhesive) to the panel with foam adhesive.
  • The panel was added to a linen-textured card base.

Thanks for stopping by!

Supplies: