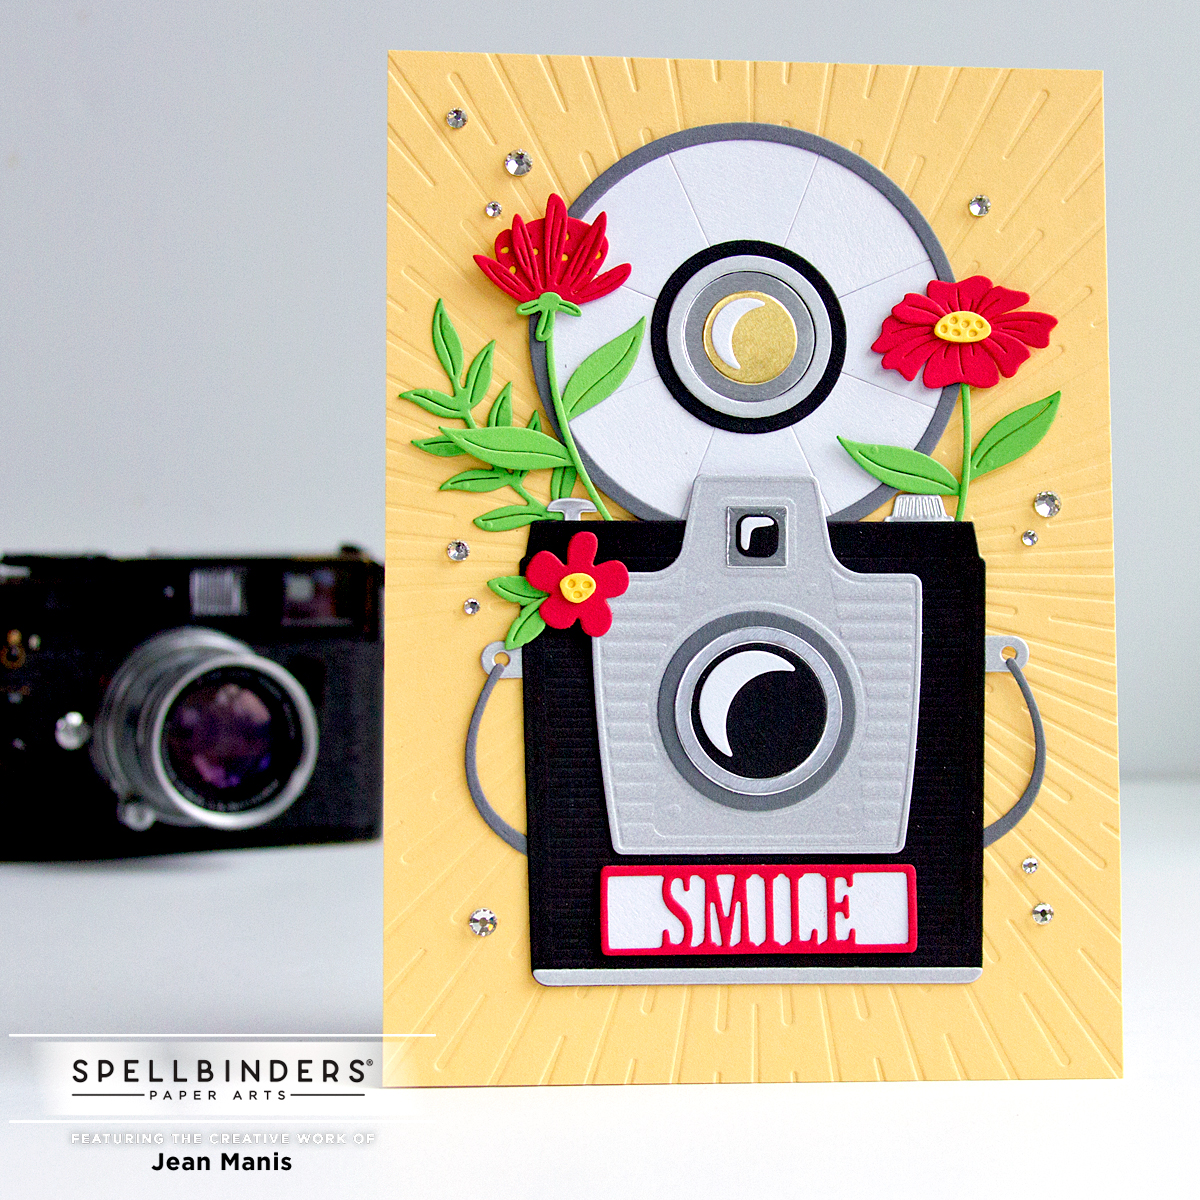
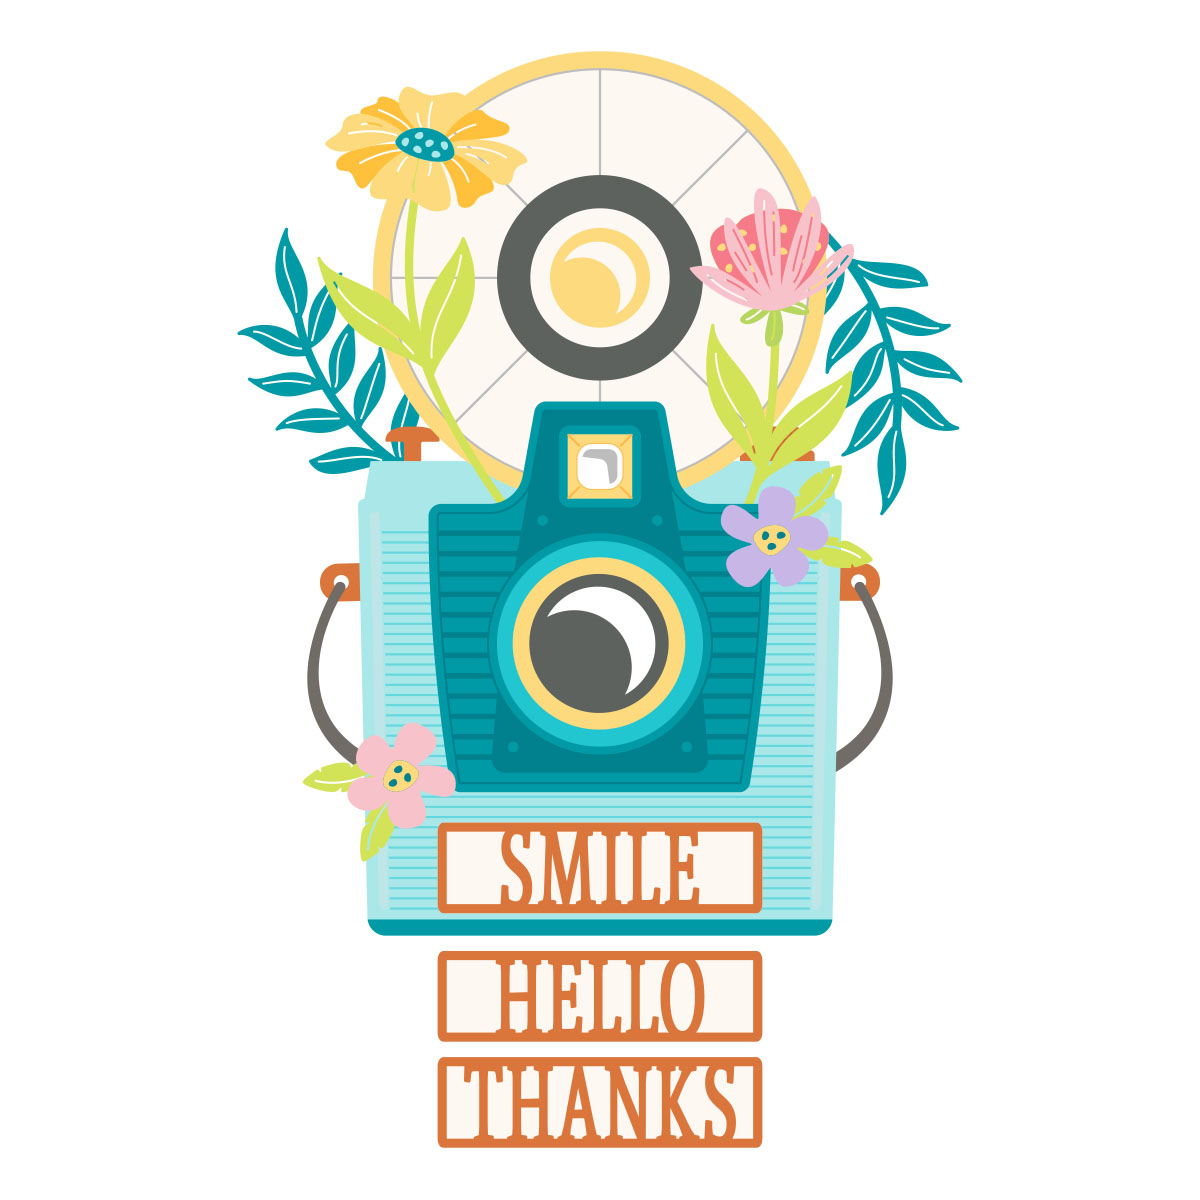
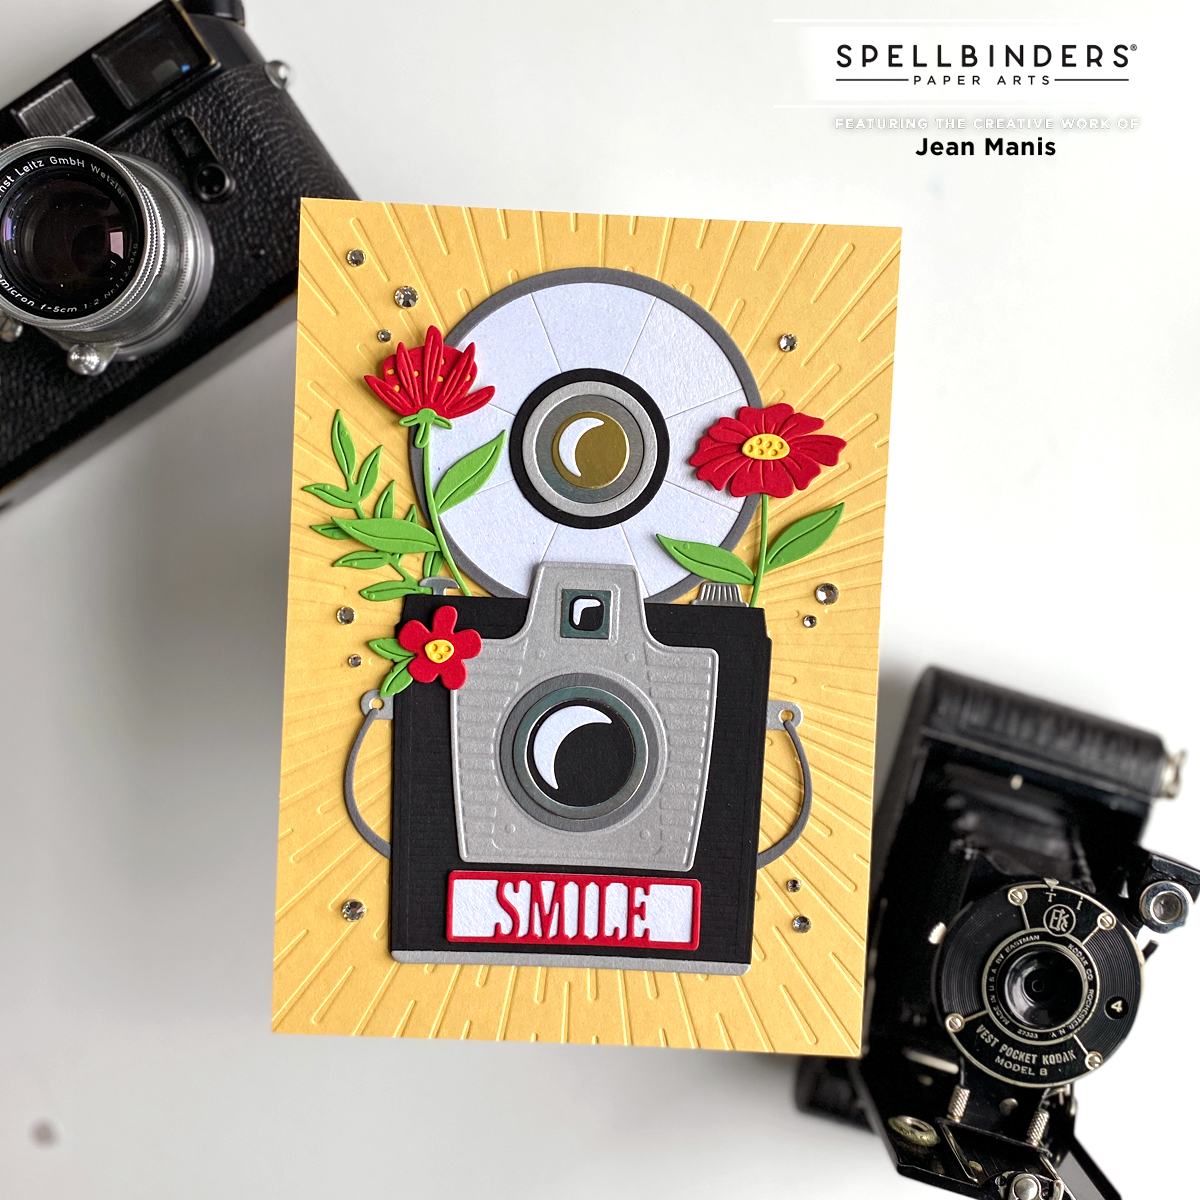
Hello crafty friends! Today I’m sharing a large, camera-themed card created with the Spellbinders April 2022 Large Die of the Month – “Say Cheese” – suitable for many occasions, including a birthday.
- With the Large Die of the Month set, cut camera, flash, flowers, and sentiment from a variety of cardstock colors including Onyx and Brushed Silver. Assemble.
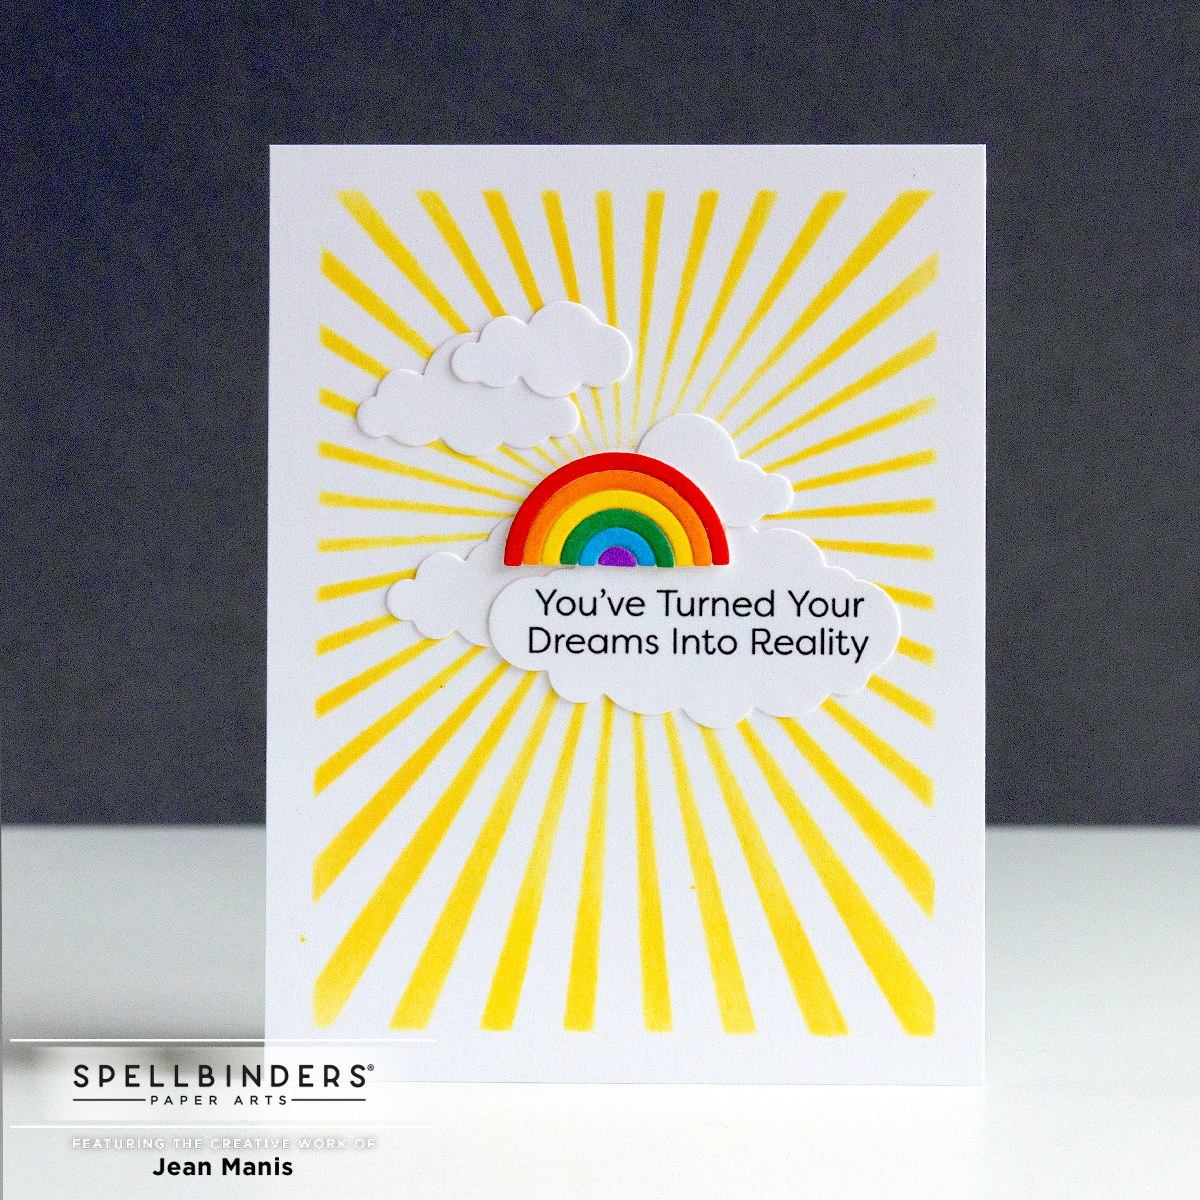
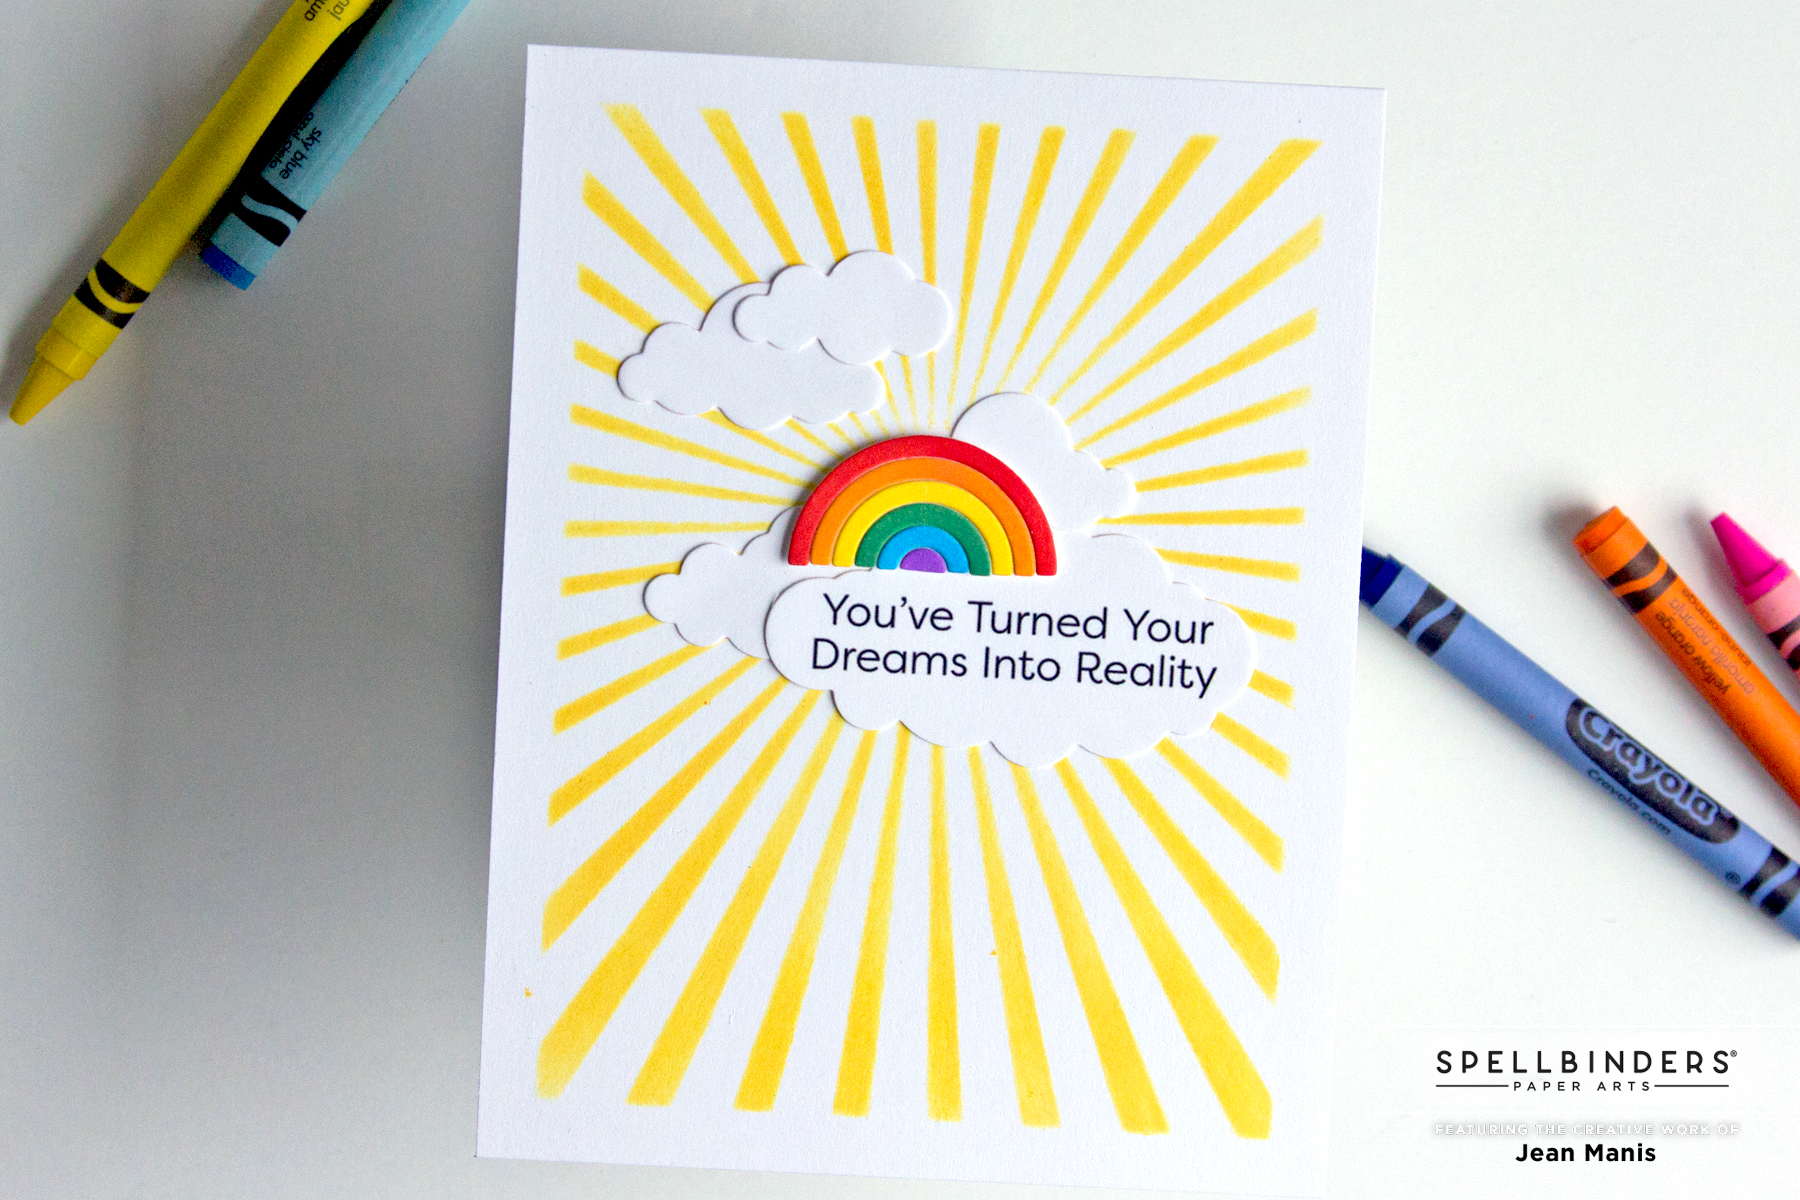
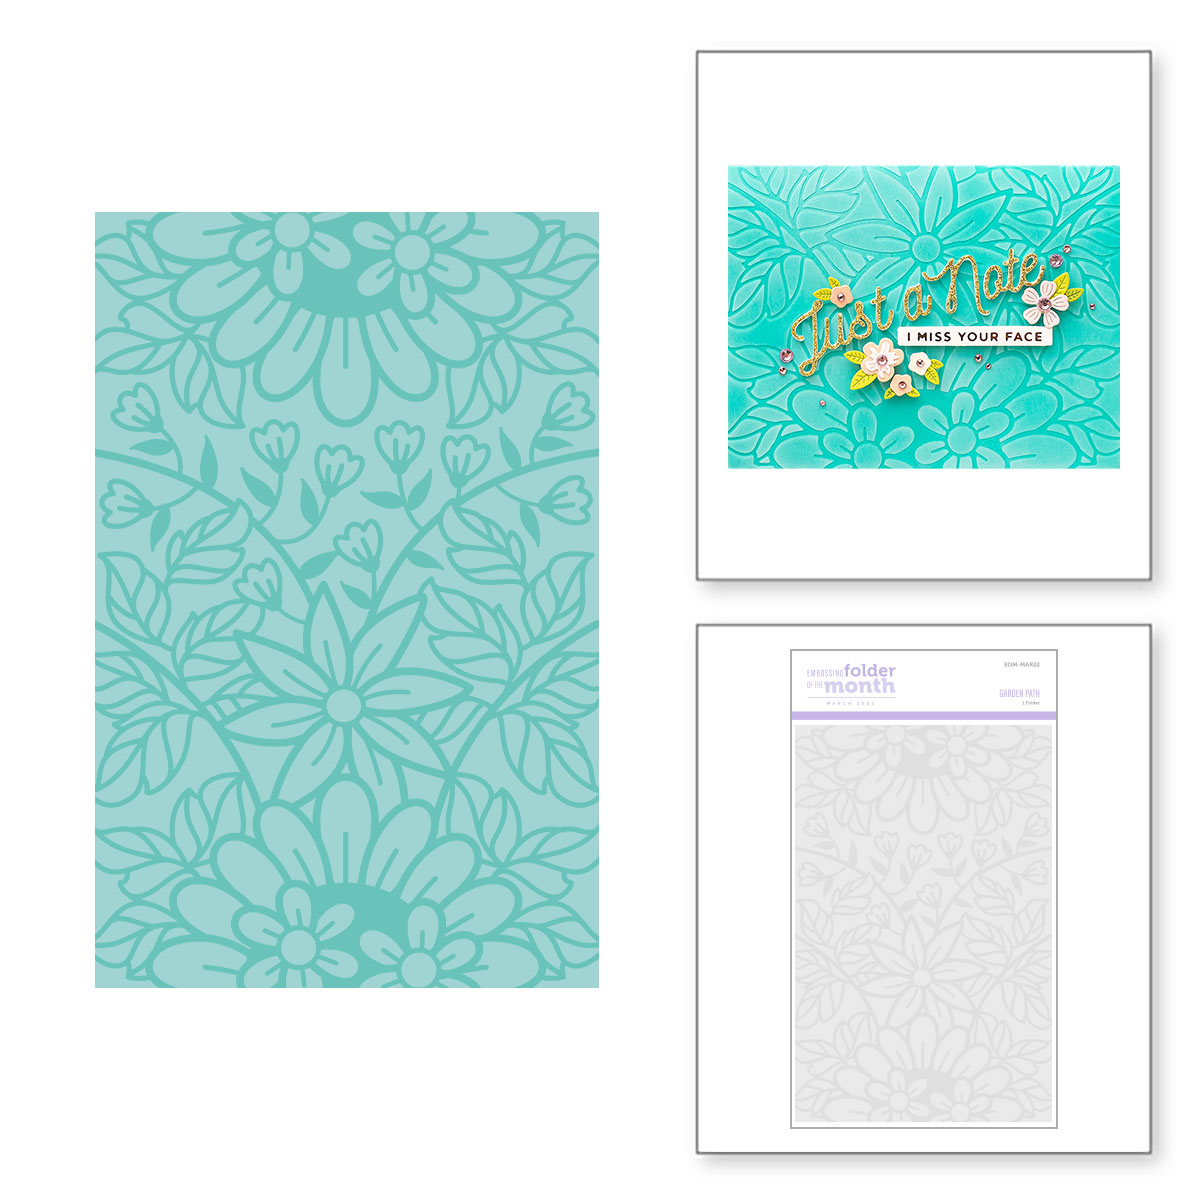
- Dry-emboss yellow card panel measuring 5 x 7 inches with the “Radiant Burst” folder. Add to card base.
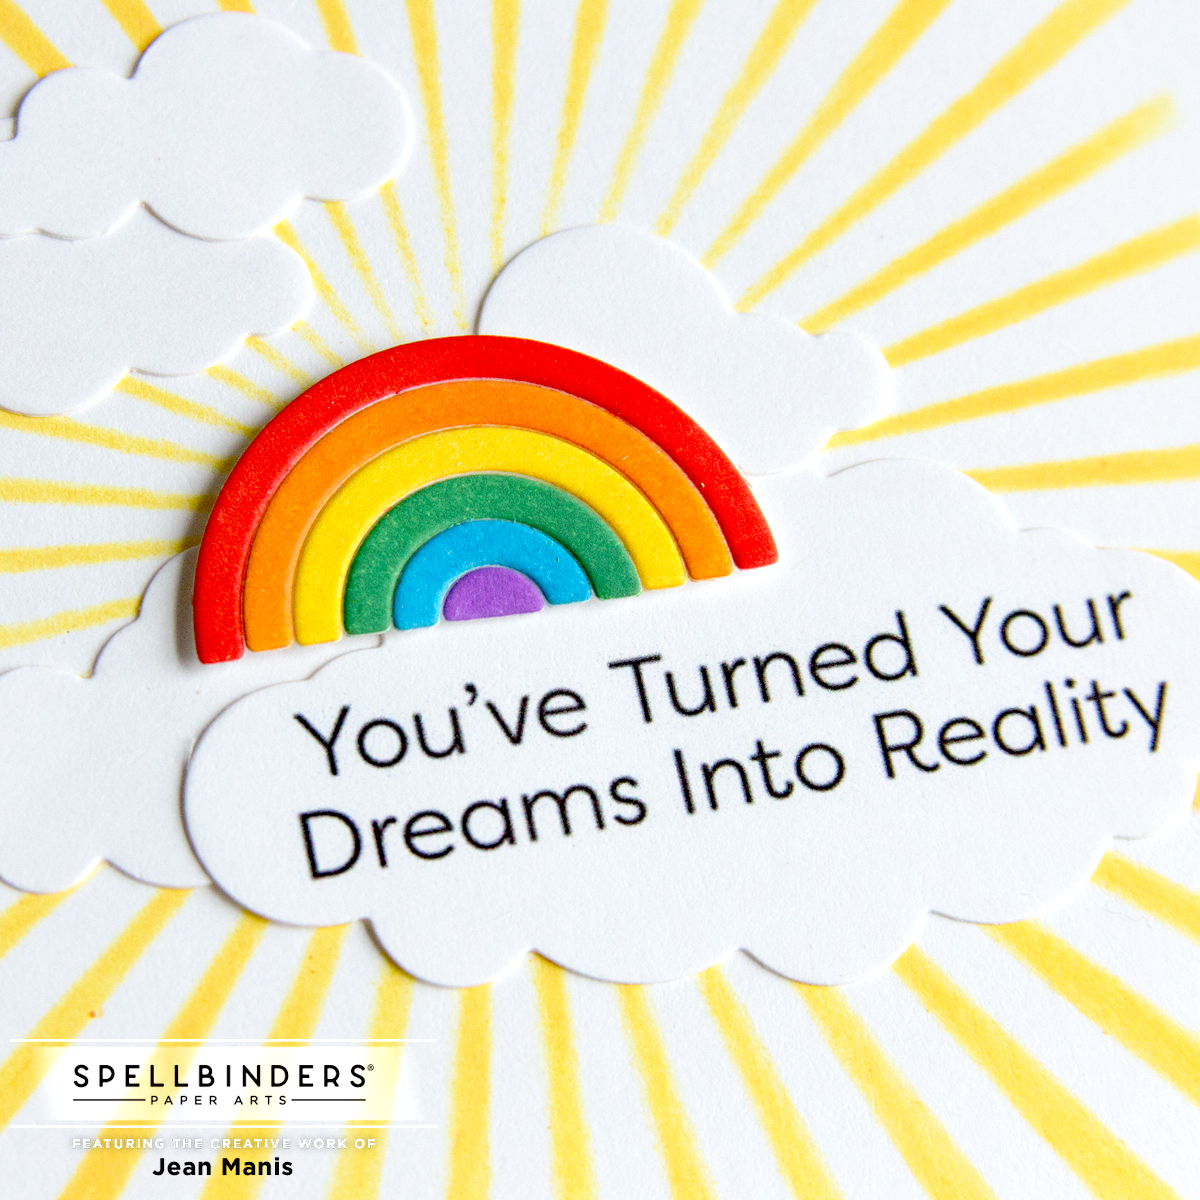
- Add assembled camera to card background and embellish with Silver Mix Gems.

Designer Tip: Want to make a smaller and/or simpler card? Leave off the flash portion.