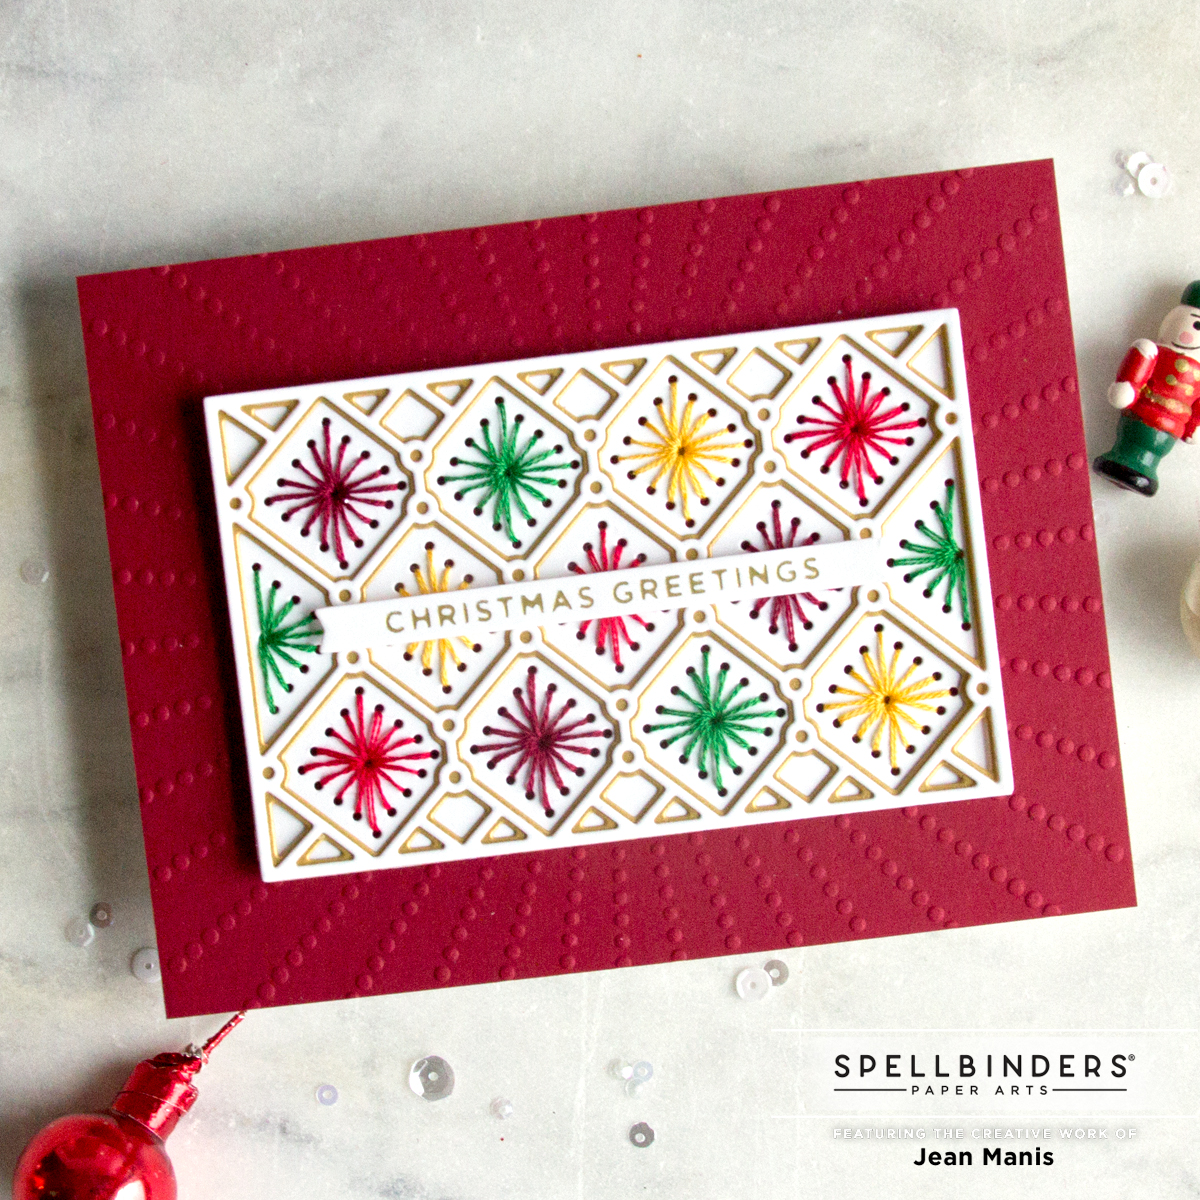
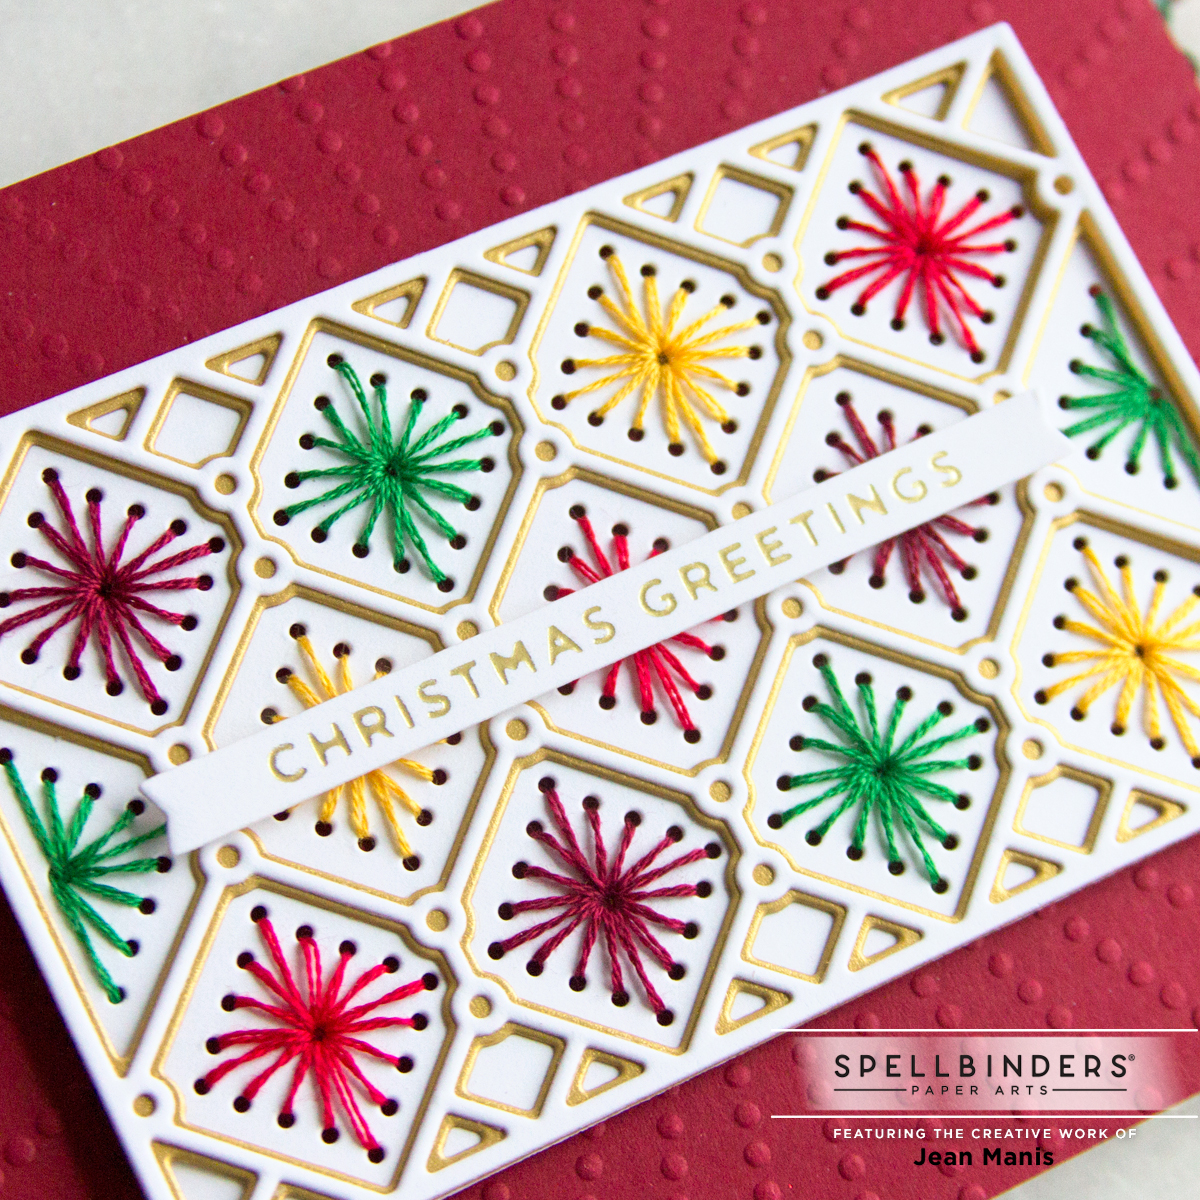
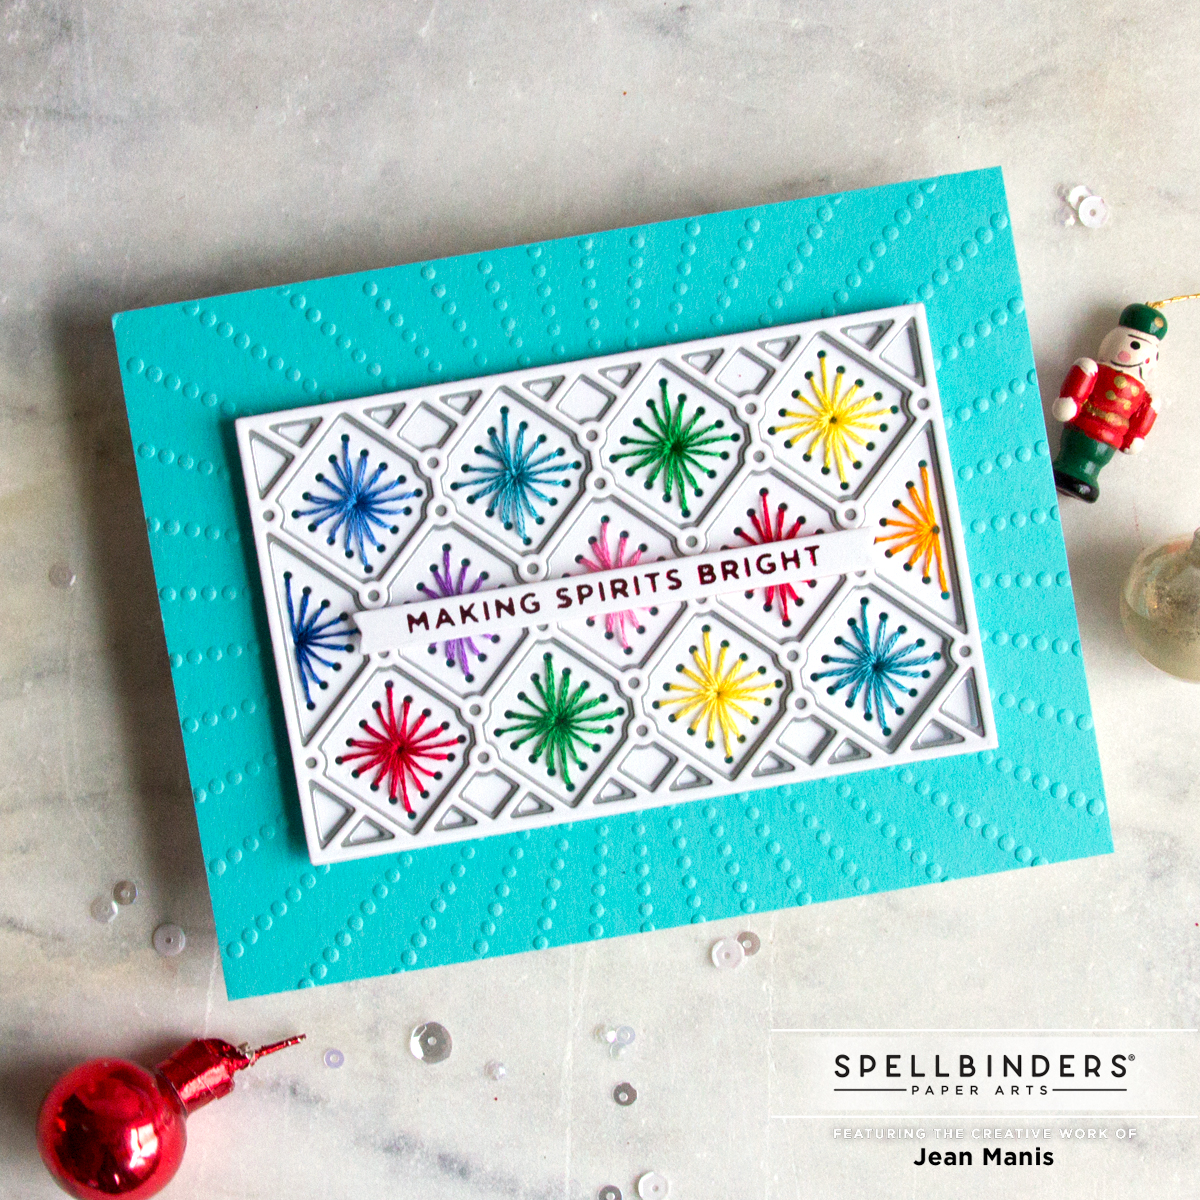
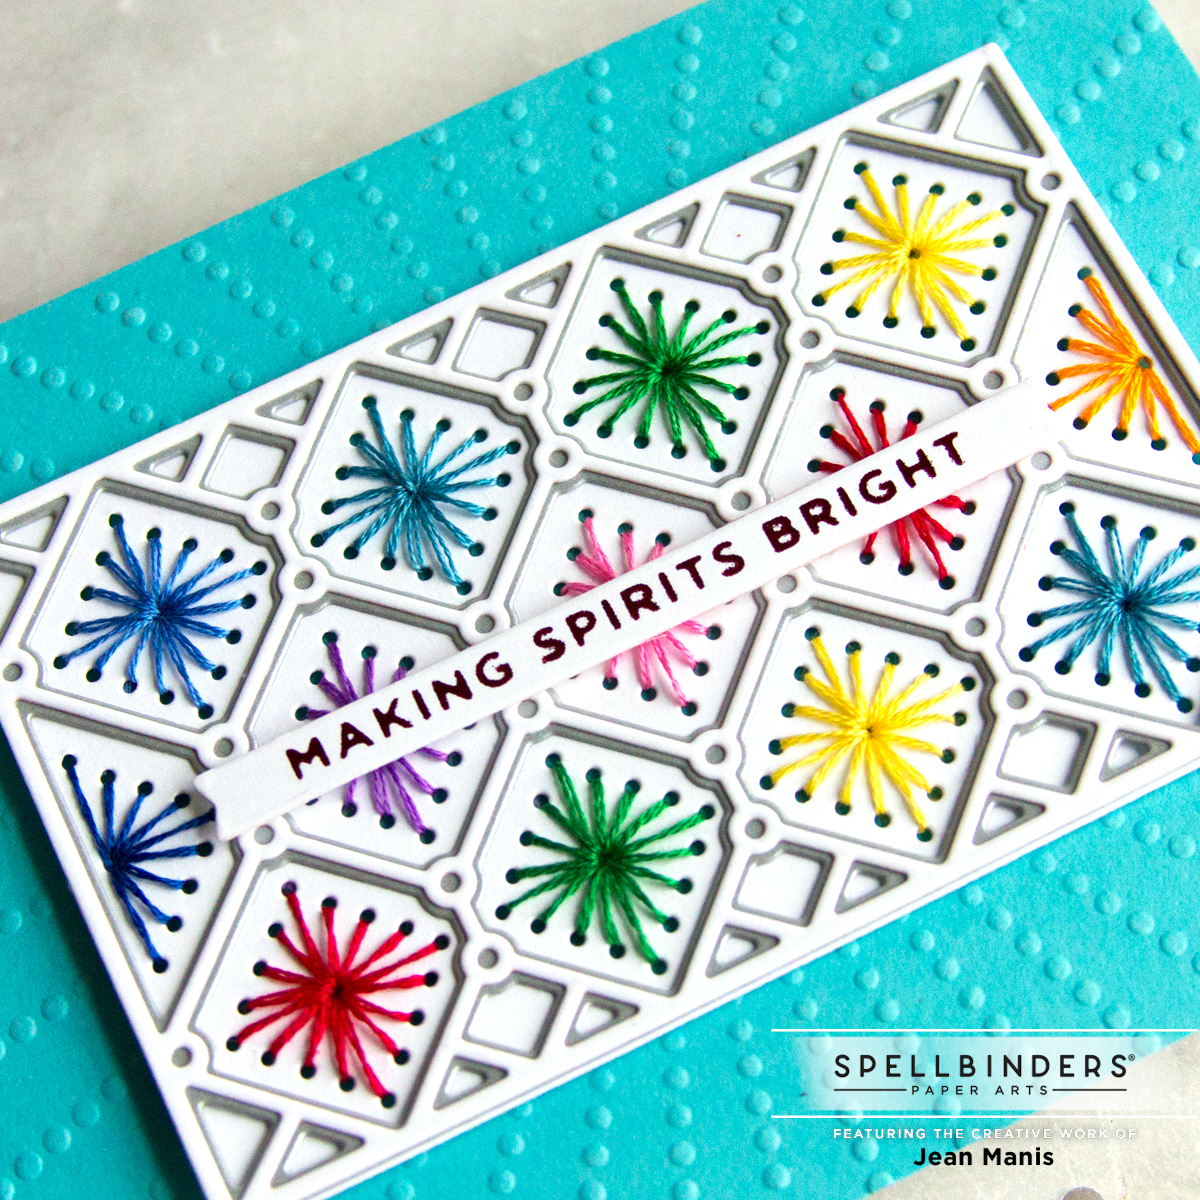
Spellbinders November 2021 Clear Stamp + Die of the Month Club

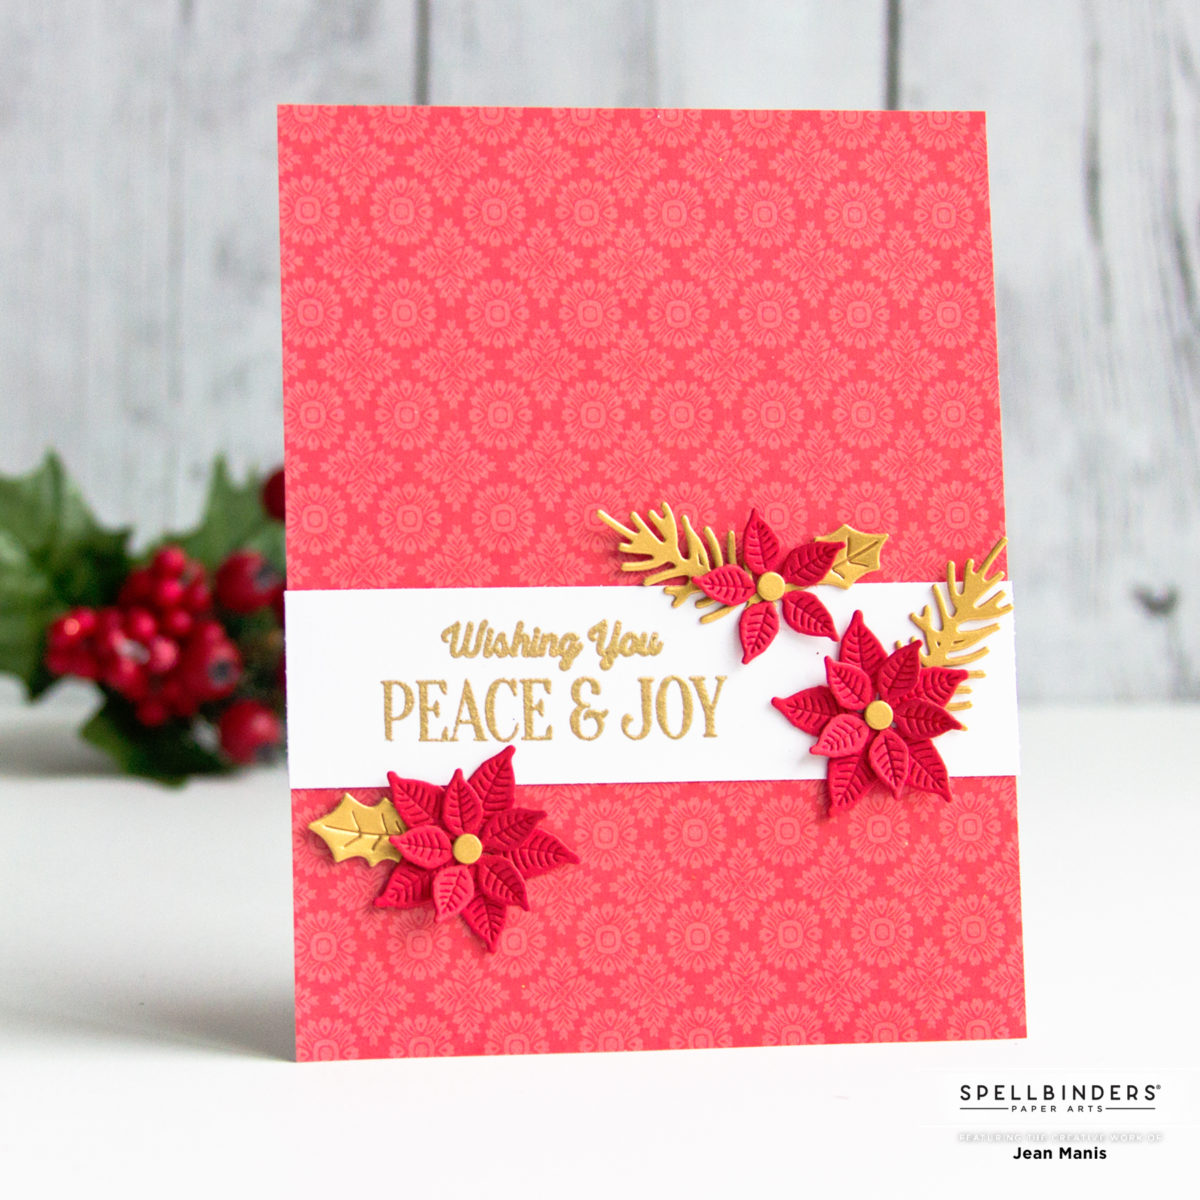
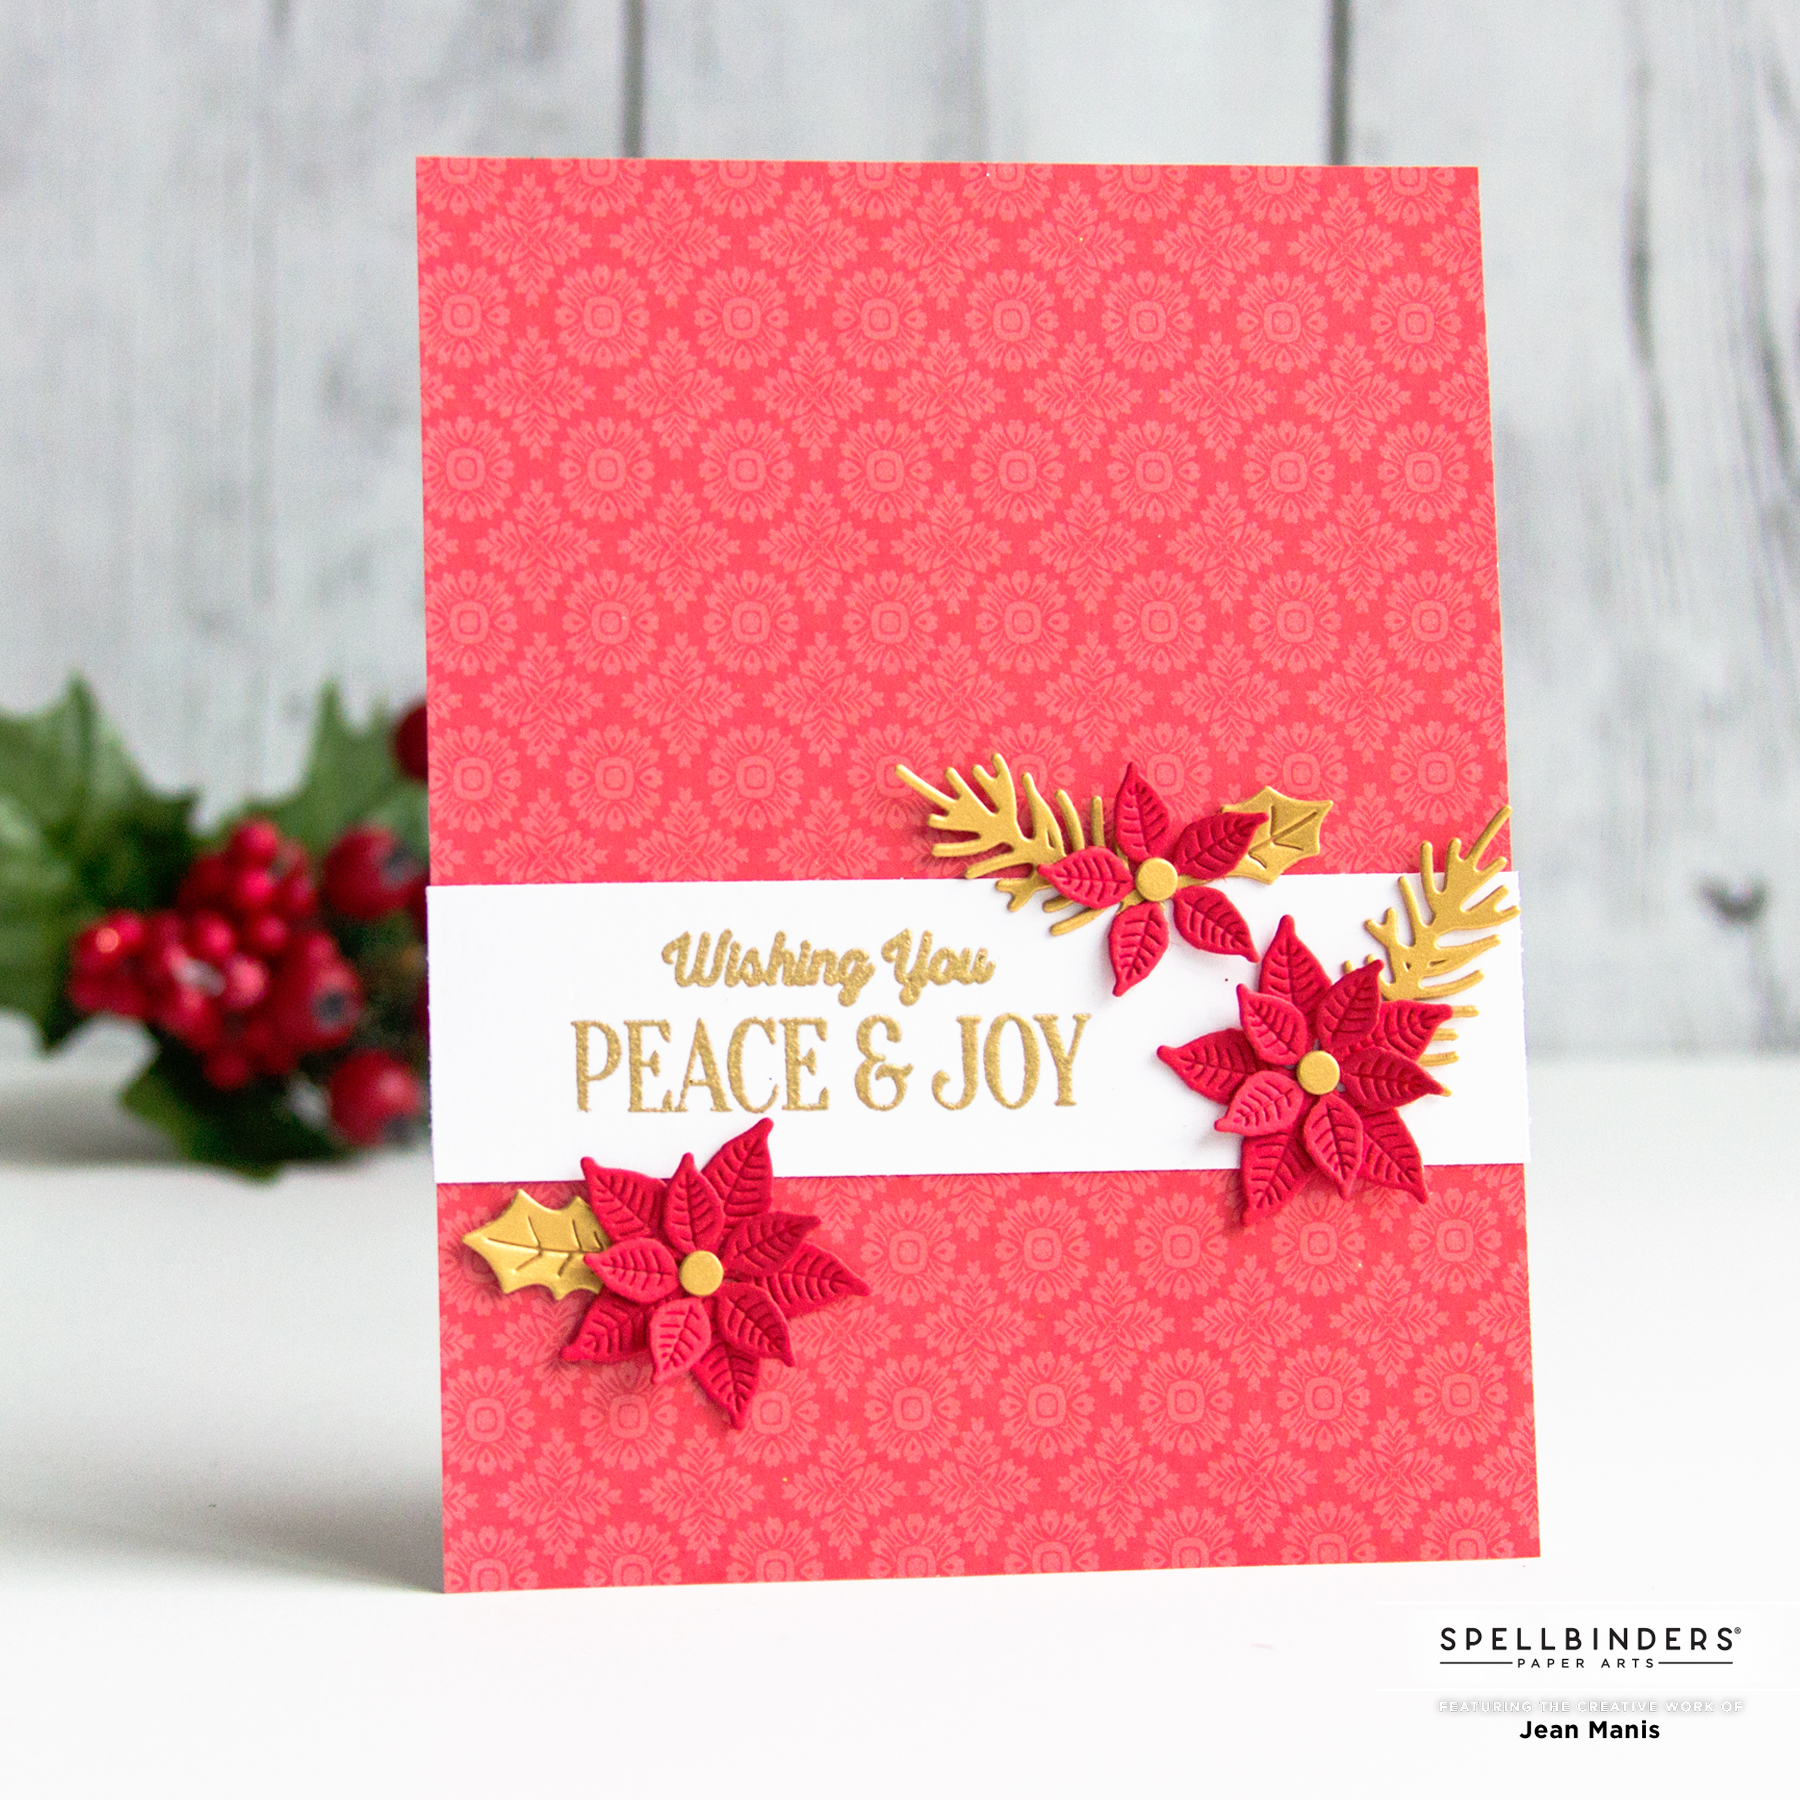
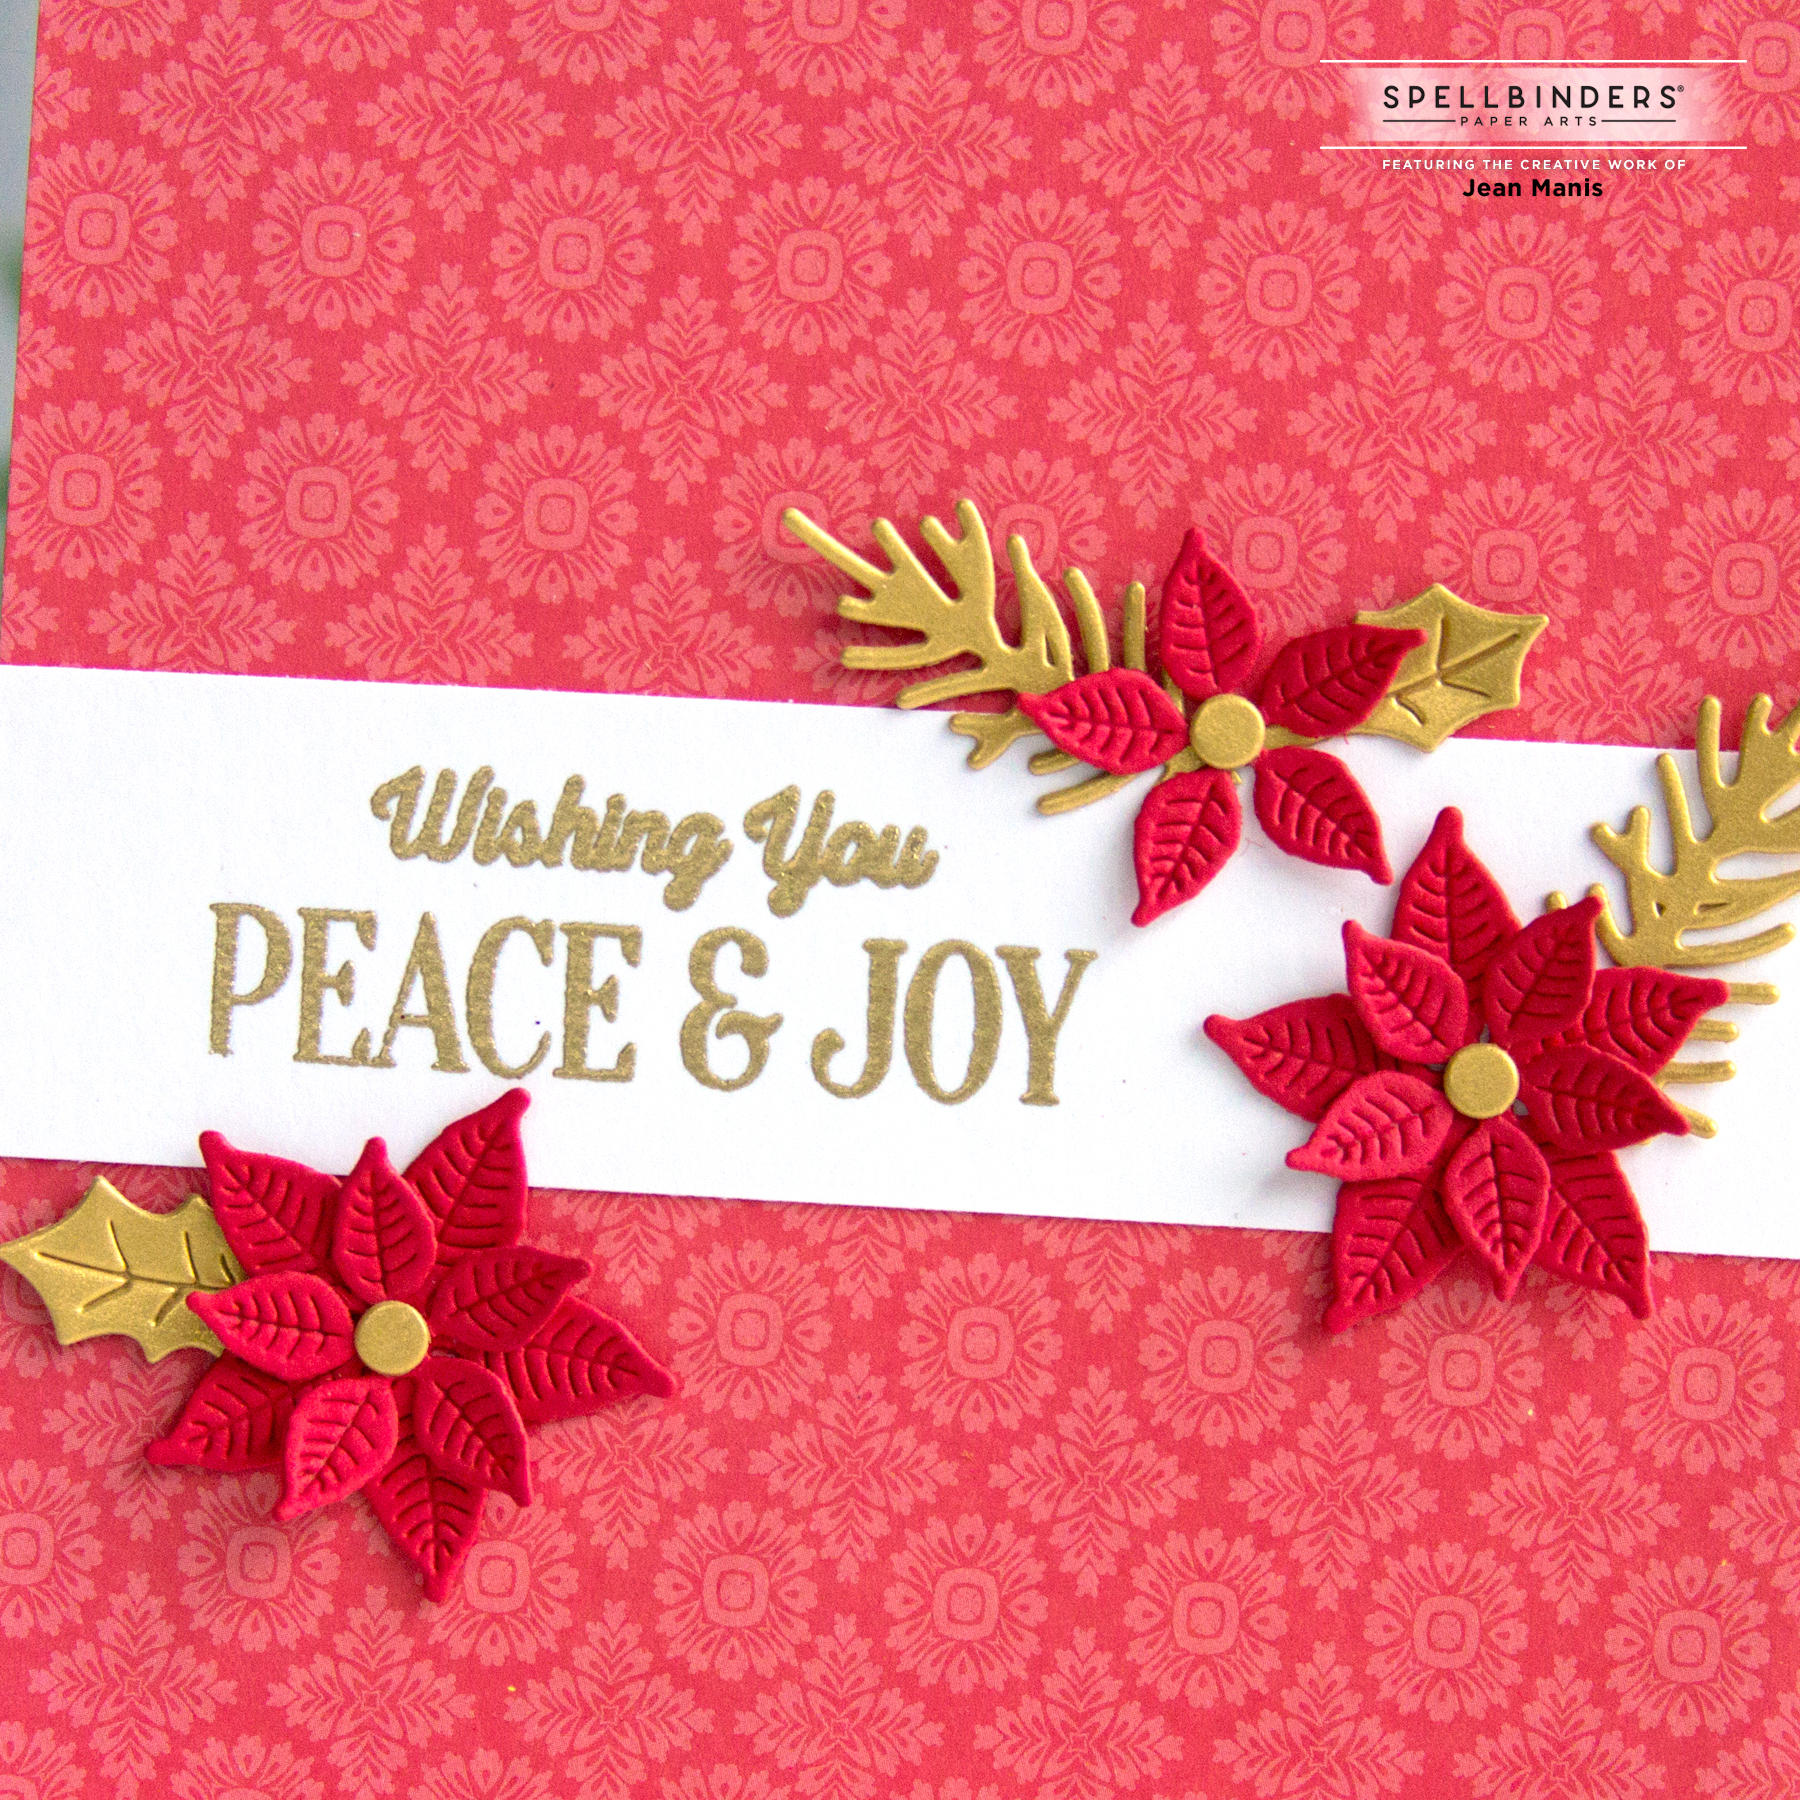
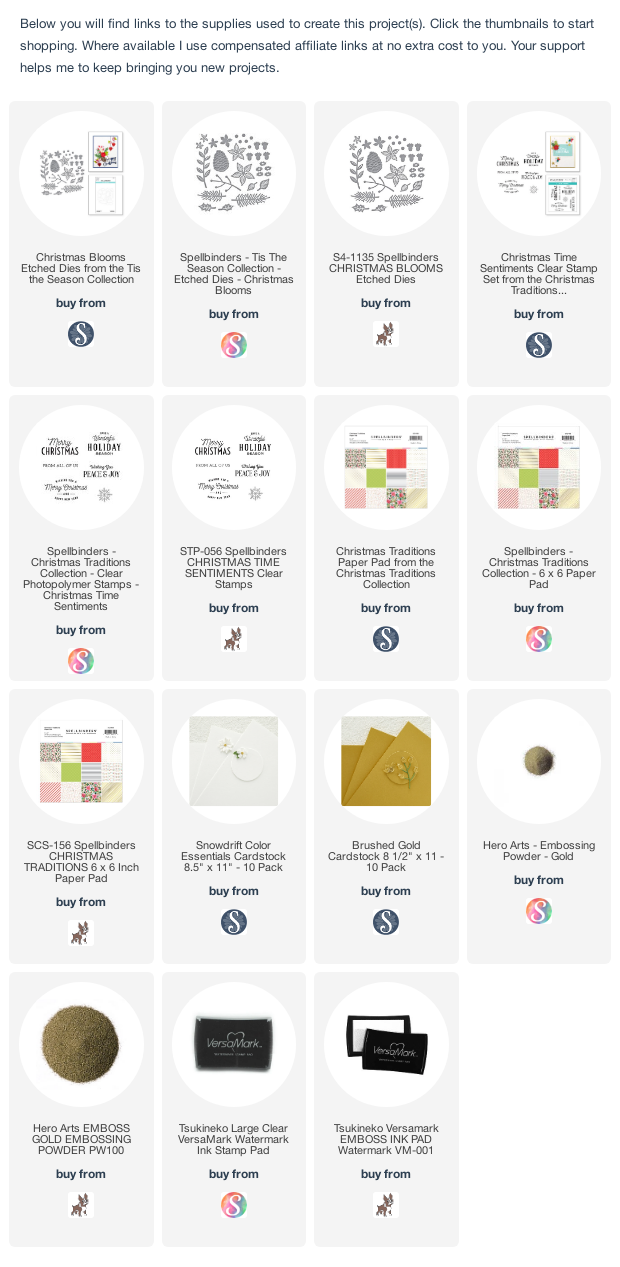
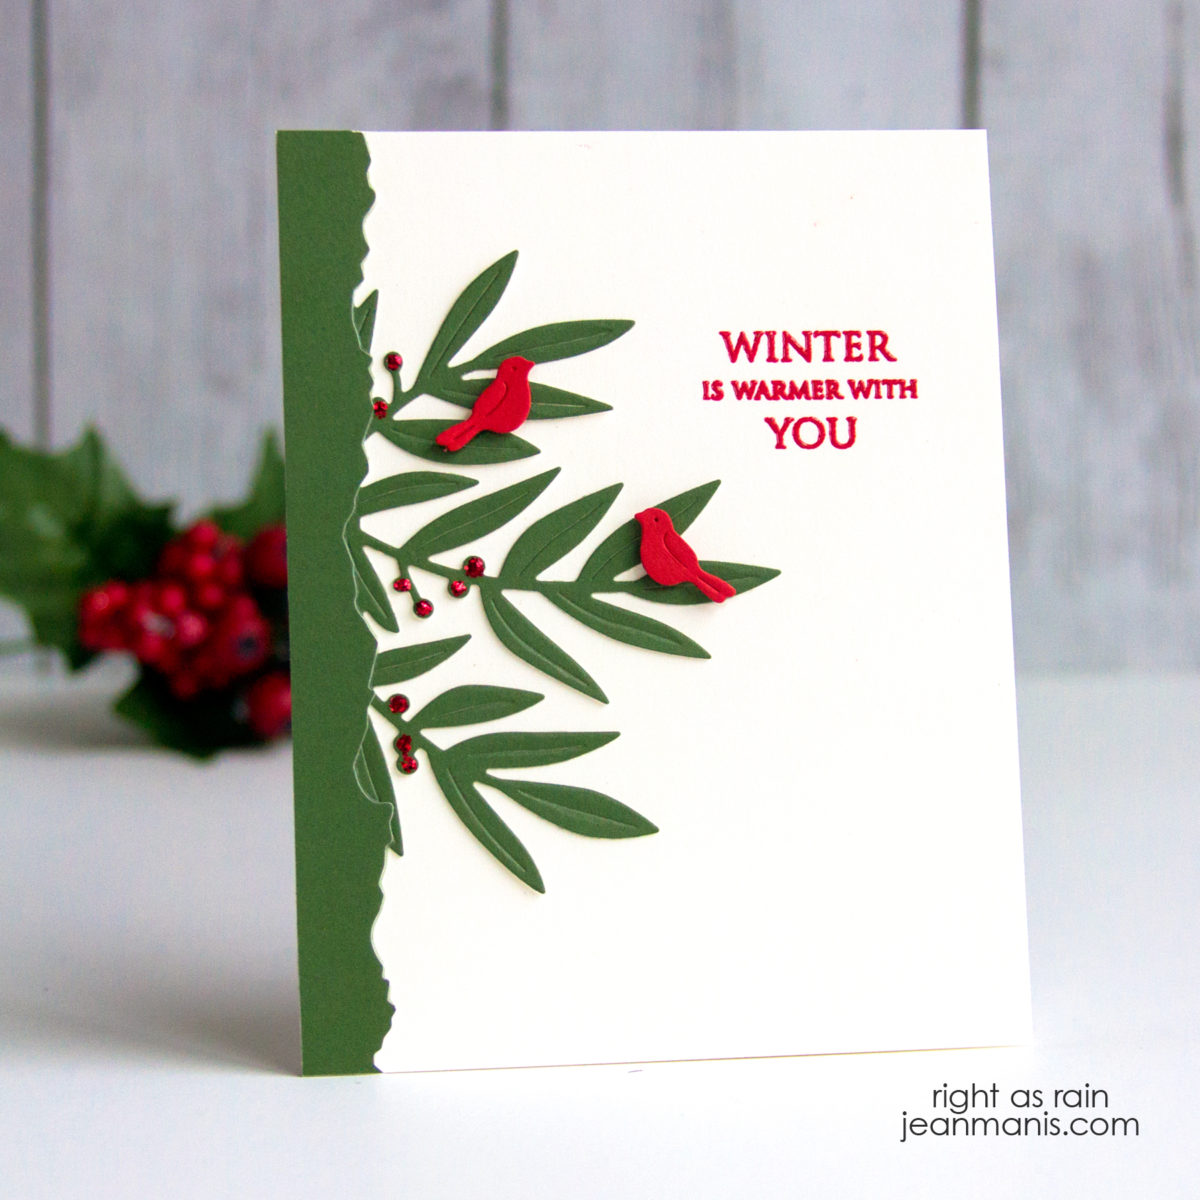
Hello crafty friends! Today, I’m sharing a holiday card created with the Spellbinders November 2021 Clear Stamp & Die of the Month Club – “Around The Holidays.” Read more about this club here.

Spellbinders November 2021 Clear Stamp + Die of the Month Club

Spellbinders November 2021 Clear Stamp + Die of the Month Club

Spellbinders November 2021 Clear Stamp + Die of the Month Club


Tim Holtz Bold Tidings Mini

Hello! Today, I am sharing a CAS Christmas card created with Tim Holtz supplies that combines my favorite techniques: stenciling, die-cutting, and heat-embossing.

Tim Holtz Bold Tidings Mini

  • I applied white embossing paste through the Flurries stencil on an A2 teal card base.
  • I heat-embossed the Bold Tidings Mini sentiment with Wow silver glitter powder on white cardstock. I trimmed the sentiment and backed it with a silver cardstock mat.
  • I die-cut the Tree Line from white cardstock to which I had applied double-sided sheet adhesive. I added Clear Rock Candy glitter to the exposed trees. I like using Clear Rock Candy glitter as it does not have an undertone (some premade glitter sheets are blueish, yellowish, or pinkish).
  • Once the background was dry, I added the trees and the sentiment panel with foam adhesive.

Tim Holtz Bold Tidings Mini


Penny Back – Snowfall and Serenity

Hello! Today I am sharing a quick-to-make Christmas card created with Penny Black supplies from the Home for Christmas release. I chose colors to coordinate with the 50-001 Pinecones and Peace panel.

Penny Back - Snowfall and Serenity

Penny Back - Snowfall and Serenity


Rubbernecker Halloween Gnomes

Hello! Today, I am sharing a Halloween card featuring the Gnome Couple die set at Rubbernecker.

Rubbernecker Halloween Gnomes

  • I die-cut the Gnome Couple from colored cardstock and assembled the pieces.
  • I die-cut the Window 4-Pane and cut a panel of soft yellow cardstock with which to back the window.
  • I stamped the Reverse Confetti Spooktacular greeting on to a panel and added a strip of gray cardstock to the bottom.
  • I added the female gnome to the yellow cardstock and adhered the window frame to the panel with foam adhesive. I adhered the window to the card base.
  • I added the mail gnome to the card base with foam adhesive.

Rubbernecker Halloween Gnomes

Check out additional inspiration with the  Gnome Couple die set here, here, and here.