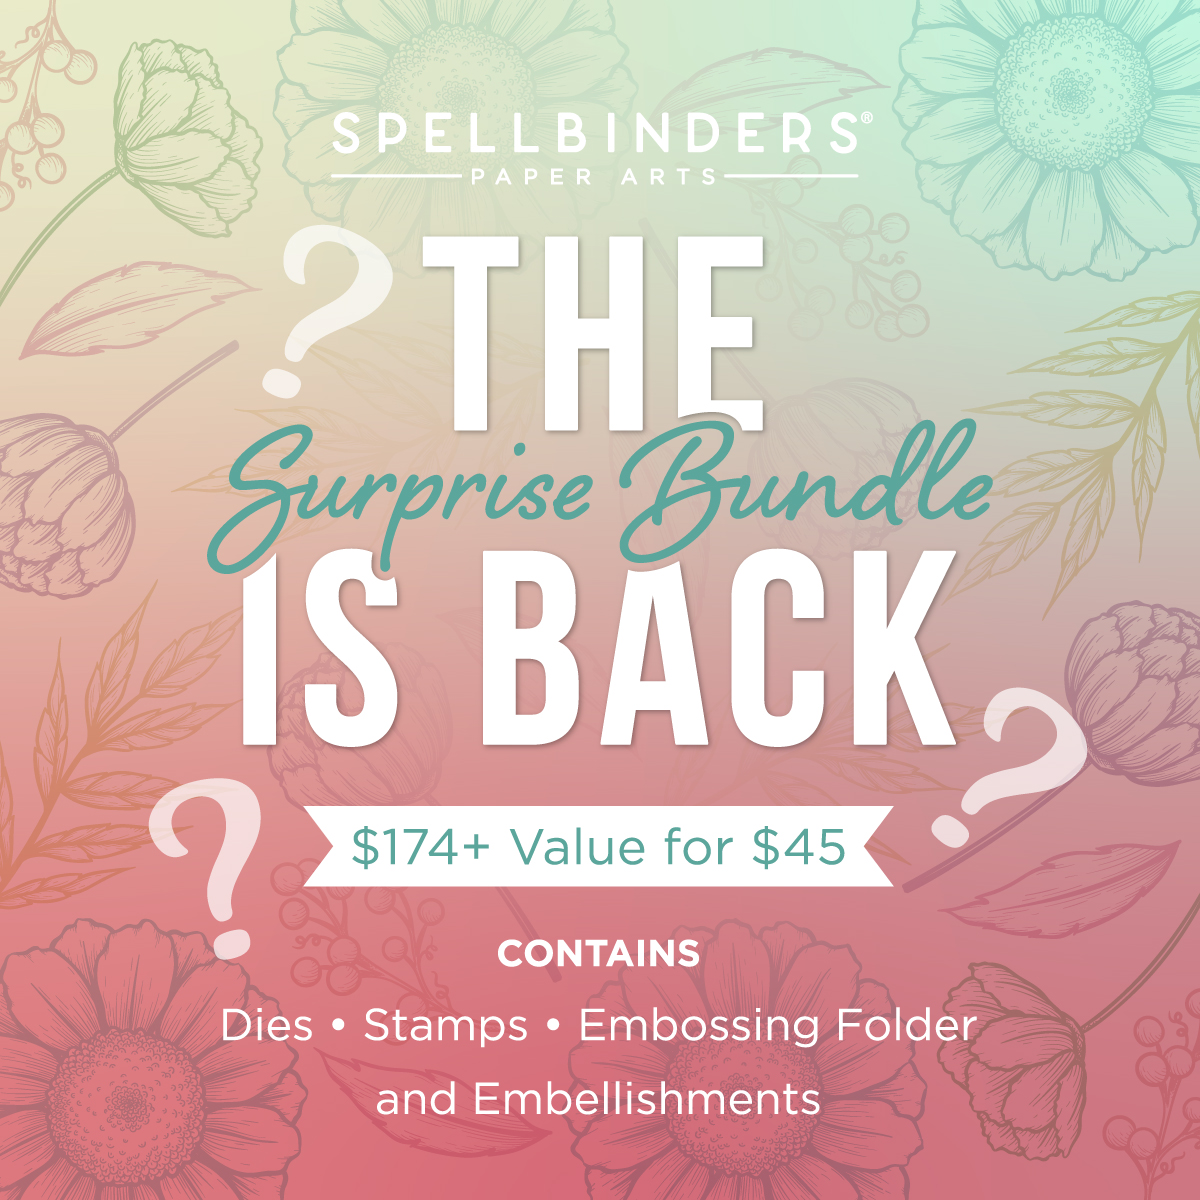
Spellbinders is running a huge sale now through March 12 discounting many of their die sets. I have included cards below that use some of the sale products. Click on the photo to go to the original post.
Cardmaking and Scrapbooking with Jean Manis

Spellbinders is running a huge sale now through March 12 discounting many of their die sets. I have included cards below that use some of the sale products. Click on the photo to go to the original post.
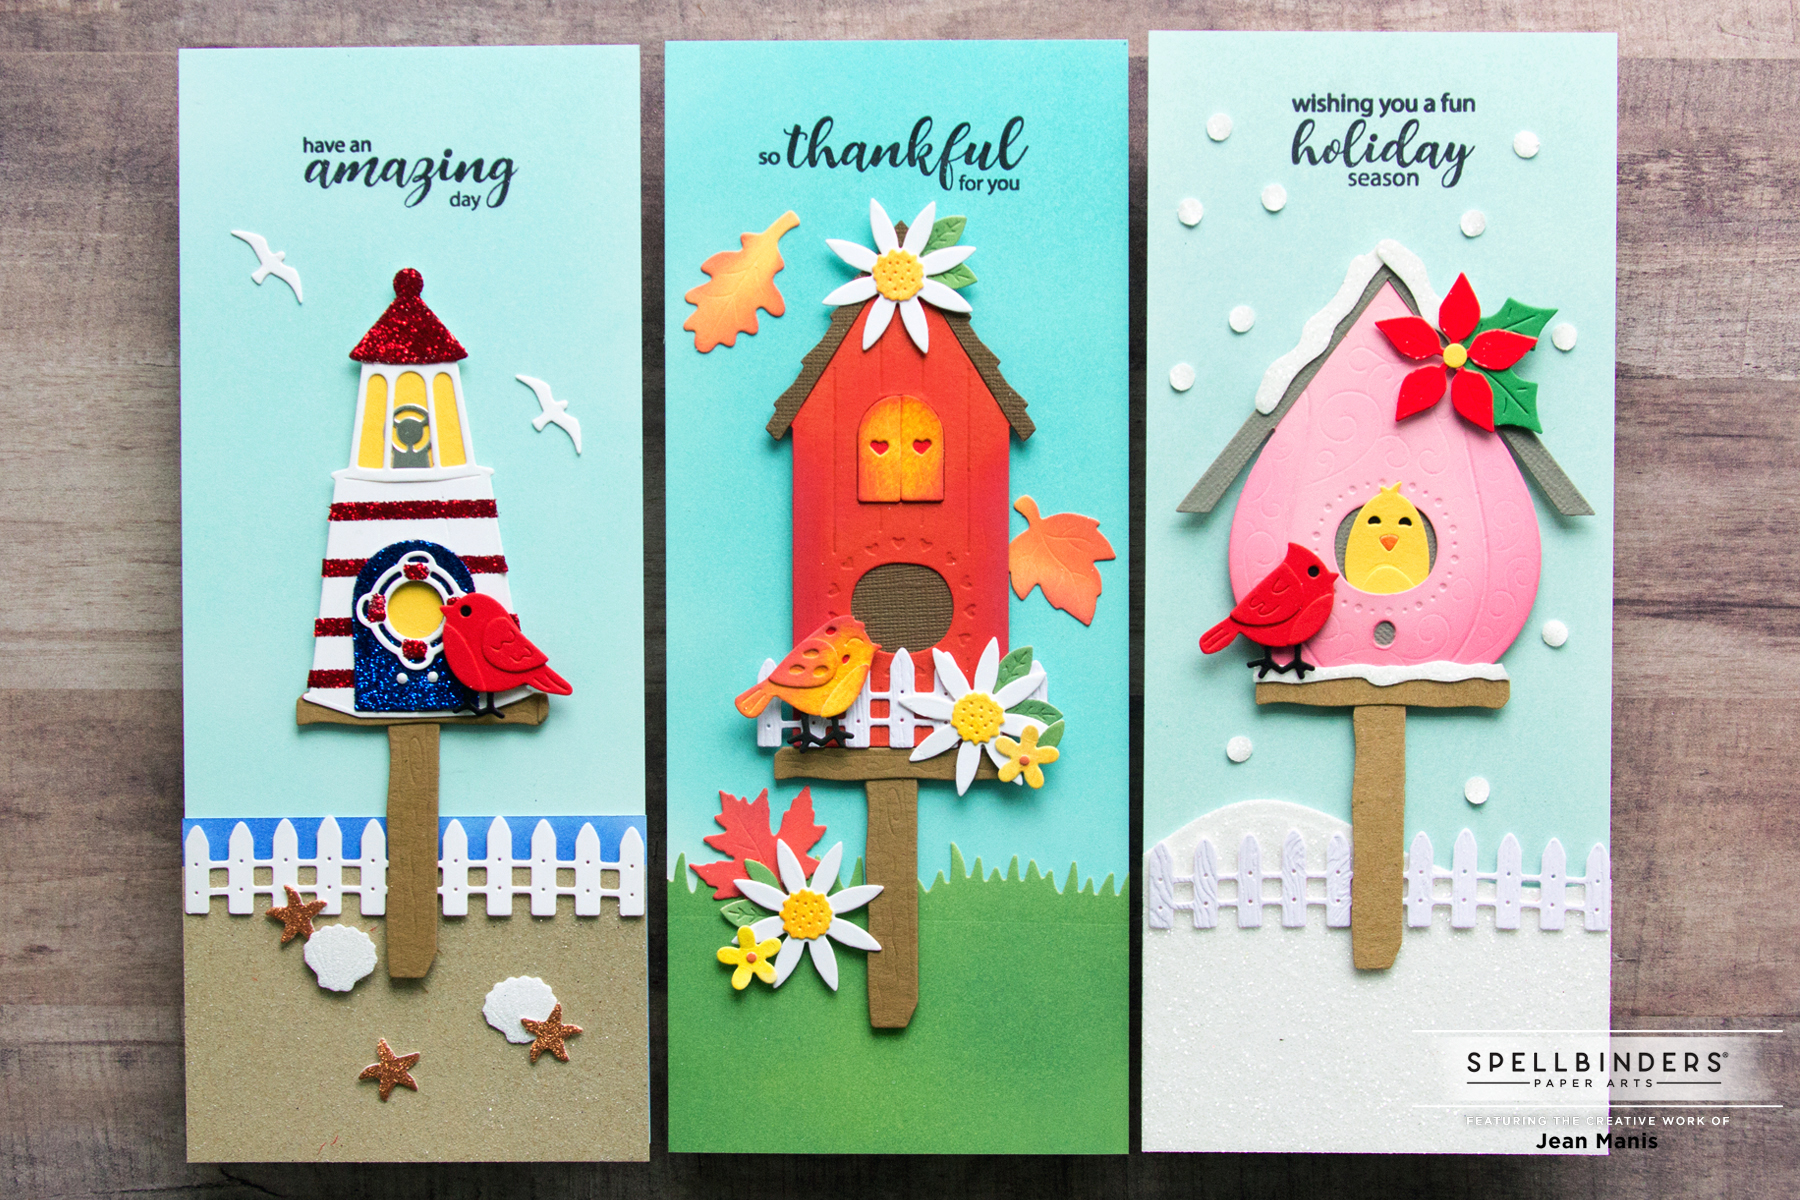
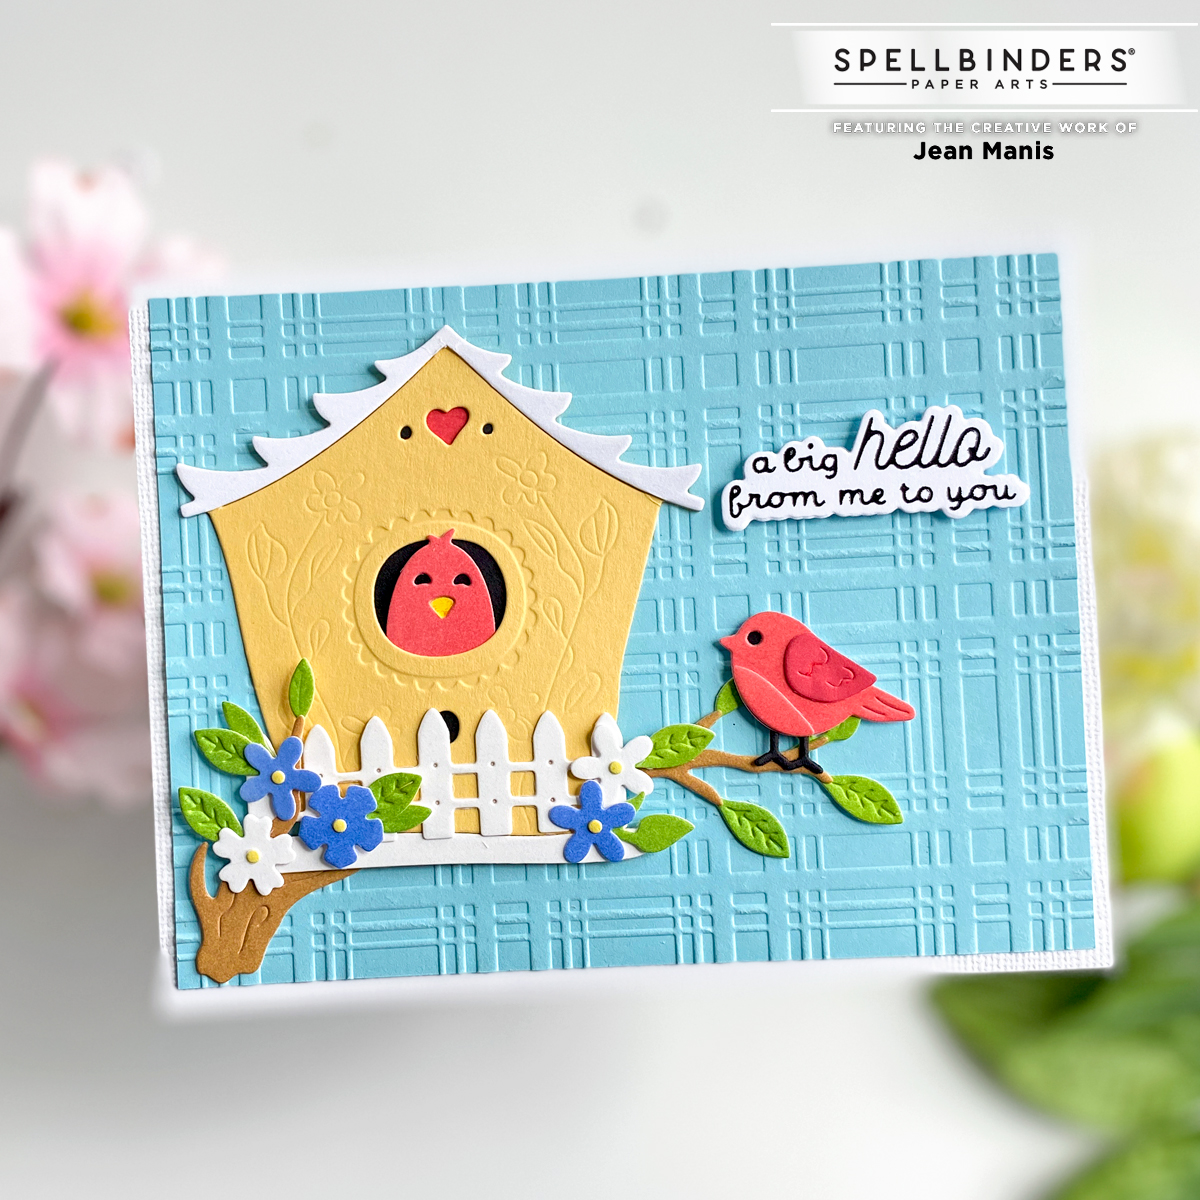
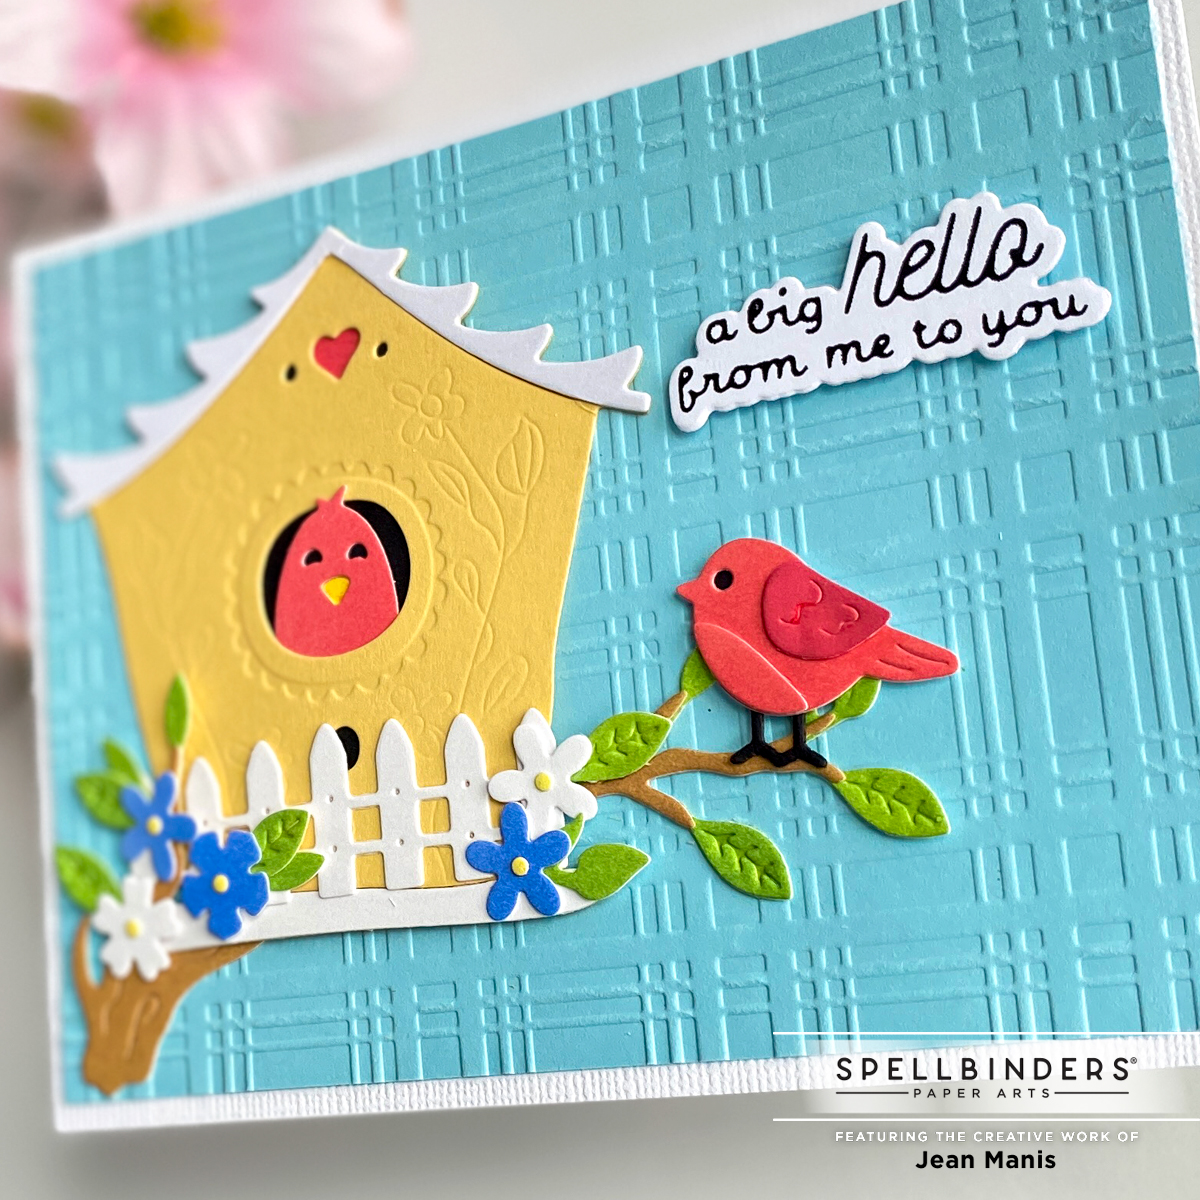
Hello! Today, I am sharing a birdhouse-themed “hello” card created with Spellbinders die sets and glimmer foil plate.
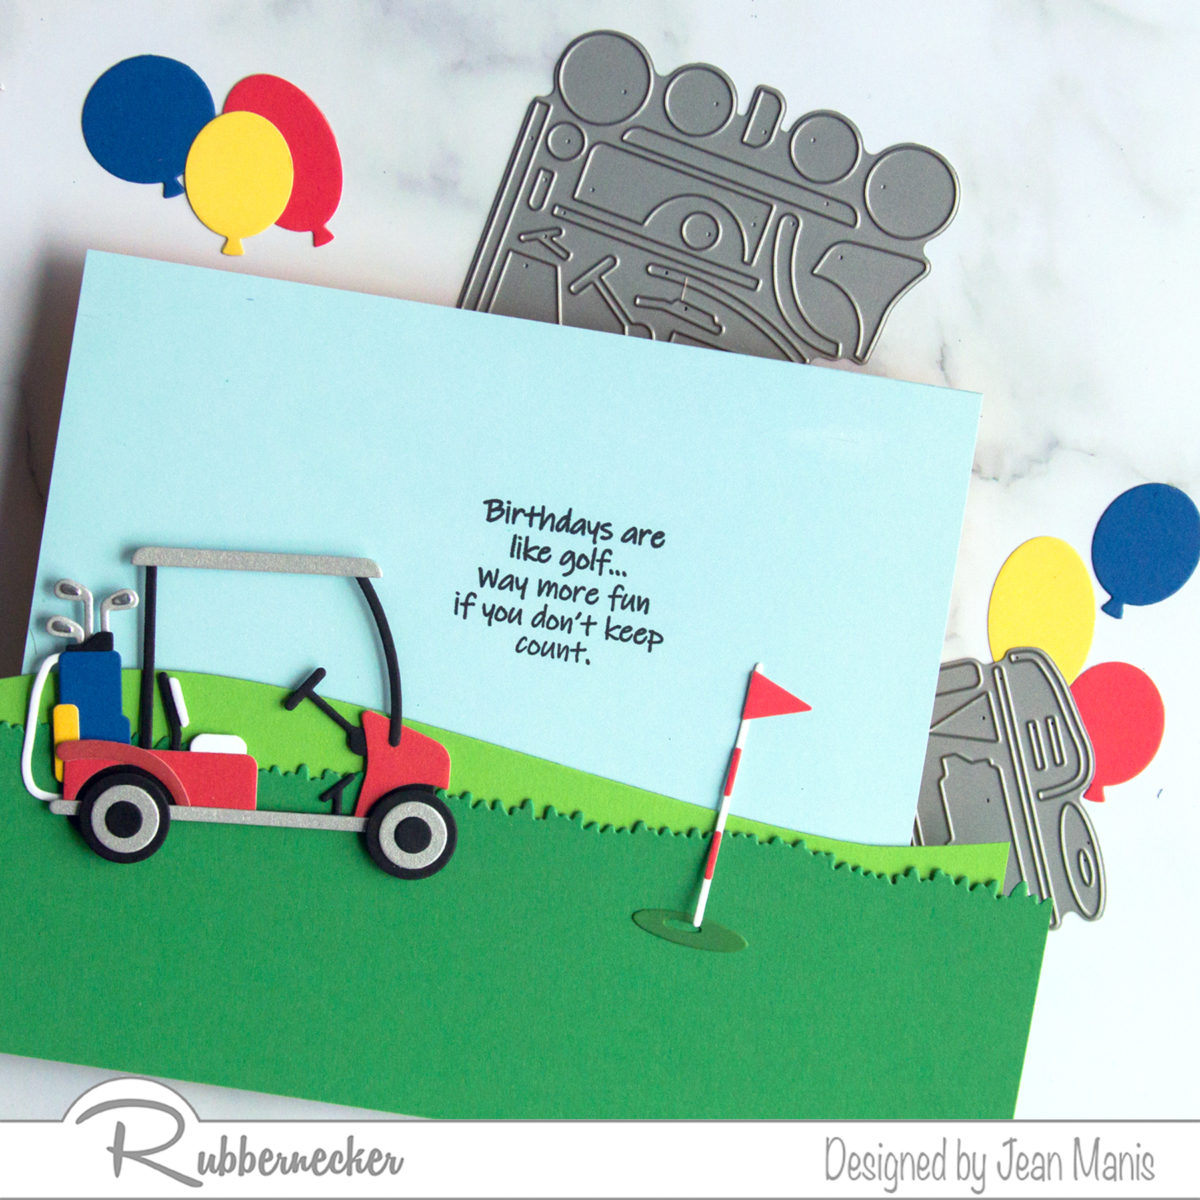
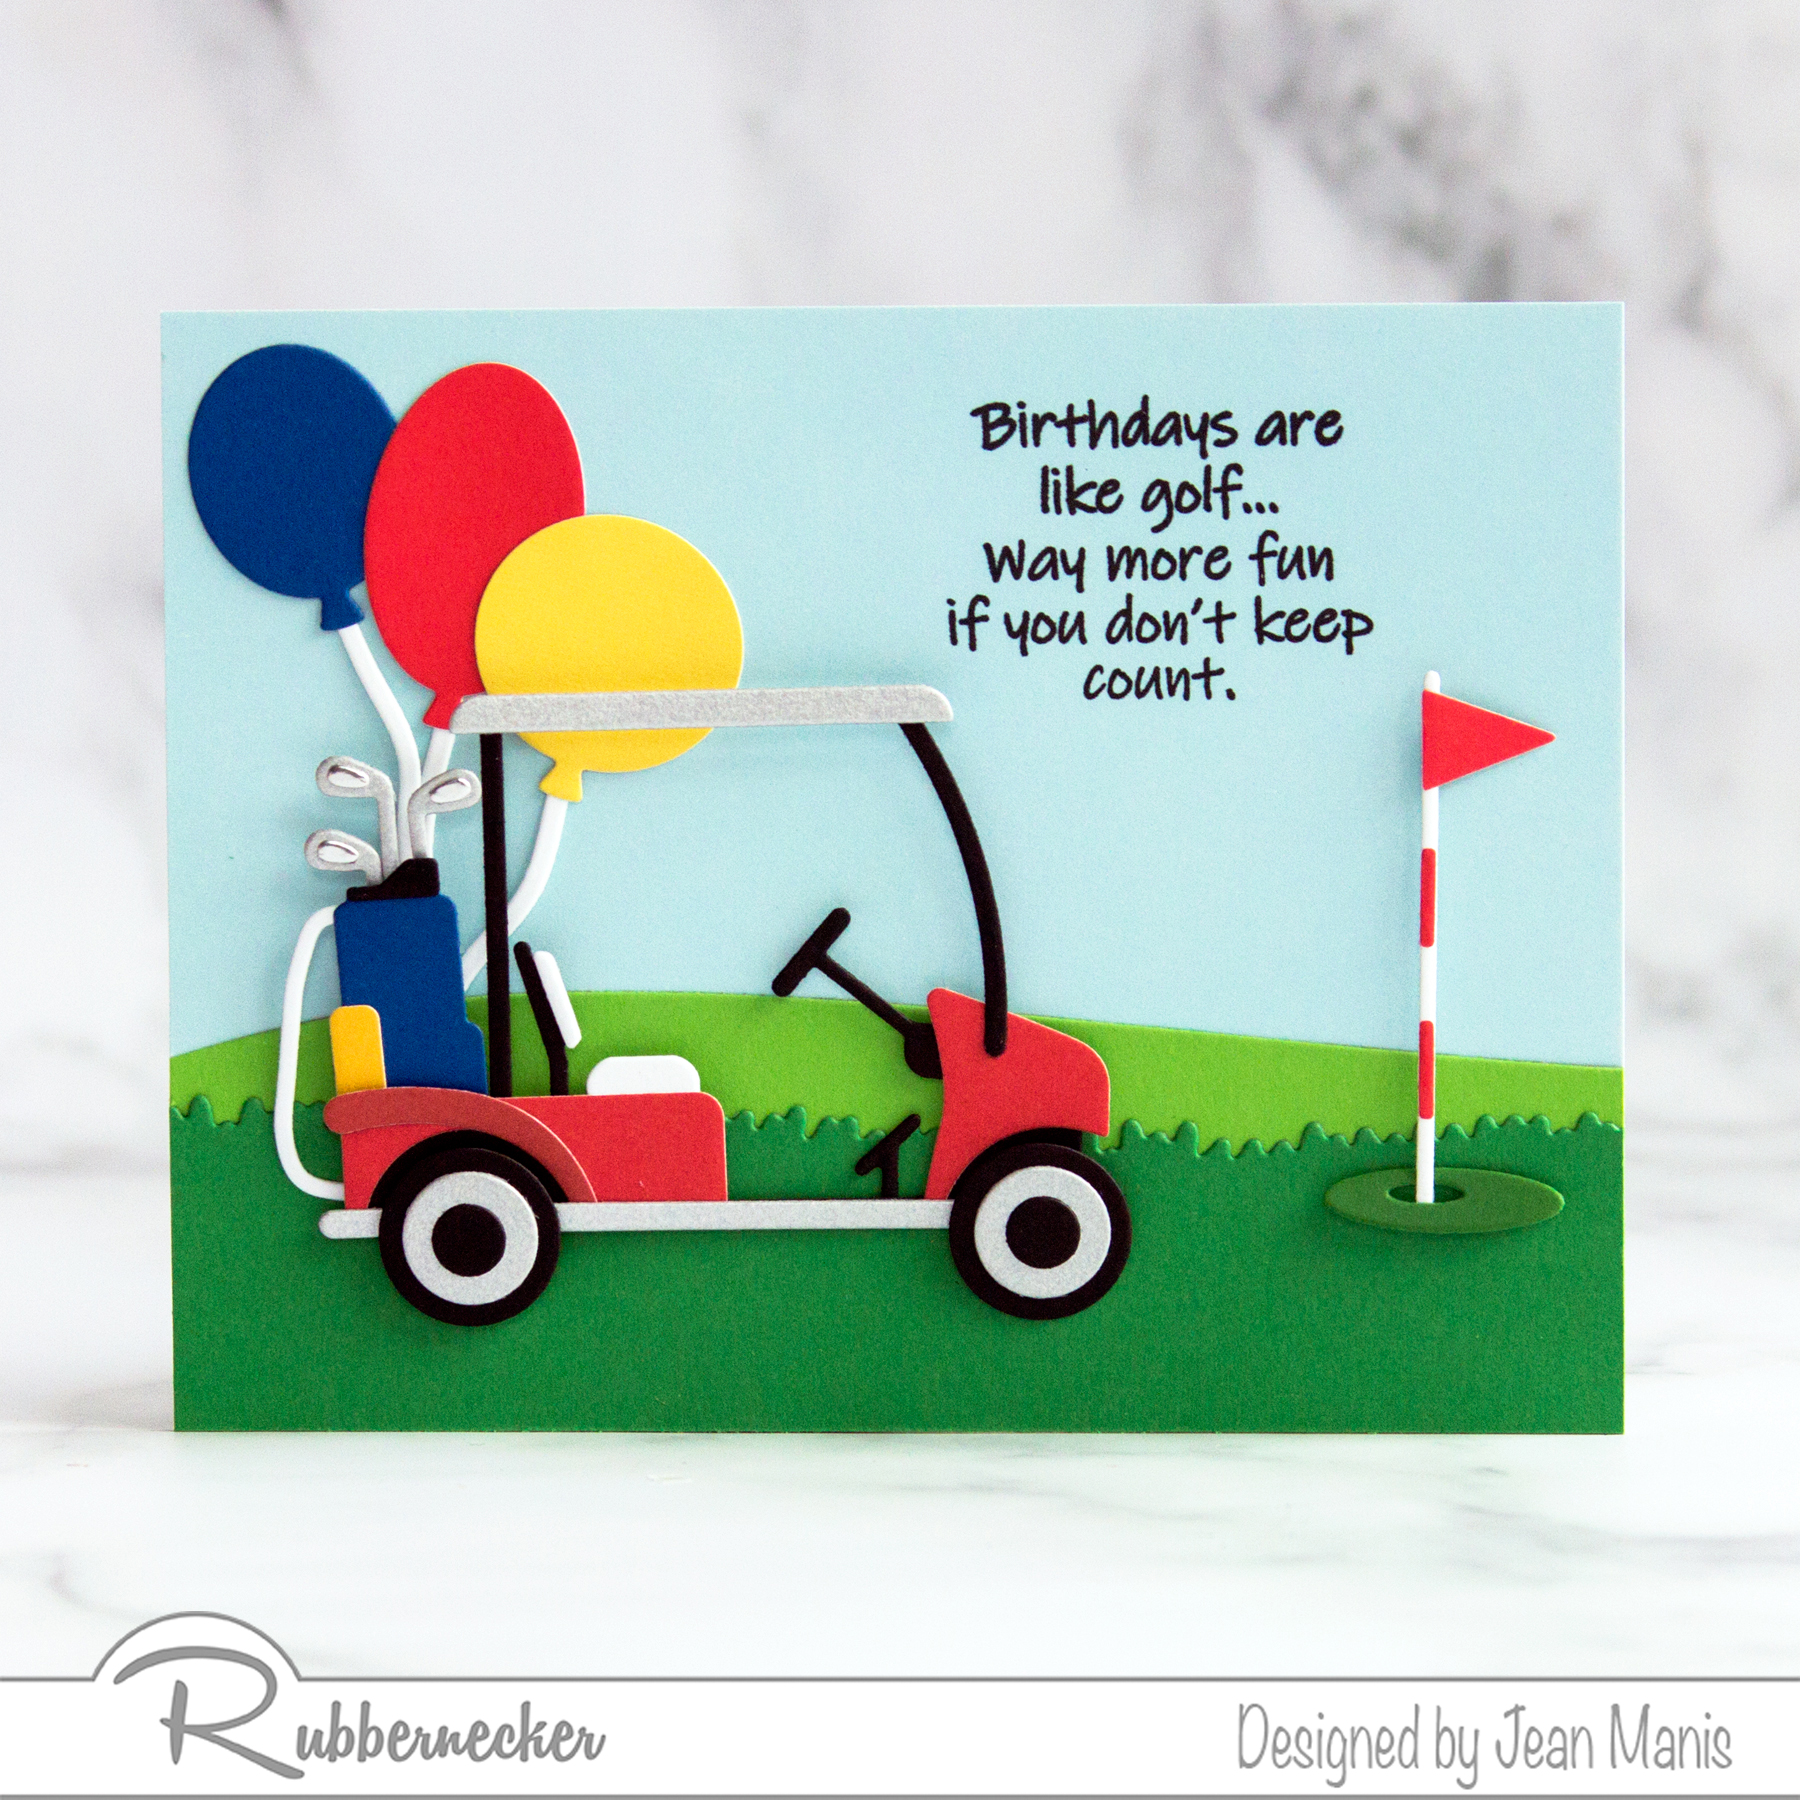
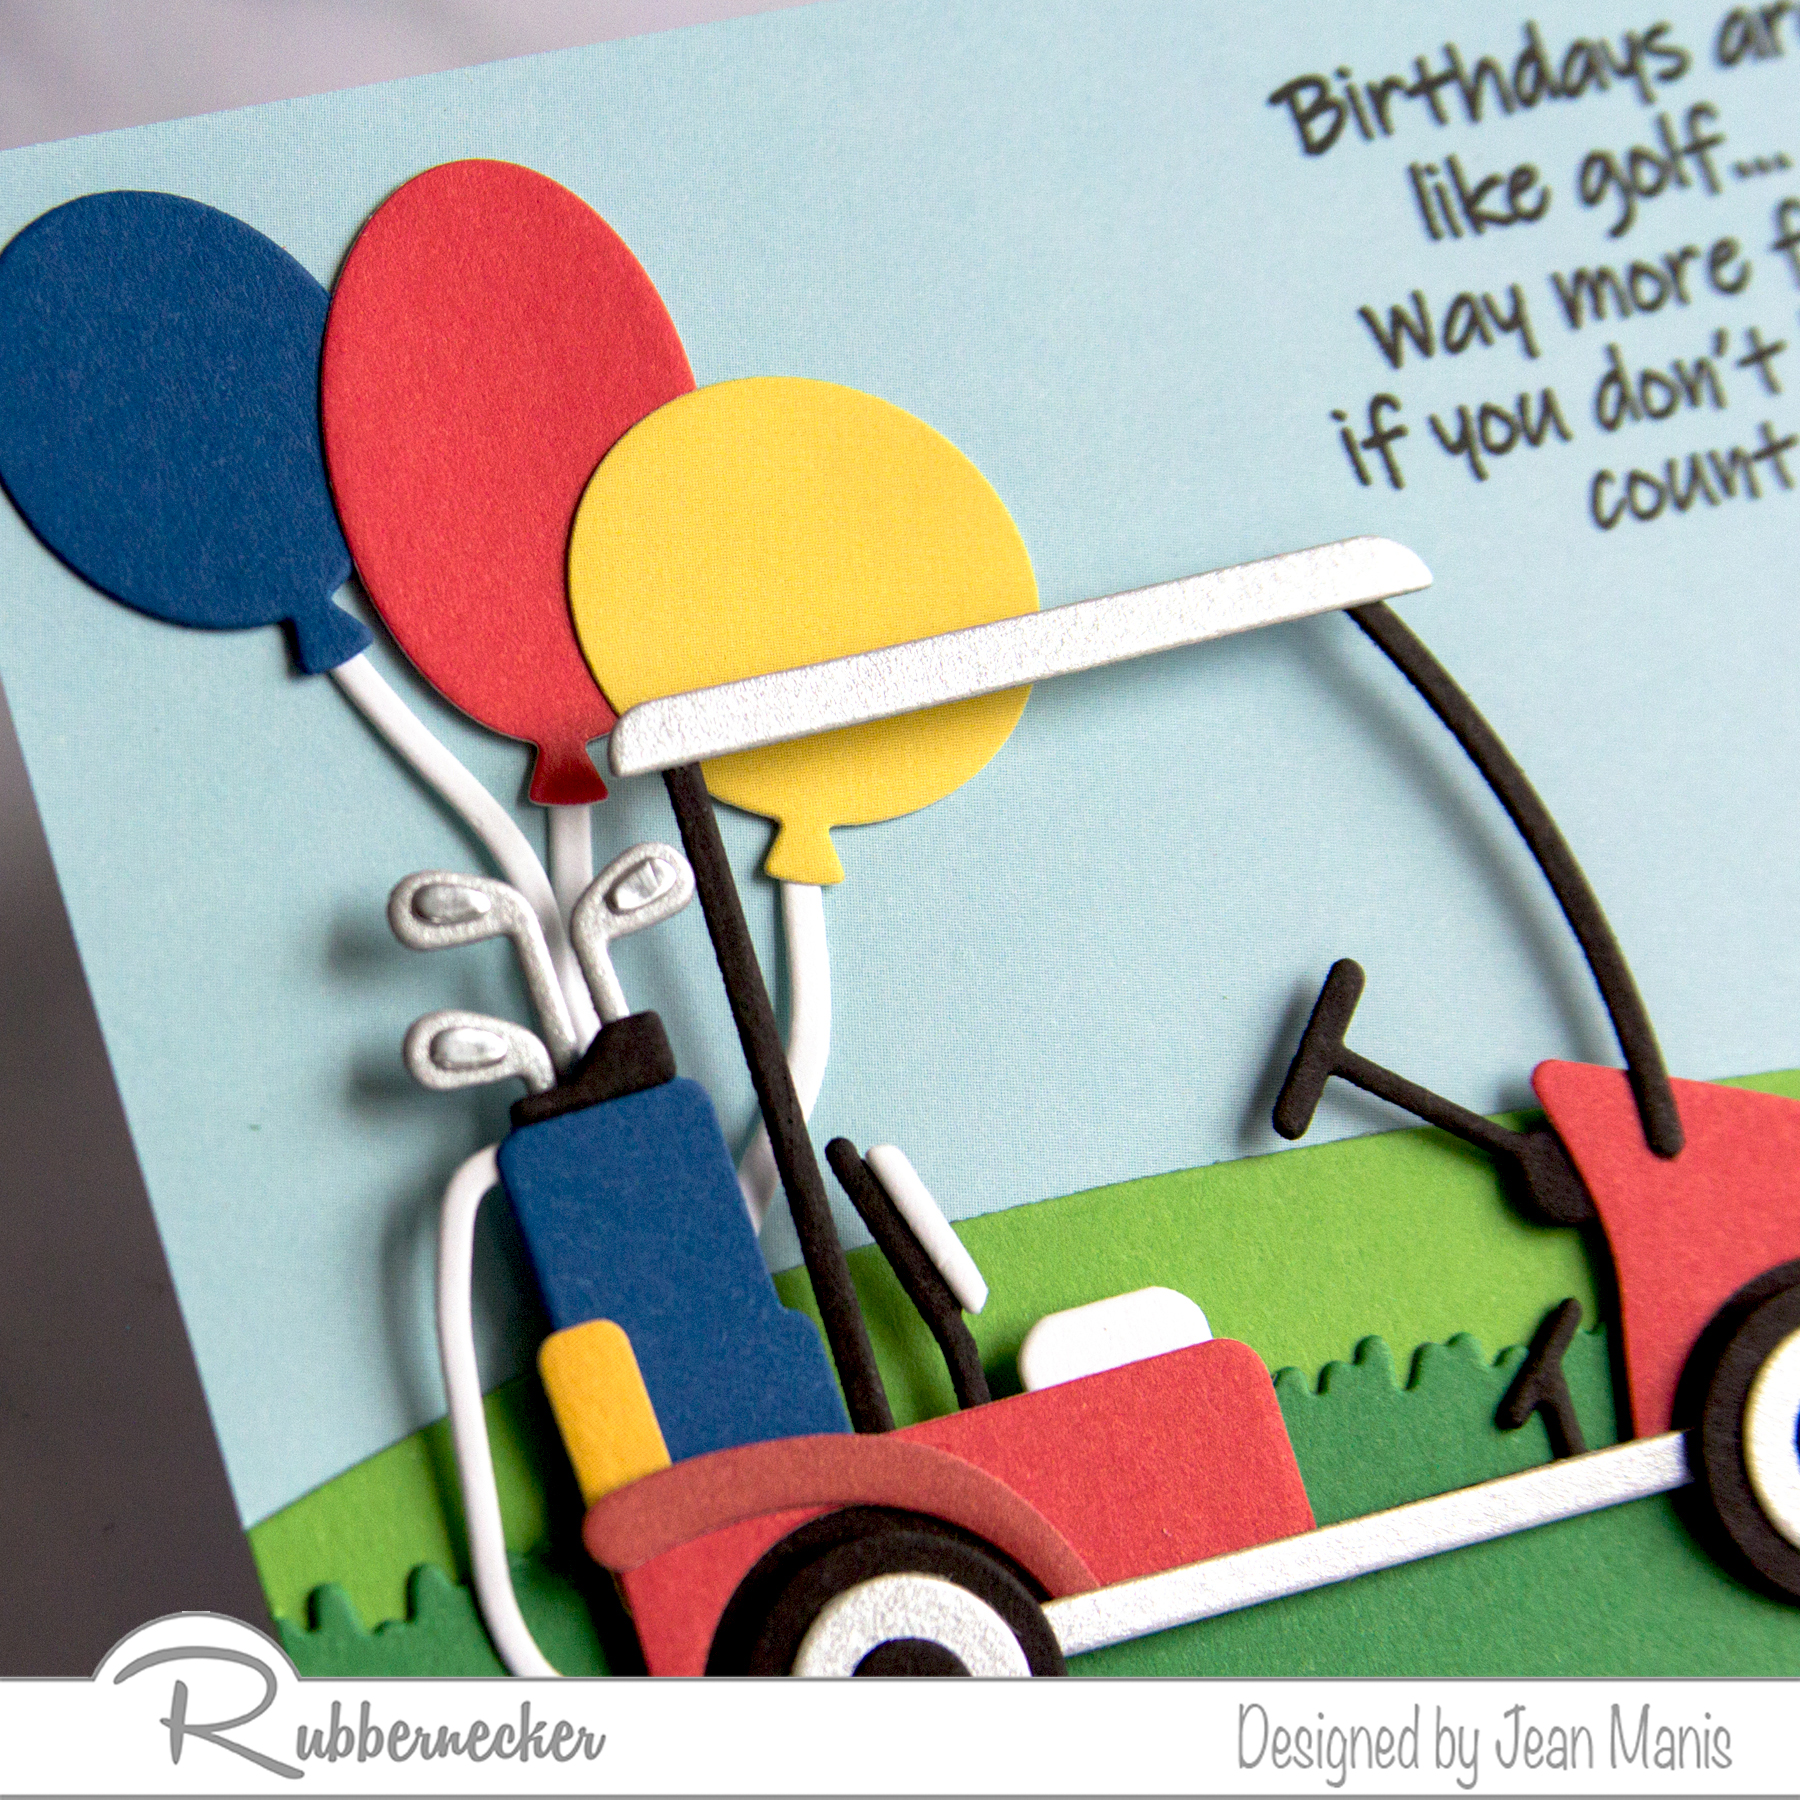
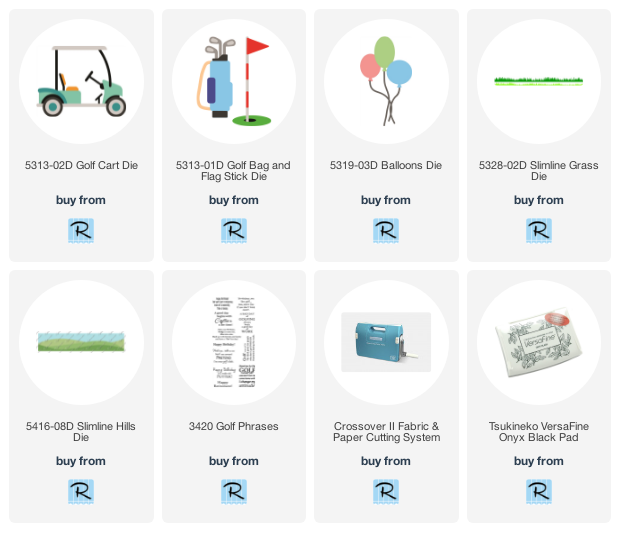
Fore! Do you have a golfer in your family or as a friend? Today, I am sharing a golf-themed birthday card created with Rubbernecker supplies.
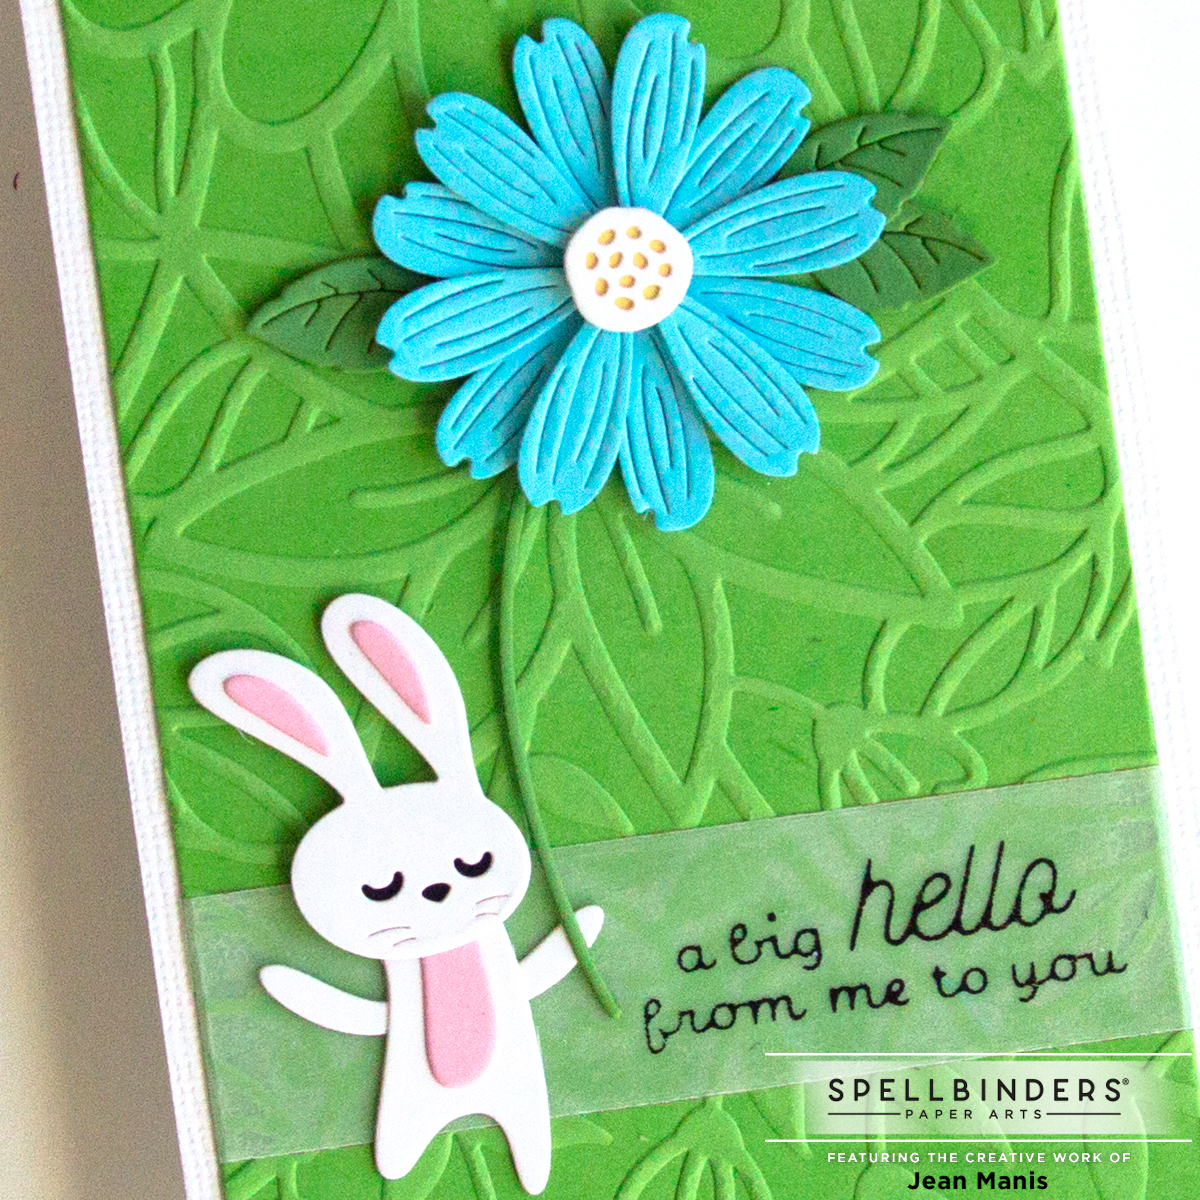
Hello! I’m sharing a CAS mini-slimline card created with the Spellbinders March 2022 Embossing Folder Kit Club “Garden Path.”
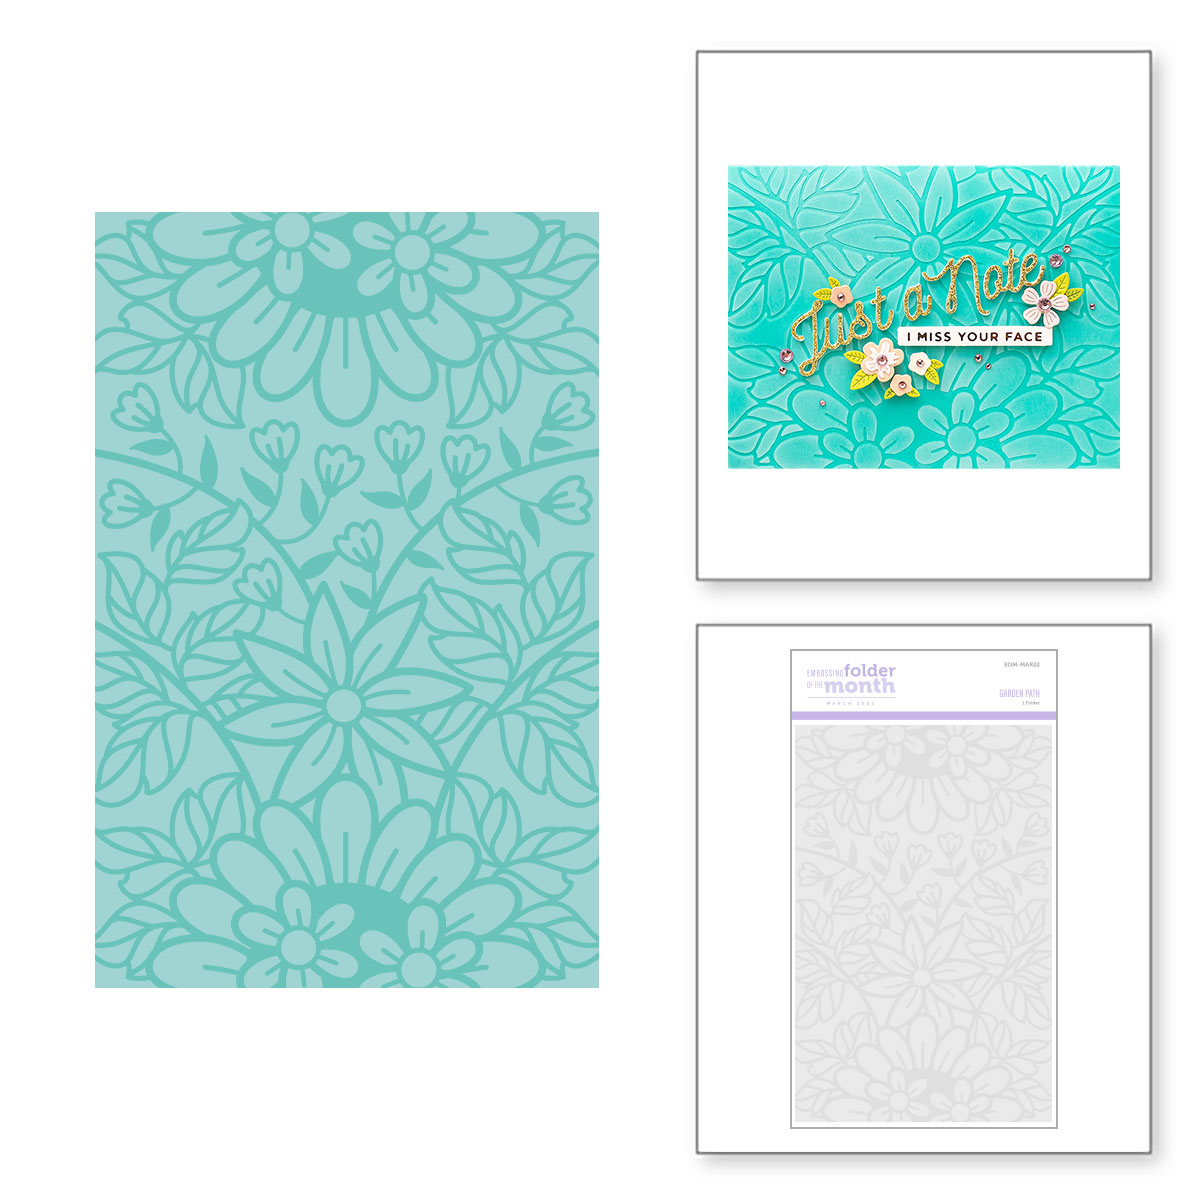
I used die-cutting, glimmer-foiling, and dry-embossing on this card – my favorite techniques!
Find more Embossing Folder Kit Club inspiration here. The embossing folder, measuring 5.5 x 8.5 inches, can be used to make cards in a variety of sizes including slimline, mini-slimline, 5 x 7, and A2.
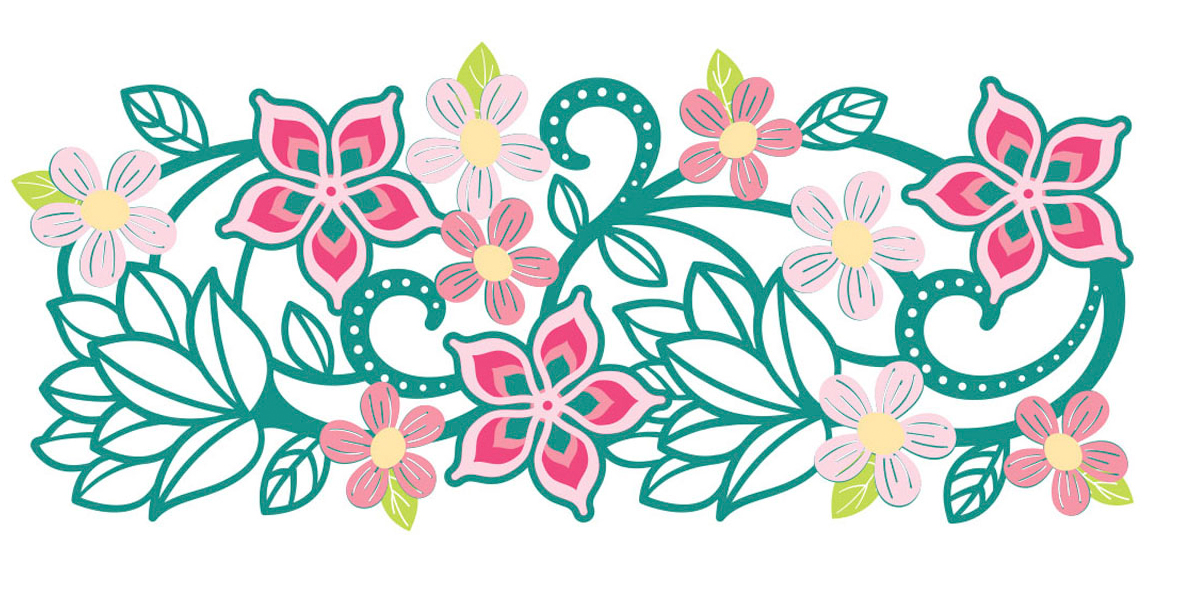
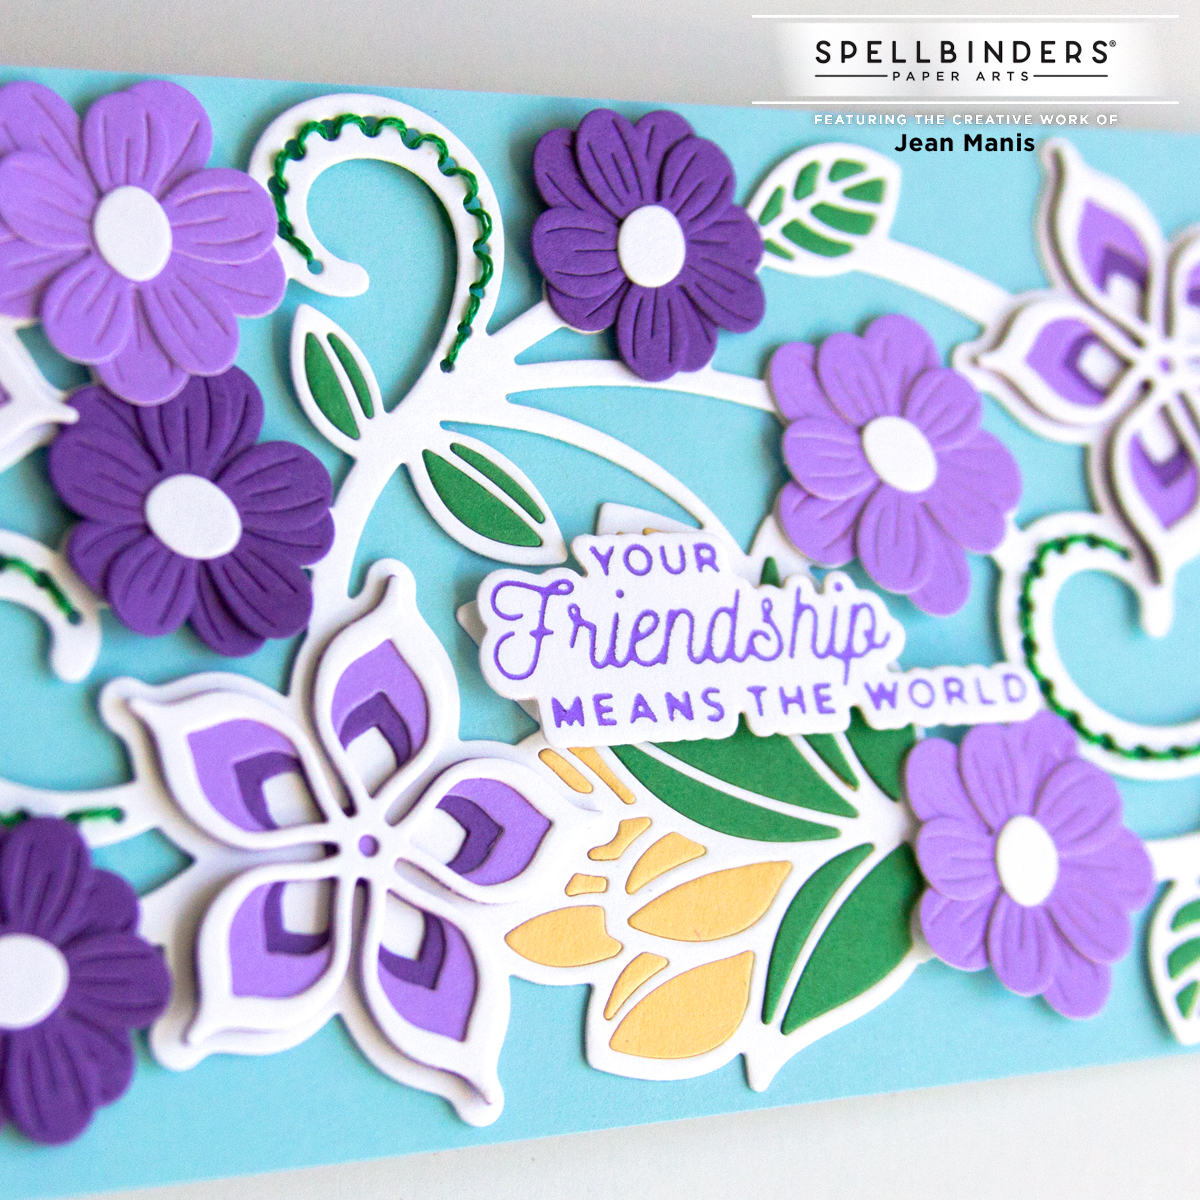
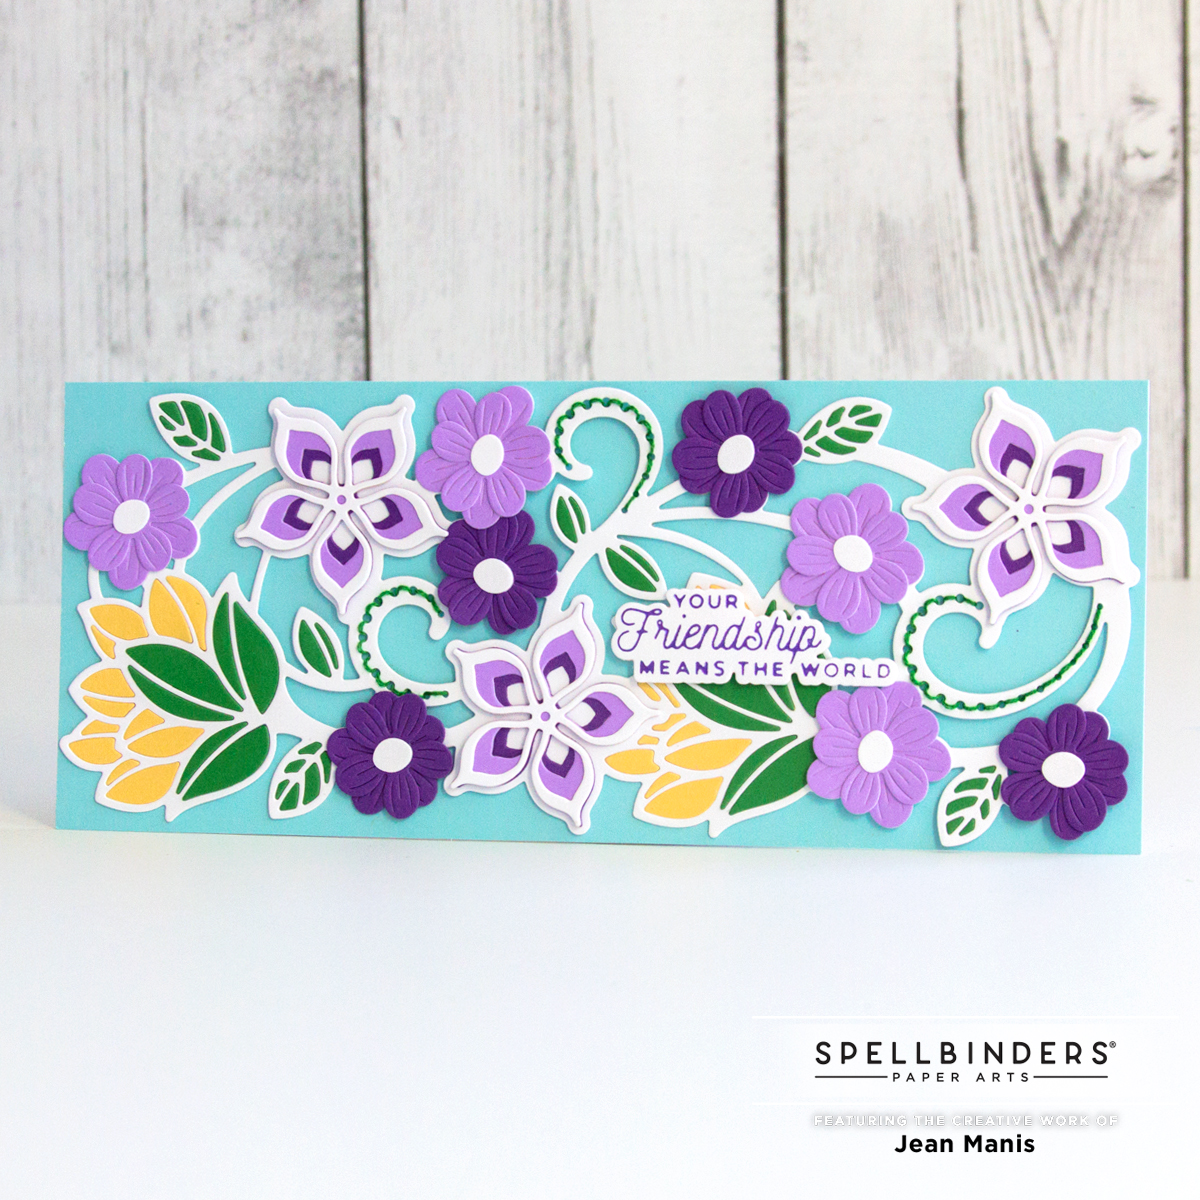
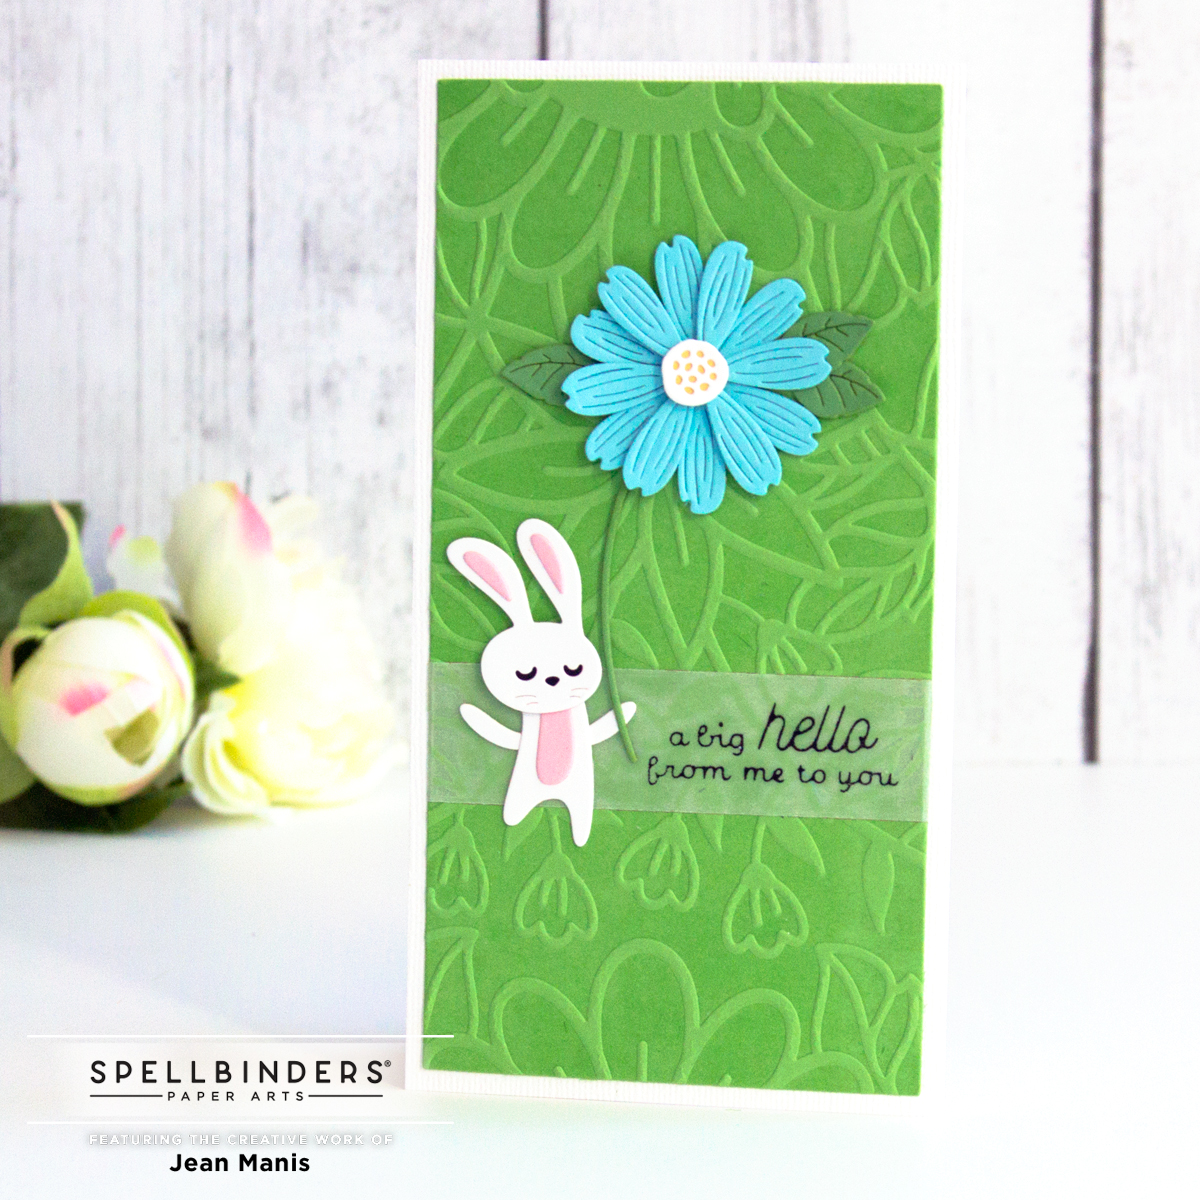
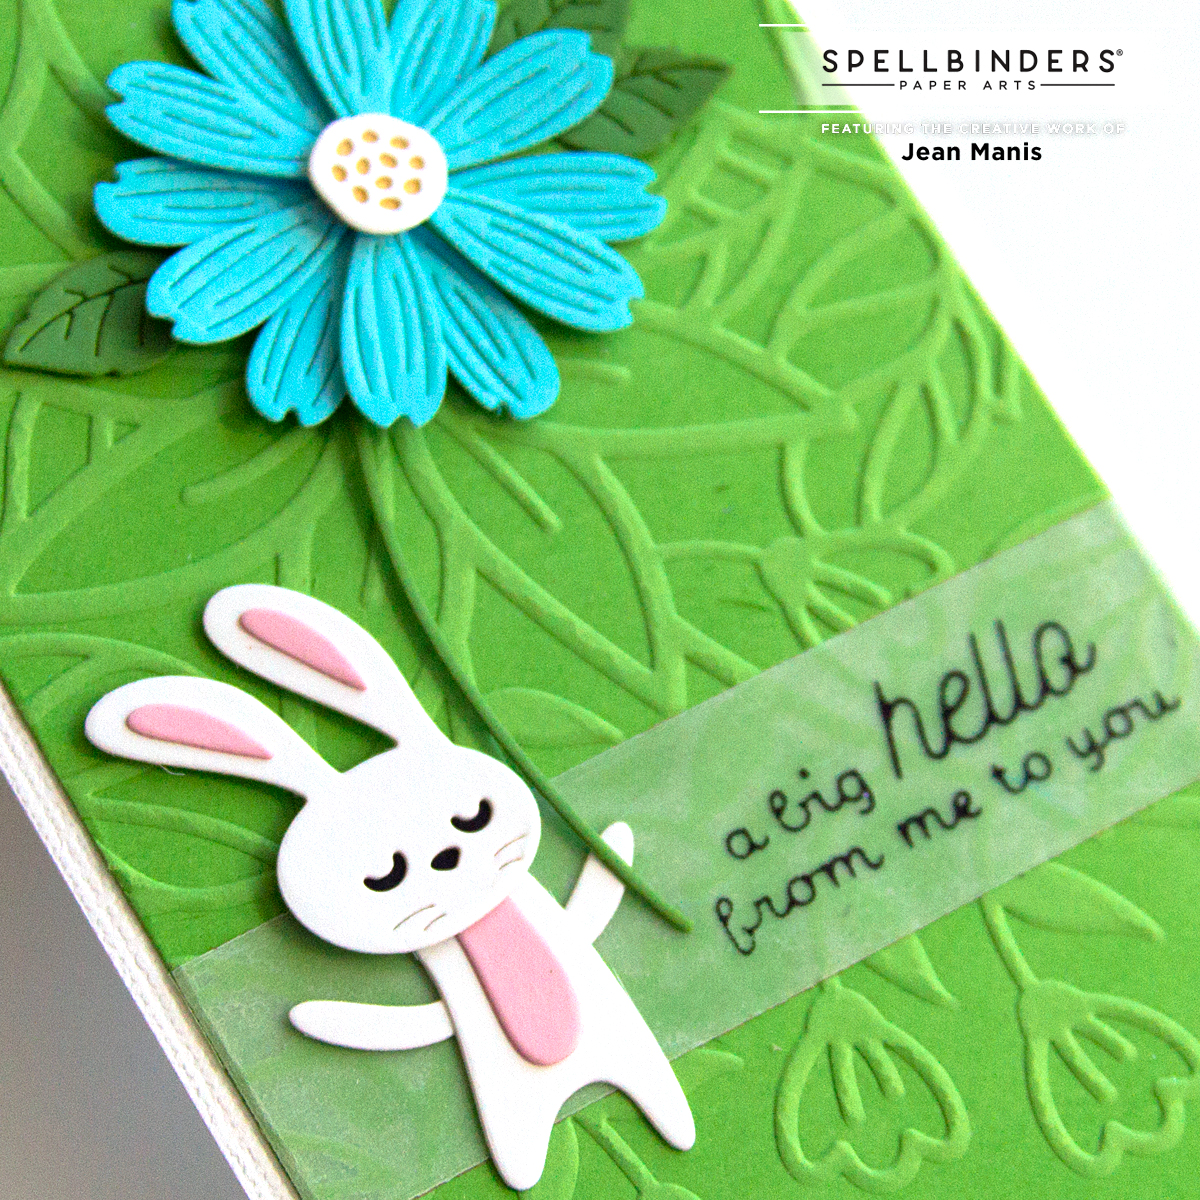
Hello crafty friends! Today I’m sharing a slimline, die-cut card created with the Spellbinders March 2022 Large Die of the Month “Kaleidoscope Floral Slimline.” Read more about this month’s club membership here.

This set contains six dies with which to create the base layer and details. On my card, I chose a palette of spring colors.