Reverse Confetti Happy Fall-idays: Halloween

Welcome to the first day of the Reverse Confetti Happy Fall-idays – an event to provide ideas and inspiration for the holidays! Today we’re featuring Halloween projects! At the end of the post I’ve provided a list of everyone from the Reverse Confetti Design Team sharing ideas for Halloween.

My first project features Halloween treat packaging. I’ve created three different tags in orange, green, black and white.

HalloweenPackaging

For the tag base, I used the Thanks Tag Confetti Cuts die. I stamped and heat-embossed images and sentiments from Spooky Cuties and Spooky Sentiments.

The tags are tied to tiny cauldrons filled with chocolate eyeballs!

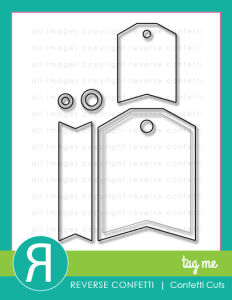
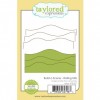
My second project is a Trick or Treat party banner created with one of the Layered Banner Duo Confetti Cuts die.

HalloweenPartyBanner

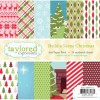
I created the letters on my computer and cut them out with one of the Circles ‘n Scallops Confetti Cuts. I attached the letters to banners cut from patterned paper with the Layered Banner Duo Confetti Cuts die.

I punched holes on either side of the top of the banners and strung them with chunky twine!

There’s lots of inspiration being shared today by the design team, check it out!

ColourQ CAS Halloween with Penny Black

I’m playing along with ColourQ #311 using Penny Black stamps and dies. Here’s my take on the challenge colors with a CAS Halloween card:

ColourQCASBoo

I cut the BOO (Penny Black 51-077 Eeek!) and haunted house (Penny Black 51-073 Haunted Hollow) from black cardstock, twice each for extra depth. I backed the house with the Wisteria Wonder cardstock. The moon was cut from Kiwi Kiss and the rectangle from Tangerine Tango. I stamped a sentiment from Penny Black 30-185 Halloween Critters in Versafine ink on the card base (the font has a scribble that adds a bit of spooky!).

Reverse Confetti October Release Blog Hop

The wait is over! REVERSE CONFETTI has just released THREE stamp sets, SIX Confetti Cuts, ‘Tis the Season Quick Card Panels and other crafting goodies! The hop began on the Reverse Confetti blog, and you should have made it here from Lisa’s blog. It would be worth your while to start at the beginning of the hop, so you don’t miss a thing. We have tons of inspiration for you to see using all the new Reverse Confetti stamp sets and dies!

My first project is a CAS holiday card featuring the deer image from the Jolly Holliday set and a ‘Tis the Season Quick Card Panel.

JollyHolidayDeer

I stamped the deer image, colored it with Copic markers and cut it with its corresponding Confetti Cuts die. I heat-embossed the sentiment and adhered the deer and sentiment to a ‘Tis the Season Quick Card Panel. I added twine to complete the card.

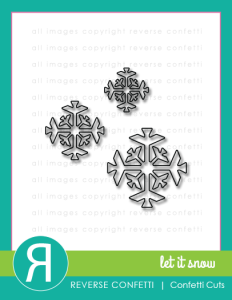
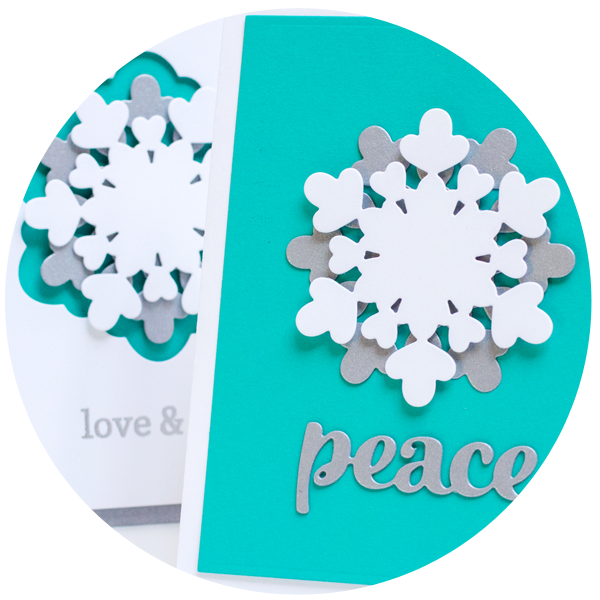
I also created two gift boxes using the Frosted Pillow Boxes with tags made with the Layered Snowflake Confetti Cuts set.

GiftBox2

Not only do the Frosted Pillow Boxes simplify gift packaging, you can easily customize the packaging! For my first box, I wrapped the gift in silver tissue paper, created a belly band for the pillow box from patterned paper and crafted the snowflake to match the patterned paper.

For the second package, I stuffed the pillow box with shredded paper and candy, chose a traditional holiday patterned paper for the belly band, and tied on a snowflake cut from glitter paper.

GiftBox

I hope you’ve enjoyed hopping with us today. Be sure and hop with us on the 8th of EVERY MONTH for more REVERSE CONFETTI inspiration! Now it’s time to hop on over to the blog of Amy Rohl. If you get lost along the way, you can find the hop order and list of all the participating designers on the Reverse Confetti blog.

Avery Elle Let’s Go Skiing!

Today I’m sharing a winter holiday card featuring Avery Elle’s Snow Much Fun set. I just love the moose (actually I’m in love with the entire set!) and played with perspective a bit by squeezing him into the gondola from the Snow Caps set!

GondolaMoose

I colored the moose with Copic markers, cut him with the coordinating die, and put him into the gondola. The gondola was cut from colored cardstock and white cardstock, with a layer of vellum behind the moose.

GondolaMooseCloseUp


Supplies:
Reverse Confetti October Release Countdown to Confetti Day Two

It’s Day Two of the Countdown to Confetti at Reverse Confetti! Today, Reverse Confetti introduces the Jolly Holiday stamp set with coordinating Confetti Cuts, just in time for holiday paper crafting!

JollyHoliday

For my project, I used one of the ‘Tis the Season Quick Card Panels as a background for the reindeer and Santa from Jolly Holiday.  I heat-embossed the stamp images on cardstock, which I colored with Copic markers and cut with their corresponding Confetti Cuts dies. I also heat-embossed the Ho Ho Ho conversation bubble and cut it with its companion die.

I used the Confetti Cuts to cut additional cardstock onto which I adhered the colored images and the speech bubble to give extra depth. I dry-embossed white cardstock for a snowy ground and finished the card with the Solid Peapod twine.

There are two $15 gift certificates up for grabs – one for blog commenters and one for Facebook commenters. Increase your chance of winning by leaving a comment on each sneak peek post for each designer. Comments will close at noon CST on October 7th and the winner will be announced at 5pm on October 7th on the Reverse Confetti blog and FB page.