Eek! It’s just two days from Halloween! I made one more Halloween card with Penny Black stamps and dies.
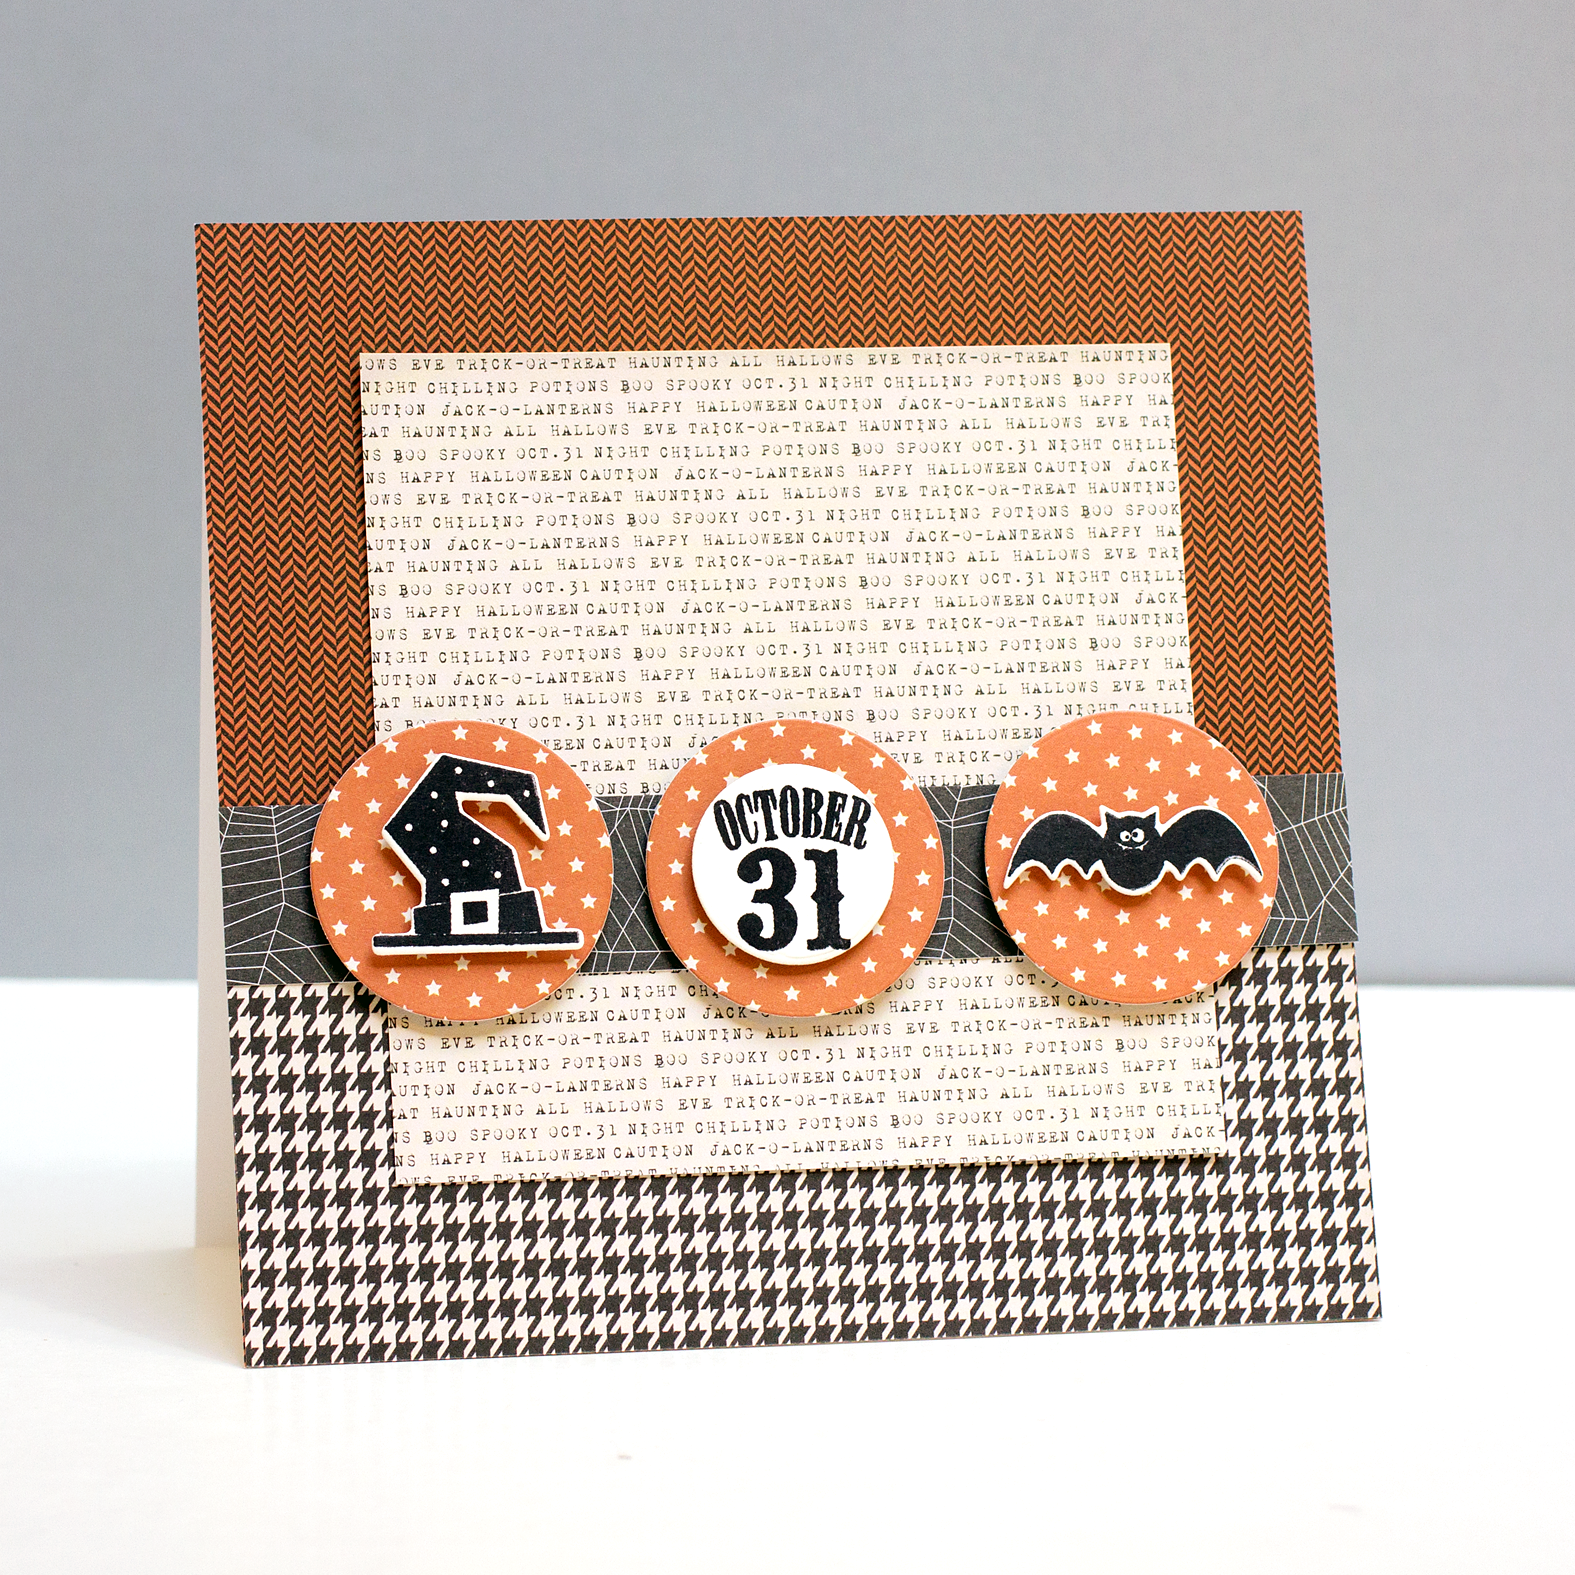
The card design is from Scrapbook & Cards Today CardMaps Today Volume 4 and is a good one for using patterned paper.
Penny Black Supplies: 51-074 Encircled; 30-249 Spooky Spheres; 51-075 Boo Crew