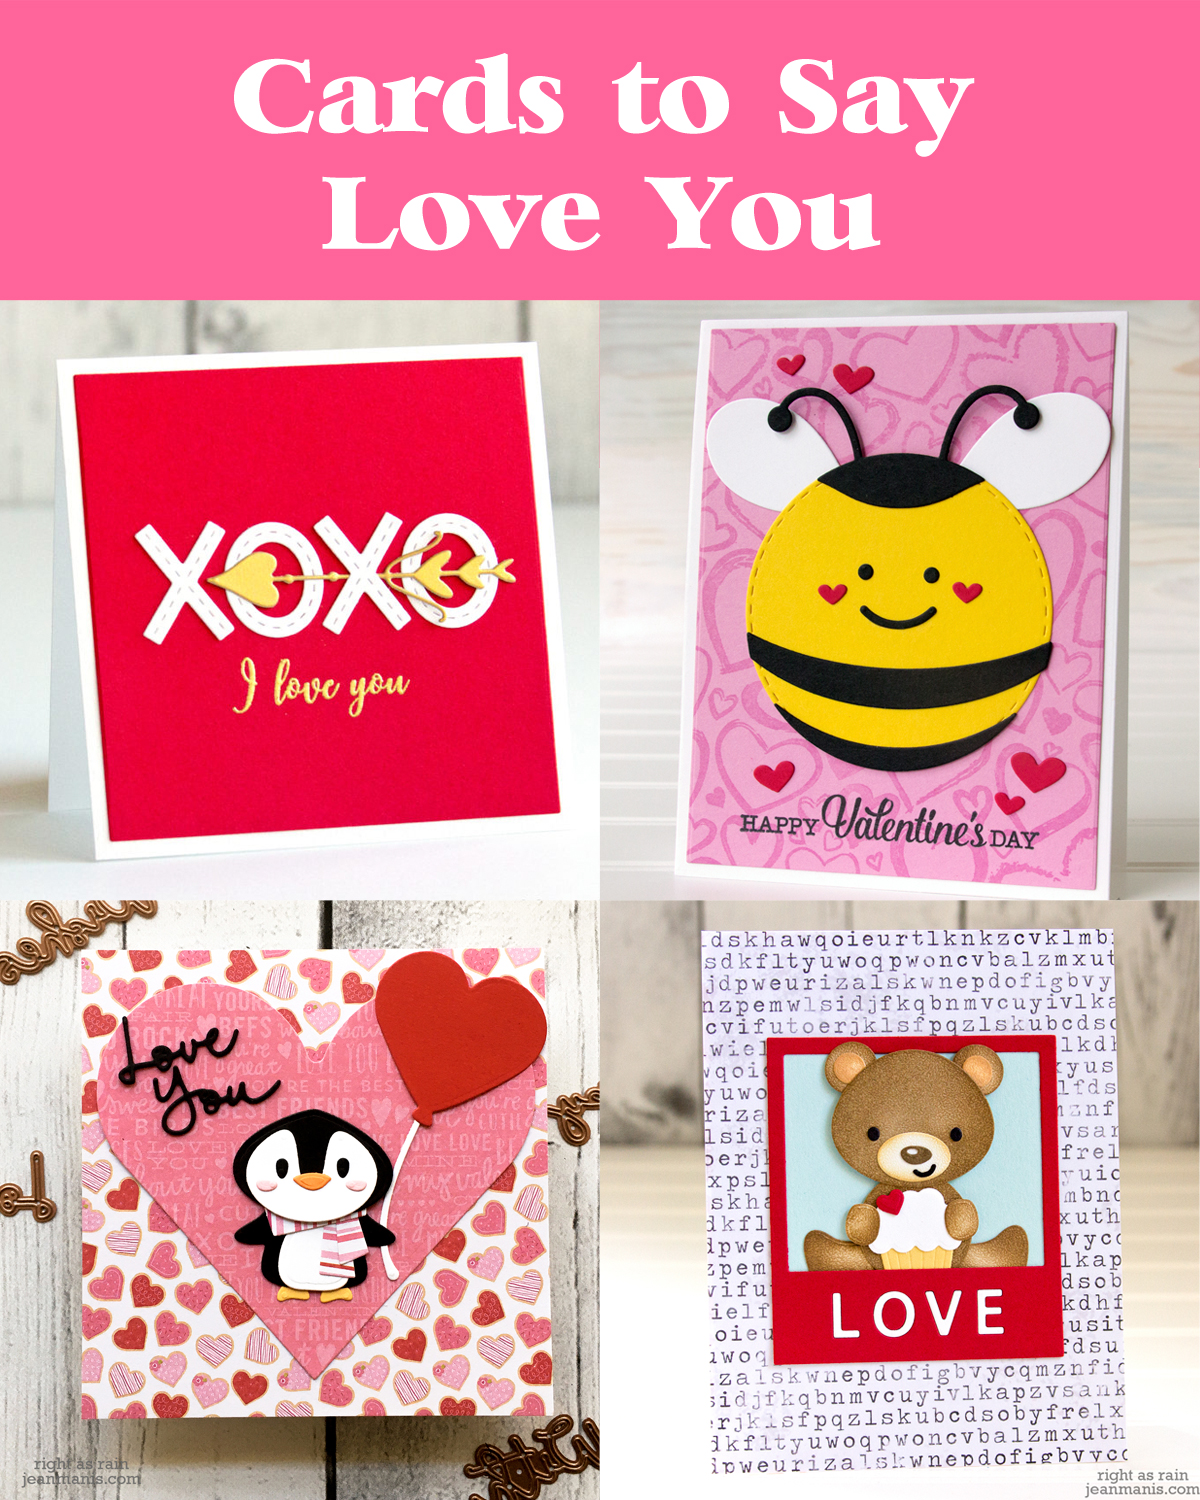
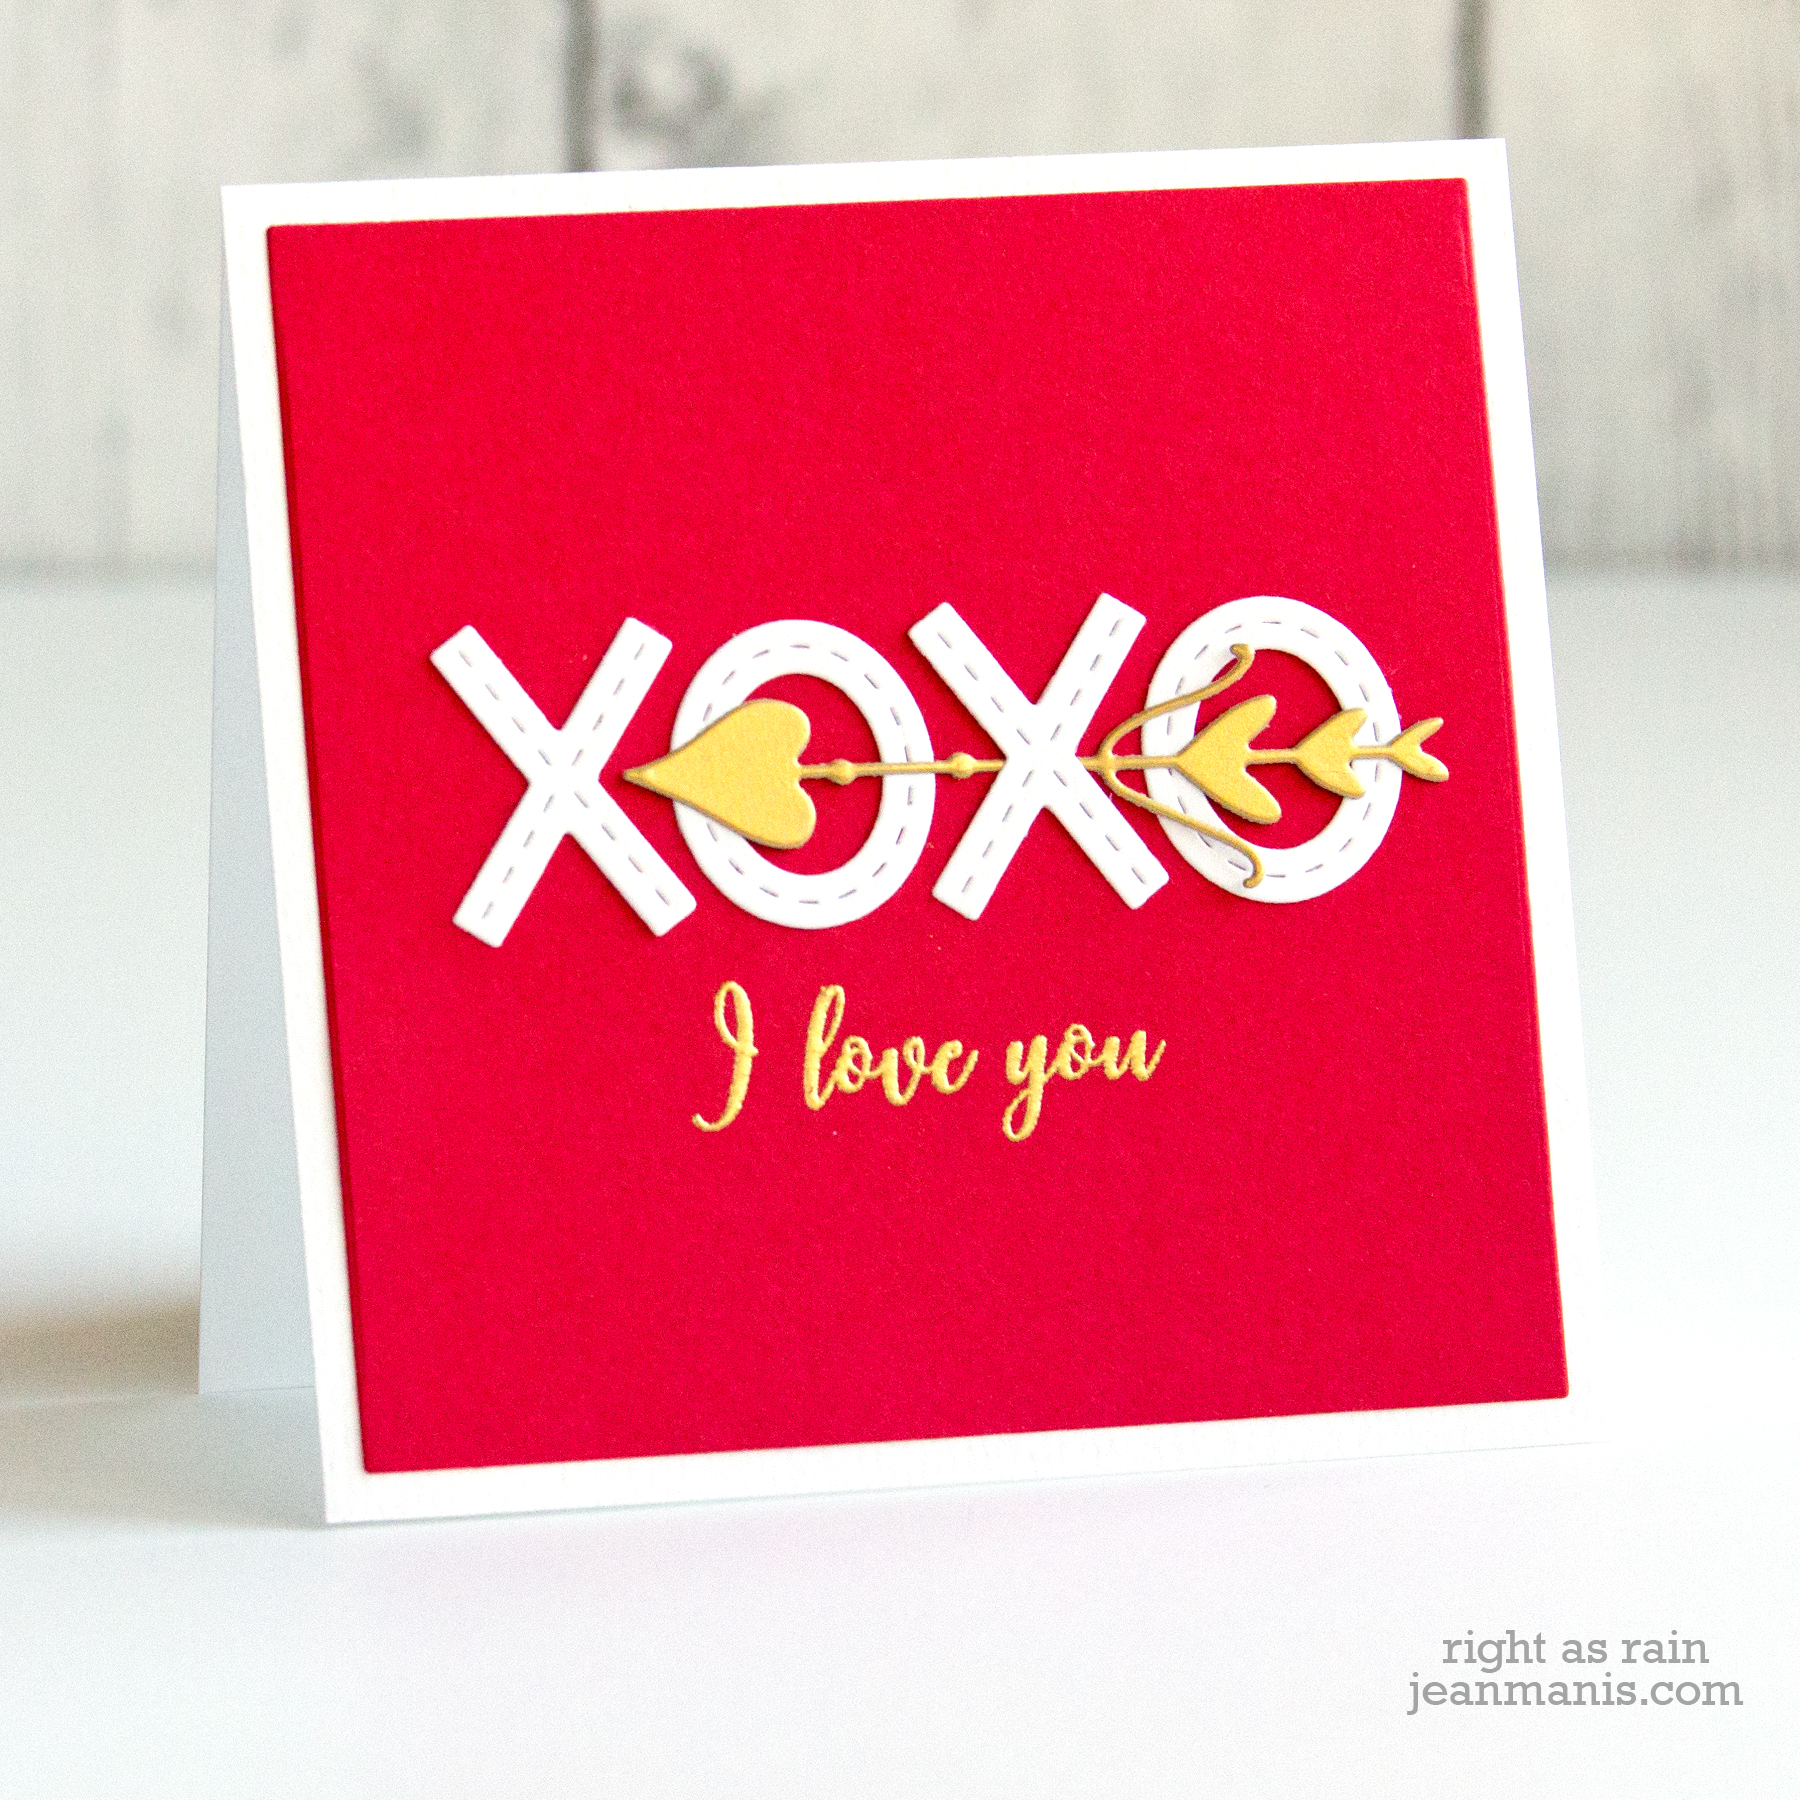
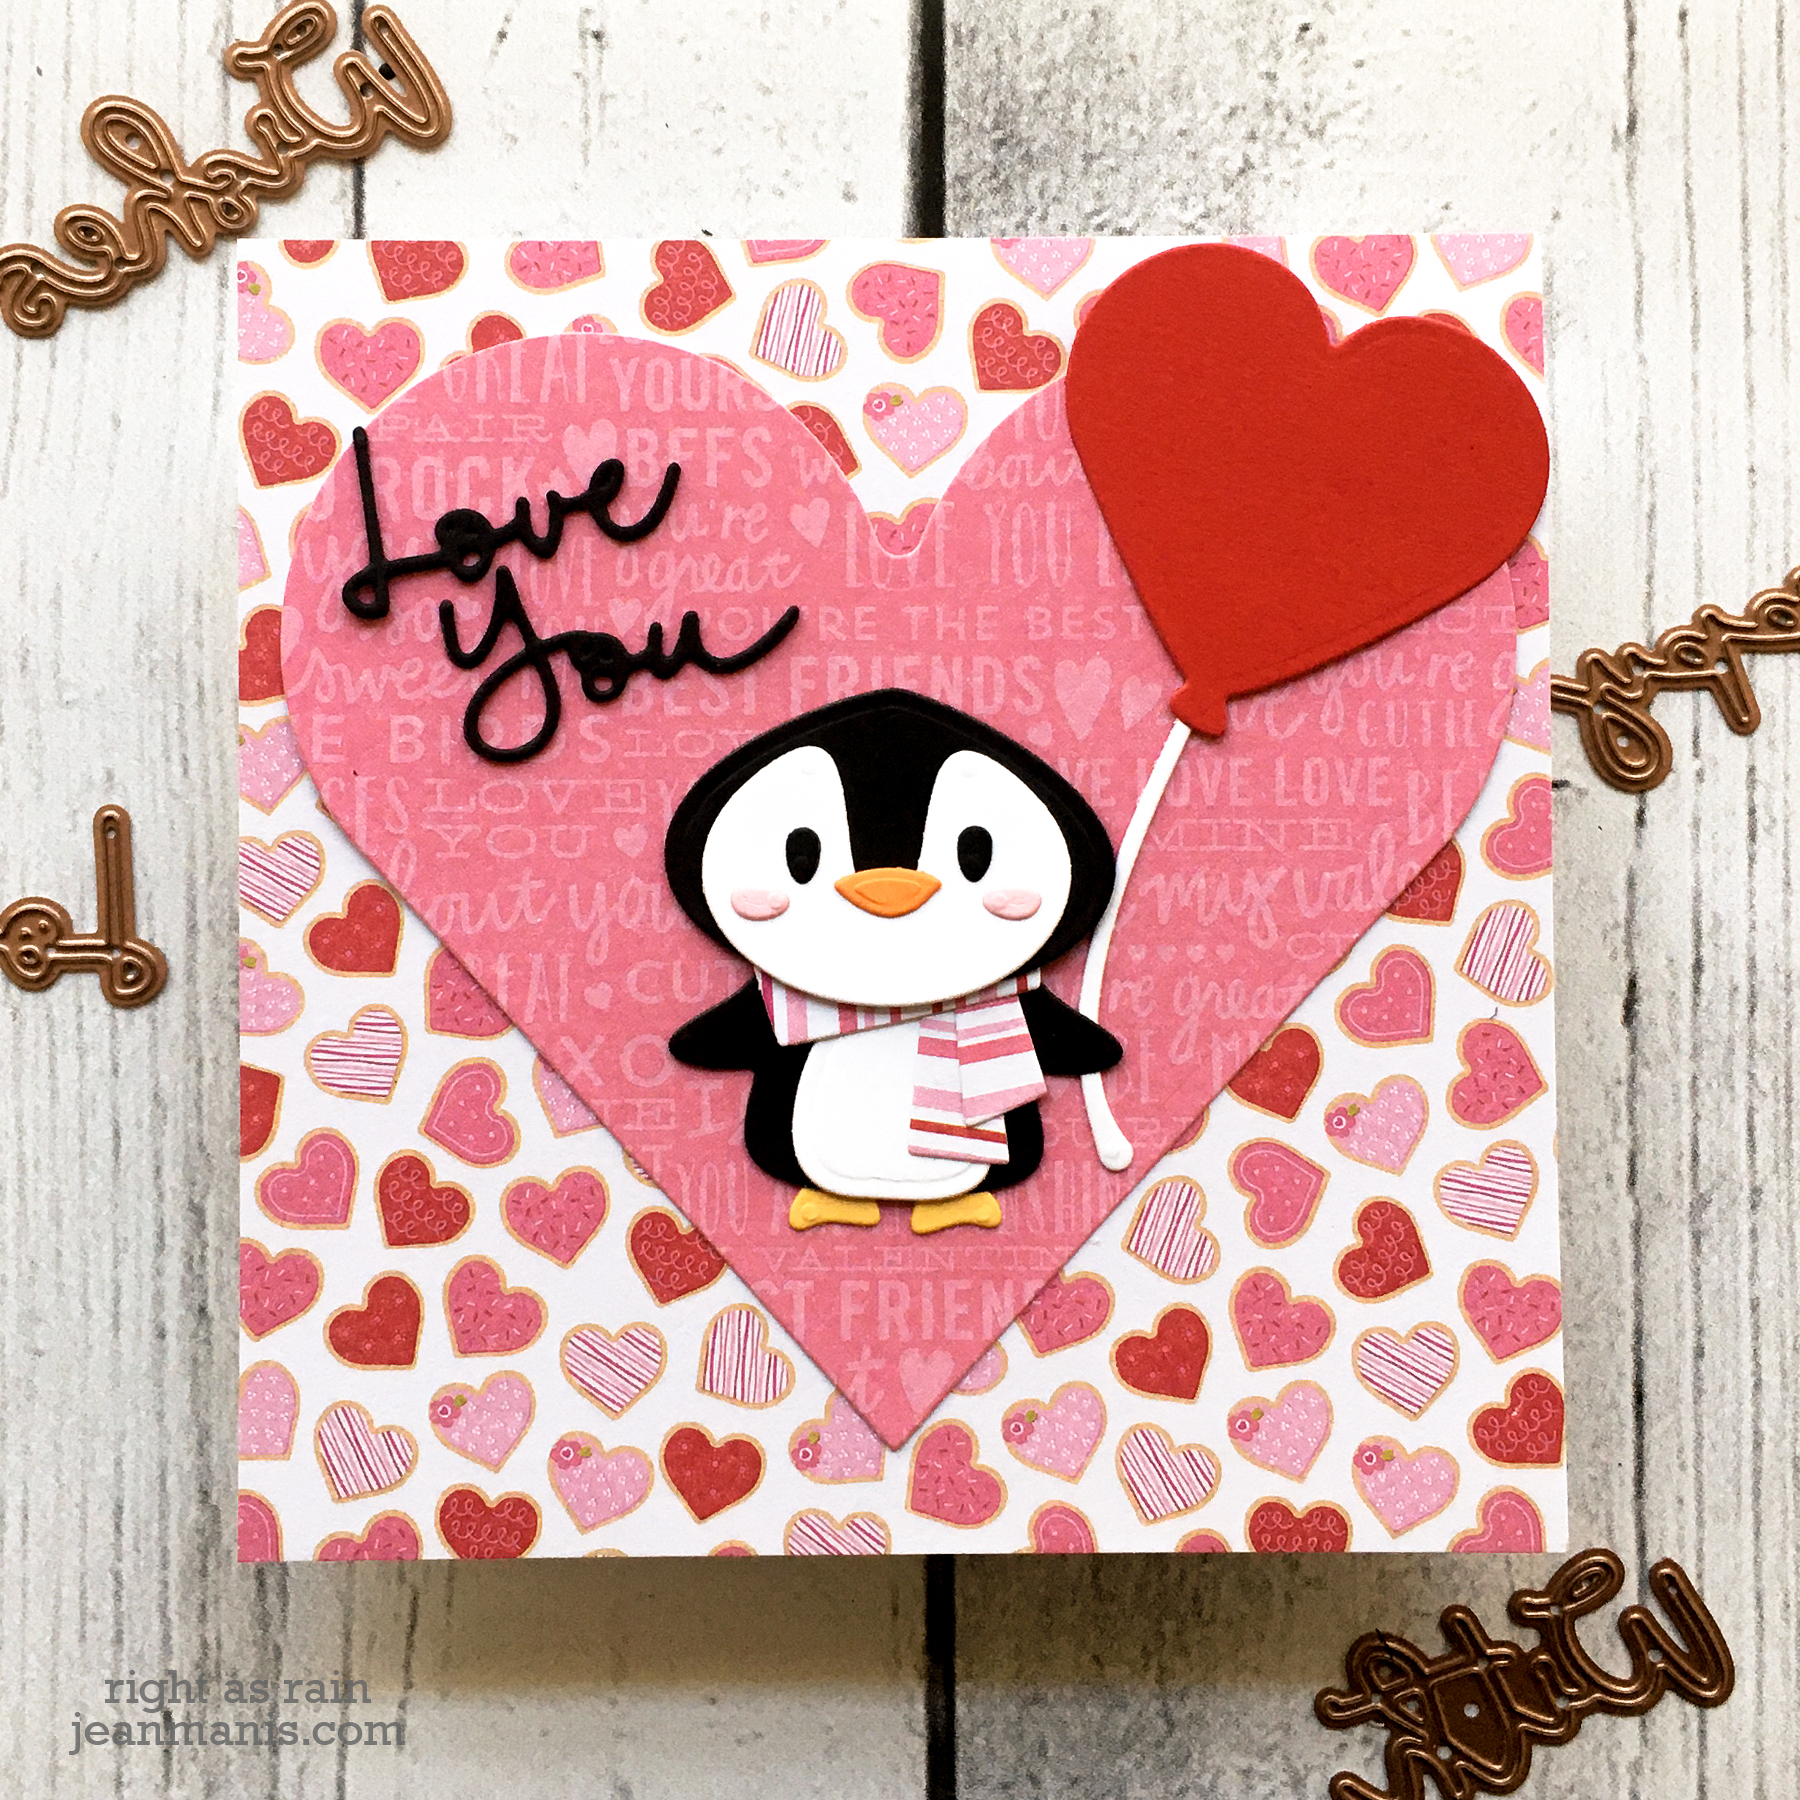
Spellbinders | March 2022 Large Die of the Month

Hello crafty friends! Today I’m sharing a slimline, die-cut card created with the Spellbinders March 2022 Large Die of the Month “Kaleidoscope Floral Slimline.” Read more about this month’s club membership here.

Spellbinders | March 2022 Large Die of the Month

This set contains six dies with which to create the base layer and details. On my card, I chose a palette of spring colors.

Spellbinders | March 2022 Large Die of the Month

  • I die-cut the Large Die of the Month base piece from Snowdrift cardstock.
  • With the same set, I die-cut the kaleidoscope flowers and other flowers from Snowdrift and colored cardstock and assembled the pieces with glue.
  • I inlaid portions of the base piece with colored cardstock and added floss to the stems.
  • I adhered the floral assembly to a slimline-sized light blue card base.
  • I glimmer foiled a sentiment in Lavender Petal with the Sentiments for Everyday set and die-cut it with a corresponding die in the set.
  • I added the sentiment to the completed card with foam adhesive.

Spellbinders | March 2022 Large Die of the Month

Spellbinders | March 2022 Large Die of the Month

Spellbinders Surprise Bundle


Rubbernecker | Spring-Themed Release Day 2

Hello! Today, I am sharing a spring-themed card featuring brand-new Rubbernecker die sets, part of their new release. With spring in the air, it is time to open our sheds! Check out this post for more inspiration.

  • Cut Shed and Shed Add On Spring pieces from colored and white cardstock. The Shed Add On Spring set includes a die with which to cut away the Shed so that it appears as if the shed is open. The open area is backed with cardstock in a darker shade of red.
  • Decorate with items cut with dies in the Cart Accessories #1 set.
  • Stamp Kittie Says Spring Time sentiment with VersaFine ink on blue cardstock. Trim to A2-size. Cut strip of green cardstock for grass and adhere to the base. Add background panel to A2-size card base.
  • Cut fence twice from white cardstock with Picket Fence set. Add to background panel.
  • Adhere assembled shed to scene. Add bird to top of fence and watering can with foam adhesive.

Don’t forget – there is free shipping for all orders over $29 until the end of the month!


Rubbernecker | Spring-Themed Release

Hello! Today, I am sharing A2-size cards showcasing brand-new Rubbernecker die sets – part of their new release that includes garden dies, background stamps, A2 cover plates, and more! Don’t forget – there is free shipping for all orders over $29 until the end of the month!

Rubbernecker | Spring-Themed Release

  • Stamp Kittie Says Spring Time sentiment with VersaFine ink on yellow cardstock panel. Trim panel to fit behind white cardstock frame, cut with the largest die in the Outside Scallop Frame set. Add assembly to blue cardstock base.
  • Cut birdhouse pieces with the Large Bird House set. Assemble.
  • Cut flowers with Hanging Flowers set.
  • Cut birds with dies in the Birds and Small Birds sets.
  • Add birdhouses to stamped panel. Trim flowers and add to scene, tucking the stems behind the frame.
  • Add bird in upper-left directly to the stamped panel. Add additional birds with foam adhesive.

Rubbernecker | Spring-Themed Release

Rubbernecker | Spring-Themed Release

  • Stamp Kittie Says Spring Time sentiment with VersaFine ink on yellow cardstock panel. Trim panel to fit behind white cardstock frame, cut with the second largest die in the Outside Scallop Frame set. Add assembly to light-green cardstock base.
  • Cut birdhouse with the Large Bird House set. Assemble.
  • Cut flowers with Hanging Flowers set.
  • Cut birds with dies in the Birds set.
  • Add birdhouse to stamped panel. Trim flowers and add to scene, tucking the stems behind the frame.
  • Add bird with foam adhesive.
  • Cut rain boots with Rain Boots set. Assemble and add to lower-right corner of frame.

Rubbernecker | Spring-Themed Release


Rubbernecker | Mini Slimline Die-cut Birthday Card

Hello! Today, I am sharing mini-slimline, birthday card featuring Rubbernecker supplies. Crafting a die-cut, birthday cake card is much like baking a layered birthday cake – create a base, bake the layers, ice the layers, add the frosting, and light the candles!

Rubbernecker | Mini Slimline Die-cut Birthday Card

  • Stamp Happy Birthday #1 sentiment on light-blue cardstock in Versafine Onyx ink. I previously used this set on a card in this post.
  • Die-cut the Birthday Cake from colored, white, and silver foil cardstock. Assemble the cake and candles for sizing purposes. Tape the cake layers from behind. I opted to change the colors of each layer while keeping the frosting the same color on all three layers.
  • Die-cut patterned paper frame using the two largest dies in the Mini Slimline Nested with Stitch set.
  • Using the frame for placement, determine where to cut the stamped panel. Trim accordingly. Add frame to stamped panel.
  • Finish assembly of the cake, adding the piped frosting pieces on the cake layers and the inner flames on the candles.
  • Attach cake to stamped panel with foam adhesive
  • Die-cut small circles with the Fishing Boat and Lifeguard Tower die sets from blue glitter cardstock and adhere for embellishment.

Rubbernecker | Mini Slimline Die-cut Birthday Card


Spellbinders | Sentiments for Everyday Glimmer Plates

Hello! Today I am sharing a friendship card to introduce the just-released Sentiments for Everyday glimmer foil plates with dies, part of the Spring into Glimmer Collection at Spellbinders.

Spellbinders | Sentiments for Everyday Glimmer Plates

  • Create an A2-size card base and adhere patterned paper.
  • Die-cut Bouquet of Flowers from cardstock and assemble. Add Crystal Drops to the centers of the flowers; set aside to dry.
  • Glimmer-foil in gold the sentiment from the Sentiments for Everyday set on Snowdrift paper. This sentiment has a coordinating die, which I plan to use on another card. For this card design, I liked the look of the sentiment glimmer-foiled on the rectangle that was matting the focal item.
  • Die-cut sentiment panel with dies in the Essential Rectangles set. Die-cut a rectangle from navy cardstock and adhere to back. Add assembly to card base.
  • Add die-cut bouquet assembly to card and embellish with Gold Mix Gems.

Spellbinders | Sentiments for Everyday Glimmer Plates