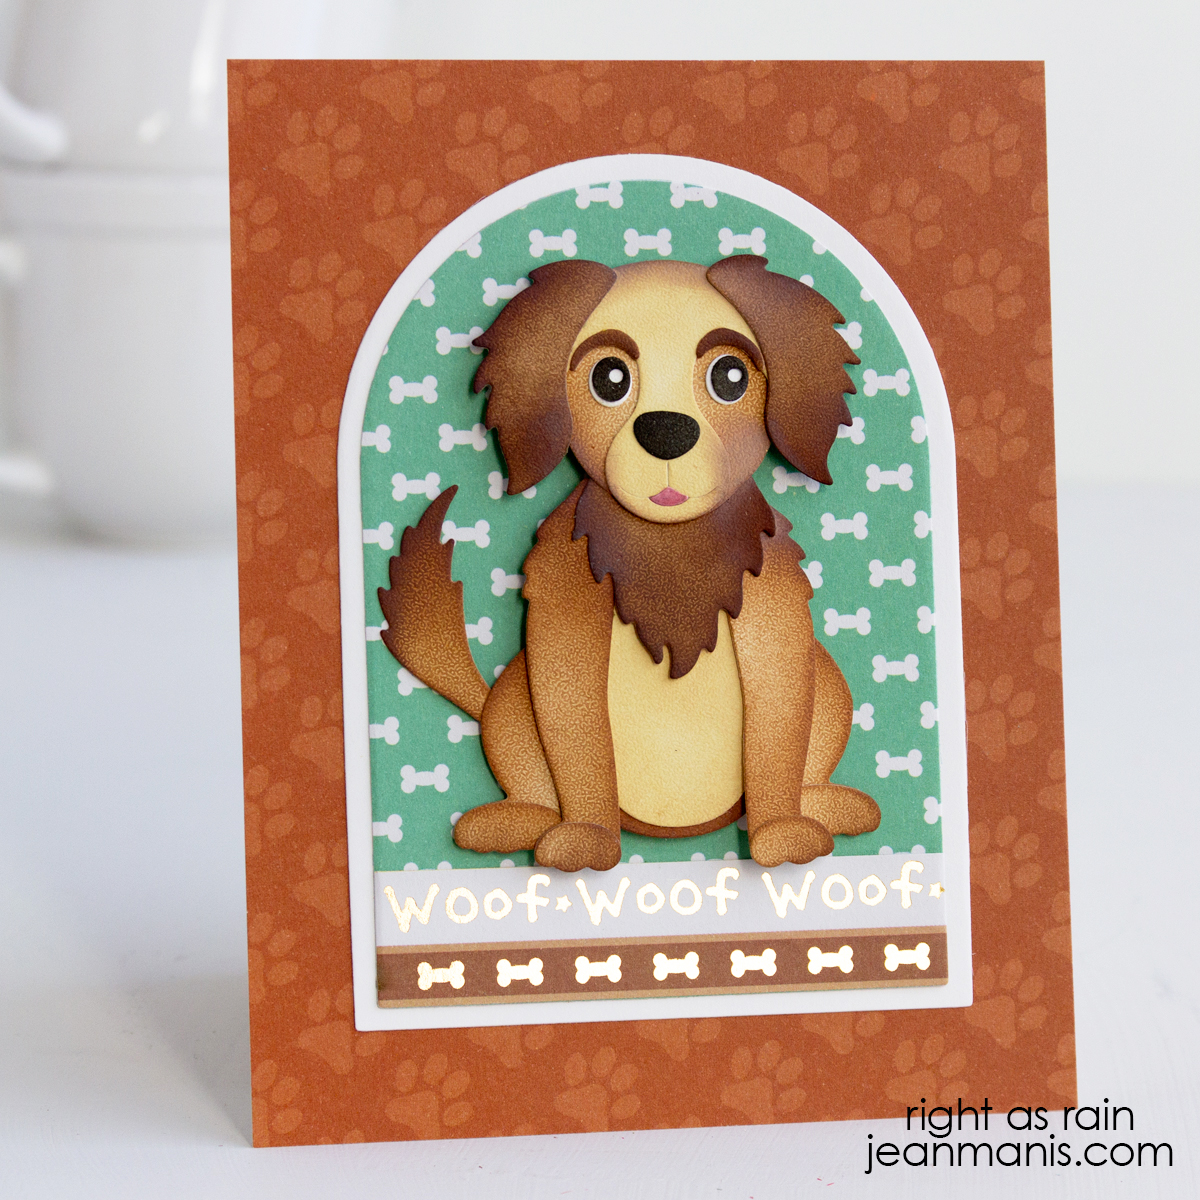
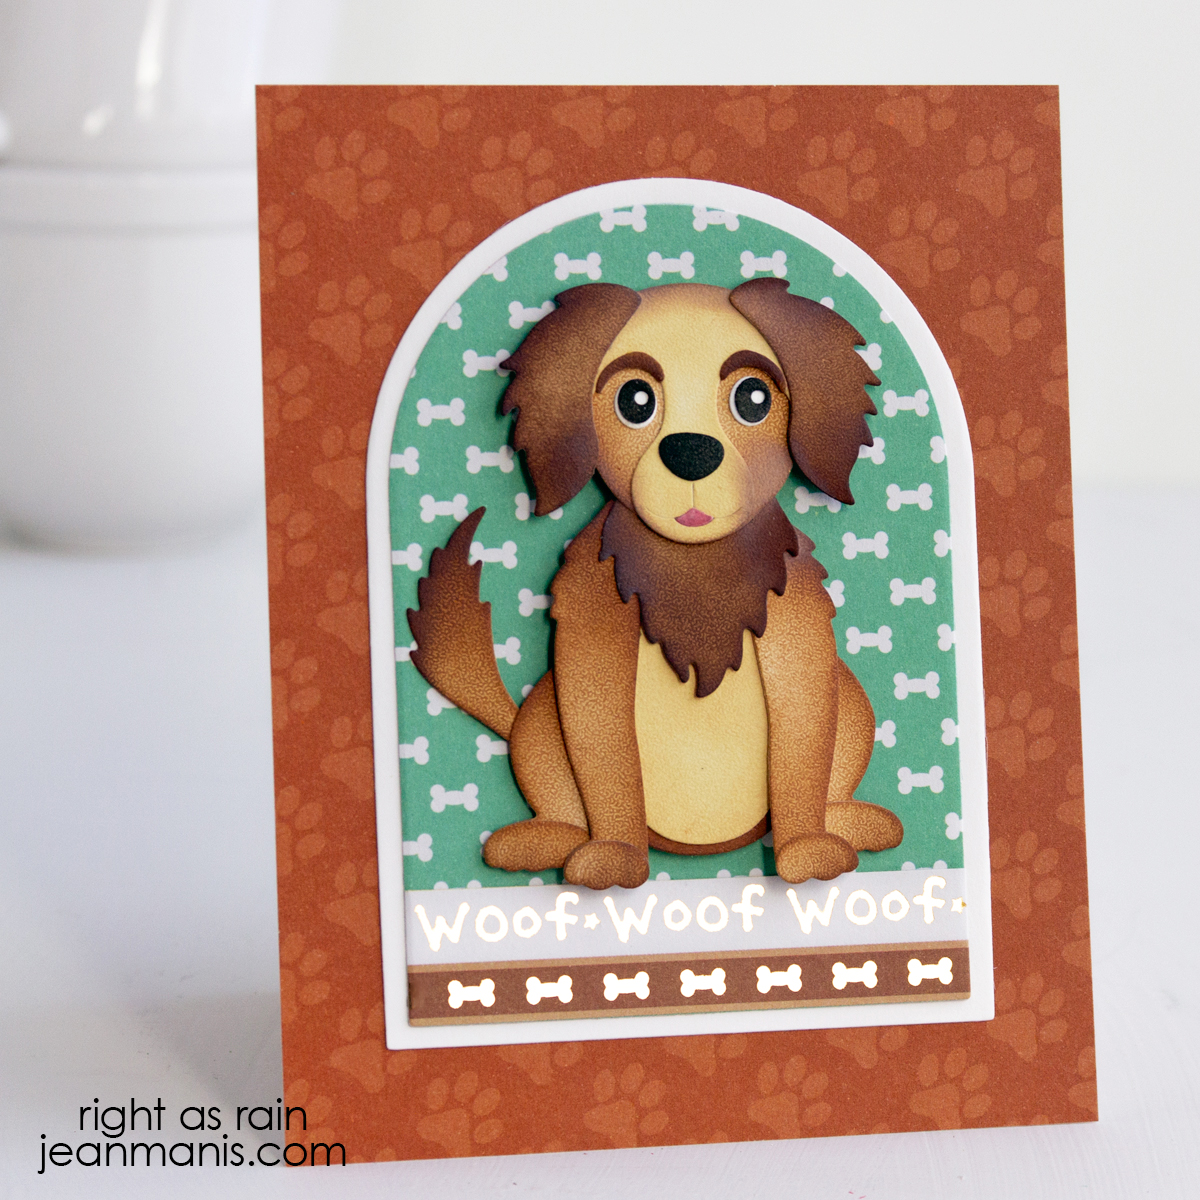
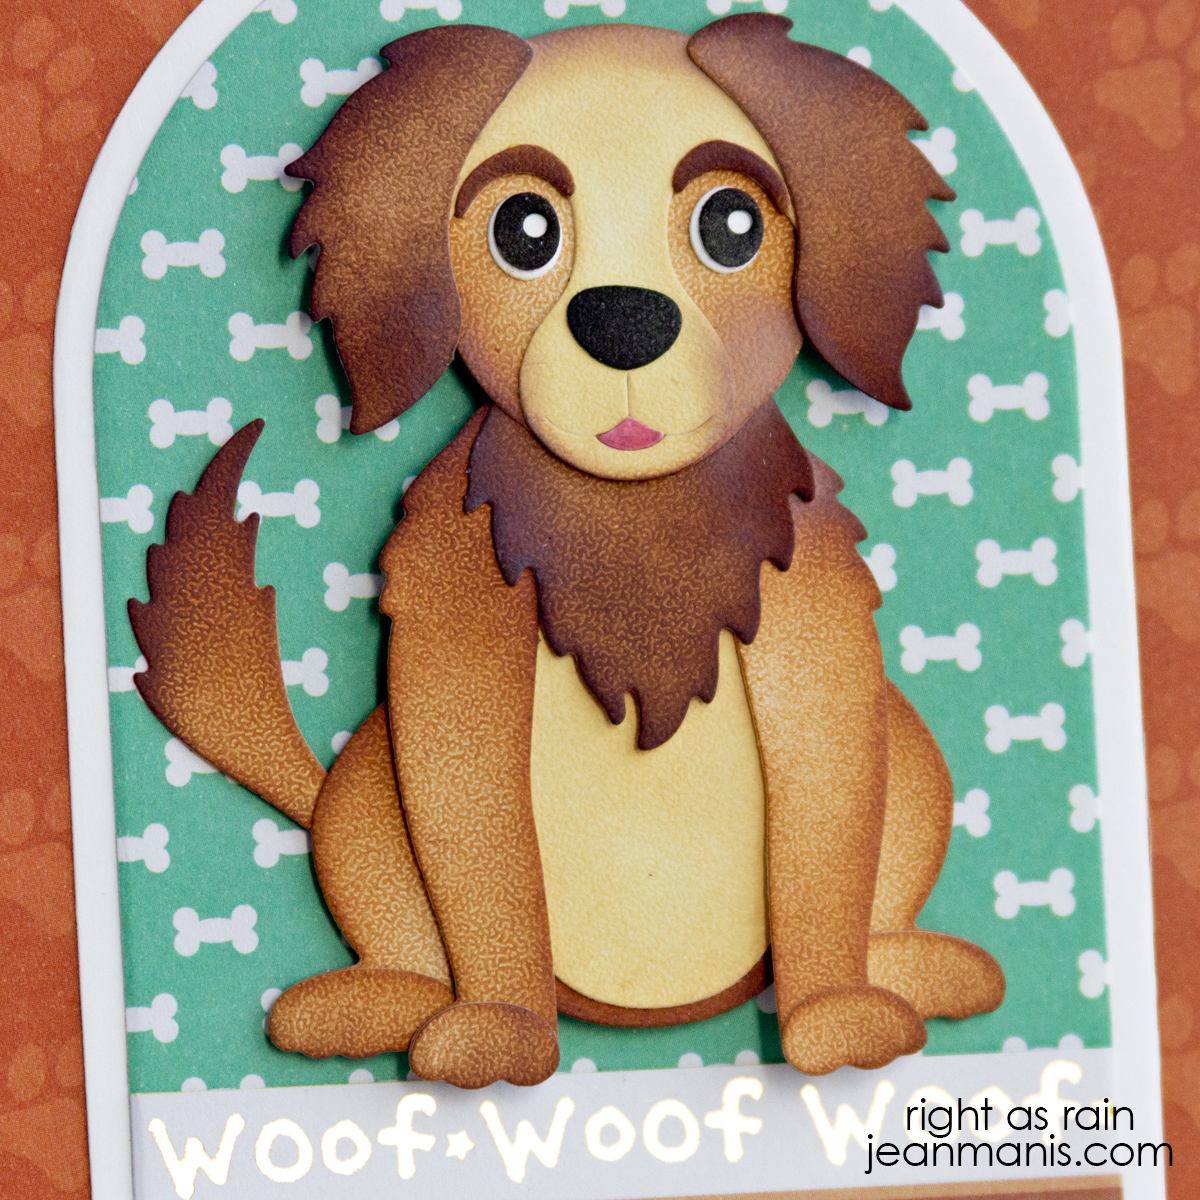
Spellbinders | Country Christmas Barn

Hello! If you love the nostalgic charm of White Christmas, this handmade card might just transport you there. Created with a die set and a BetterPress sentiment from the Country Christmas Collection at Spellbinders, this elegant design features a festively decorated barn with its doors open to reveal a Christmas tree inside. The refined palette—dark red, soft gray, crisp white, gold, and deep green—adds a touch of sophistication while keeping the rustic warmth. Finished with a snowflake-patterned background, this card captures the magic of a timeless country Christmas.

Spellbinders | Country Christmas Barn

    • Cover an A2-size card base with patterned paper.
    • Use a die in the Landscape Edges set to cut a snowbank from white cardstock. Trim and add to the prepared base.
    • Cut the barn pieces from a variety of cardstock colors and assemble. The product page has an image with assembly instructions. Cut the trees with the same set. I added a star and Christmas ornaments to the tree inside the barn using a die in the Cocoa Wonderland set.
    • Press the sentiment with Thunder ink on white cardstock. Cut with the coordinating die.
    • Add barn assembly and sentiment to base with foam adhesive.

While this card celebrates the season in classic holiday style, the barn die itself is incredibly versatile. With a quick change in color scheme, you could create a springtime farm scene, a fall harvest card, or even a patriotic Fourth of July barn. The traditional design elements from the Country Christmas Collection lend themselves beautifully to a range of occasions, making this set a timeless addition to your crafting stash.

Spellbinders | Country Christmas Barn

Spellbinders | Reindeer Mug Christmas Card

Hello! There’s nothing like a warm drink on a winter day, and this handmade card captures that feeling with a festive reindeer-shaped mug, created with the July Small Die of the Month Club kit at Spellbinders. The sentiment “snuggle season” perfectly sets the tone, while the background patterned paper adds to the holiday theme. The versatile Cocoa Greetings” kit also includes dies to create Santa and penguin mugs—plenty of options for festive creativity!

Spellbinders | Reindeer Mug Christmas Card

    • Cover an A2-size card base with a patterned paper panel.
    • Cut the mug with dies in the Cocoa Greetings” set. Assemble.
    • Press sentiment and cut with its coordinating die.
    • Add assembled mug and sentiment to card base with foam adhesive.

The Christmas mug makes an adorable and substantial focal point, and the creative fun comes in deciding which mug to build, what colors to use, and how to tie everything together with background and accents for a festive, personal touch.

Spellbinders | Reindeer Mug Christmas Card


Spellbinders | Warm Cocoa Wishes

Hello! I’m embracing the spirit of Christmas in July with a cozy winter-themed card created with the July 2025 Large Die of the Month kit from Spellbinders. The “Mugs & Mittens” die set includes several winter motifs for the cocoa topping including a snowman, Santa, and snowflake. The sentiment “Warm Cocoa Wishes” sets the tone for the season-to-come, while a snowflake dry-embossed background adds texture and depth.

Spellbinders | Warm Cocoa Wishes

    • Dry-emboss an A2-panel of Breeze cardstock with the Flurry of Snowflakes 3D folder. Add to a card base.
    • With the die set, cut cardstock for mittens, sweater sleeves, sentiment, mug, cocoa, and cocoa snowflake. Assemble.
    • Add assembled items to card base.

Spellbinders | Warm Cocoa Wishes


Hero Arts | Retro Cassette Hello Card

Hello! I’m taking it back to the days of mixtapes and boomboxes with this retro-inspired thank you card! I used the July 2025 Mix Tape – Hero Studio Die set from Hero Arts to create a die-cut cassette tape, with the tape spelling a playful “hello.” I paired the cassette with patterned paper to complete the vintage theme—perfect for music lovers, ’70s and ’80s fans, or anyone who appreciates a throwback vibe in their paper crafts.

Hero Arts | Retro Cassette Hello Card

    • Cut patterned paper panel and adhere to a brushed silver cardstock base.
    • With the Mix Tape die set, cut cassette and sentiment pieces from a variety of cardstock colors. Assemble. I doubled up the sentiment to create a drop shadow.
    • Add assembly to card base with foam adhesive.

This design is easy to customize—change up the cassette or label colors to match your theme or leave off the tape-written sentiment and add a different message elsewhere on the card.

Hero Arts | Retro Cassette Hello Card


Hero Arts | Boho Birthday Balloons

Hello! I’m sharing a handmade birthday card that’s all about color and celebration—without being overly sweet. This design features die-cut balloons in a warm, boho-inspired color palette paired with a stamped background and a bold birthday sentiment. It’s the kind of card that feels festive yet grown-up, perfect for an adult birthday. I used a mix of Hero Arts products to bring this look together.

Hero Arts | Boho Birthday Balloons

    • Stamp the Ocean Waves background on to Classic White cardstock with gold ink. Trim and add to an A2-size card base.
    • With the Balloon Bunch dies, cut the balloon base and bow from gold cardstock. Cut balloons from desired cardstock colors. Adhere the balloons to the balloon base.
    • Heat-emboss the sentiment and cut with the coordinating die.
    • Add the balloon assembly to the prepared base with foam squares. Attach the bow and sentiment.

Hero Arts | Boho Birthday Balloons

This card comes together quickly with just a few basic die cuts and a stamped background—simple, but impactful. Swap out the boho tones for bright primaries or soft pastels, and you’ll have an entirely different look to suit any recipient or season.

The Hero Arts Tropic Like It’s Hot event ends 6/29/2025.