Rubbernecker Halloween Gnomes

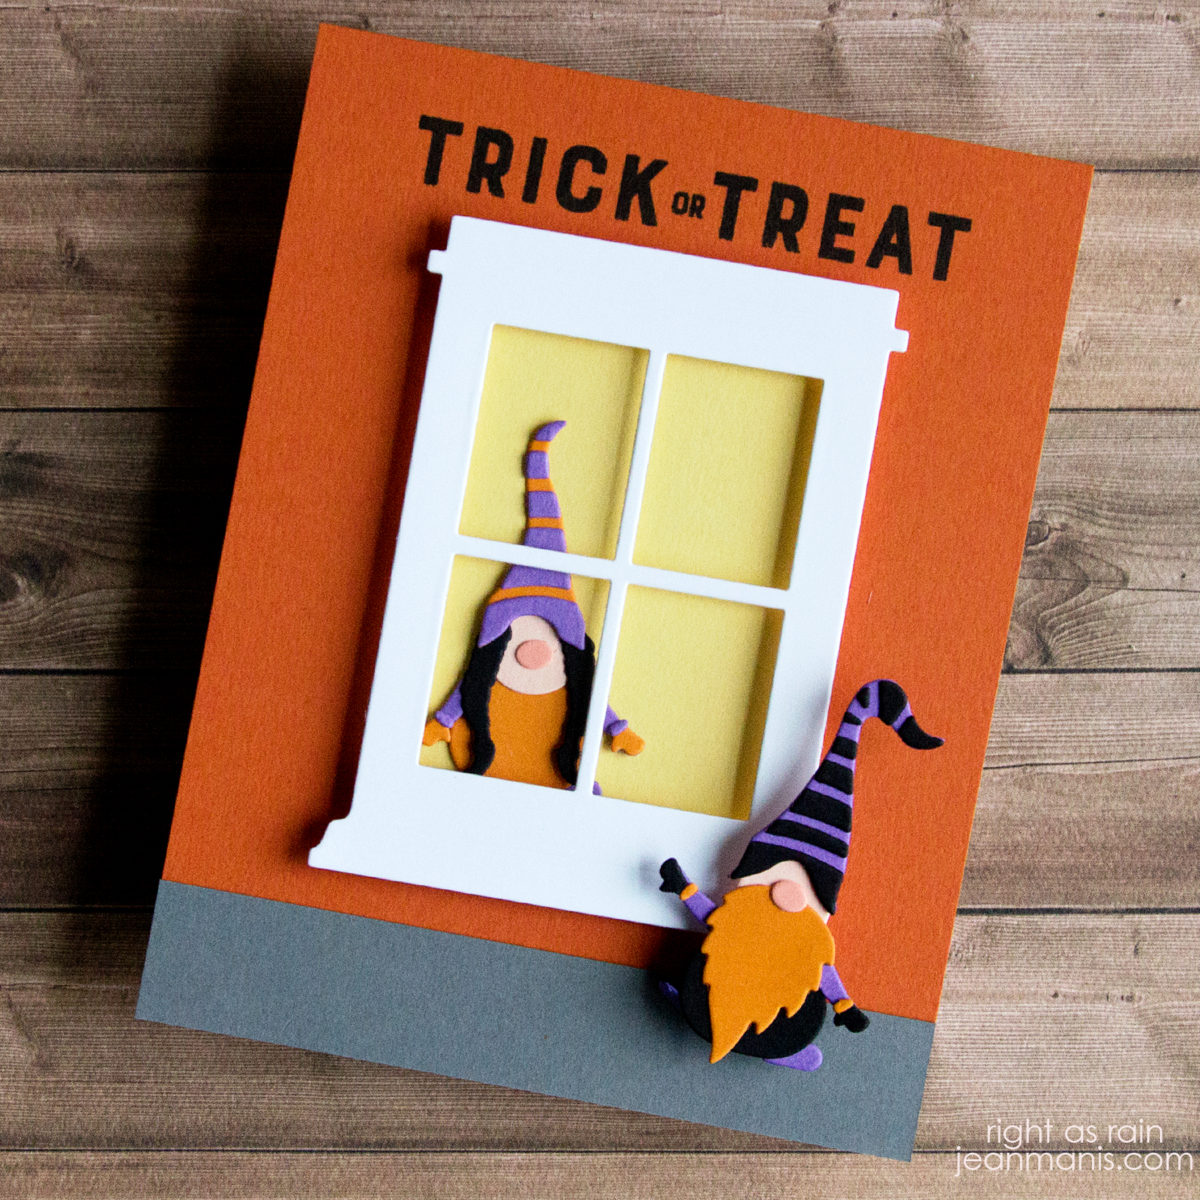
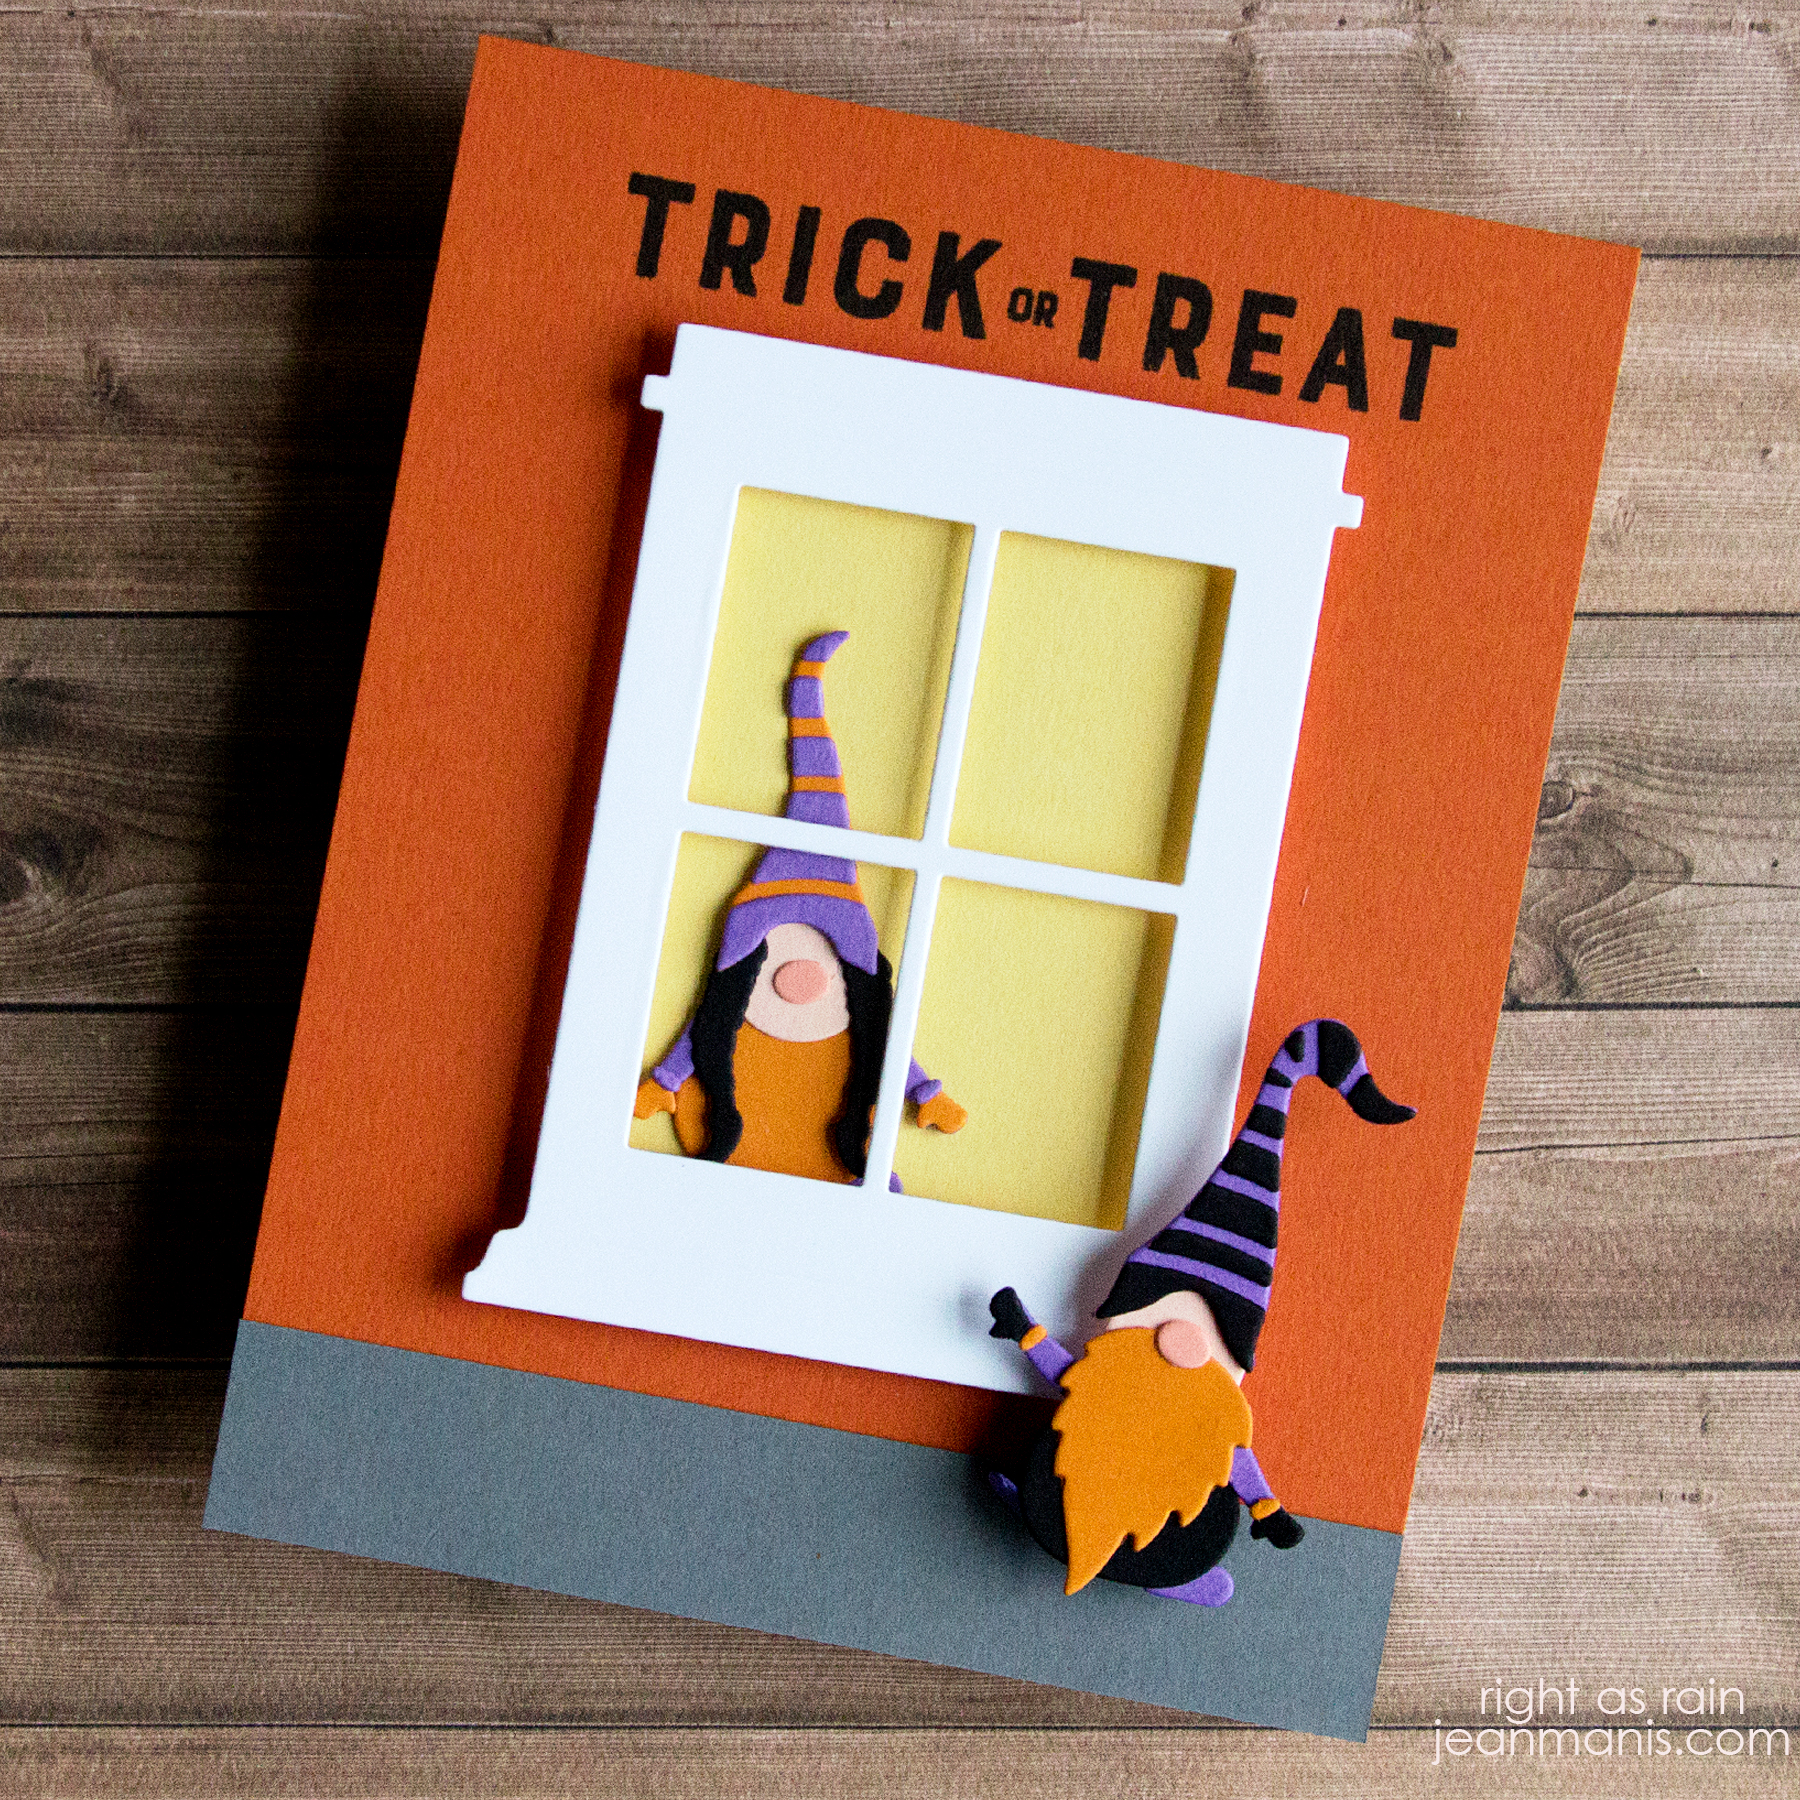
Hello! Today, I am sharing a Halloween card featuring the Gnome Couple die set at Rubbernecker.
Rubbernecker Halloween Gnomes

  • I die-cut the Gnome Couple from colored cardstock and assembled the pieces.
  • I die-cut the Window 4-Pane and cut a panel of soft yellow cardstock with which to back the window.
  • I stamped the Reverse Confetti Spooktacular greeting on to a panel and added a strip of gray cardstock to the bottom.
  • I added the female gnome to the yellow cardstock and adhered the window frame to the panel with foam adhesive. I adhered the window to the card base.
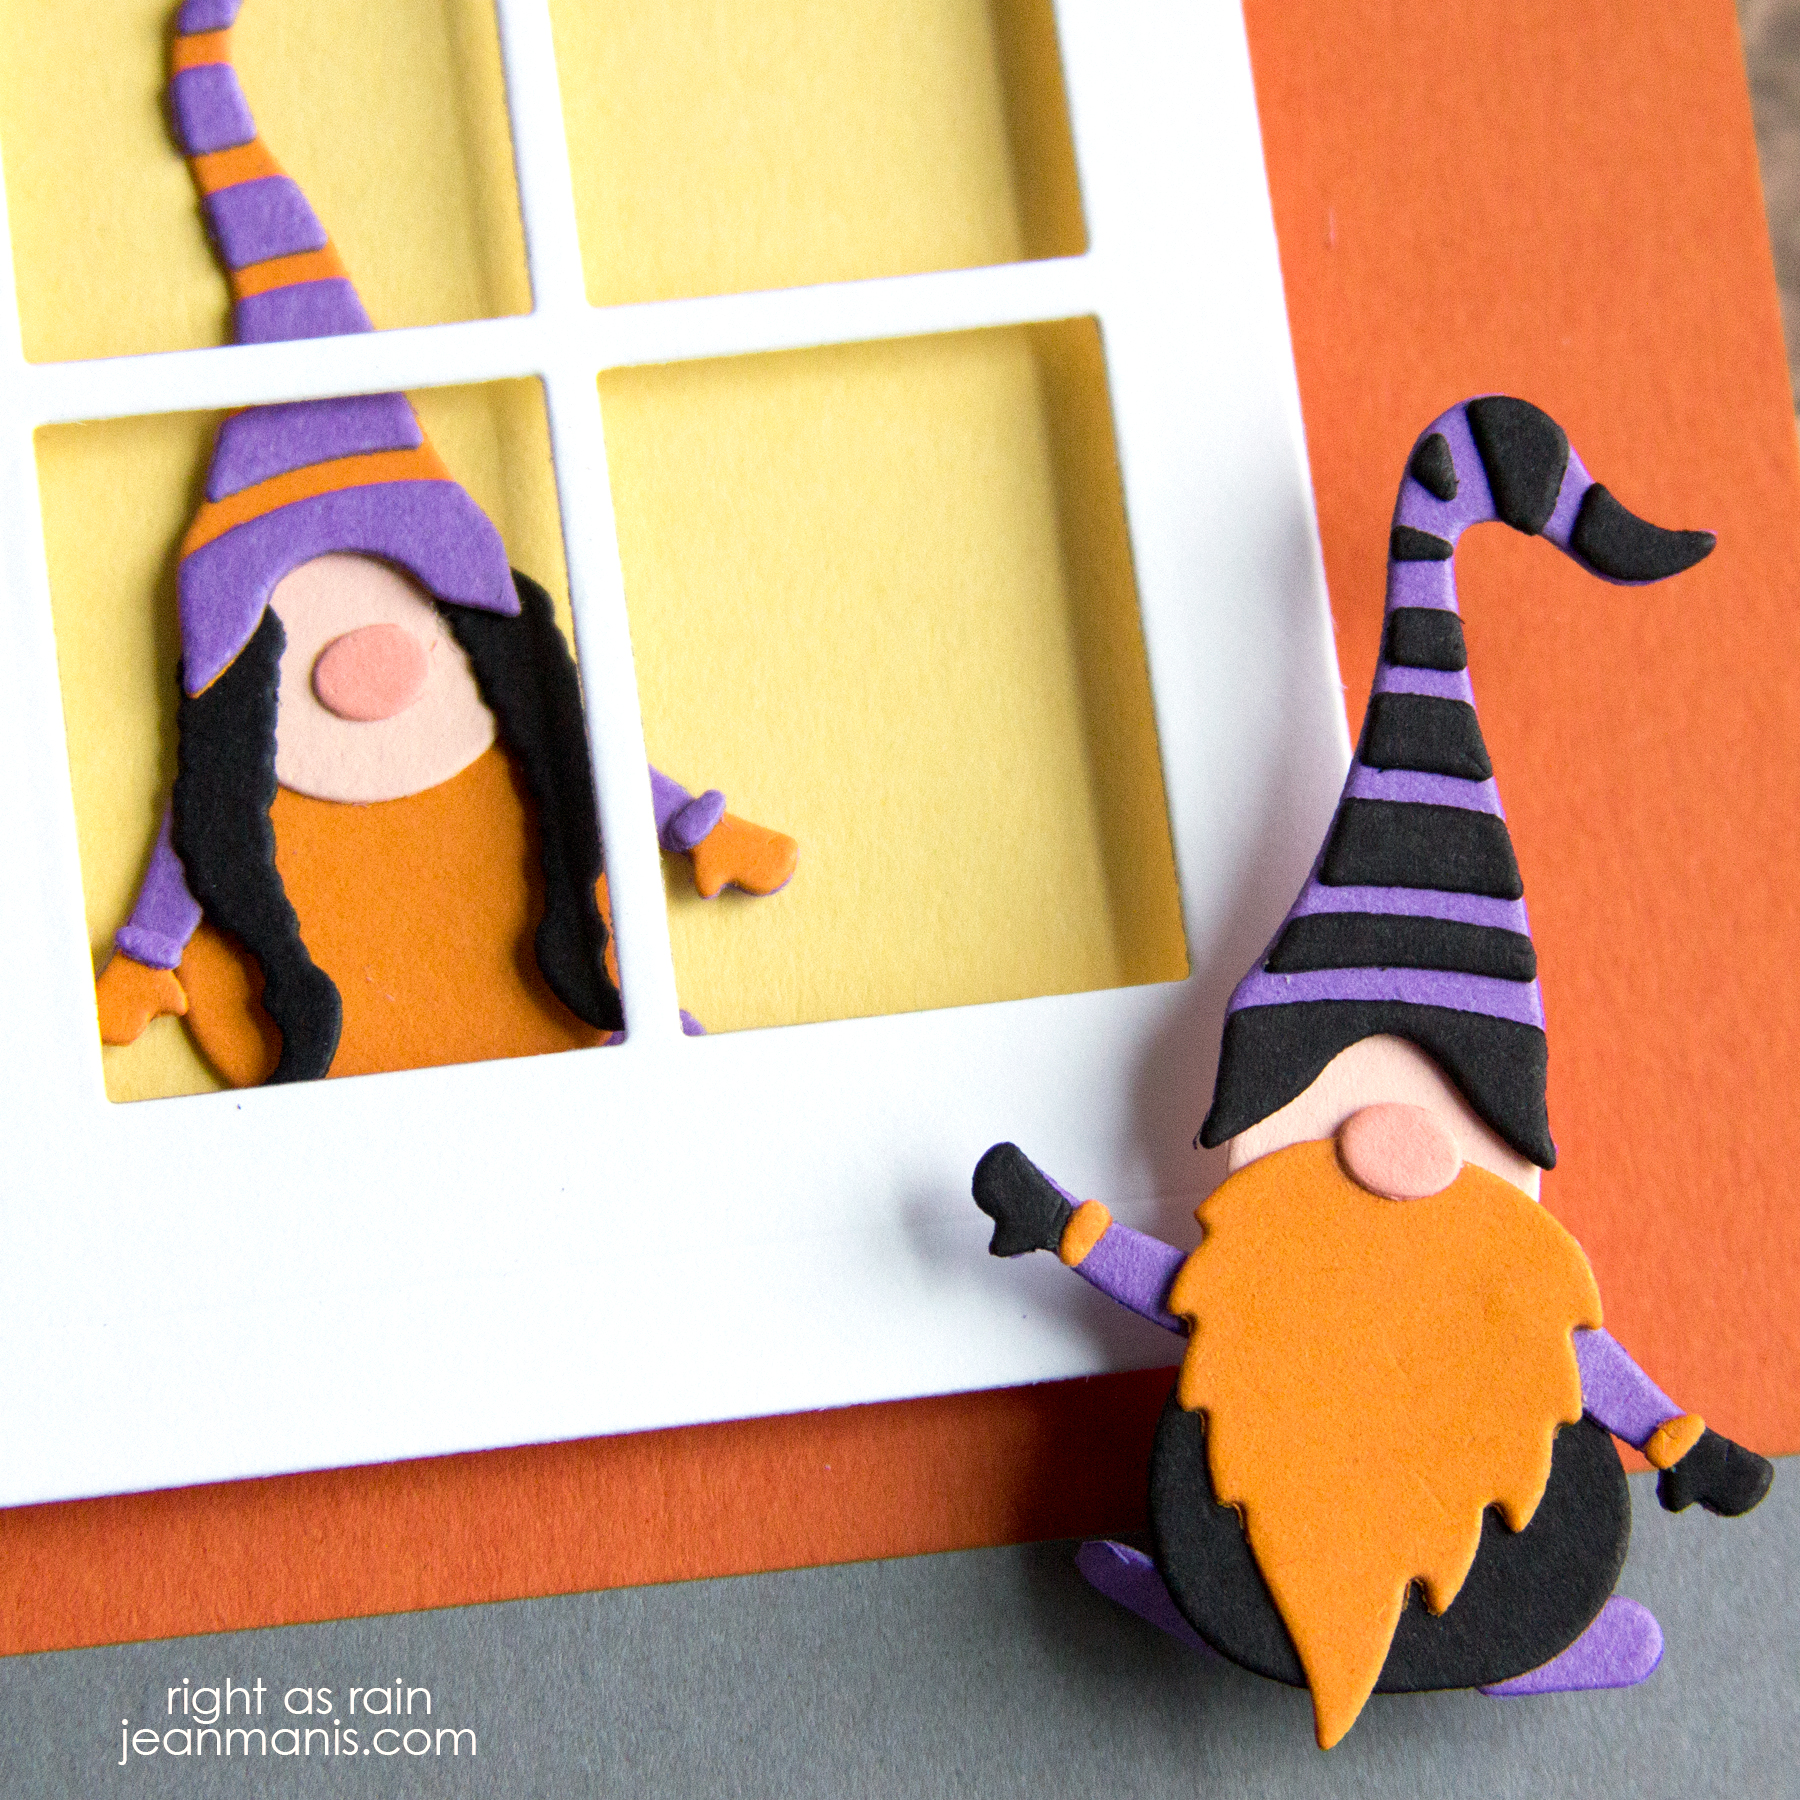
  • I added the mail gnome to the card base with foam adhesive.
Rubbernecker Halloween Gnomes

Check out additional inspiration with the  Gnome Couple die set here, here, and here.


Tim Holtz Cozy Winter

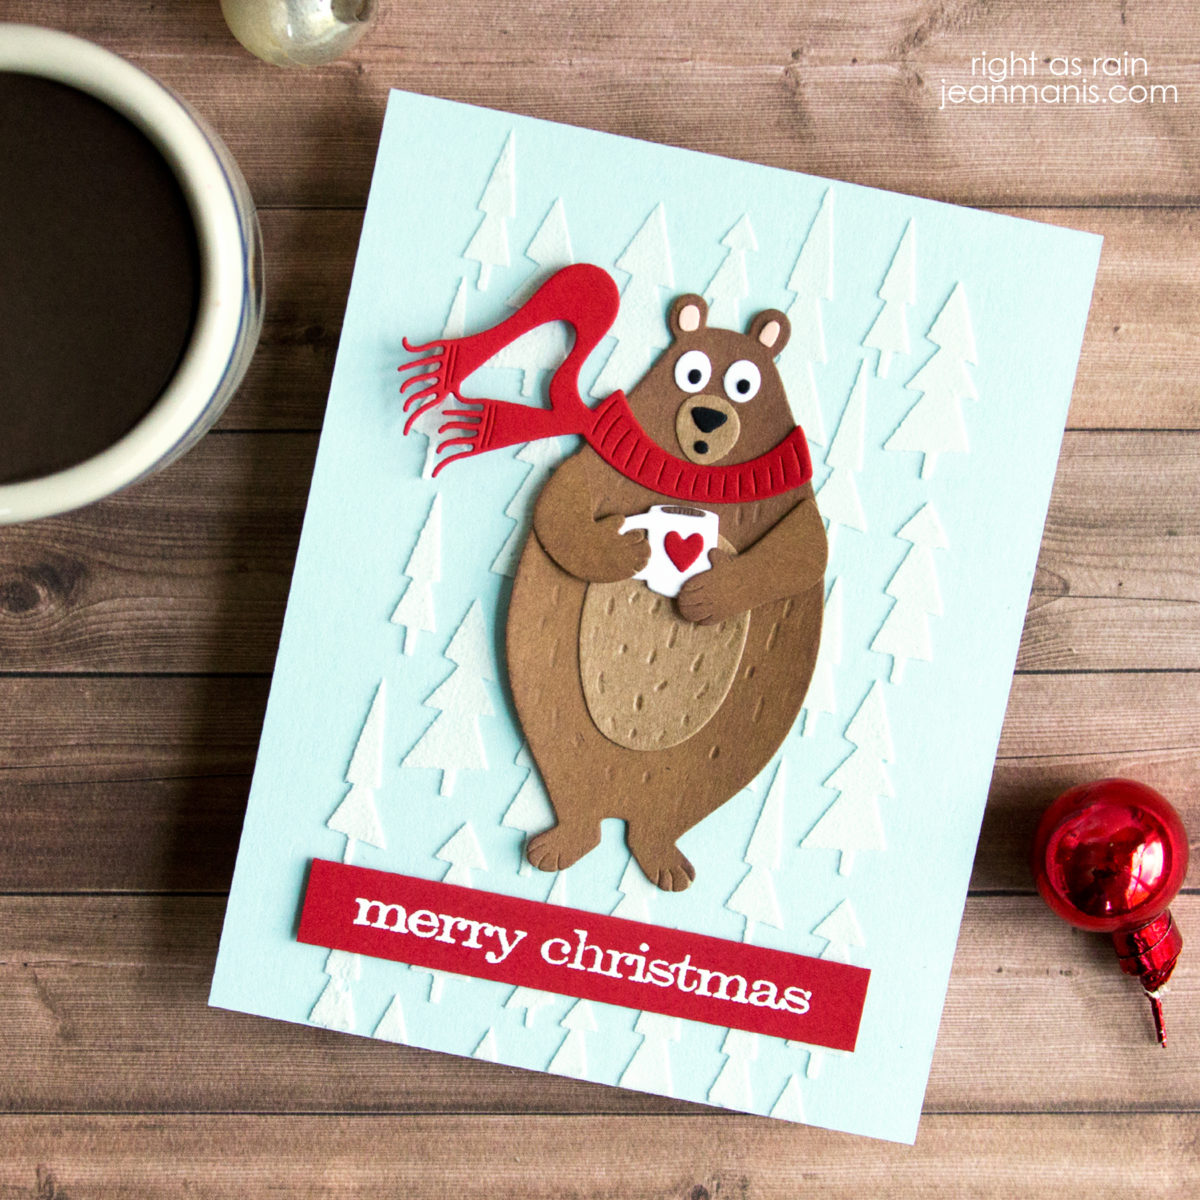
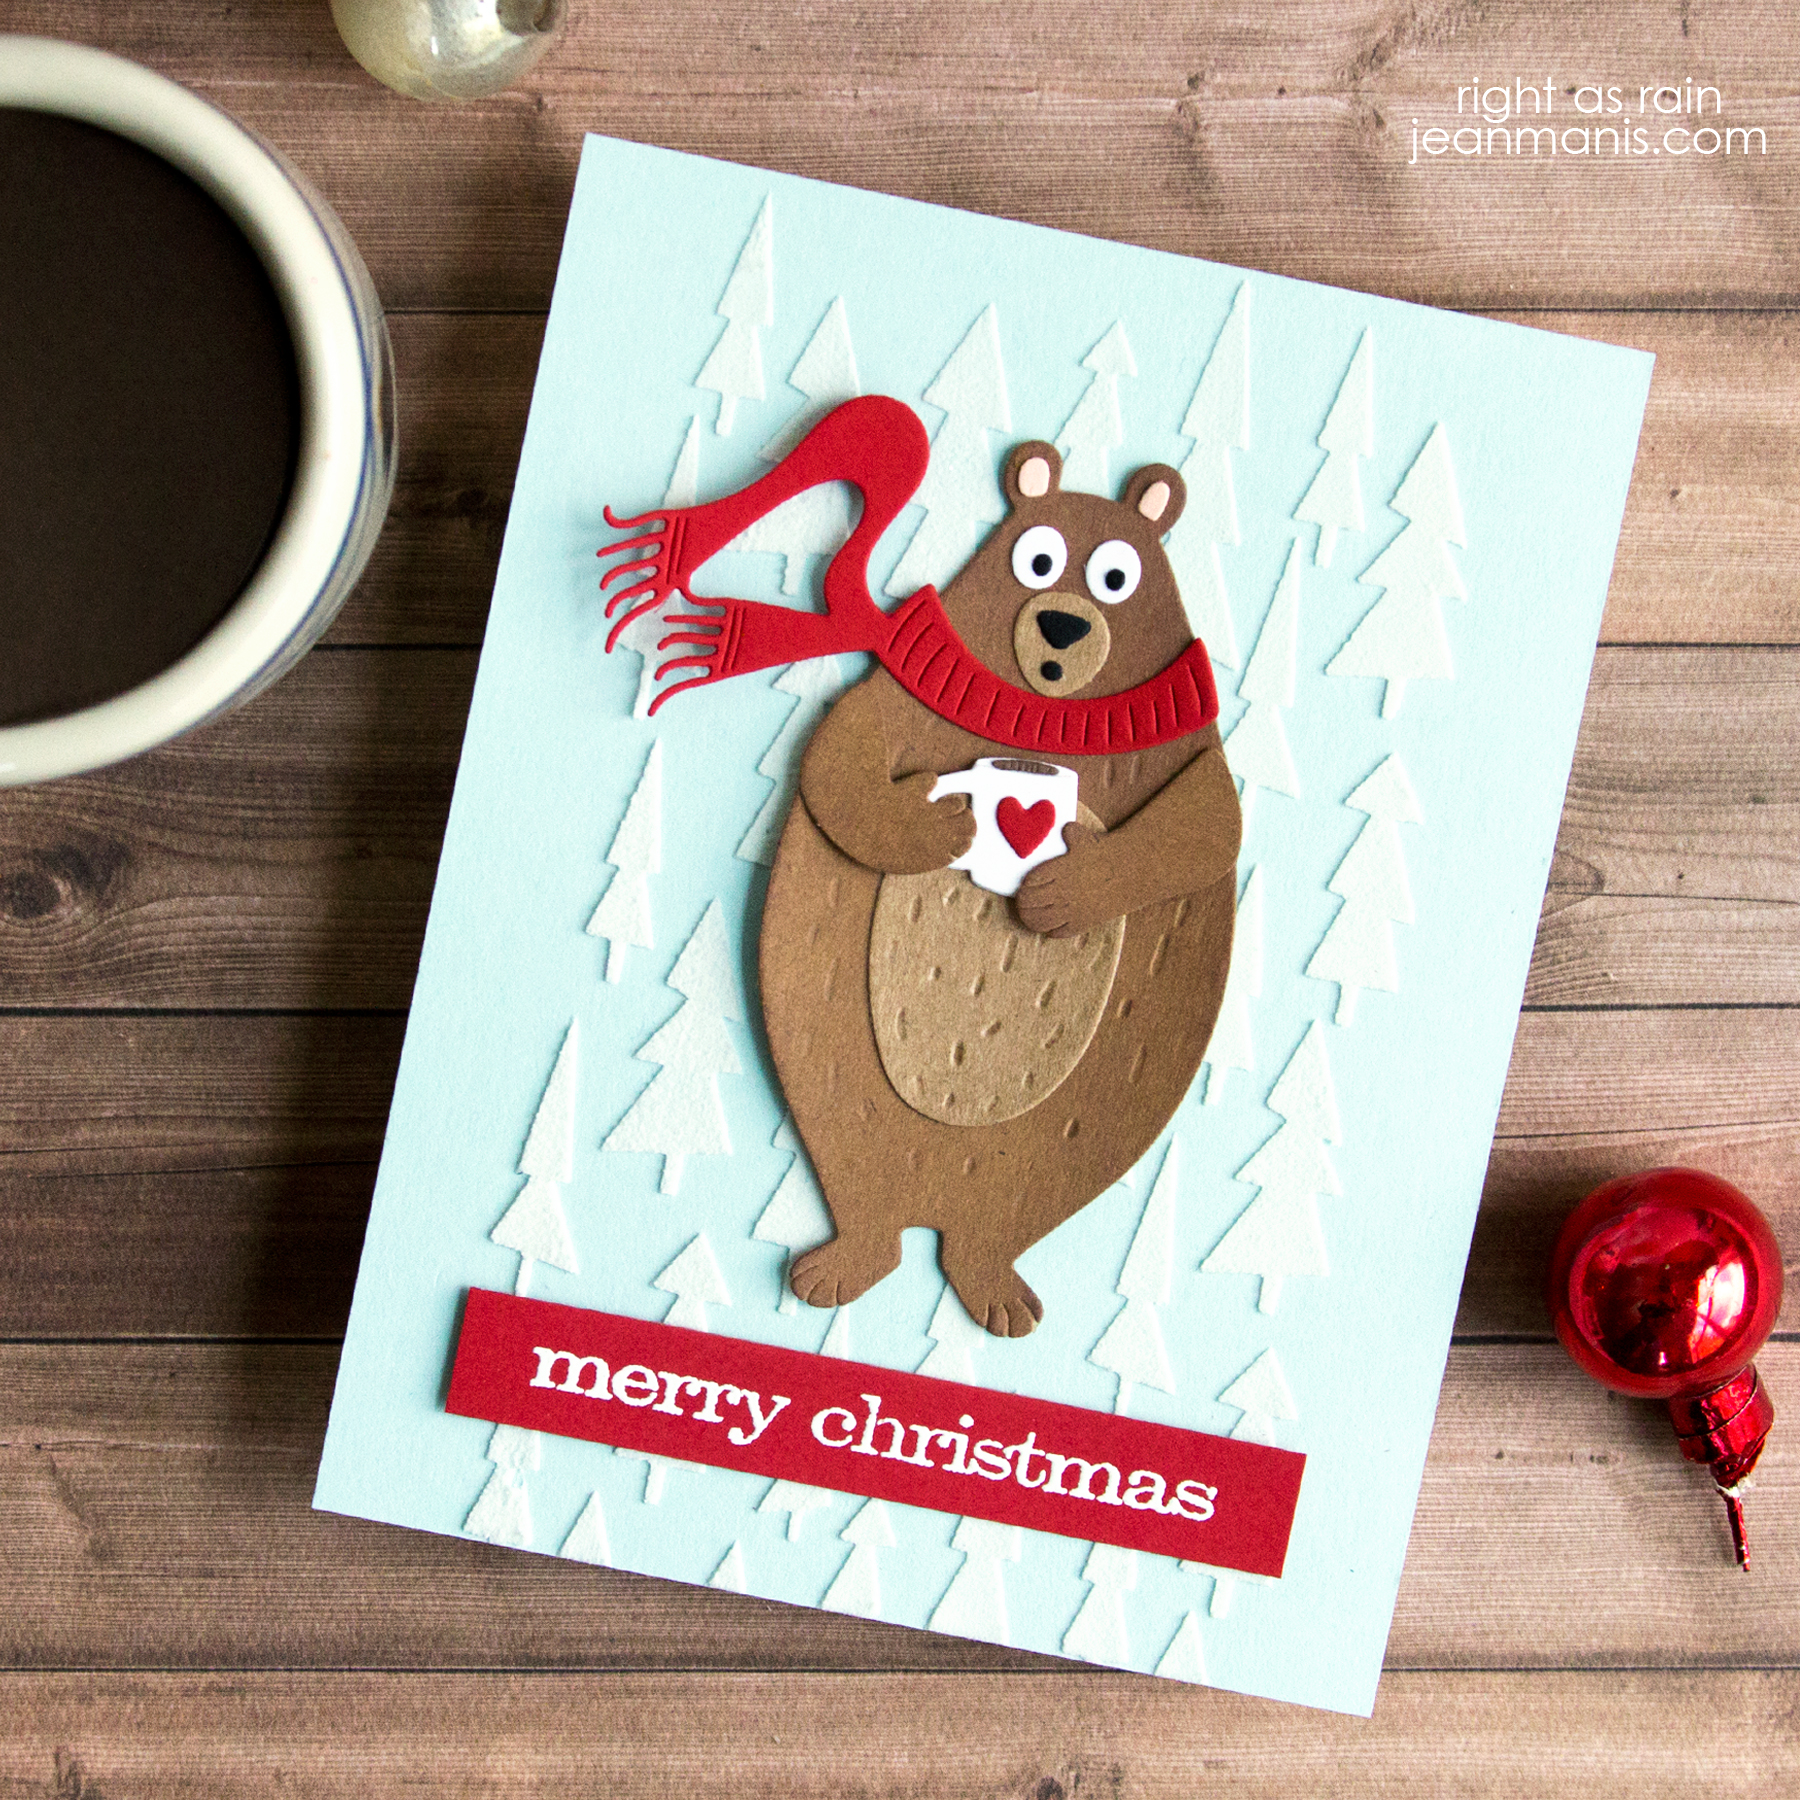
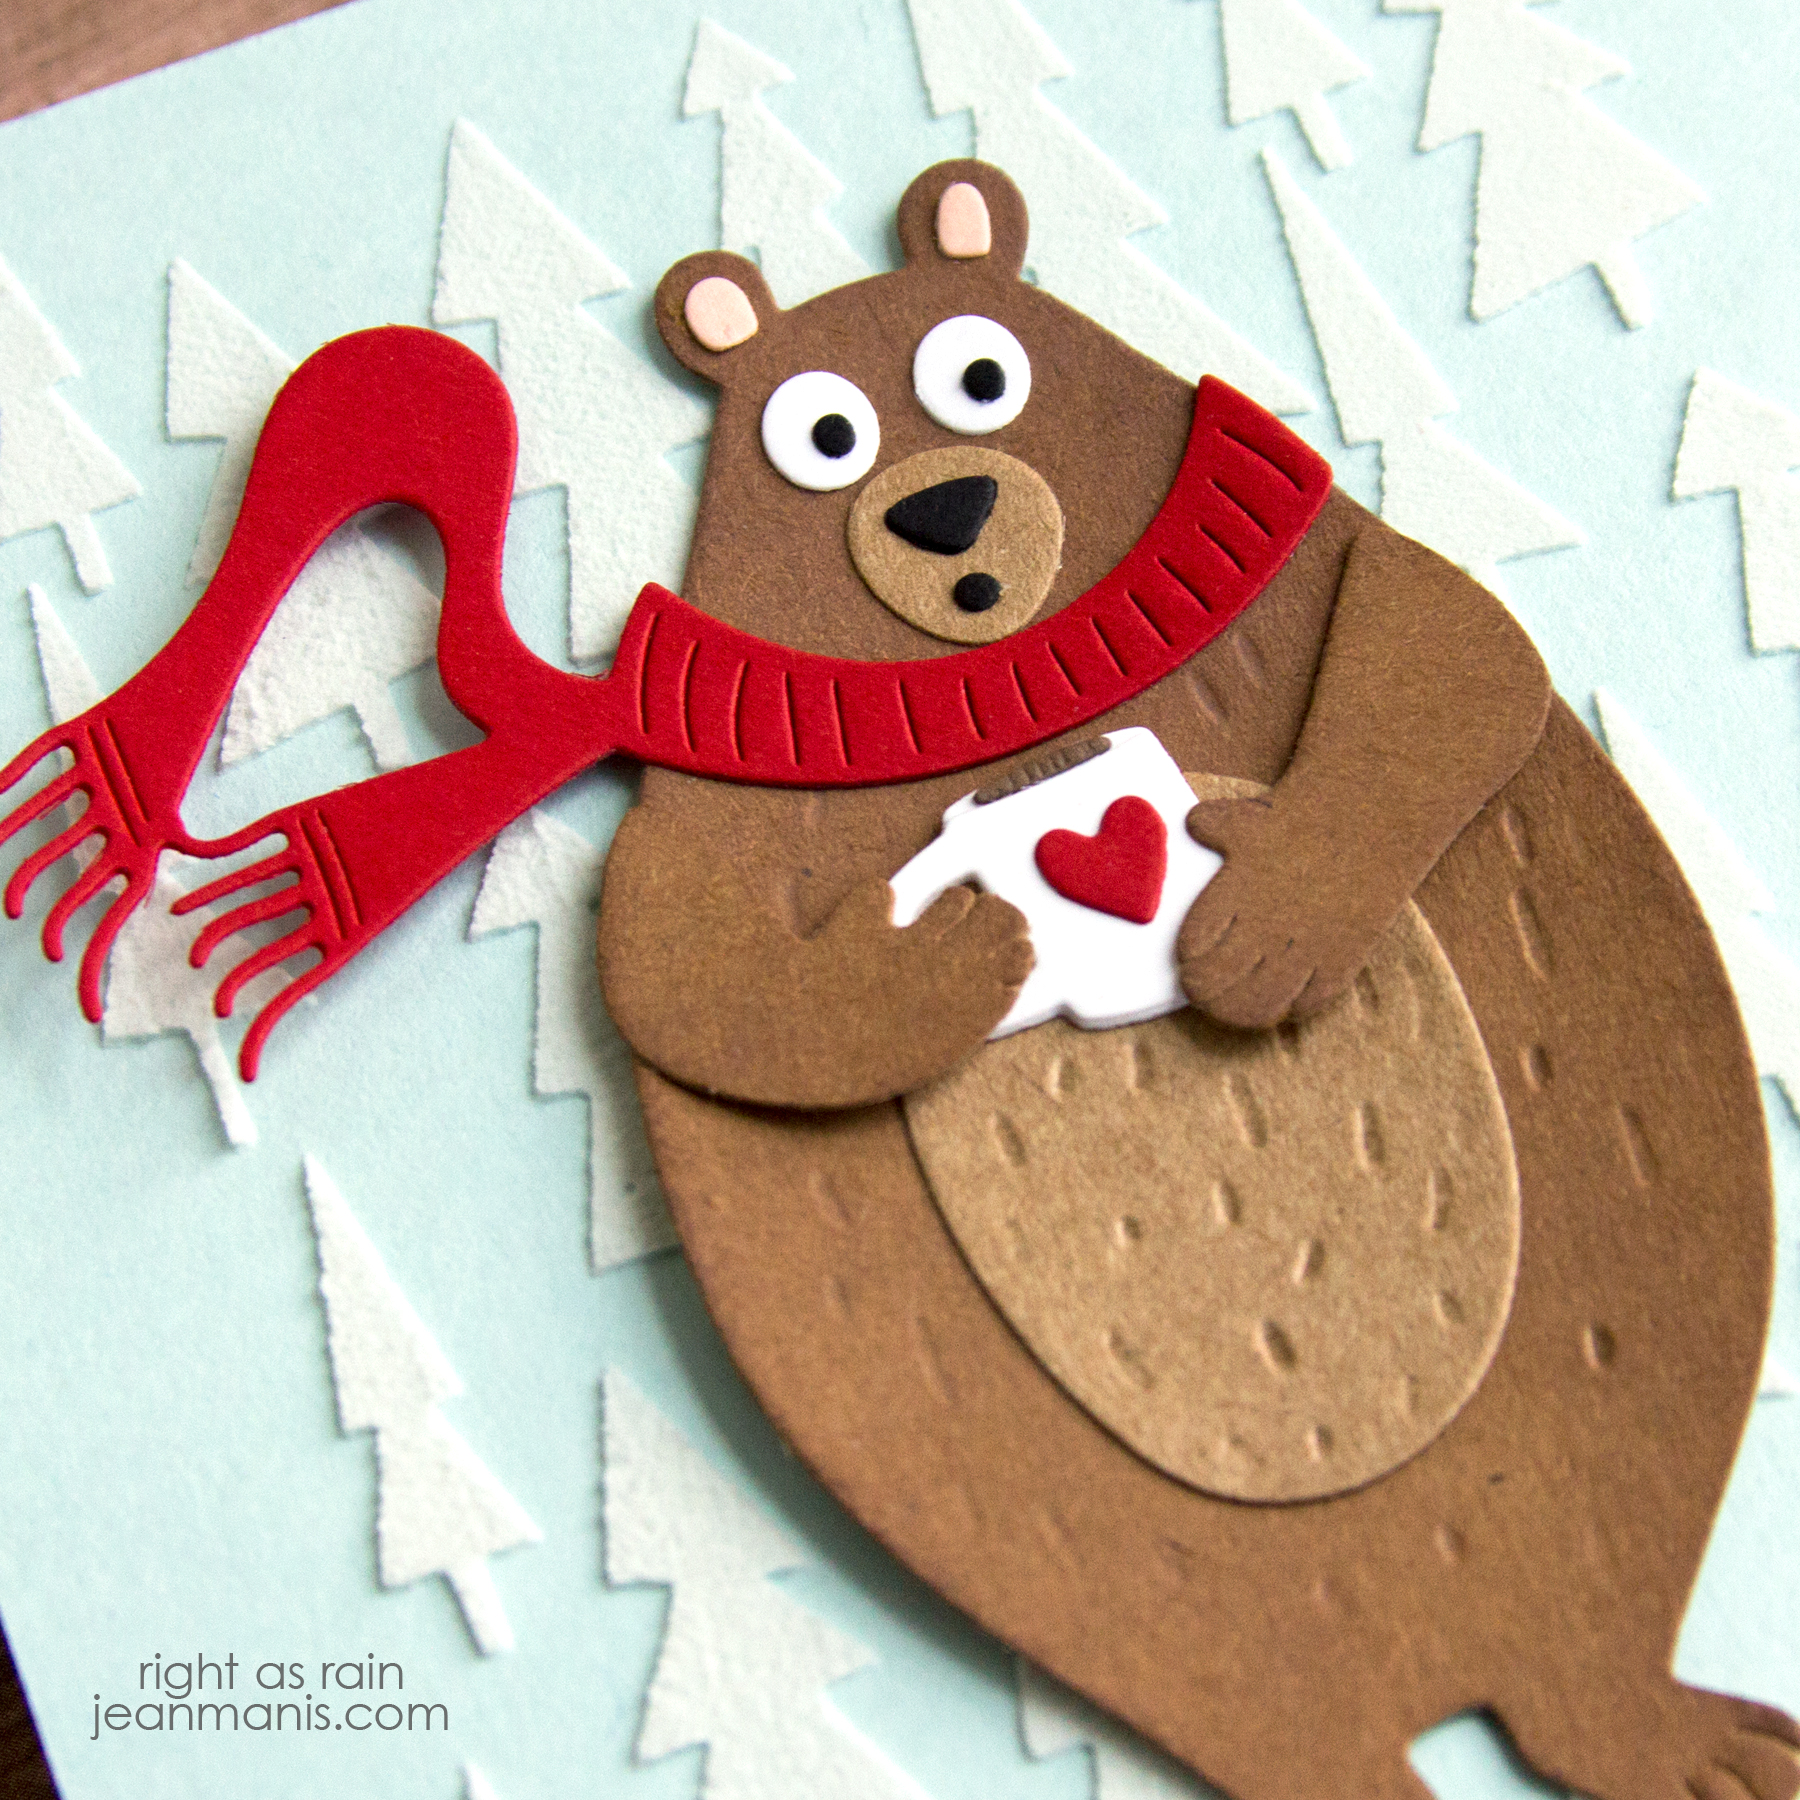
Hello! I am sharing a CAS Christmas card created with Tim Holtz supplies. With the Cozy Winter bear, it was love at first sight!

Tim Holtz Cozy Winter

  • I added white embossing paste through the Tree Lot stencil on to SSS Sea Glass cardstock.
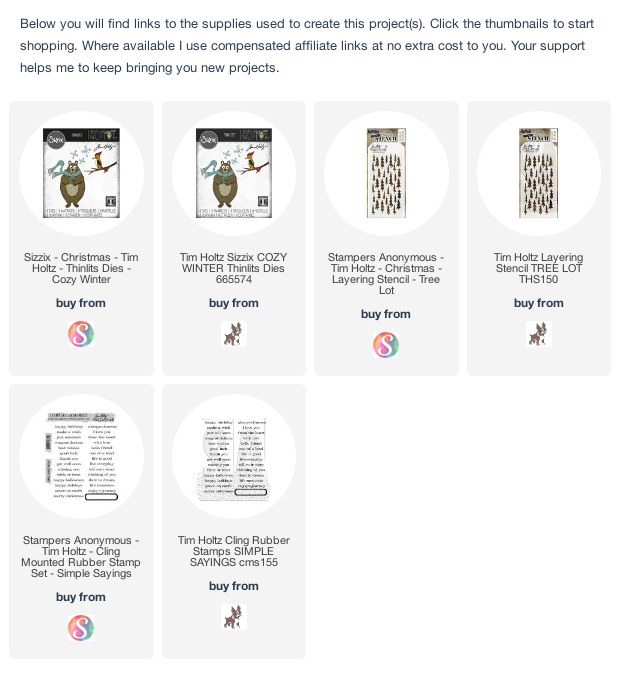
  • I die-cut the Cozy Winter bear from SU Kraft, white, light pink, red, and black cardstock and colored the arms and base with Vintage Photo ink. I glued the pieces together.
  • I heat-embossed the Simple Sayings sentiment on to red cardstock and cut it with a banner die.
  • I added the bear and sentiment to the Tree Lot background.

Tim Holtz Cozy Winter

This card combines my favorite cardmaking techniques of stenciling, die-cutting, and heat-embossing, as well as, a favorite color combination of red, light blue, and white.


Spellbinders Christmas Traditions – Another Take on the Nativity

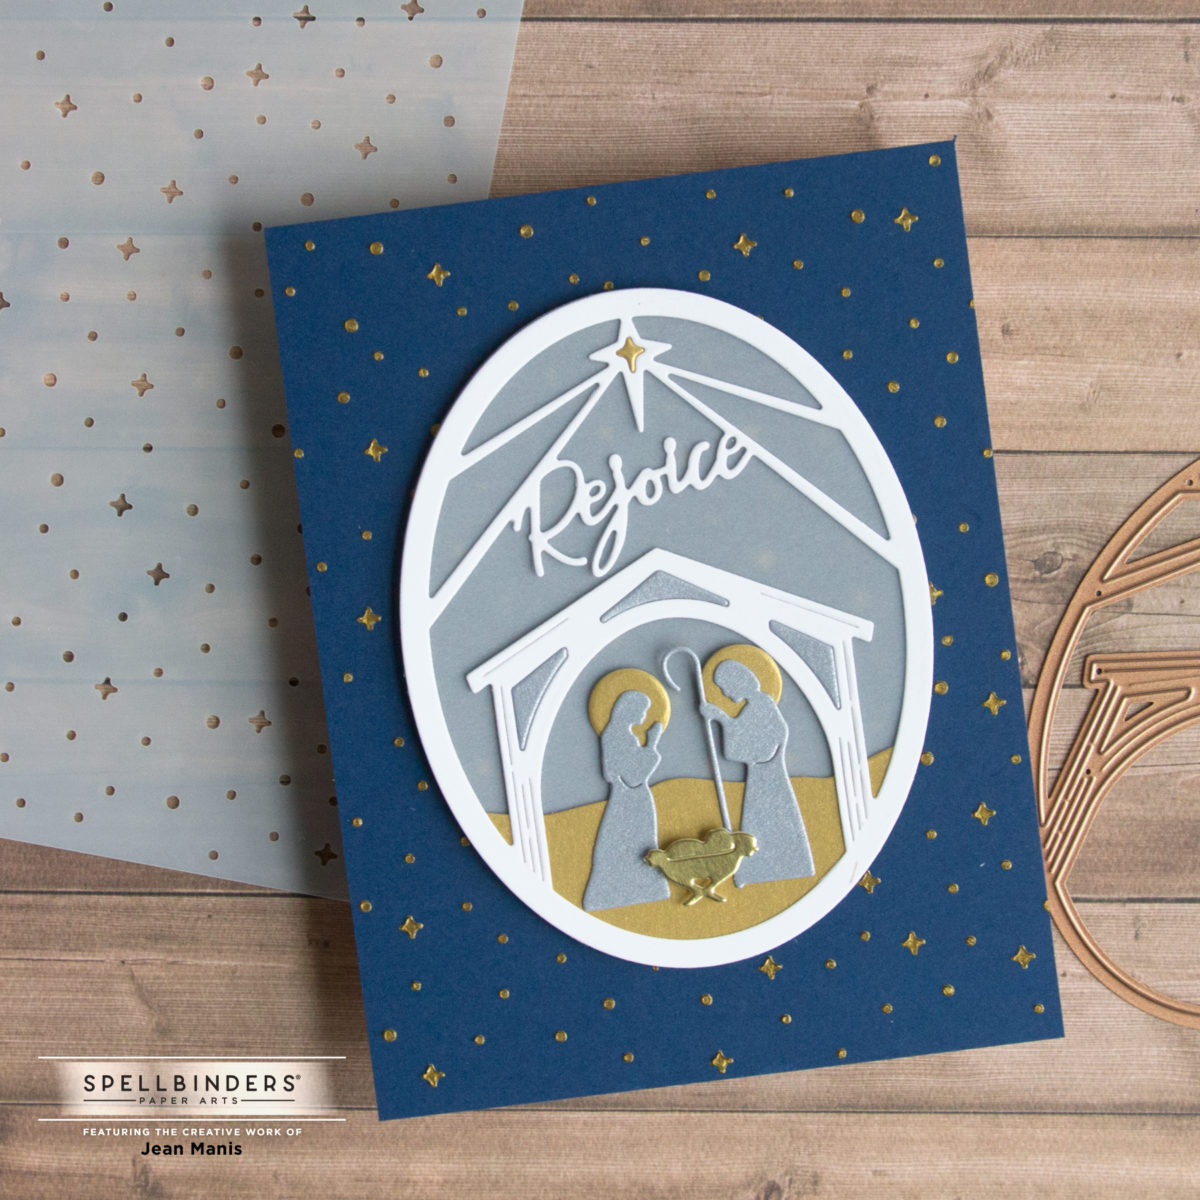
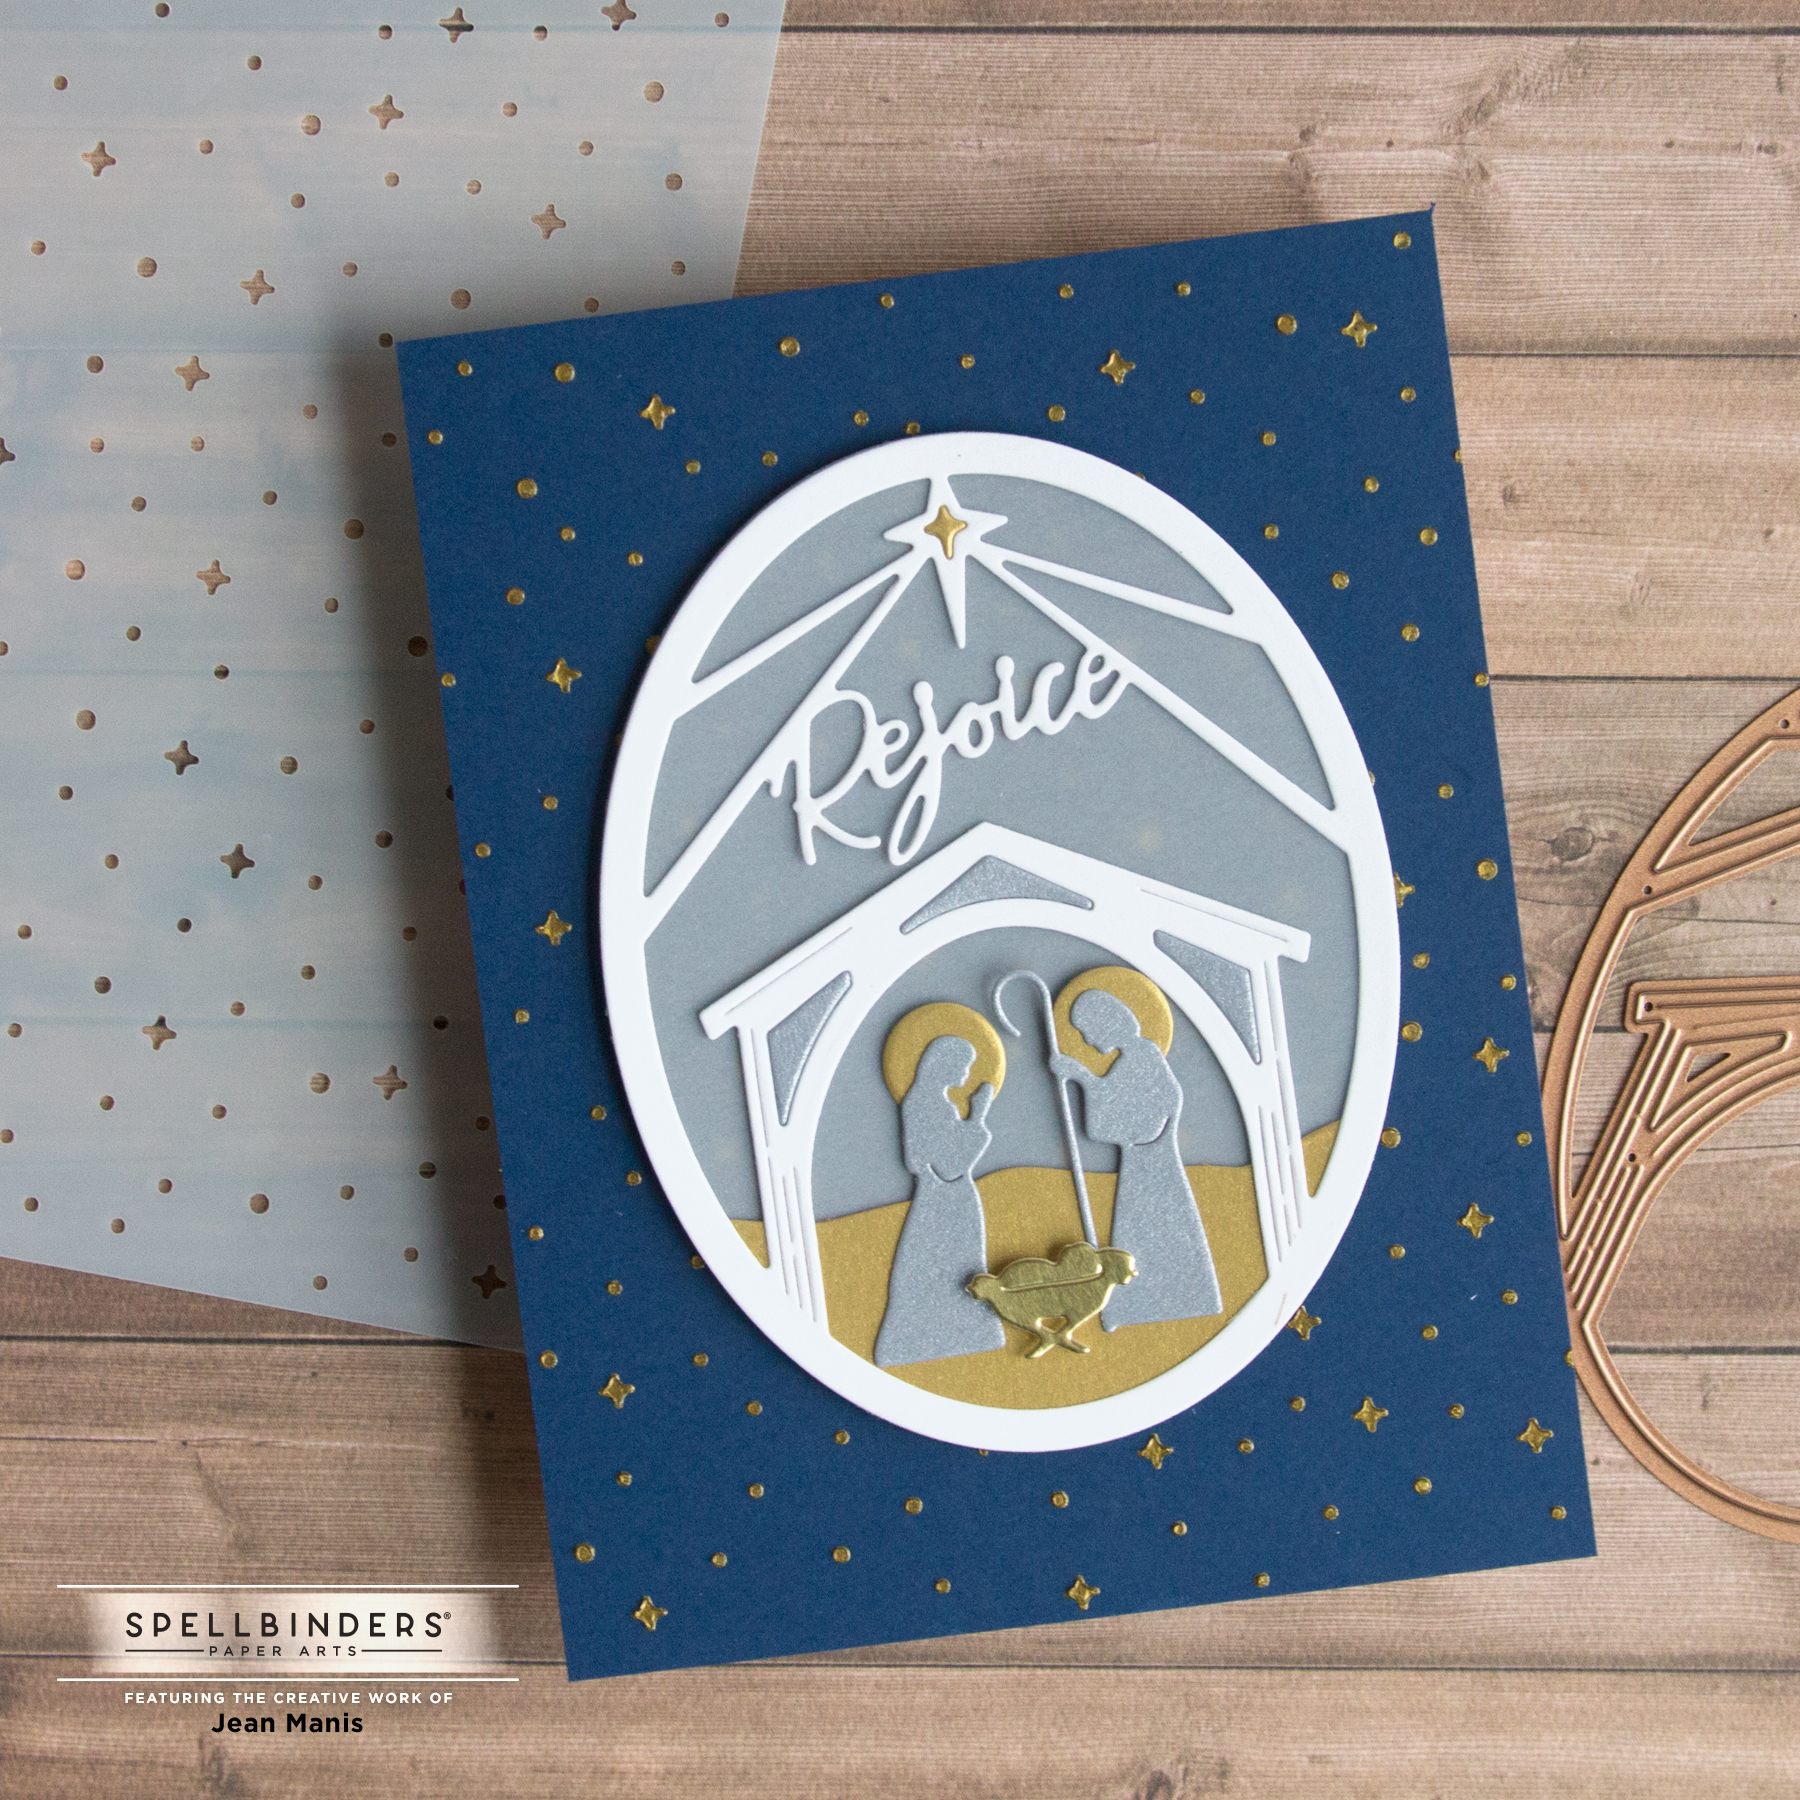
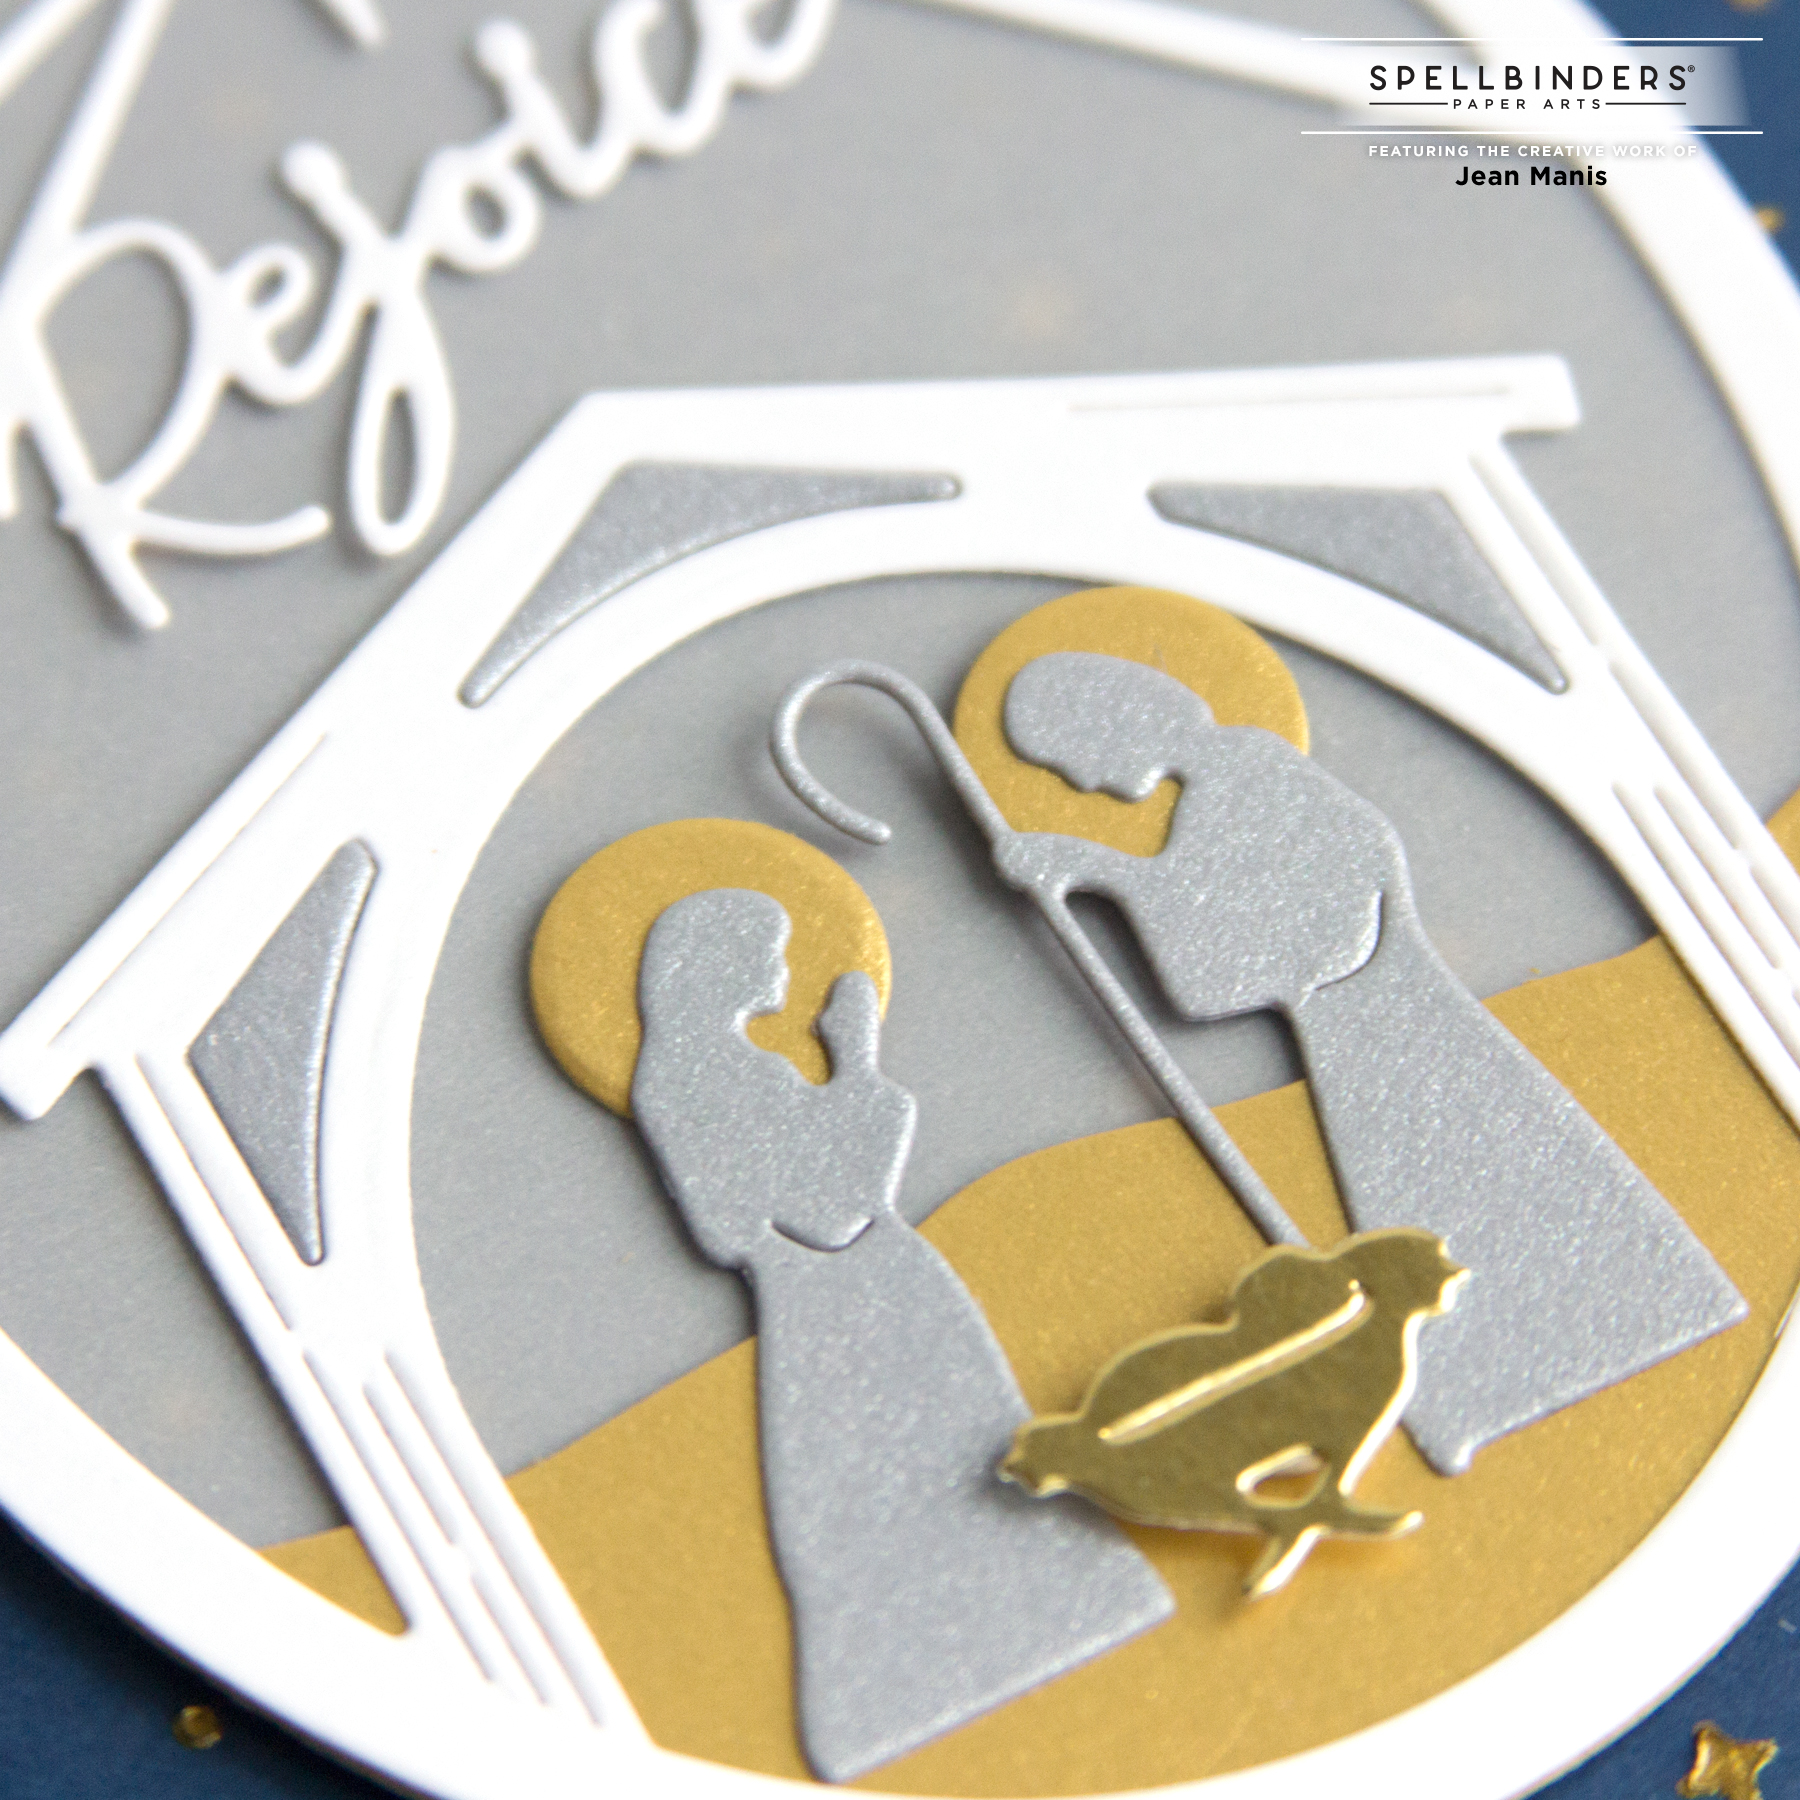
Hello! Today I am sharing another card created with supplies from the Spellbinders Christmas Traditions Collection. I posted about this collection and the Rejoice Nativity die set here.

Spellbinders Christmas Traditions - Another Take on the Nativity

To begin, I stenciled All the Stars with gold gel on navy cardstock.

I die-cut the Rejoice Nativity set with Snowdrift, Brushed Silver, Brushed Gold, vellum, and gold foil cardstock and assembled the pieces.

Spellbinders Christmas Traditions - Another Take on the Nativity

Once the background was dry, I added the pieces to the card. This card came together quickly!


Penny Black Season’s Greetings

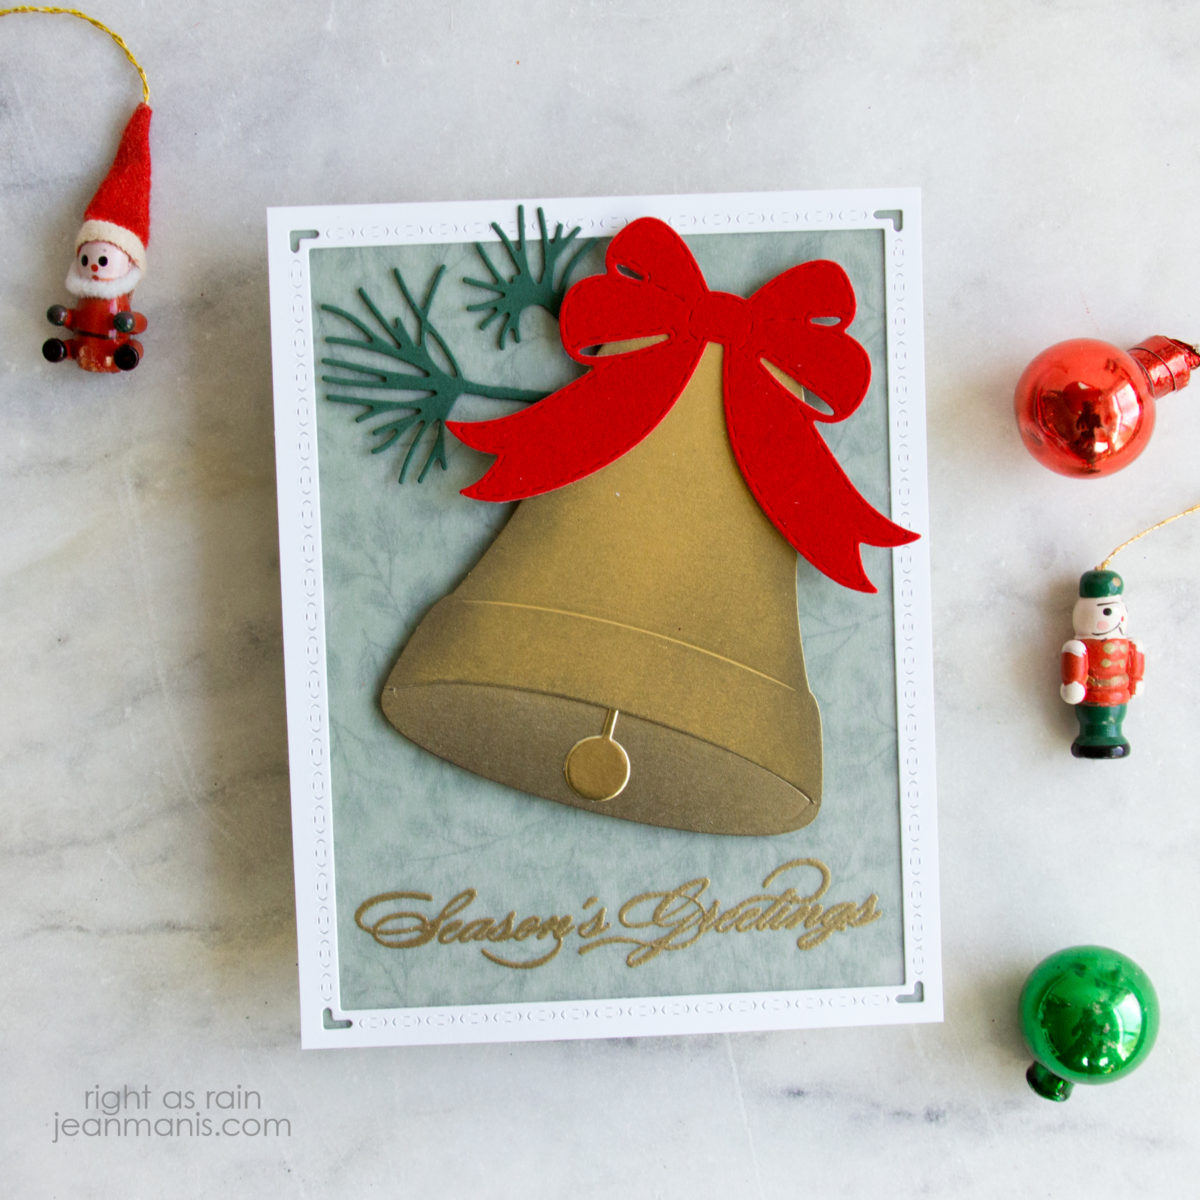
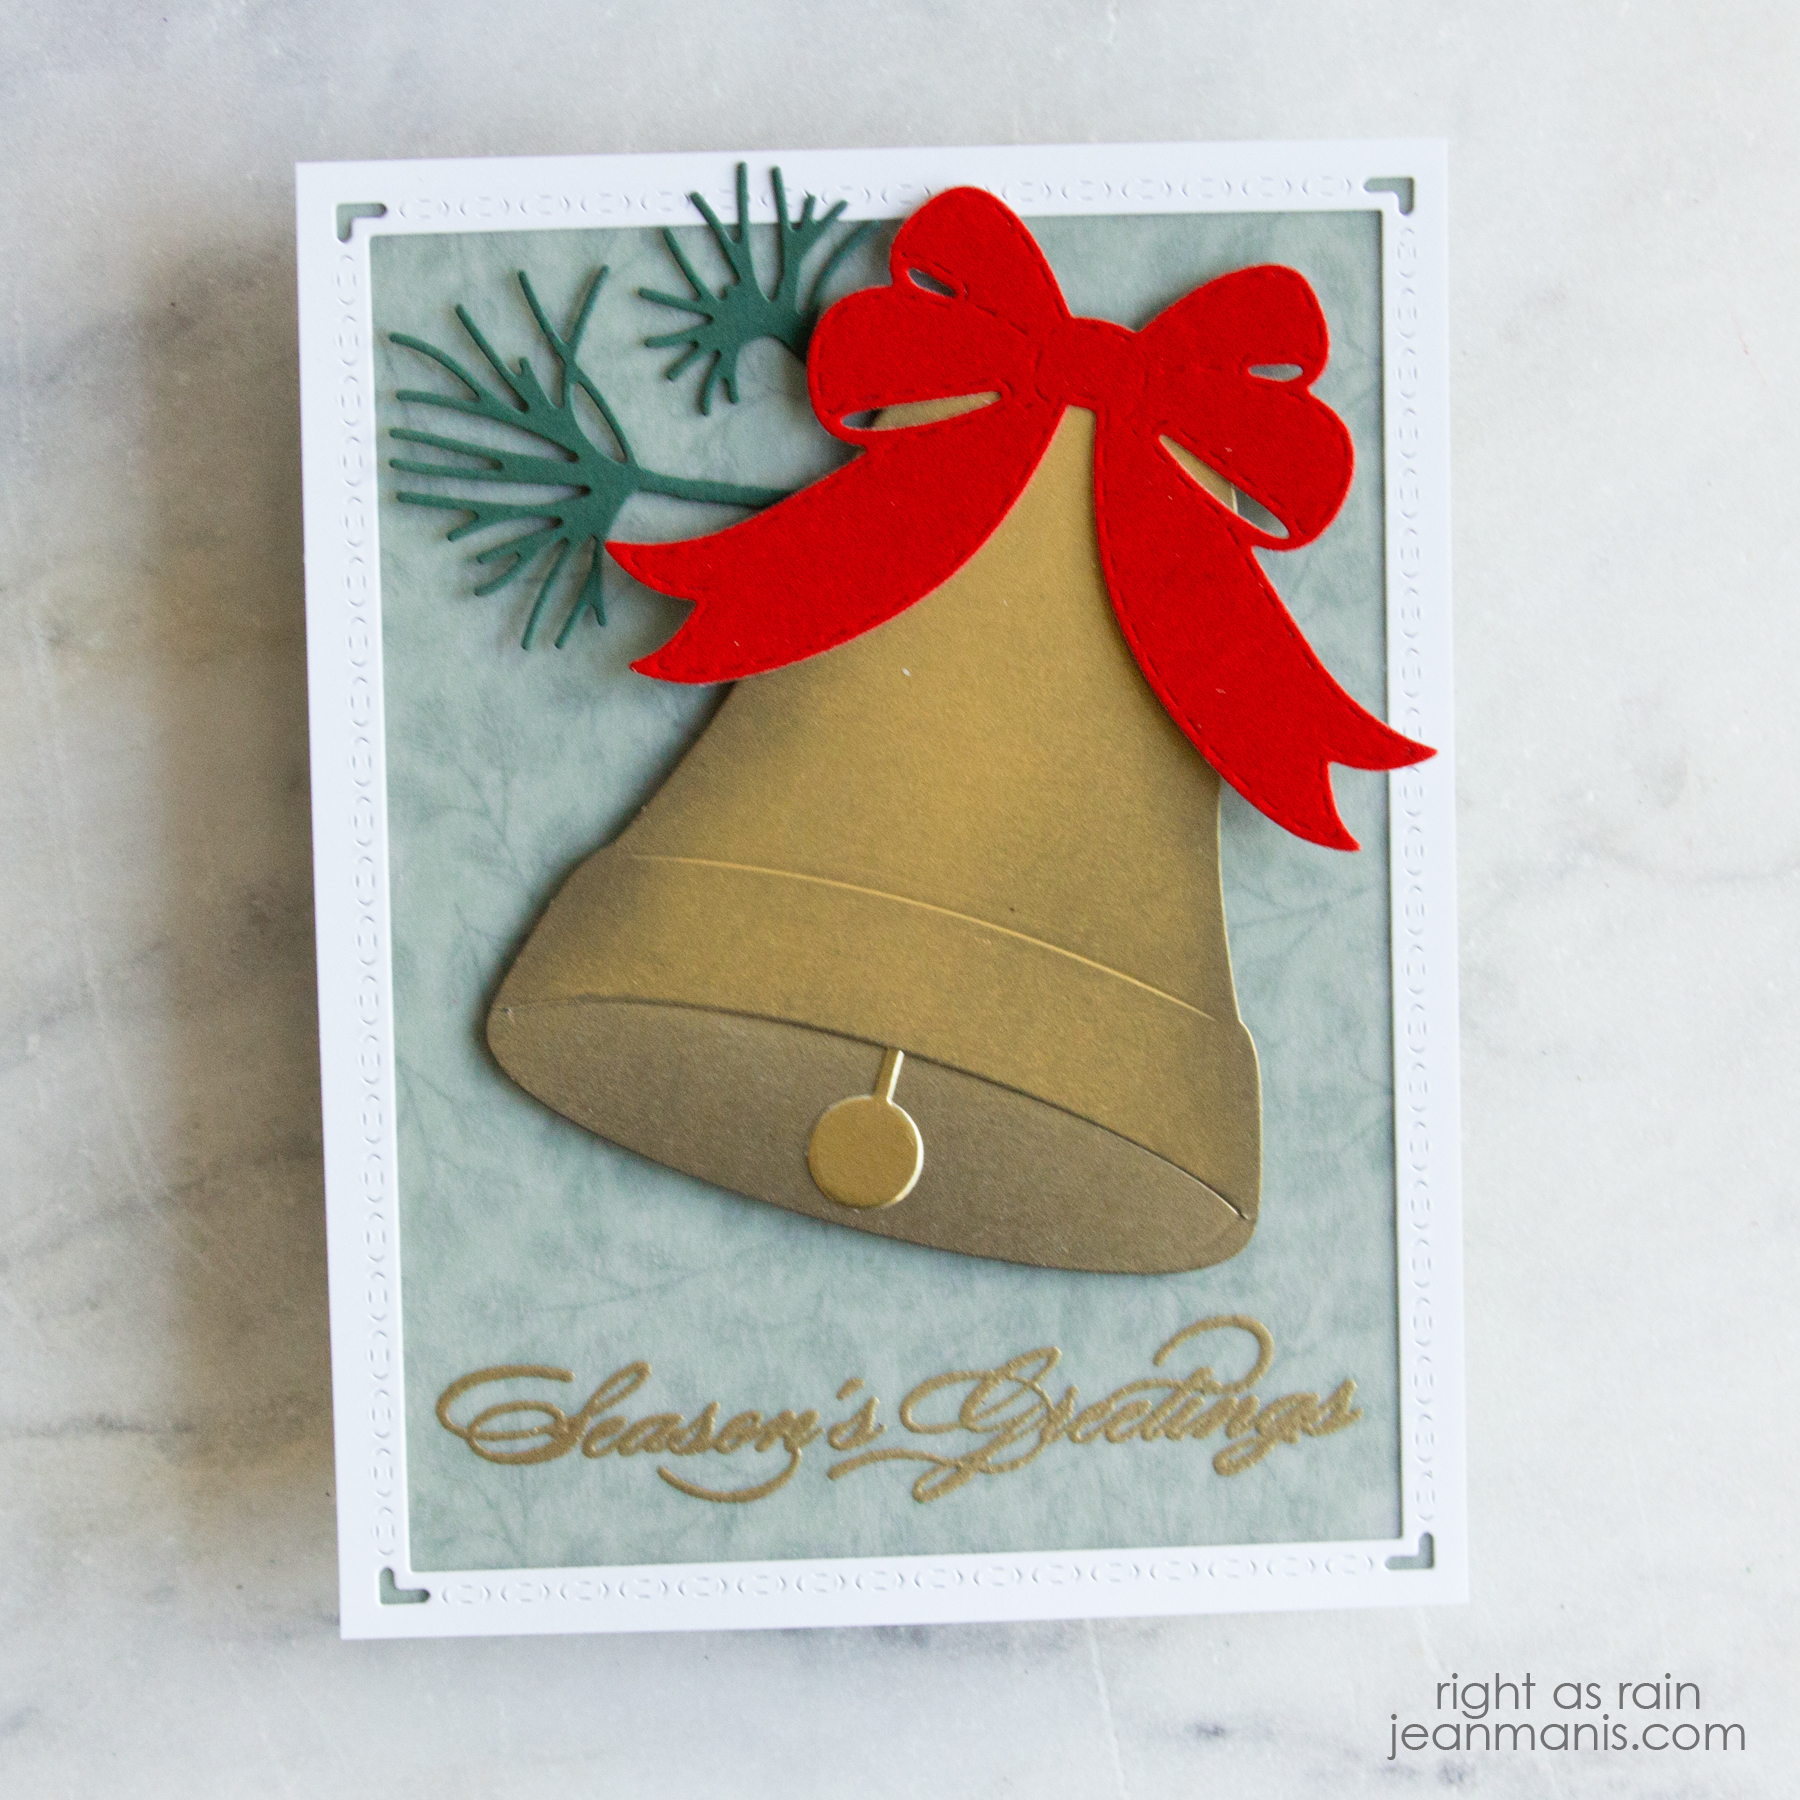
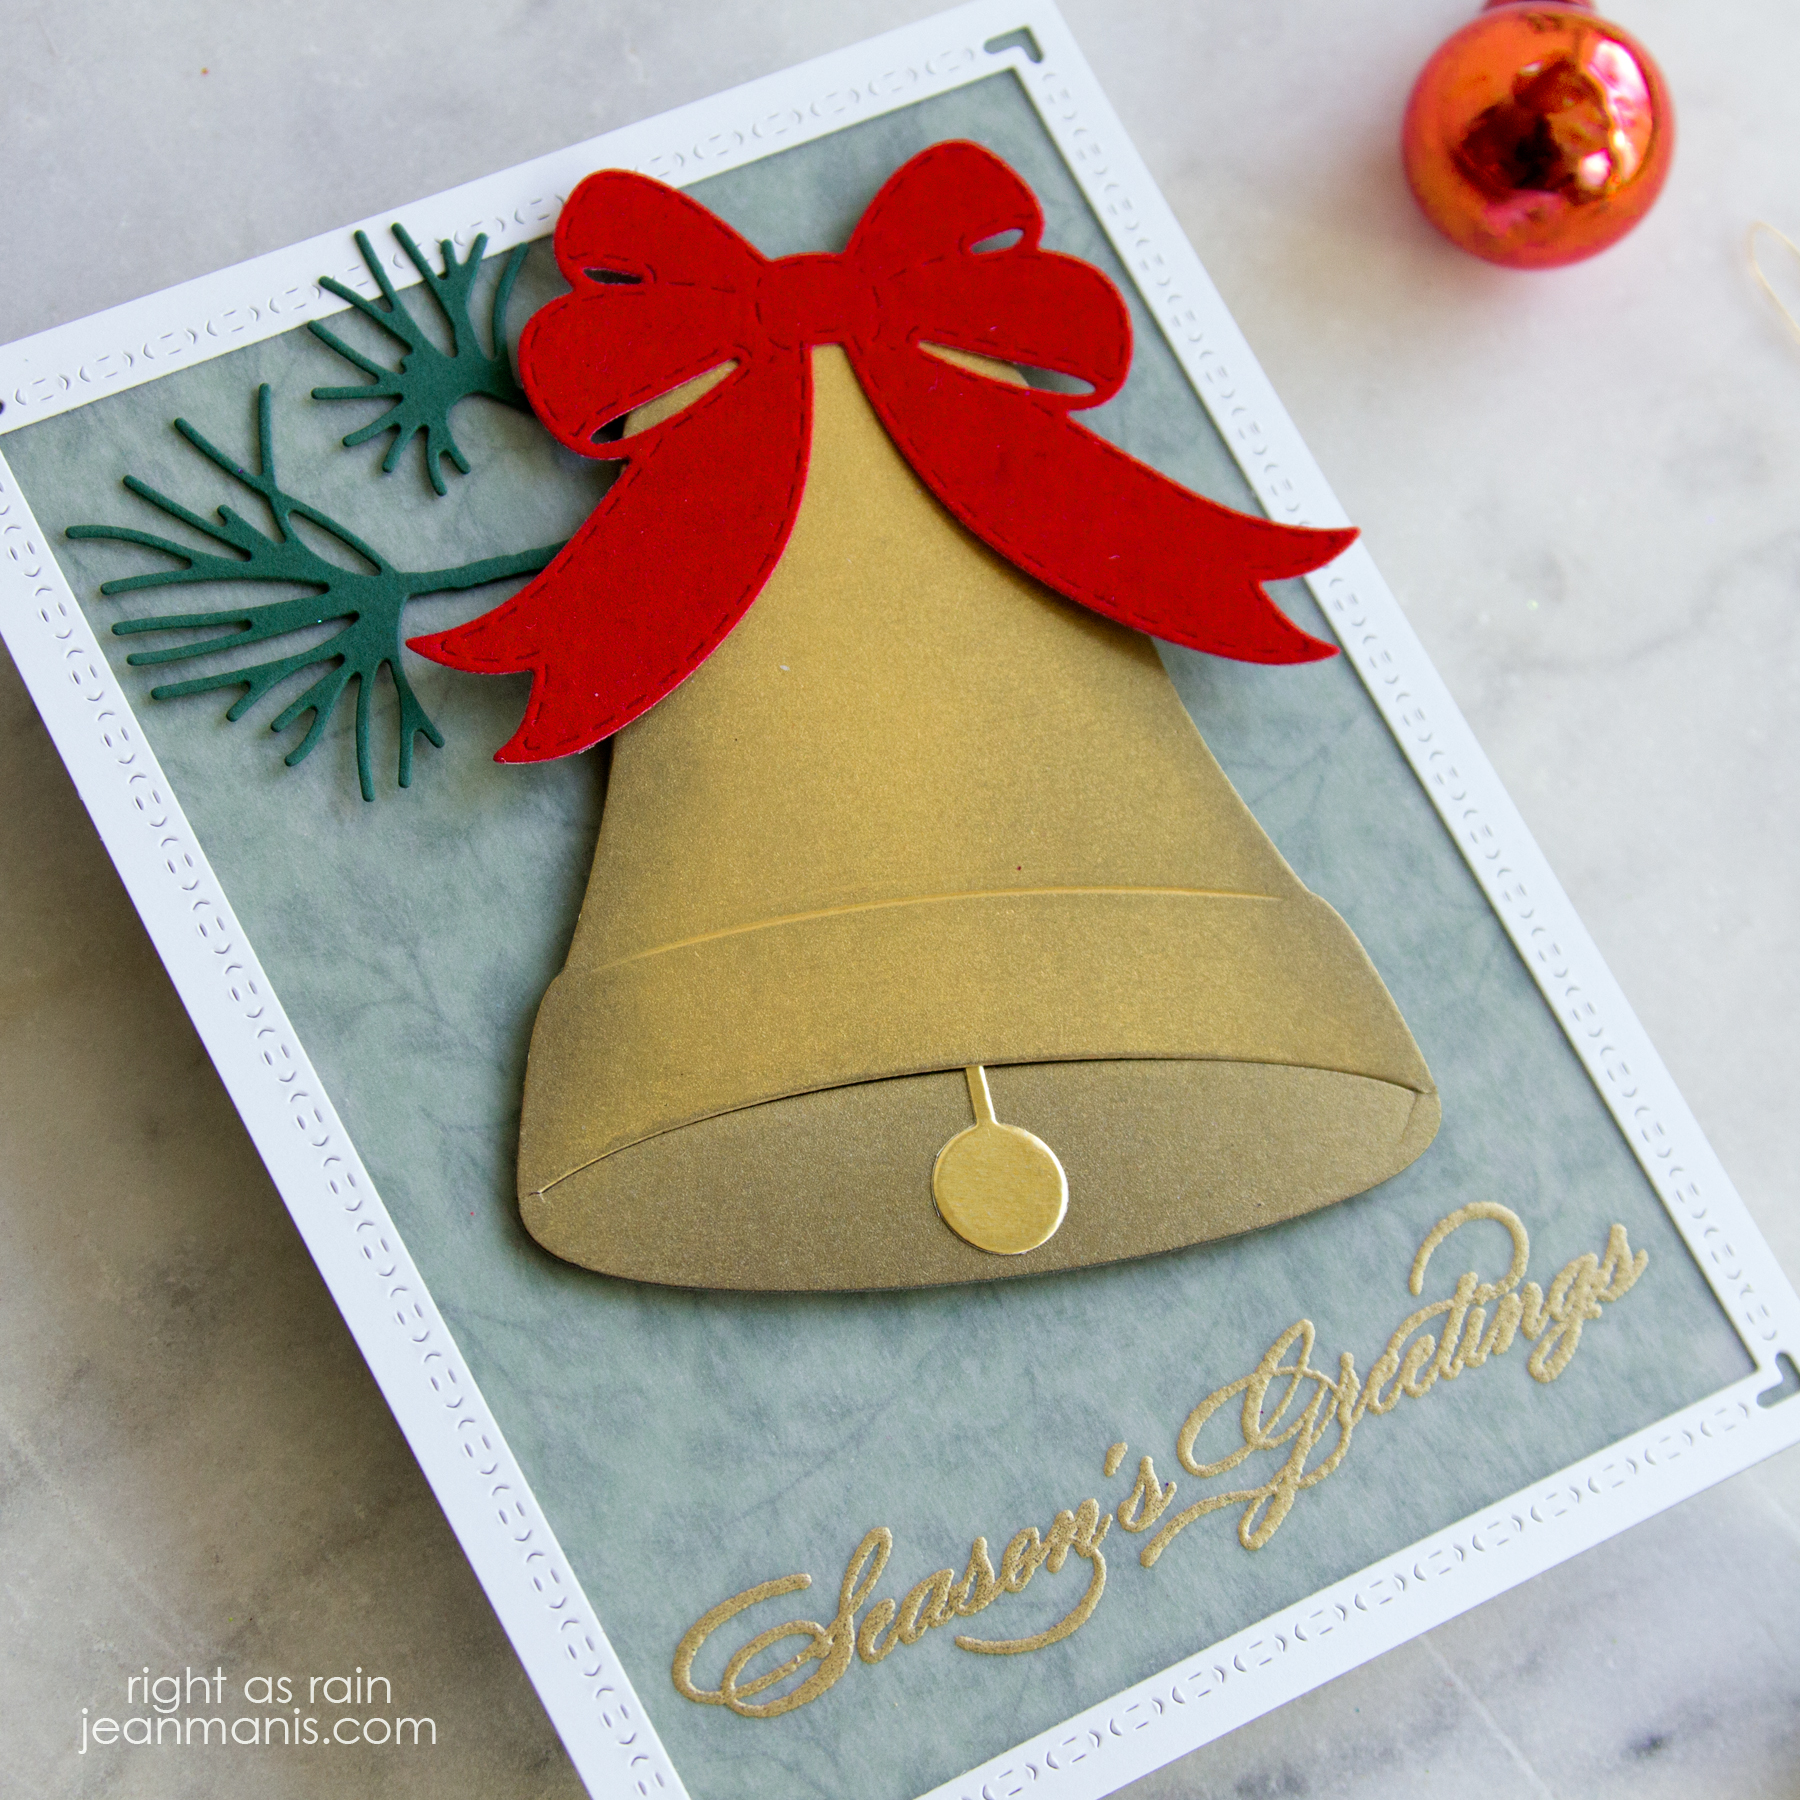
Hello! Today, I am sharing a Christmas card featuring the just-released Penny Black 51-725 Bold Bell die set (from the Making Spirits Bright release) that I paired with other Penny Black products, old and new.

Penny Black Season's Greetings

  • Heat-emboss, in gold, the 40-345 Red Star sentiment on vellum.
  • With double-sided adhesive, adhere sentiment to patterned paper. Trim to A2-size.
  • Die-cut border with die in 51-709 Stitched Frames set. Add to sentiment panel.
  • From gold cardstock, cut the 51-725 Bold Bell body and shade with Black Soot ink. Die-cut bell from gold foil cardstock and bow from red velvet cardstock. Assemble pieces.
  • Die-cut sprig with 51-705 Peaceful Pines set.
  • Add bell to card with foam adhesive, tucking the sprig underneath.

Penny Black Season's Greetings


Penny Black Making Spirits Bright

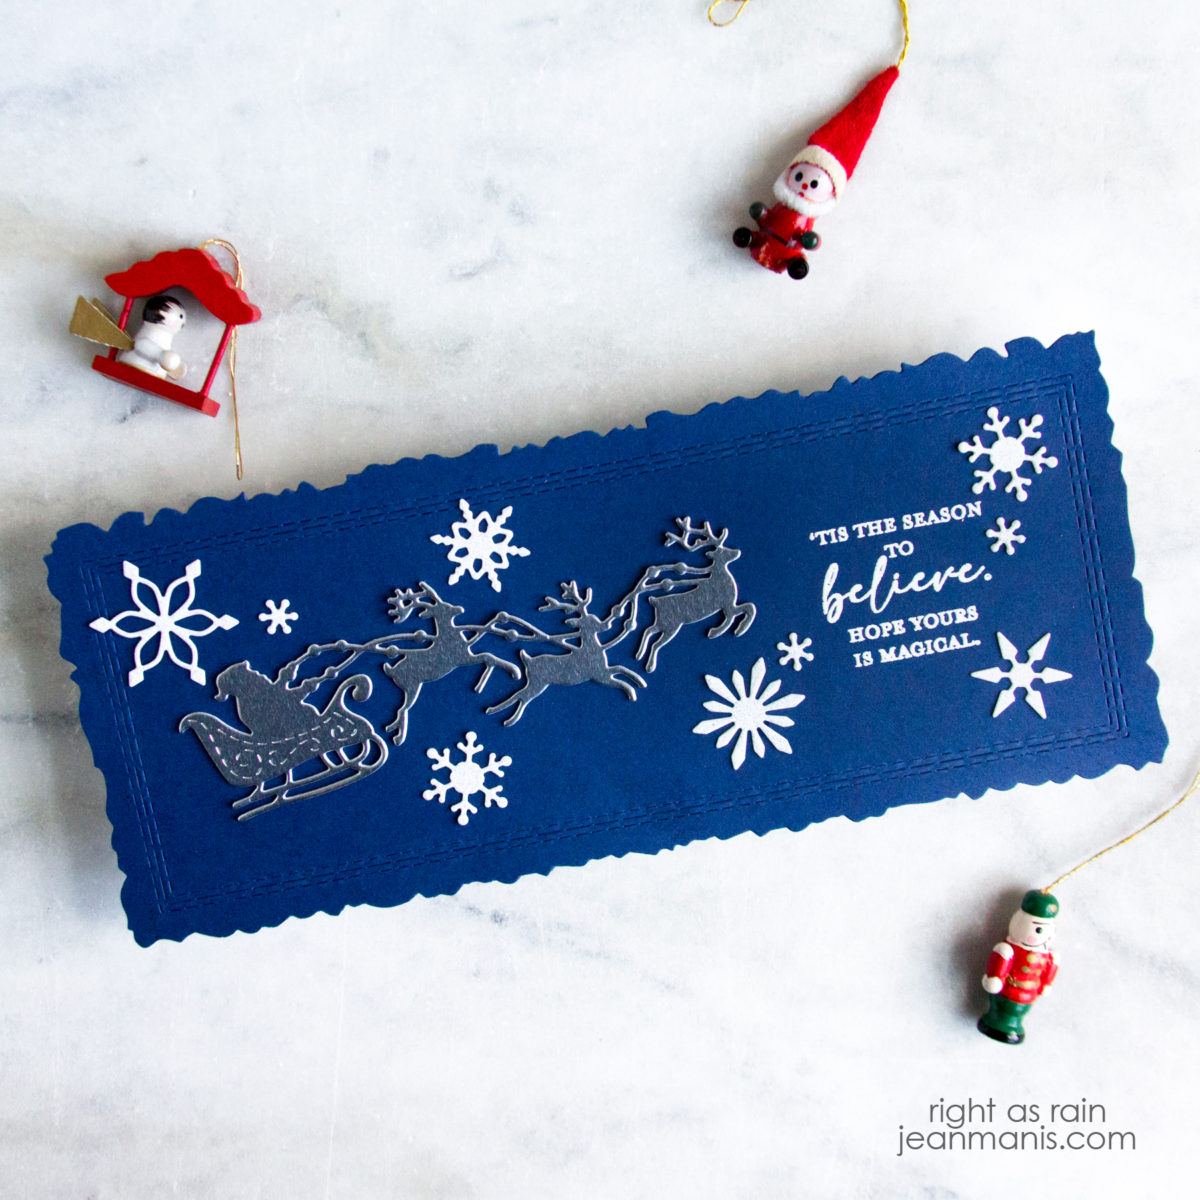
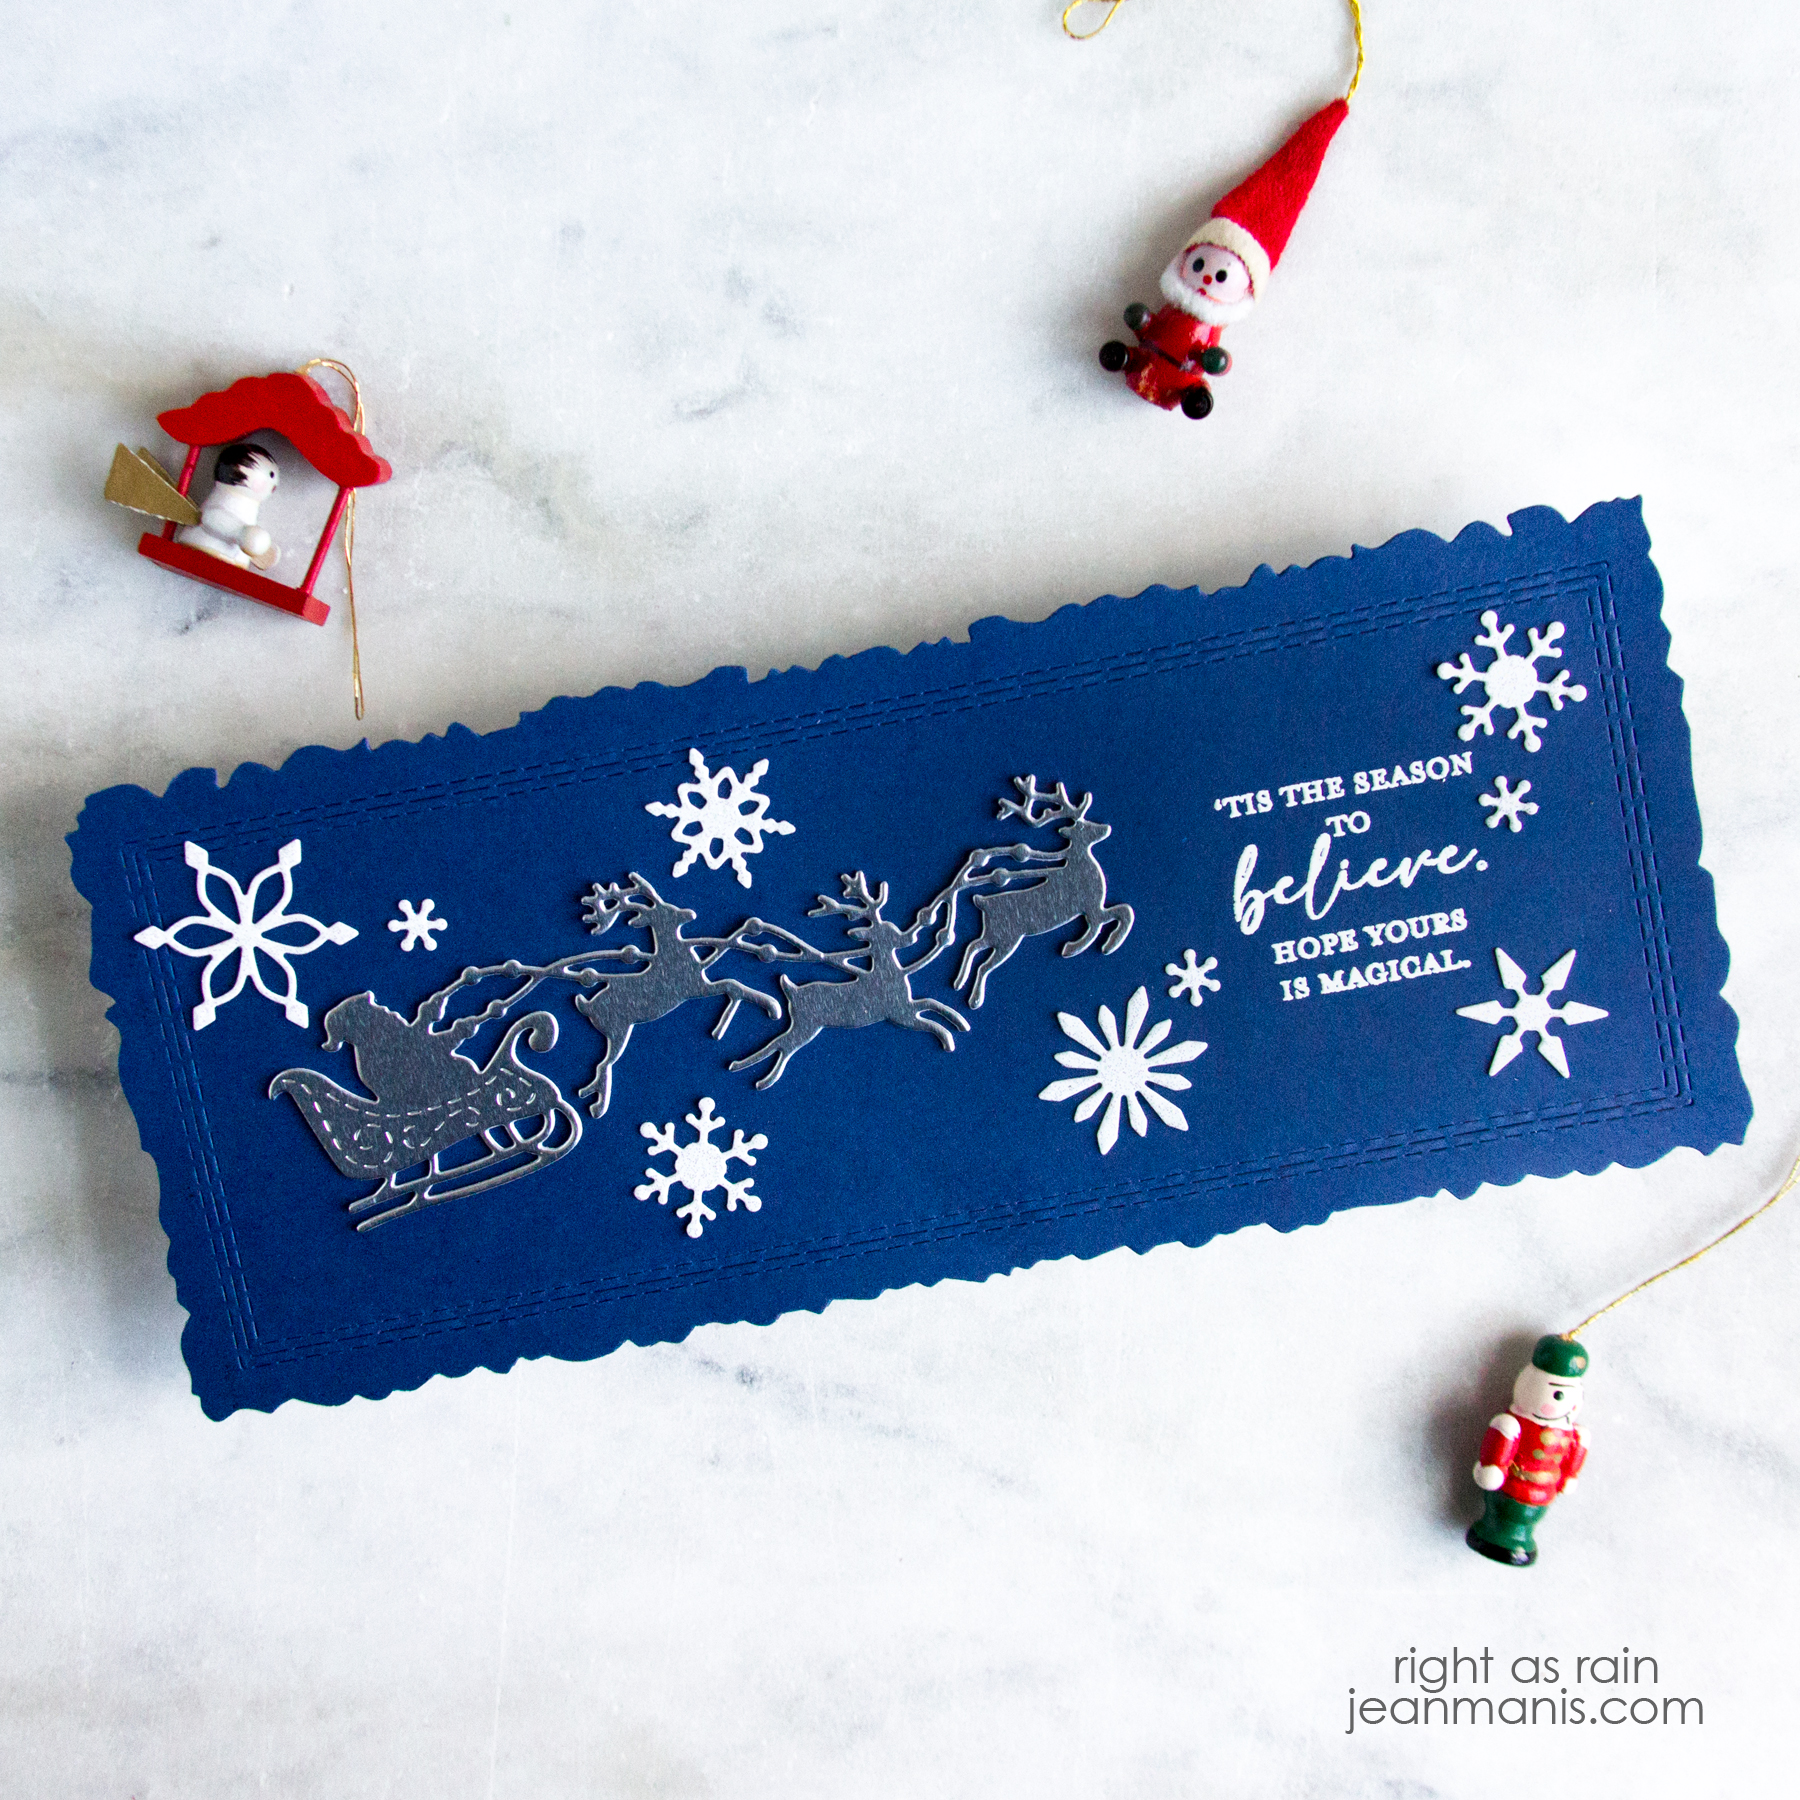
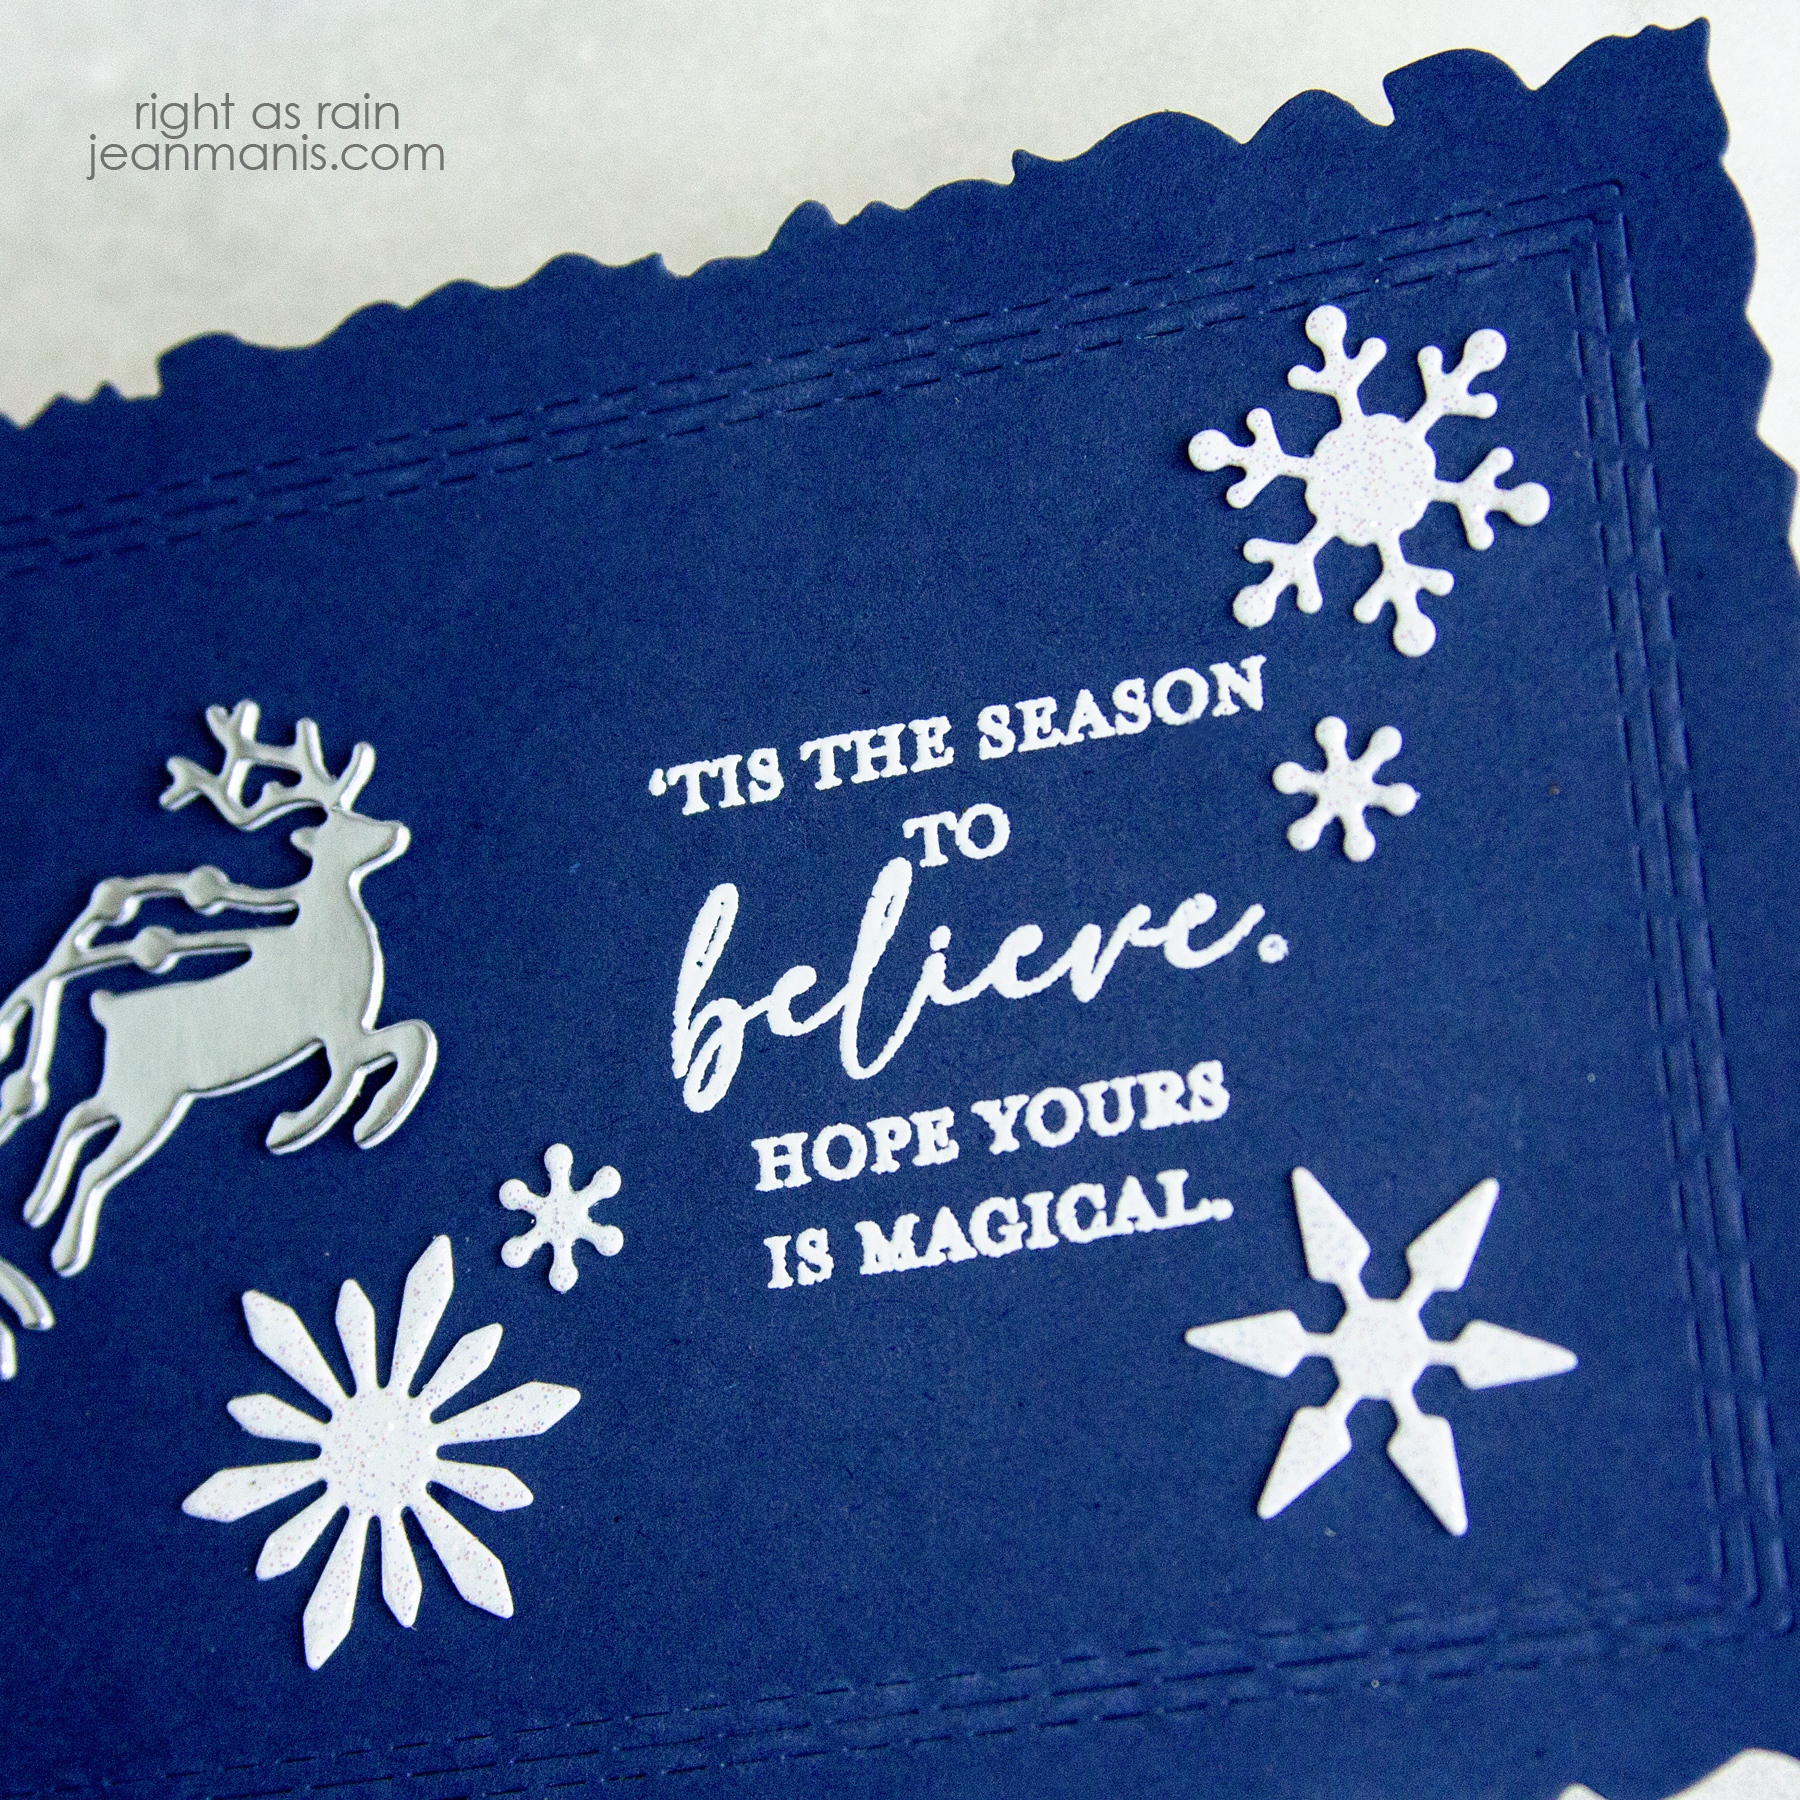
‘Tis the season! Today, I am sharing a slimline Christmas card created with a Penny Black sentiment set 30-868 Season To Believe from the Making Spirits Bright release paired with the new 51-718 Slimline Medley die set and other Penny Black die sets.

Penny Black Making Spirits Bright

Penny Black Making Spirits Bright