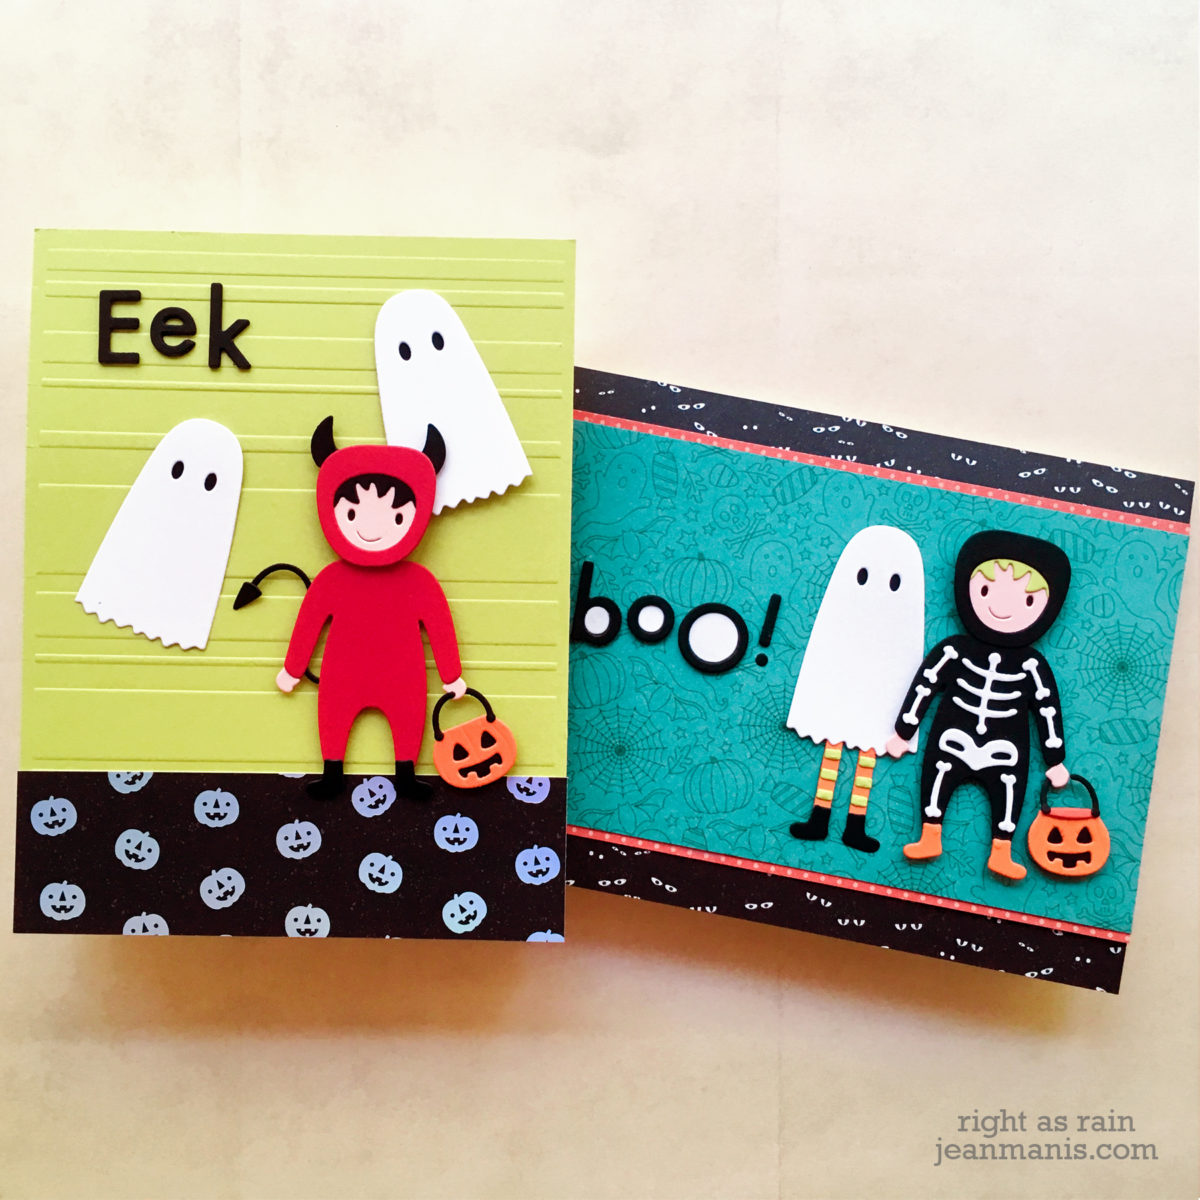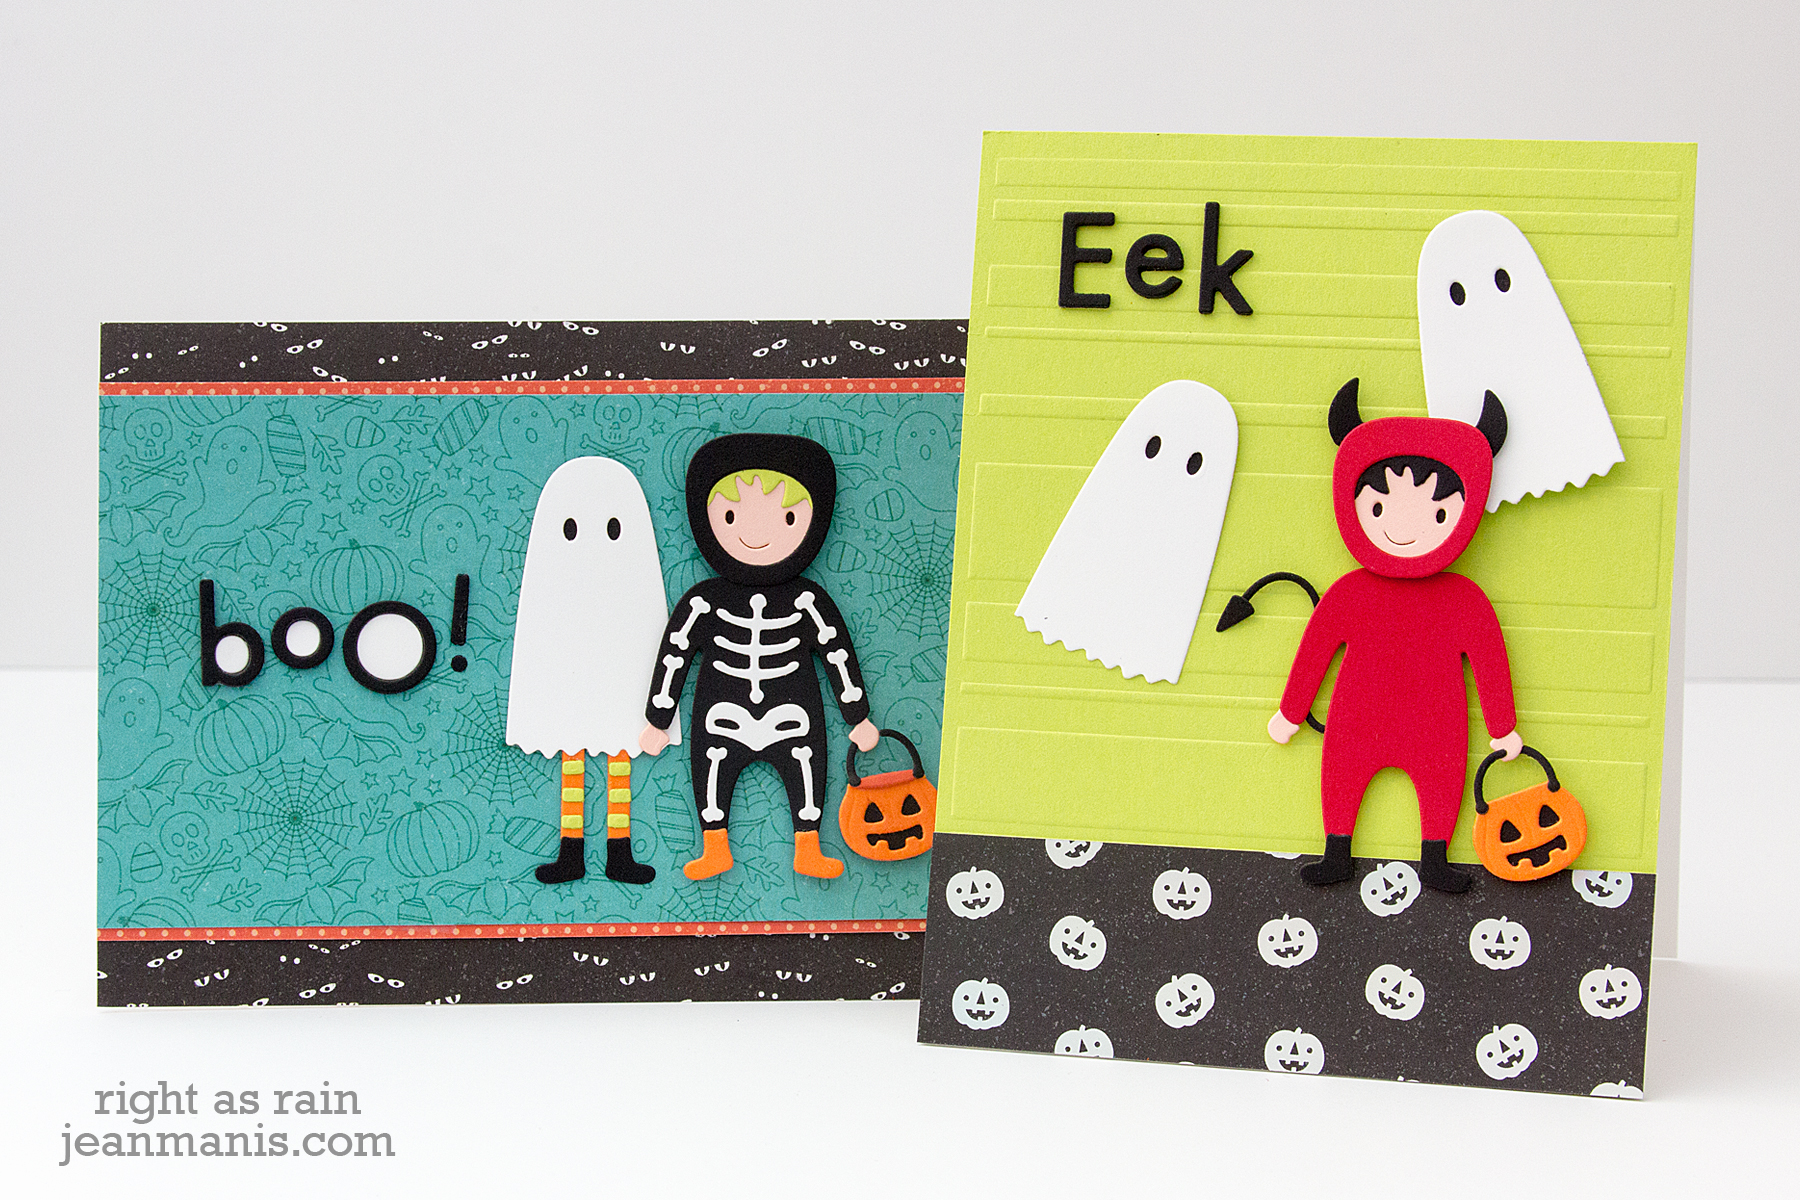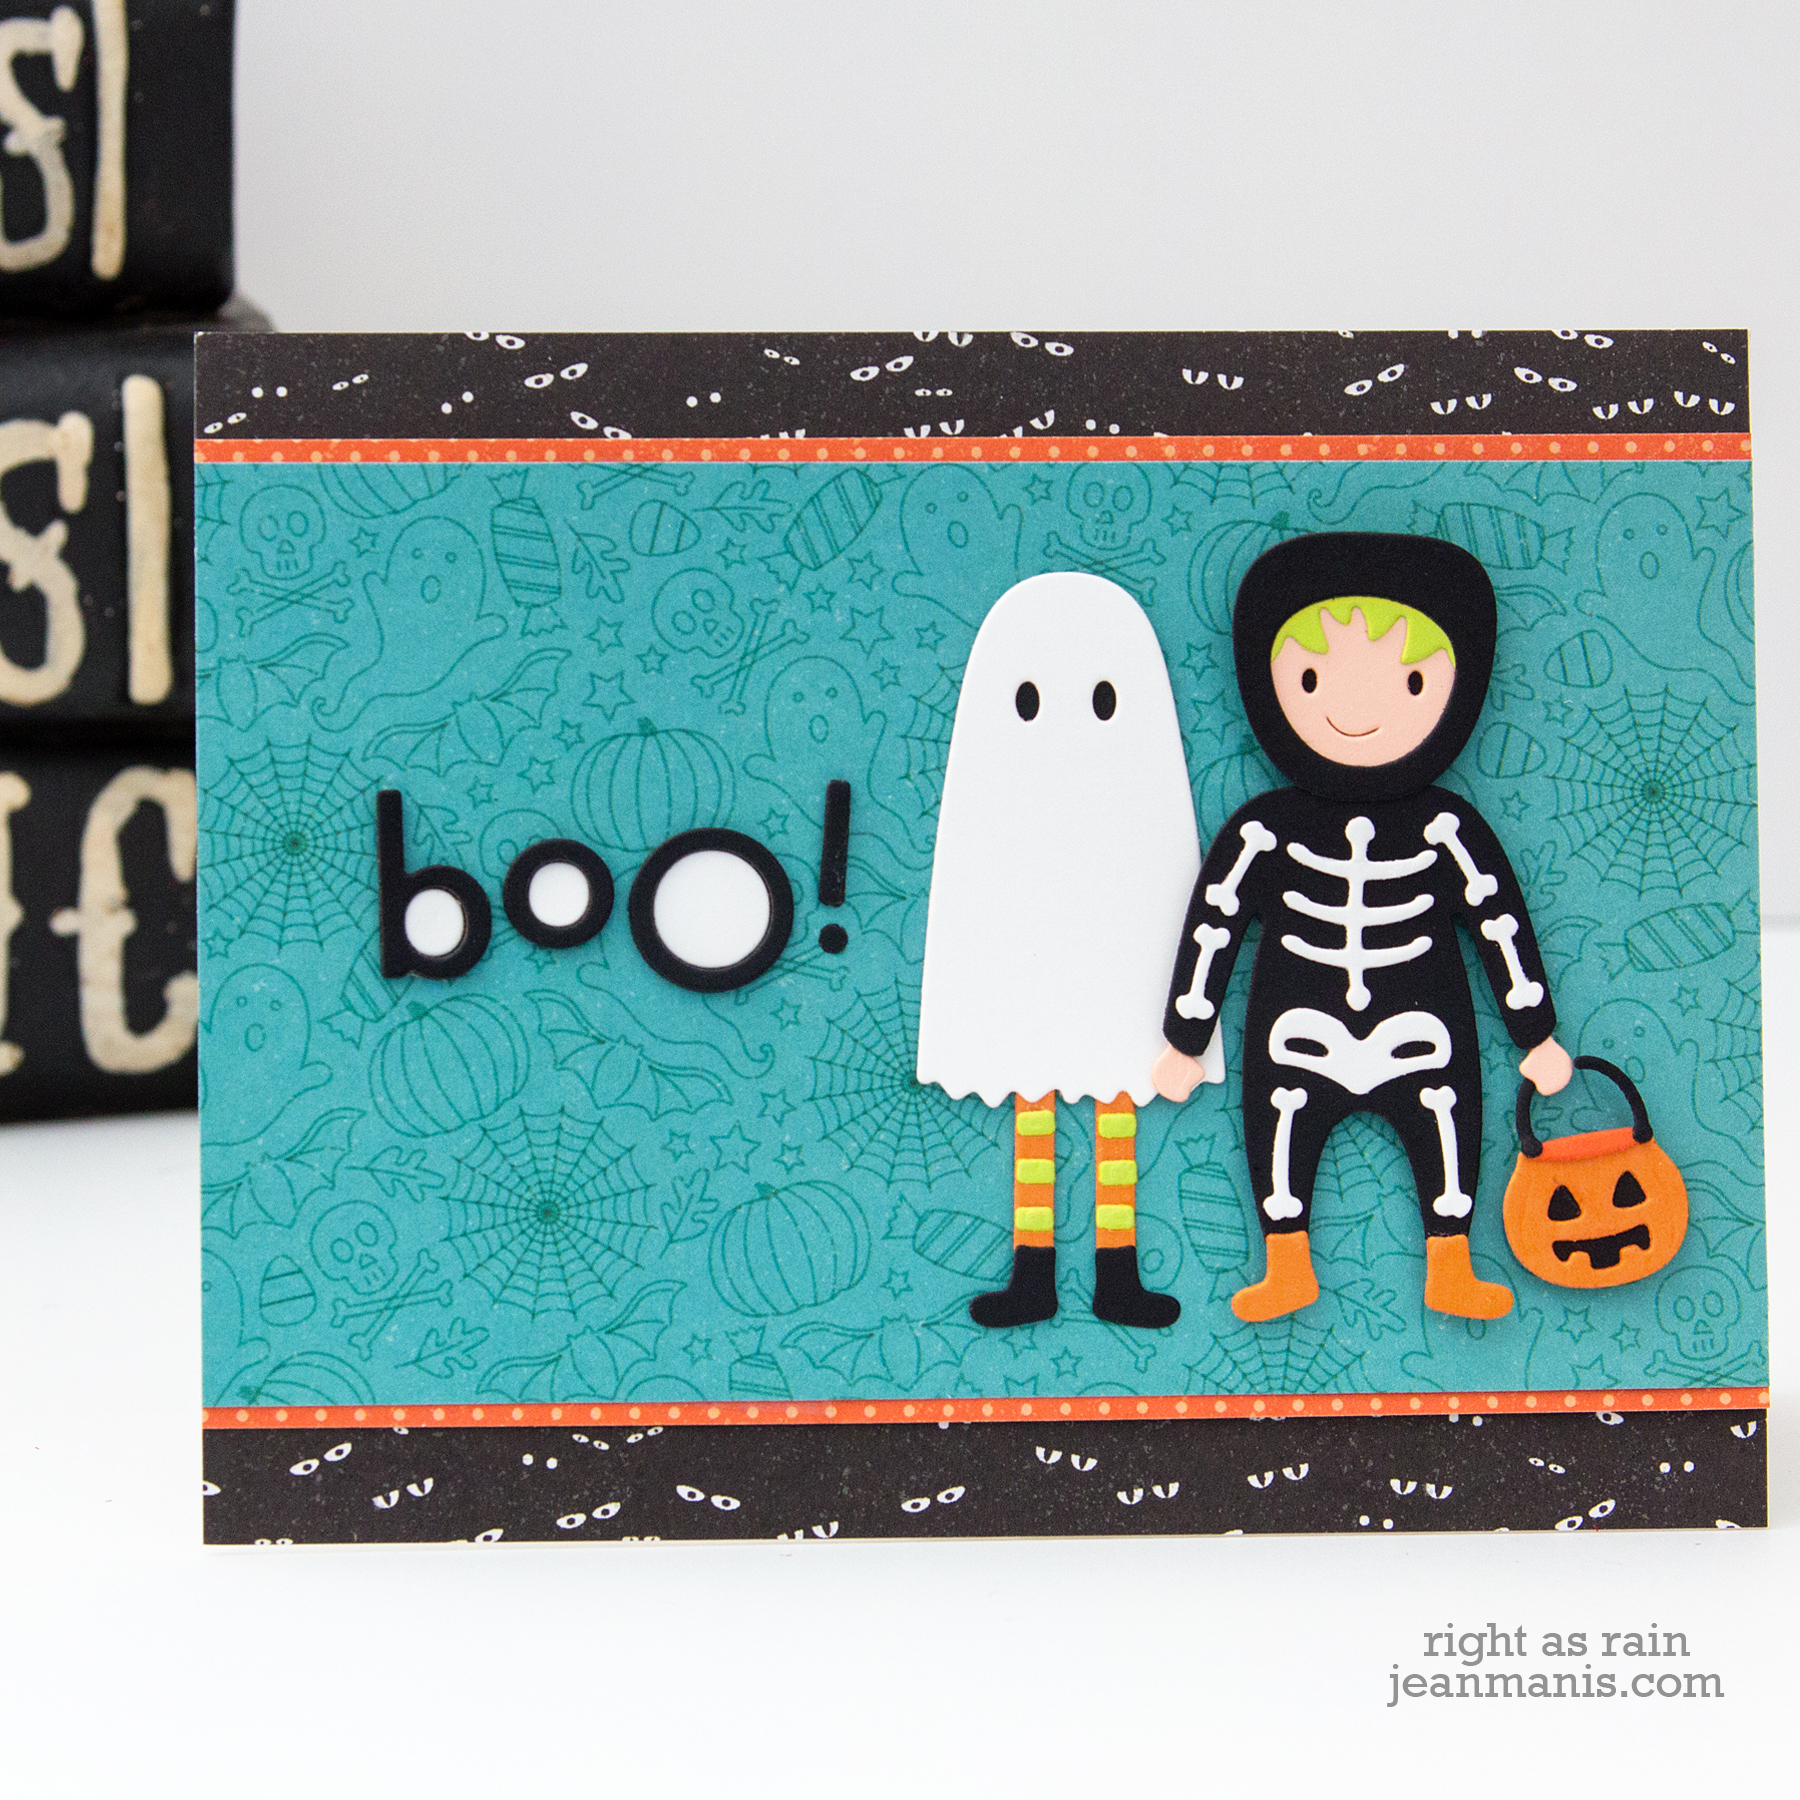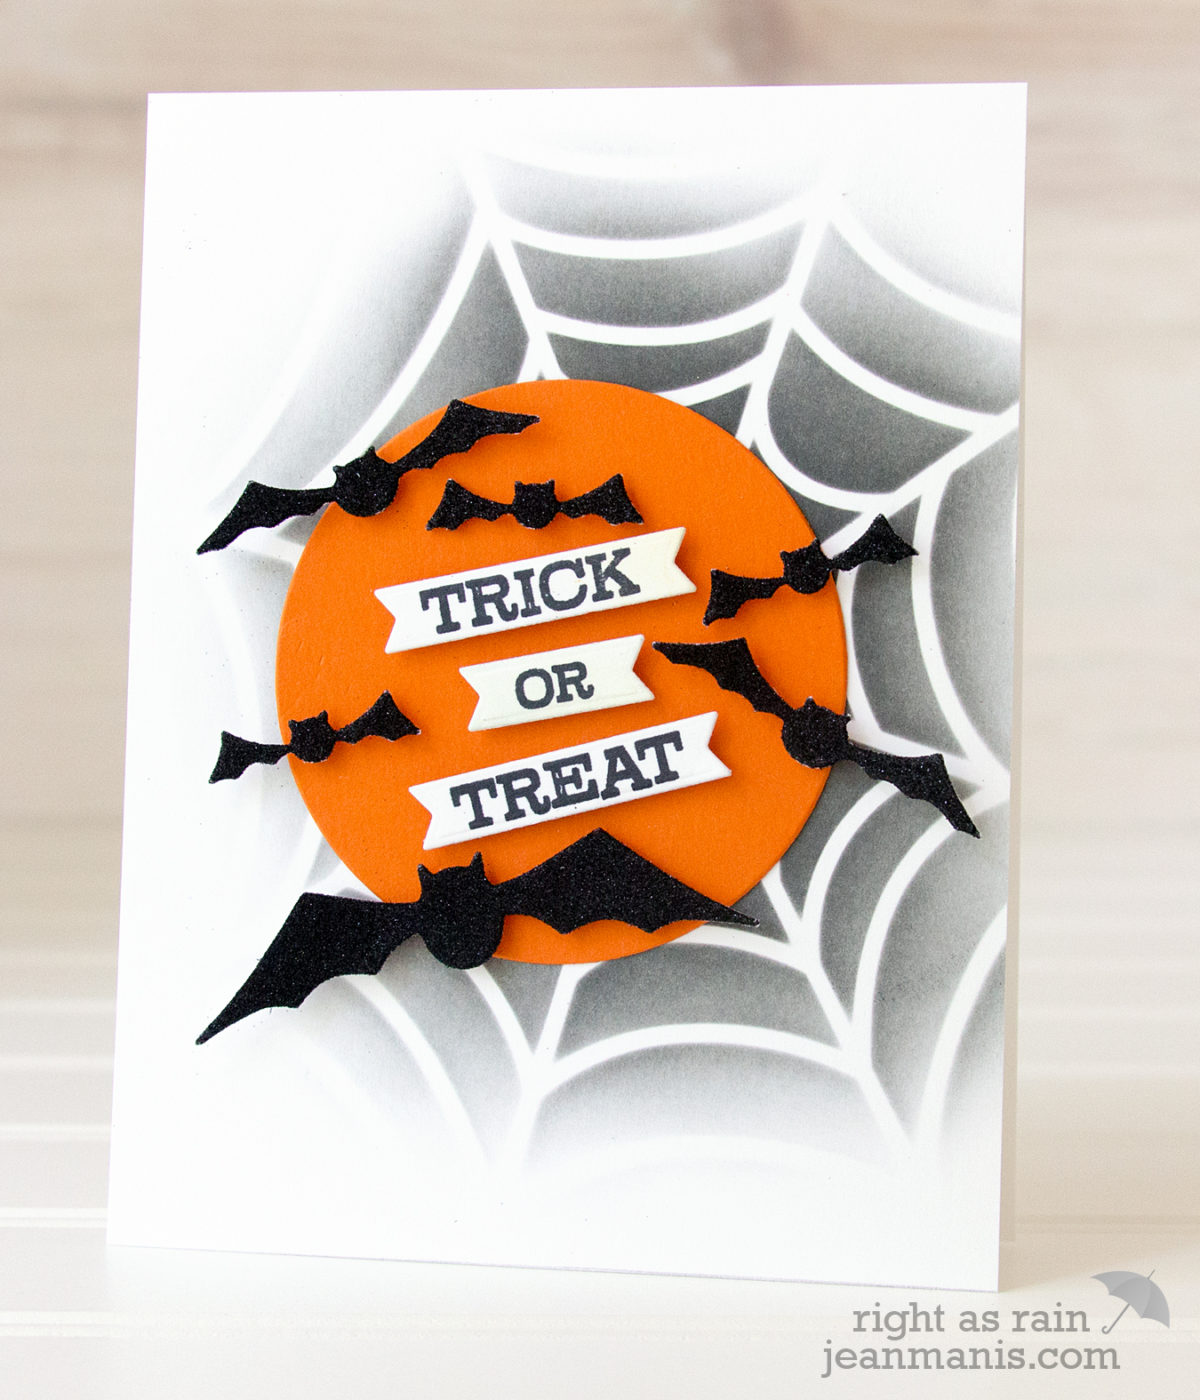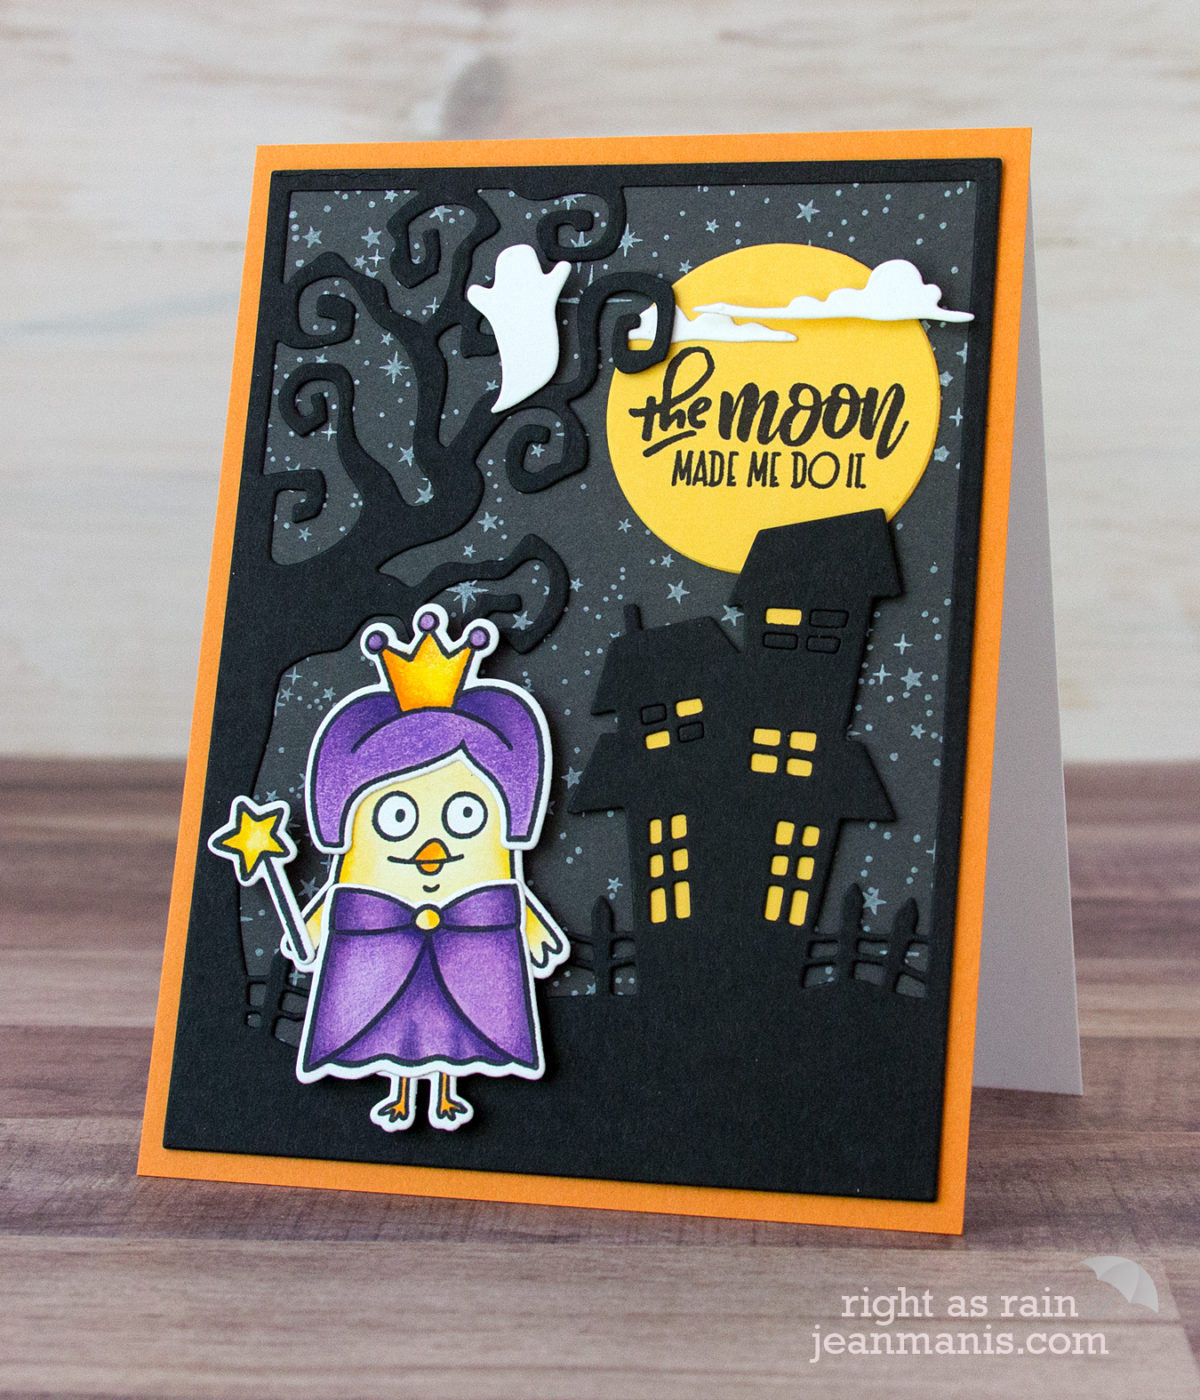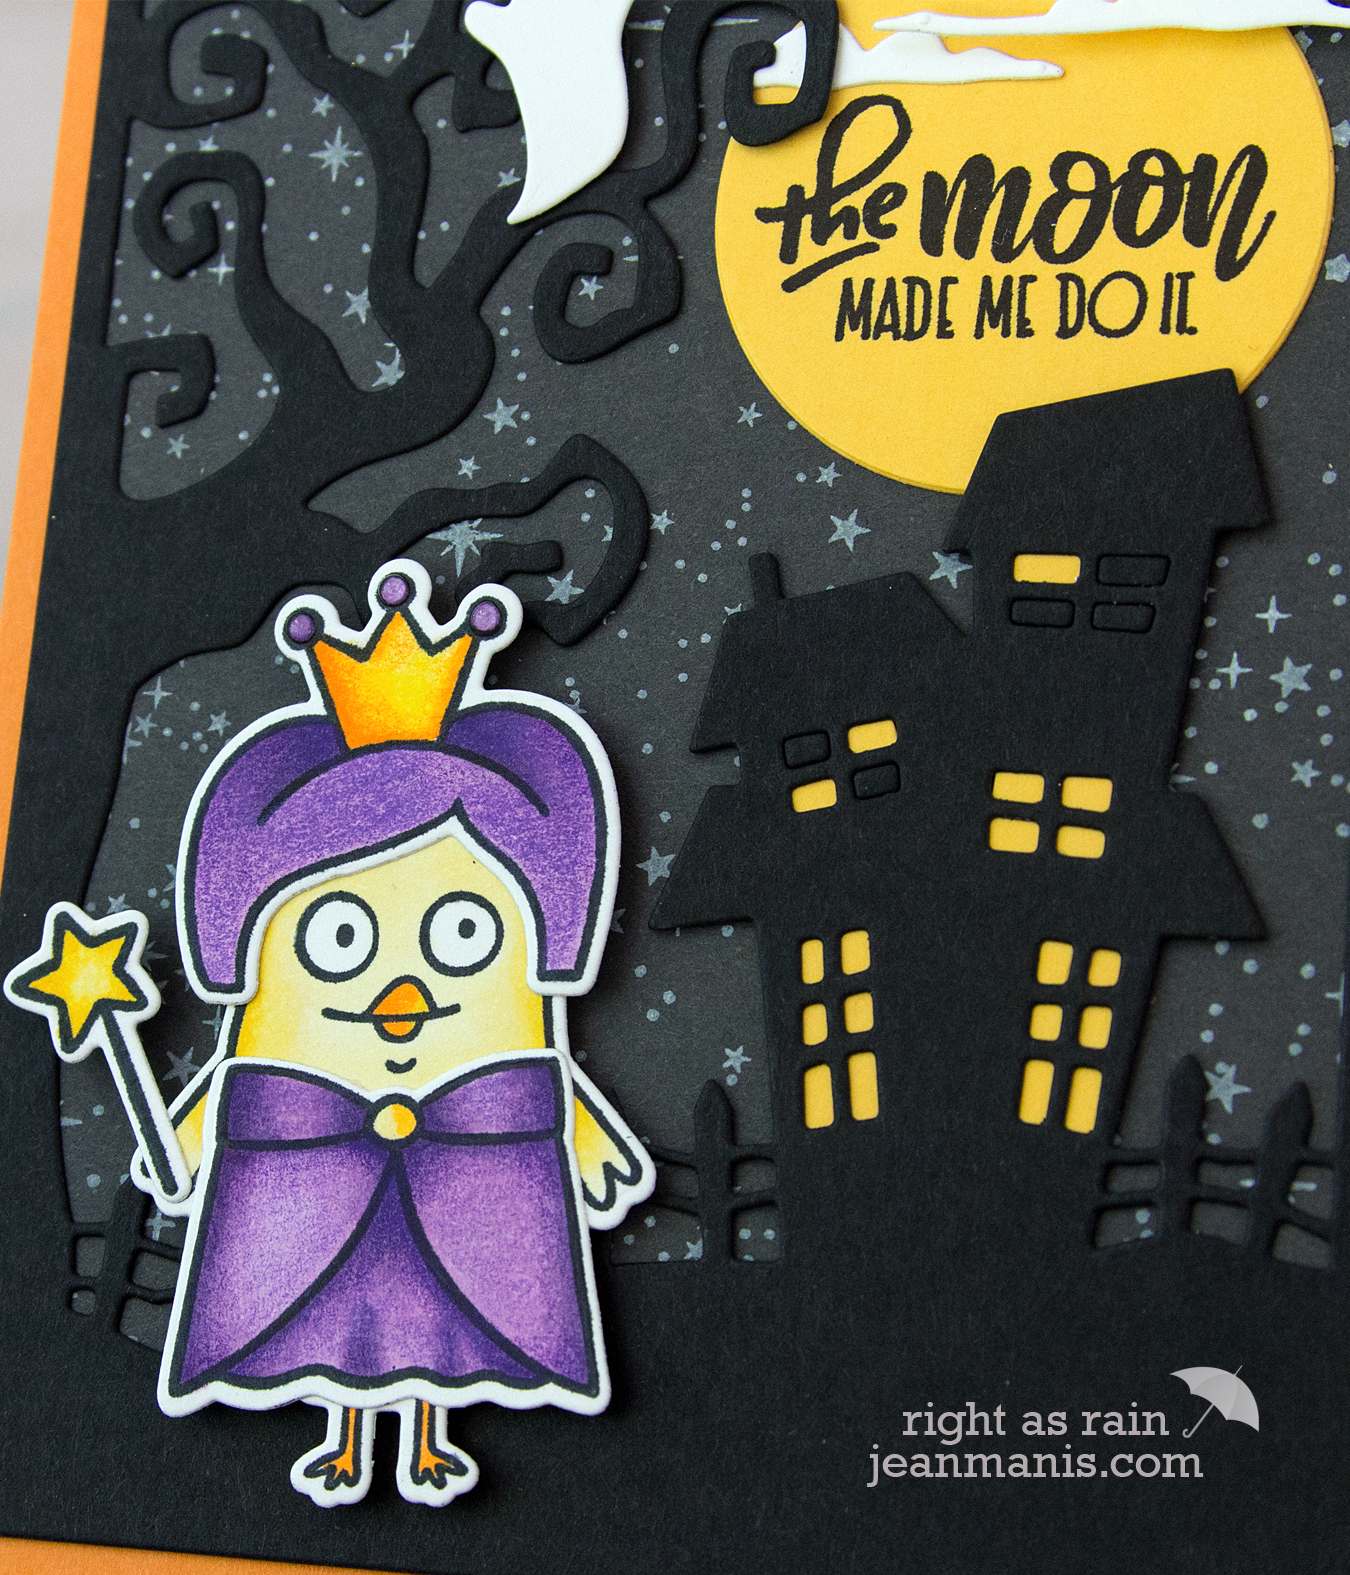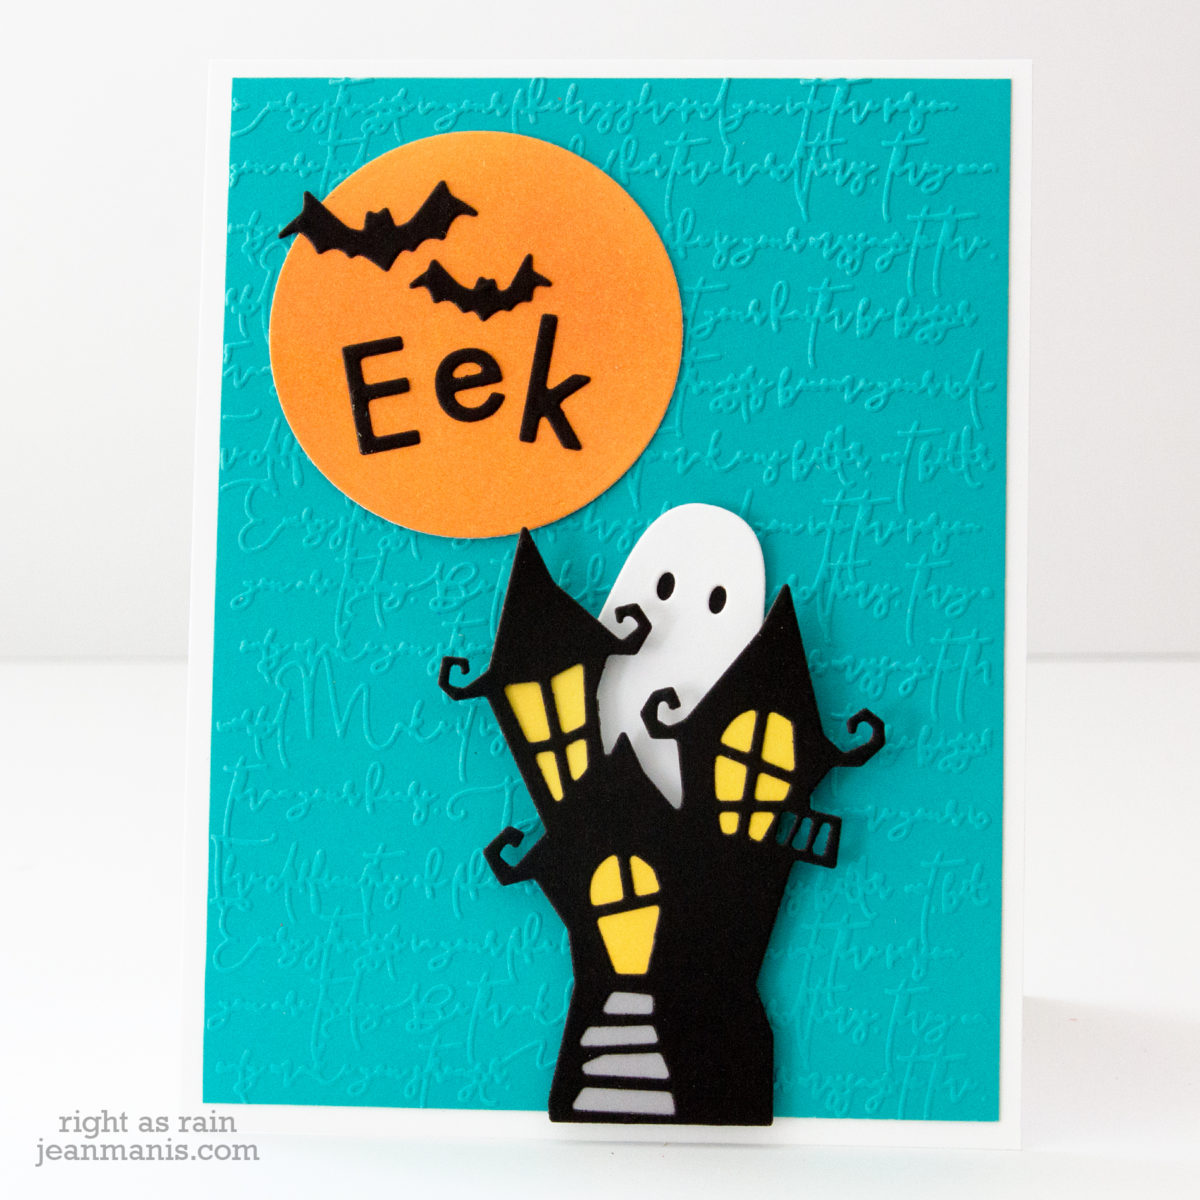
Hello! Today I am sharing a CAS Halloween card created with Spellbinders supplies.
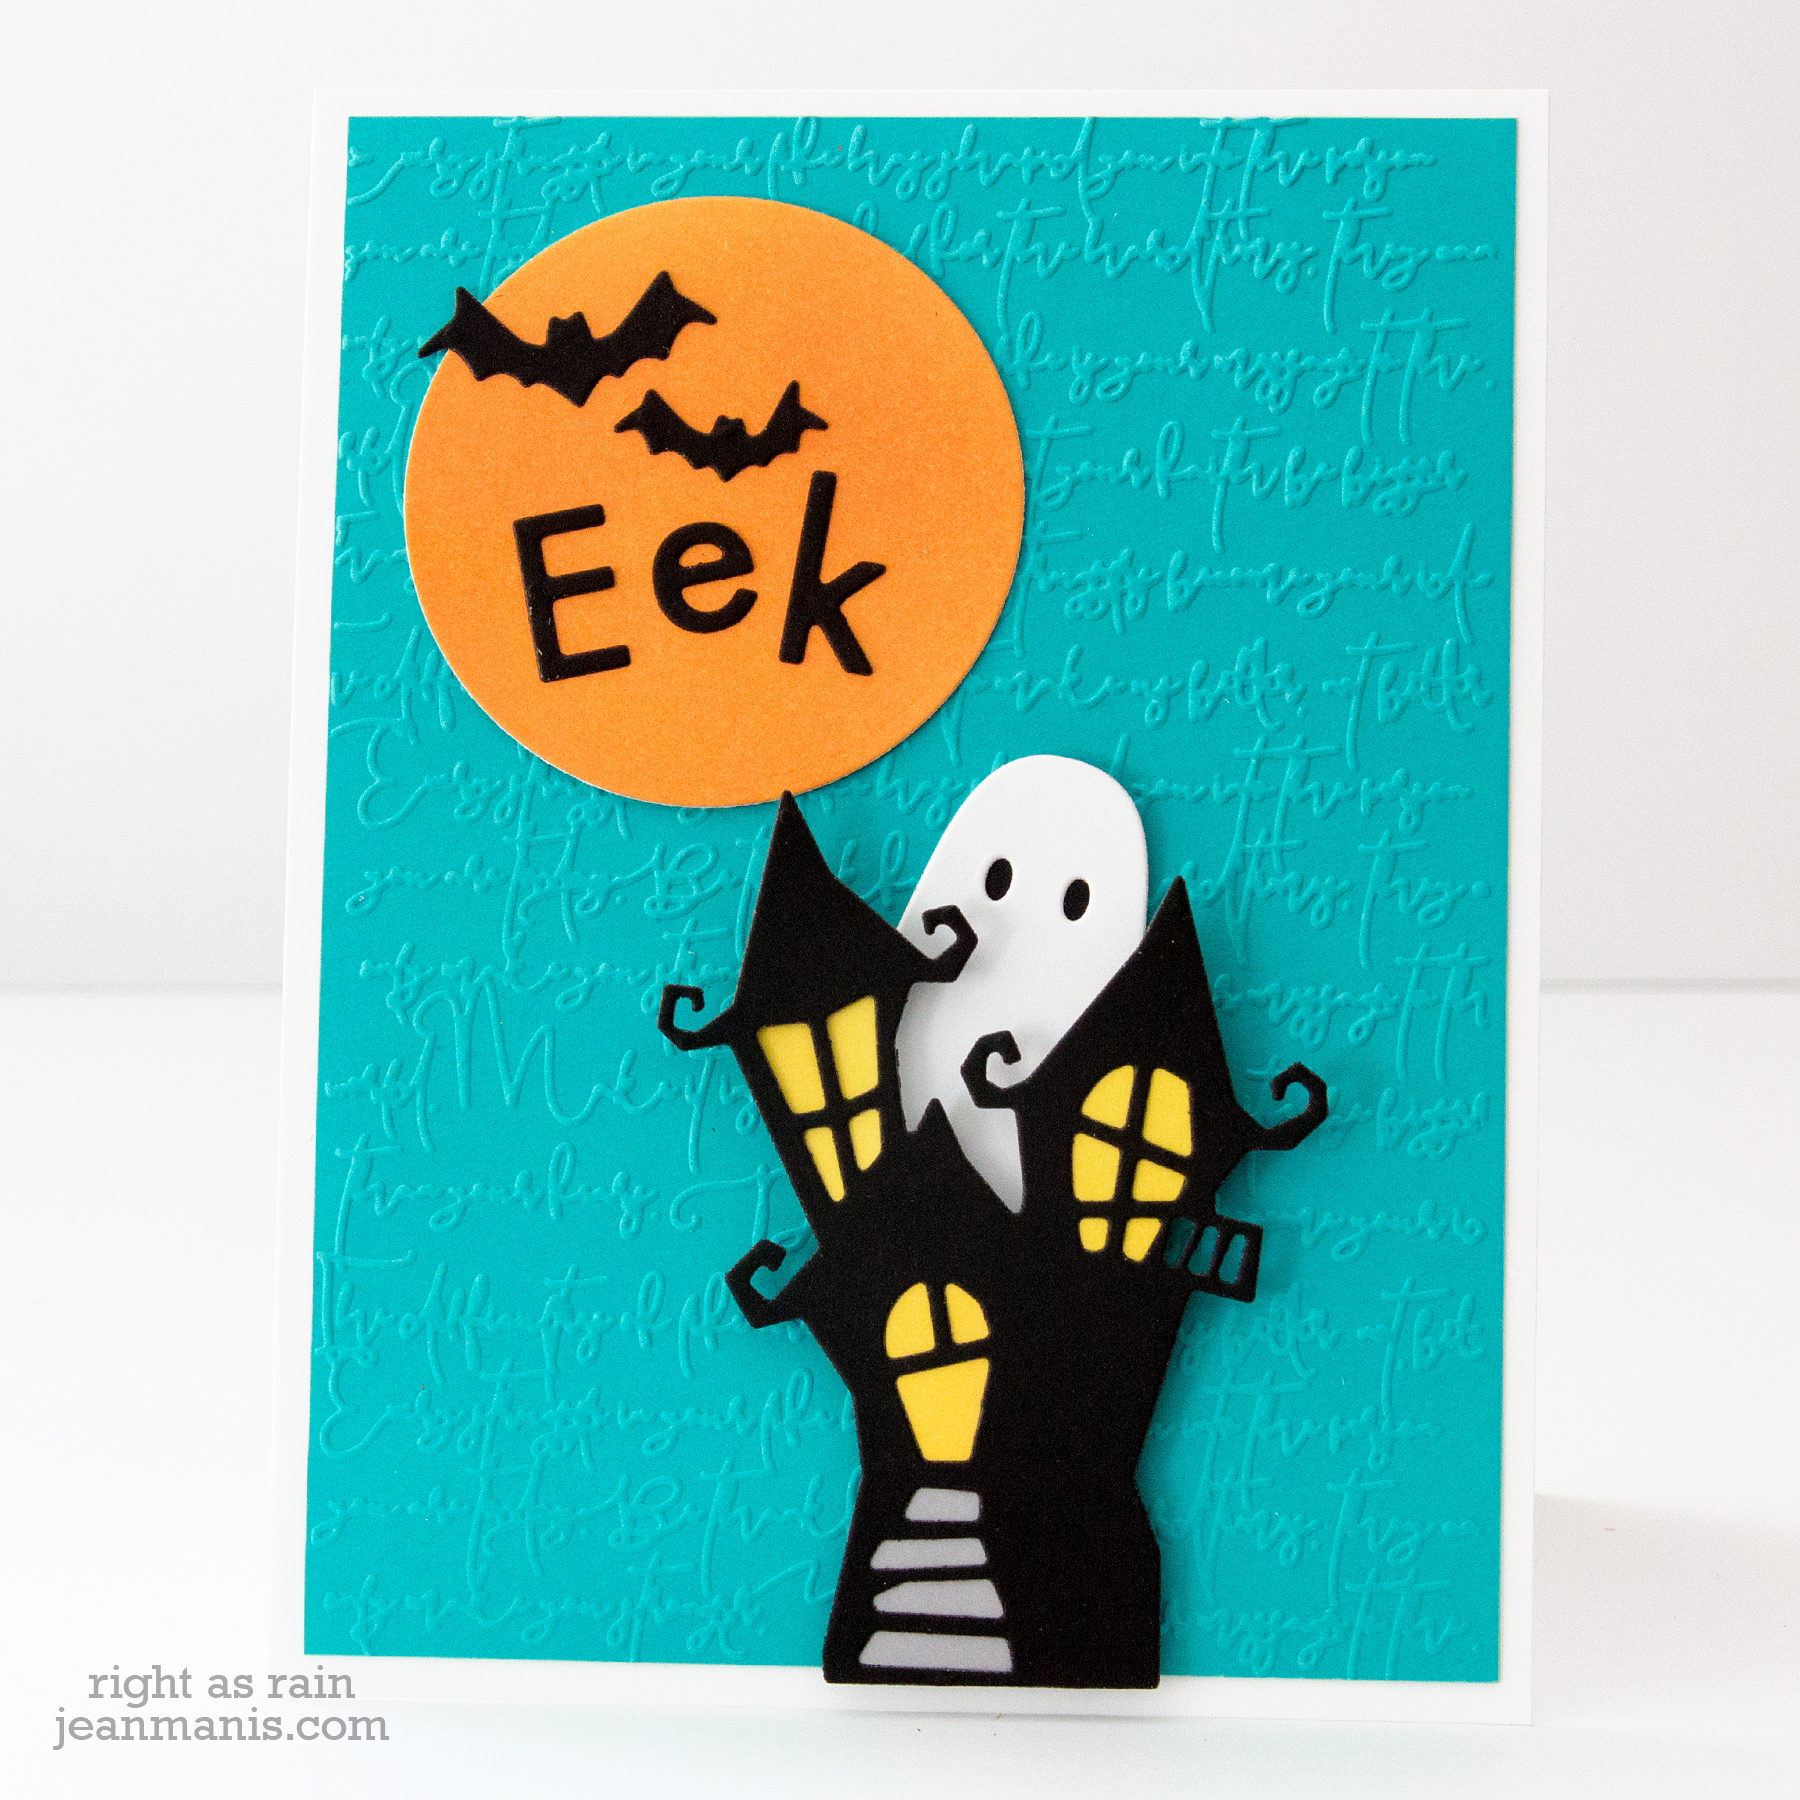
- I cut the bats and manor from Black Licorice cardstock with the Haunted Manor set.
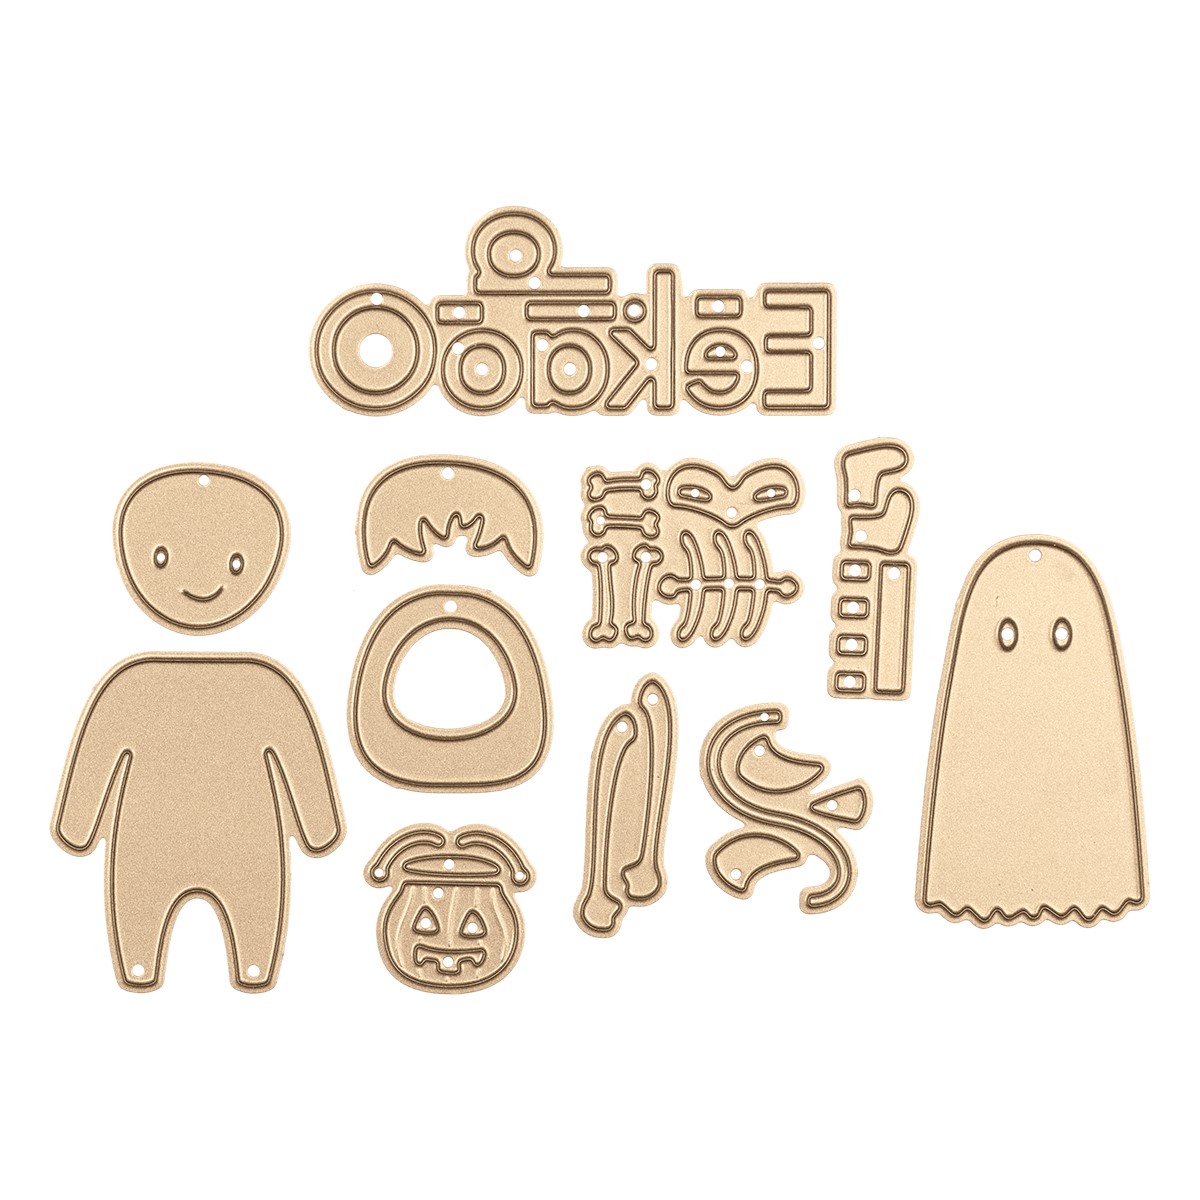
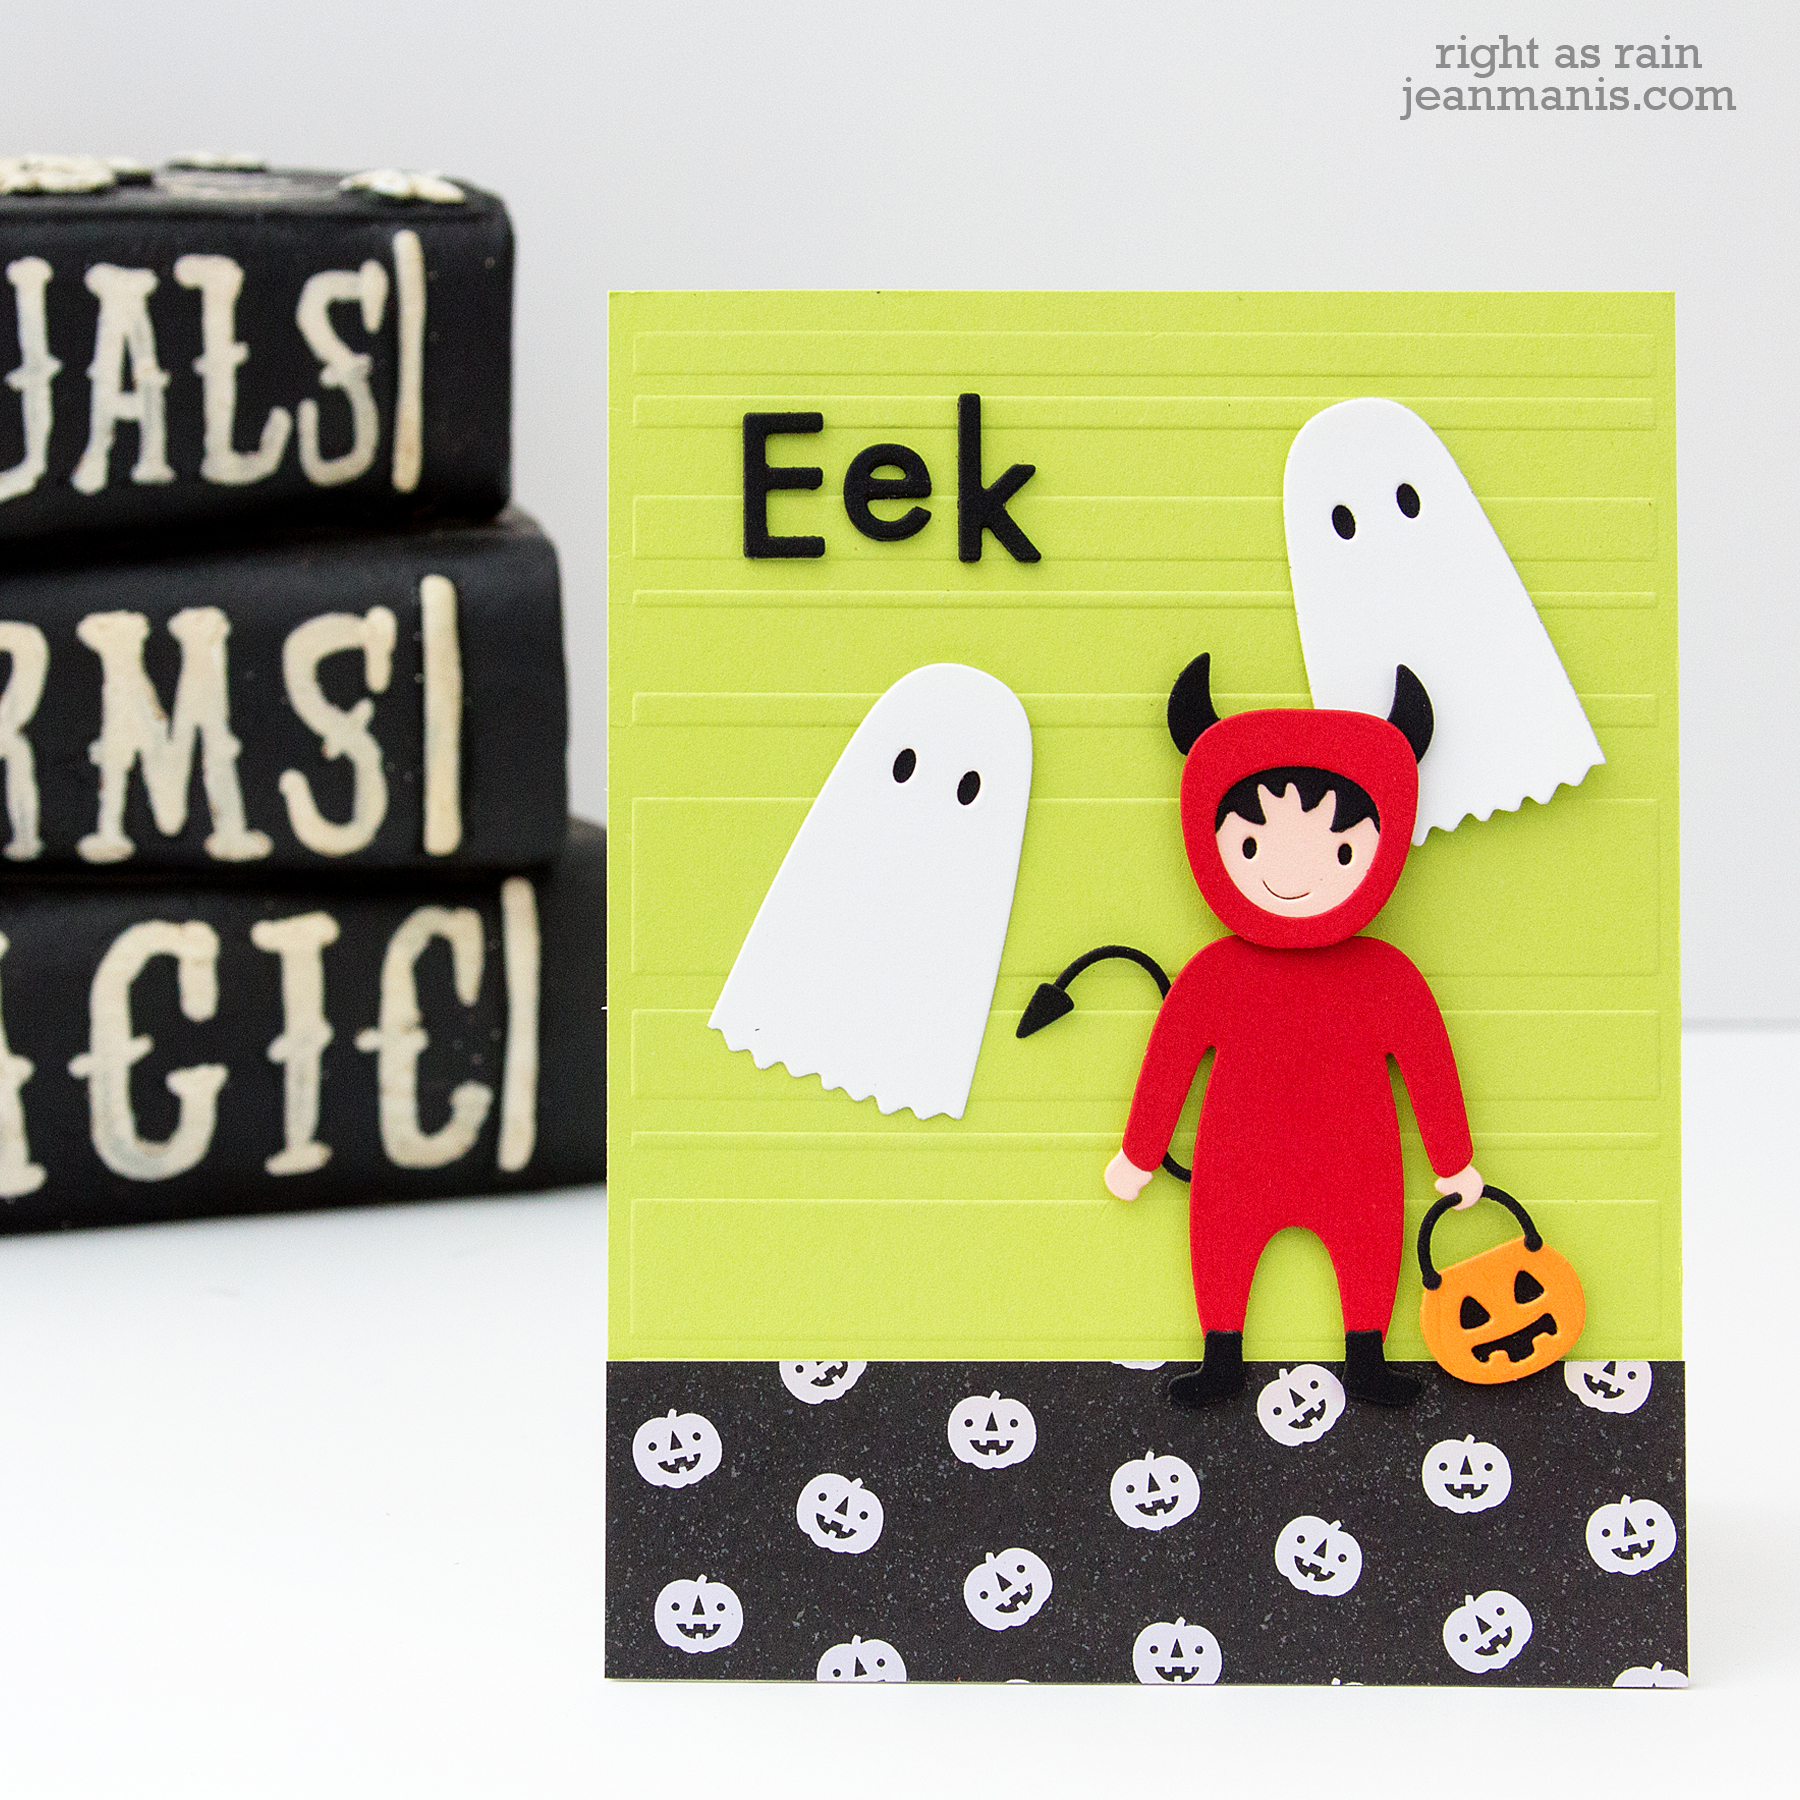
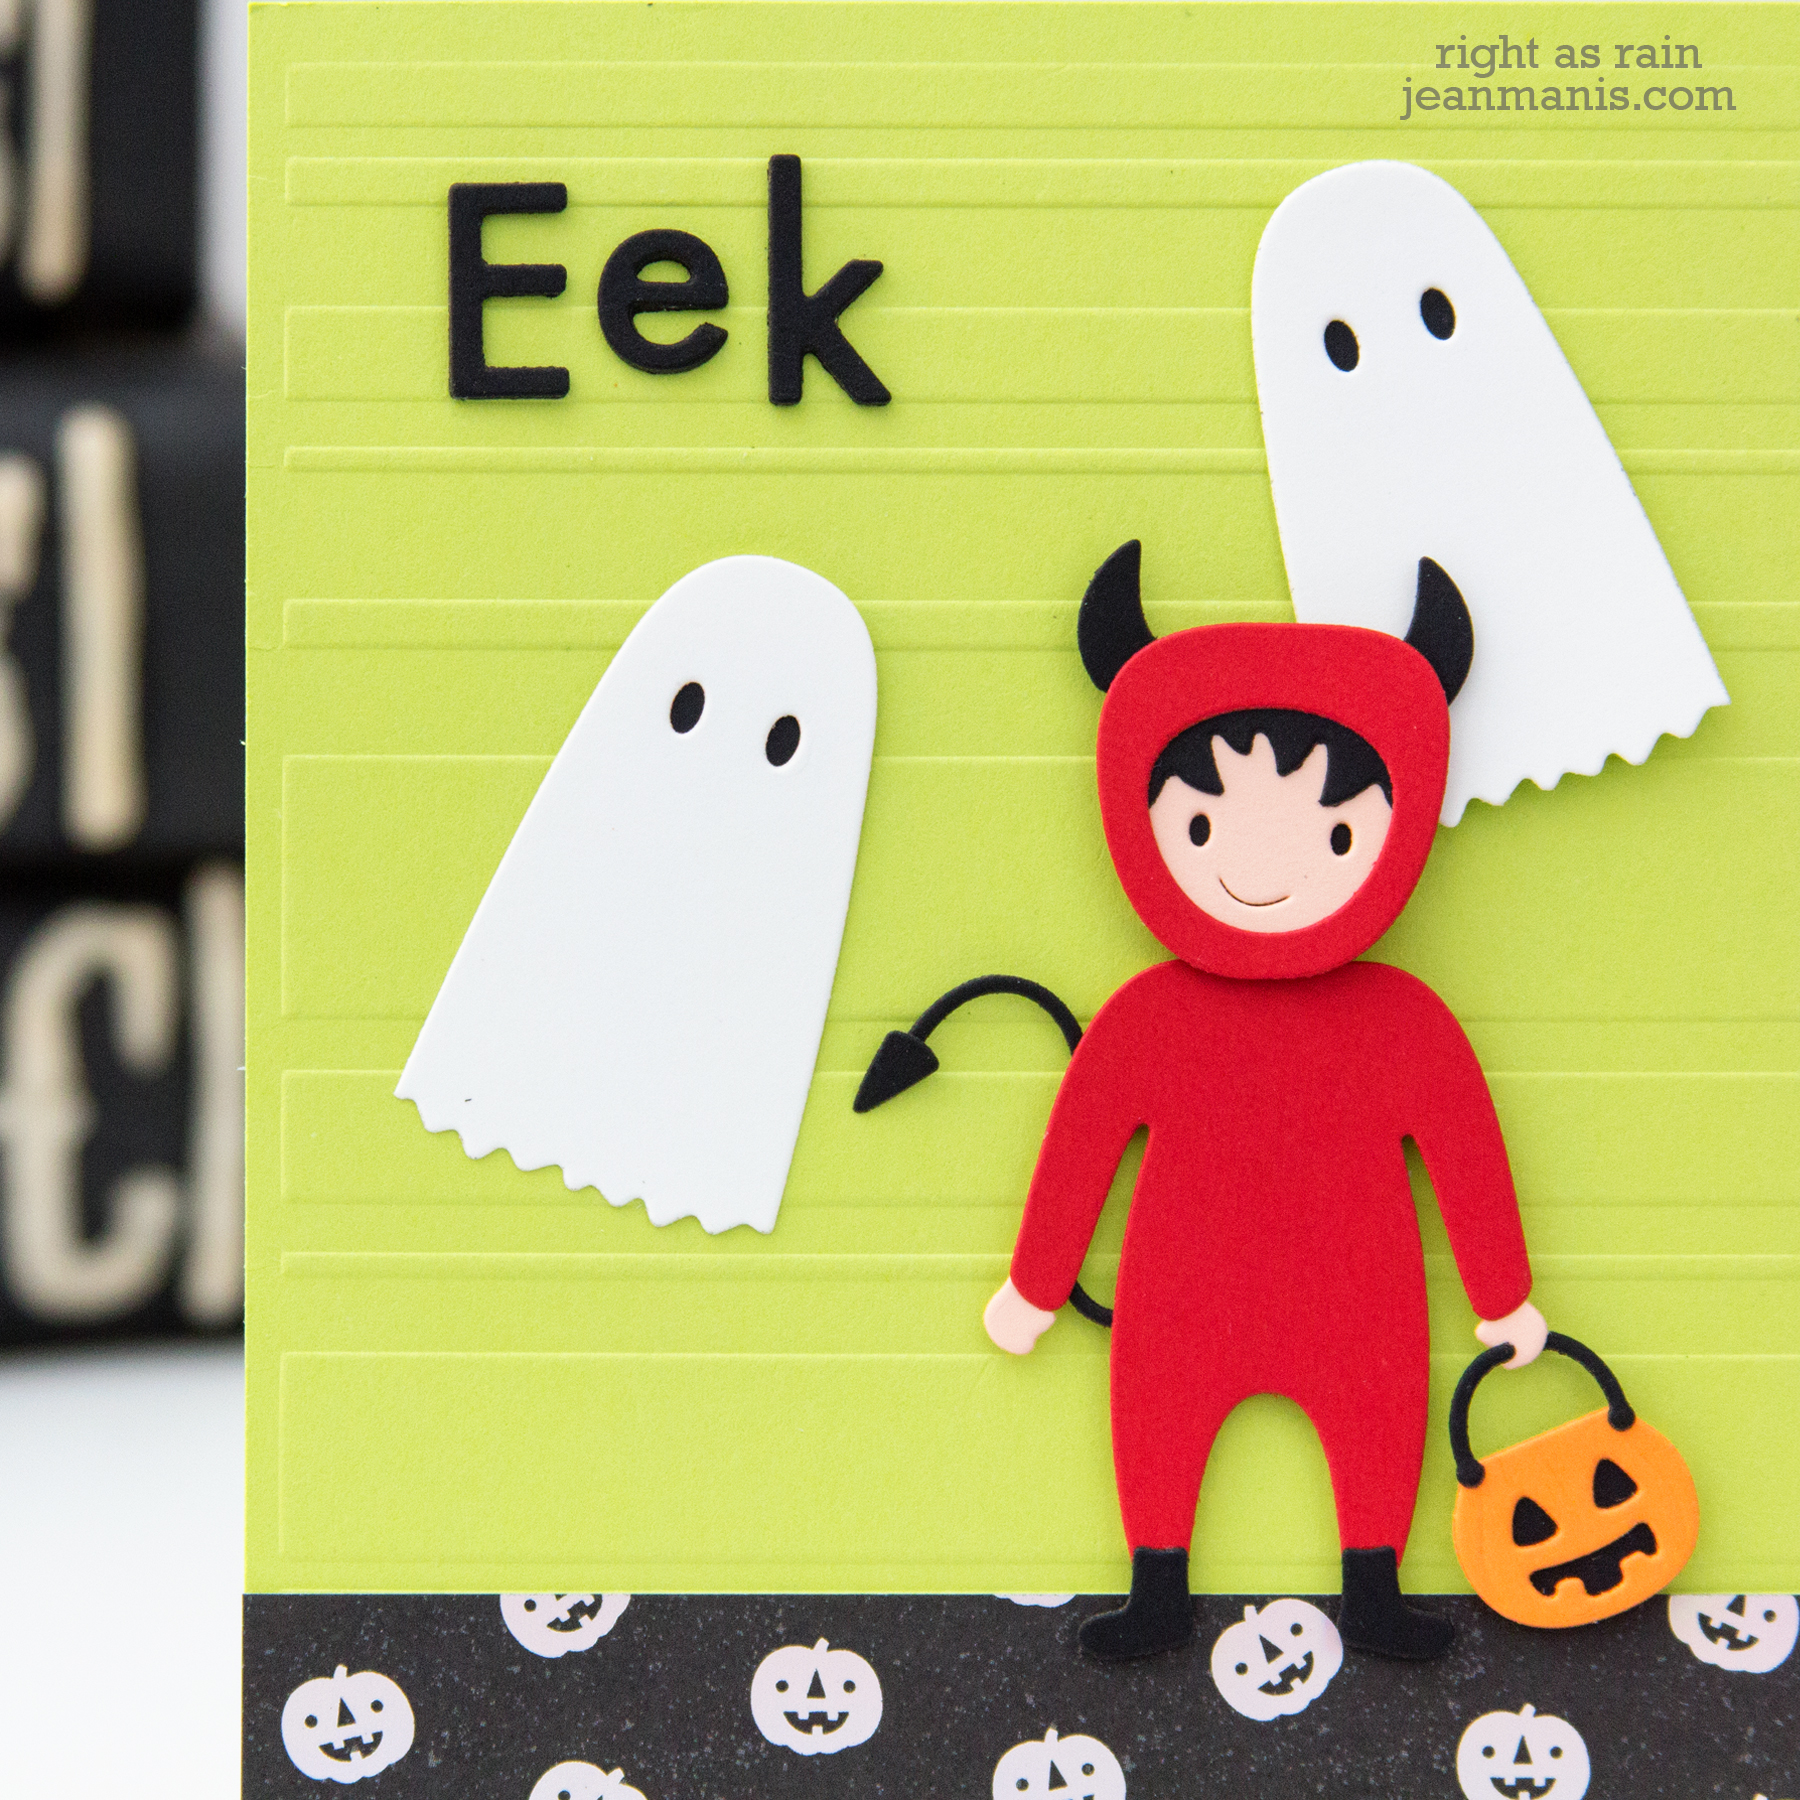
- I cut the Eek sentiment and the ghost with this month’s Small Die kit – “Eek-A-Boo.”
- I used a circle die to cut the moon. I backed the ghost’s eyes and the openings on the manor with cardstock.
- I added the elements to a background dry-embossed with the Inspire folder.

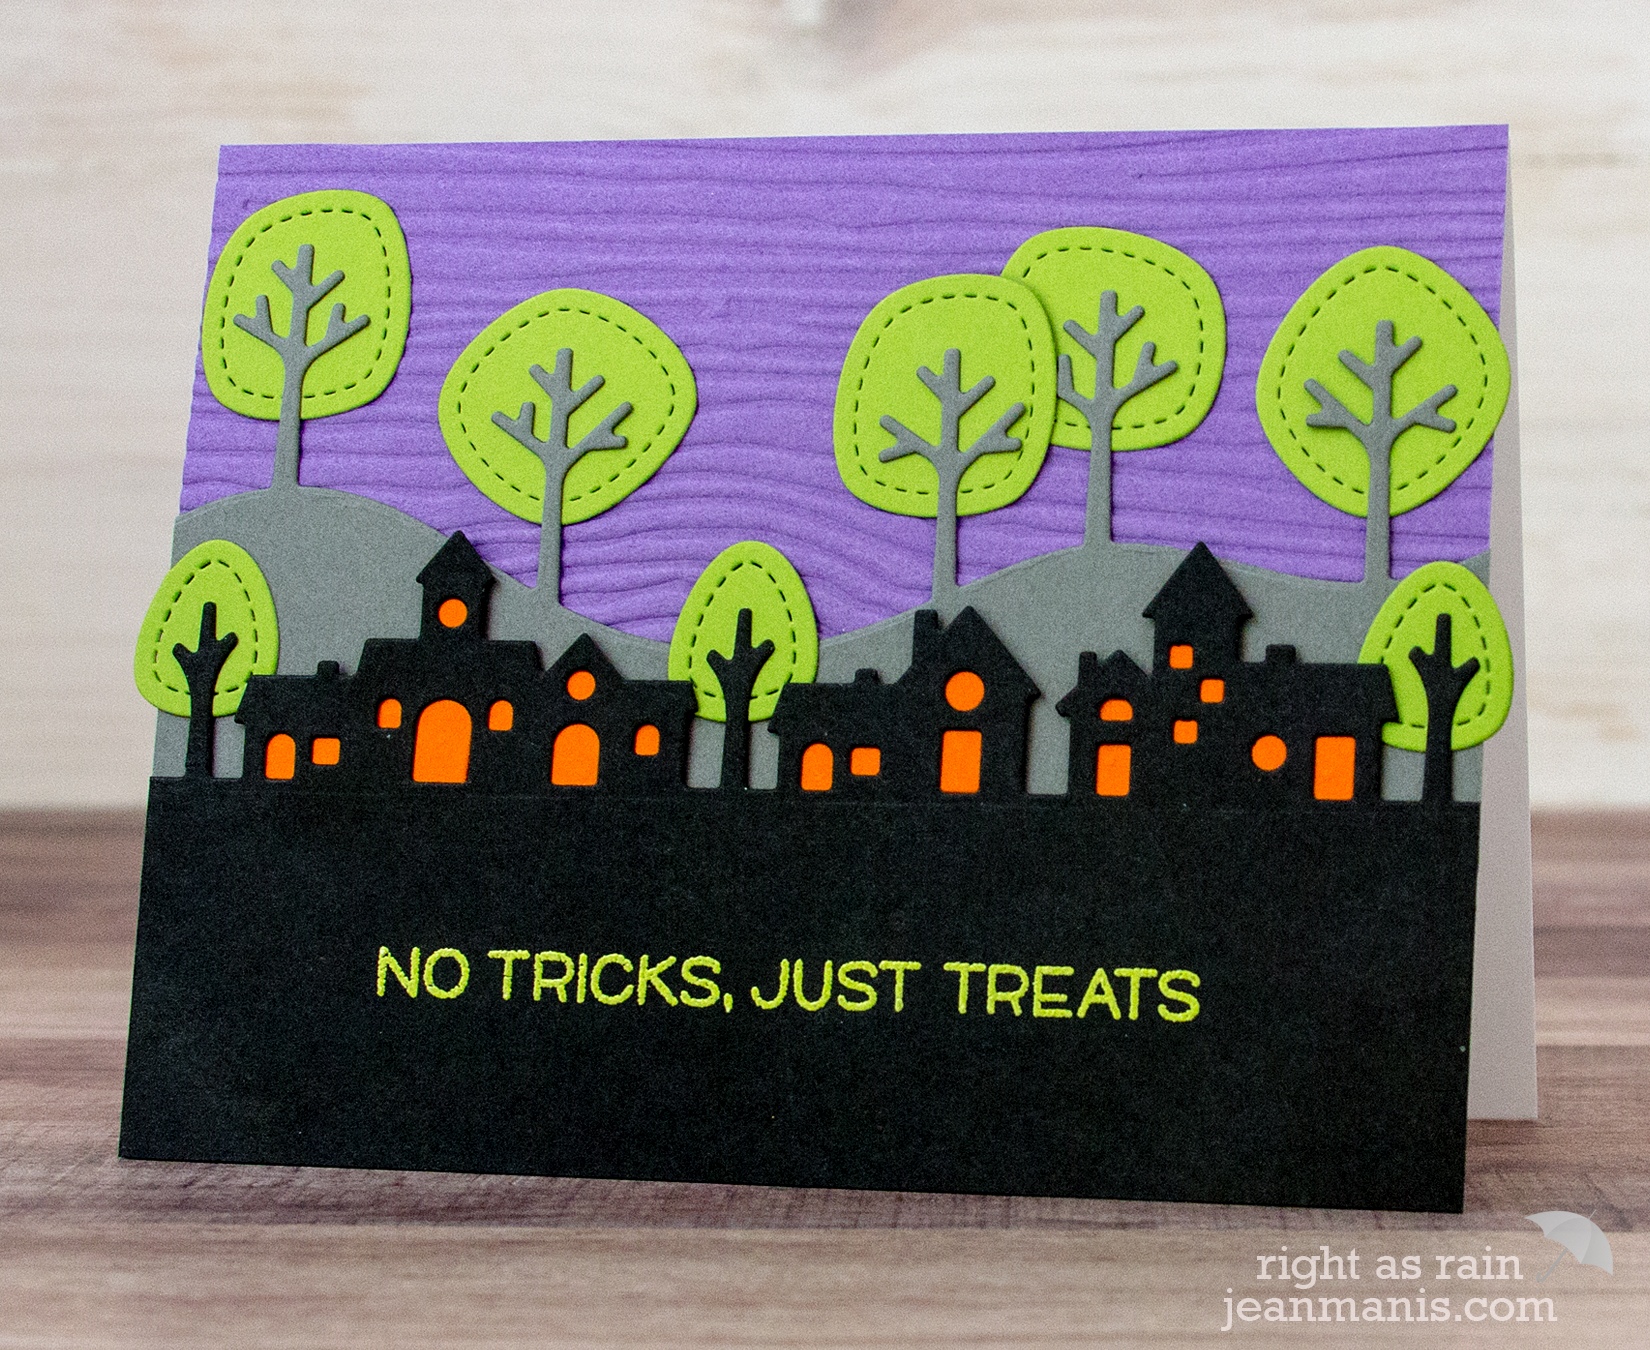
Here’s what I like about this card:
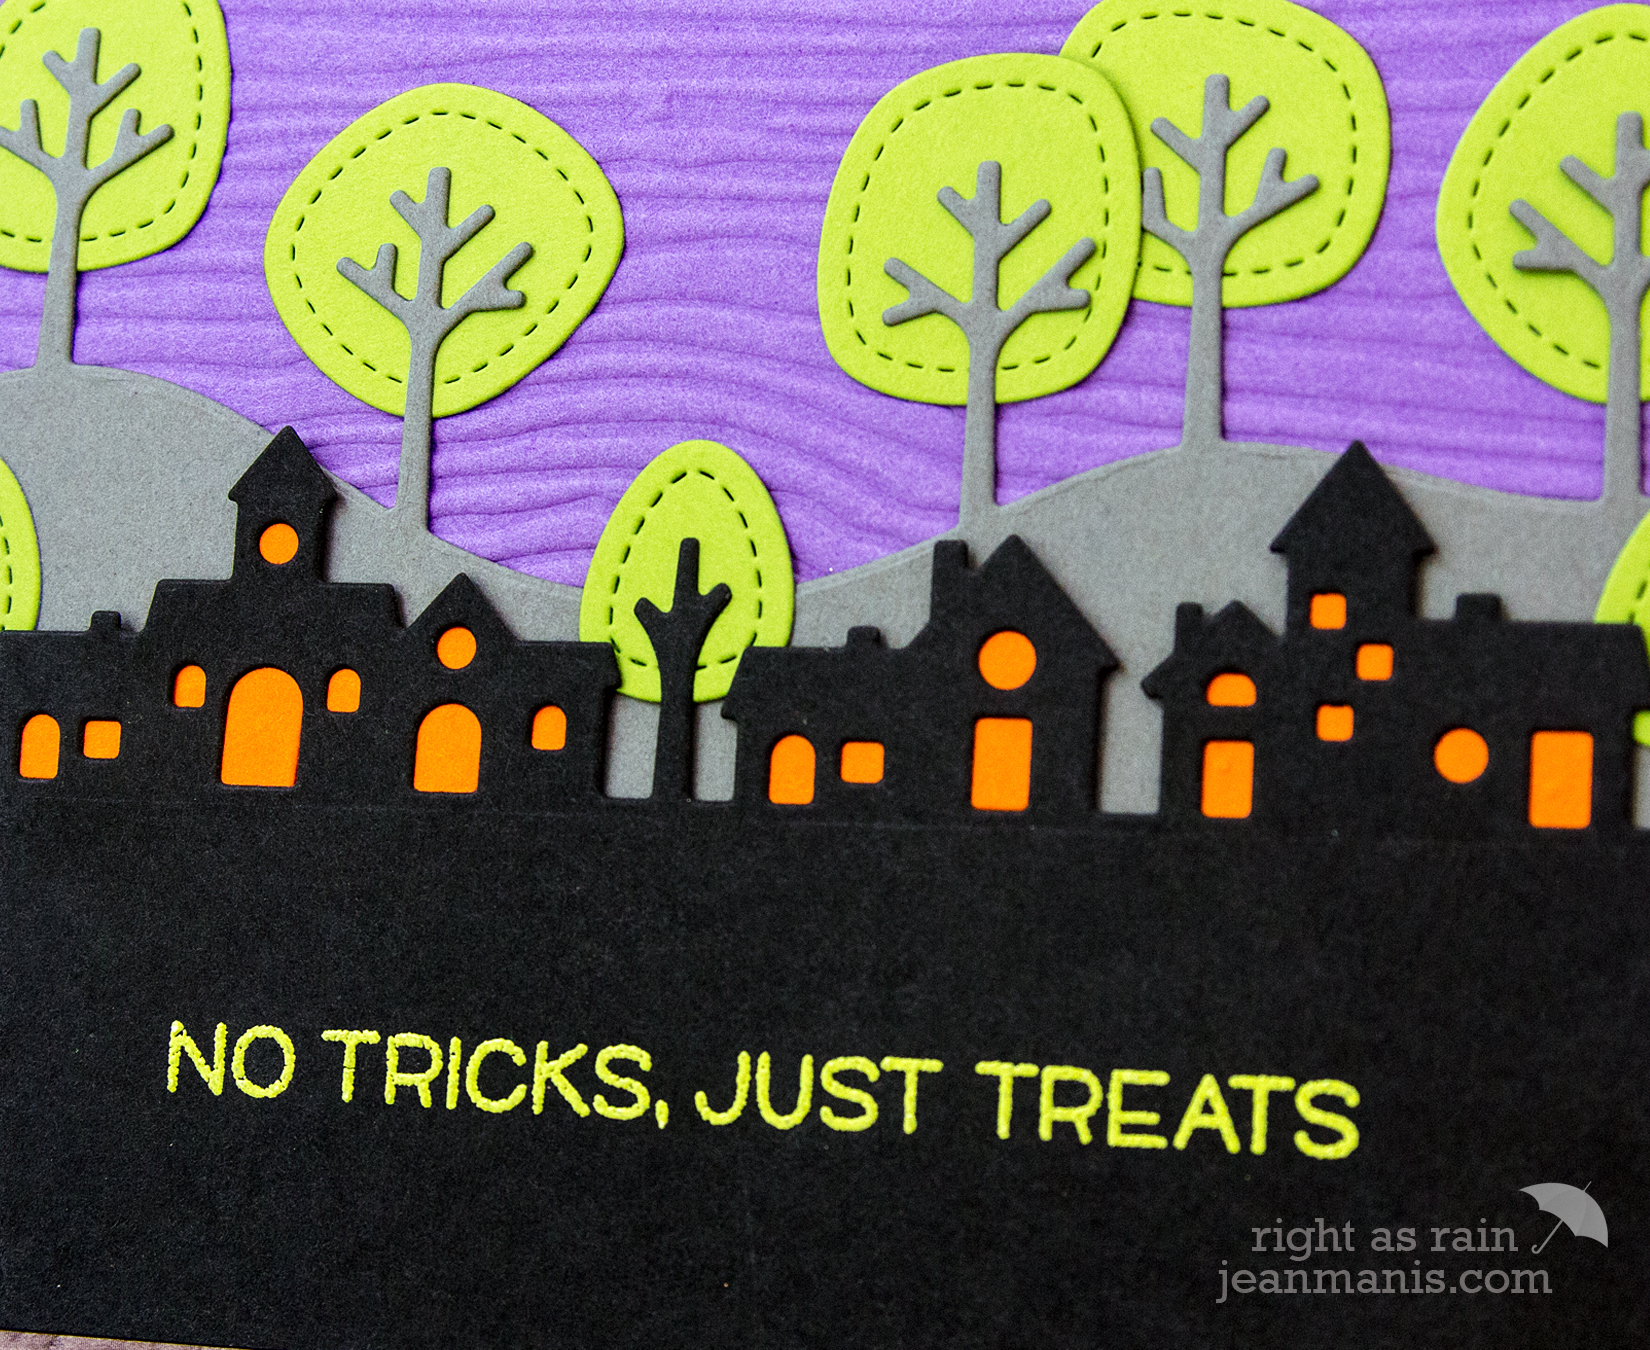
It’s created entirely from die-cuts. I like the bold colors with the black and white; I’ve been using a lot of teal for fall- and Halloween-themed projects this year. I like the dry-embossed background for subtle texture.
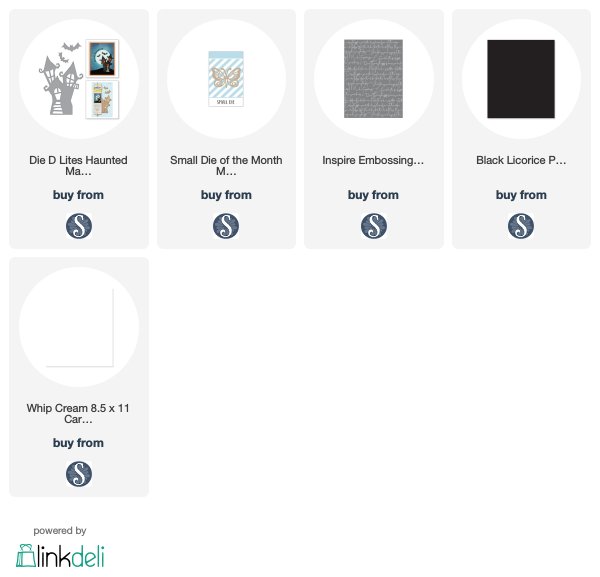
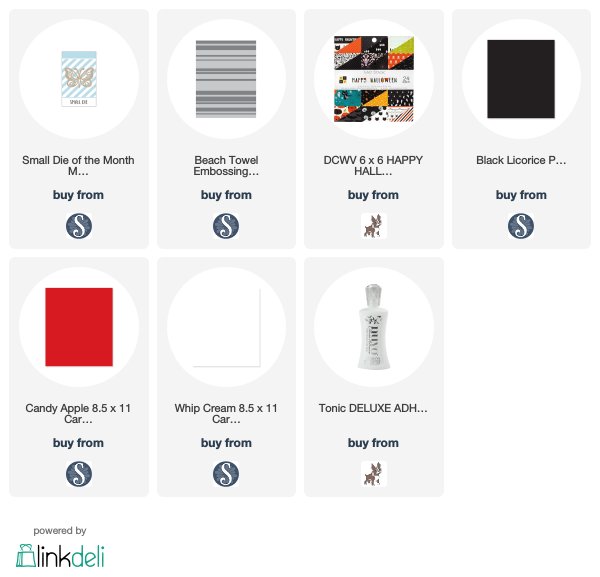
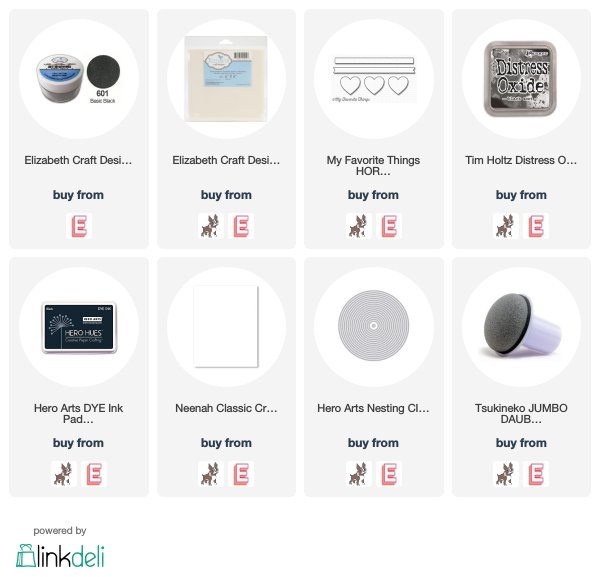
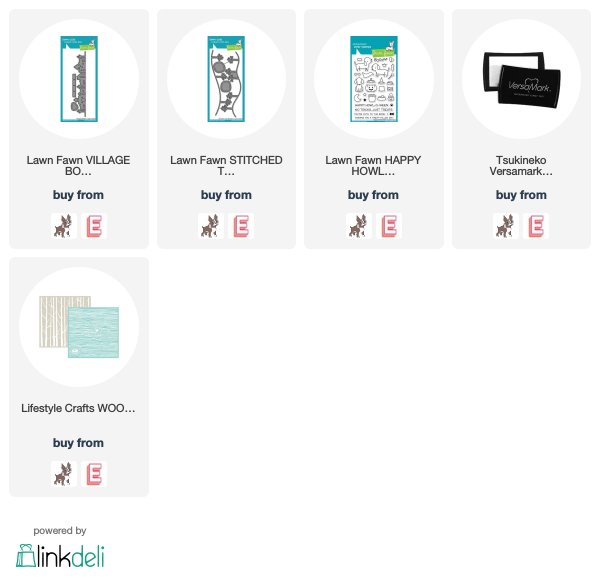
Supplies: