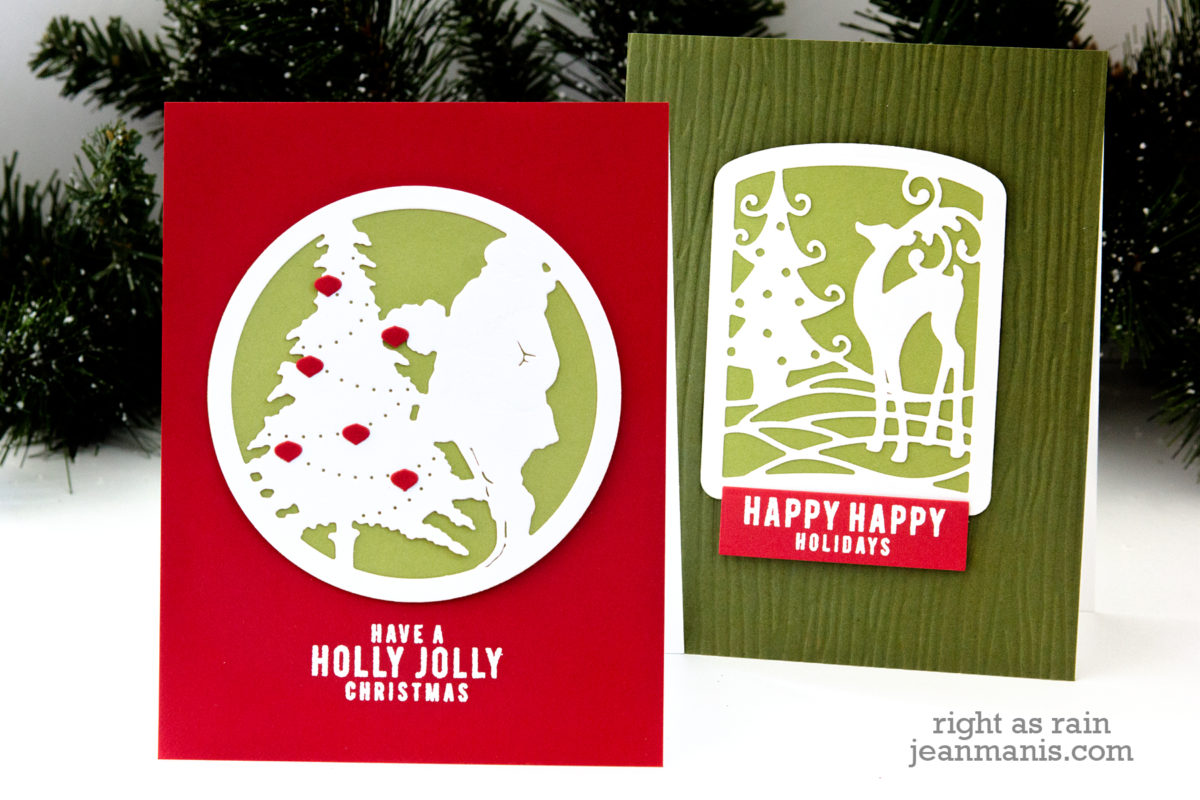
Hello! Today, I am sharing a CAS Christmas card created with supplies that I’ve owned for some time. In fact, I first used (it’s possible it was the only time I used) the Impression Obsession Christmas Tree Cutout die in this post for Ellen Hutson in 2014. I like revisting my supplies and finding new designs on which to use them.

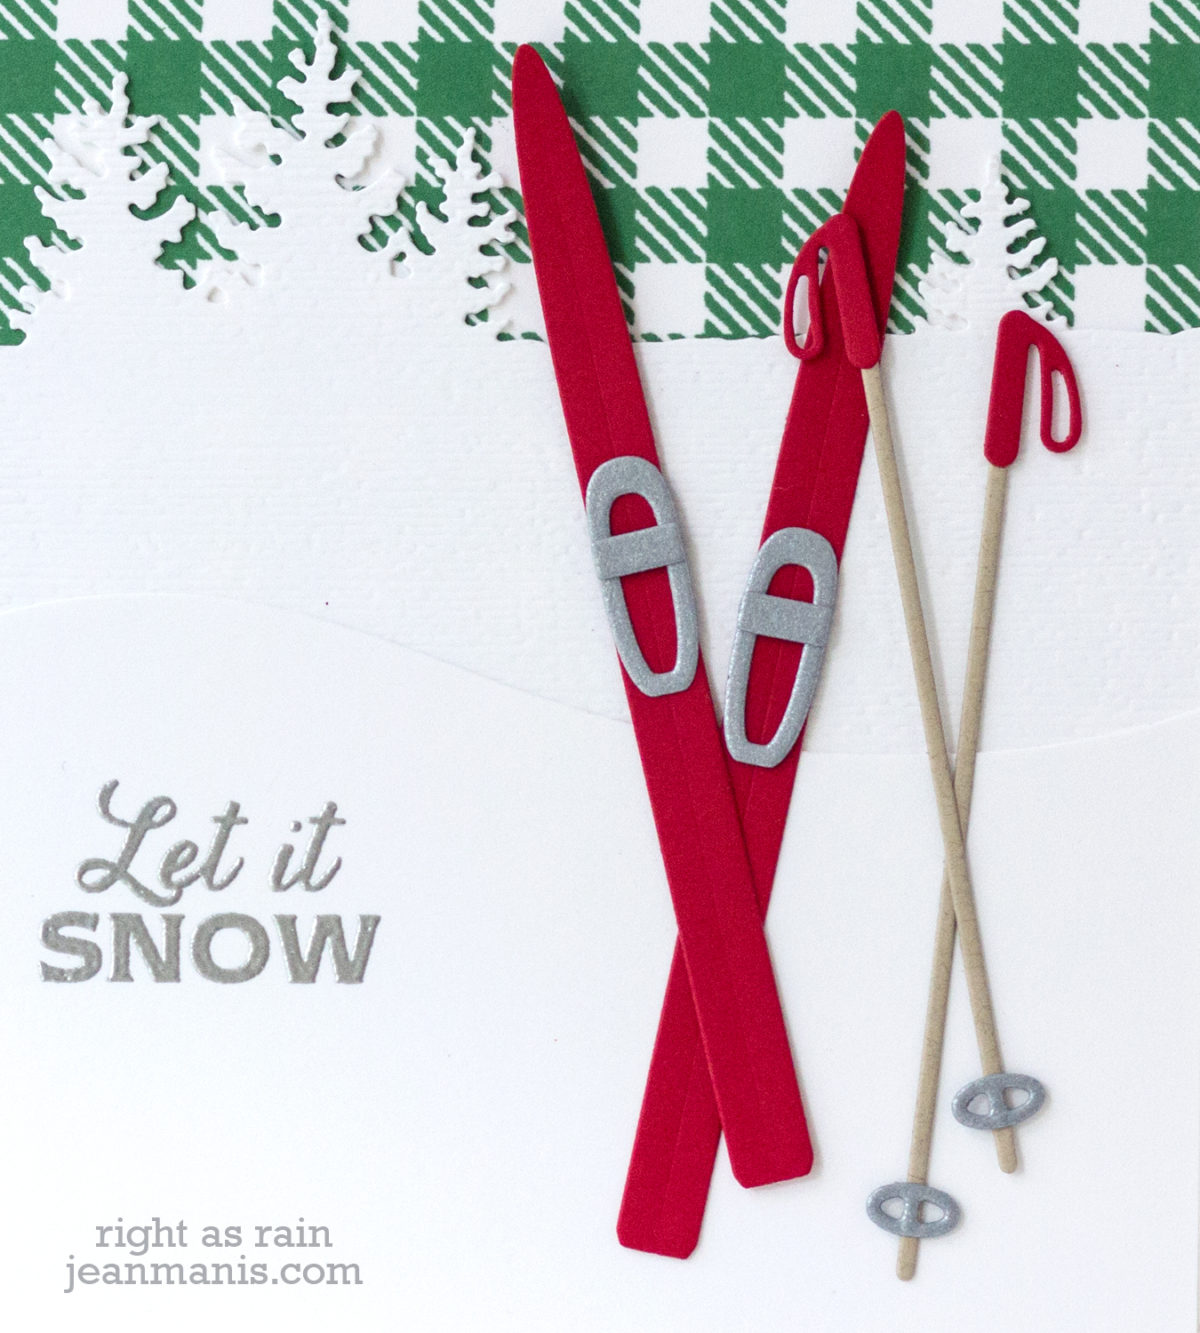
- I white heat-embossed one of my favorite sentiments (from the now-retired Hero Arts Operation Write Home Winter Wishes set) on Taylored Expressions Blue Raspberry cardstock. I cut the panel with a stitched rectangle die.
- I cut the Impression ObsessionChristmas Tree Cutout tree using the outline die from Poppy Parade cardstock and again with both the outline die and detail die from white cardstock. I glued the two together.
- I stamped the Hero Arts Candy Stripes background with Lady Bug ink.
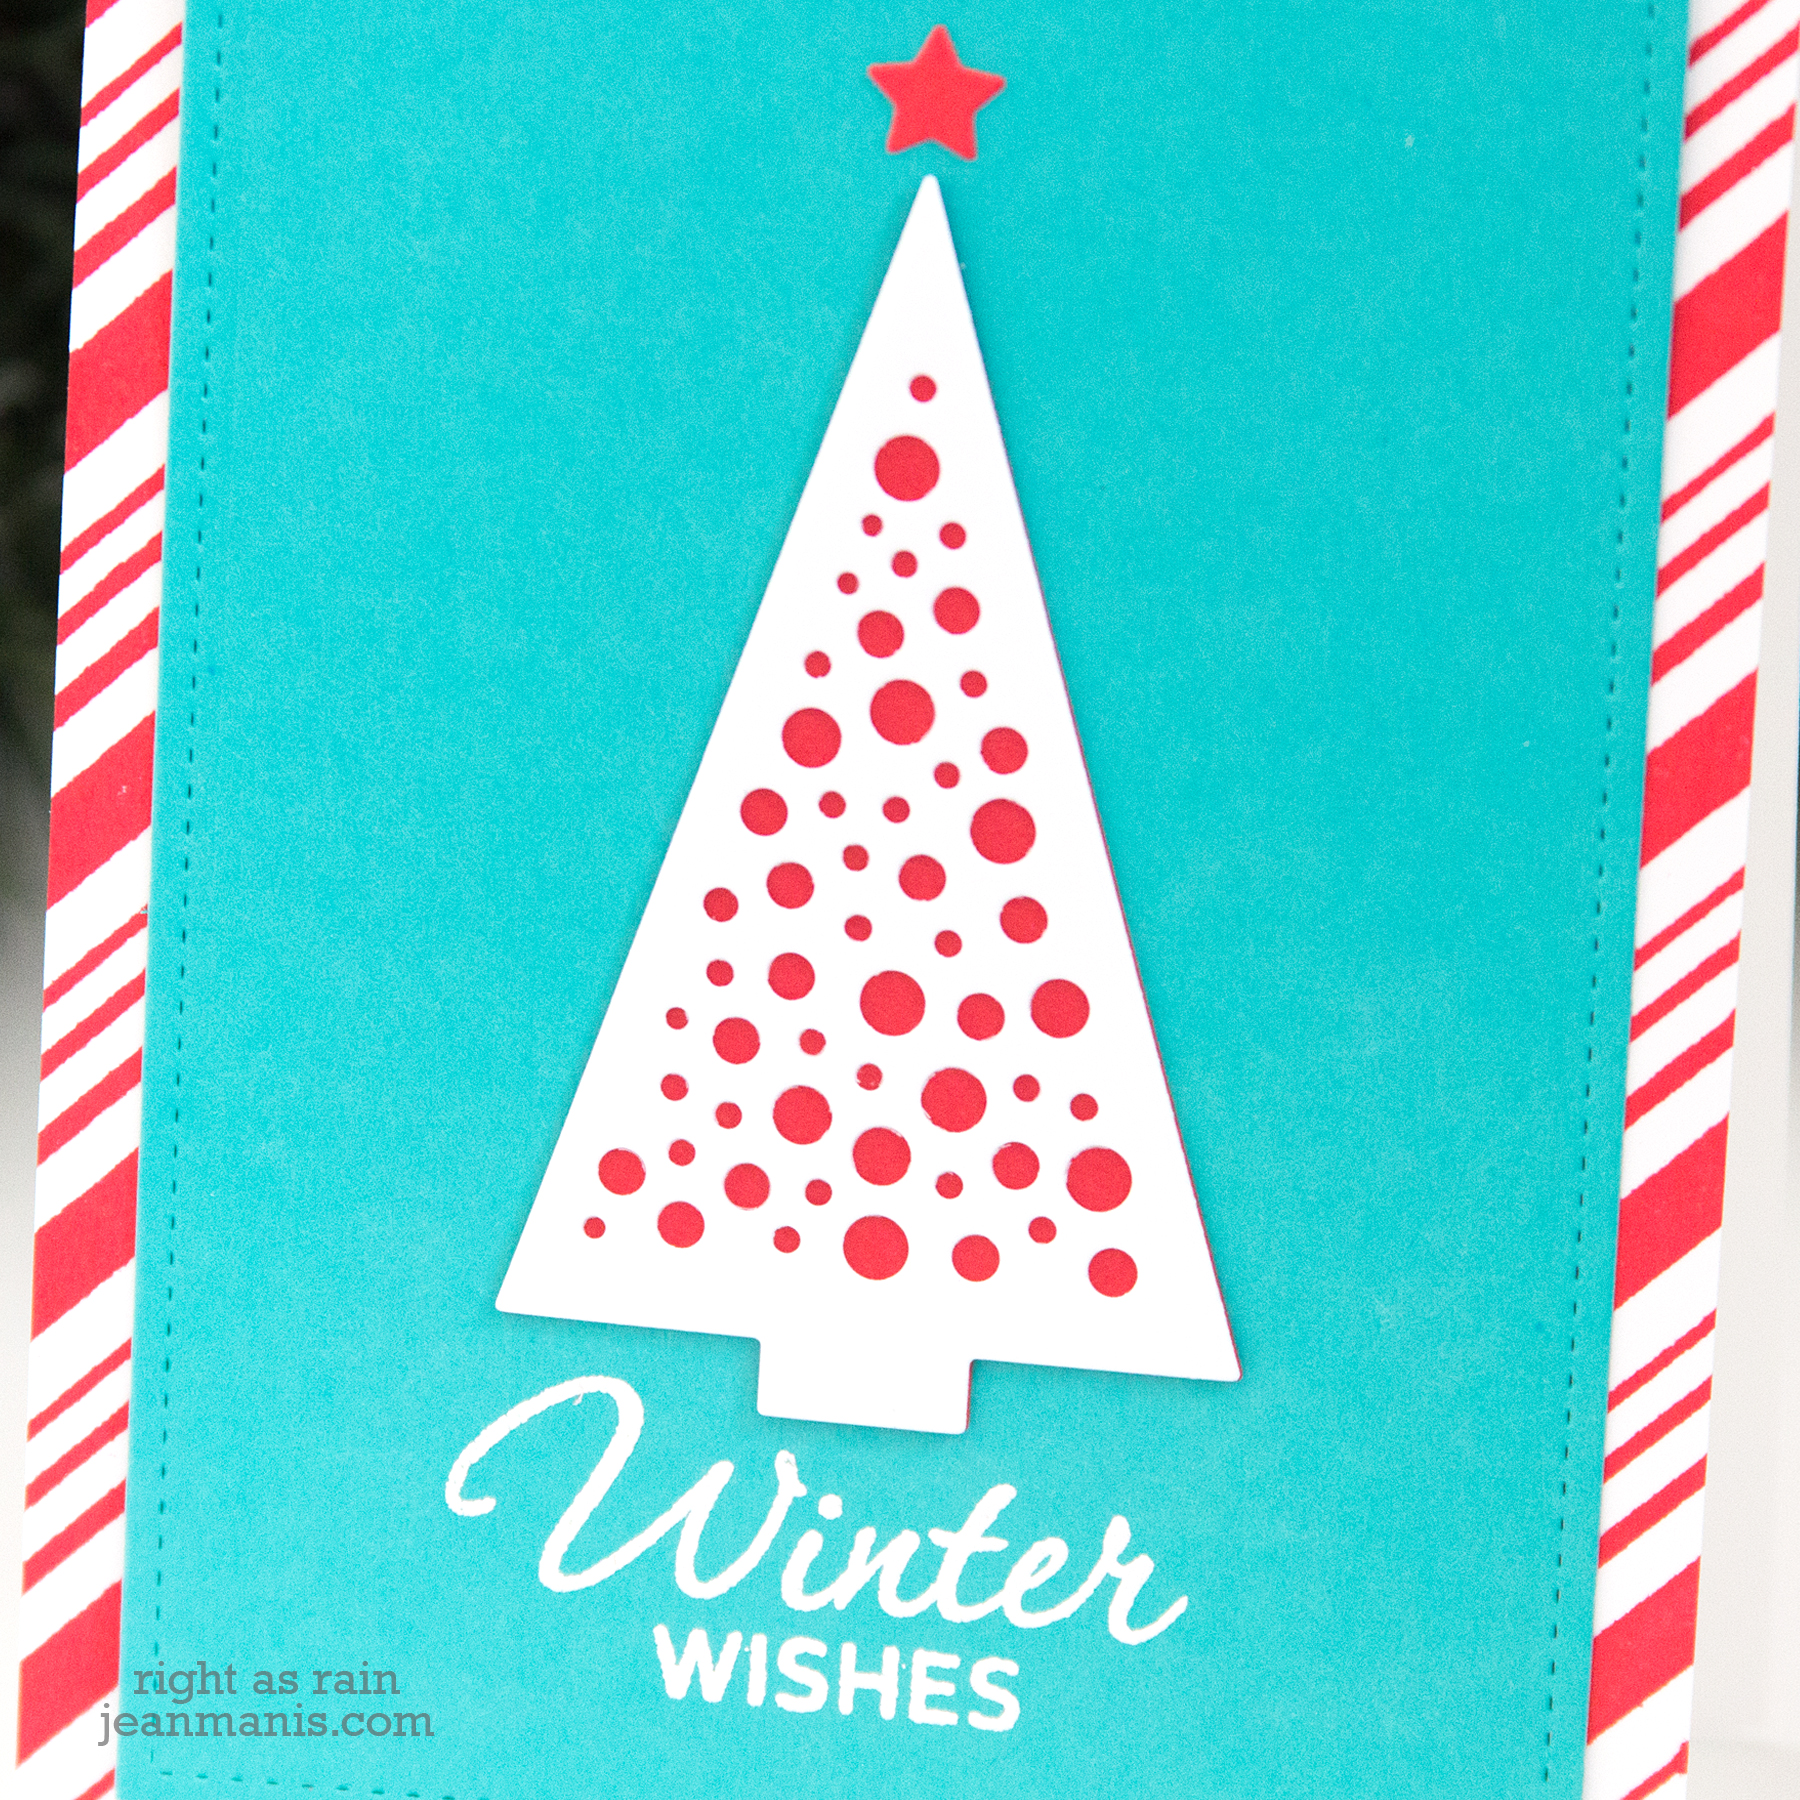
I like the whimsy of the Christmas tree, reinforced with the colors and the striped card background. Thanks for stopping by!
Supplies:
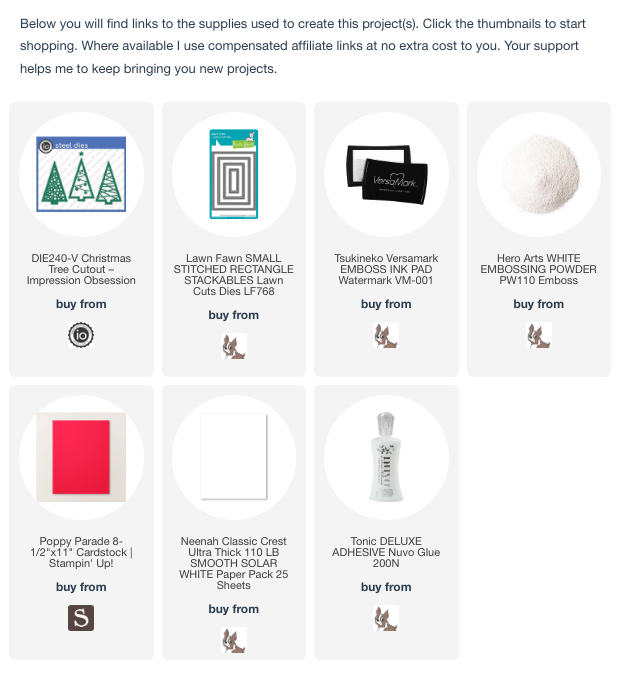

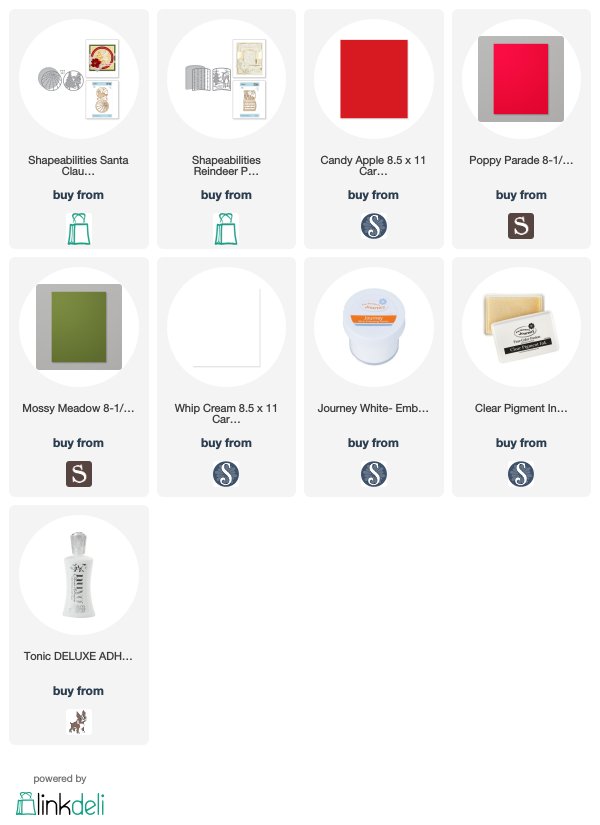


 Supplies: