Hello Bluebird – Die-Cut Wreath

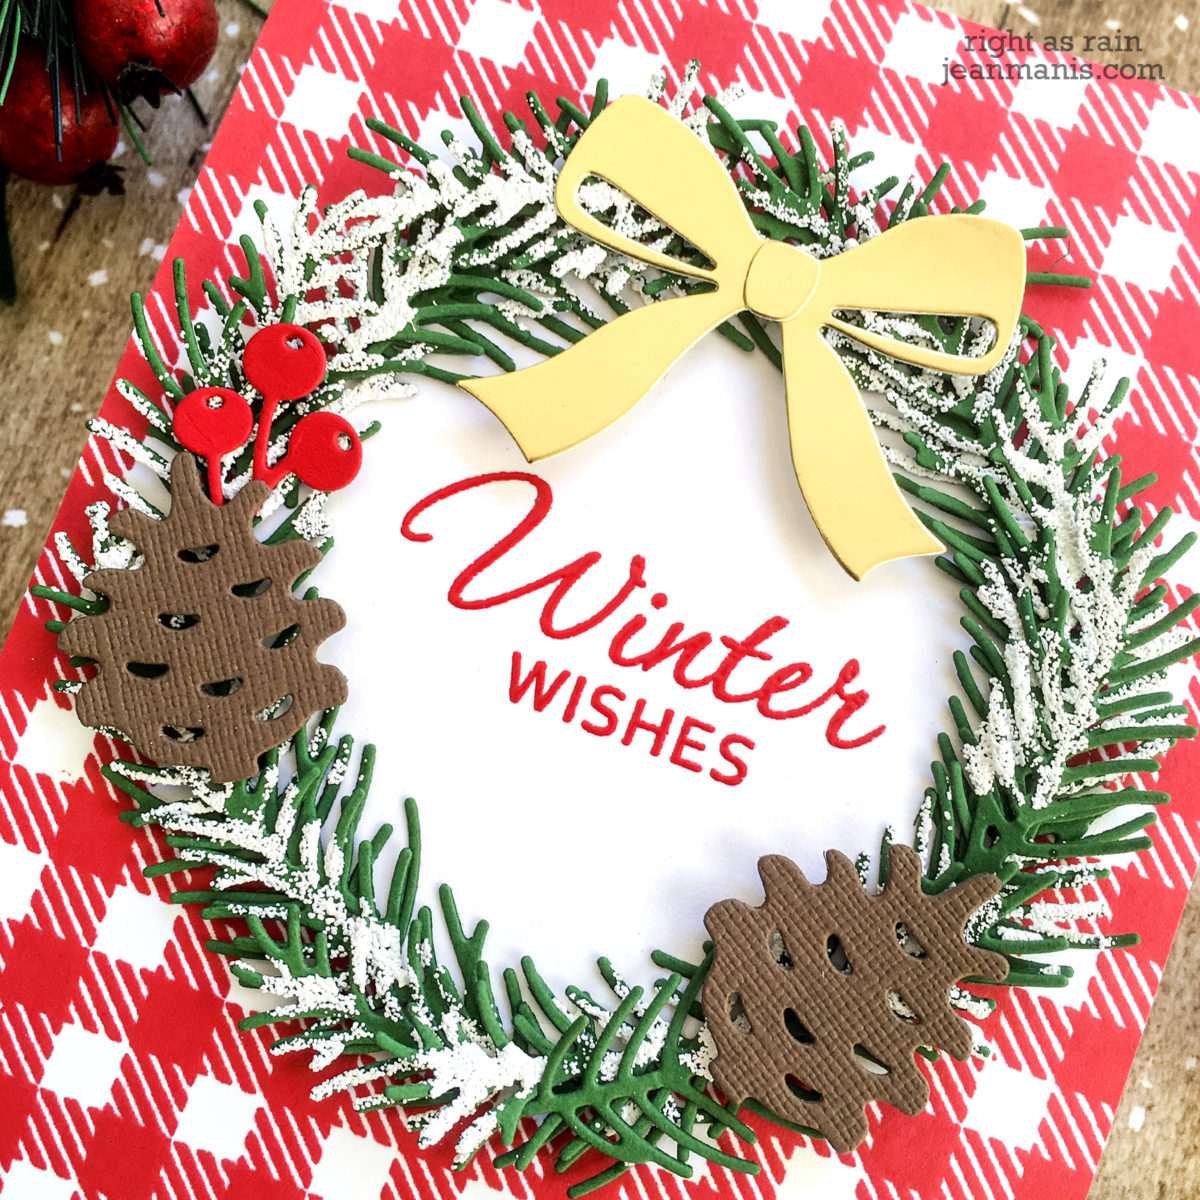
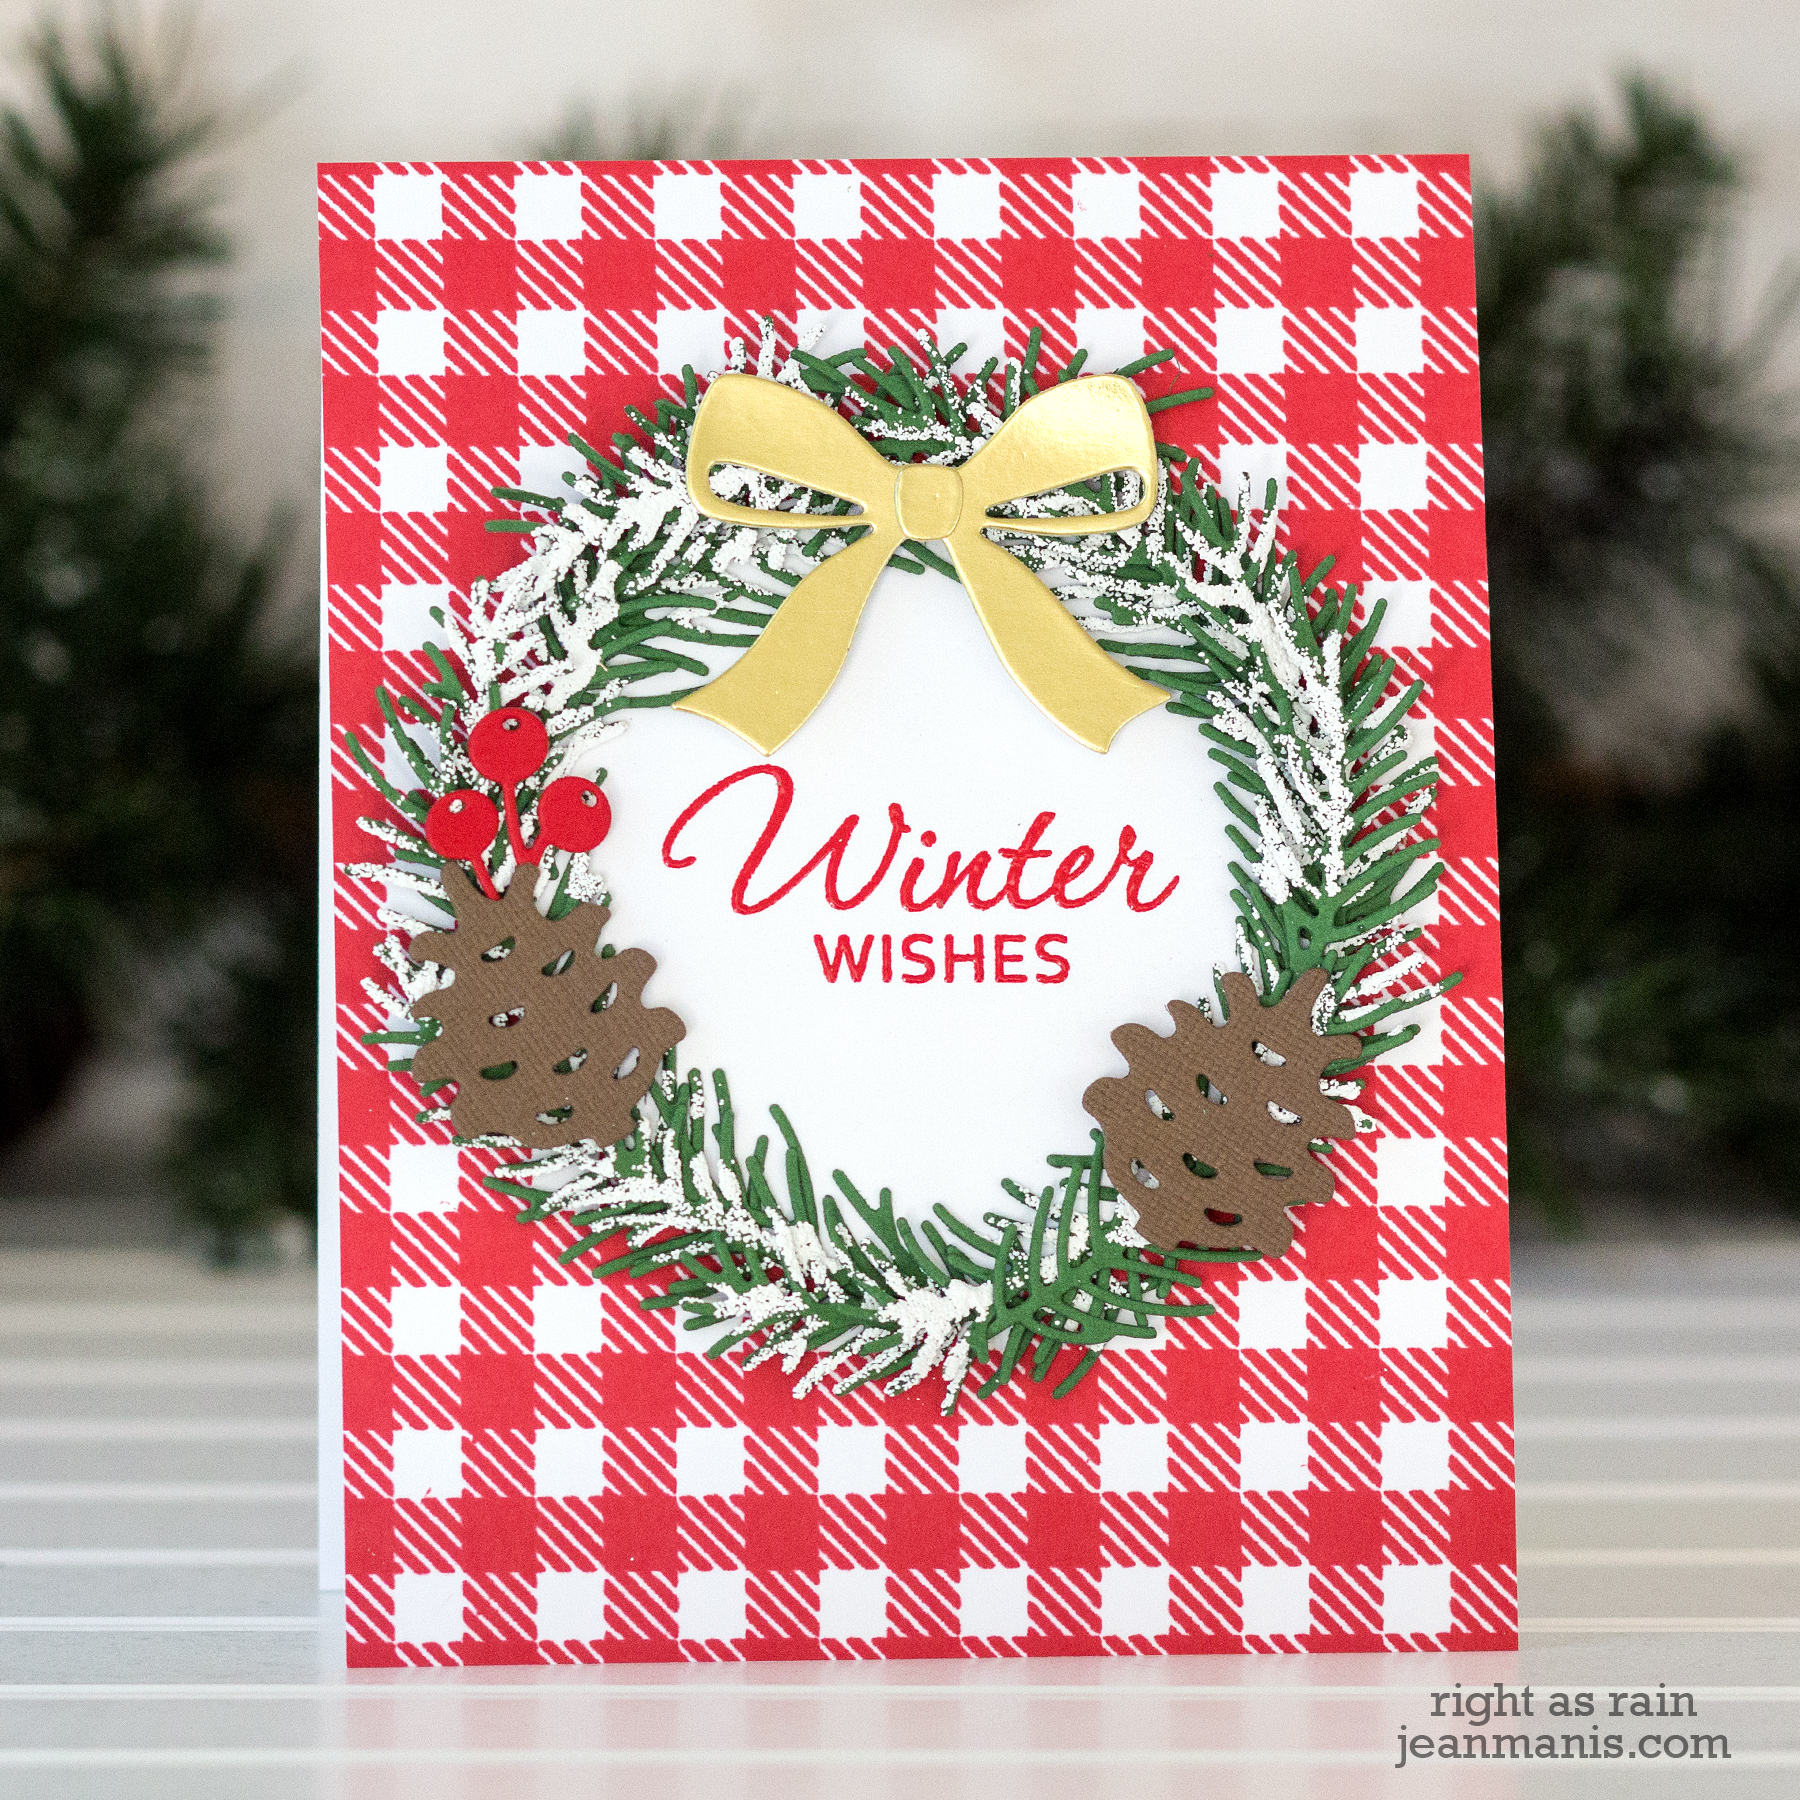
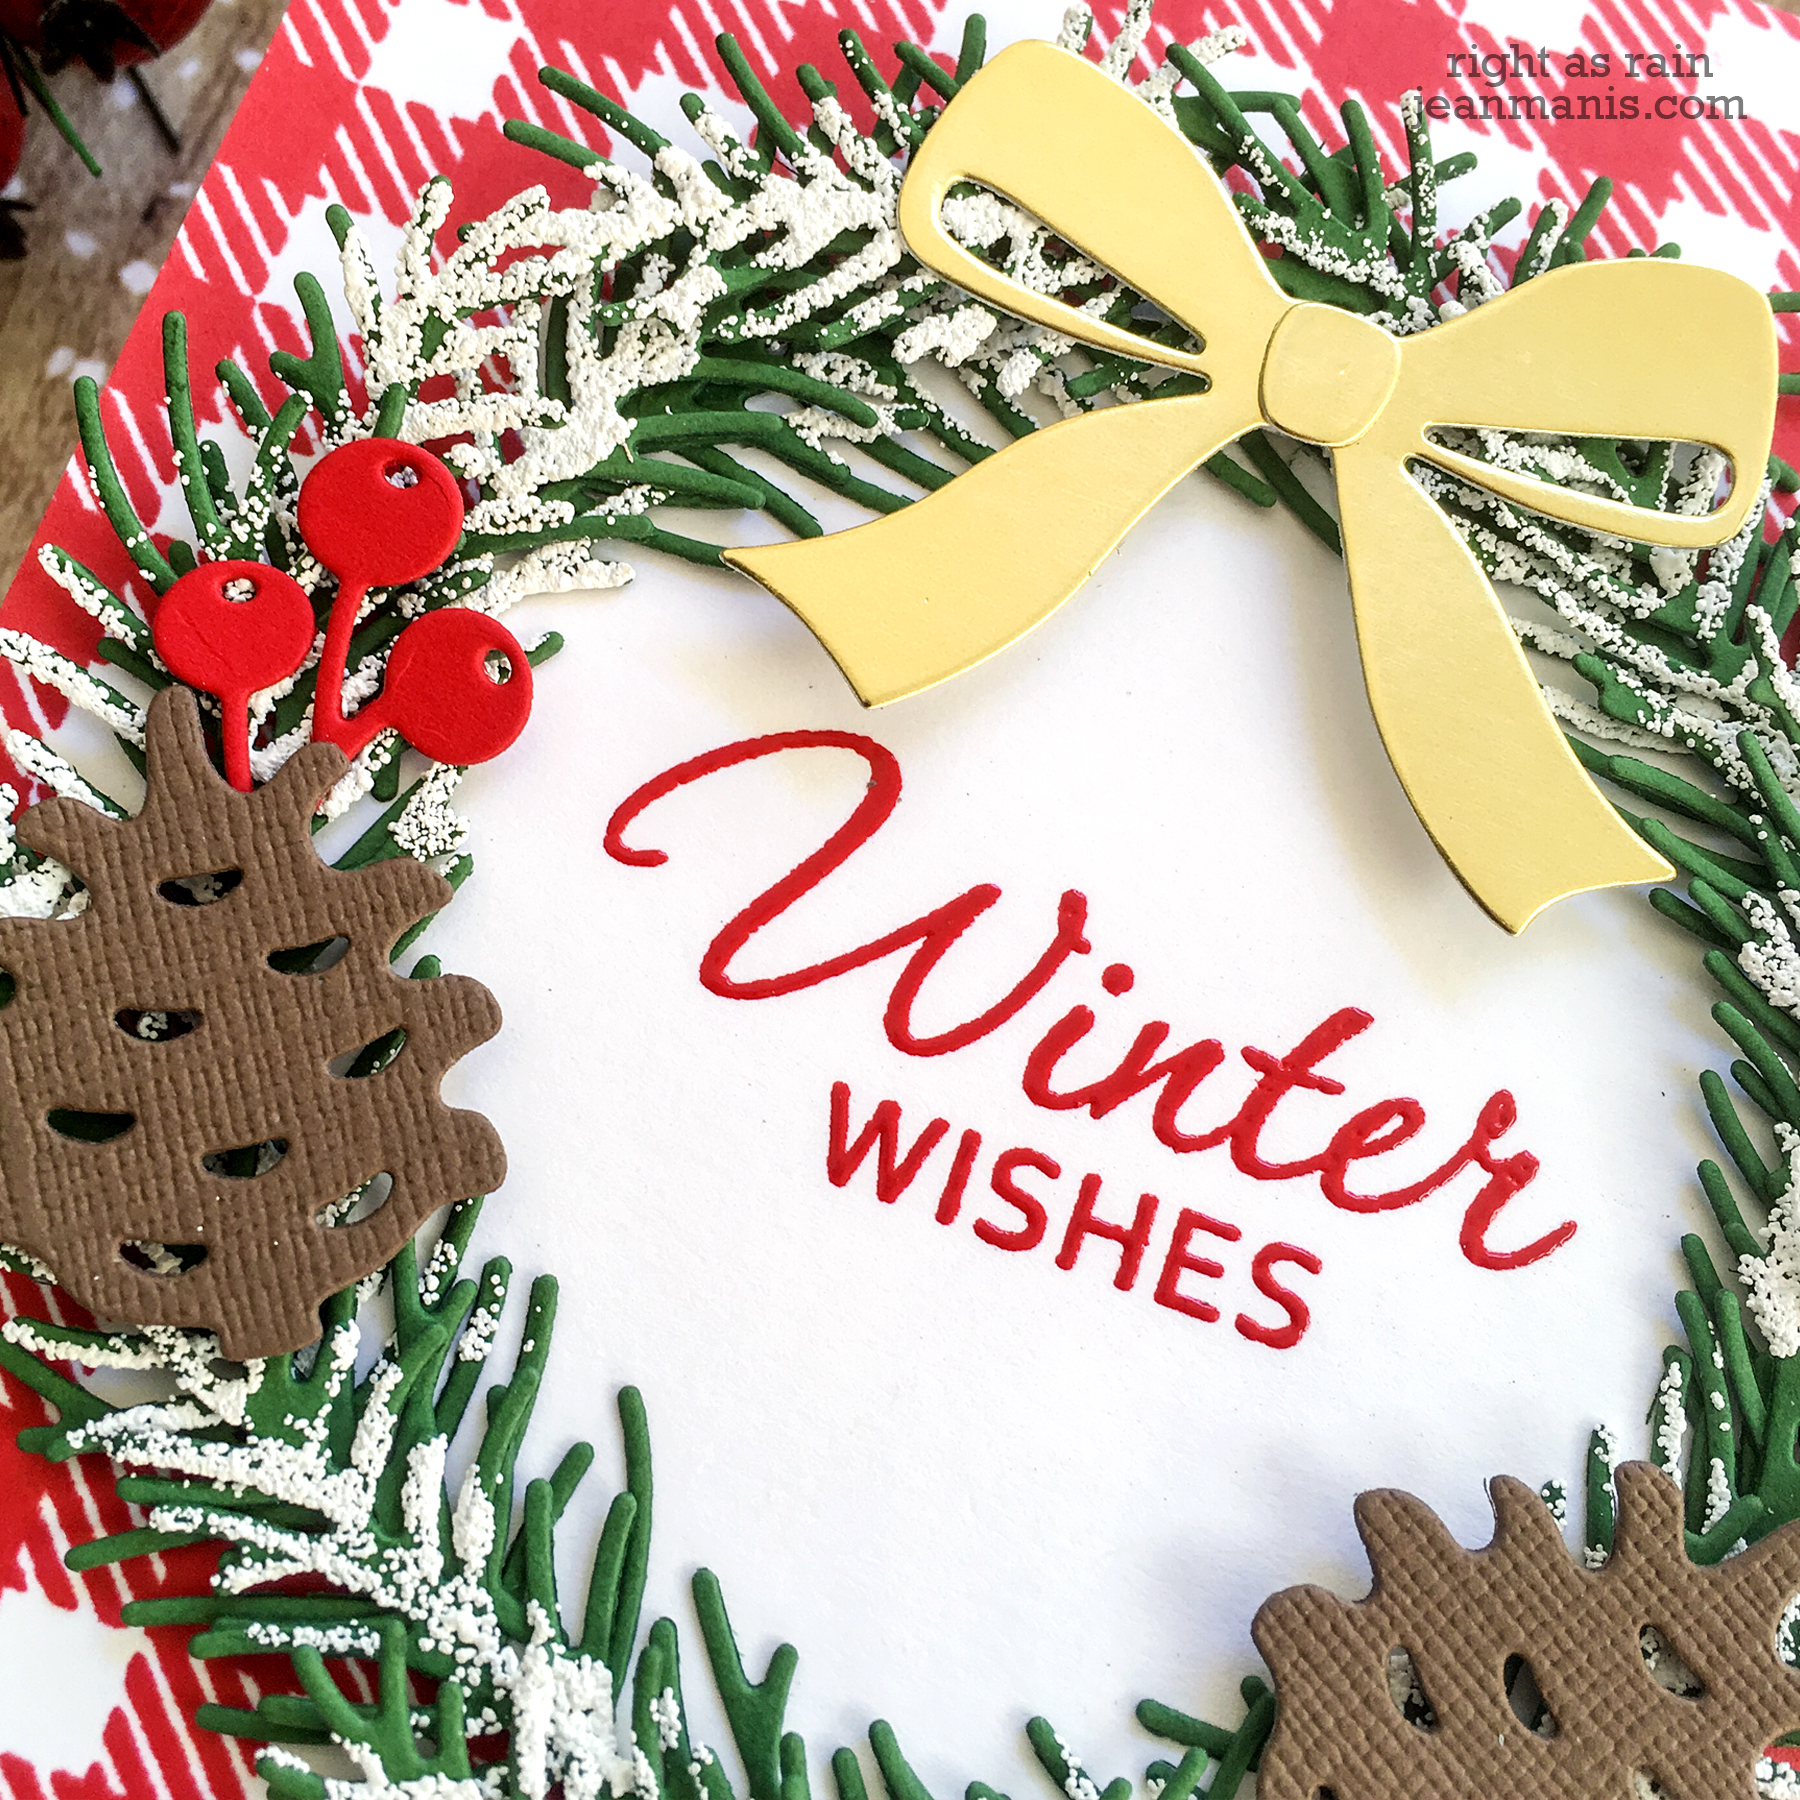
Hello! I am back with a second project using the Hello Bluebird Holly and Pine Die. (You can see the first card I created with this die set here.) On this CAS holiday card, I created a wreath with the pine boughs in the set, to which I added some freshly fallen snow. This card features some of my favorite things – die-cuts, heat-embossing, and a stamped background.
Hello Bluebird - Die-Cut Wreath

  • I stamped the card background with the TE Buffalo Plaid Background stamp in Love Letter ink.
  • I heat-embossed one of my favorite sentiments (from the now-retired Hero Arts Operation Write Home Winter Wishes set) on to white cardstock which I cut with a circle die.
  • I die-cut the pine boughs from Lawn Fawn Noble Fir cardstock and heat-embossed them with Hero Arts White Puff embossing powder.
  • I arranged the boughs around the die-cut circle. I then used the Press ‘N’ Seal method to lift off the boughs and adhered them to the sentiment circle with Nuvo glue.
  • I cut the bow from TE Foil Cardstock.
  • I cut the holly berries from Candy Apple cardstock and the pine cones from Lawn Fawn Chocolate Bar (one side of this cardstock has a subtle texture).
Hello Bluebird - Die-Cut WreathSupplies:

Winter Wishes – Die-cut Ornaments

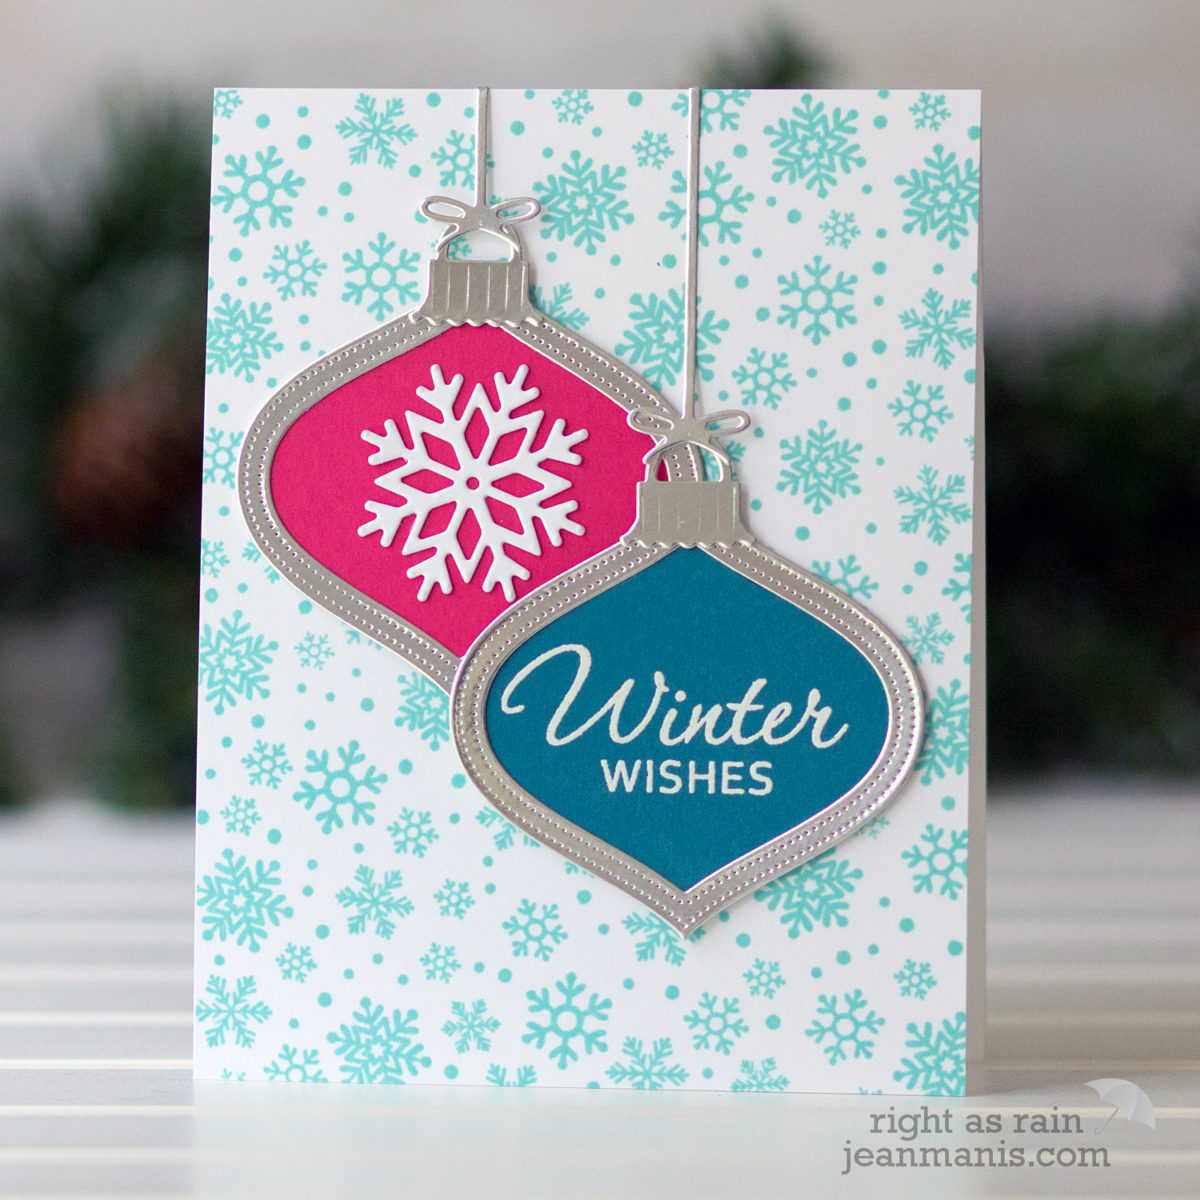
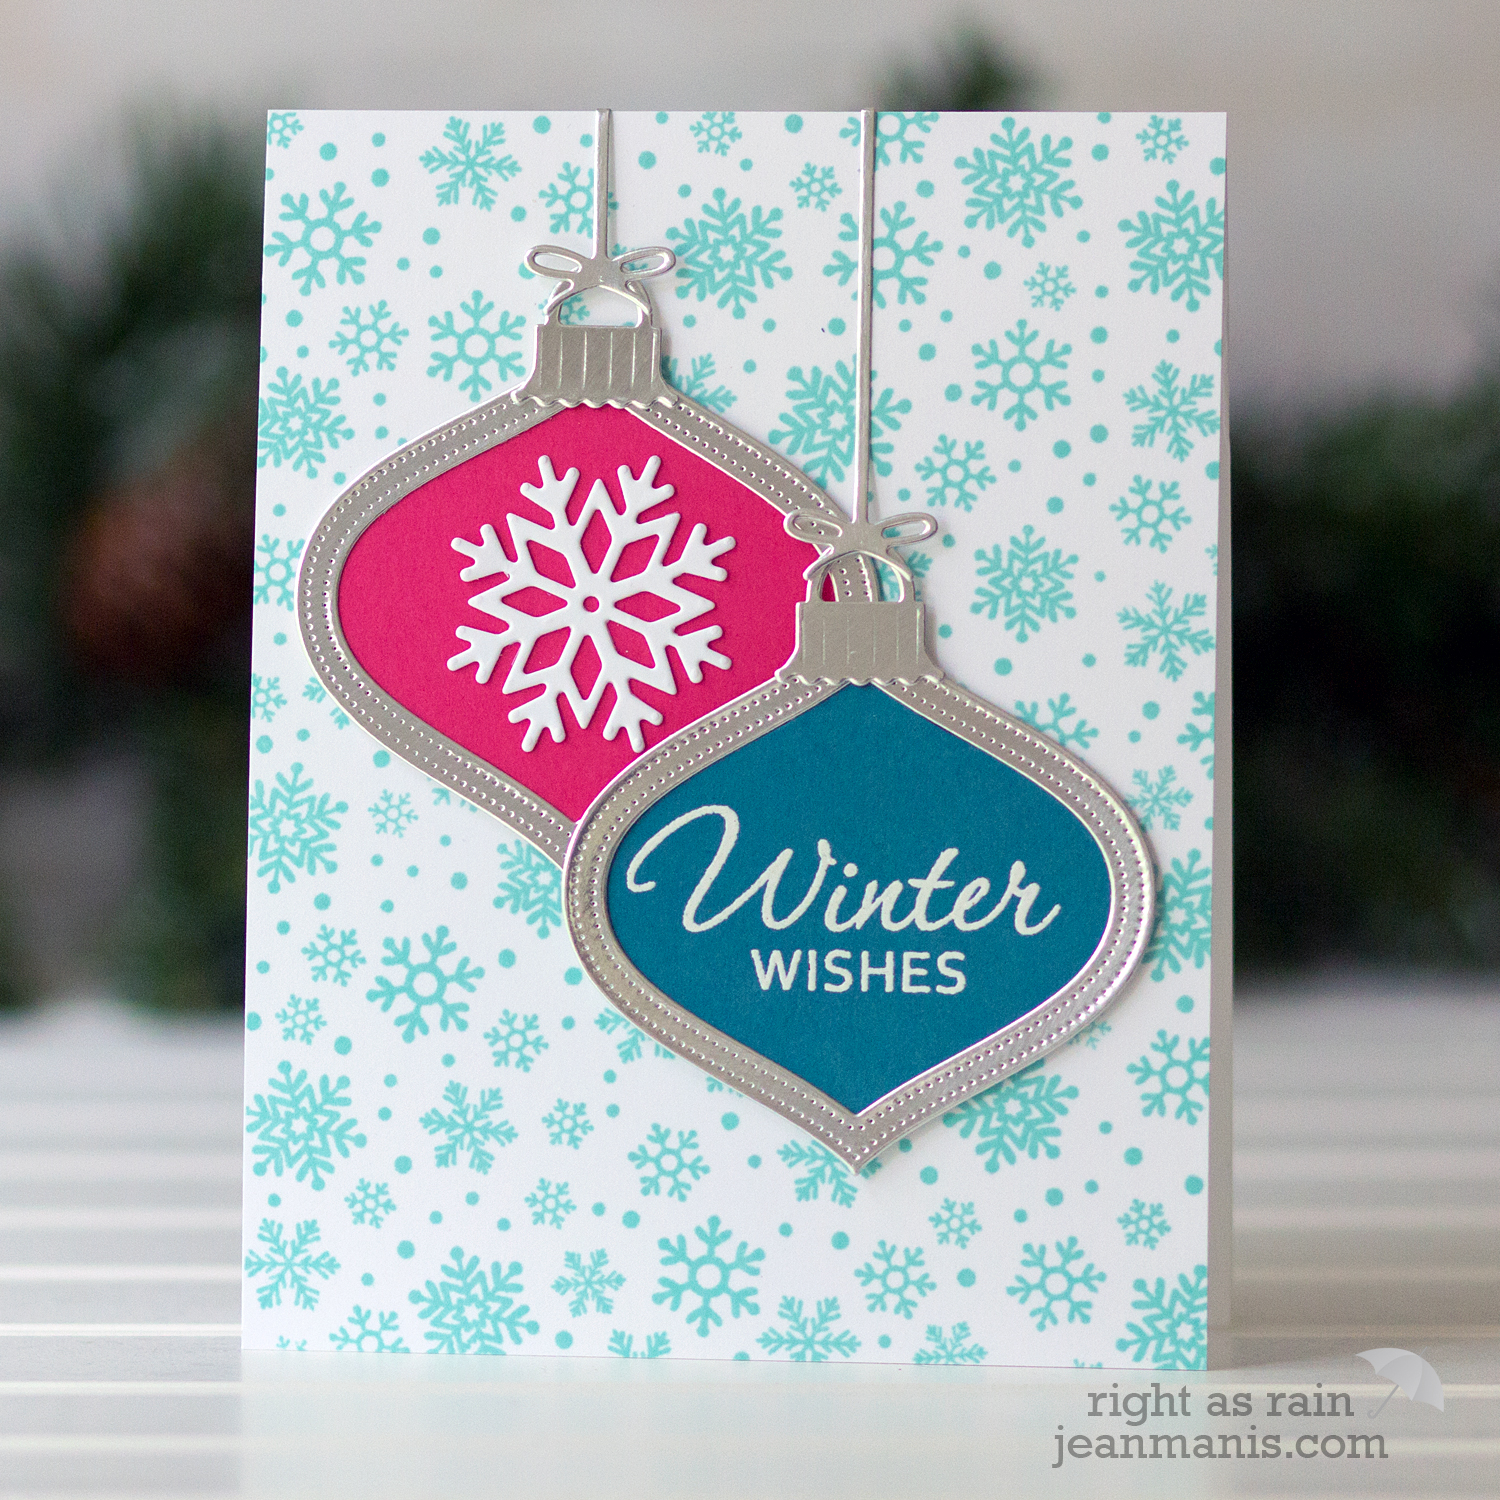
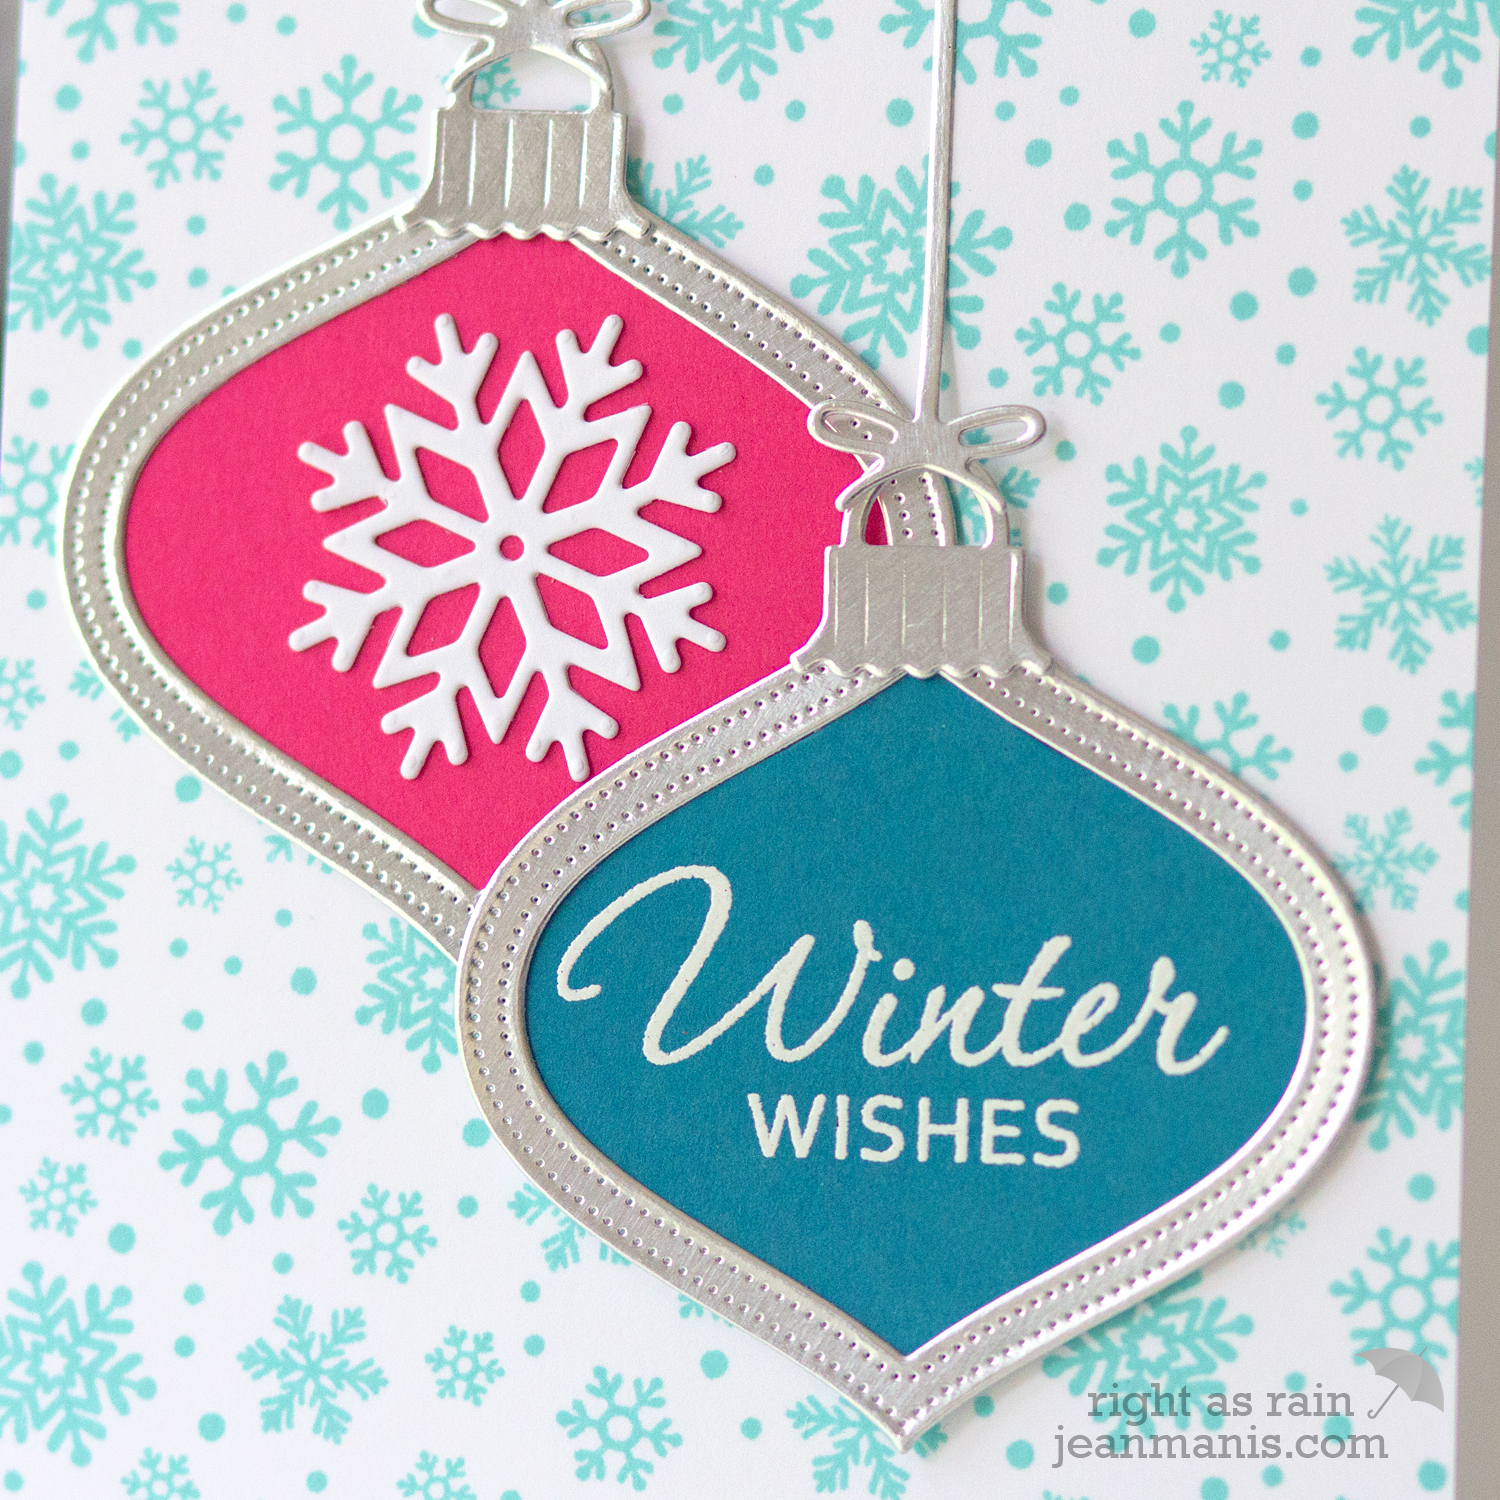
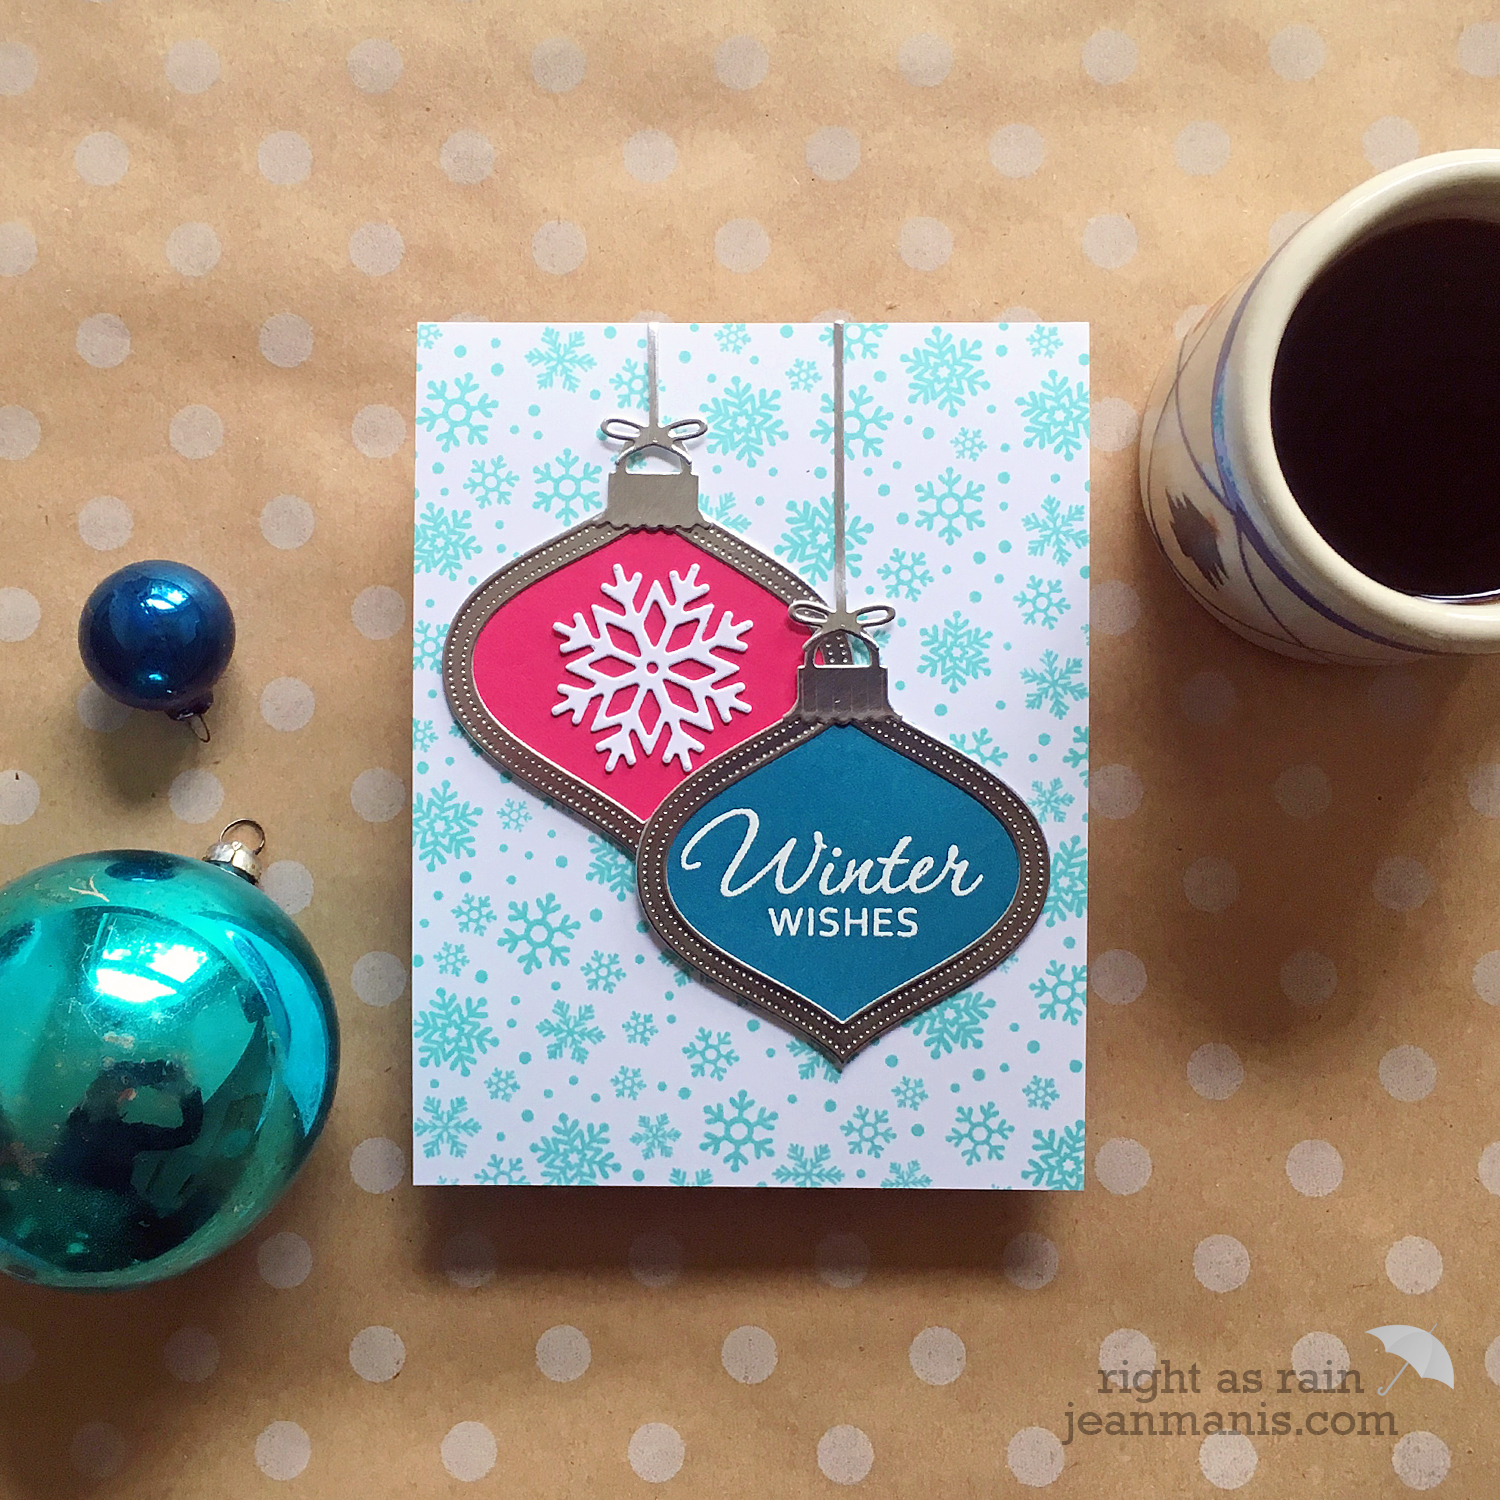
Hello! I like the ornament motif on holiday cards, and I have a collection of ornament dies. Today, I am sharing a card showcasing the newest addition to my collection – the Poppy Stamps Pinpoint Shaker Ornament. I liked it so much, I cut it twice!

Winter Wishes - Die-cut OrnamentsThe Poppy Stamps Pinpoint Shaker Ornament die is designed to work with the Retro Ornaments die set. I don’t own that set but found that the Impression Obsession Vintage Ornament die set worked for my purposes. I white heat-embossed one of my favorite sentiments (from the now-retired Hero Arts Operation Write Home Winter Wishes set) on deep blue cardstock. I cut the other ornament from pink cardstock and added a Savvy Stamps snowflake.
Winter Wishes - Die-cut Ornaments

The ornament strings were cut with the Impression Obsession Vintage Ornament set. To create the background, I stamped the Taylored Expressions Snow Day Background stamp in Sea Glass ink on white cardstock.

Winter Wishes - Die-cut OrnamentsSupplies: Memory Box Pinpoint Shaker Ornament, Impression Obsession Vintage Ornament, Savvy Stamps Winter Snowflakes, Taylored Expressions Snow Day Background
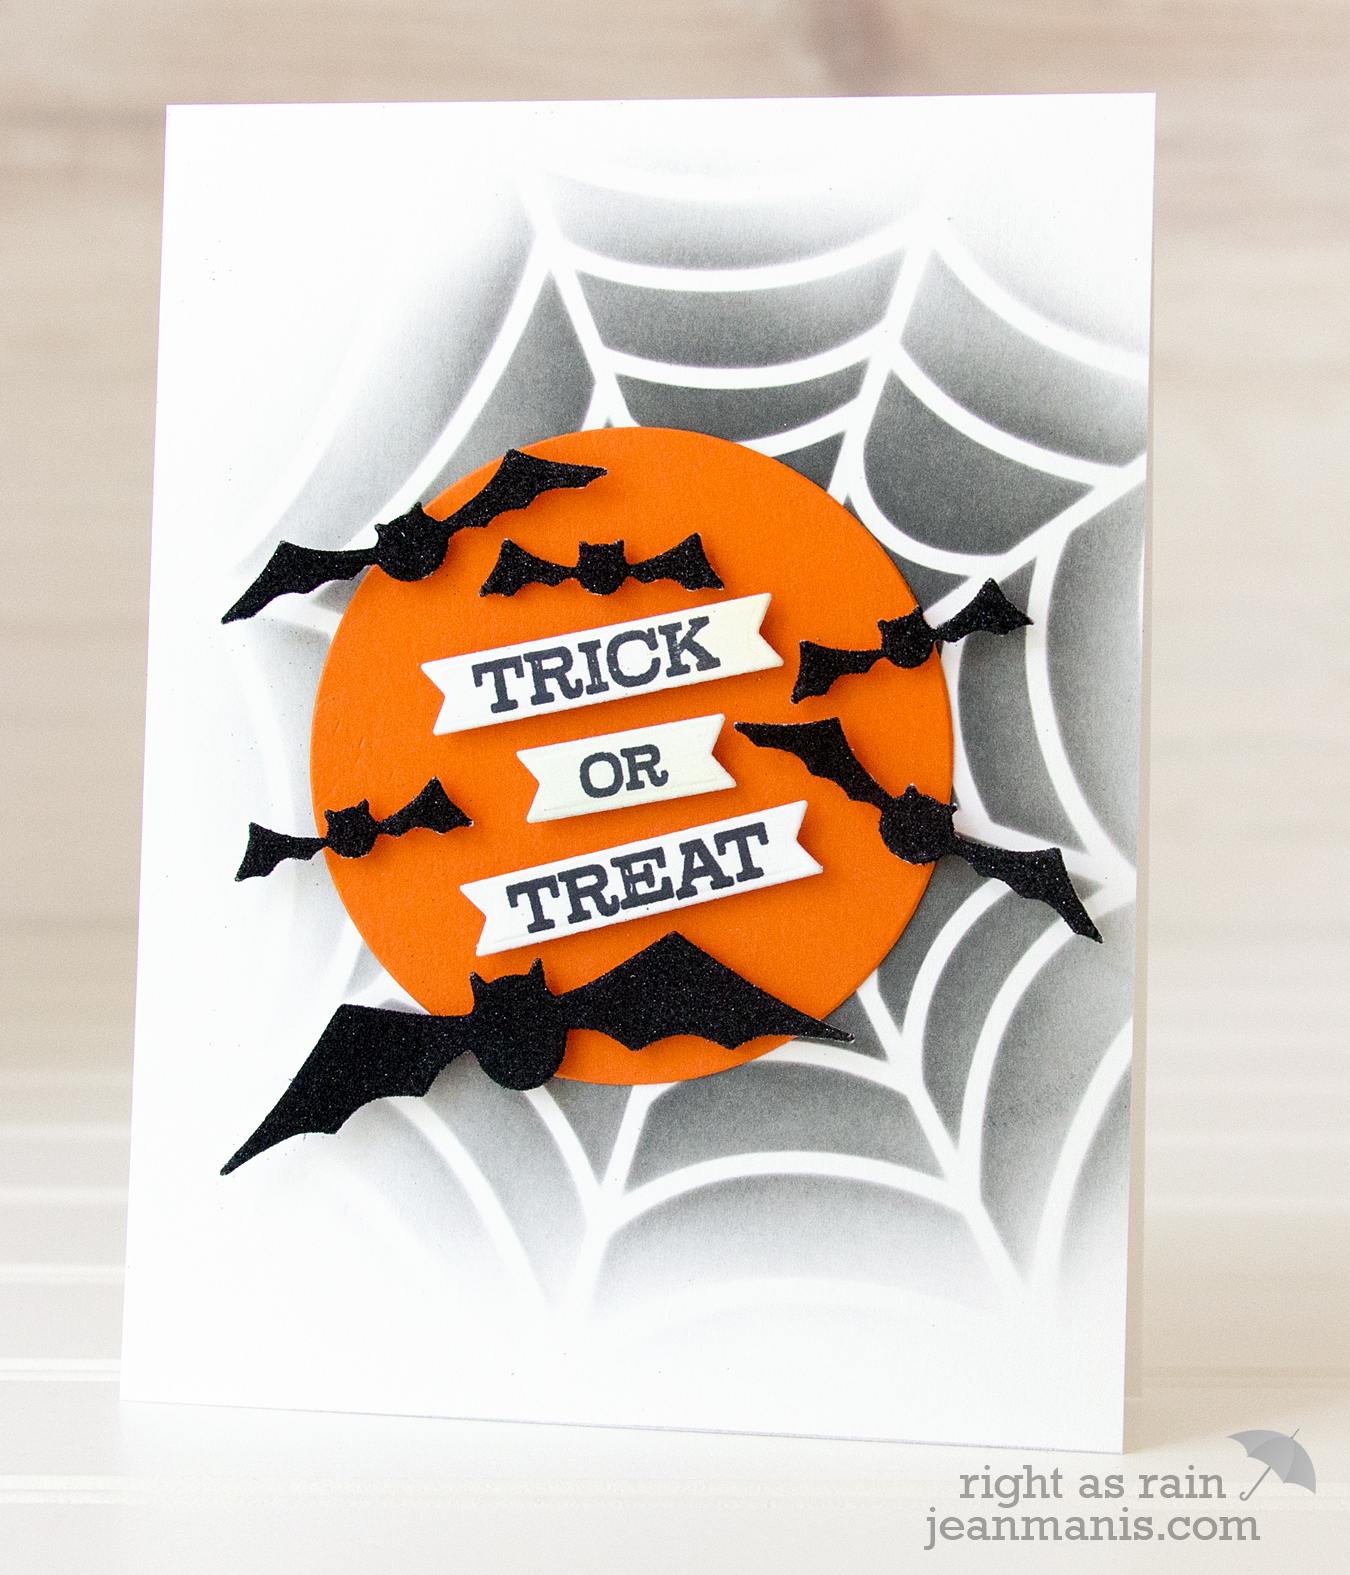
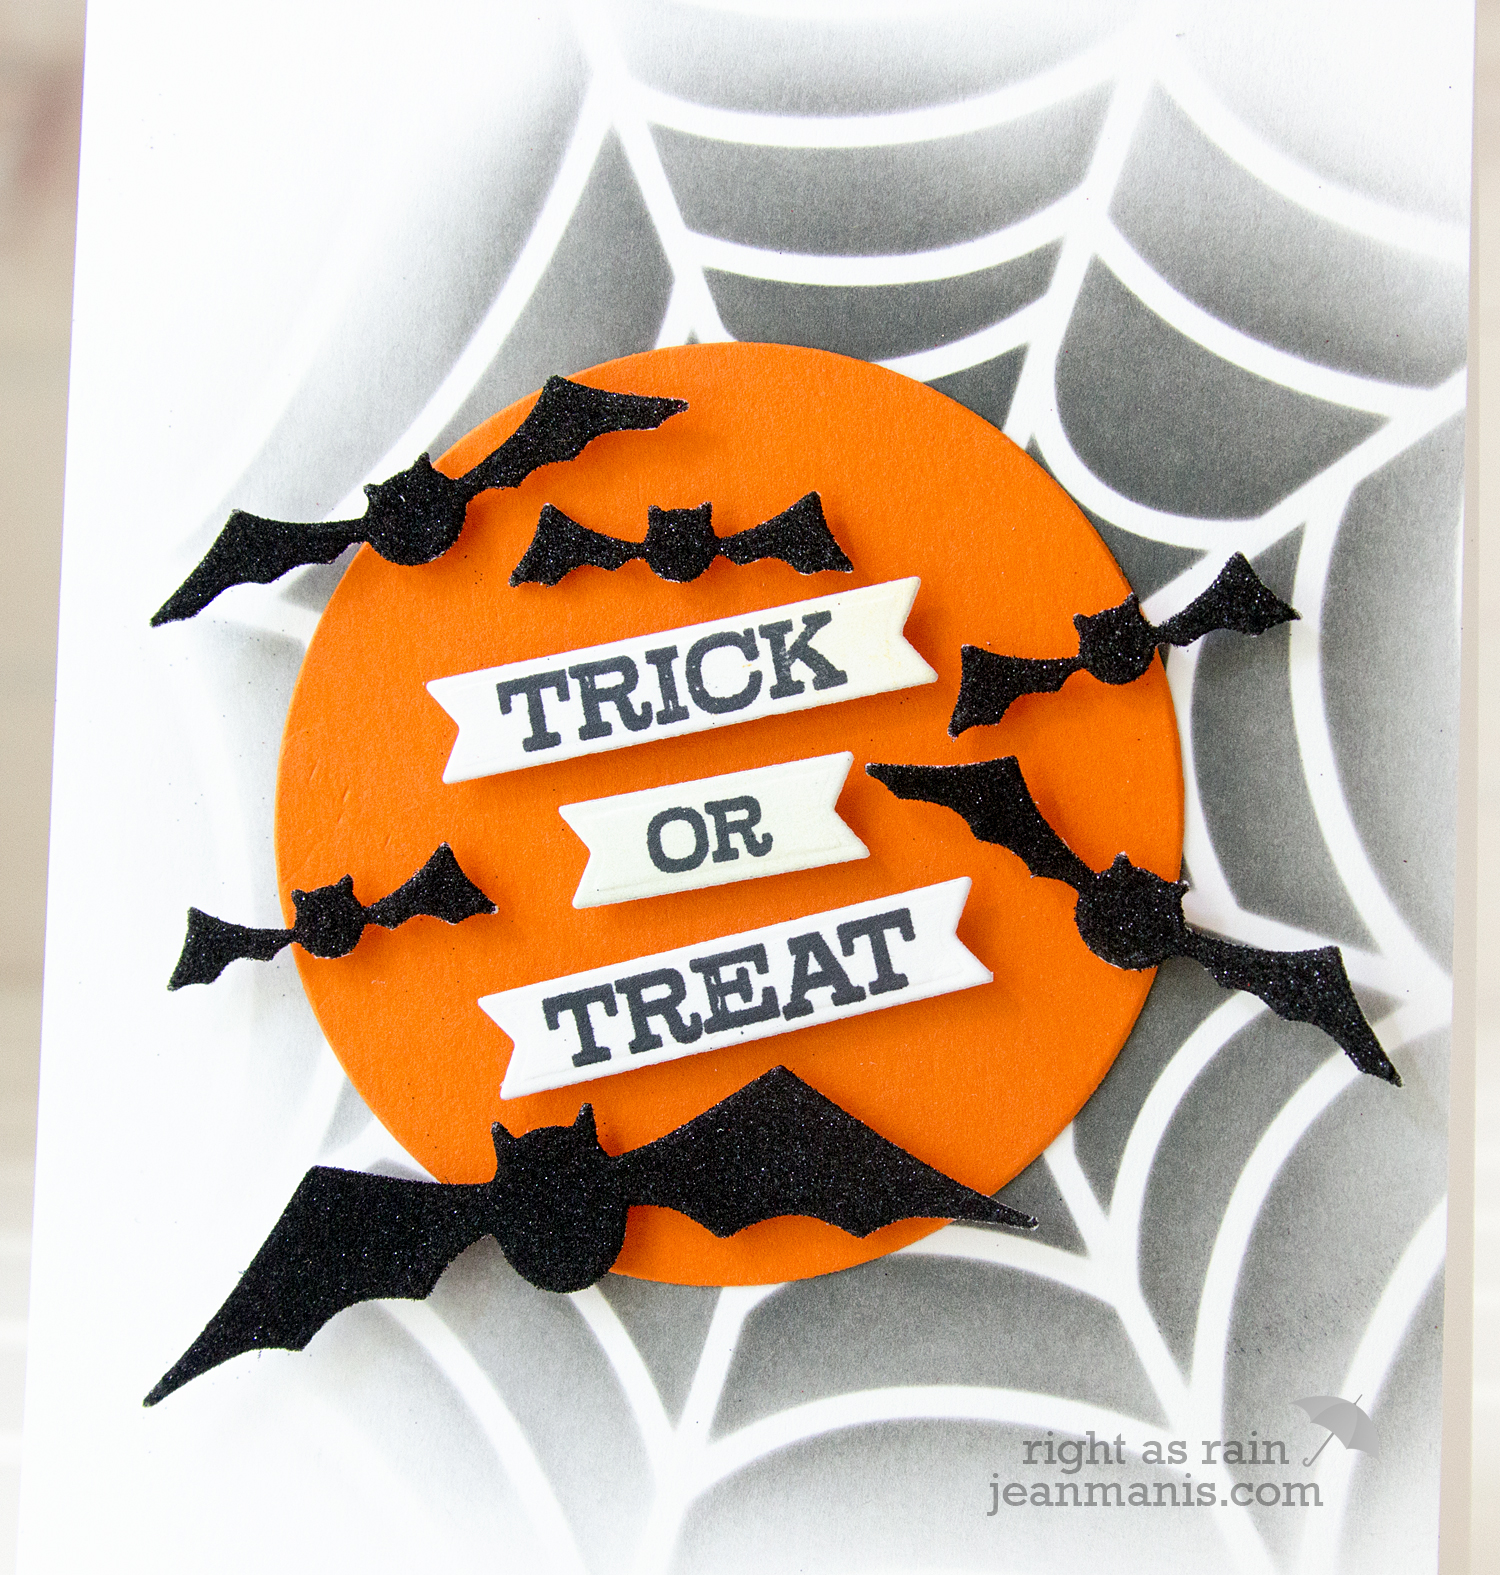
Trick or Treat – Die-cut Glitter Bats

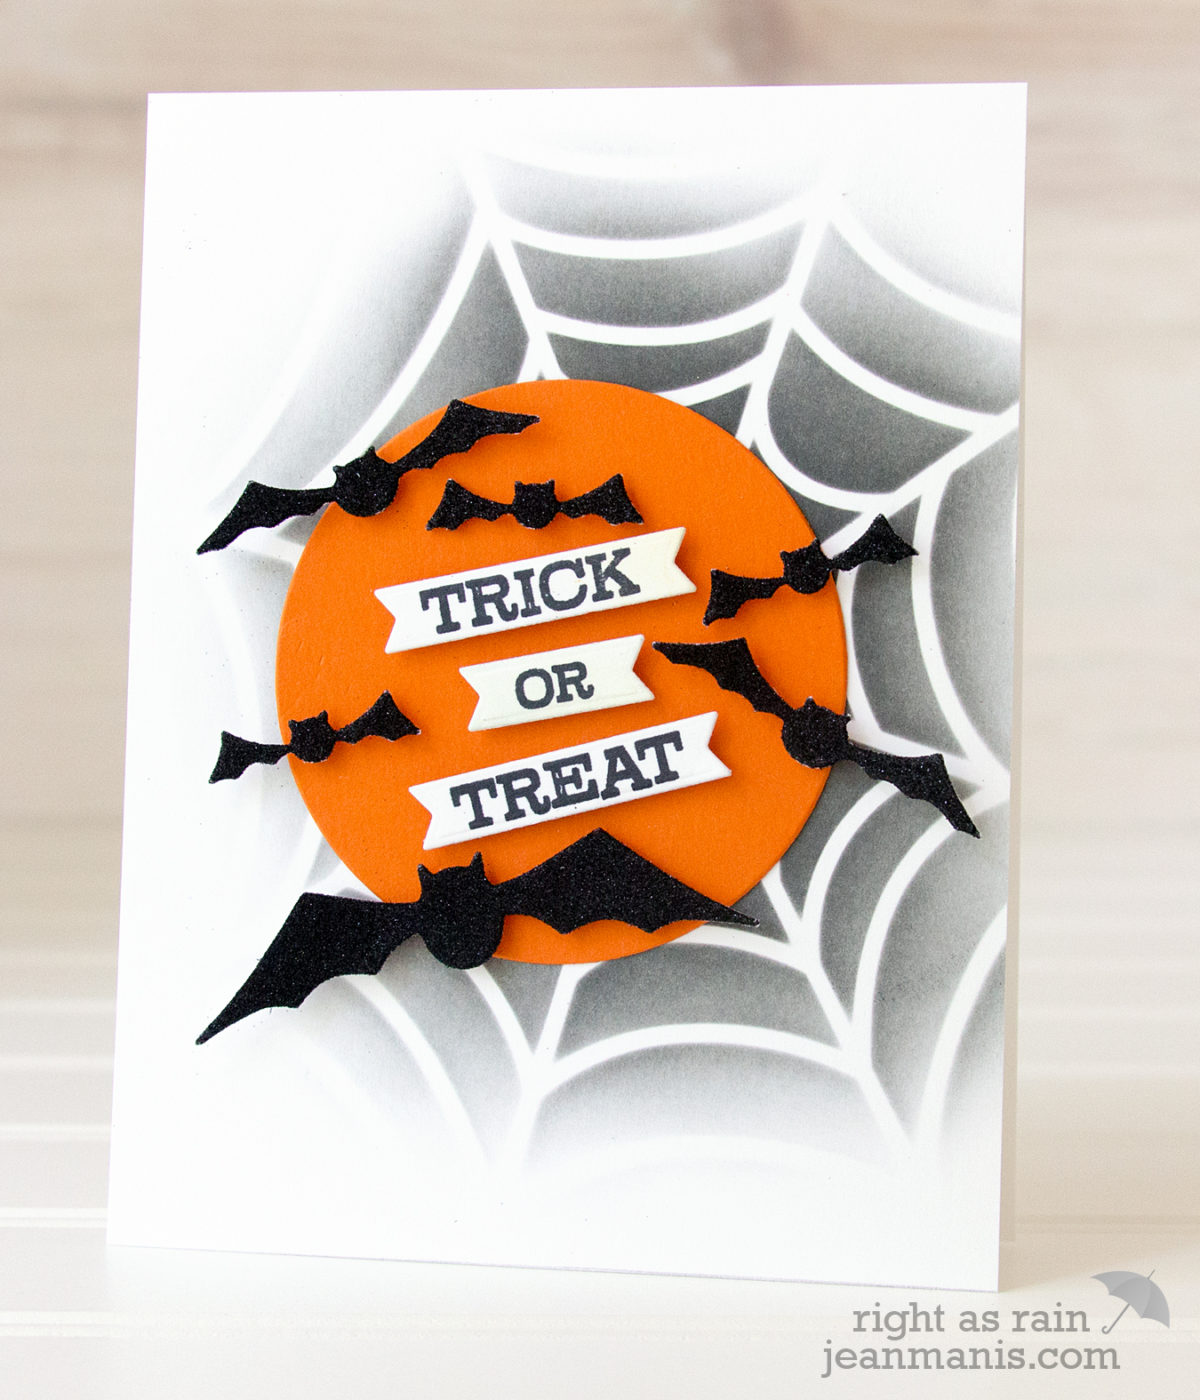
Hello! Today, I am sharing a CAS Halloween card featuring glitter-covered bats!

Trick or Treat - Die-cut Glitter Bats

  • I cut the bats from cardstock to which I first applied double-sided sheet adhesive.
  • I added the micro-fine glitter to the die-cuts.
  • I stamped the sentiment and cut it with one of the dies in the MFT Hearts in a Row set.
  • To create the background, I applied Black Soot ink with a Jumbo Dauber through the Taylored Expressions Spiderweb stencil.
  • I cut the circle from Stampin’ Up cardstock, adhered it to the background, and added the sentiment pieces and bats with foam adhesive.

Trick or Treat - Die-cut Glitter Bats

Supplies: Memory Box Sweeping Bats, Hero Arts Ghostly Greetings

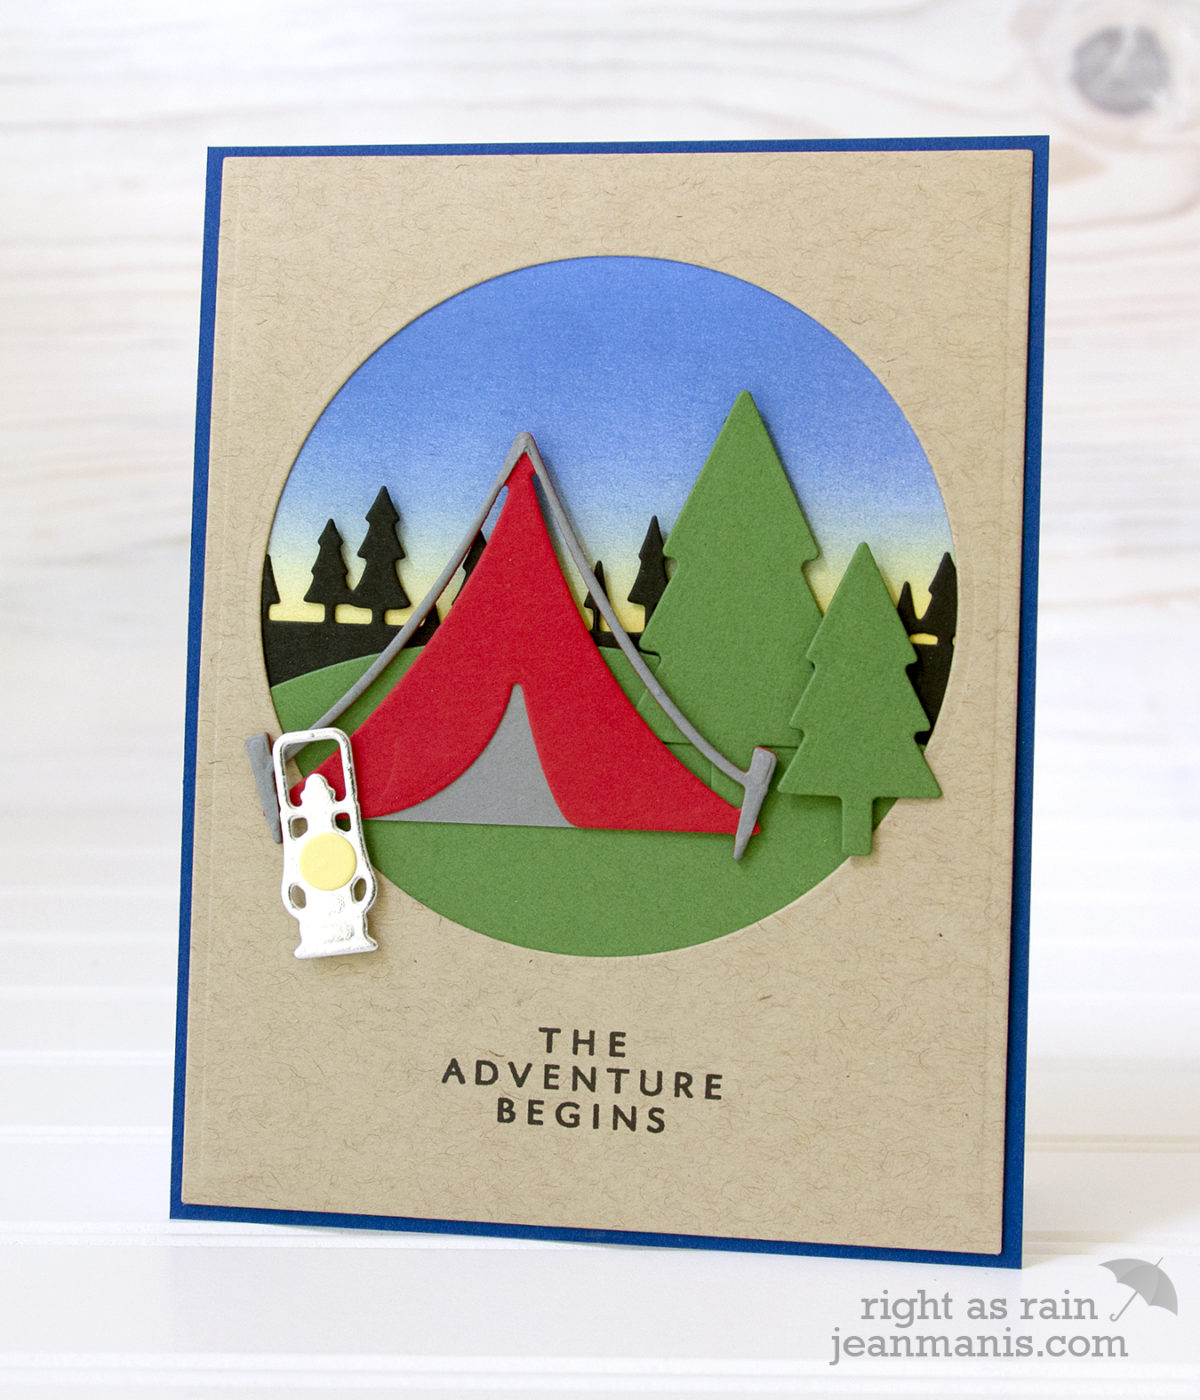
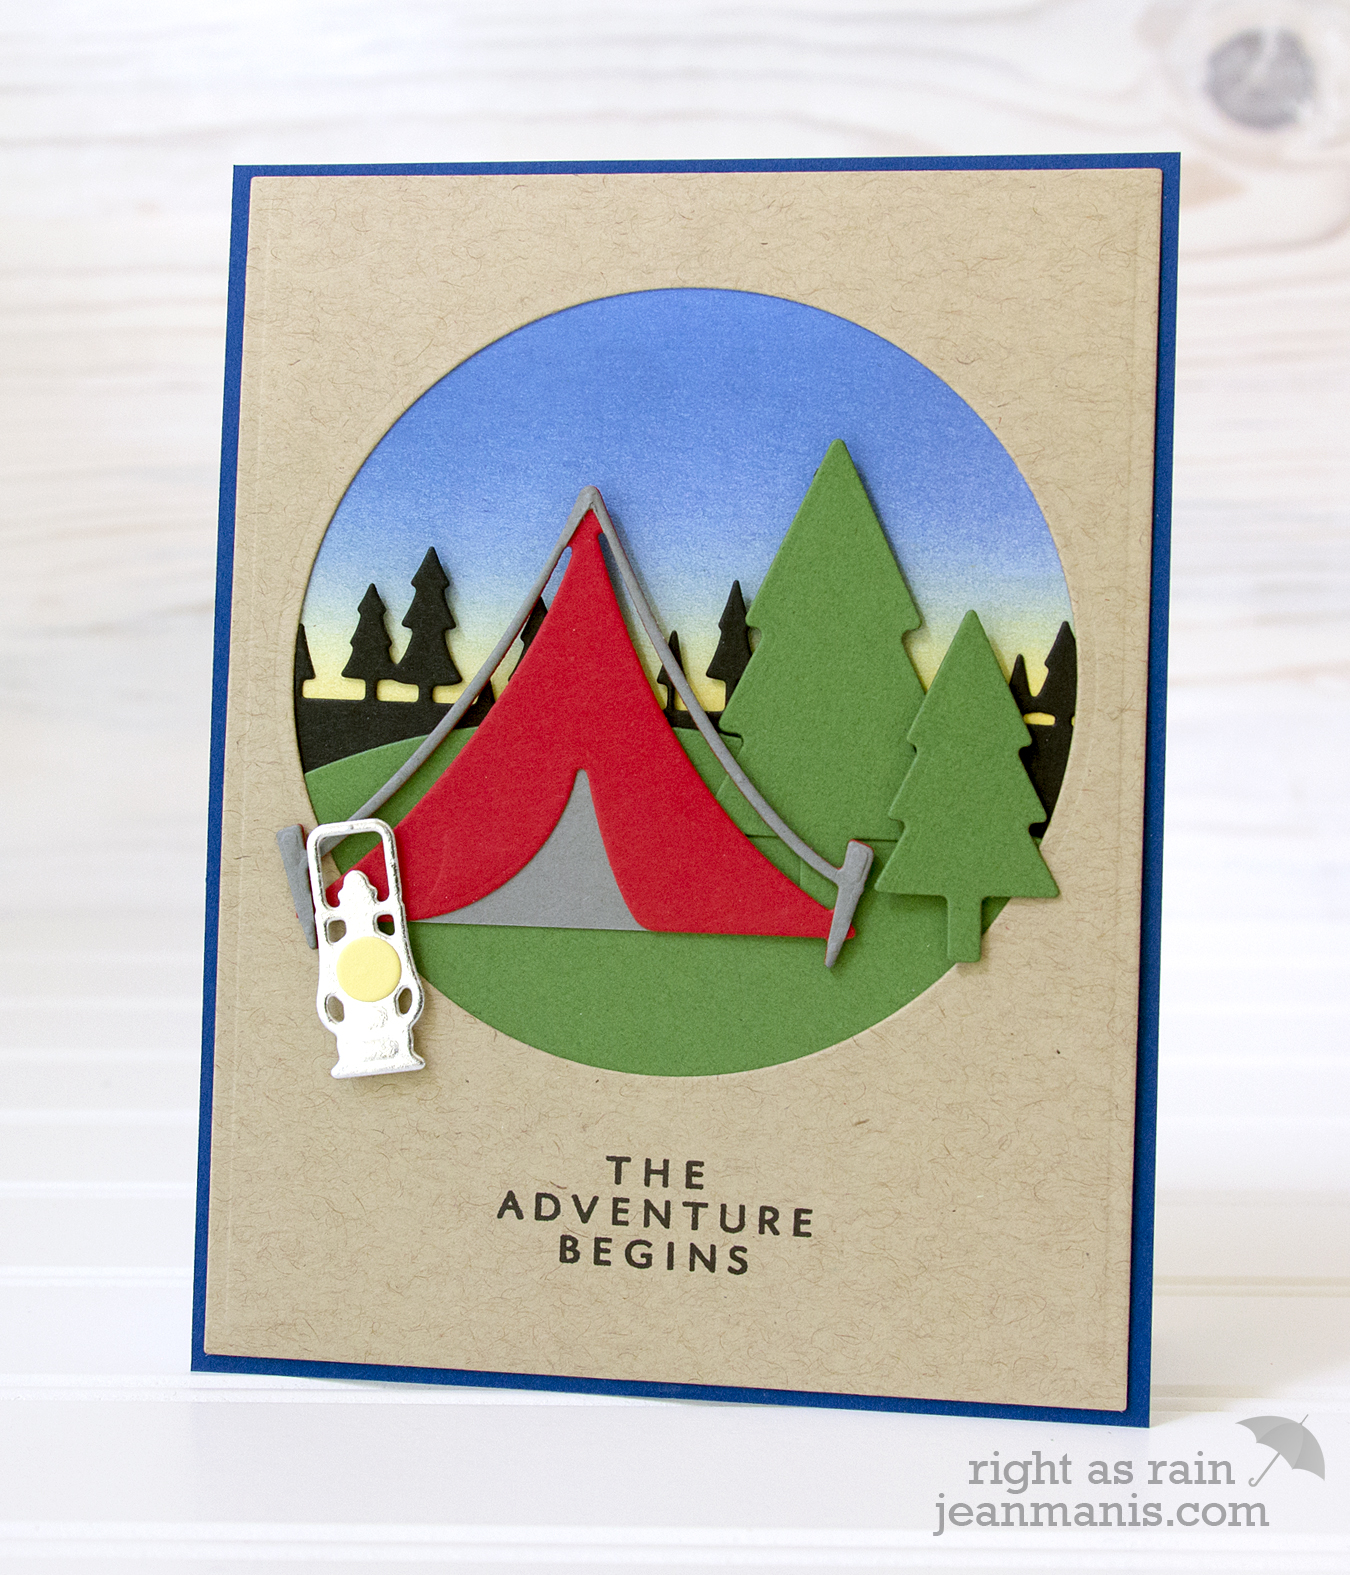
The Adventure Begins – a Die-Cut Camping Scene

Hello! Today I am sharing a camping scene in which I have combined the Spellbinders Camping die set with a sentiment in the Hero Arts The Adventure Begins stamp set. With warmer weather here in the PNW, my thoughts turn to outside adventures.

Die-Cut Camping Scene | Jean Manis

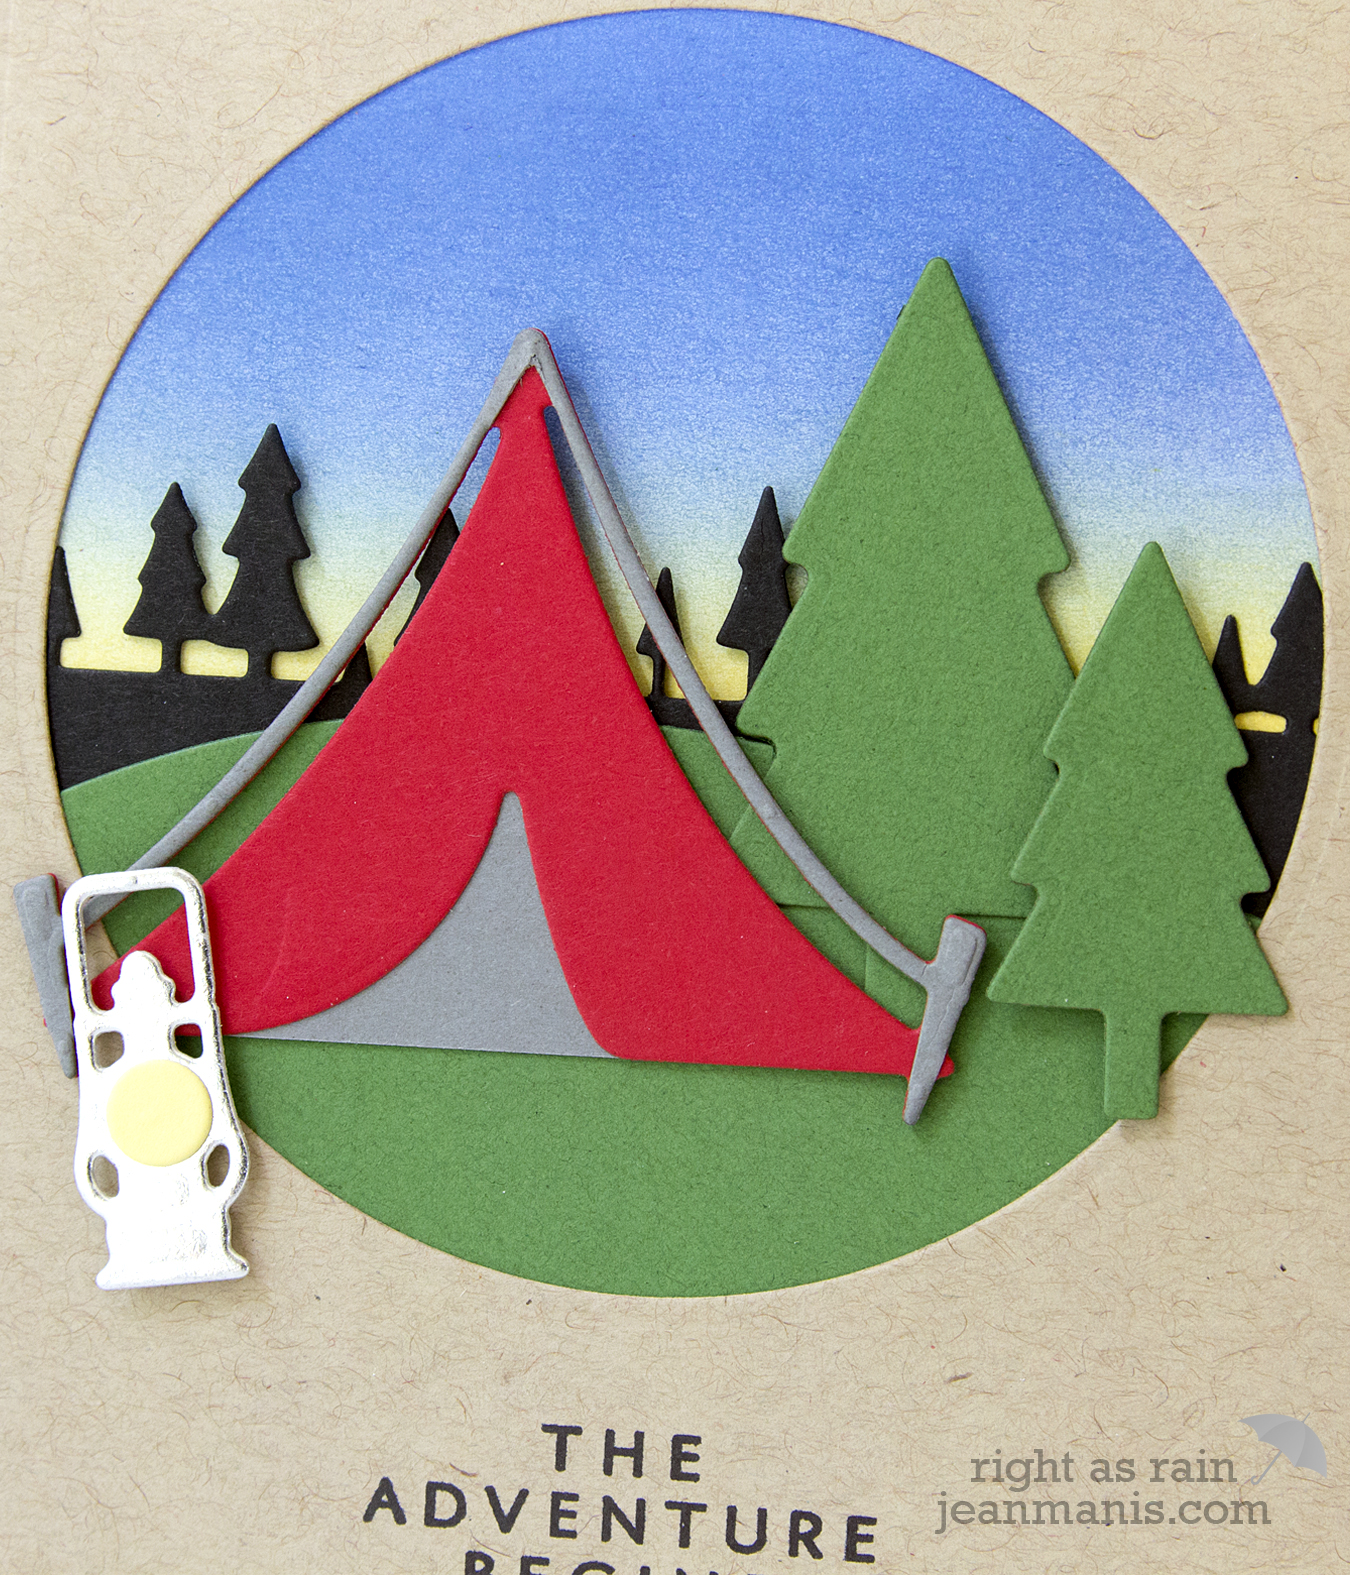
To create the sky, I inked white cardstock with Distress Oxide inks in Fossilized Amber and Blueprint Sketch. I then added Chipped Sapphire Distress Ink to darken the sky.

Die-Cut Camping Scene | Jean Manis

The back row of trees was cut with the Poppystamps Pine Tree Border from black cardstock. The tent was cut from Chili Pepper cardstock and Taylored Expressions Earl Grey cardstock. I trimmed away the tent portion of the piece I cut from the gray cardstock. I cut the ground (using the MFT Snow Drifts die set) and the trees (included in the Spellbinders Camping die set) from Lawn Fawn Noble Fir cardstock. I cut the lantern from TE Silver Foil Cardstock and added a tiny circle cut from TE Potato Chip cardstock.

The sentiment was stamped on a panel of Taylored Expressions Toffee cardstock from which I cut the circle in the center to create a frame. The card base was created with Lawn Fawn Blue Jay cardstock.

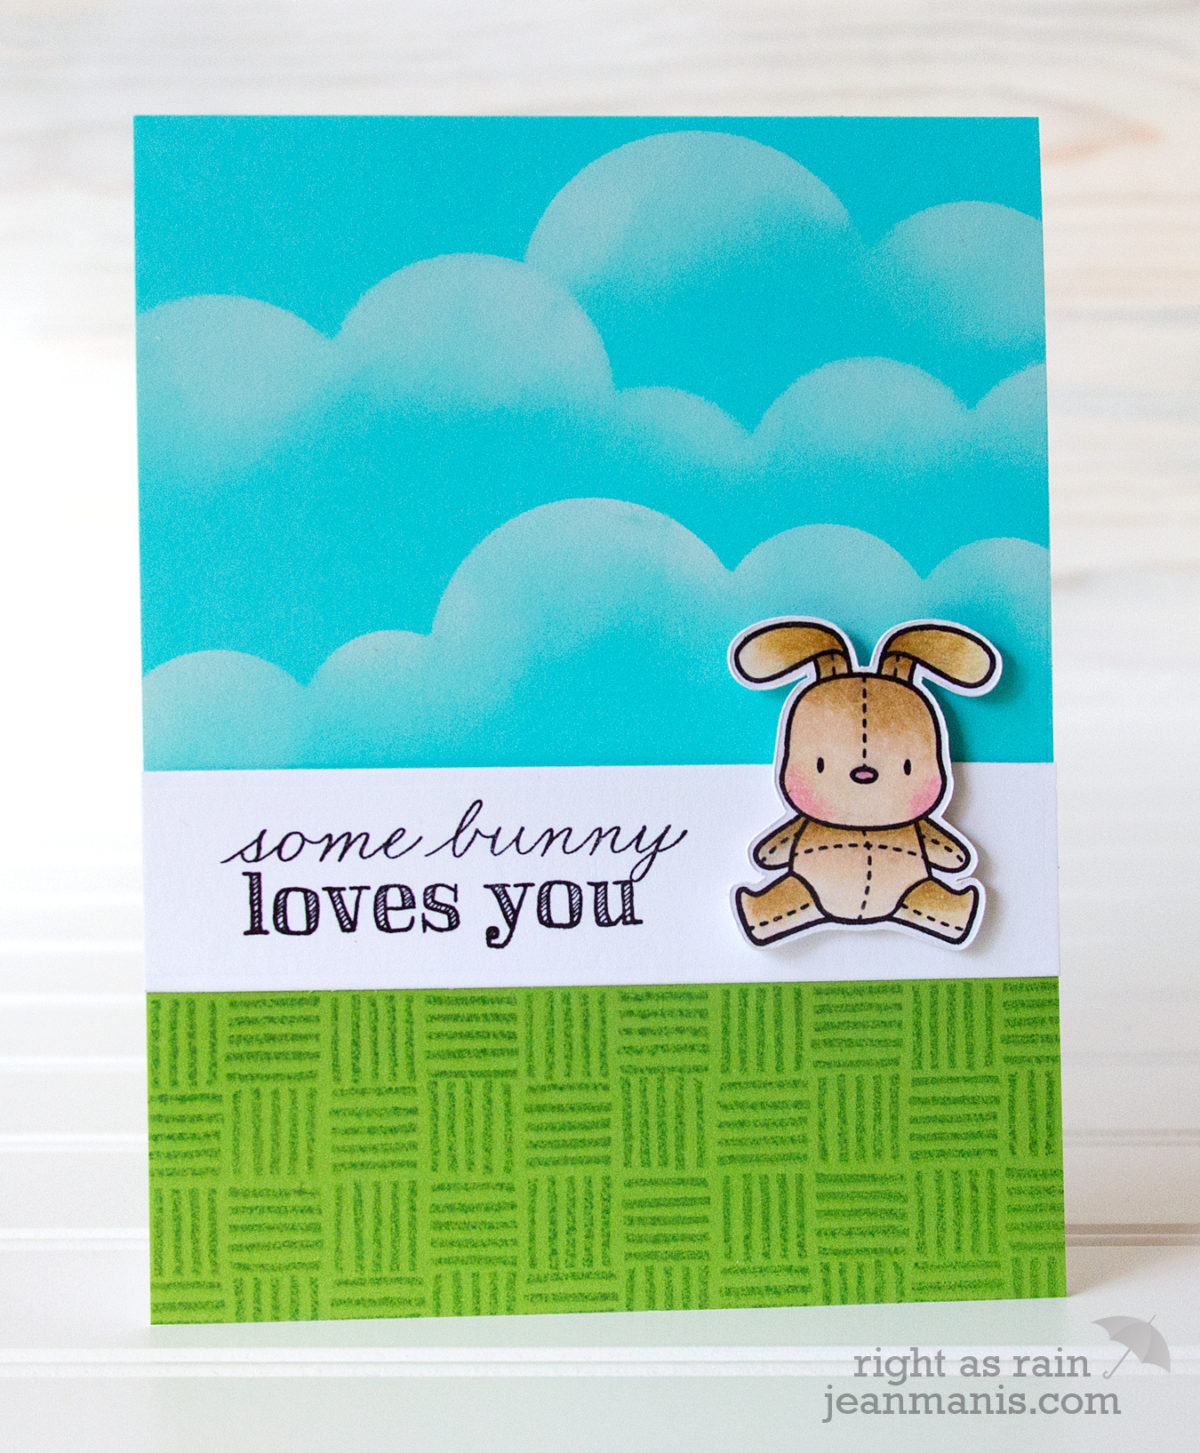
Mama Elephant CAS Easter Card

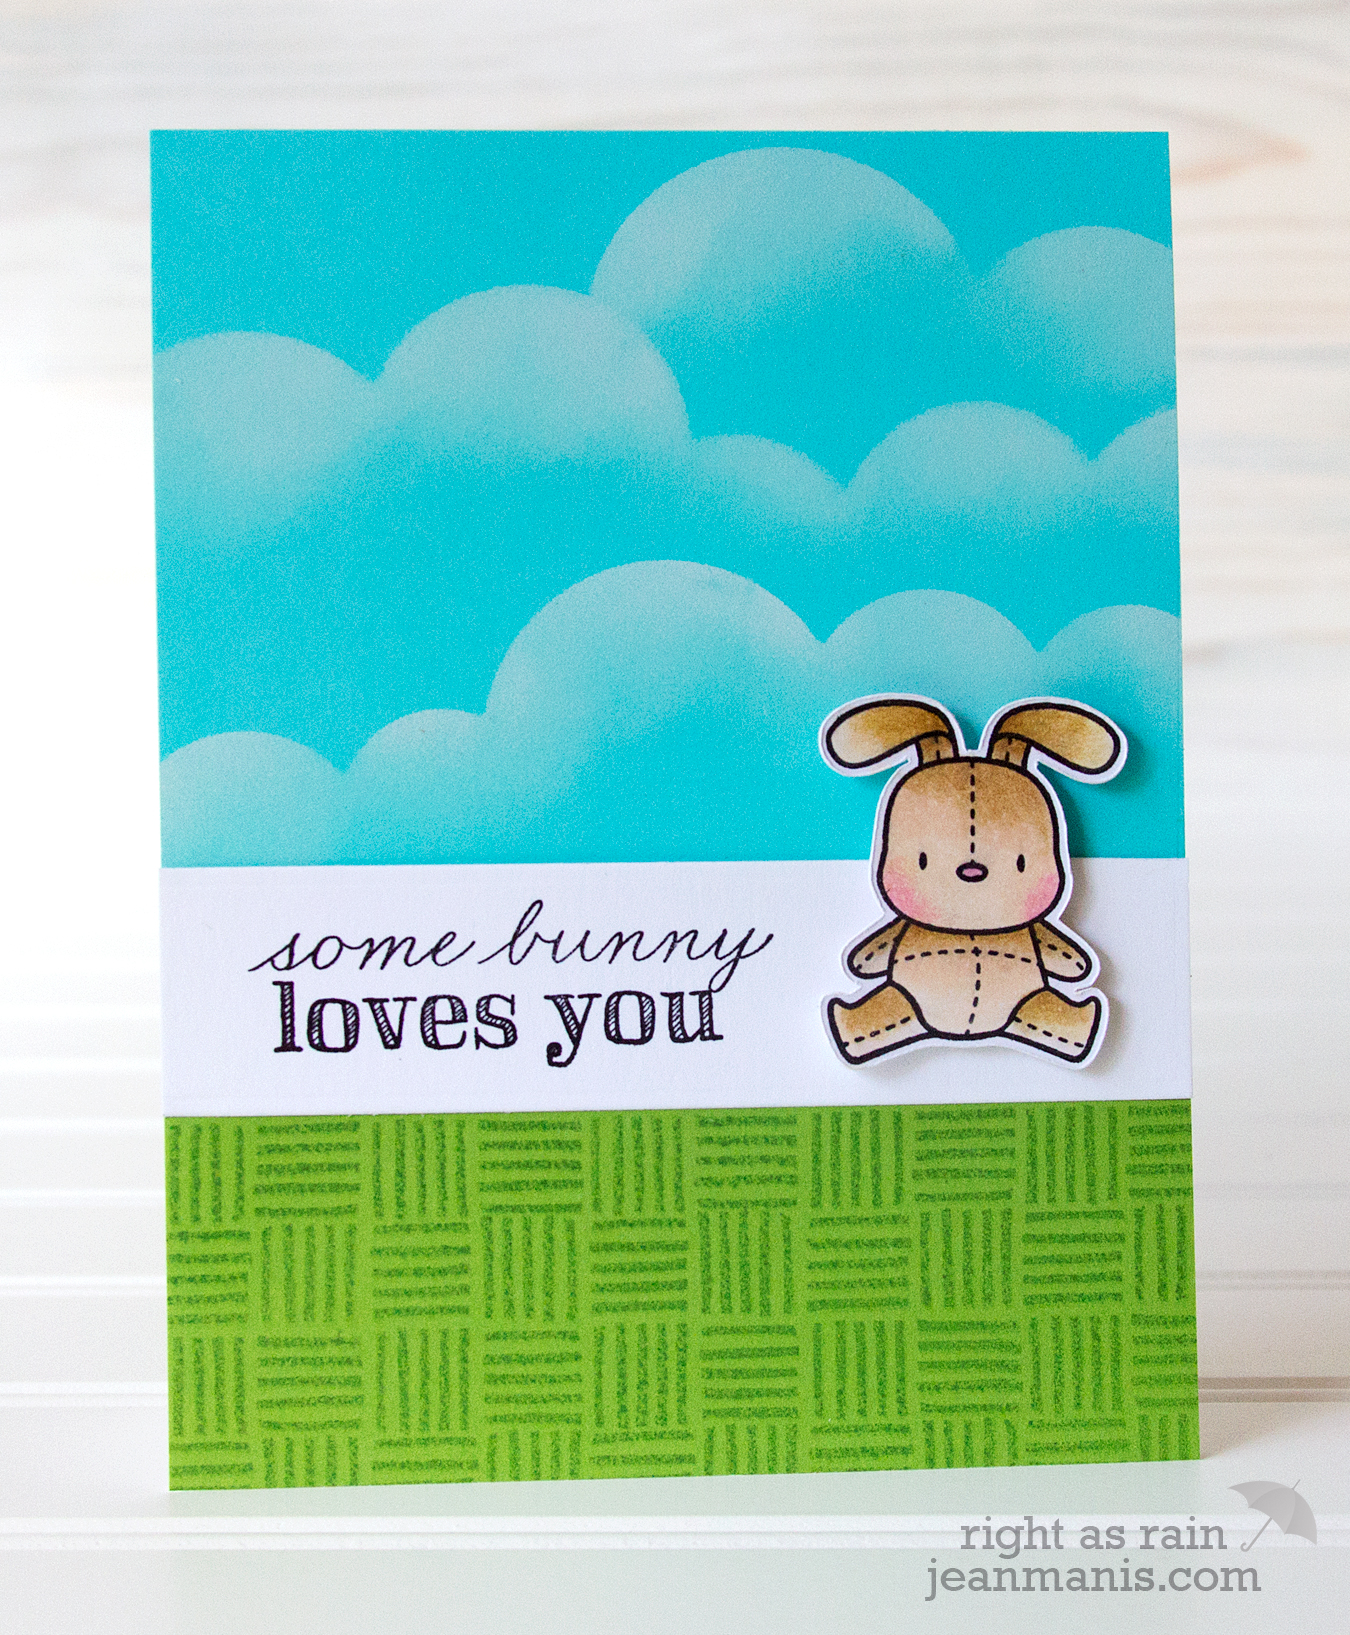
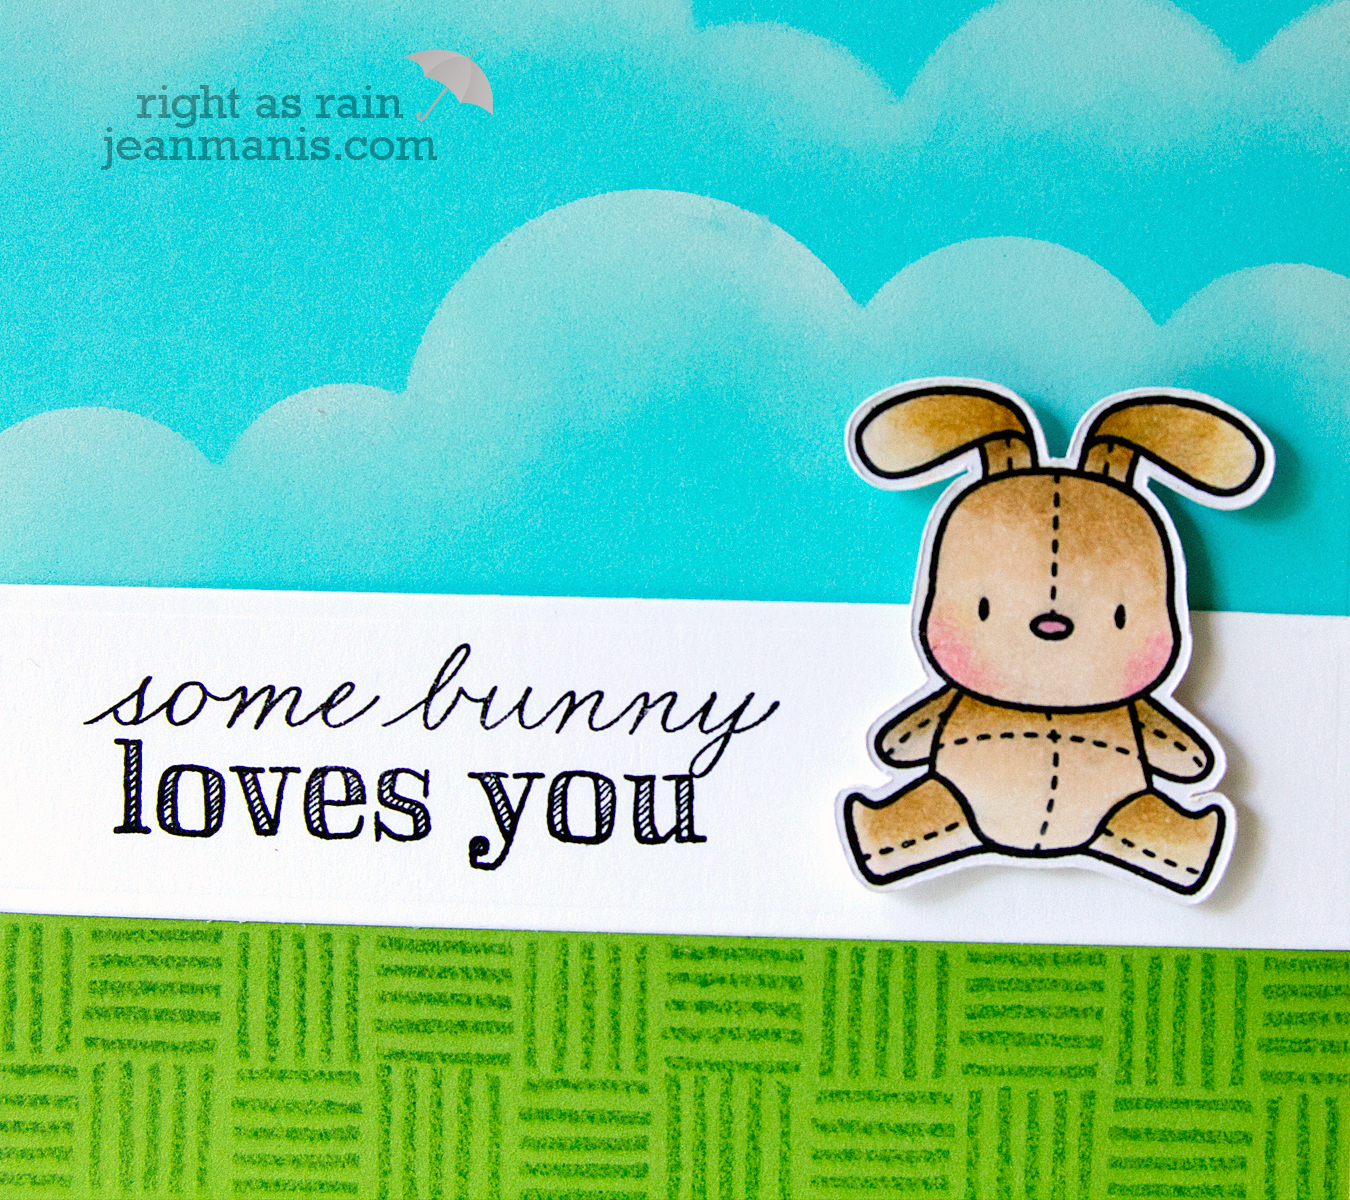
Hello! Today, I am sharing a CAS Easter card showcasing one of the cute bunnies from the Mama Elephant Honey Bunny set.

Mama Elephant CAS Easter Card

I stamped the bunny and colored him (her?) with Copic markers, as well as colored pencils. To create the cloud background, I made a stencil from vellum using the cloud die in the Landscape Trio set and two of the cloud dies in the Build a Scene – Rolling Clouds set. I sponged white pigment ink  with a sponge dauber on to Memory Box cardstock (now retired). For the bottom half of the card, I stamped the Hero Arts Five Line Background (retired, but still available in a couple of stores online) in Celery ink on Memory Box cardstock (now retired).

Mama Elephant CAS Easter Card

Supplies: