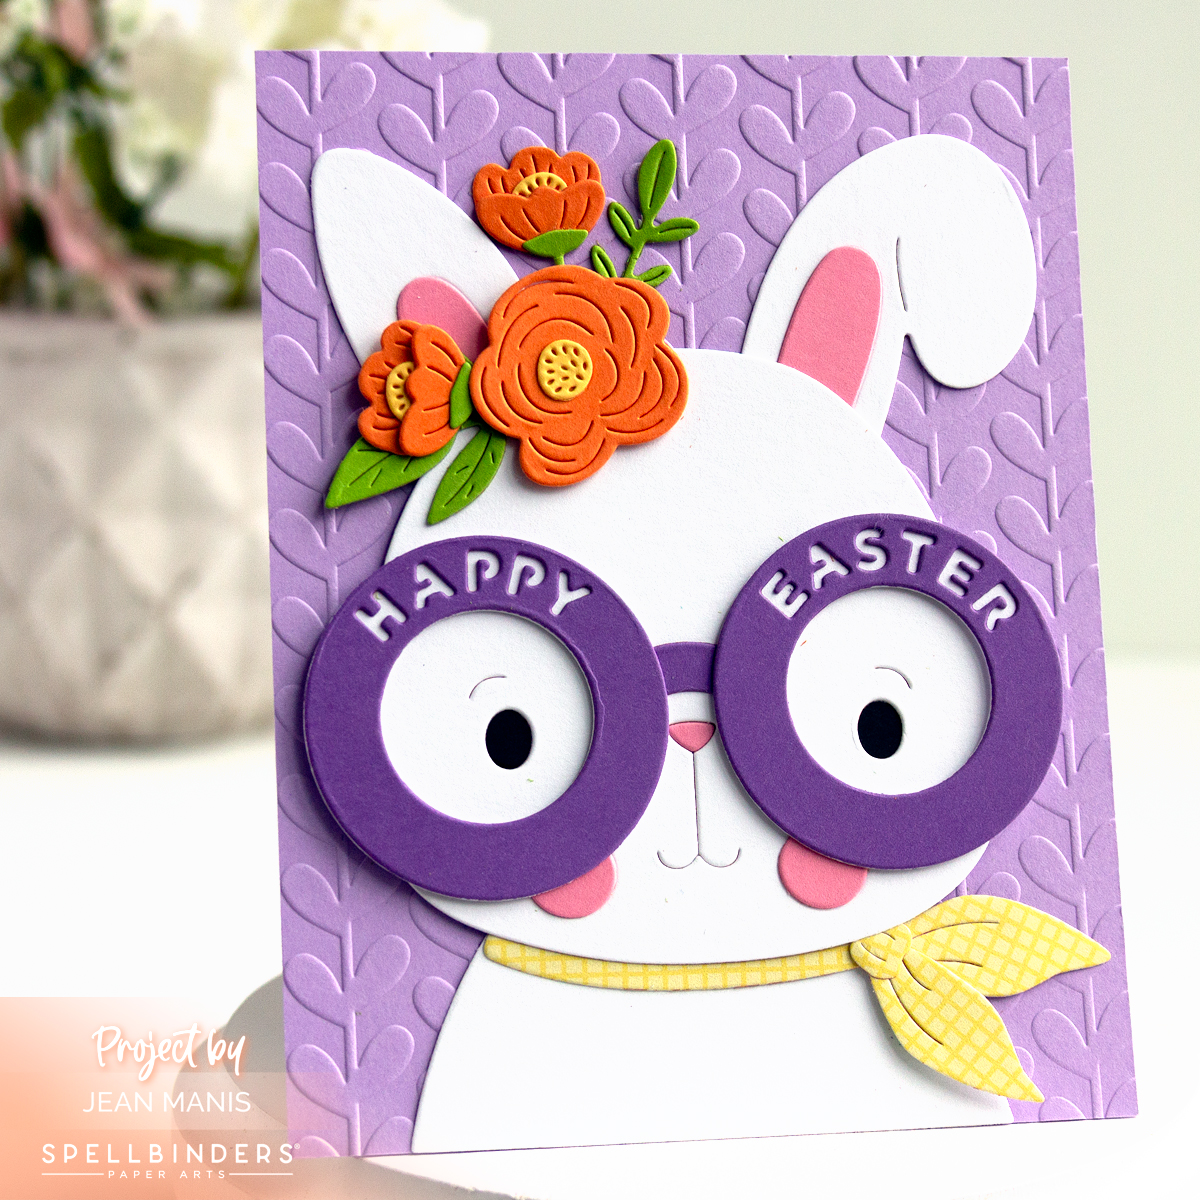
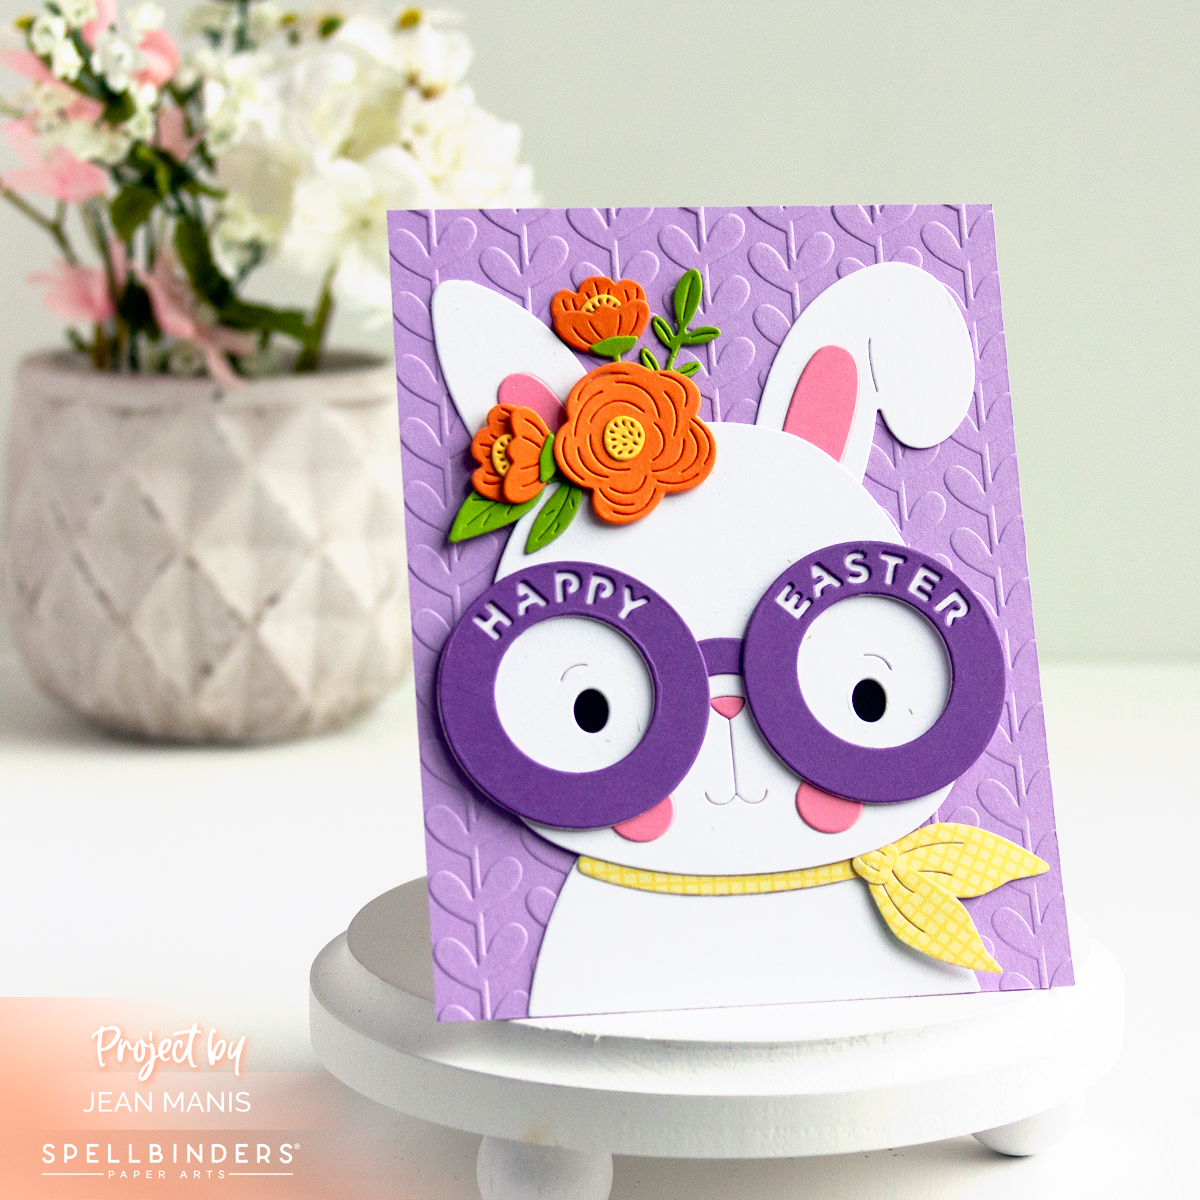
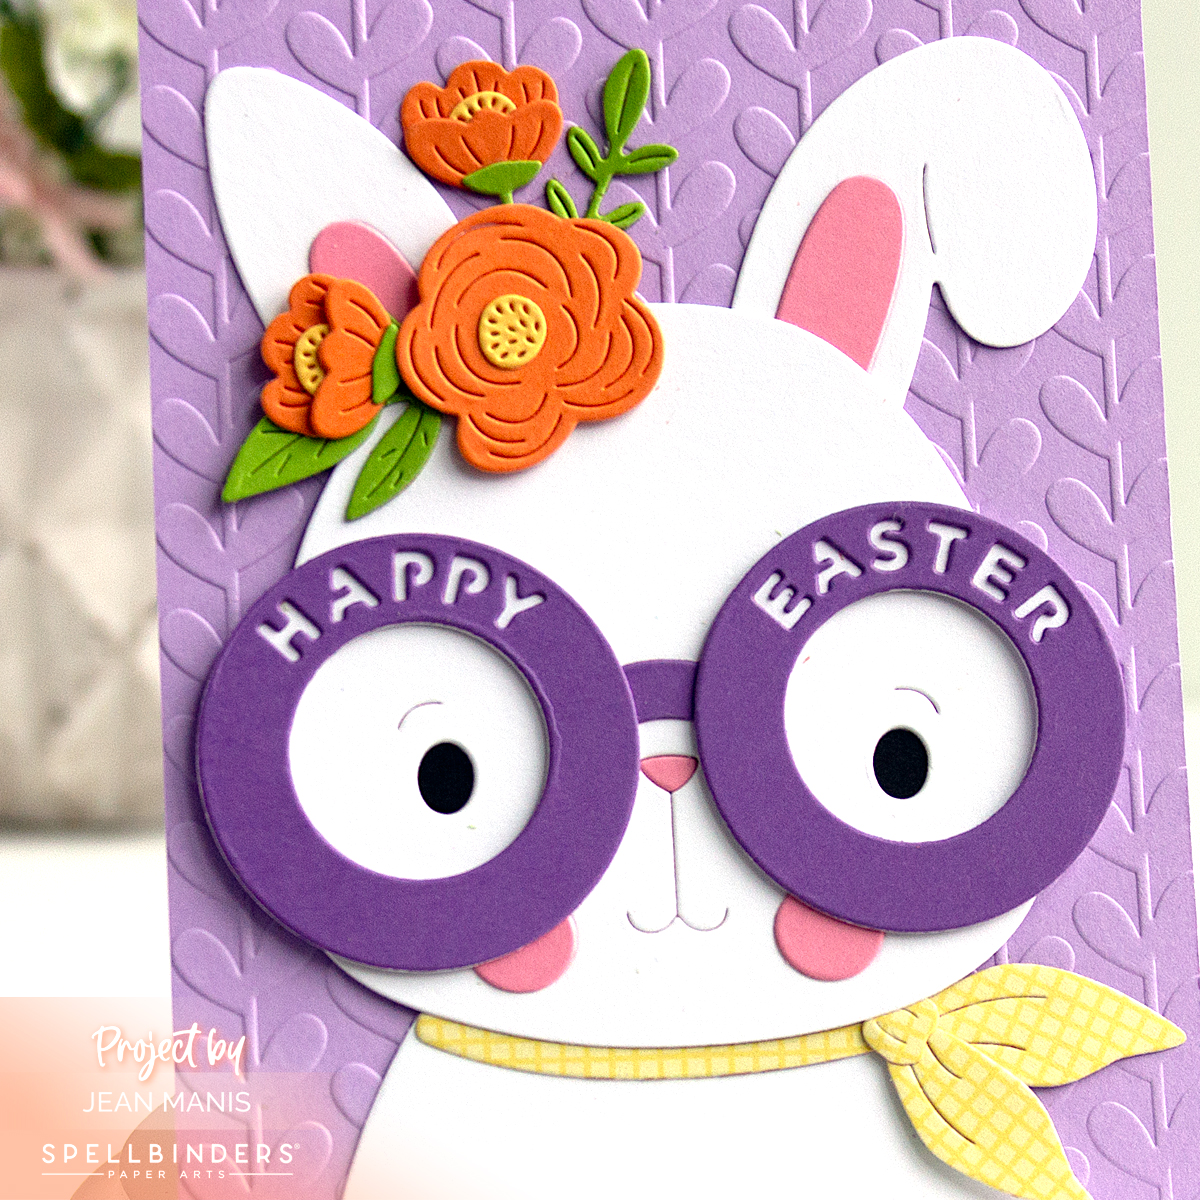
Hello! Easter cards don’t always have to be pastel-perfect or overly precious, sometimes they’re at their best with a touch of personality. For this card, I used the Spellbinders Large Die Kit Club along with the February 2D Embossing Folder to create a charming bunny. With the “Happy Easter” glasses, scarf, and a crown of spring flowers, this bunny has just the right mix of humor and elegance!
-
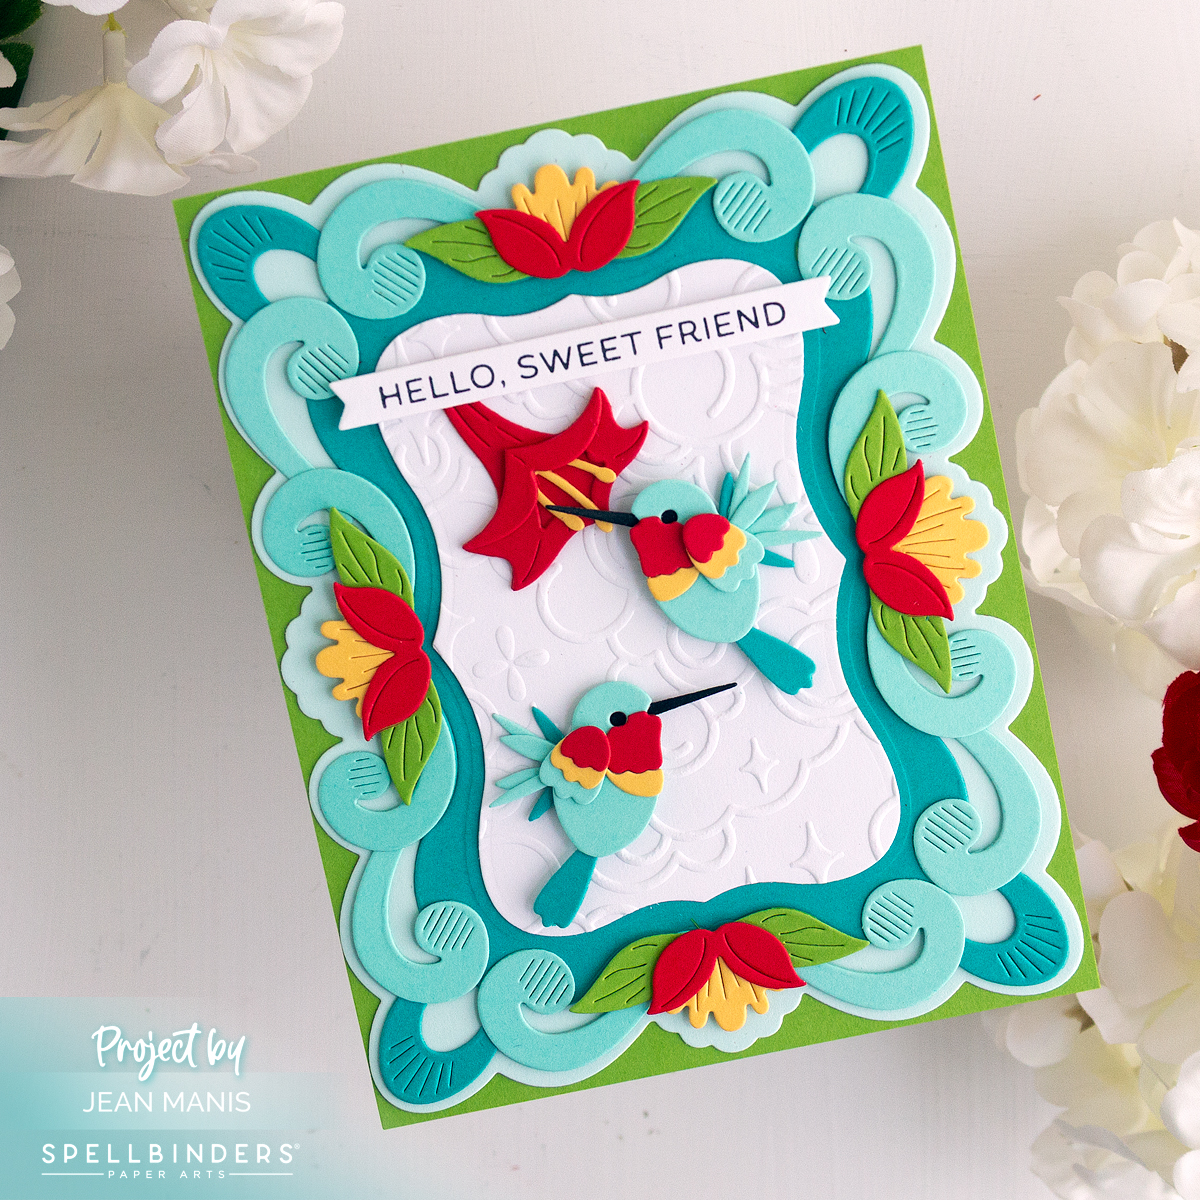
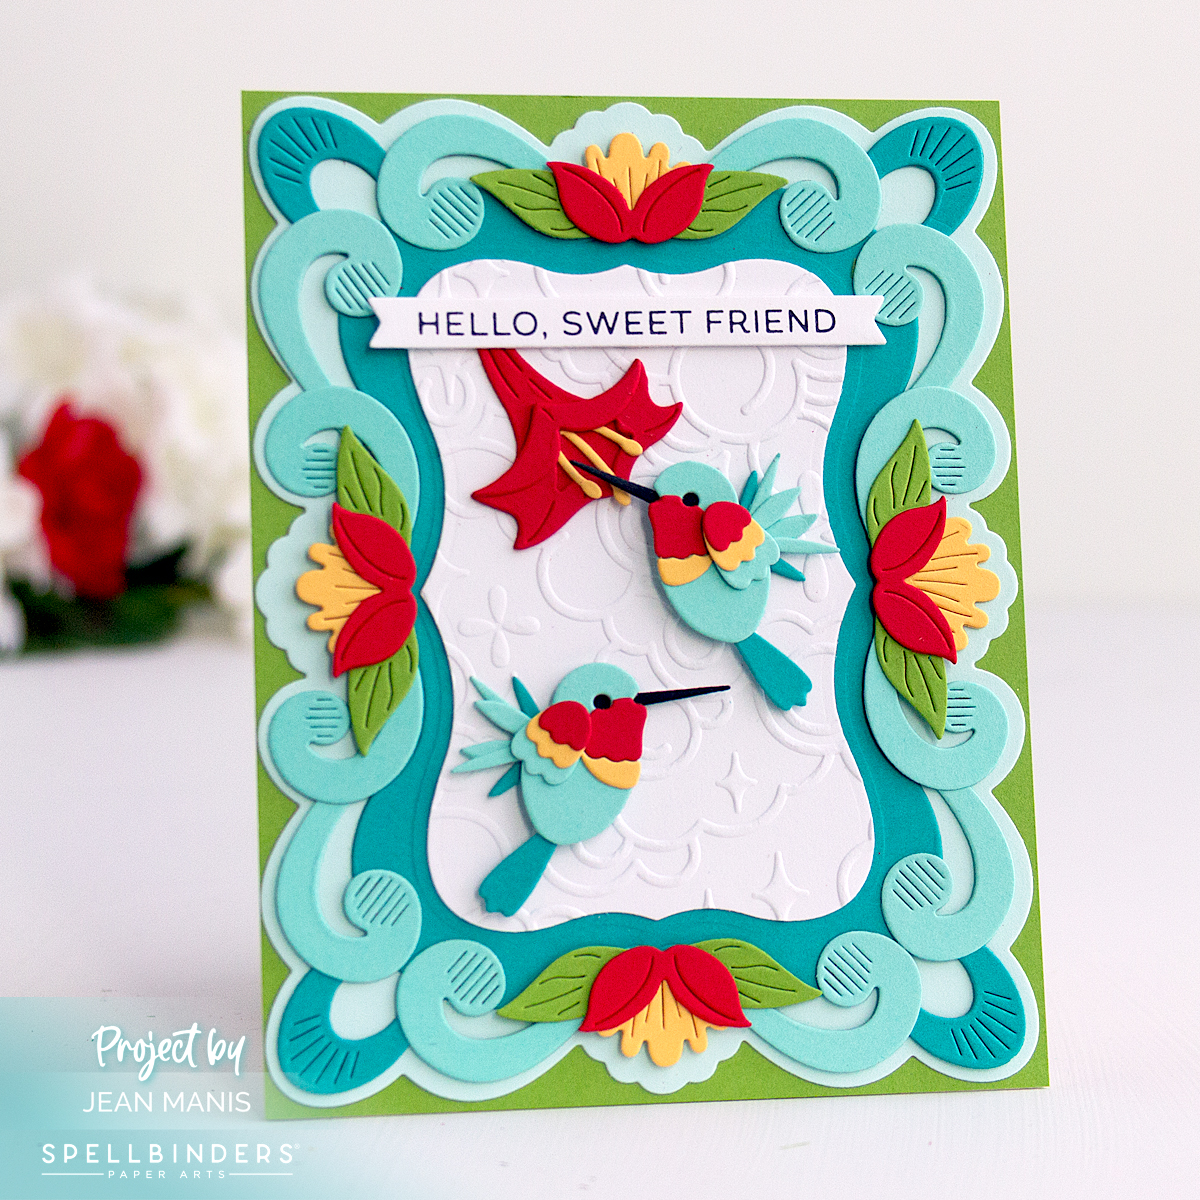
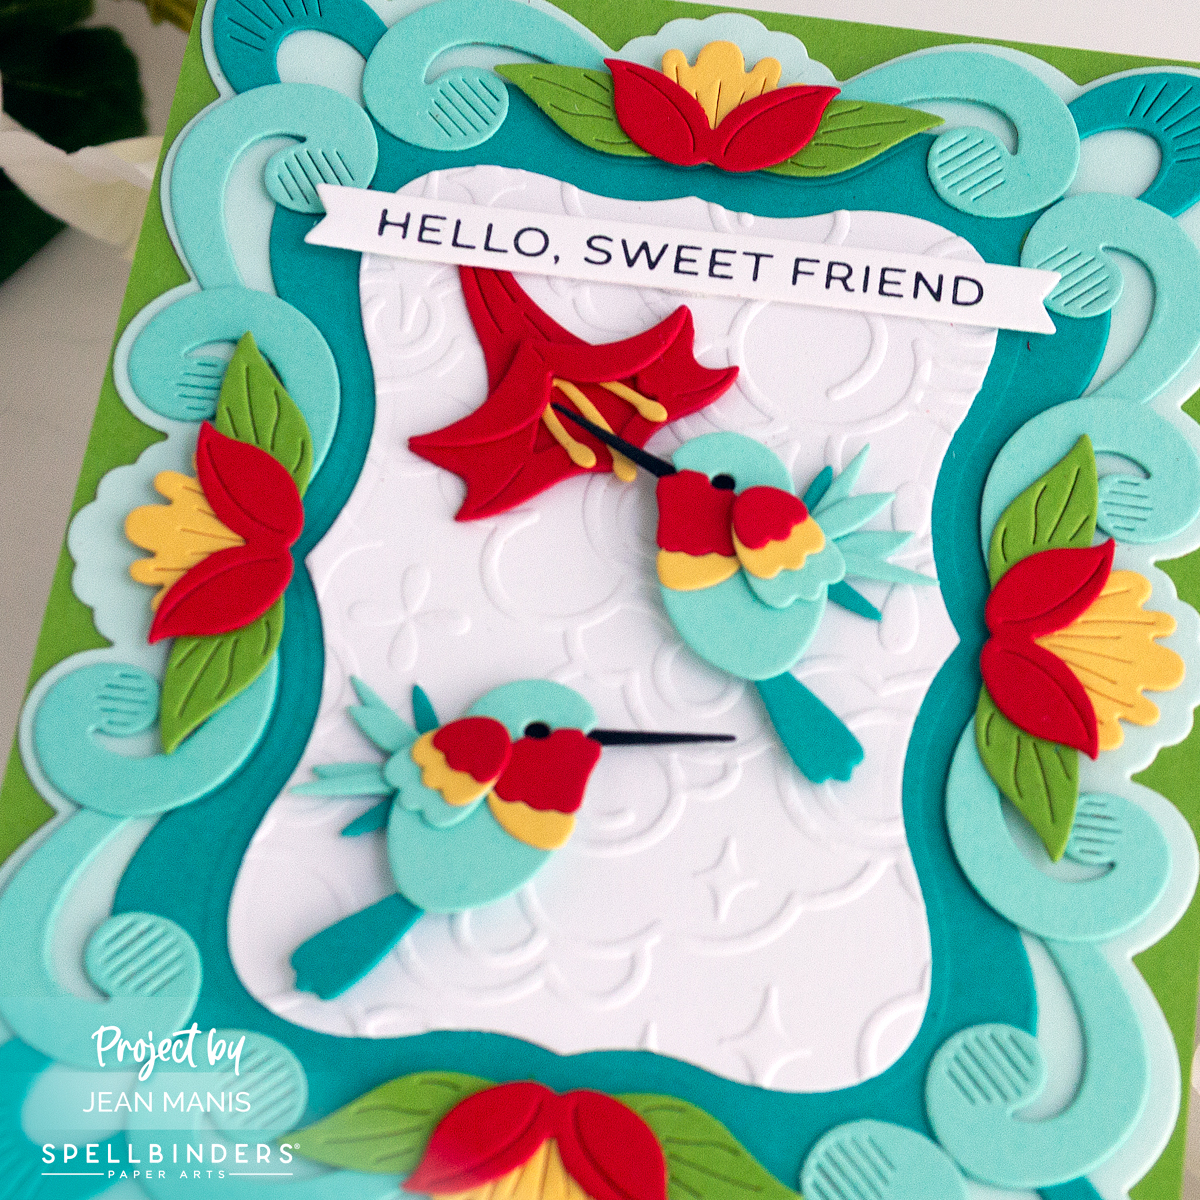
- Dry-emboss an A2-size Lavender cardstock panel with the 2D Embossing Folder of the month. add to a card base.
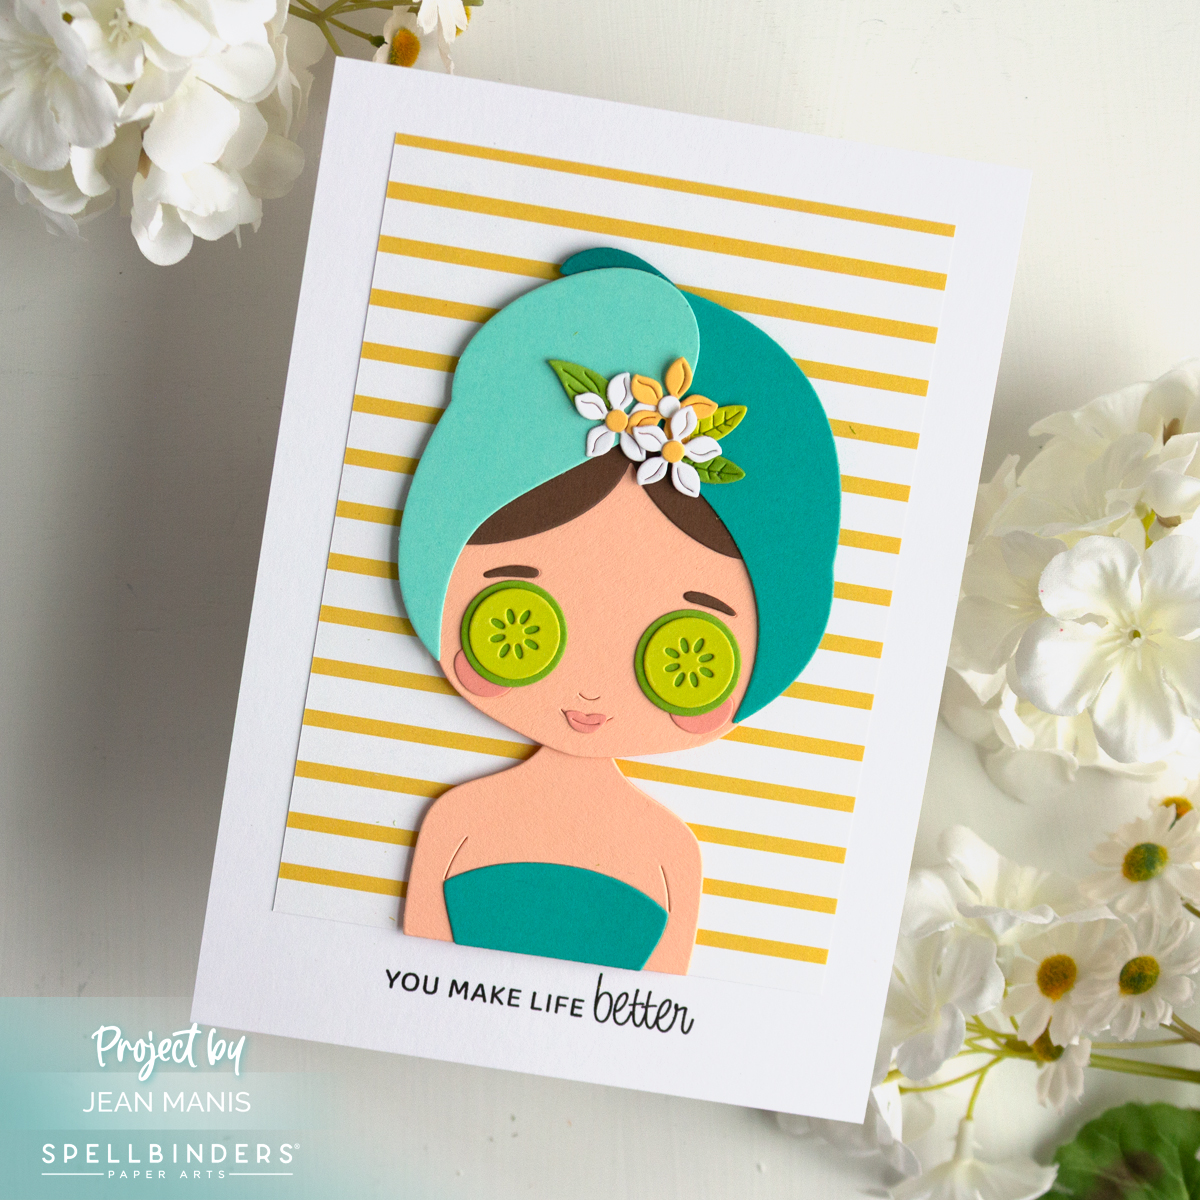
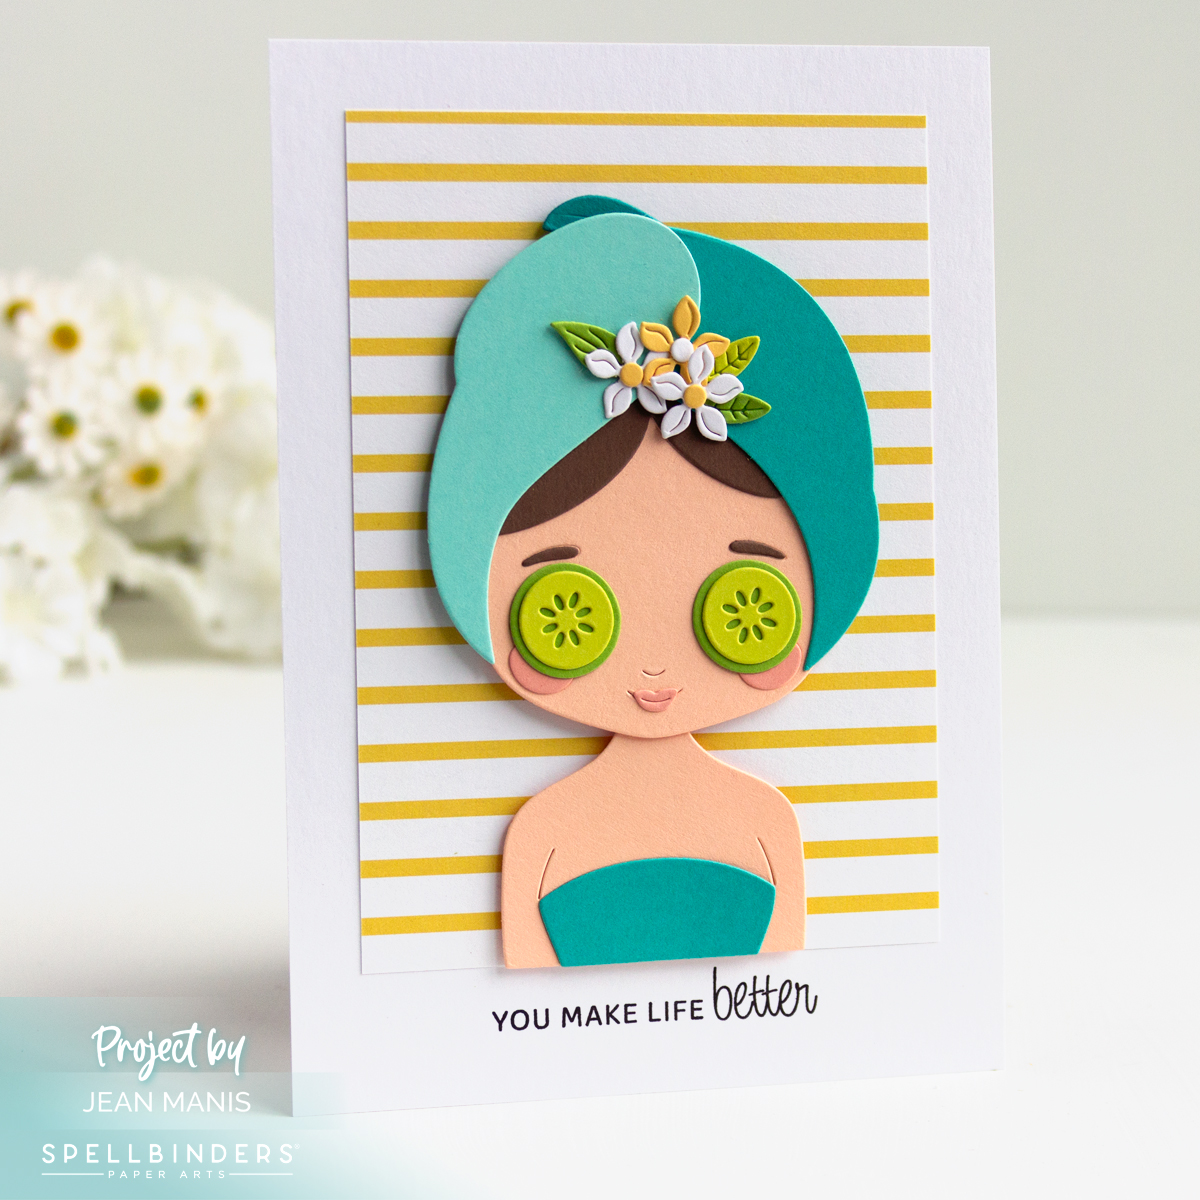
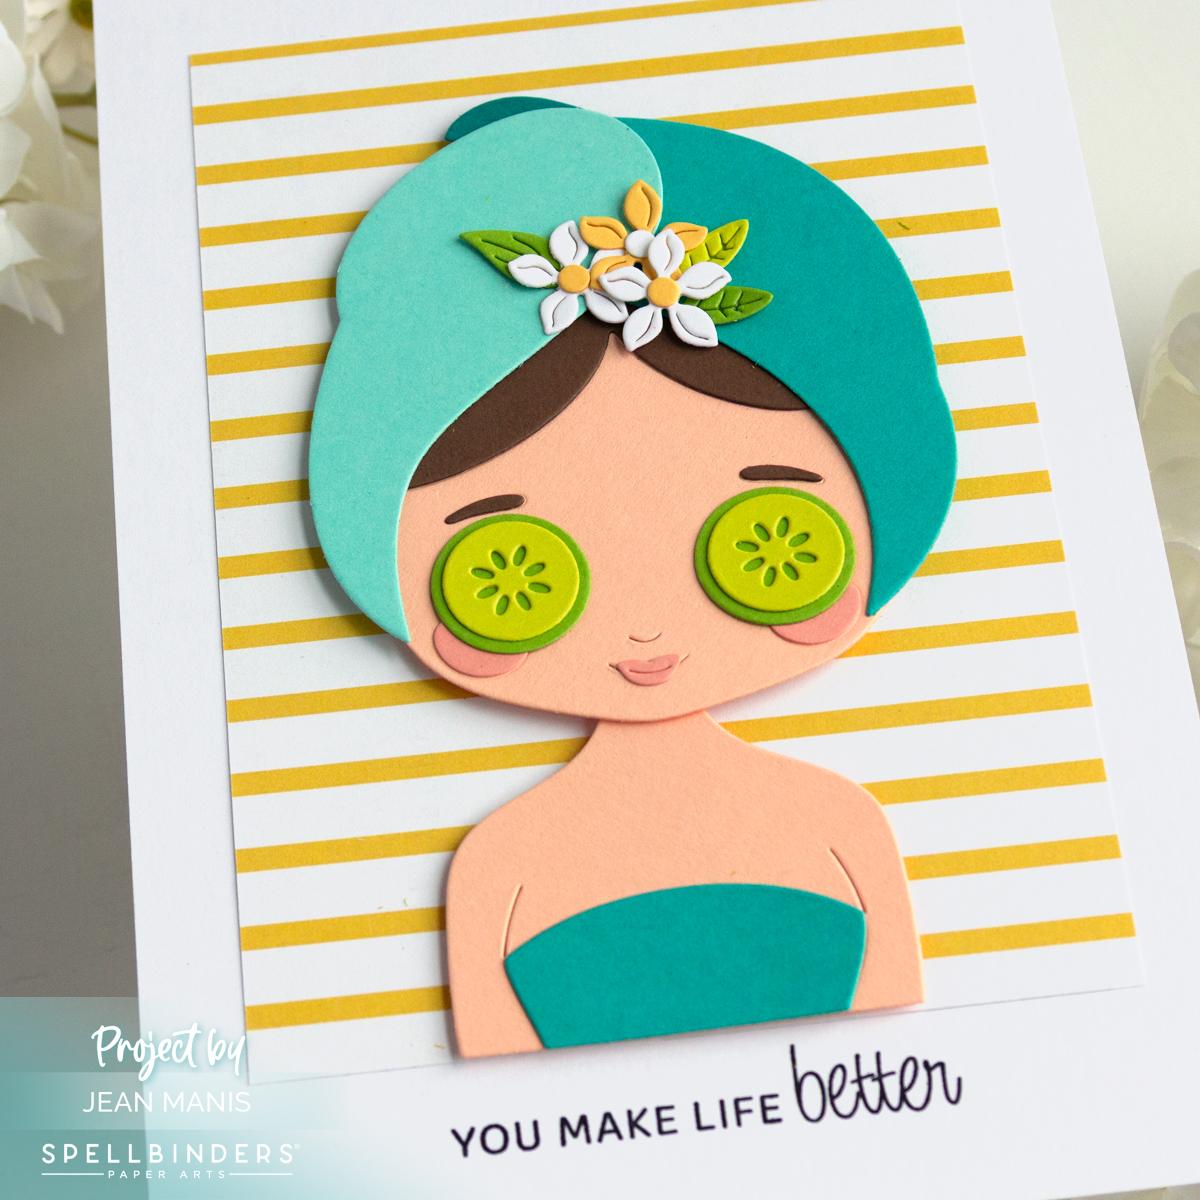
- Cut the bunny with dies in the Large Die of the Month set from a variety of cardstock colors and patterned paper; assemble.
- Add the bunny to the prepared card base.
With Easter coming up on April 5, you might be thinking about which friends or family members you’ll be sending cards to this year. This bunny card comes together easily, and a simple change of colors lets you tailor the look for each recipient.