OCC Stenciled: Day Three

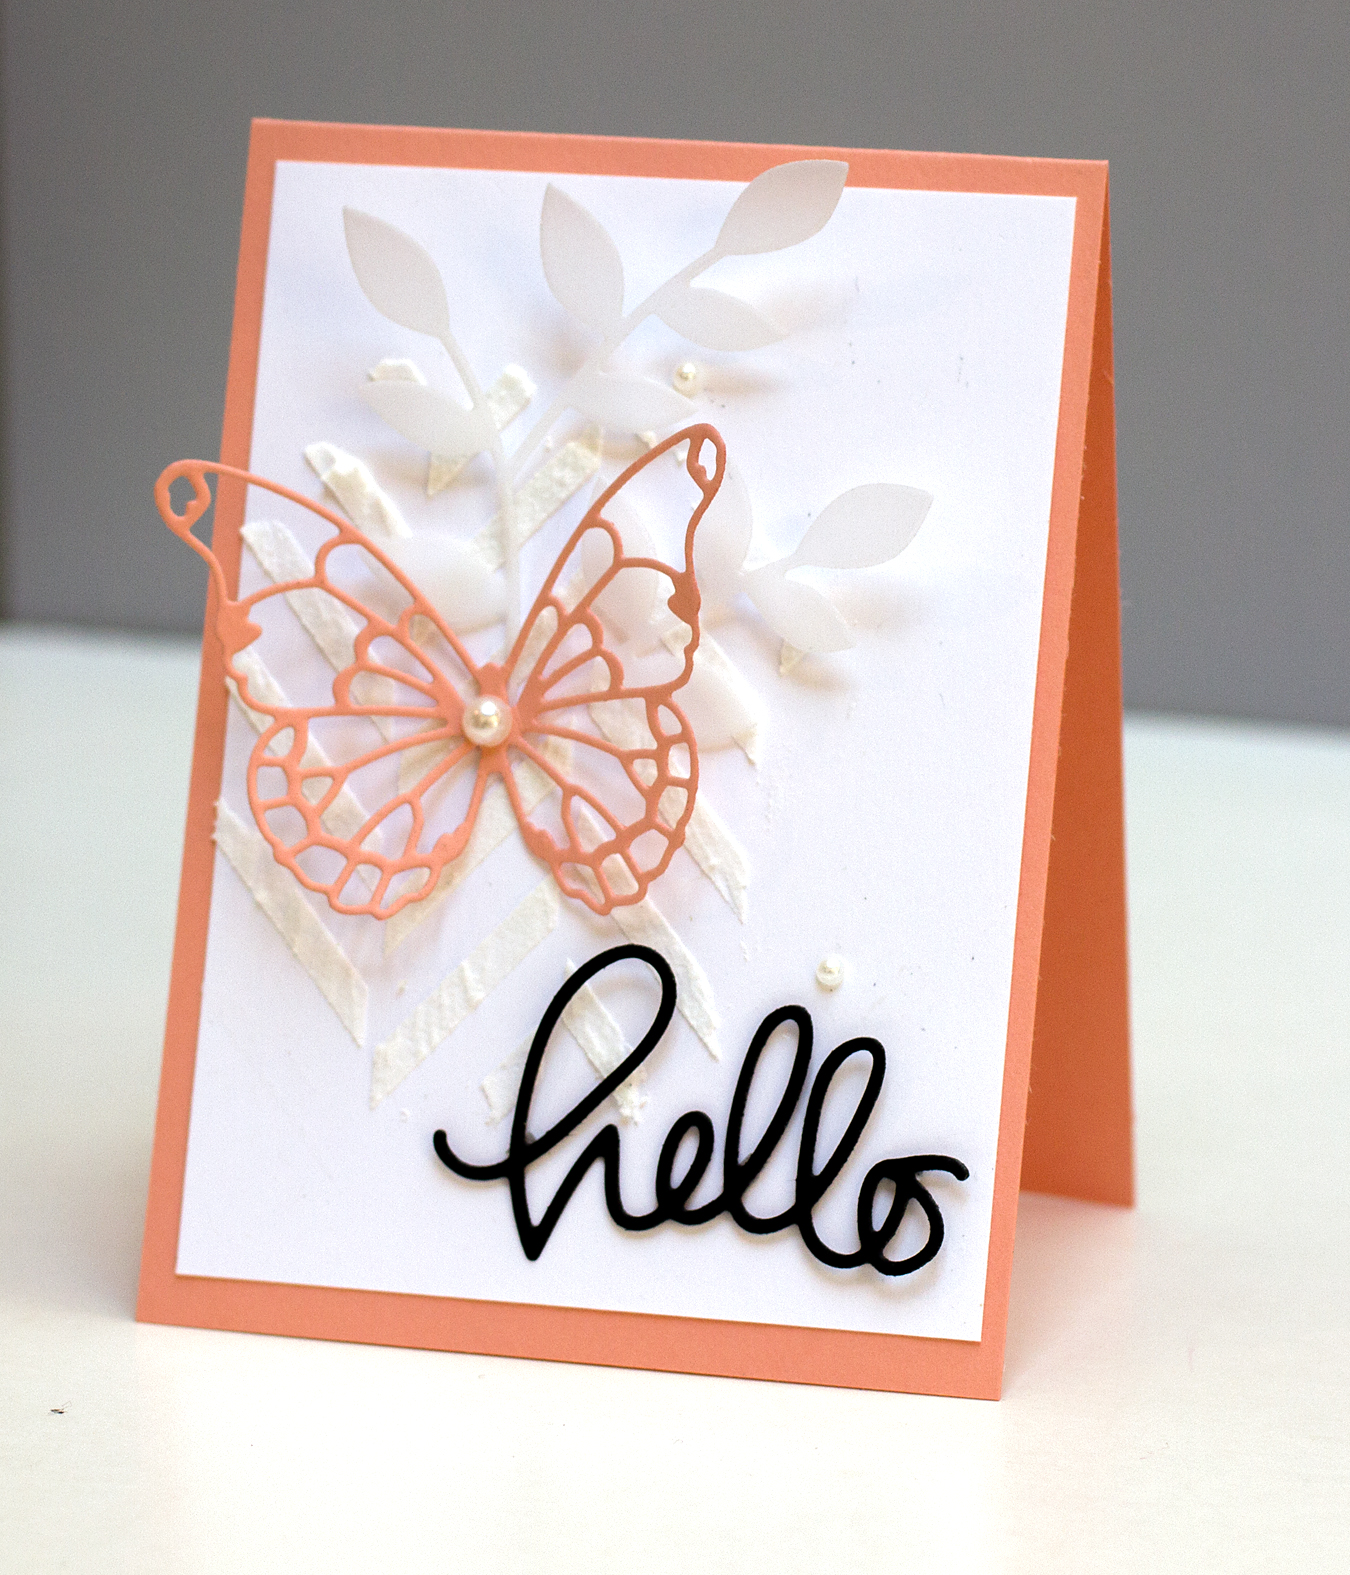
Today’s lesson in the Online Card Classes Stenciled Class focused on using embossing pastes with stencils. I followed one of the cards shown by Debby Hughes.

OCC Stenciled: Day Three

I made several modifications and simplifications on my card. For one, I didn’t use any mist on the card panel like Debby did. I can see how doing so would lend a little more softness and color. Instead I used a colored  card base rather than white. I used vellum, die cut with the Poppystamps Lorelai Leaf, as a substitute for one of the elements Debby used. The “hello” die cut is from Simon Says Stamp. The butterfly is cut with the Memory Box Vivienne Butterfly die cut. Like Debby, I used white embossing paste with the Hero Arts Tweed Pattern stencil.

This class is going by quickly! Right now my goal is to make a card each day and in the next several weeks I’ll revisit the techniques and designs.

Poppystamps New Release: Congrats!

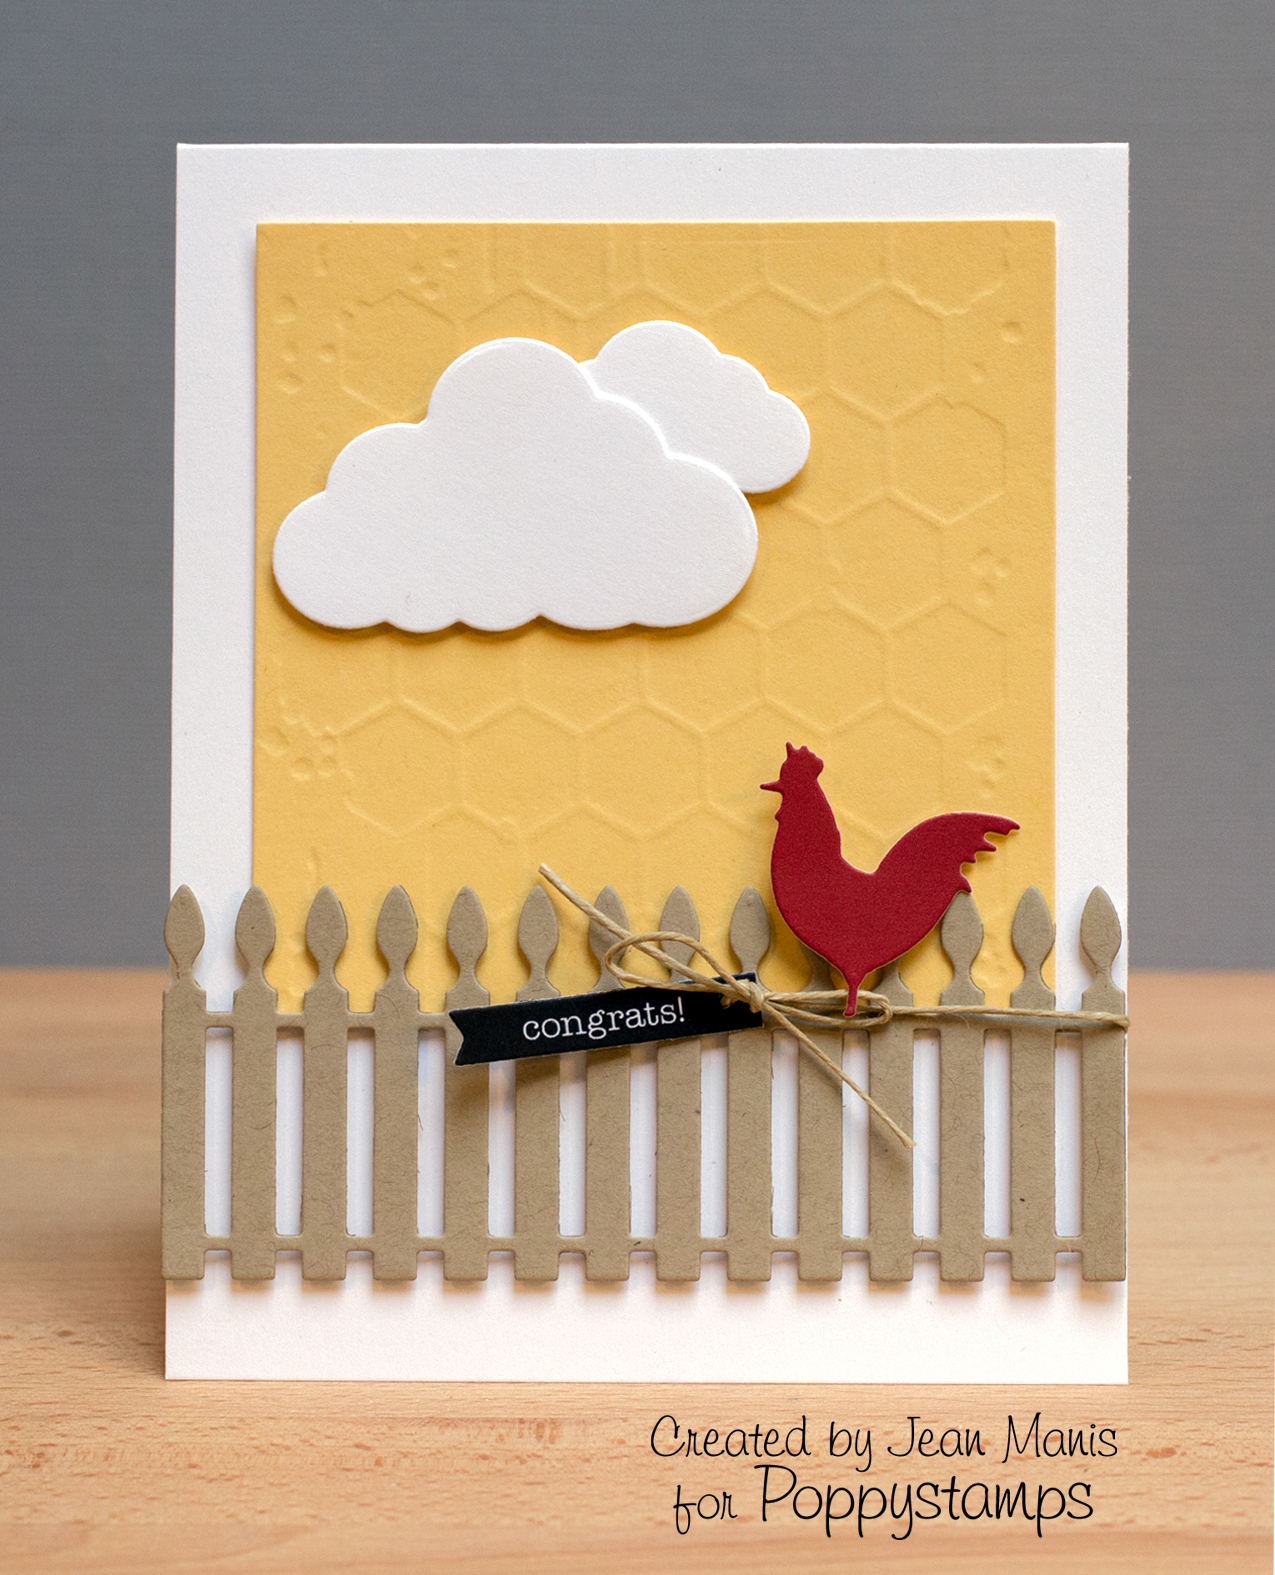
This week and next, the Poppystamps Design Team is showing off the new Poppystamps release with a Blog Blitz. Today, I’m sharing a card created with one of the new Memory Box stencils, combining it with die cuts from Poppystamps, including the new Barnyard Rooster.

Poppystamps New Release: Congrats!I dry-embossed the stencil and used its reverse side as a background on my card to simulate chicken coop wire. I created the “Congrats!” sentiment on my computer. The inside sentiment reads “That’s something to crow about!”

You have the opportunity to win one of the new products by leaving a comment on the Blog Blitz posts between January 6-19 over on the Poppystamps blog. You have until midnight on January 24 to leave a comment. Winners will be announced on January 27. I’m offering the new Honey Comb stencil as my prize – head over to the Poppystamps blog to leave a comment to be eligible to win it.

Supplies:

Season’s Greetings

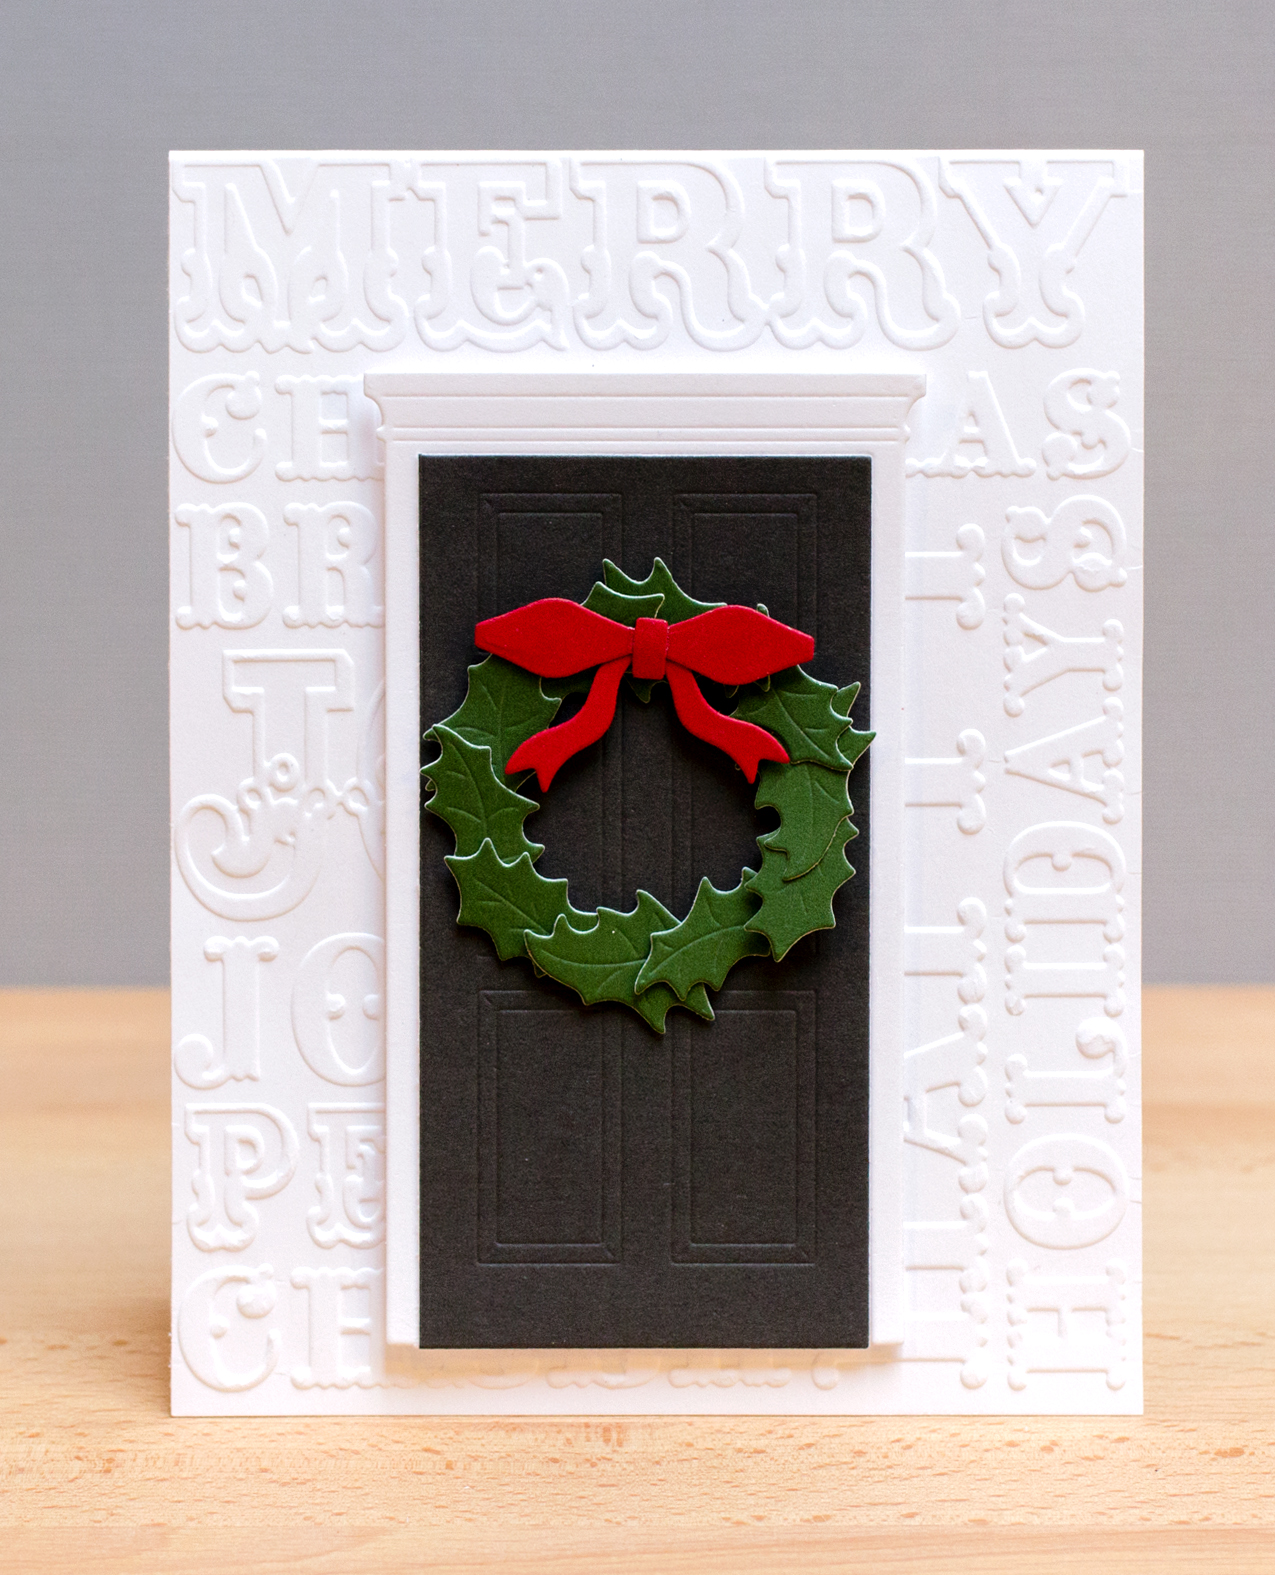
Merry Christmas! Today, I’m sharing a die-cut holiday card inspired by the homes of Edgartown, Martha’s Vineyard. Edgartown is filled with stately, white clapboard Federal-style mansions of the whaling captains.

Season's Greetings

I began the wreath by cutting a circle outline with the two smallest circles in the Sizzix die cuts out of Craft-a-Board. This served as a base for the wreath onto which I added the holly leaves cut from Dill cardstock. I finished off the wreath with a red bow. To keep with the colors of the New England homes, I cut the door twice, once from white and again from black cardstock. I trimmed off the molding from the black door and adhered it to the white door. Since I was creating a card without a sentiment, I dry embossed the card base with the “Christmas Words” folder.

Supplies:

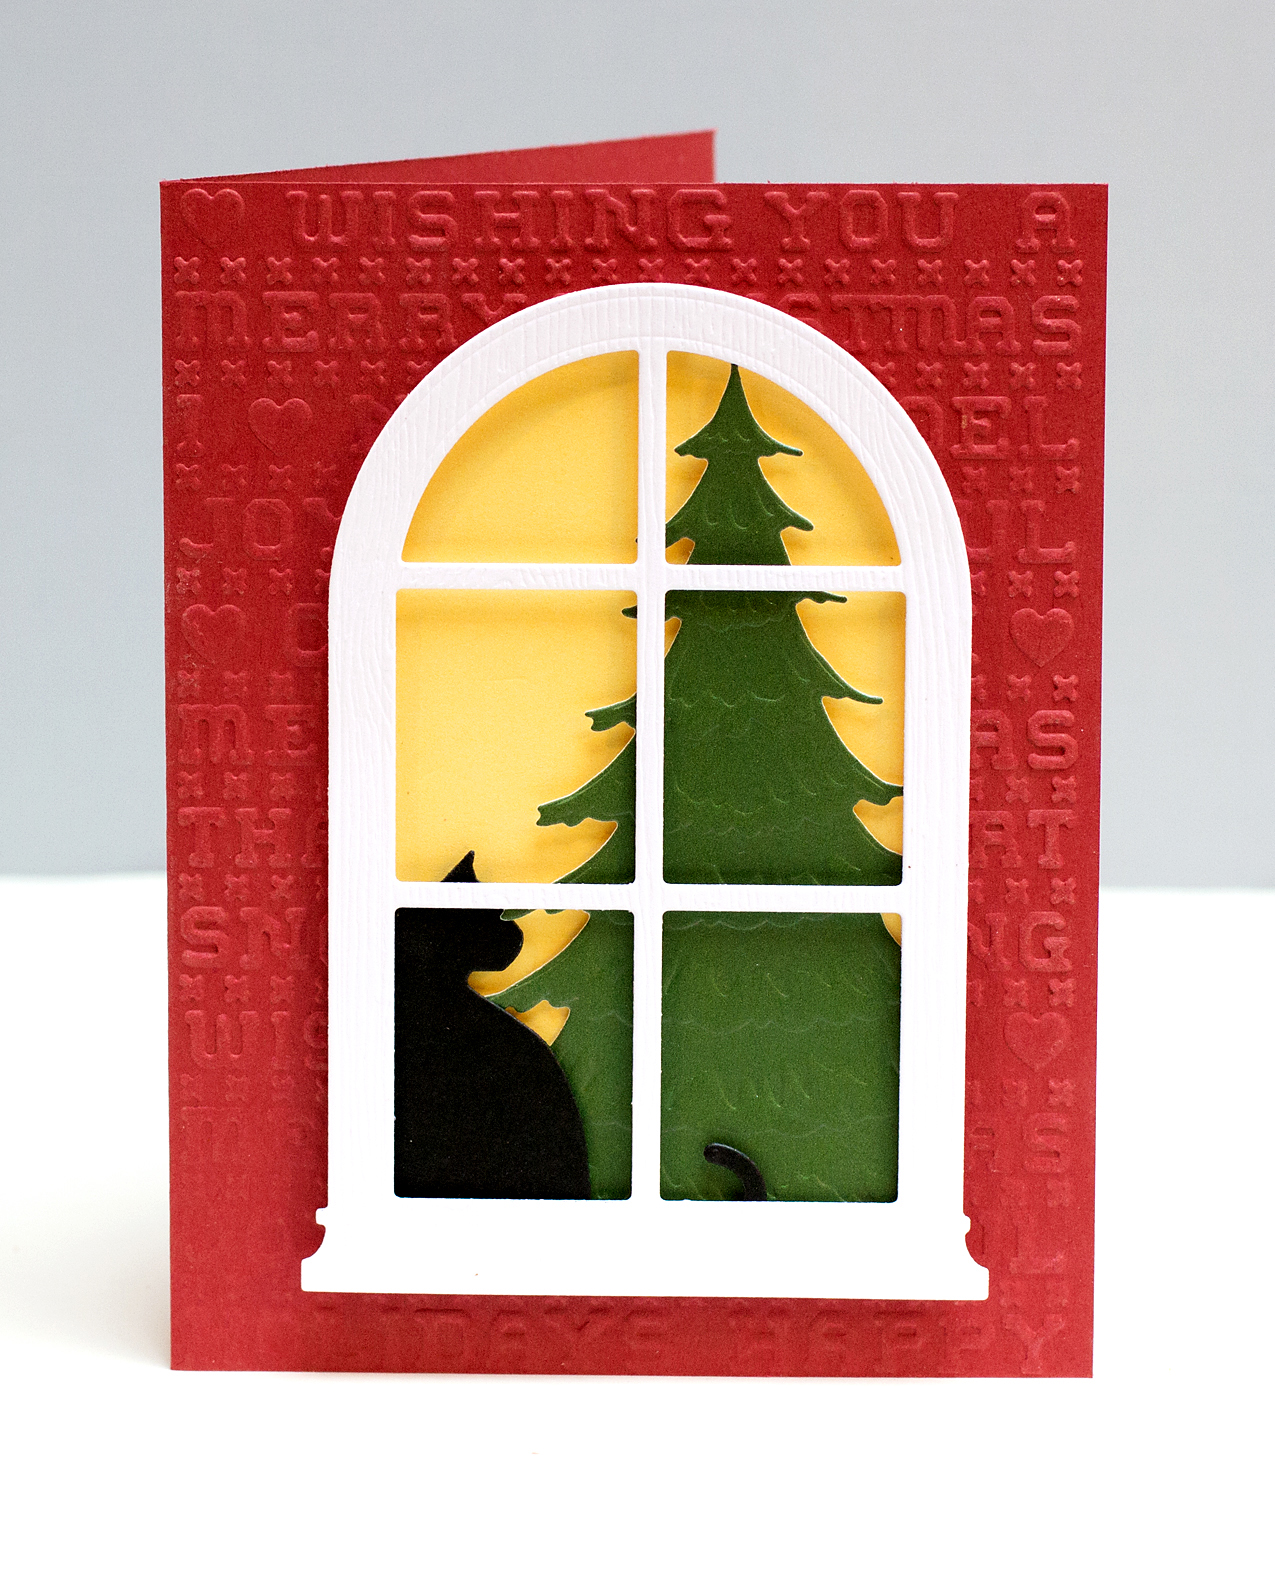
Christmas Window

I’ve mentioned before how much I like children’s picture books. I miss the days when my sons were young and we read them together. And unfortunately I just can’t get Ginger, our golden retriever, interested. 🙂 I recently “read” Mr. Willowby’s Christmas Tree and created a card inspired by the book.

In the book, Mr. Willowby’s tree is too tall, so he trims off the top and gives it to his maid. She, in turn, finds it too tall and trims off a bit, and so on and so on until mice use the tiniest of tree tops for their Christmas tree. I thought about cutting the top of the Memory Box tree die and bending it a bit, but in the end just used the cover photo as a jumping off point for my card.

Christmas Window
I used a Poppystamps die cut cat in the window to help create perspective. The various layers are adhered with dimensional adhesive to the dry-embossed card base.

Supplies:

Day 7 Tag from 12 Tags of Christmas with a Feminine Twist

I’m sharing a tag inspired by the tag that Paula Cheney created as part of the 12 Tags of Christmas with a Feminine Twist series in the CLASSroom at Ellen Hutson’s.

Day 7 Tag - 2013 12 Tags of Christmas with a Feminine Twist

At first glance, you might think “Huh?, This isn’t like Paula’s!” And it isn’t in terms of dies or stamps. My take-aways from Paula’s tag were  the colors and use of patterned paper. I have loads of patterned paper pads, and I had a fun time die cutting the curtains, window scene, cat  and tag background from various patterns, finally finding a mix that I liked. The Memory Box tree was first cut and then dry embossed. I tried several tree die cuts before settling on this one.

Supplies: