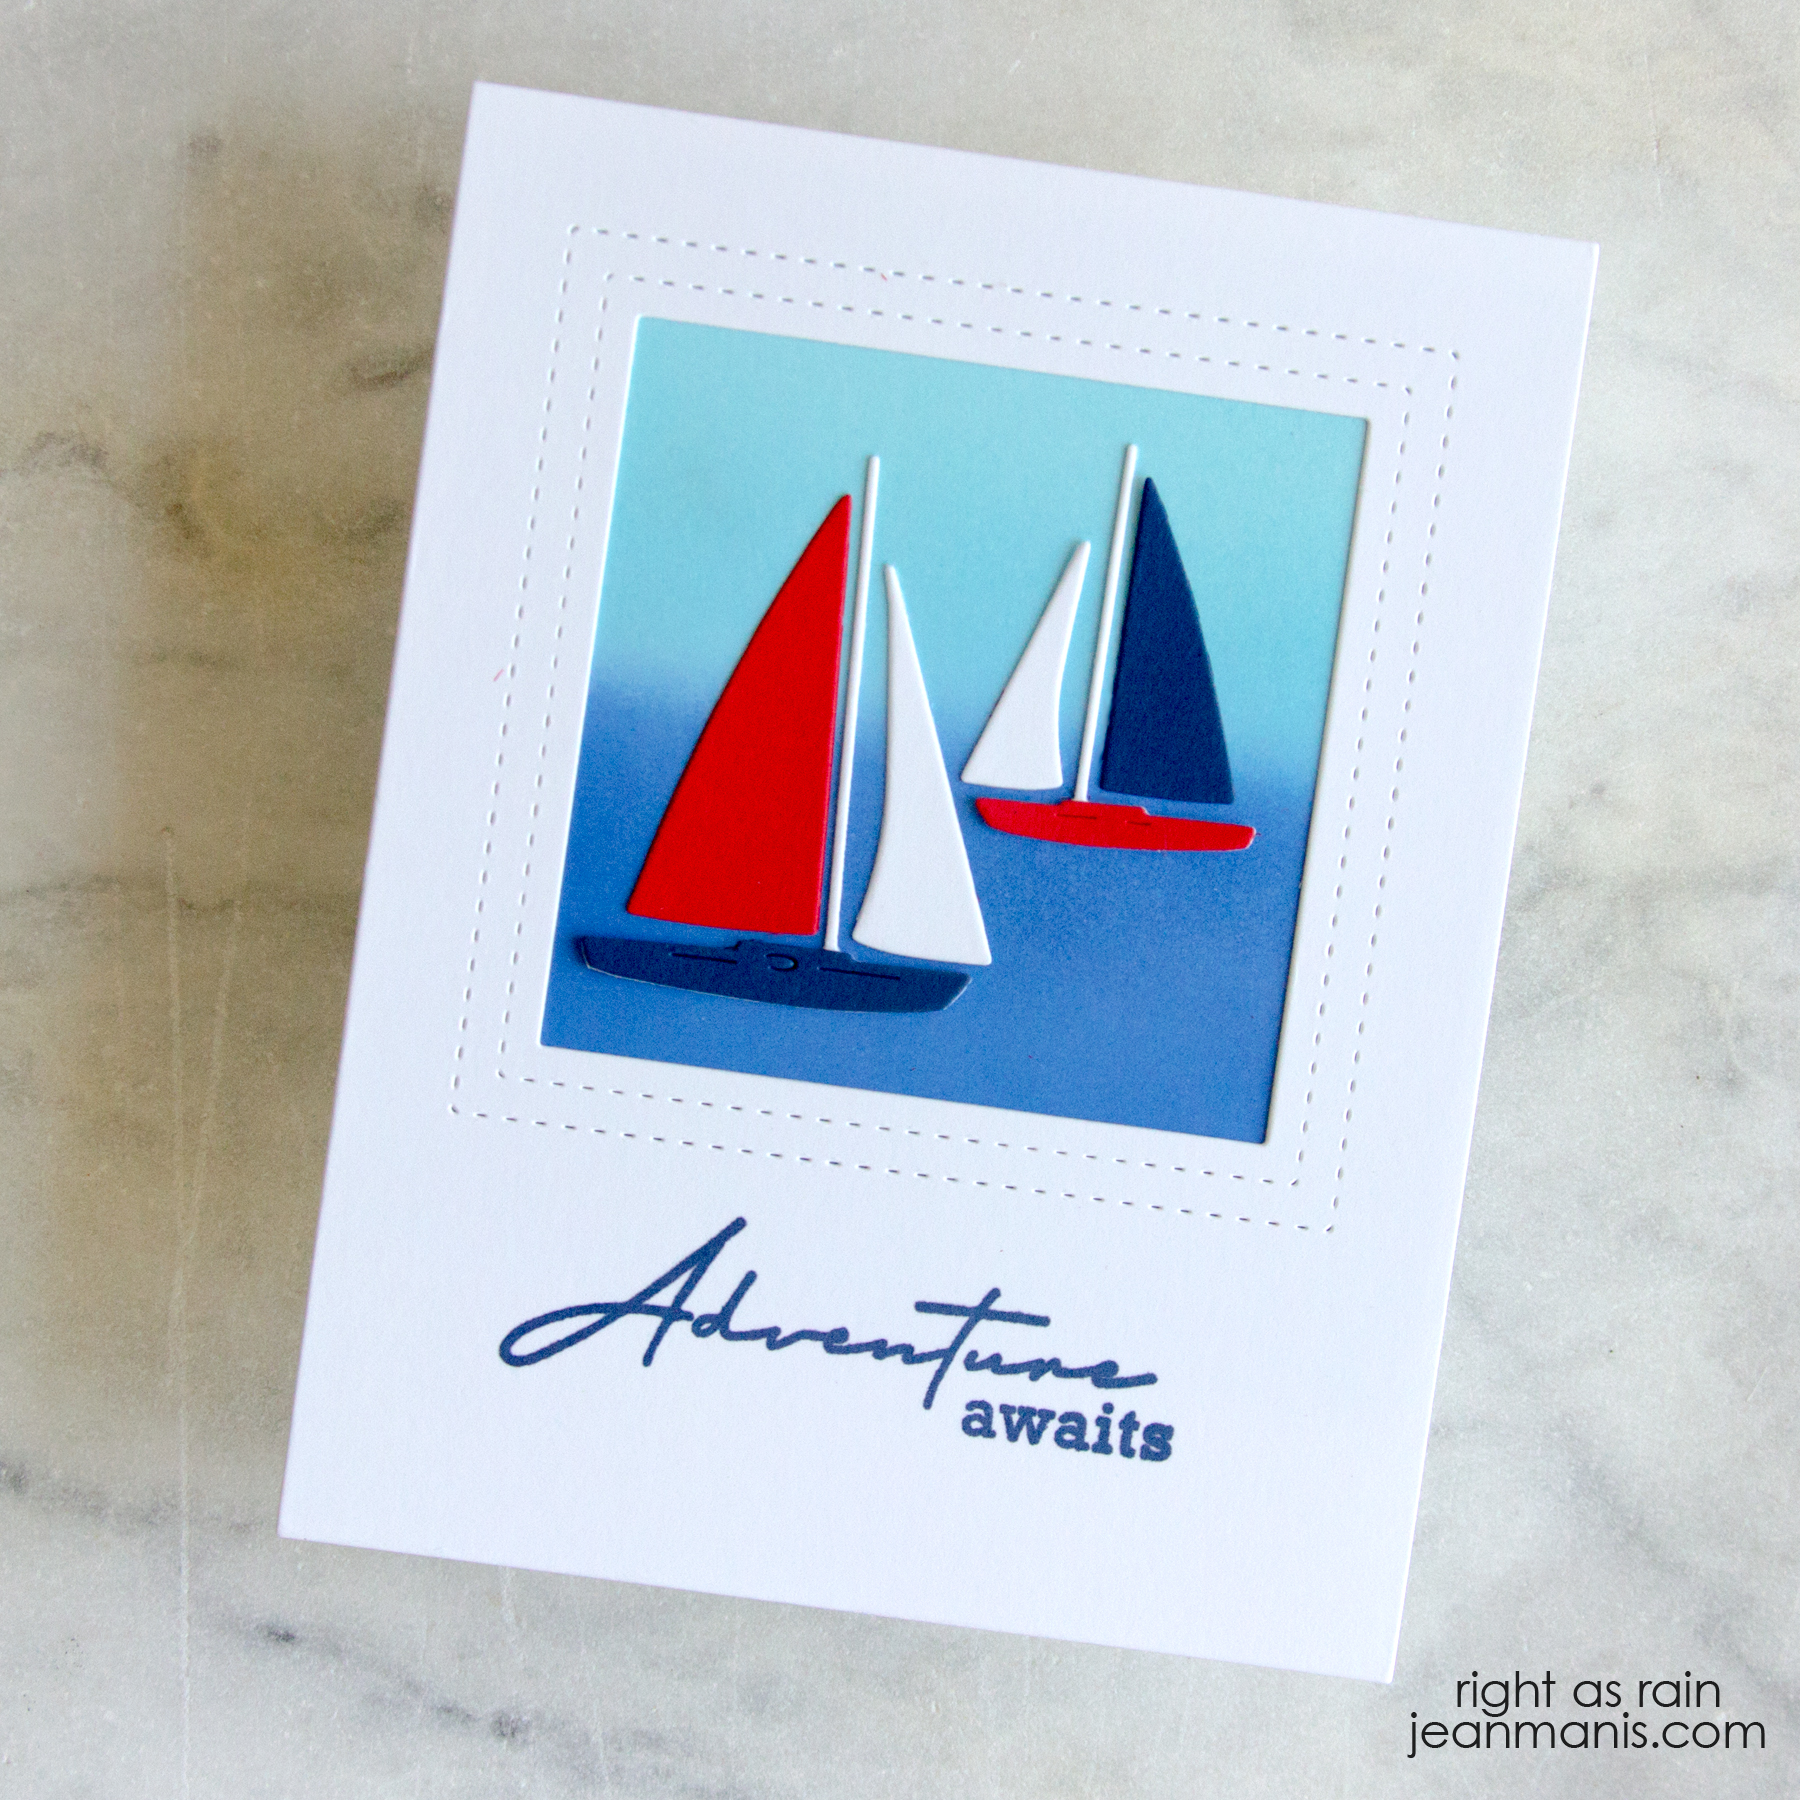
Nautical-themed Die-cut Card

Hello (or should I say ahoy?)! I am always enthusiastic about crafting anything nautical-themed. I’ve been interested in all things nautical my entire life, even though I didn’t spend my childhood anywhere near the water.

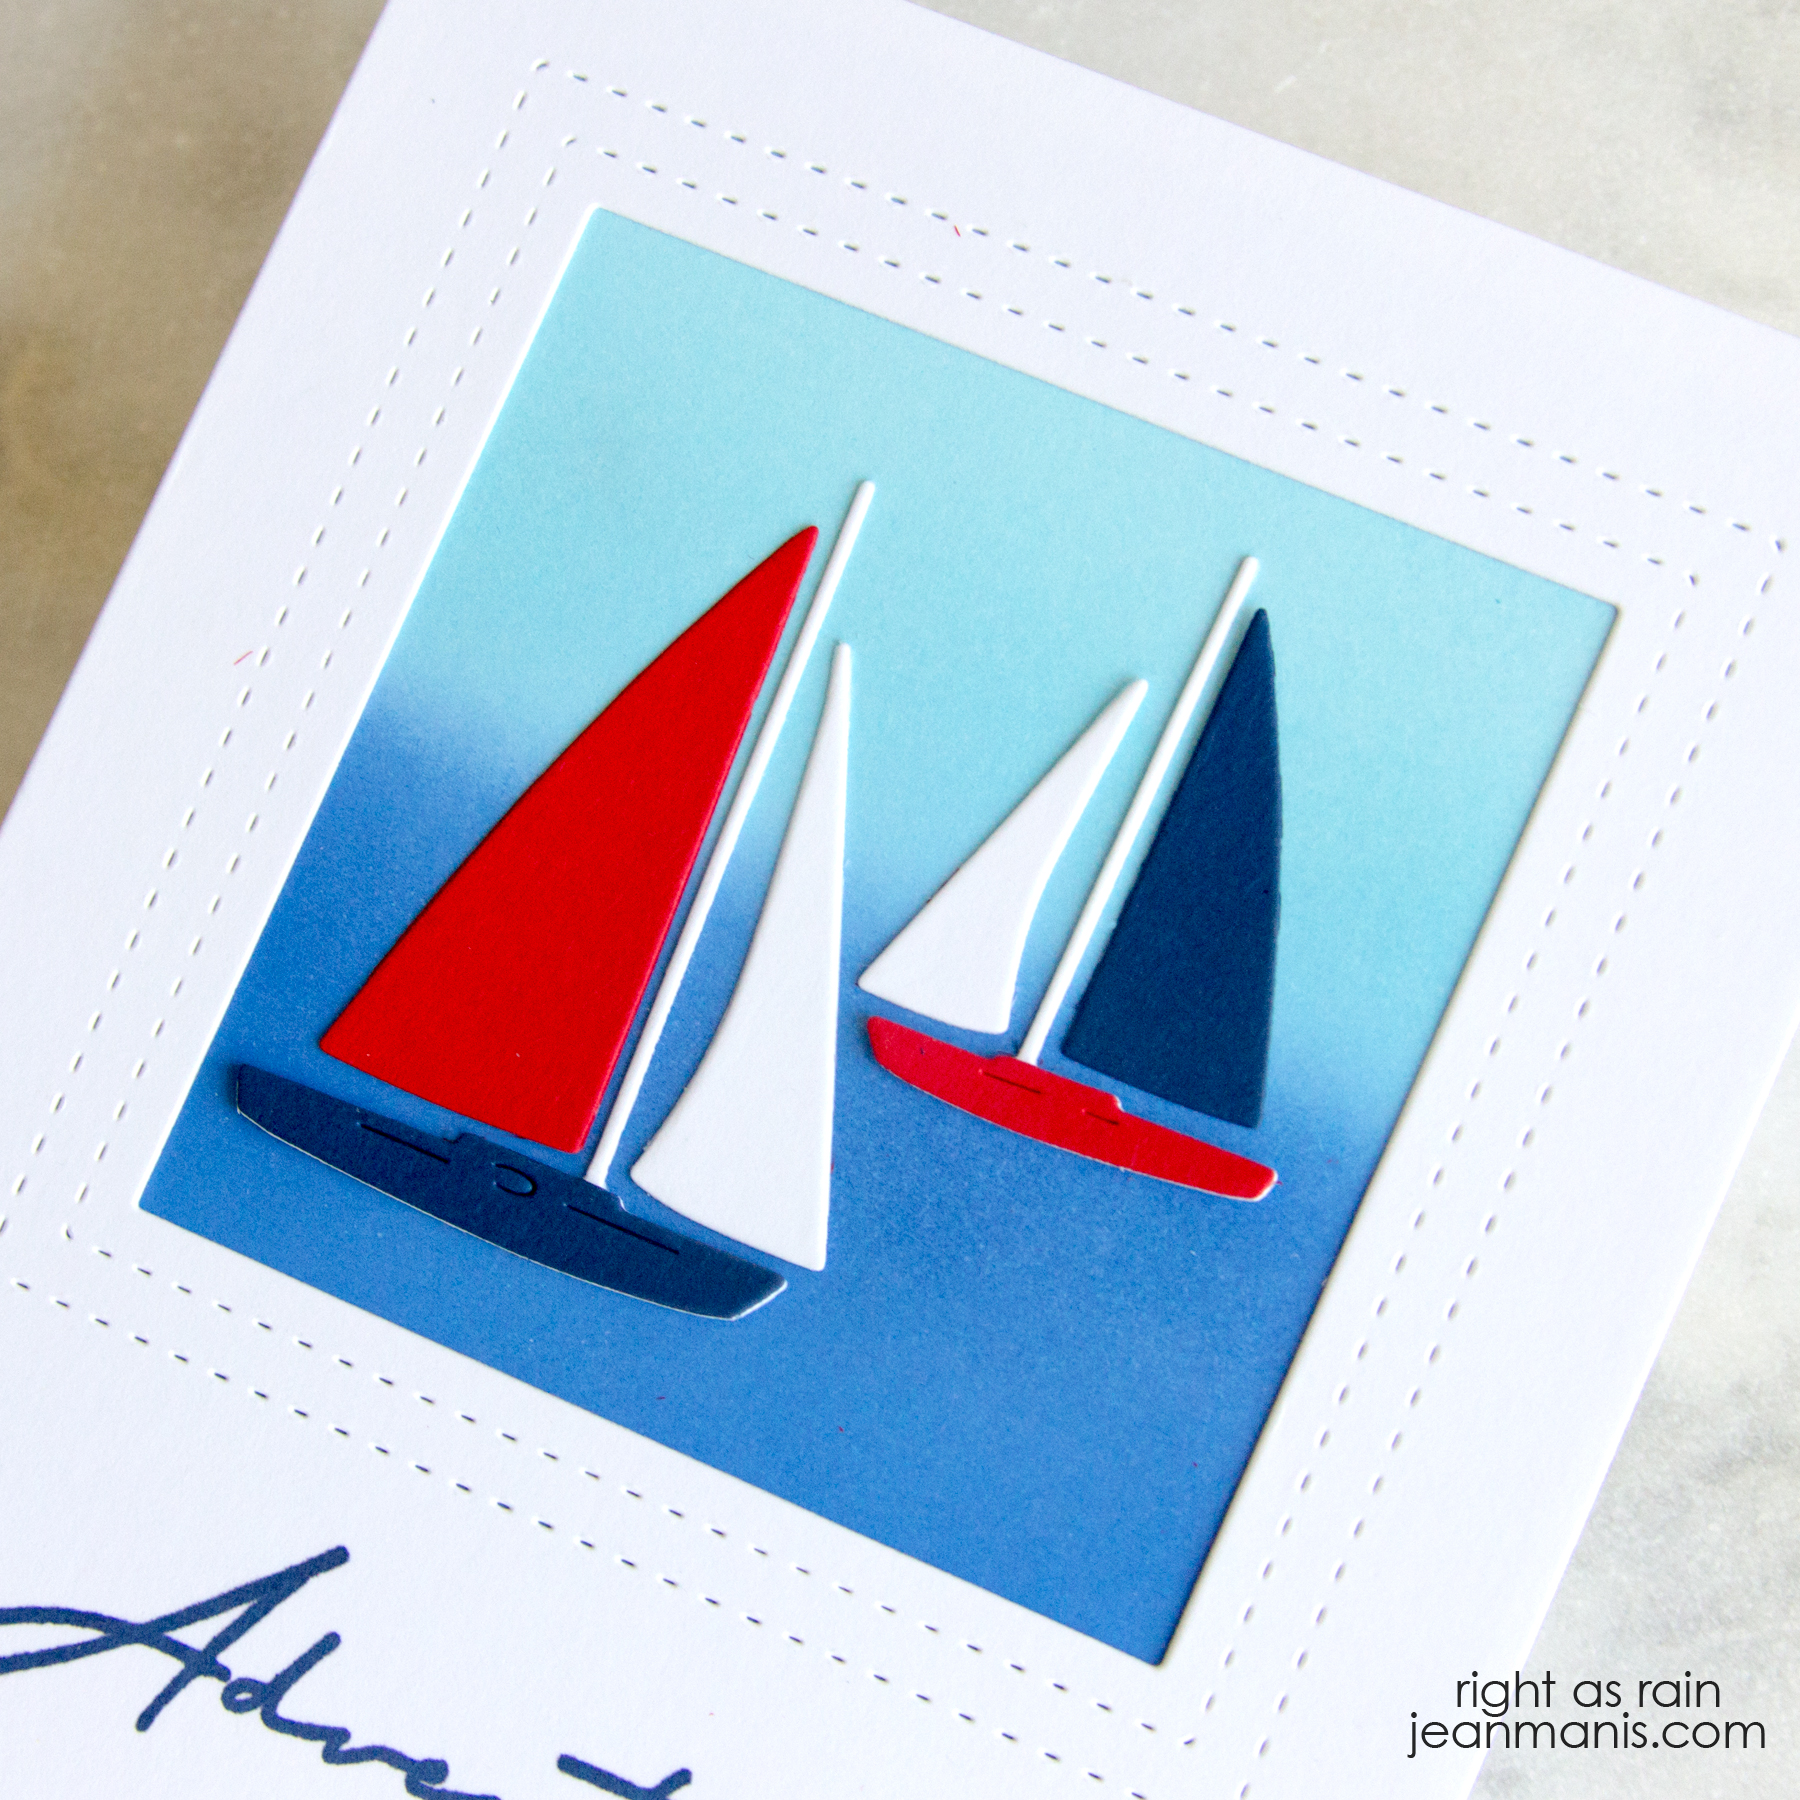
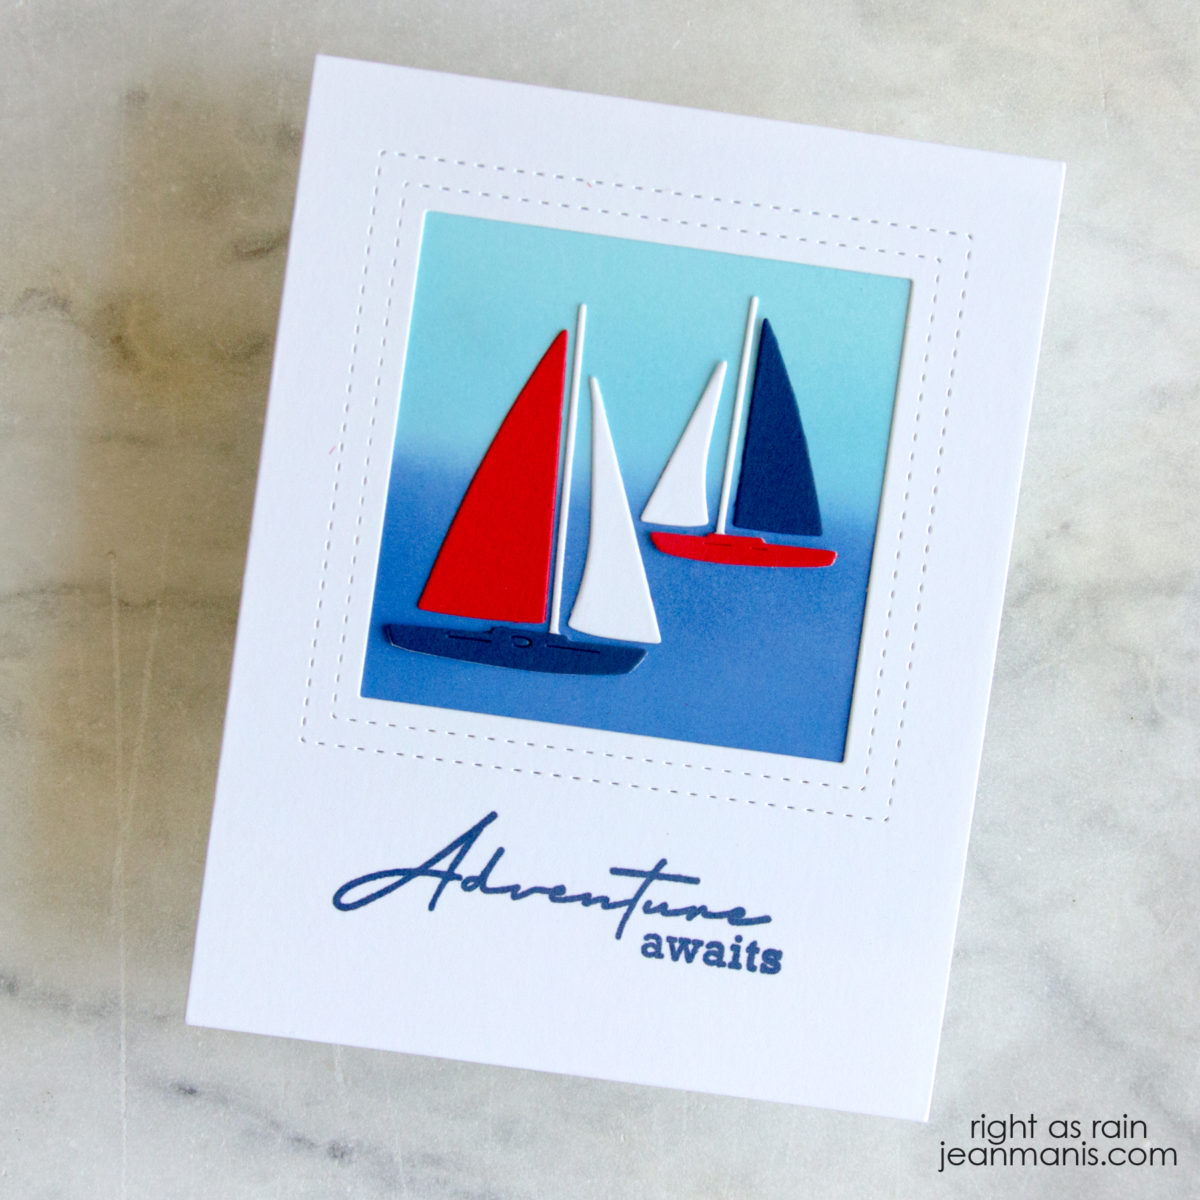
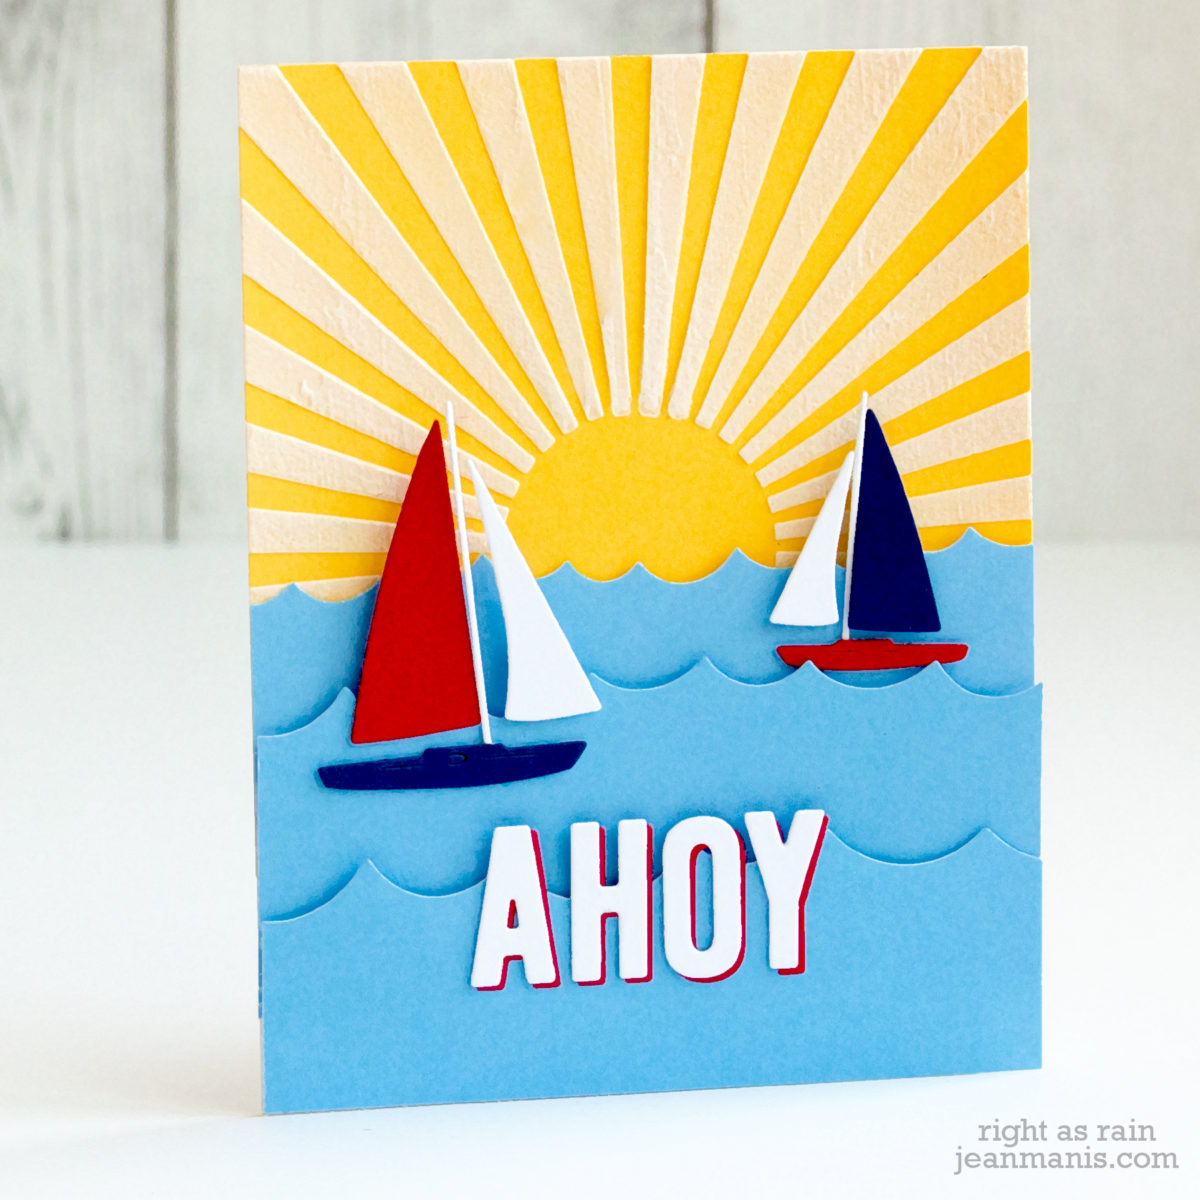
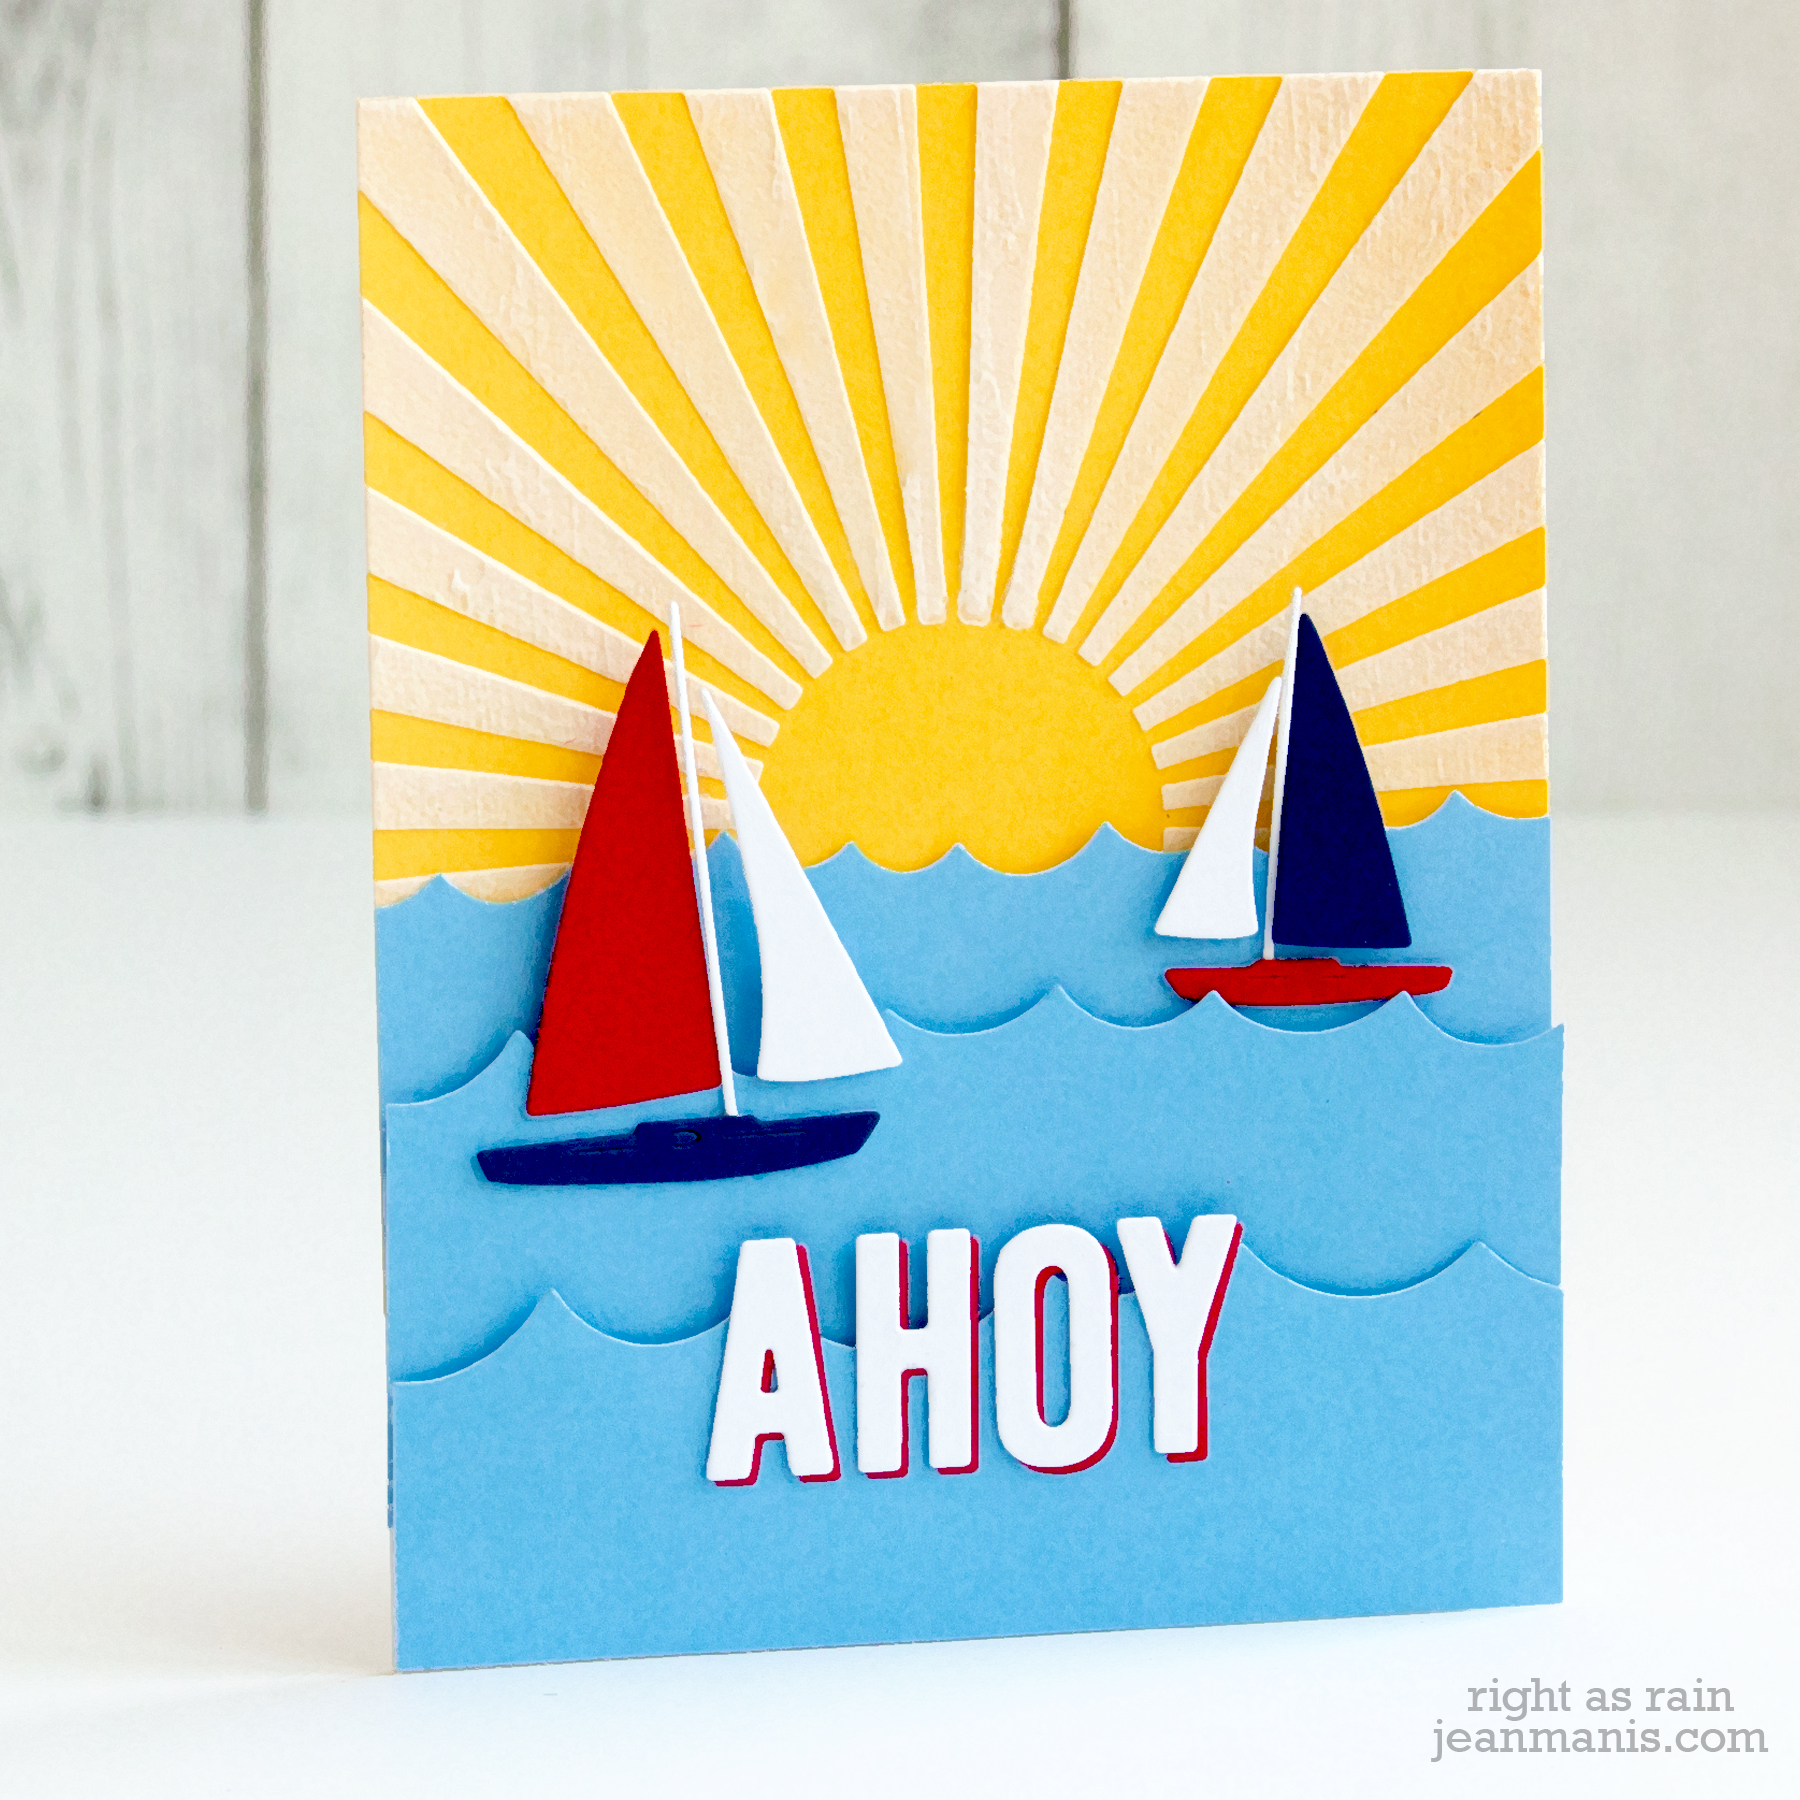
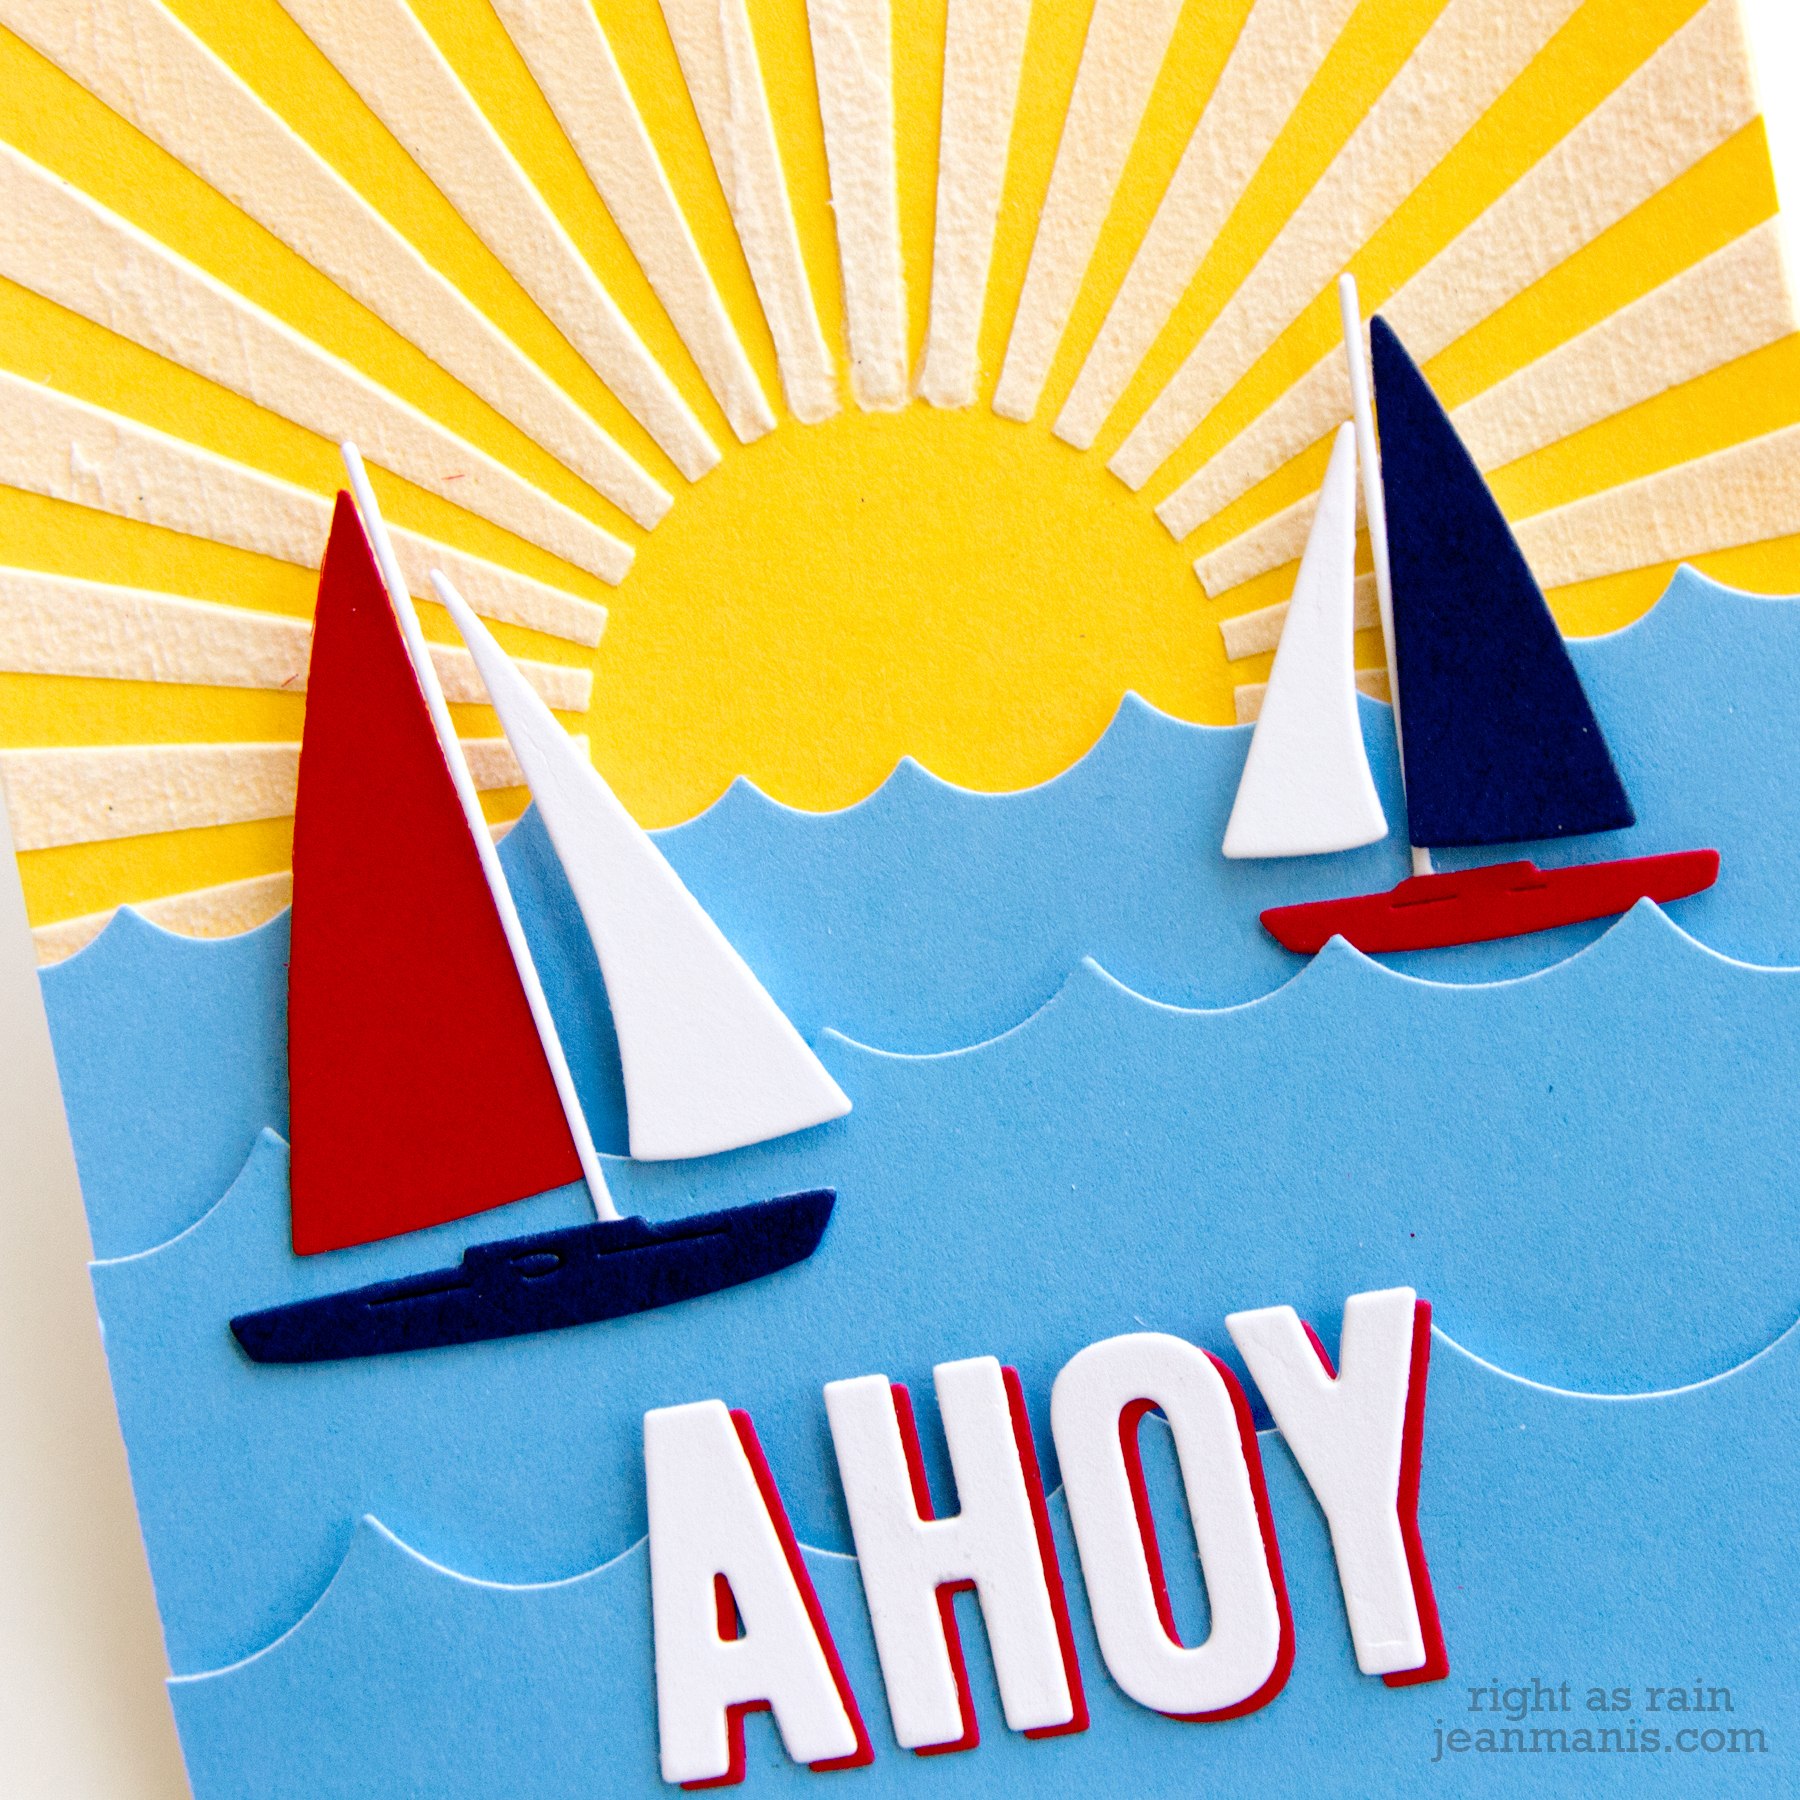
Today’s card features the Memory Box Marina Sailboats. I chose a favorite color scheme of red, white, and blue for the boats.

Nautical-themed Die-cut Card

  • I cut the sailboats from red (SU Real Red), white, and navy (SU Night of Navy) cardstock. I trimmed pieces in order to change the color of the hulls.
  • To create the background, I applied white embossing paste to SU Daffodil Delight cardstock through the MFT Radiating Rays stencil. I used Dreamweaver white embossing paste.
  • I created the sentiment by cutting the letters twice, once in white and once in red (SU Real Red), with the Cole’s ABCs dies. I offset the letters when I adhered them.
  • I used the Lawn Fawn Ocean Wave Borders to cut the ocean from Memory Box cardstock. The wave die set includes three wave patterns (three different sizes of the waves); I used all three.

Nautical-themed Die-cut Card

Supplies: Memory Box MARINA SAILBOATS die set; My Favorite Things RADIATING RAYS stencil; Reverse Confetti Polar White cardstock

Dashing through the Snow

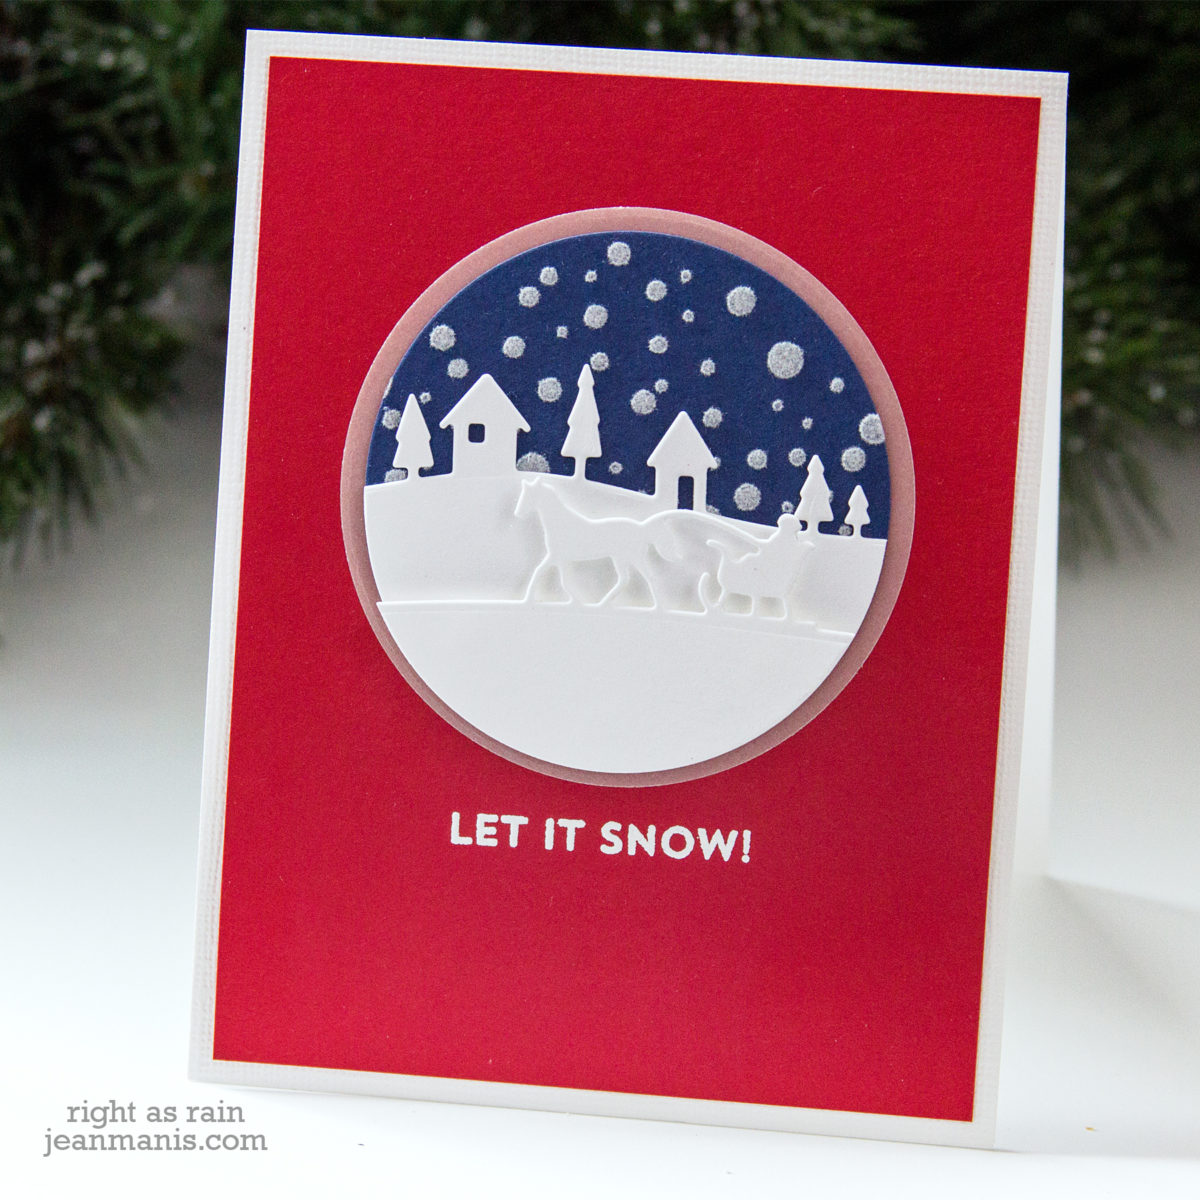
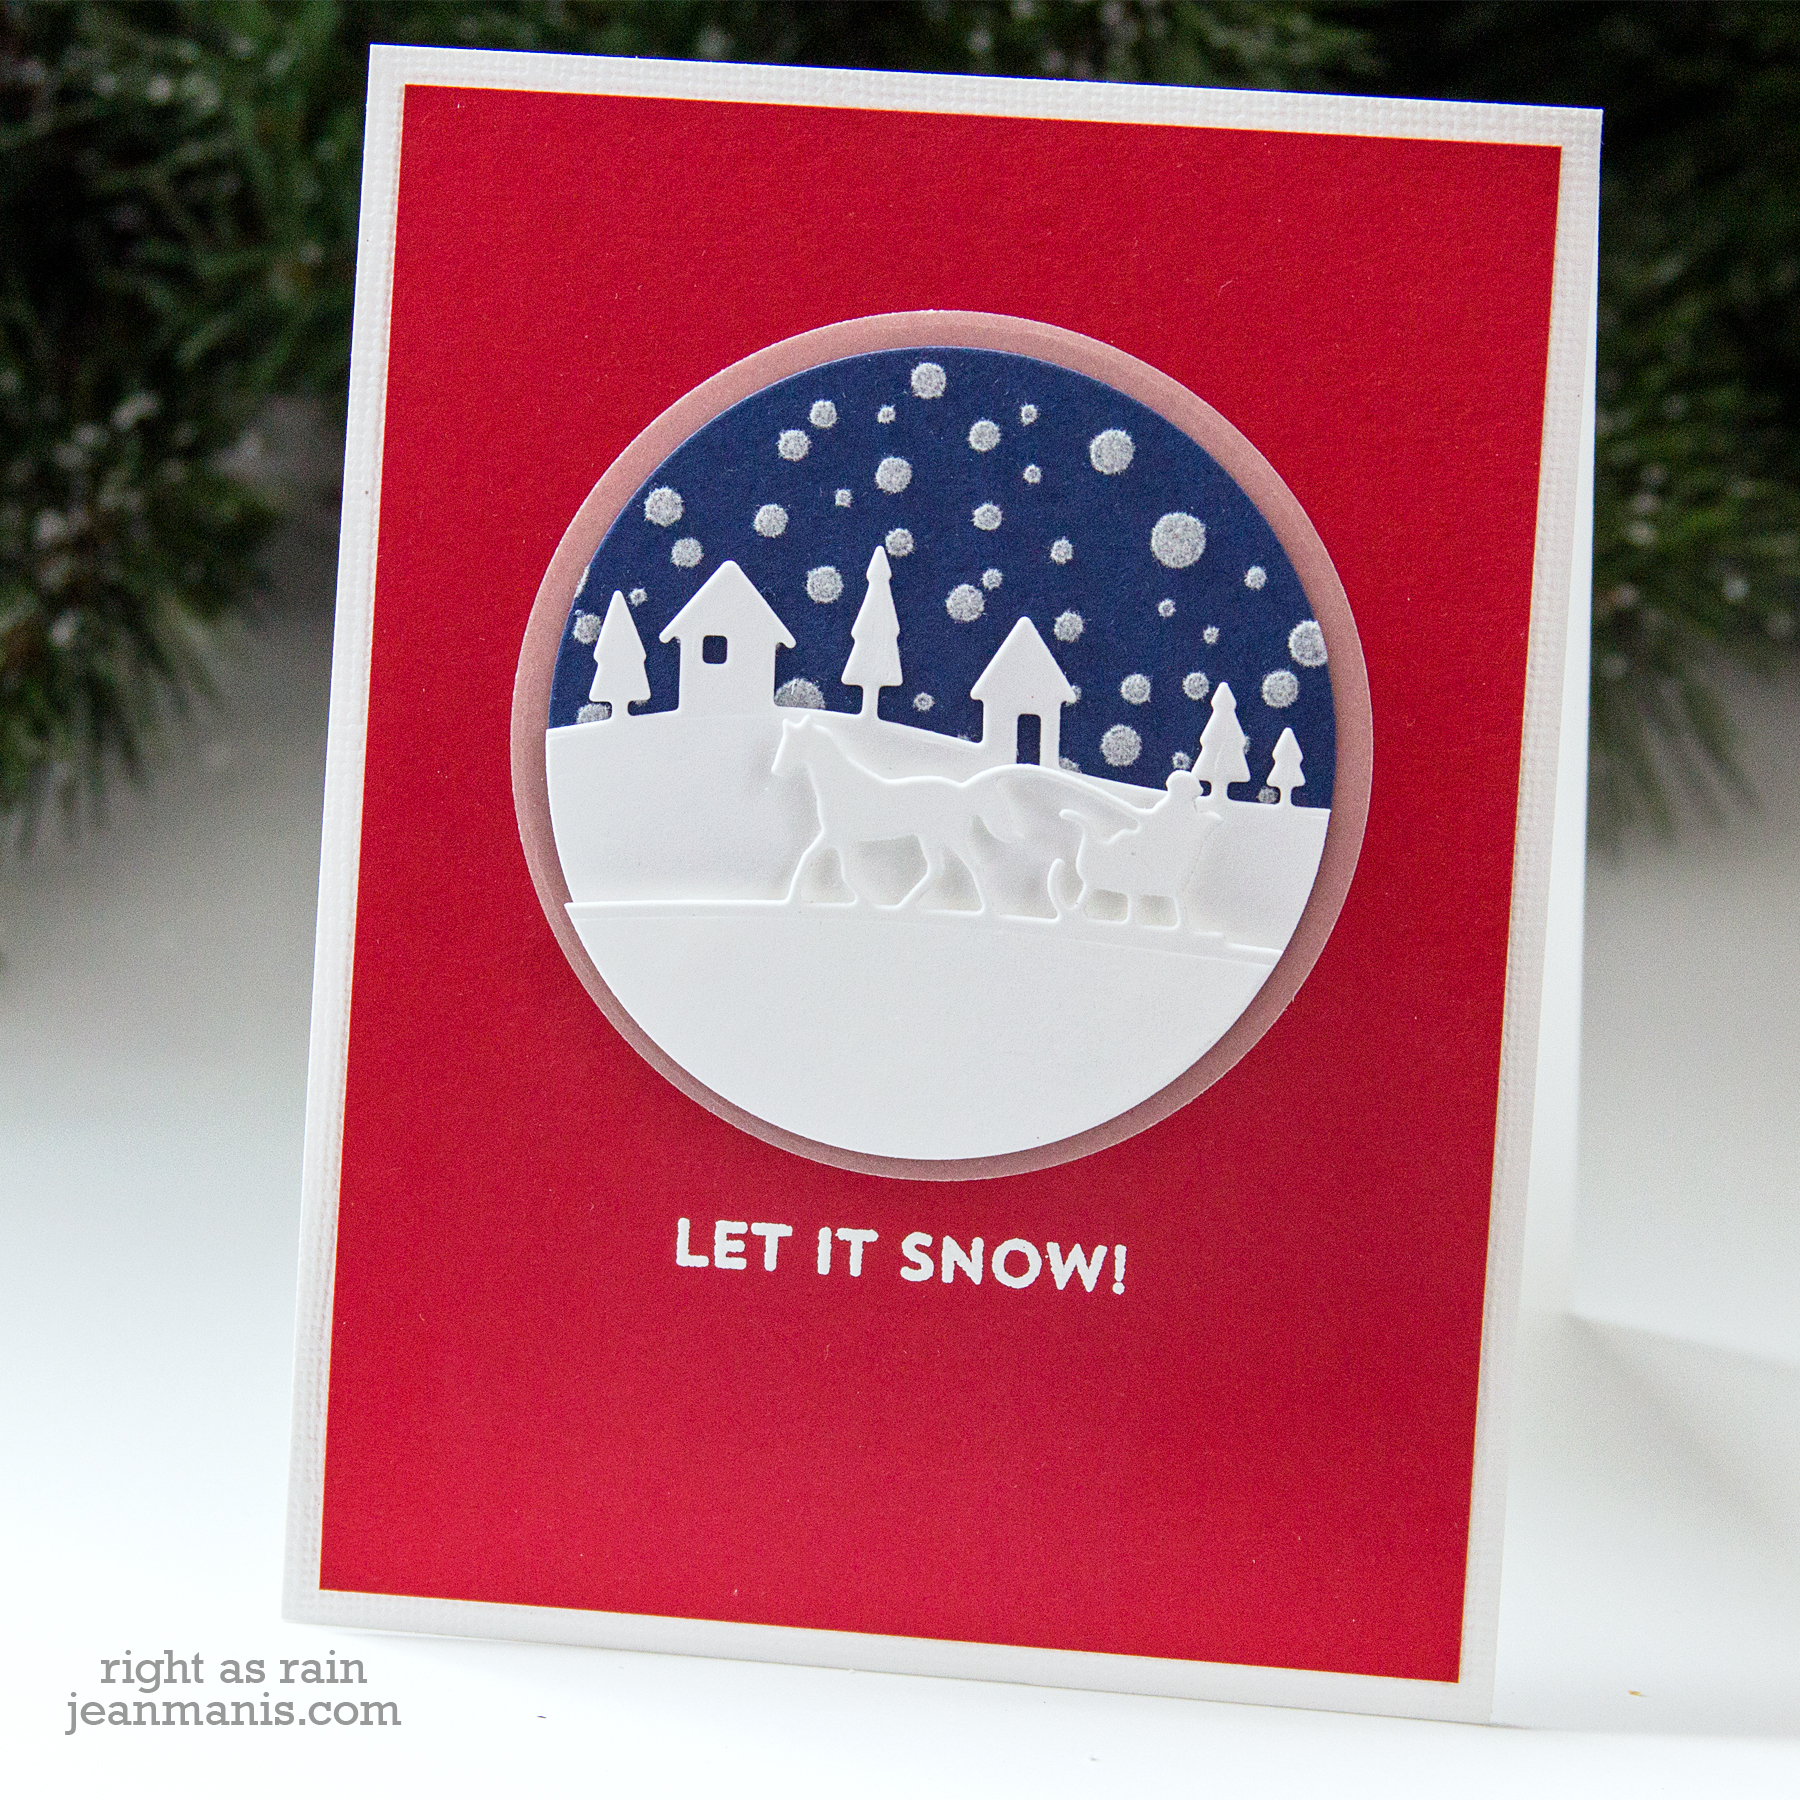
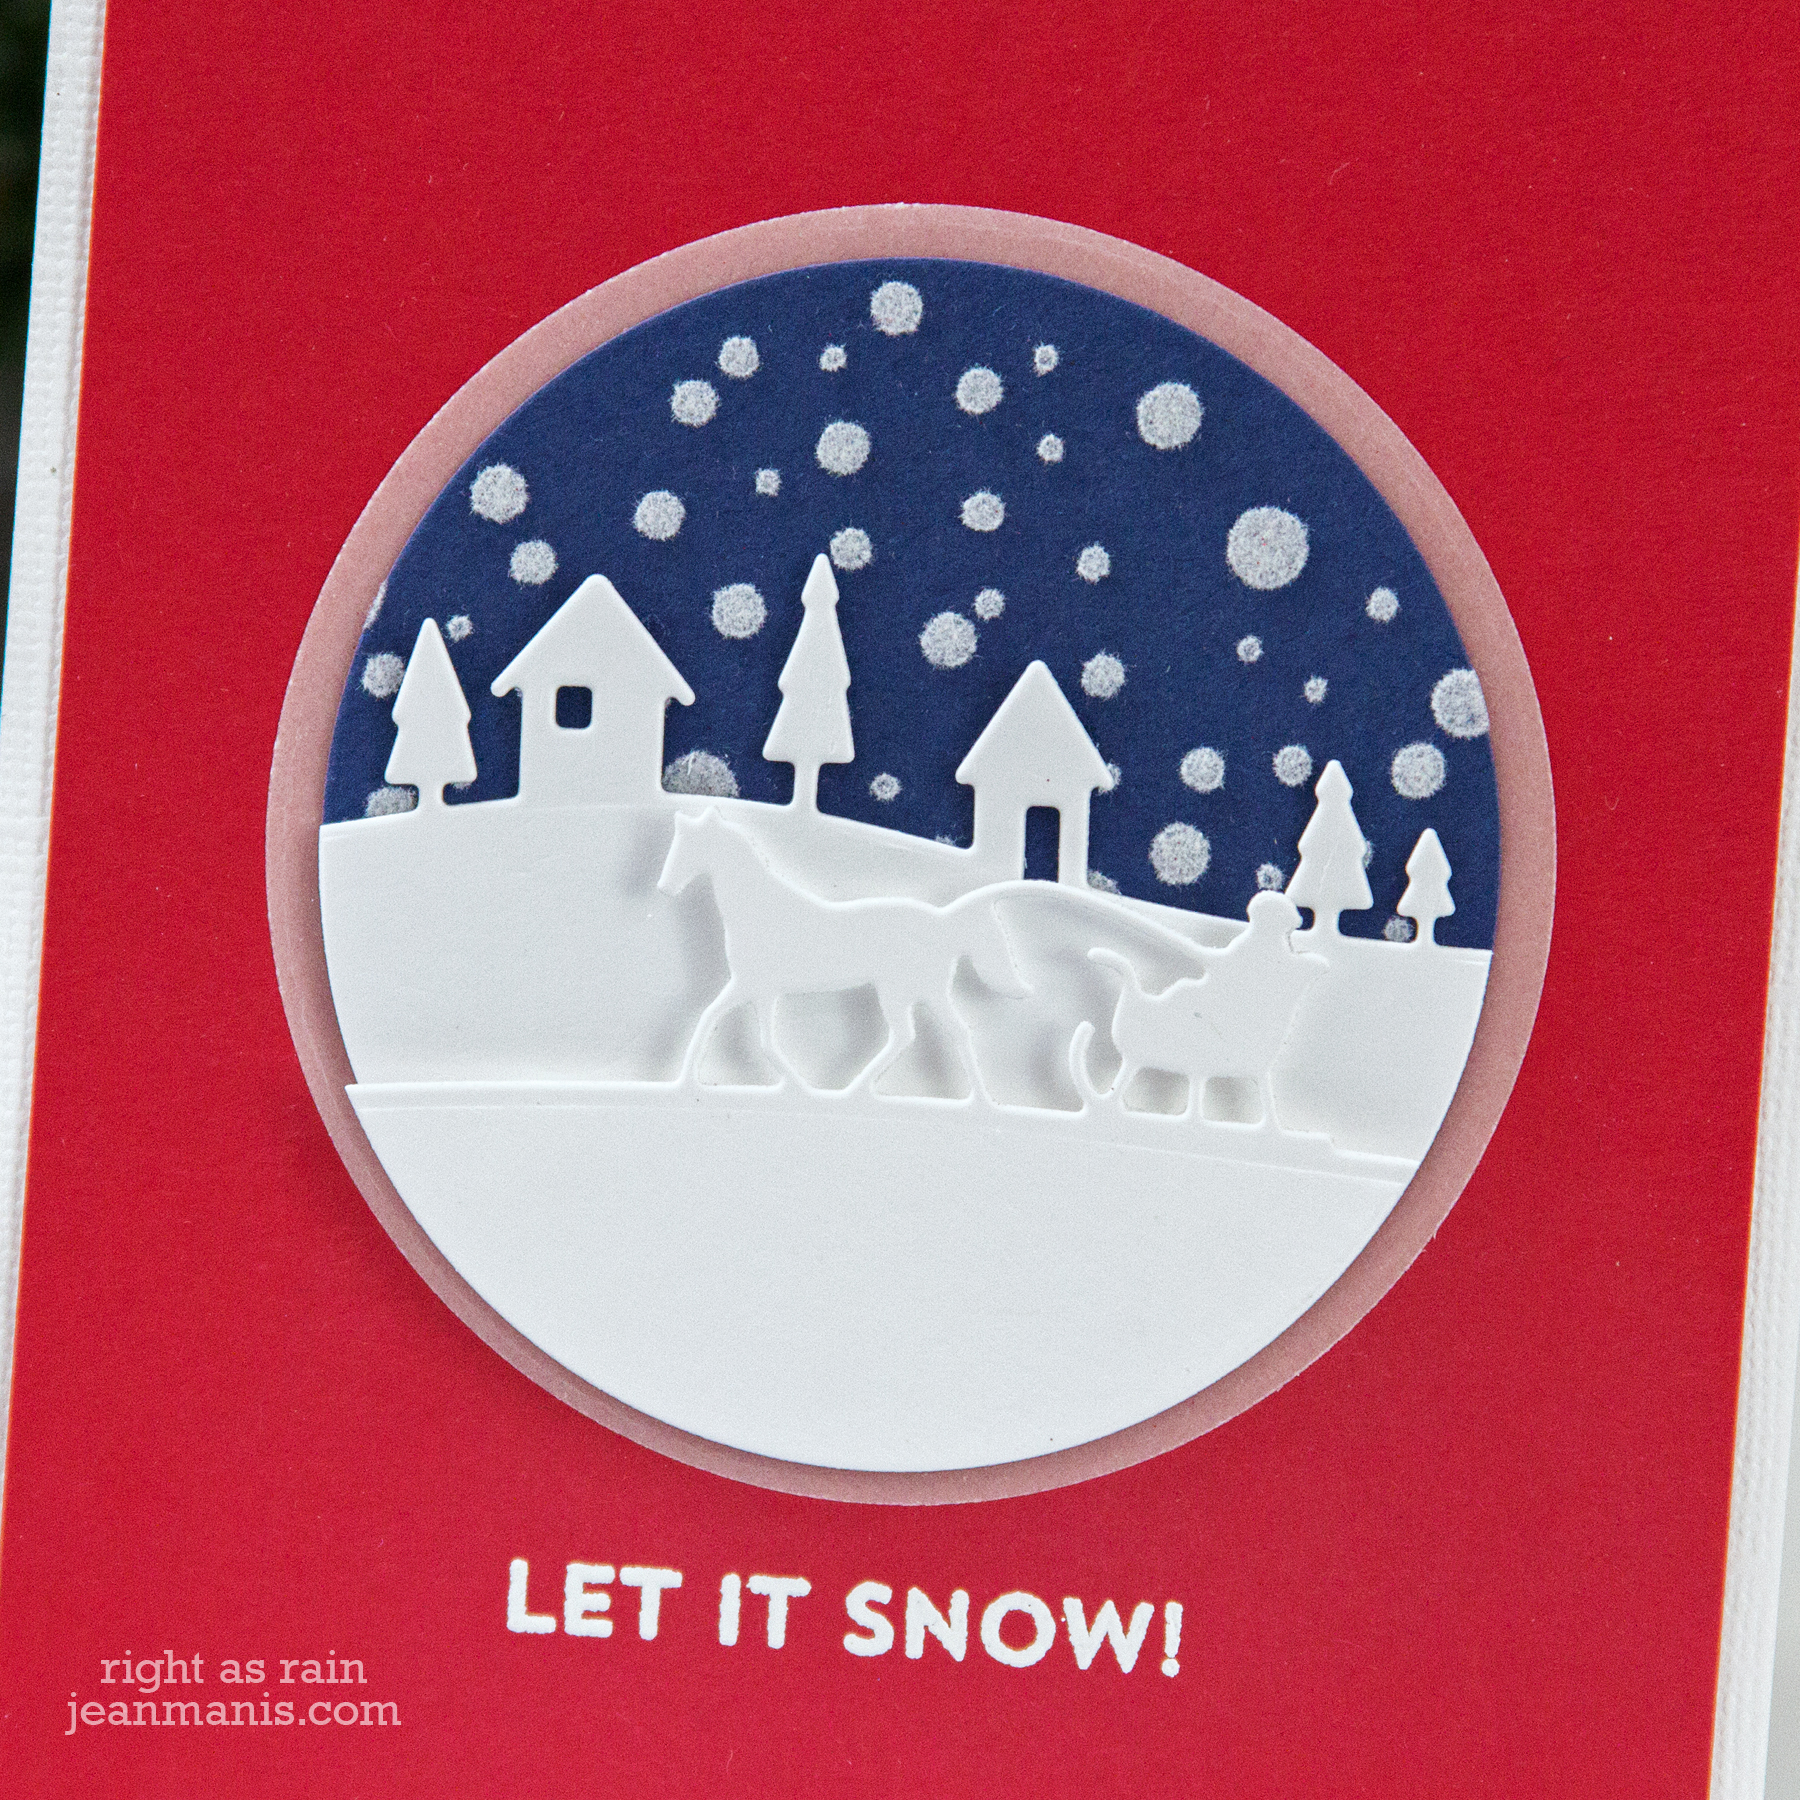
Hello! I have “Jingle Bells” running through my head, and I’m sharing a CAS Christmas card, depicting a one-horse open sleigh dashing through the woods, created with several older Memory Box dies.

Dashing through the Snow

  • I cut Night of Navy cardstock with a circle die and applied transfer gel through the Carta Bella snow stencil on to the circle. I set the circle aside to dry. I mentioned in this post that I wanted to try the flock with the snow stencil.
  • I cut a slightly larger circle from vellum.
  • I cut two white circles and then cut the circles with the Memory Box Horse Sleigh Landscape die and the Country Landscape border dies.
  • I heat-embossed the Snow Globe Sentiments sentiment on a dark red cardstock (Gina K) panel. I adhered the panel to a white linen-finish cardstock base.
  • I ran the stenciled panel through my Minc with white flock. I then assembled the circles, using foam adhesive for the sleigh portion.
  • I adhered the assembly to the card base.

Dashing through the Snow

For more inspiration using these same two Memory Box die sets, here’s a card from several years ago.

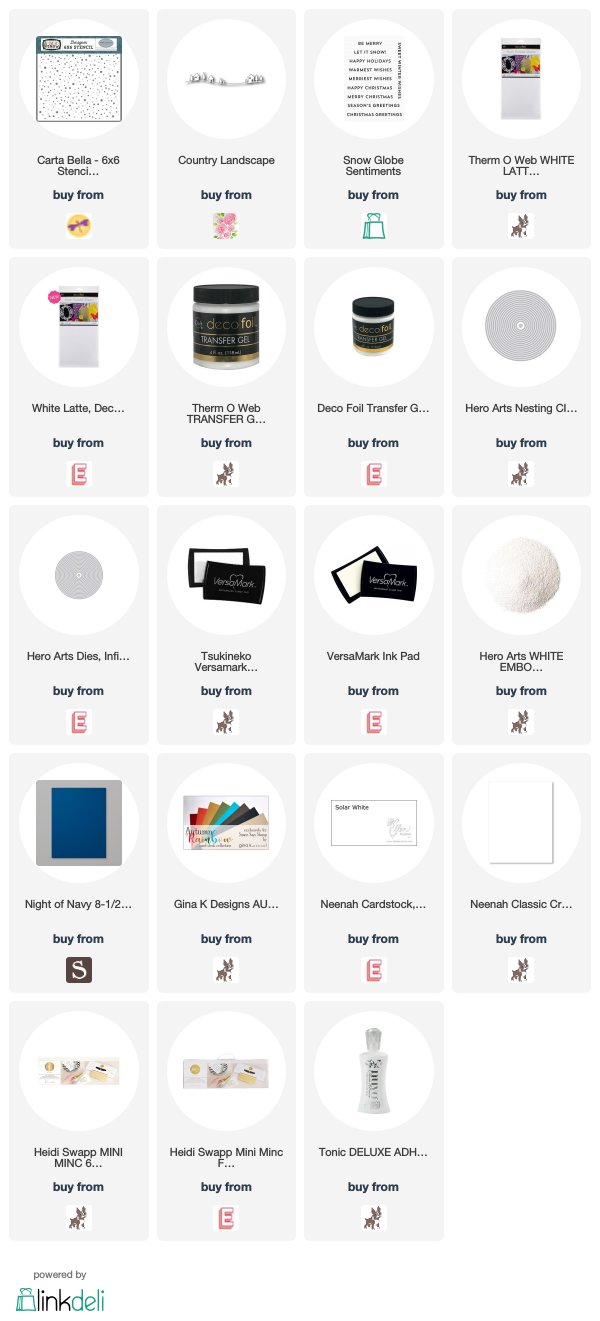
Supplies:

By the Fireside – Traditional Christmas

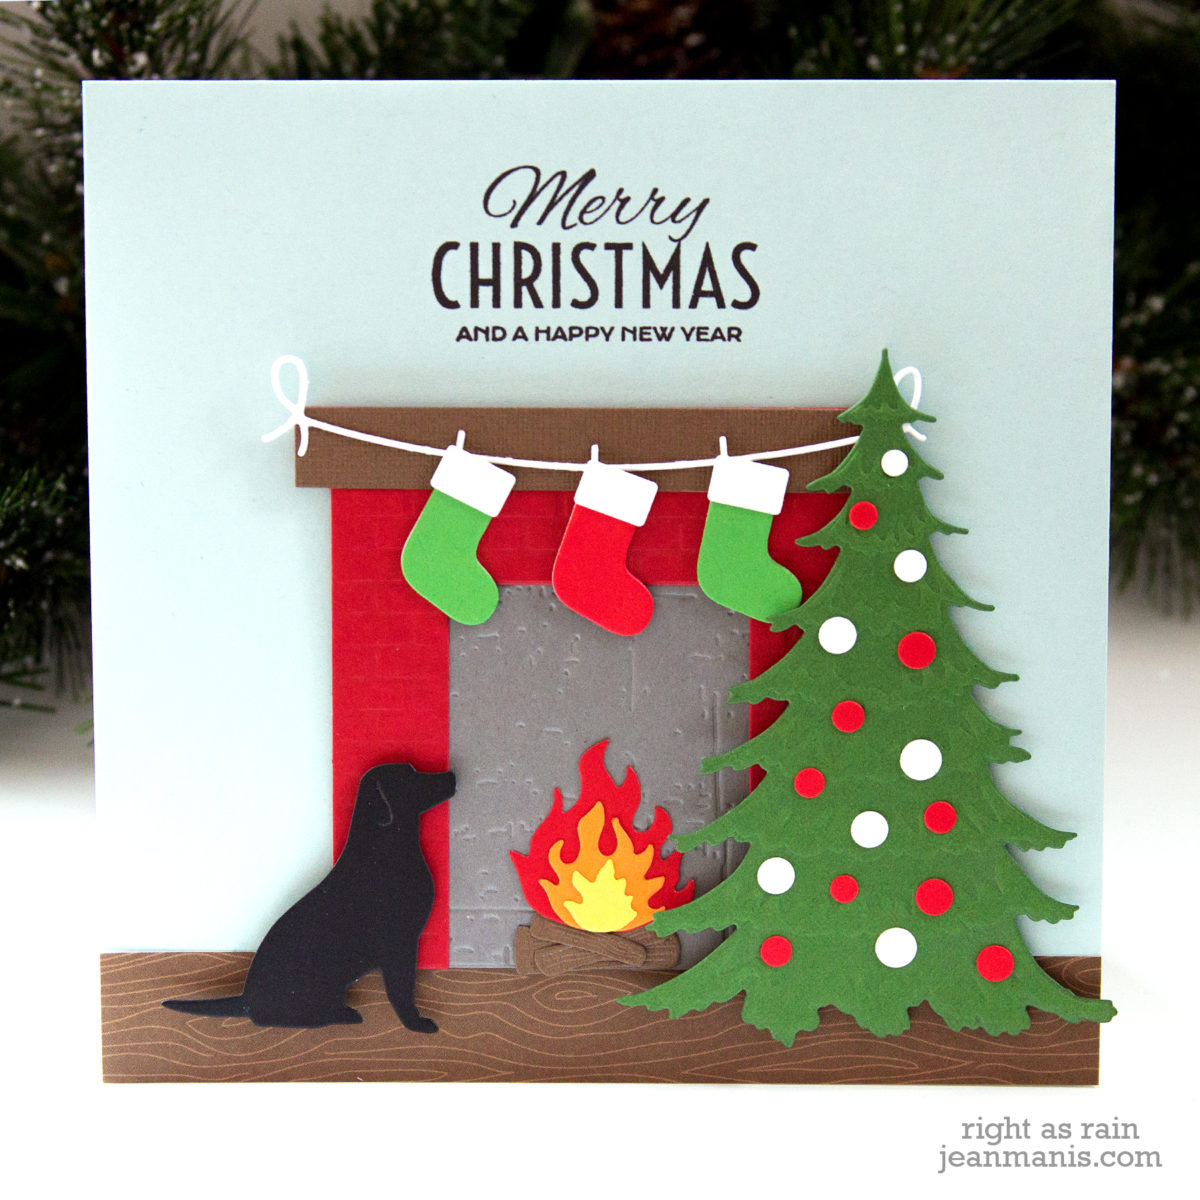
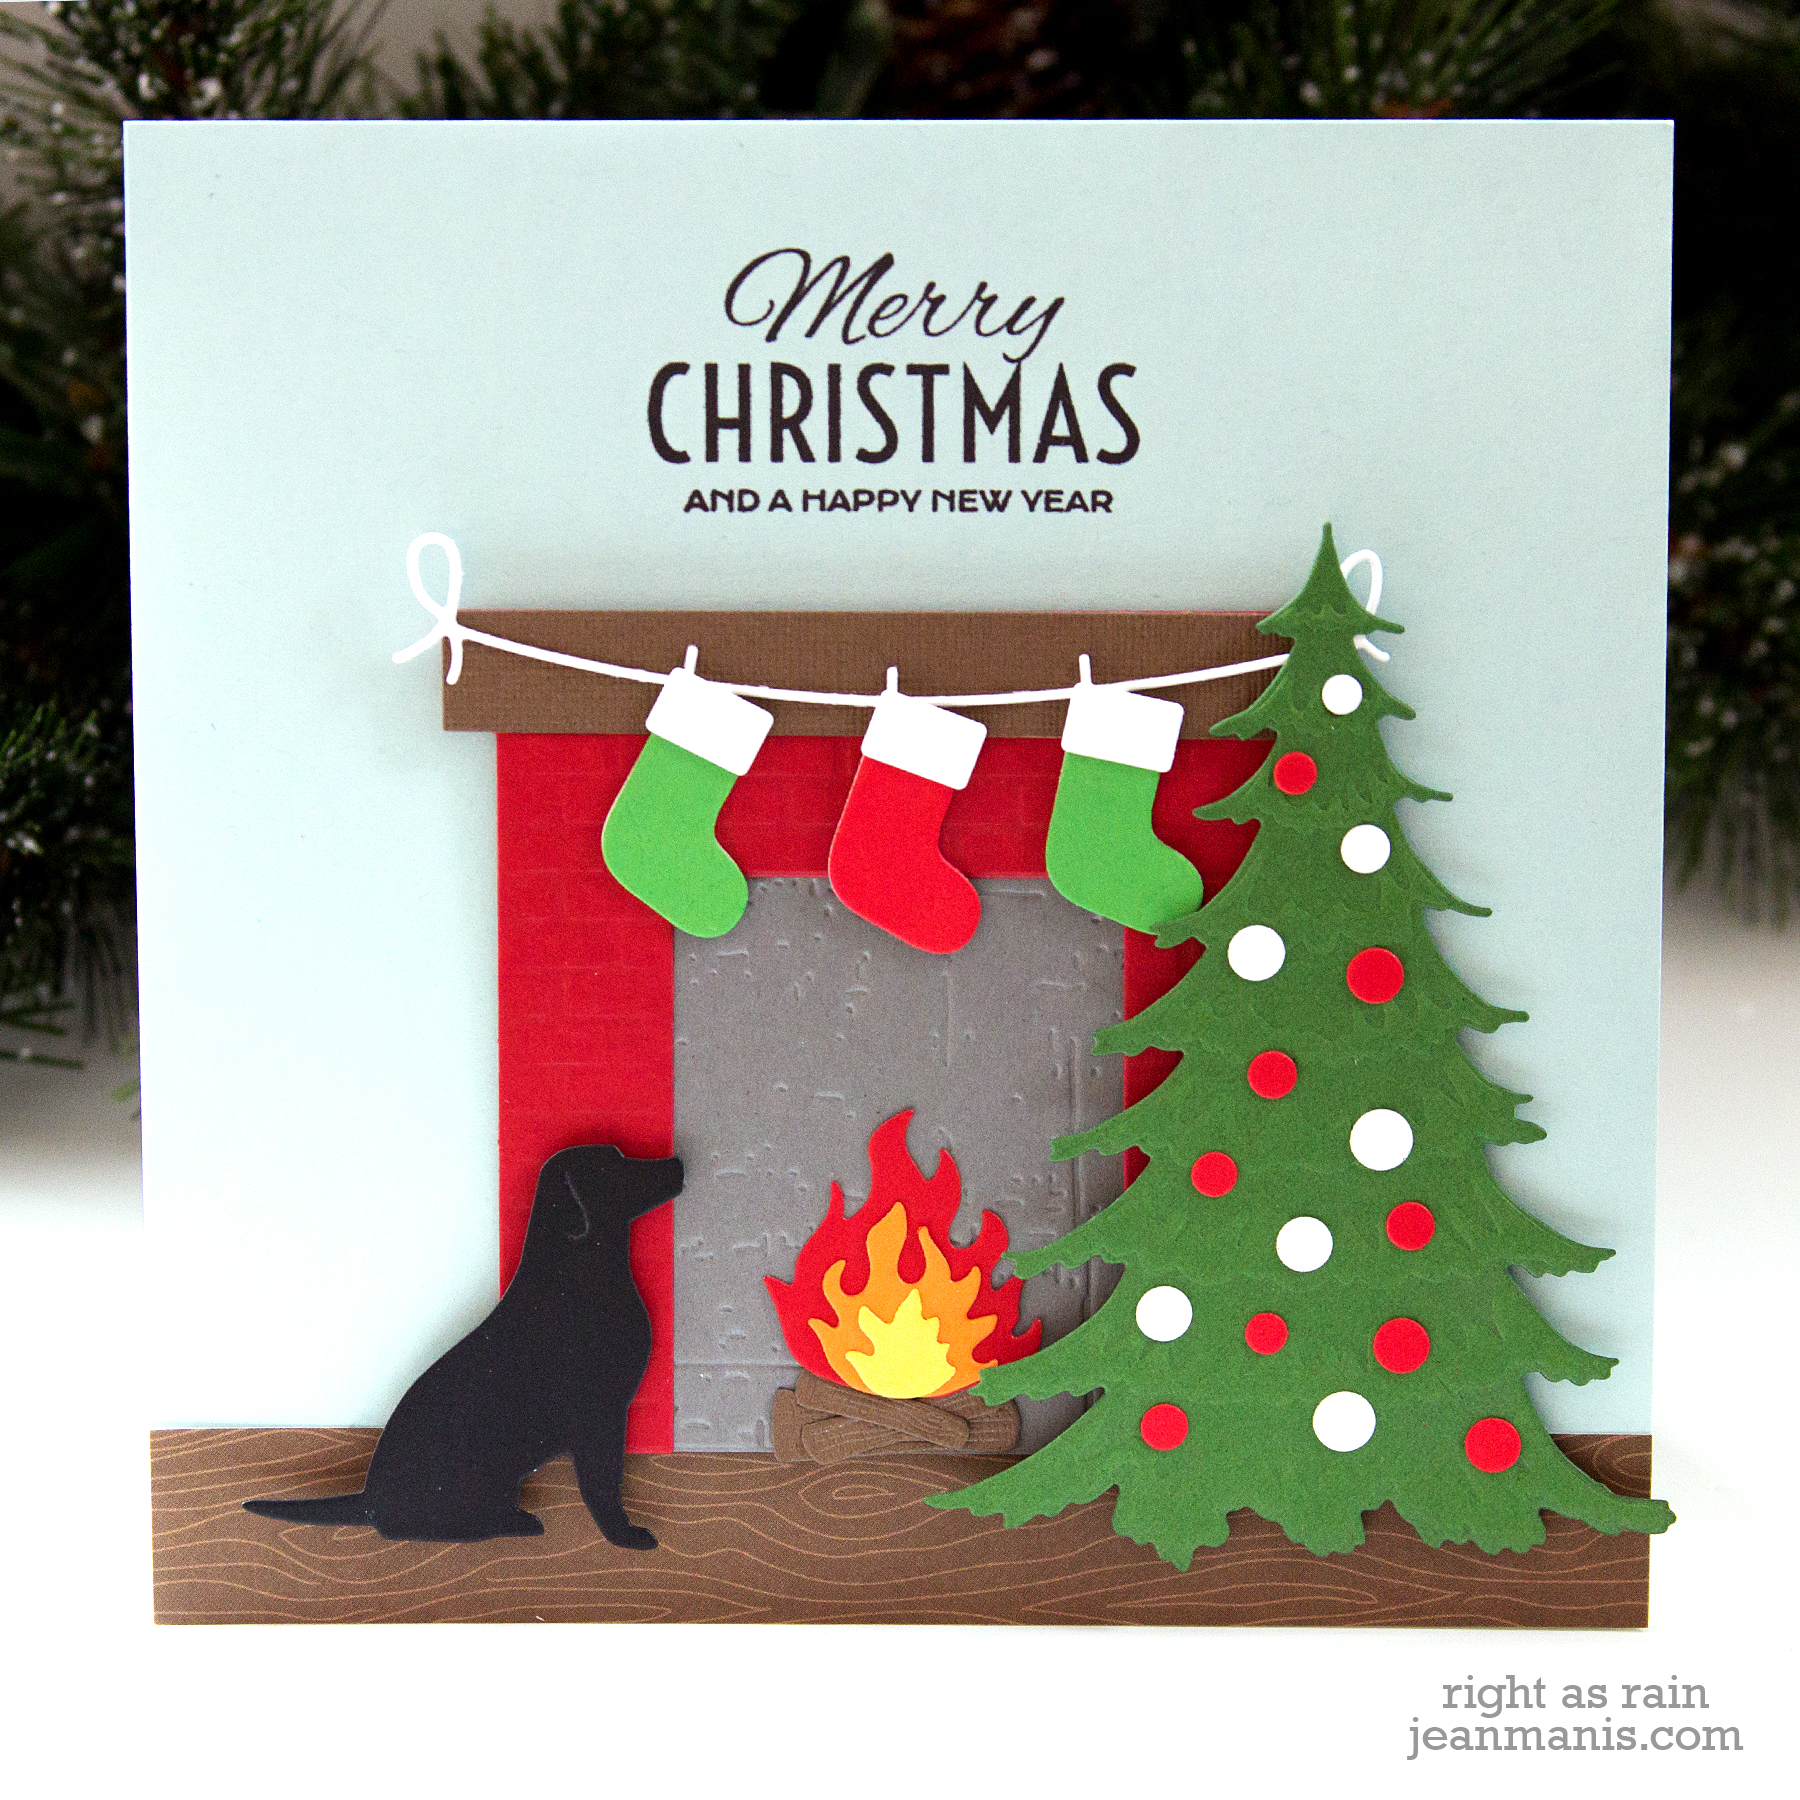
Hello! I am sharing a traditional Christmas card, created with a combination of Memory Box and Poppystamps supplies, for the Simon Says Stamp Wednesday Challenge.

By the Fireside - Traditional Christmas

  • I die cut the various pieces to create the scene.
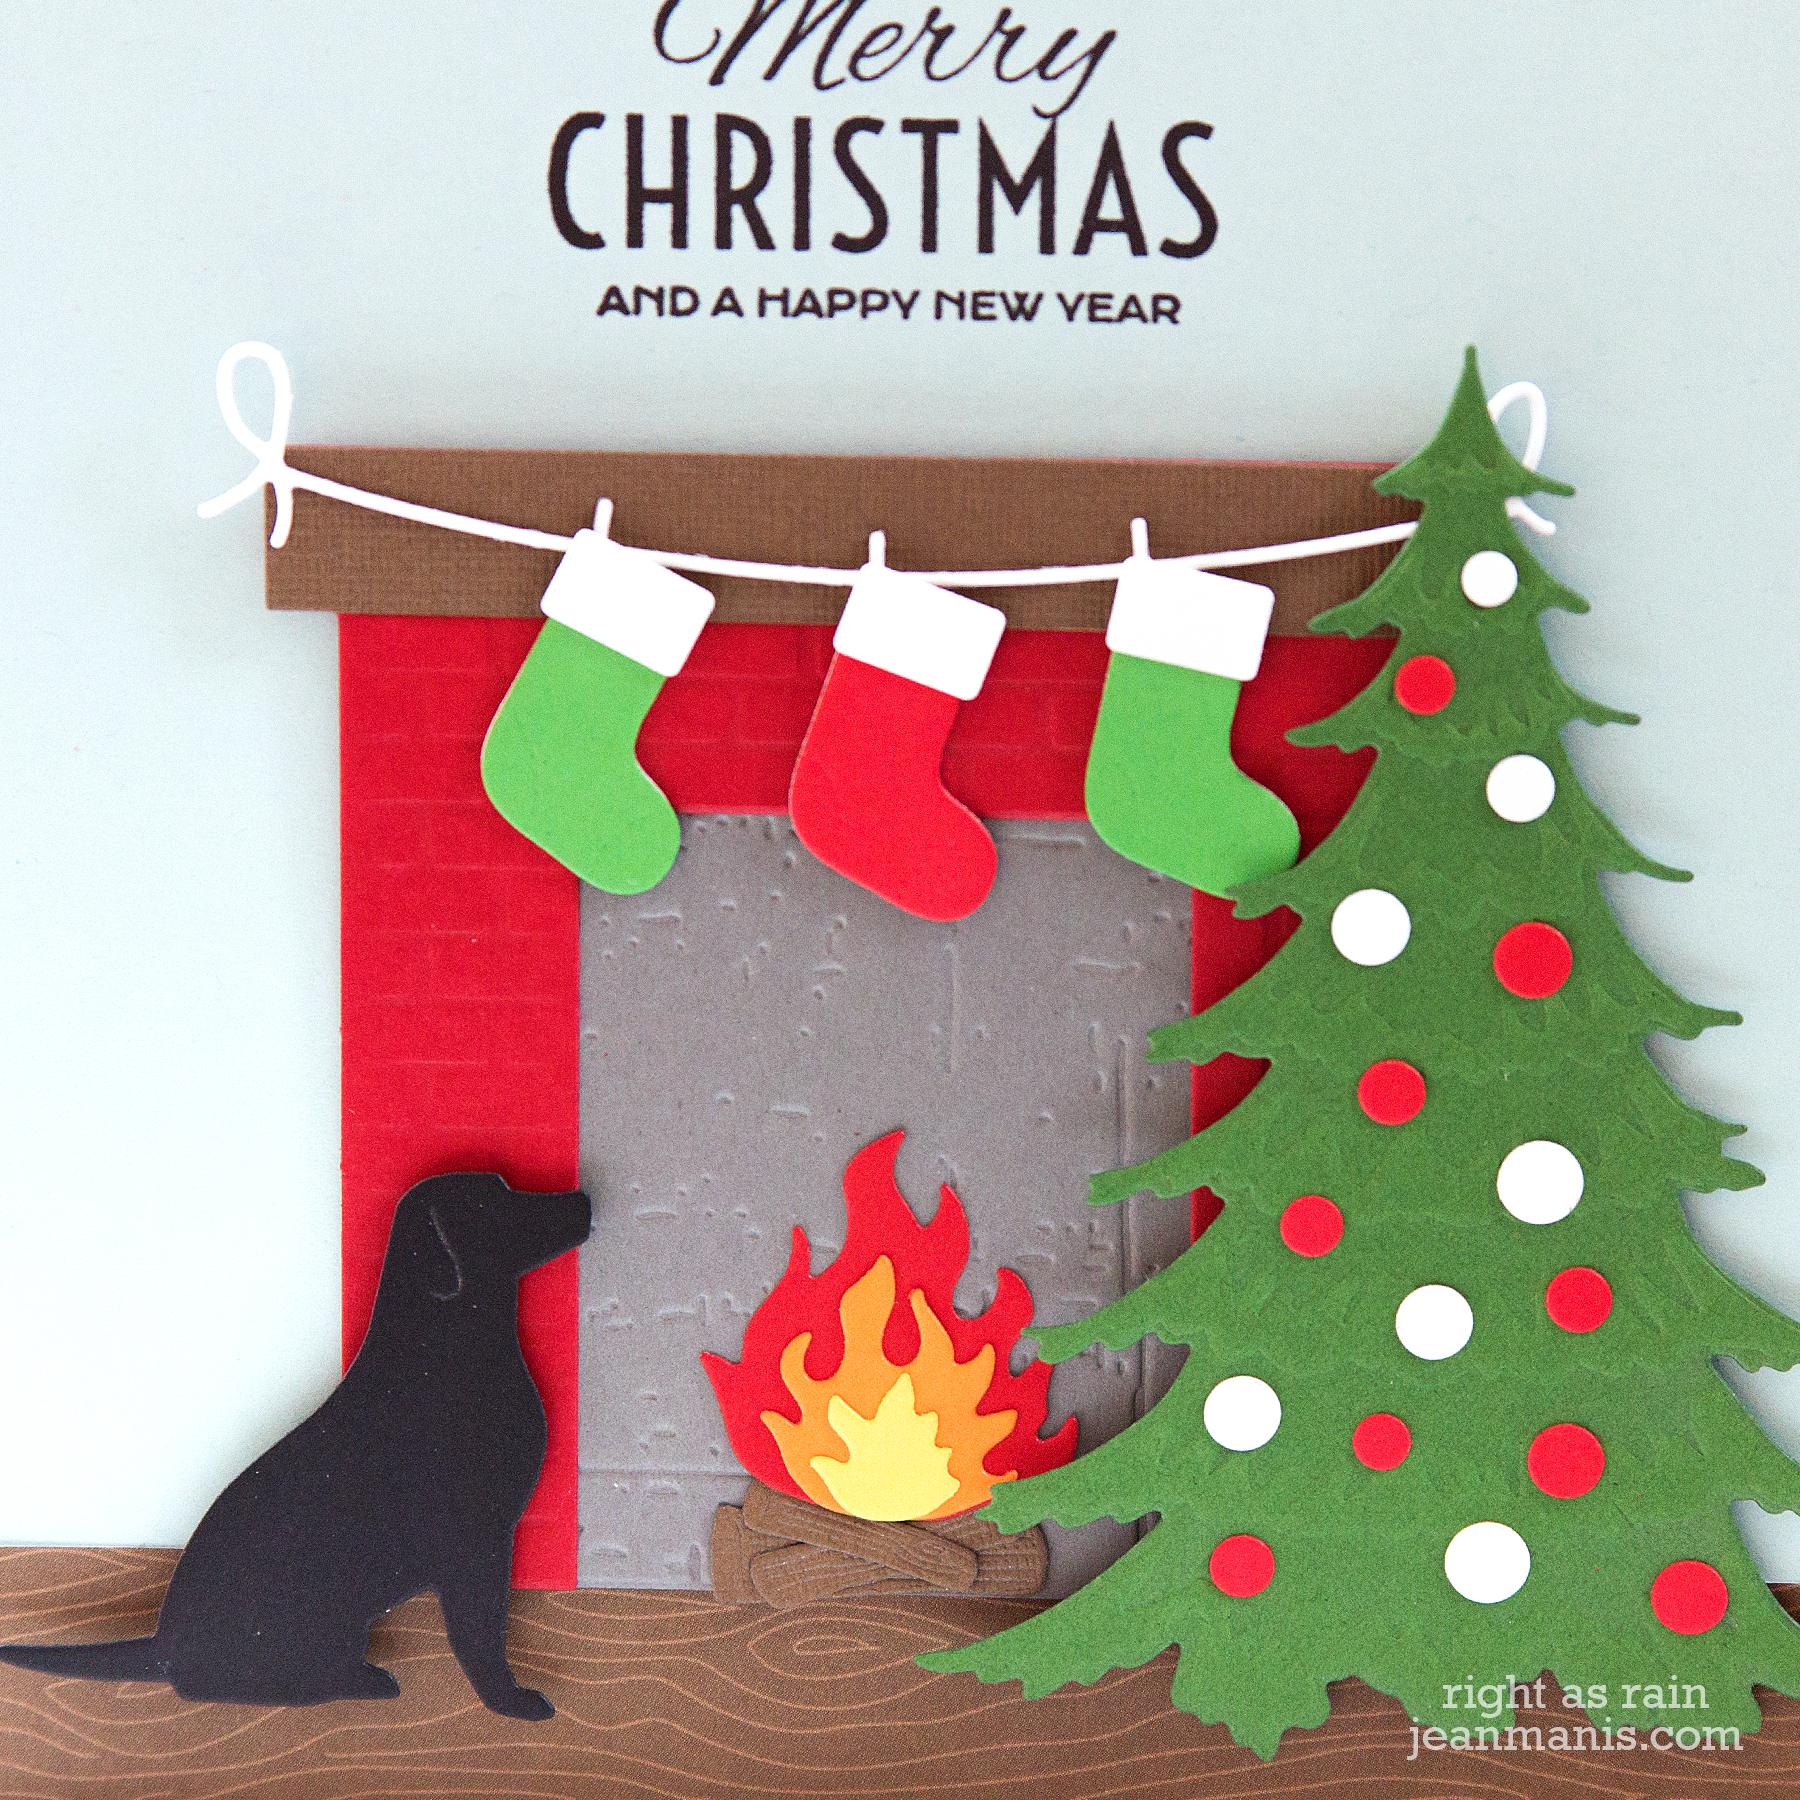
  • The Poppystamps Classic Brick Fireplace was modified – I created a separate mantel top and backed the opening with a dry-embossed rectangle.
  • I added ornaments to the tree by using a die I have that creates a variety of smaller circles.
  • The Tim Holtz Festive Overlay sentiment fit perfectly over the mantle.
  • In order to accommodate so many elements, this card is sized 6″ square.

By the Fireside - Traditional Christmas

Supplies: Most of the die sets are now retired. I’ve had them for several years. Poppystamps Patient Pup; Poppystamps Classic Brick Fireplace; Memory Box Frosted Christmas Tree
The Stocking Garland and fire set are also from Poppystamps.


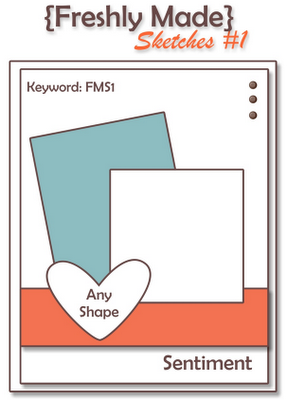
Freshly Made Sketches #400

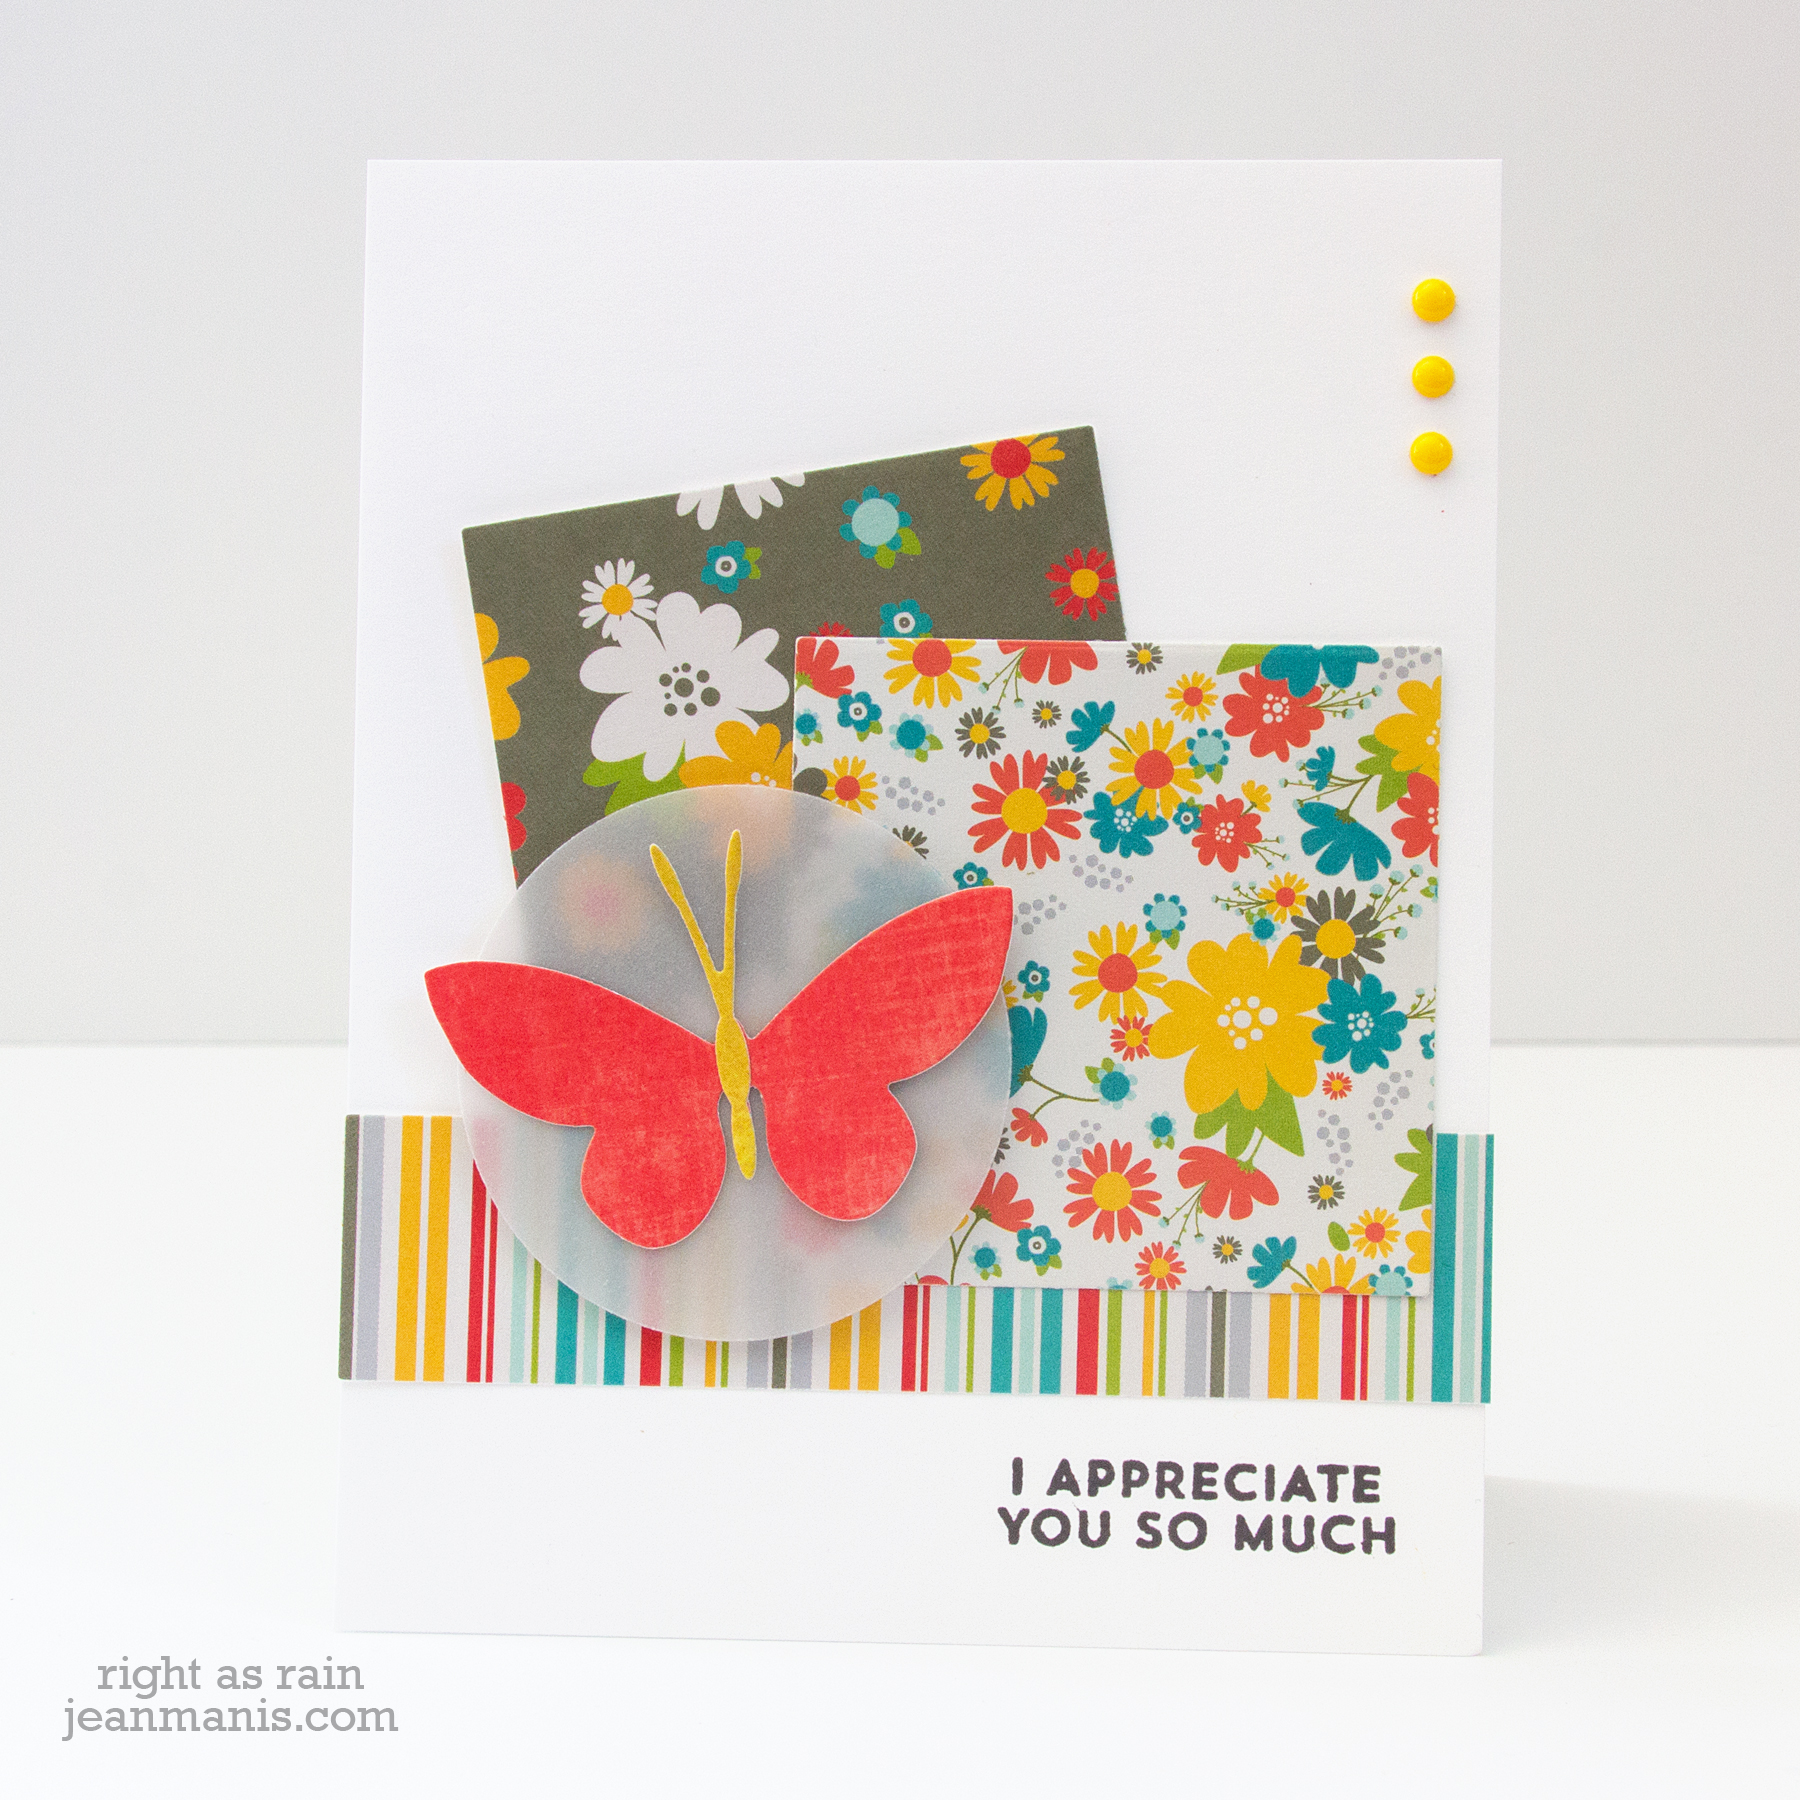
Hello! I am playing along with the Freshly Made Sketches 400th Challenge.

Freshly Made Sketches #400

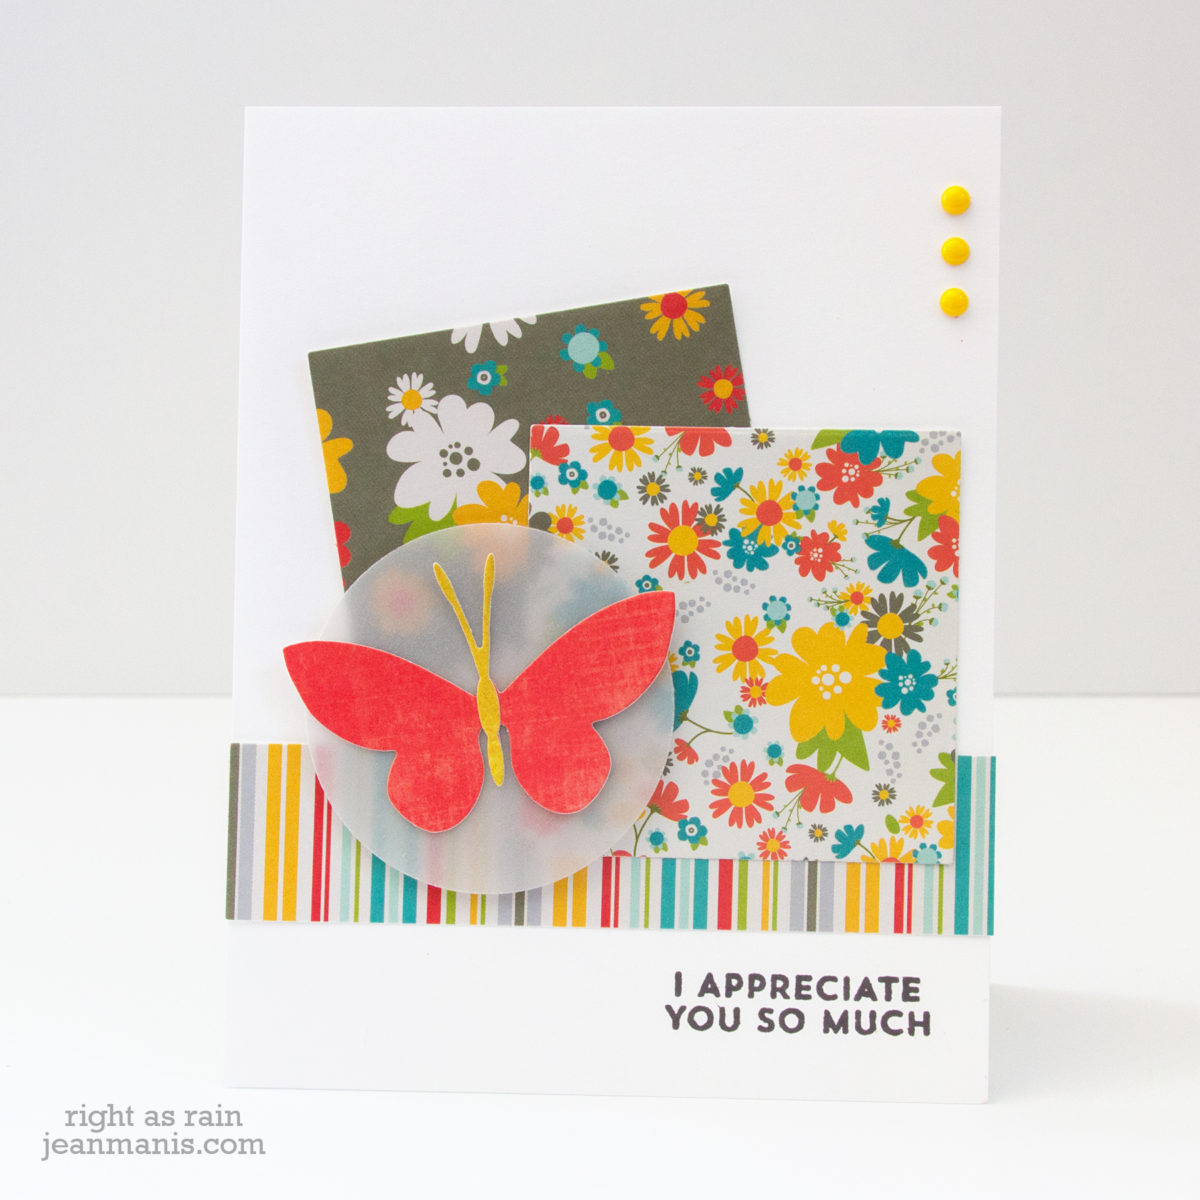
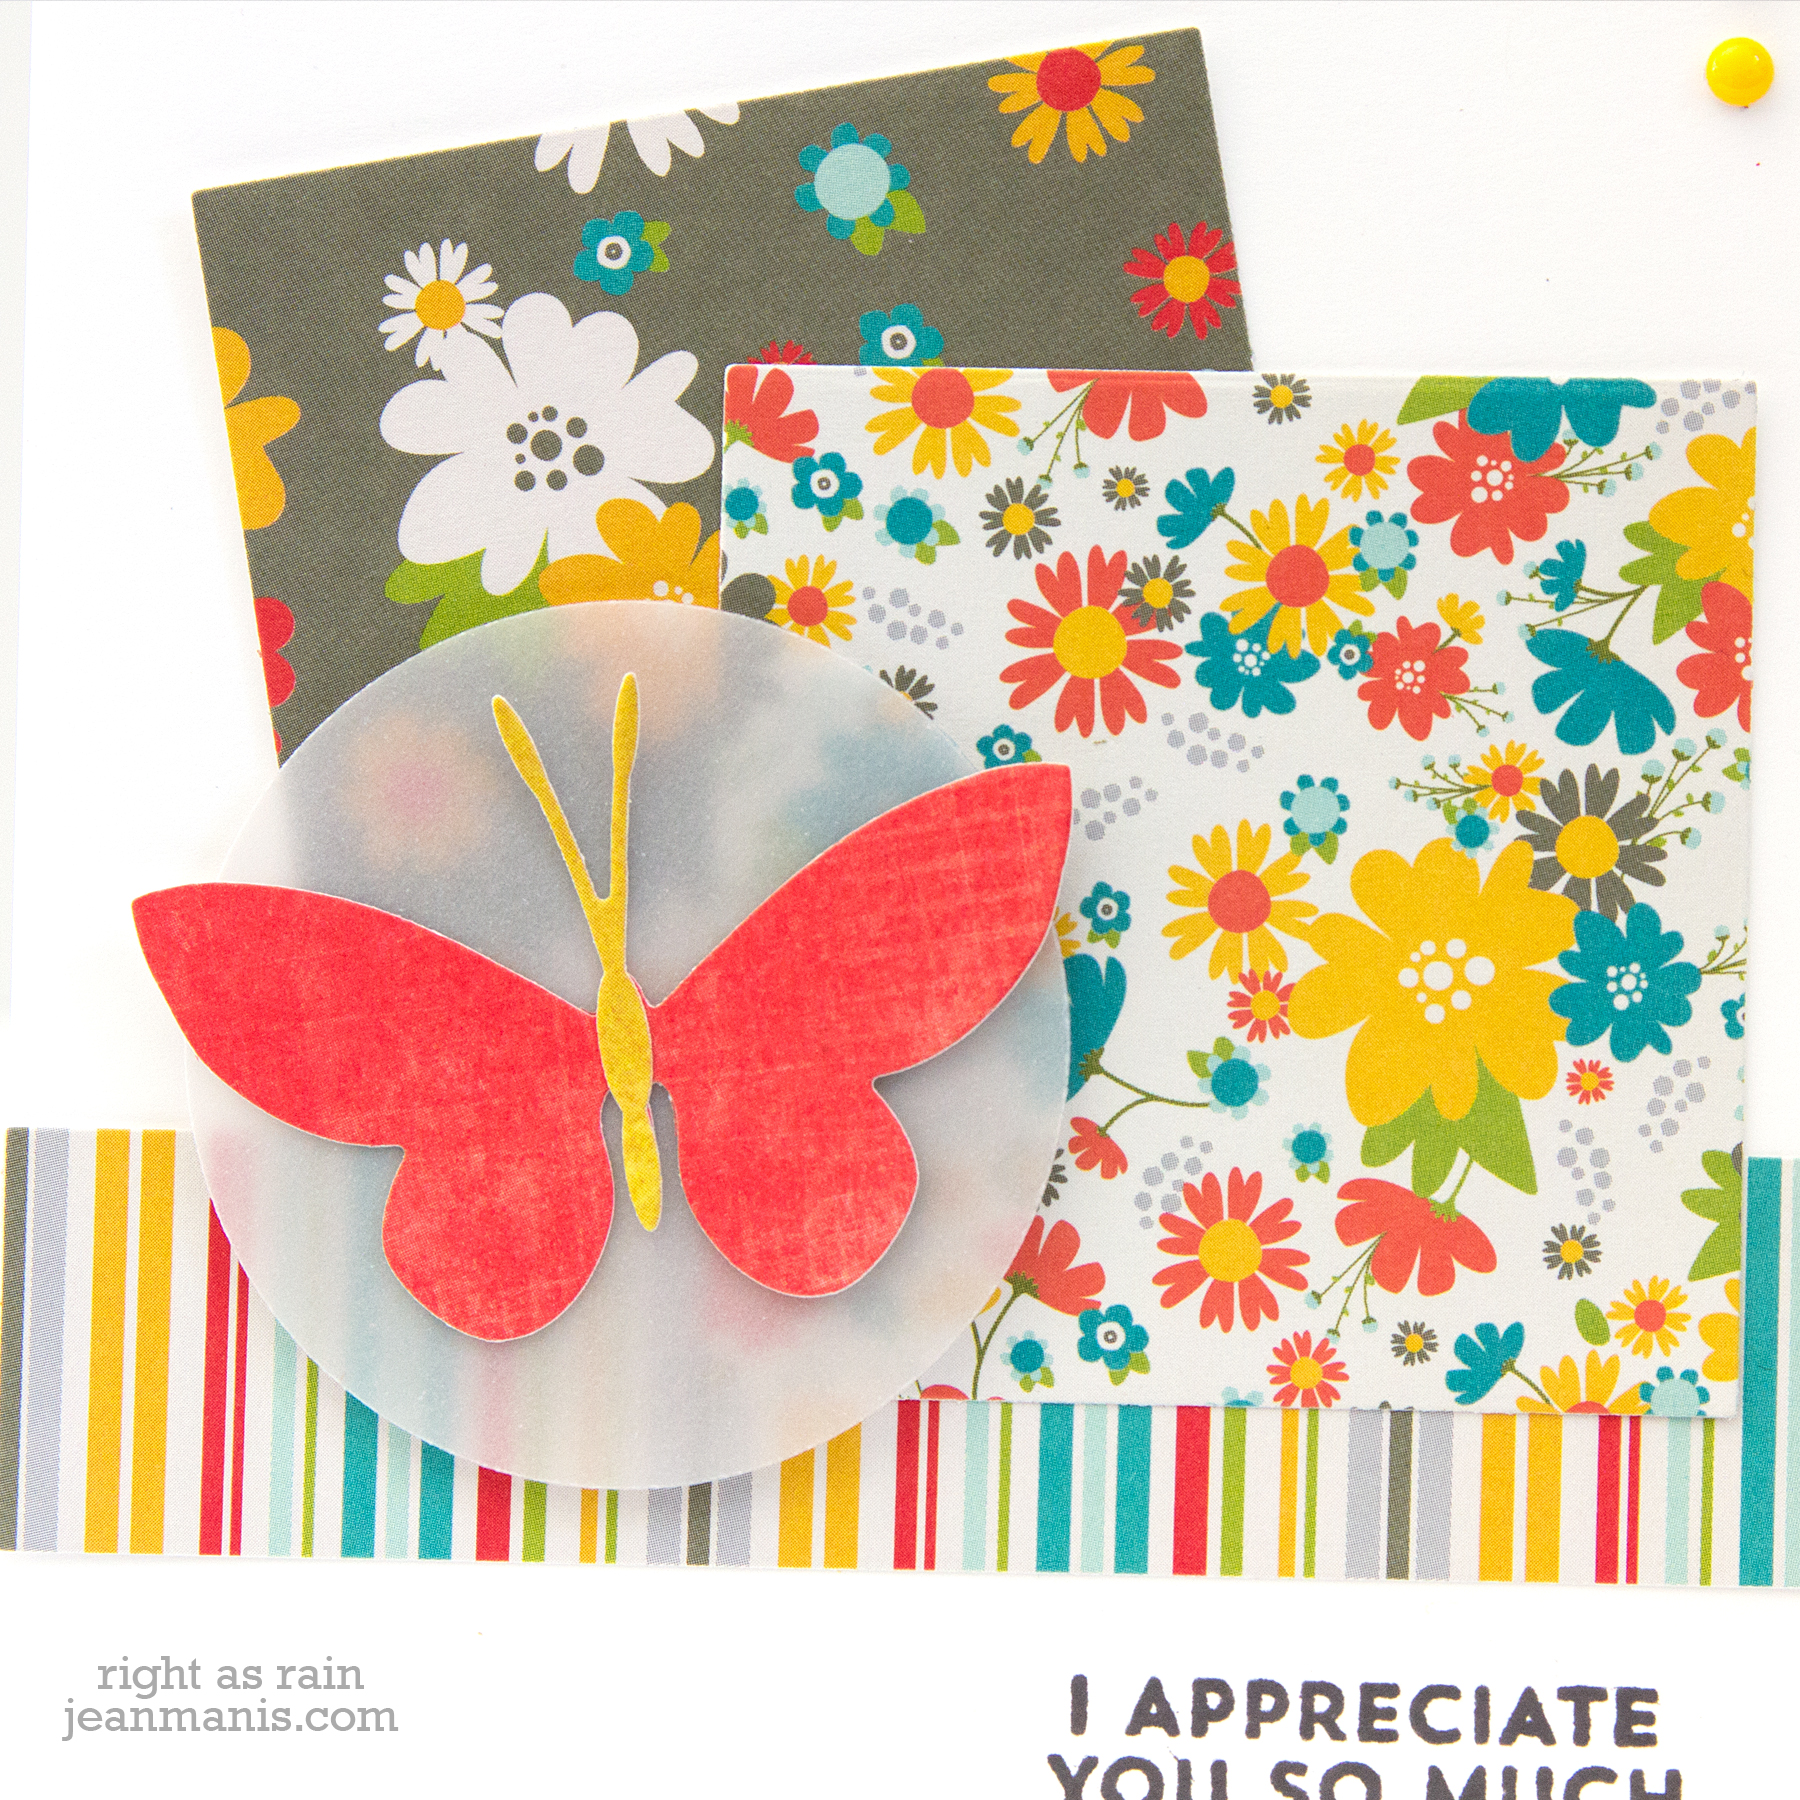
I began by finding the patterned paper that I wanted to use. I still have A LOT of patterned paper. I chose Pebbles Seen & Noted. This is an older pad with great coordinating patterns and colors. I used basic shape dies to cut the three patterned paper pieces.

For the focal image, I went through my butterfly die sets and chose the Memory Box Moonlight Butterfly. I cut the body and antennae from solid papers in the Pebbles pad.

The butterfly was lost against the patterned papers, so I cut a vellum circle to quiet the pattern behind the butterfly. I adhered the butterfly to the circle with glue and the assembly to the patterned paper pieces with foam adhesive.

The sentiment – Pinkfresh Studio Word Series: Thanks – was stamped with Espresso Truffle ink. I don’t have a lot of occasion to use that ink color but I felt that stamping in black would be too harsh with the other colors.

I added three enamel dots in gold (another product of which I have a lot of inventory) in the upper-right corner.

Freshly Made Sketches #400

Supplies:

Only A Shower – CAS Die-cut Encouragement Card

Hello! Today I am sharing a CAS encouragement card combining die-cuts and a Distress Oxide ink background. Appropriately, it began to rain just as I finished this card!

Only A Shower - CAS Die-cut Encouragement Card

  • I created the background with Distress Oxide Pumice Stone and Tumbled Glass inks. I added a little Broken China at the top of the blue and a little Hickory Smoke at the bottom of the gray. I cut the panel with a square die.
  • With a now-retired Memory Box Umbrella die (one of the very first dies I ever purchased), I cut the umbrellas from cardstock colored with Hickory Smoke (umbrella shafts), Peacock Feathers and Squeezed Lemonade (umbrella canopies), and Black Soot (handles and end). I pieced the umbrellas together by performing some fussy cutting (the die is one-piece).
  • I cut the Happy Clouds from white cardstock and backed them with cardstock colored with Black Soot.
  • I applied Moonstone Glimmer paste through the MFT Raindrops stencil (retired) in select places. The SSS Raindrops stencil has similarly-sized raindrops.
  • I heat-embossed the You Got This sentiment on black cardstock and cut it with one of the Lawn Fawn banner dies.
  • I dry-embossed the card base with the Subtle Dynamic Textured Impressions Embossing Folder from Stampin Up’ (retired).

Only A Shower - CAS Die-cut Encouragement Card

Thanks for visiting!

Supplies: