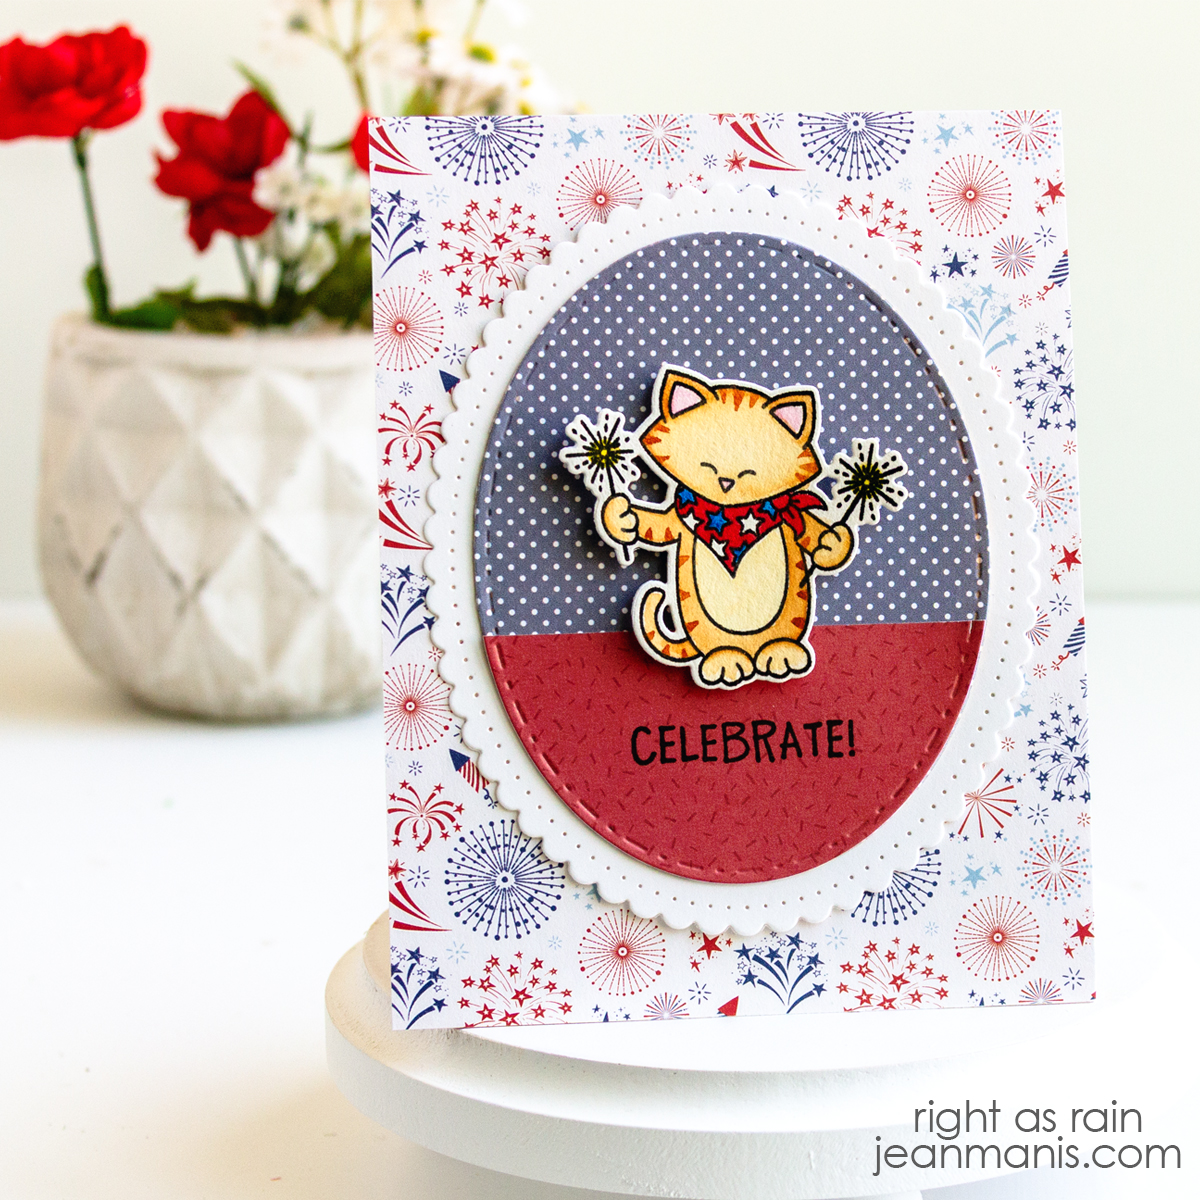
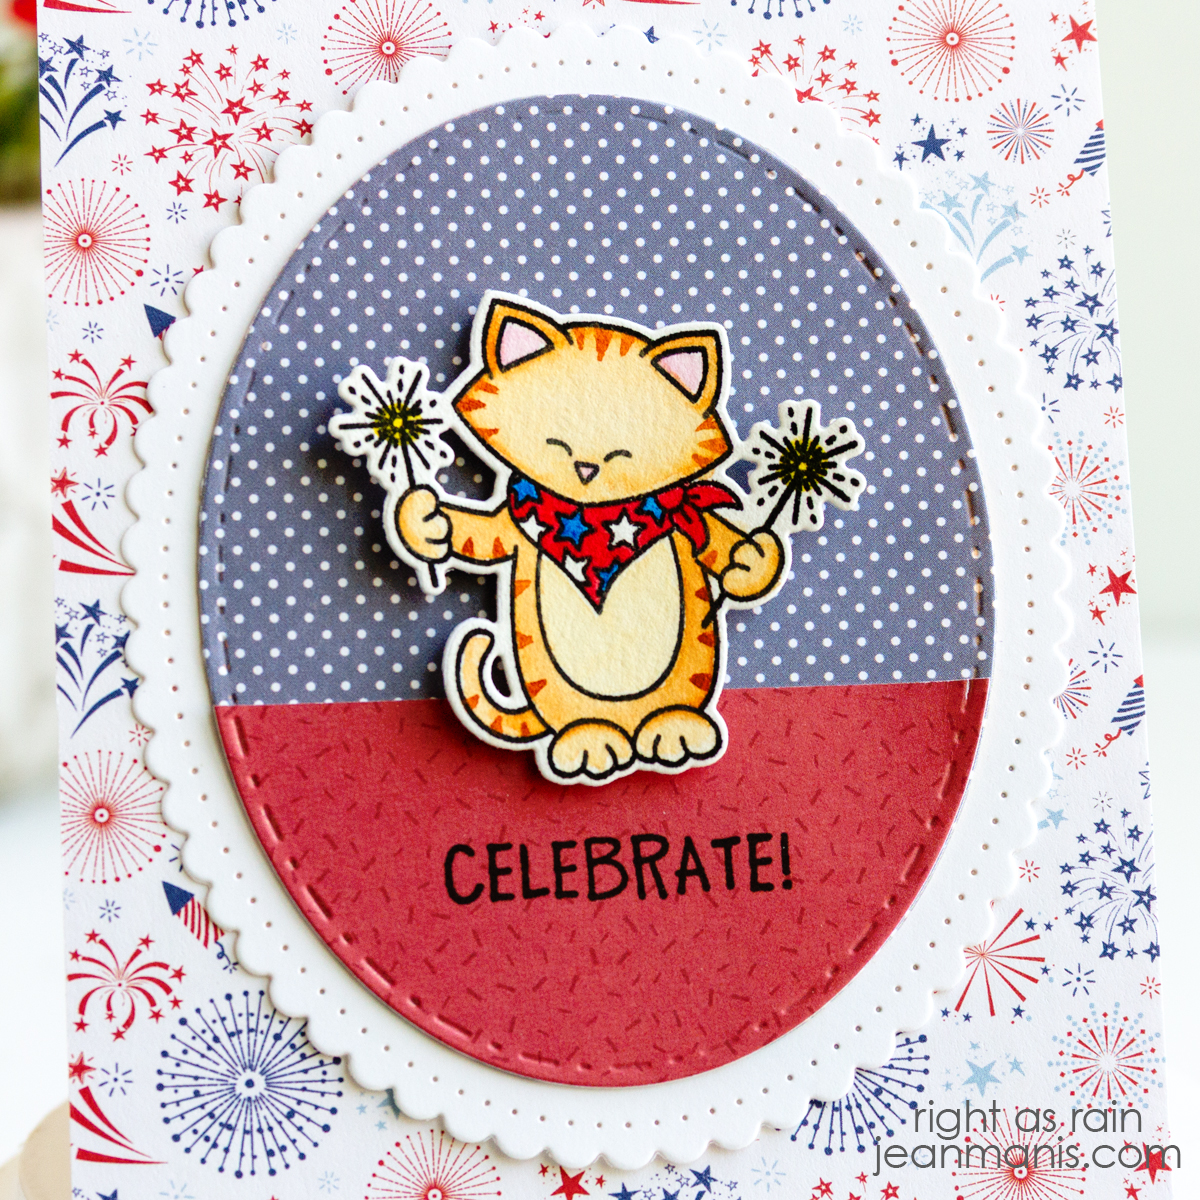
Purr-fect Handmade Cat Cards

Hello! Cats have a timeless charm that makes them the purr-fect subject for handmade cards. Whether playful or cozy, feline friends bring personality and warmth to your designs. These cards make wonderful choices for occasions like birthdays, Halloween, thank-yous, or just-because moments. Join me as I share a roundup of cat-themed creations from my blog archive. Click on the card image to be taken to the original post for additional details.

These two birthday cards feature stamped and watercolored cats, complemented by die-cut elements for a fun and whimsical celebration.

This larger birthday card showcases a die-cut cat wearing sunglasses with a “Happy Birthday” message, making it the perfect statement piece for any cat lover.

This “just because” card features a delightful small watercolored scene of cats, created with the Art Impressions Matchbox series.

These Halloween cards feature cats in their spooky best—one with die-cut elements to create a playful cat and pumpkin scene, and the other showcasing a watercolored cat ready for the season.

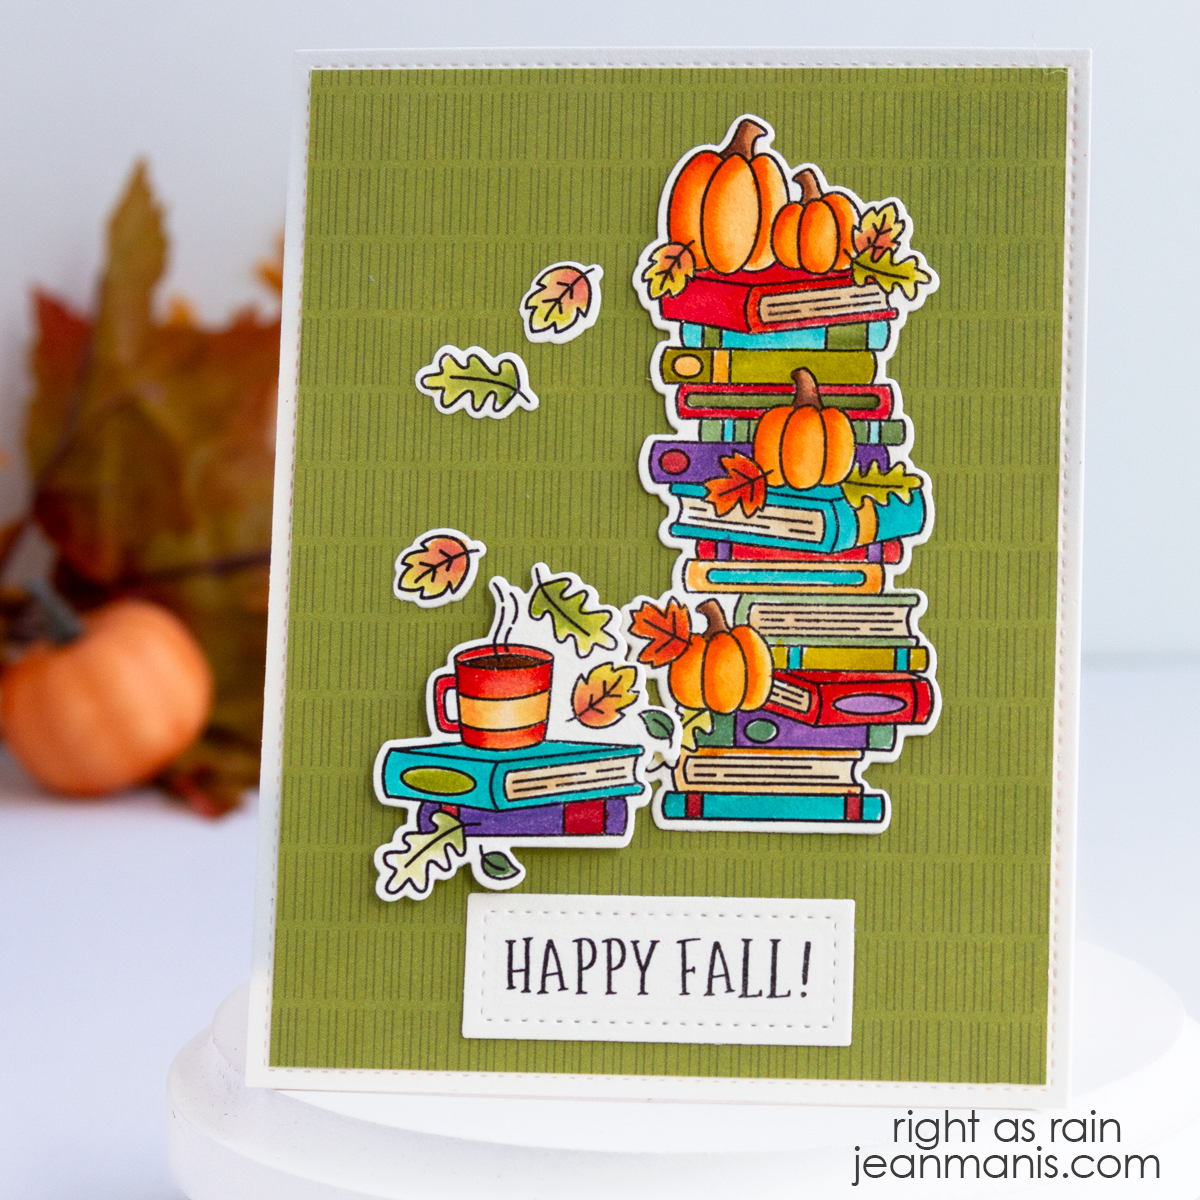
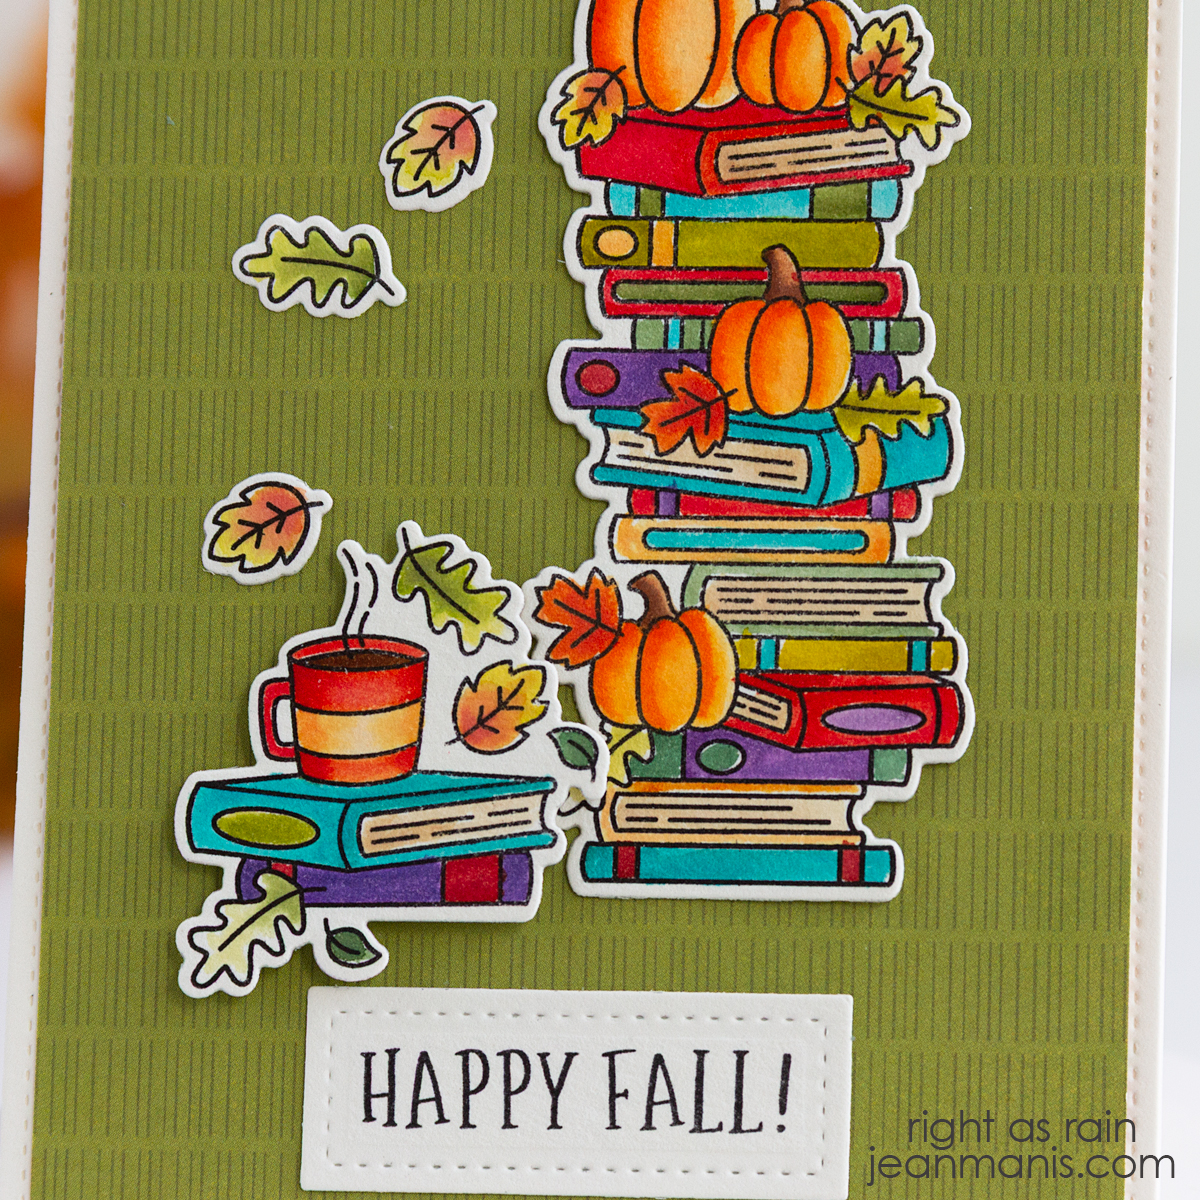
These two stamped and watercolored cat cards feature playful scenes, both created using Newton’s Nook stamps, known for their charming cat imagery. One captures a relaxed beach scene, while the other sets the stage in a cozy library.

There’s something irresistibly charming about cats on cards. They bring a playful and timeless appeal to any design! I hope this roundup has inspired you to use cats as a theme in your own creations. While putting this roundup together, I realized that many of my cat cards feature stamped images that I’ve colored. I own several silhouette cat dies and have used them on a number of cards (although none are included in this roundup). While silhouettes create a bold and classic design, most cats aren’t a solid color, so stamping and coloring allow for more variety and detail. Do you have favorite cat stamps or dies? Is there a cat-themed set on your wish list?

Newton’s Nook Christmas Nap

Hello! Today, I am sharing a holiday card featuring the Newton’s Nook Christmas Nap stamp set with coordinating die. Picture a watercolored Christmas scene featuring a lovable dog and a cozy cat nestled in a chair.

Newton's Nook Christmas Nap

    • Cut an A2-size rectangle of Light Brown Woodgrain cardstock and add to card base.
    • Stamp the Christmas Nap image with Versafine on Arches Cold Press watercolor paper and heat set. Color the image with watercoloring mediums of choice (I used Distress Ink, and Zig and Tombow markers). Once dry, cut the image with the die in the coordinating set. Simon Says has the stamp, and both the stamp and die are available directly from Newton’s Nook and Frantic Stamper. (Check out my “Resources for Watercoloring Stamped Images” HERE.)
    • Stamp the Christmas Nap sentiment in VersaFine ink on Fern cardstock and clear heat-emboss it.
    • Use the 3 3/4″ x 5″ Lawn Fawn Small Stitched Rectangle die to cut the sentiment panel on the bottom edge. Trim at top so that the panel is 1 3/4″ tall.
    • Cut a 3 3/4″ x 5″ Snowdrift cardstock panel with the Lawn Fawn Small Stitched Rectangle die. Dry-emboss with the Taylored Expressions Bead Board embossing folder (now retired).
    • Attach the sentiment panel to the dry-embossed panel and add the assembly to the card base.
    • Add the watercolored scene with foam adhesive.

Newton's Nook Christmas Nap

Newton's Nook Christmas Nap


Newton’s Nook Holiday Haul

Hello! Today, I am sharing a holiday card featuring the Newton’s Nook Holiday Haul stamp set with coordinating die.

Newton's Nook Holiday Haul

      • Stamp the Holiday Haul truck image with Versafine on Arches Cold Press watercolor paper and heat set. Color the image with watercoloring mediums of choice (I used Zig and Tombow markers). Once dry, cut the image with the die in the coordinating set. (Check out my “Resources for Watercoloring Stamped Images” HERE.) Add enamel dots (Spellbinders) and star (retired Taylored Expressions) to the tree.
      • Stamp and heat-emboss with clear powder the Holiday Haul sentiment on white cardstock. Cut the sentiment first with a rectangle die and then a snowbank die (now-retired MFT Stamps Snow Drifts set). Add the sentiment panel to a piece of patterned paper. The assembly measures 3 1/2″ x 4 3/4″.
      • Attach assembly to an A2-size light brown woodgrain card base. Add watercolored truck to the card with foam adhesive.

Newton's Nook Holiday Haul

Newton's Nook Holiday Haul


Newton’s Nook Designs | Fall Harvest Take Two

Hello! Today I am sharing two more cards created with the Newton’s Nook Designs Fall Harvest stamp set. I previously shared cards with this stamp and coordinating die set HERE. This time, I am using stenciled pumpkin backgrounds rather than patterned paper ones, applying ink through a stencil on to coordinating cardstock for a tone-on-tone background. You can read my post about creating stenciled backgrounds for cards HERE.

Newton’s Nook Designs | Fall Harvest Take Two

Newton’s Nook Designs | Fall Harvest Take Two

  • To create the focal images, stamp the Fall Harvest images with Versafine on Arches Cold Press watercolor paper and heat set. Color the images with watercoloring mediums of choice. Once dry, cut the images with the dies in the coordinating set. (Check out my “Resources for Watercoloring Stamped Images” HERE.)
  • To create the card backgrounds, apply ink through the Pumpkin Patch stencil. For the background with the dog, I used Dried Marigold ink on SU Pumpkin cardstock, and on the other background with the cat, I used Wild Honey ink on SU More Mustard cardstock. Trim panels to A2-size and attach to card bases. (Next time, I will cut the cardstock to A2 size before applying ink through the stencil. The stencil pattern is 5 1/2″ square.)
  • Glimmer foil the sentiment in the Autumn Greetings set with Copper foil on white cardstock (I used Taylored Expressions Sugar Cube, as it is not stark white). Cut panel with a 2 3/4″ die in the Everlasting Circles set. Cut another circle from vellum with a 3″ die in the same set.
  • Assemble the focal images, add the images to the circle mats, and adhere to the card fronts.

Newton’s Nook Designs | Fall Harvest Take Two

Newton’s Nook Designs | Fall Harvest Take Two


Newton’s Nook Designs | Fall Harvest

Hello! As the leaves turn golden and the air cools, I find myself embracing the charm of the fall season. Today, I am showcasing the Newton’s Nook Designs Fall Harvest stamp set on two friendship cards of the same design.

Newton's Nook Designs | Fall Harvest

To create the focal images, stamp the Fall Harvest images with Versafine on Arches Cold Press watercolor paper and heat set. Color the image with watercoloring medium of choice. Once dry, cut the images with the dies in the coordinating set. (Check out my “Resources for Watercoloring Stamped Images” HERE.)

Newton's Nook Designs | Fall Harvest

To create the card backgrounds, cut PhotoPlay Fall Plaids papers (now discontinued) and add to A2-size card bases.

Glimmer foil the sentiment in the Autumn Greetings set with Copper foil on white cardstock (I used Taylored Expressions Sugar Cube, as it is not stark white). Cut panel with die in the Large Stitched Rectangle Stackables set and attach to card base.

Newton's Nook Designs | Fall Harvest

Newton's Nook Designs | Fall Harvest

Assemble the focal images and add to the cards with dot and foam adhesive.