Rubbernecker | Mini Slimline Die-cut Birthday Card

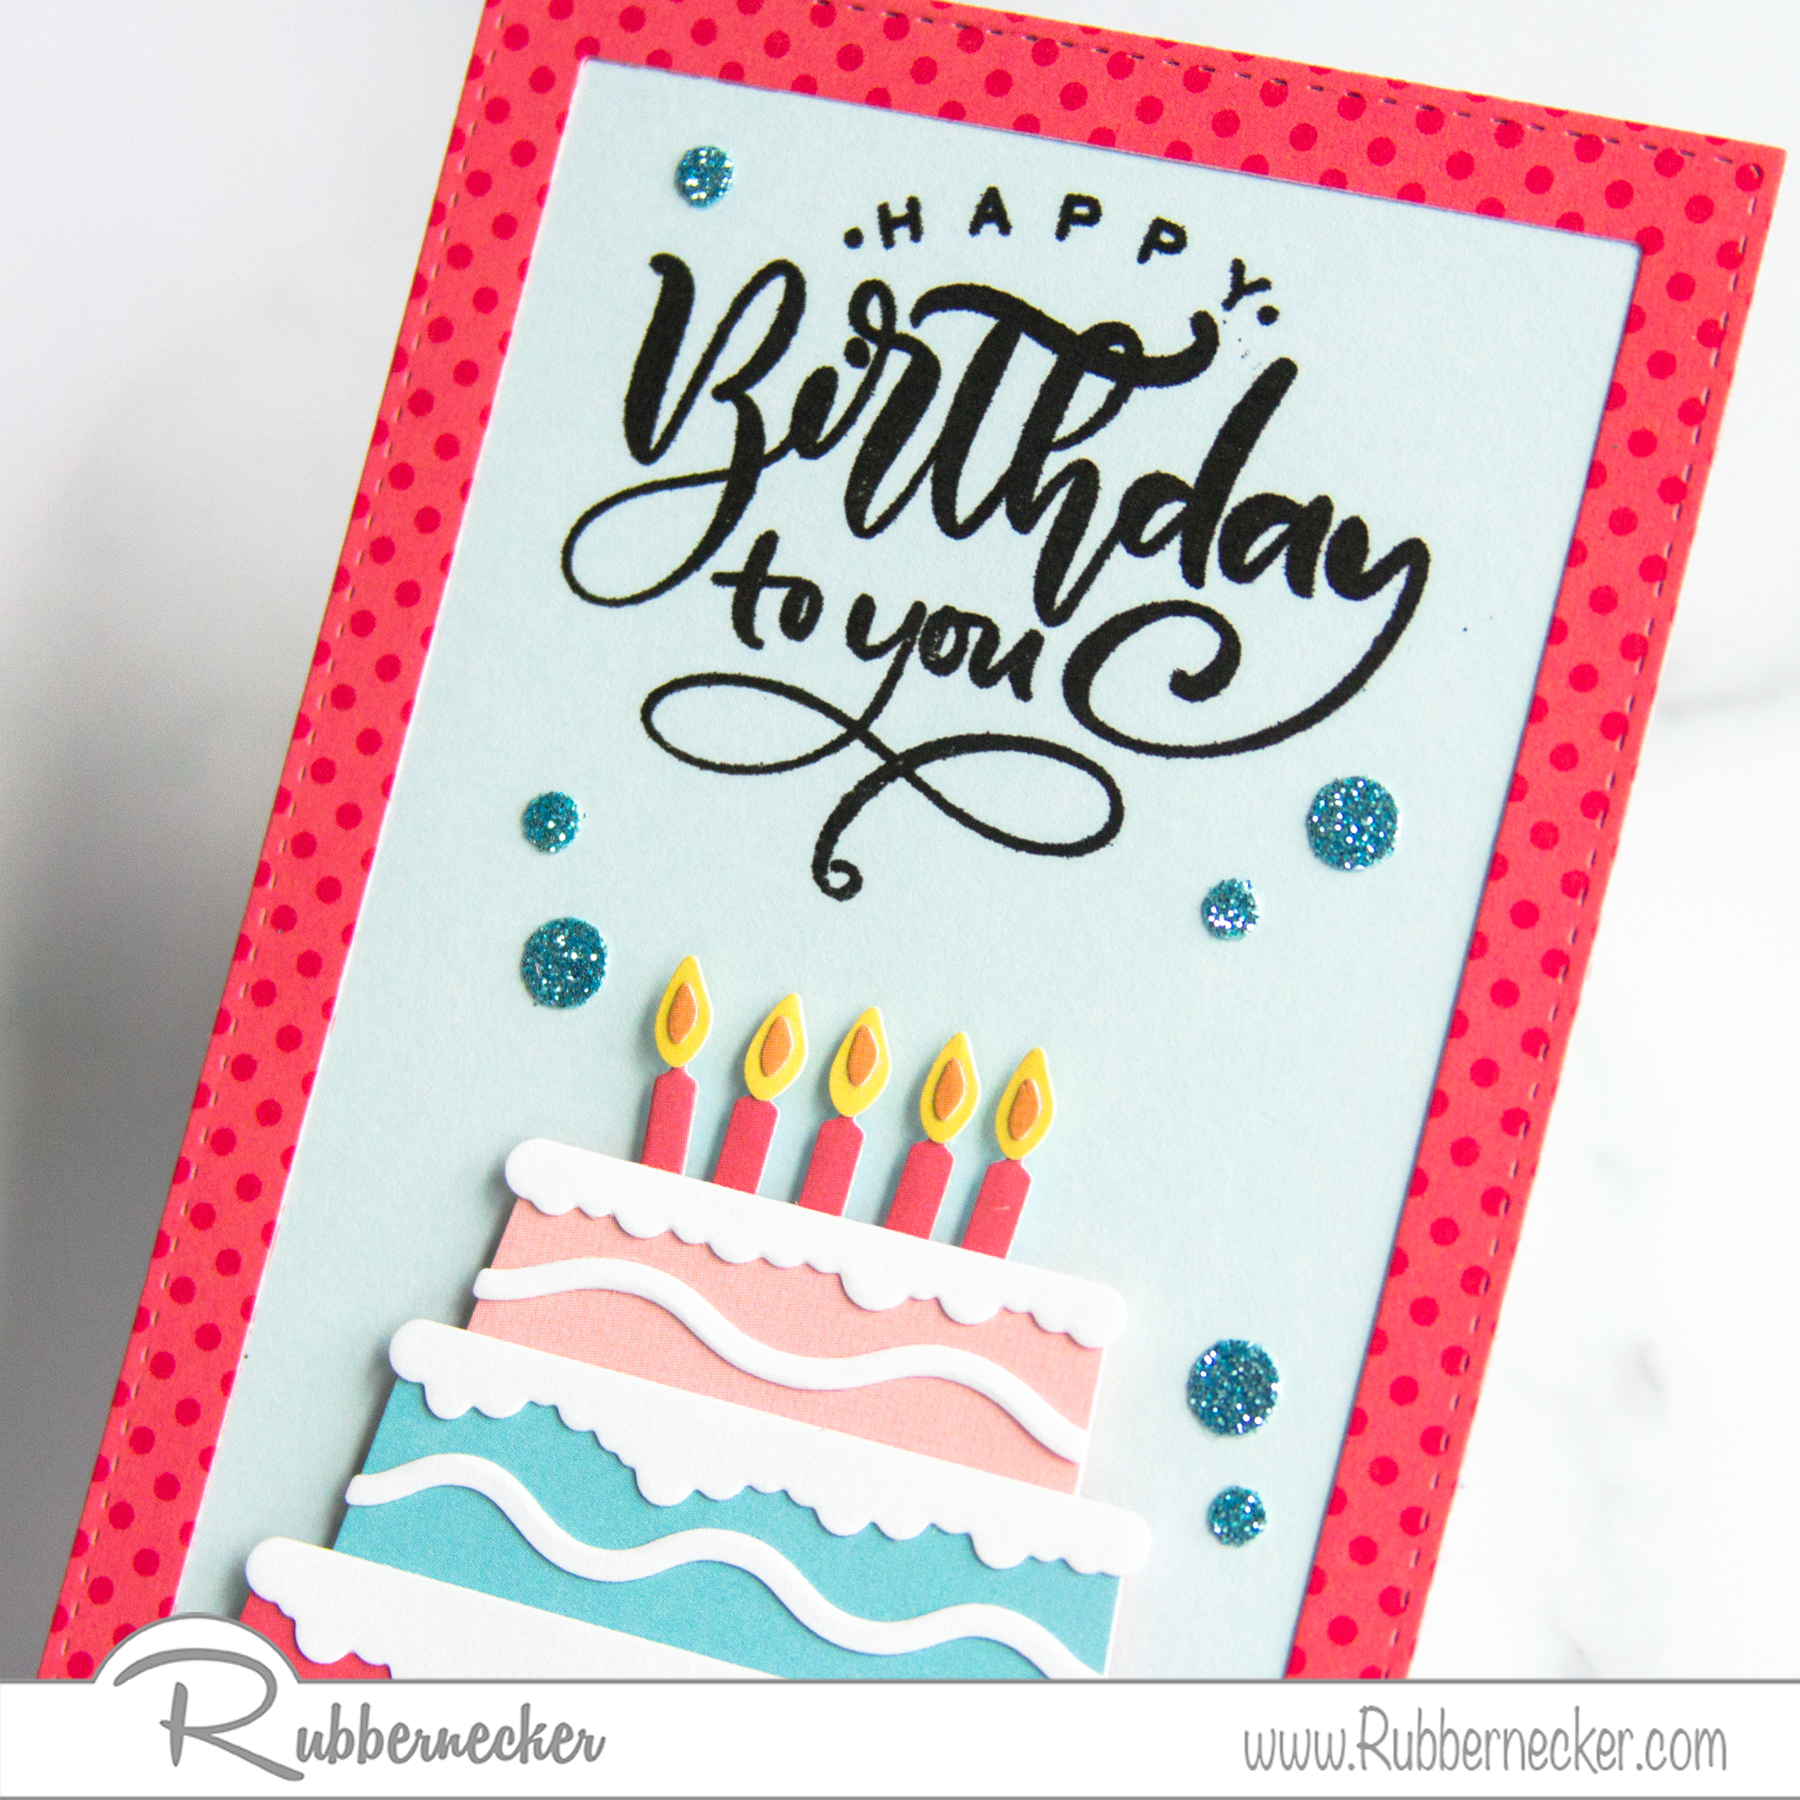
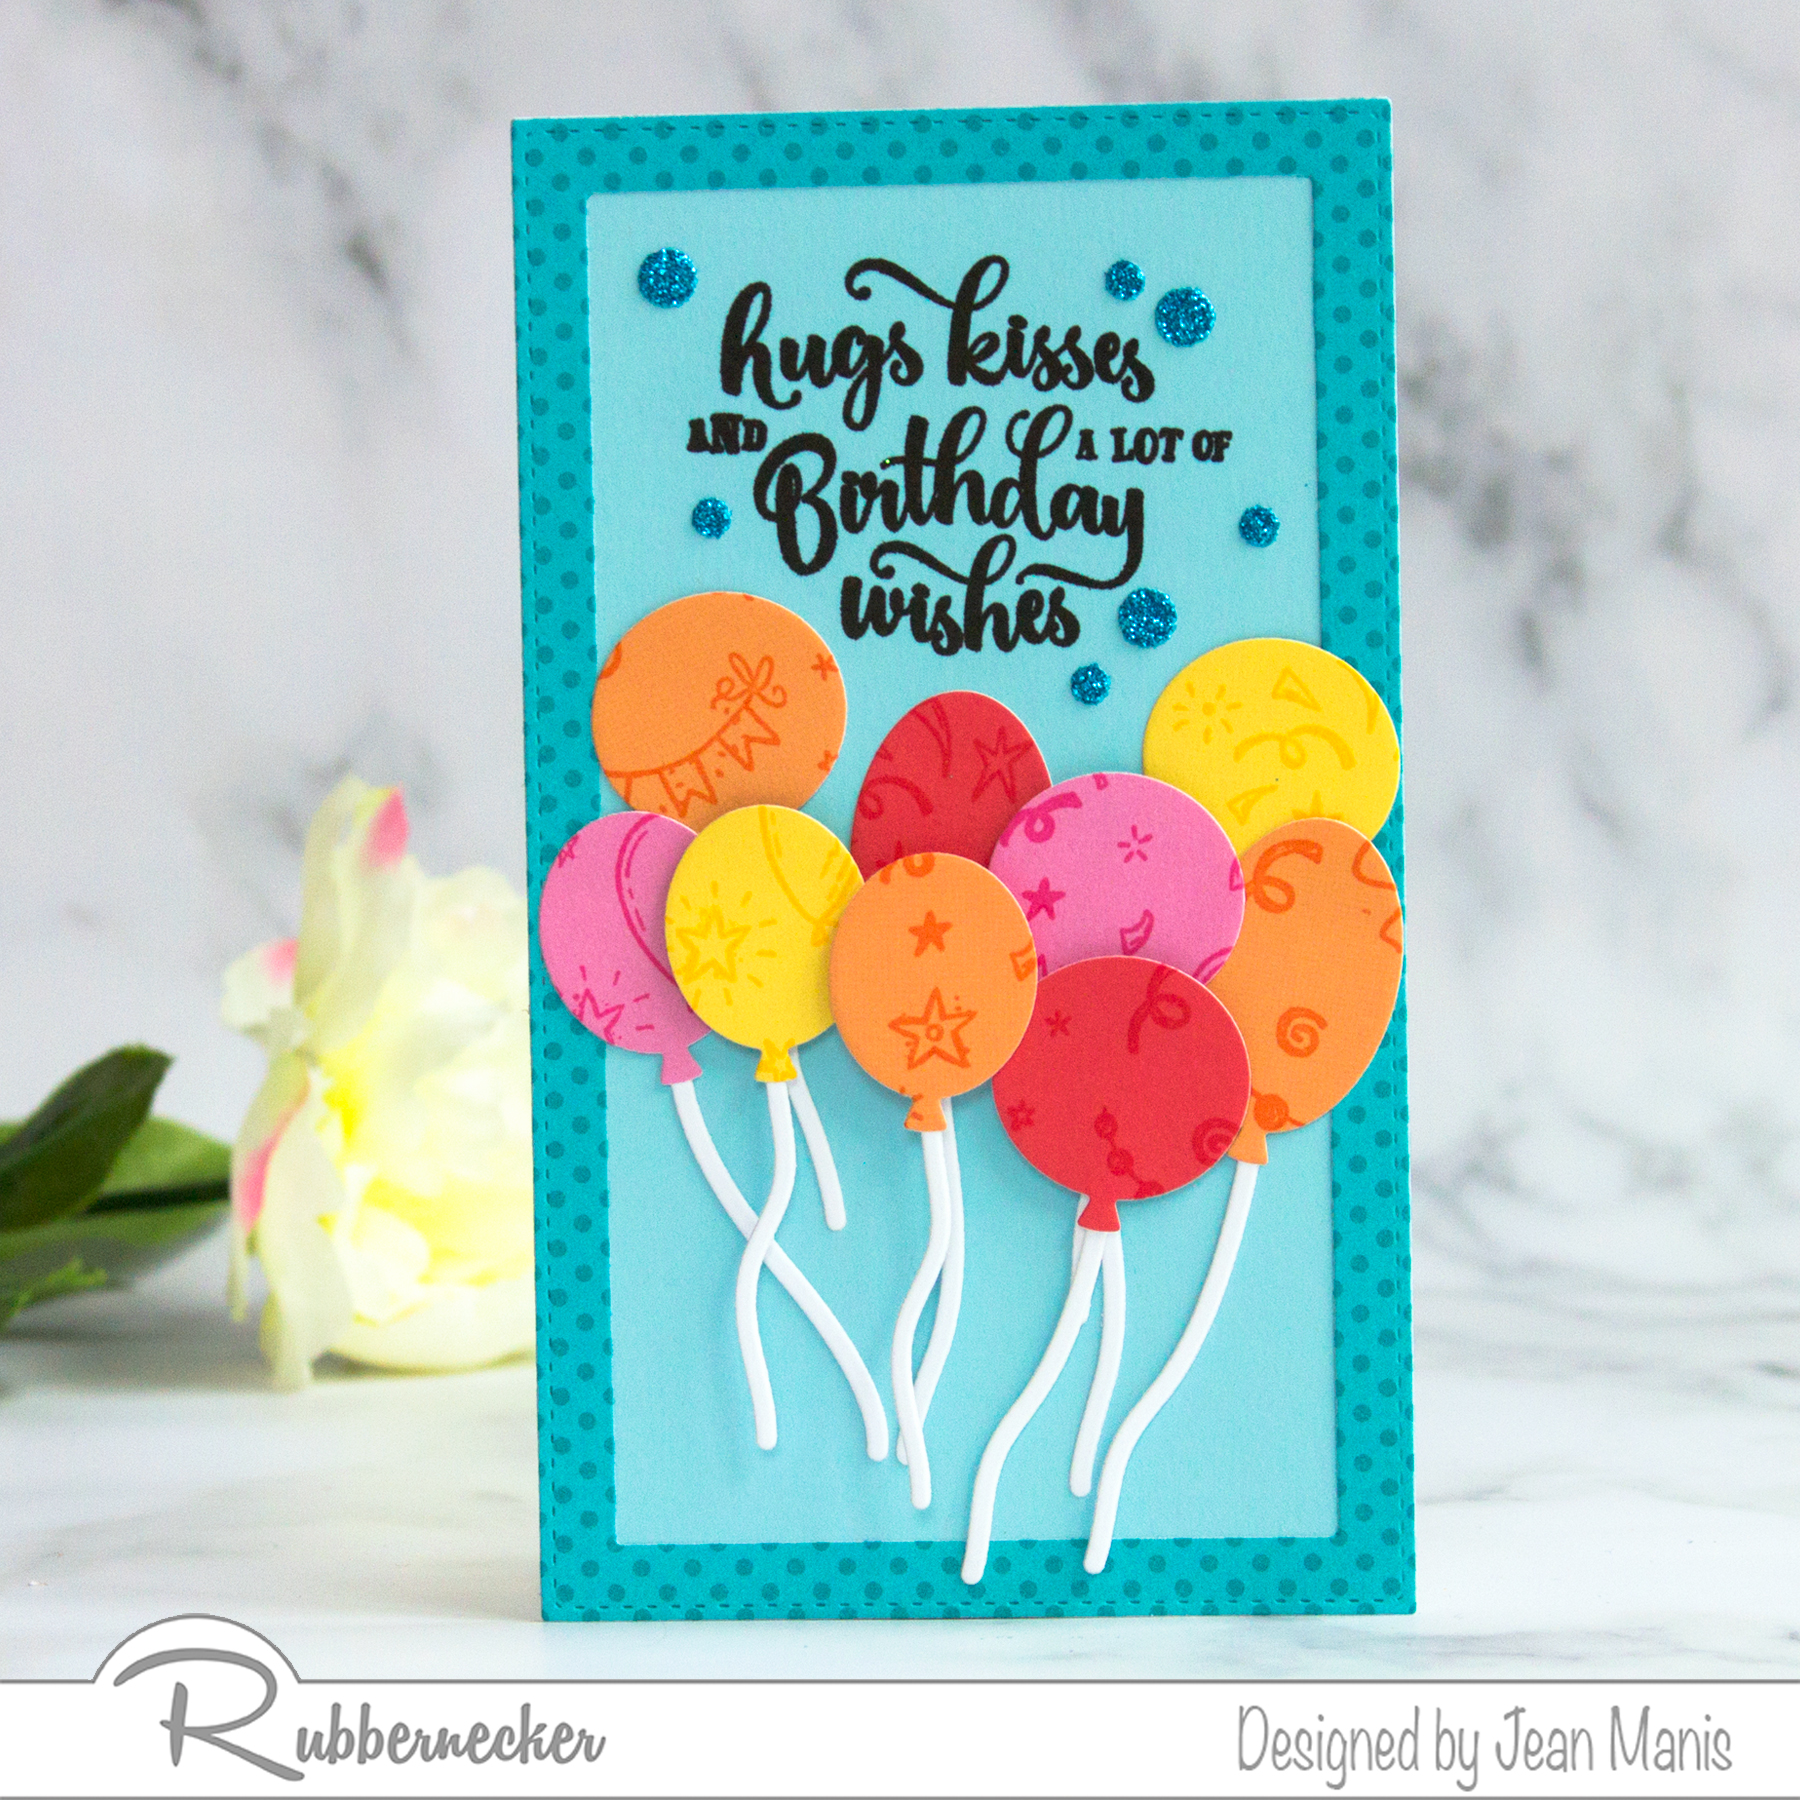
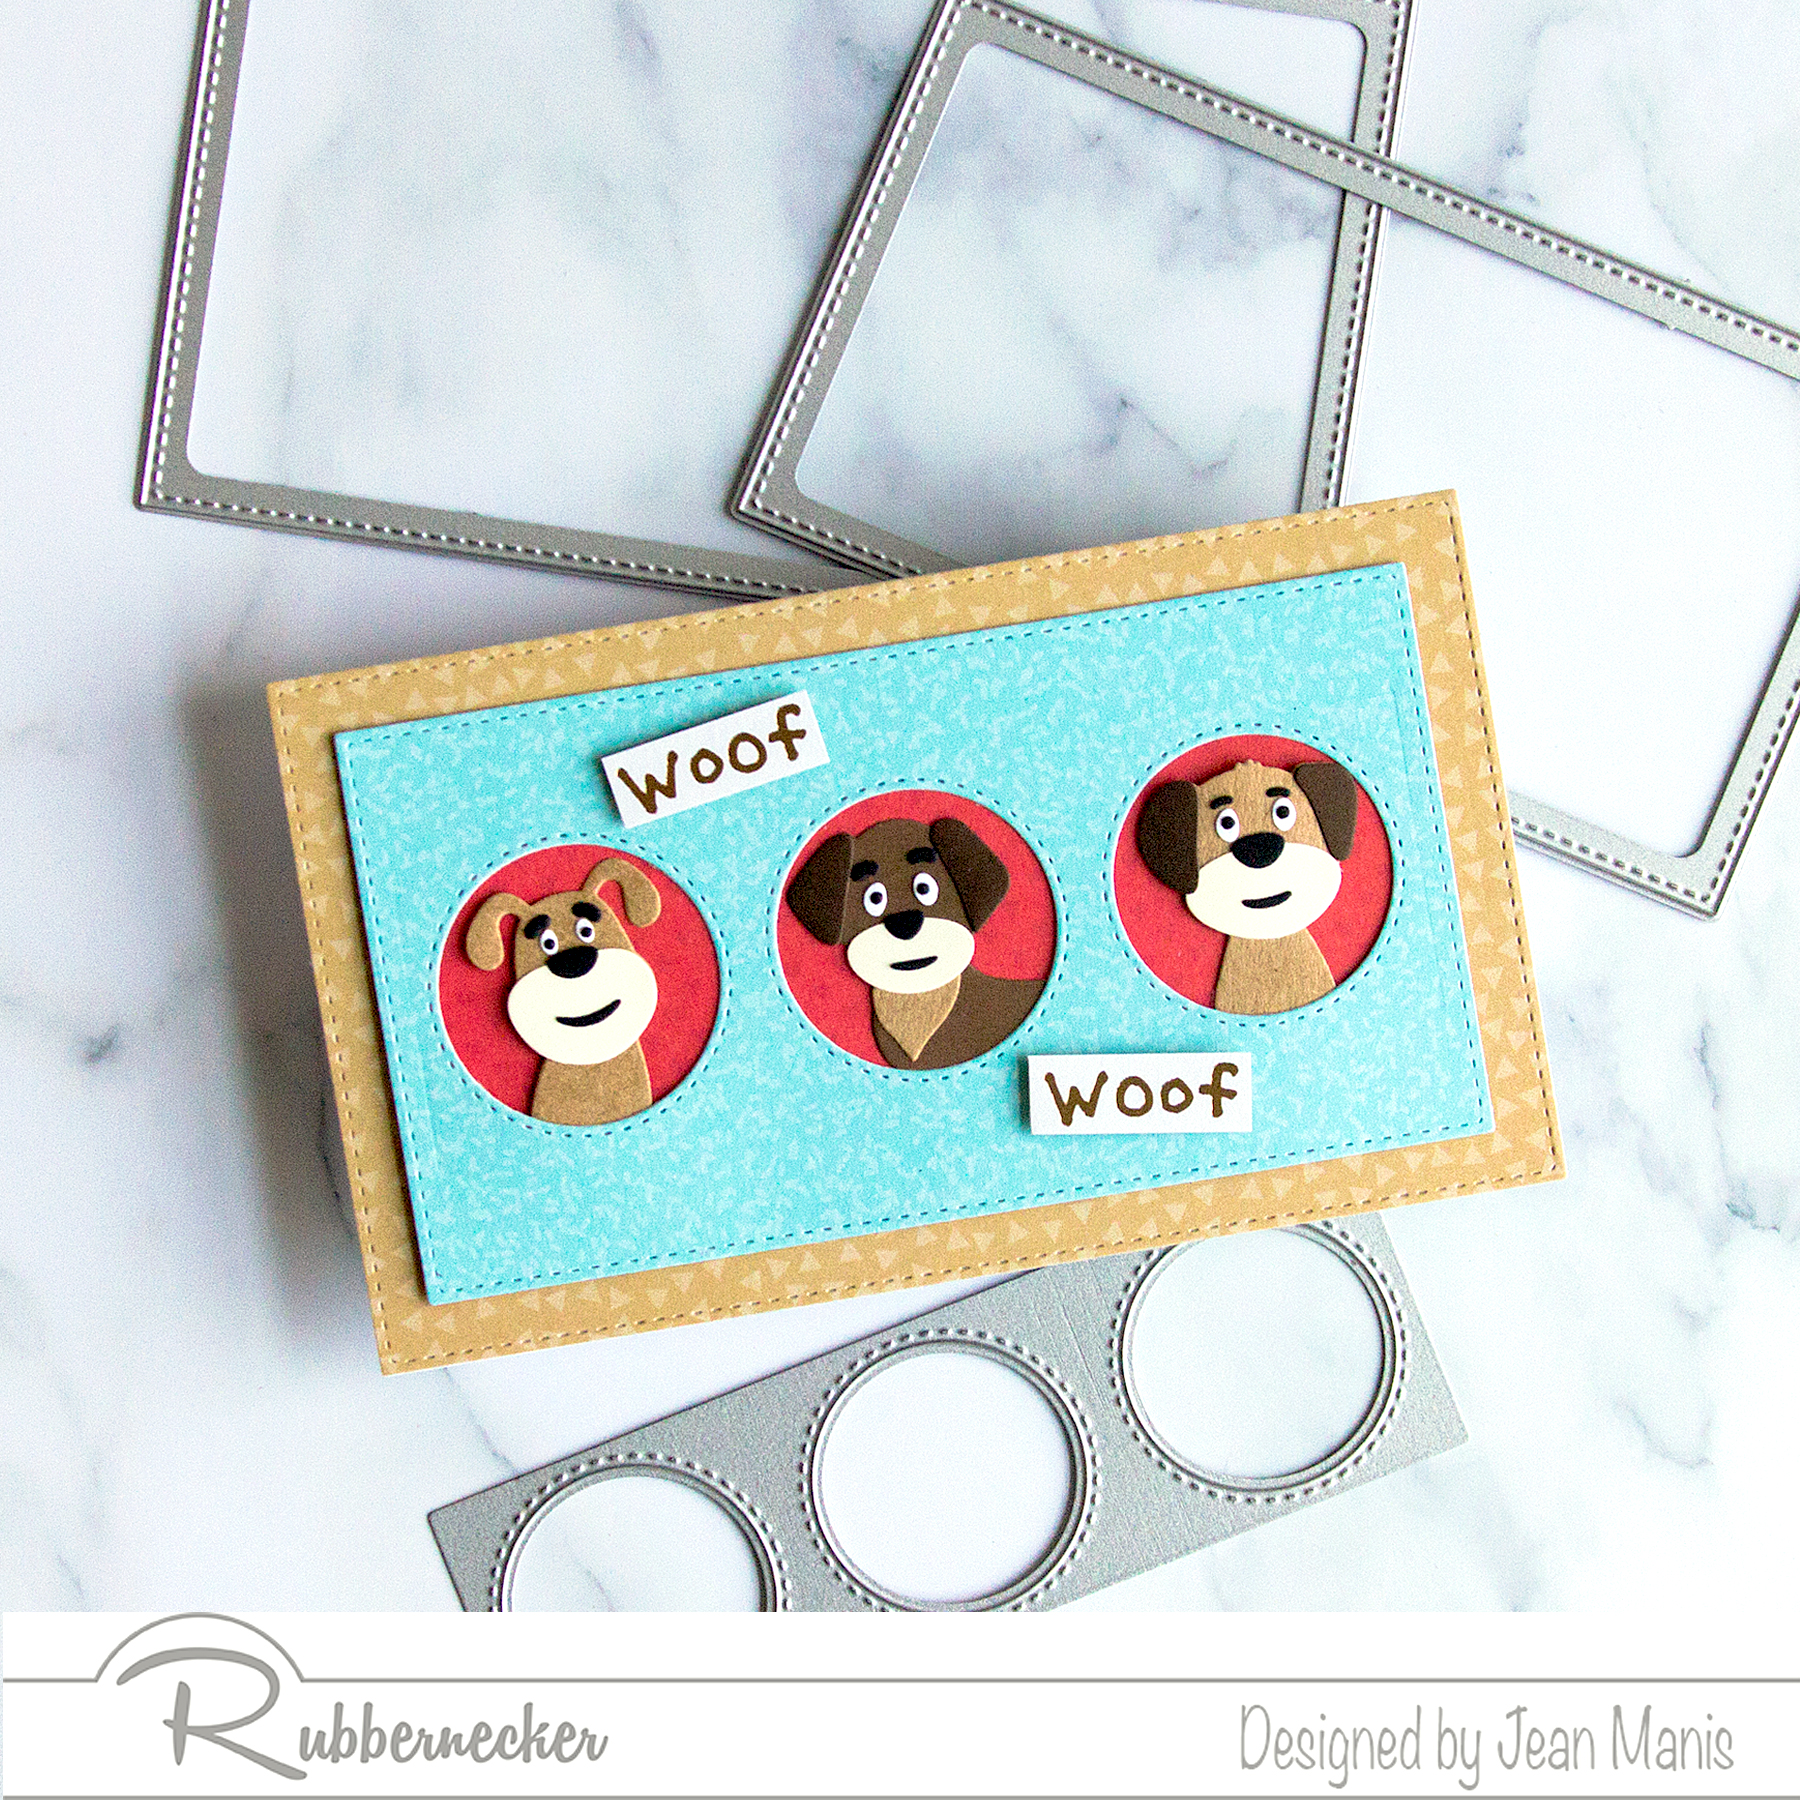
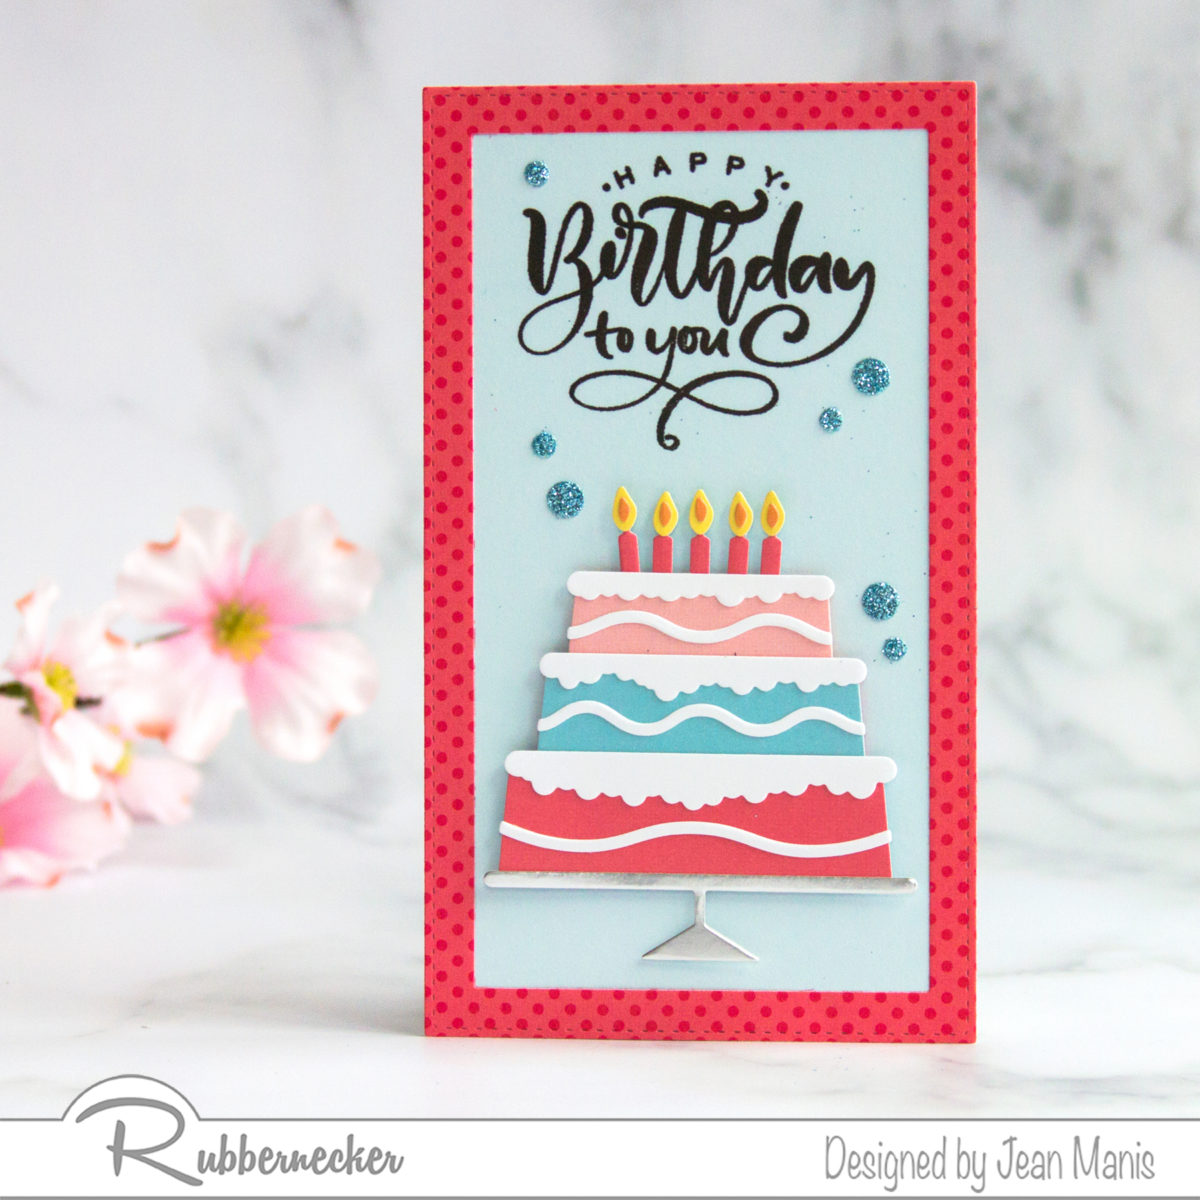
Hello! Today, I am sharing mini-slimline, birthday card featuring Rubbernecker supplies. Crafting a die-cut, birthday cake card is much like baking a layered birthday cake – create a base, bake the layers, ice the layers, add the frosting, and light the candles!

Rubbernecker | Mini Slimline Die-cut Birthday Card

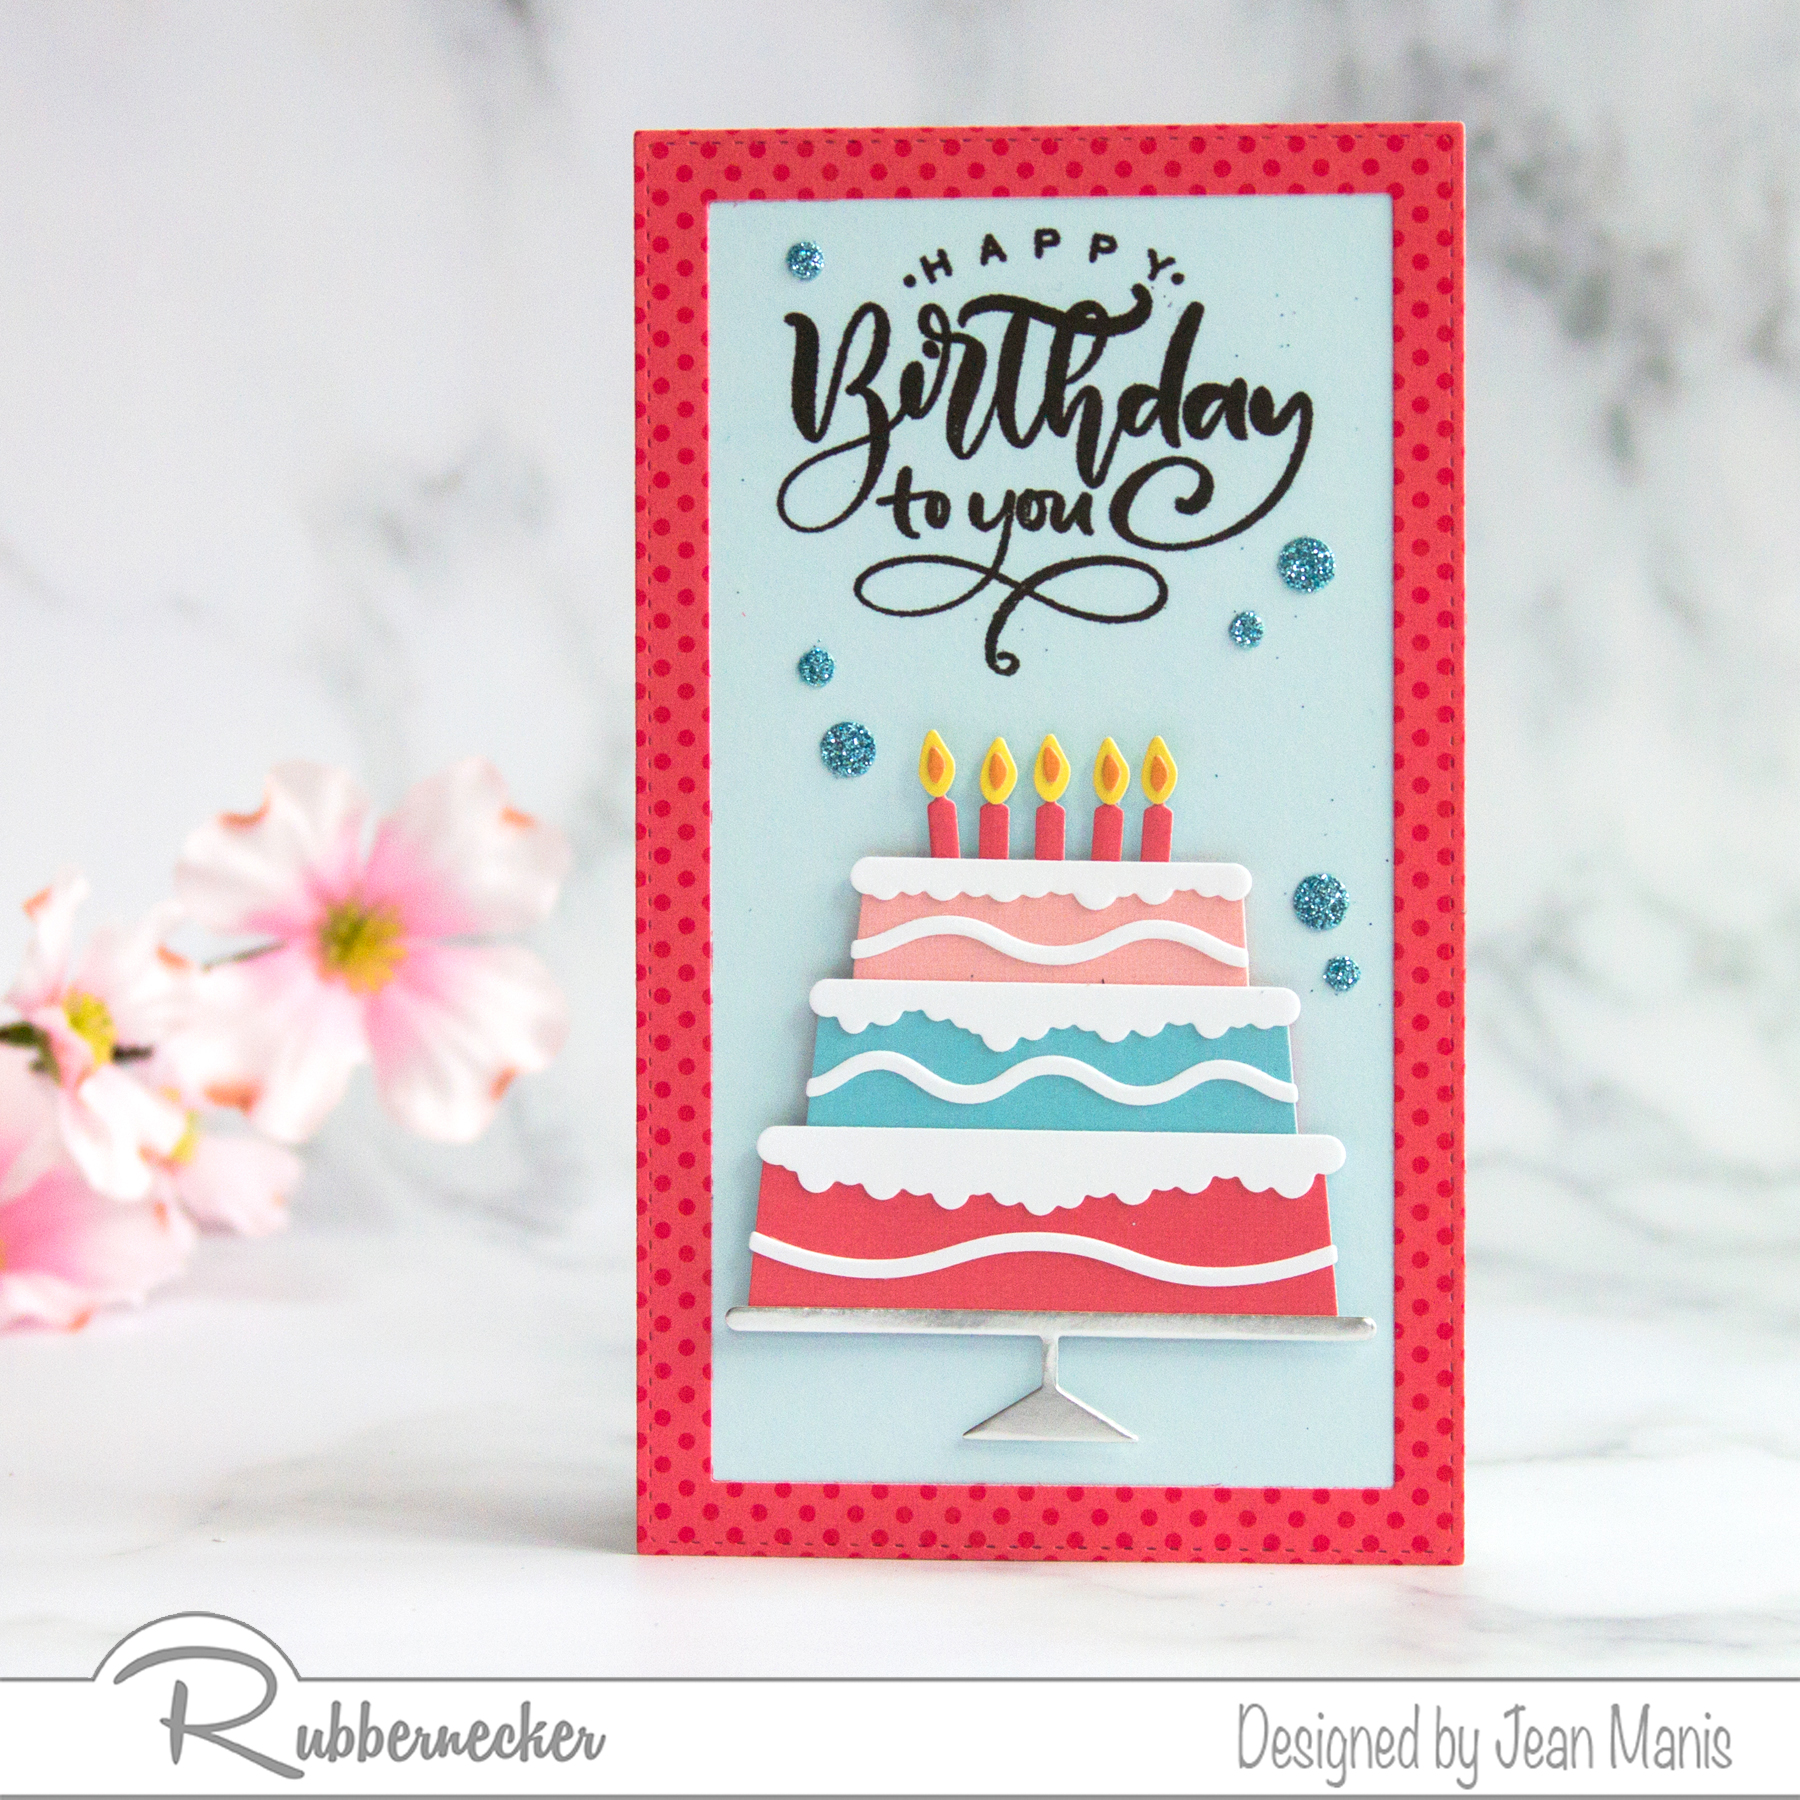
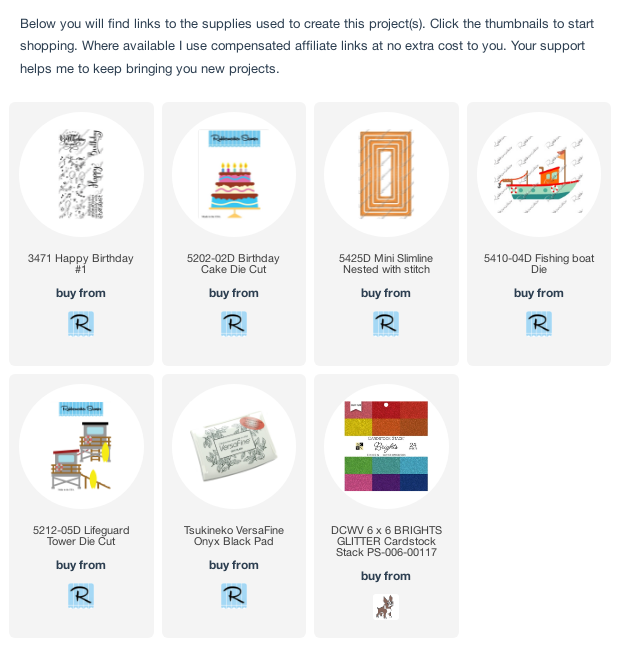
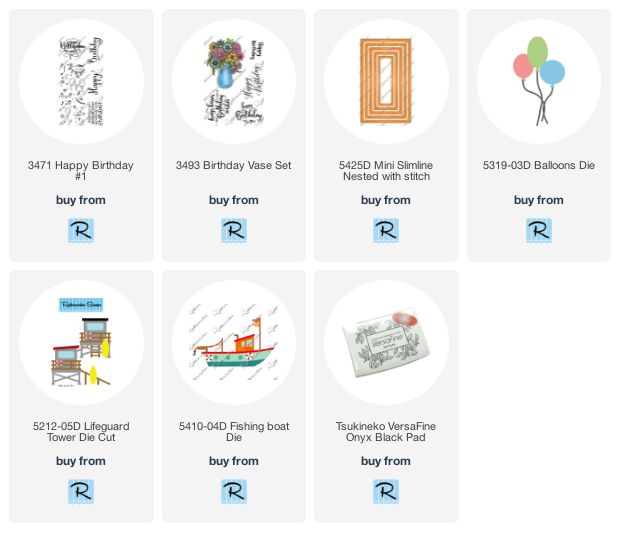
  • Stamp Happy Birthday #1 sentiment on light-blue cardstock in Versafine Onyx ink. I previously used this set on a card in this post.
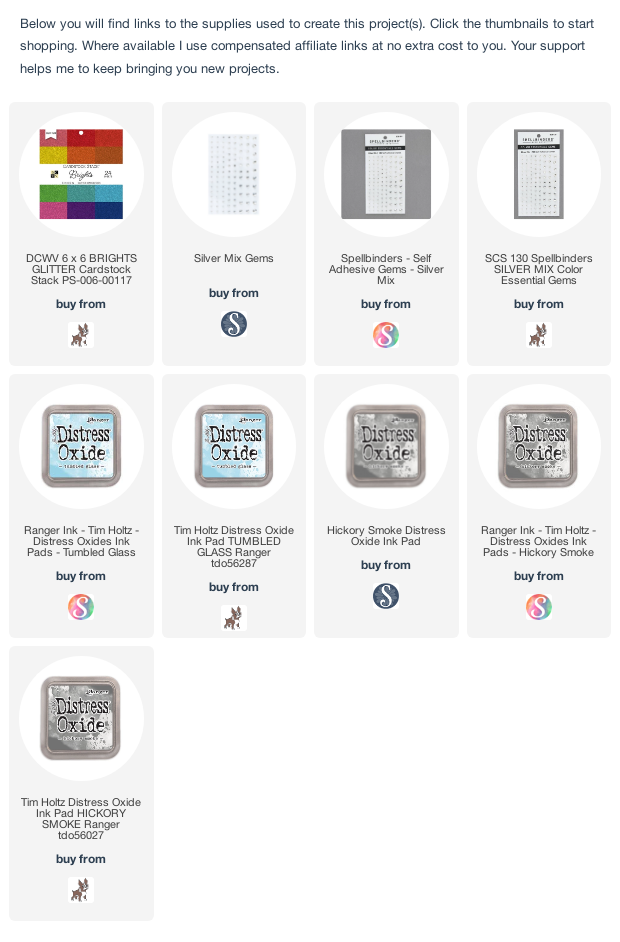
  • Die-cut the Birthday Cake from colored, white, and silver foil cardstock. Assemble the cake and candles for sizing purposes. Tape the cake layers from behind. I opted to change the colors of each layer while keeping the frosting the same color on all three layers.
  • Die-cut patterned paper frame using the two largest dies in the Mini Slimline Nested with Stitch set.
  • Using the frame for placement, determine where to cut the stamped panel. Trim accordingly. Add frame to stamped panel.
  • Finish assembly of the cake, adding the piped frosting pieces on the cake layers and the inner flames on the candles.
  • Attach cake to stamped panel with foam adhesive
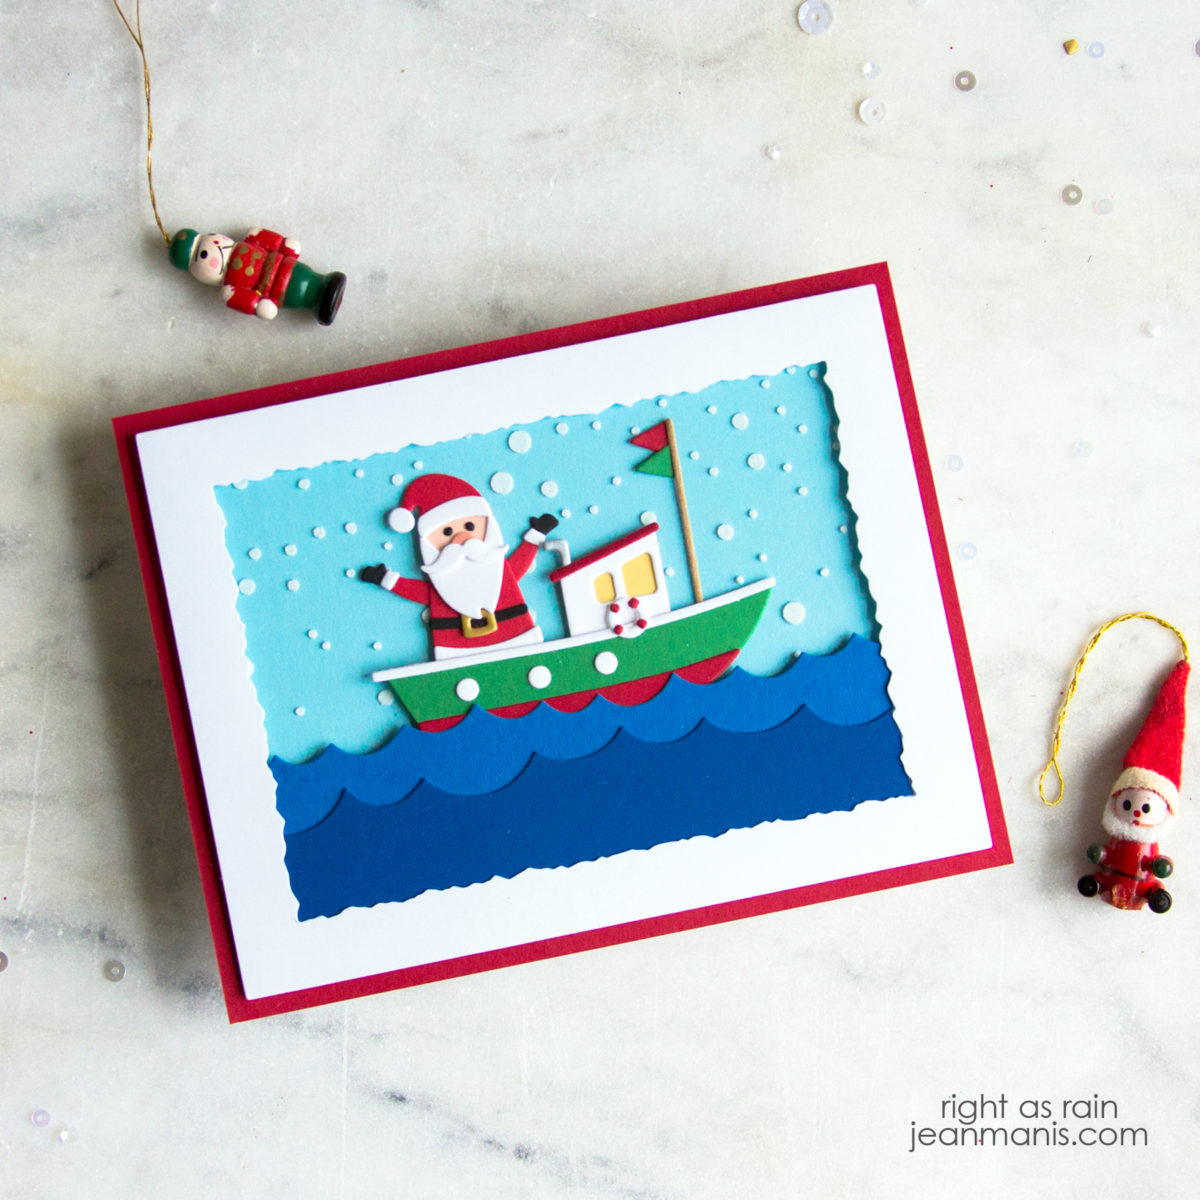
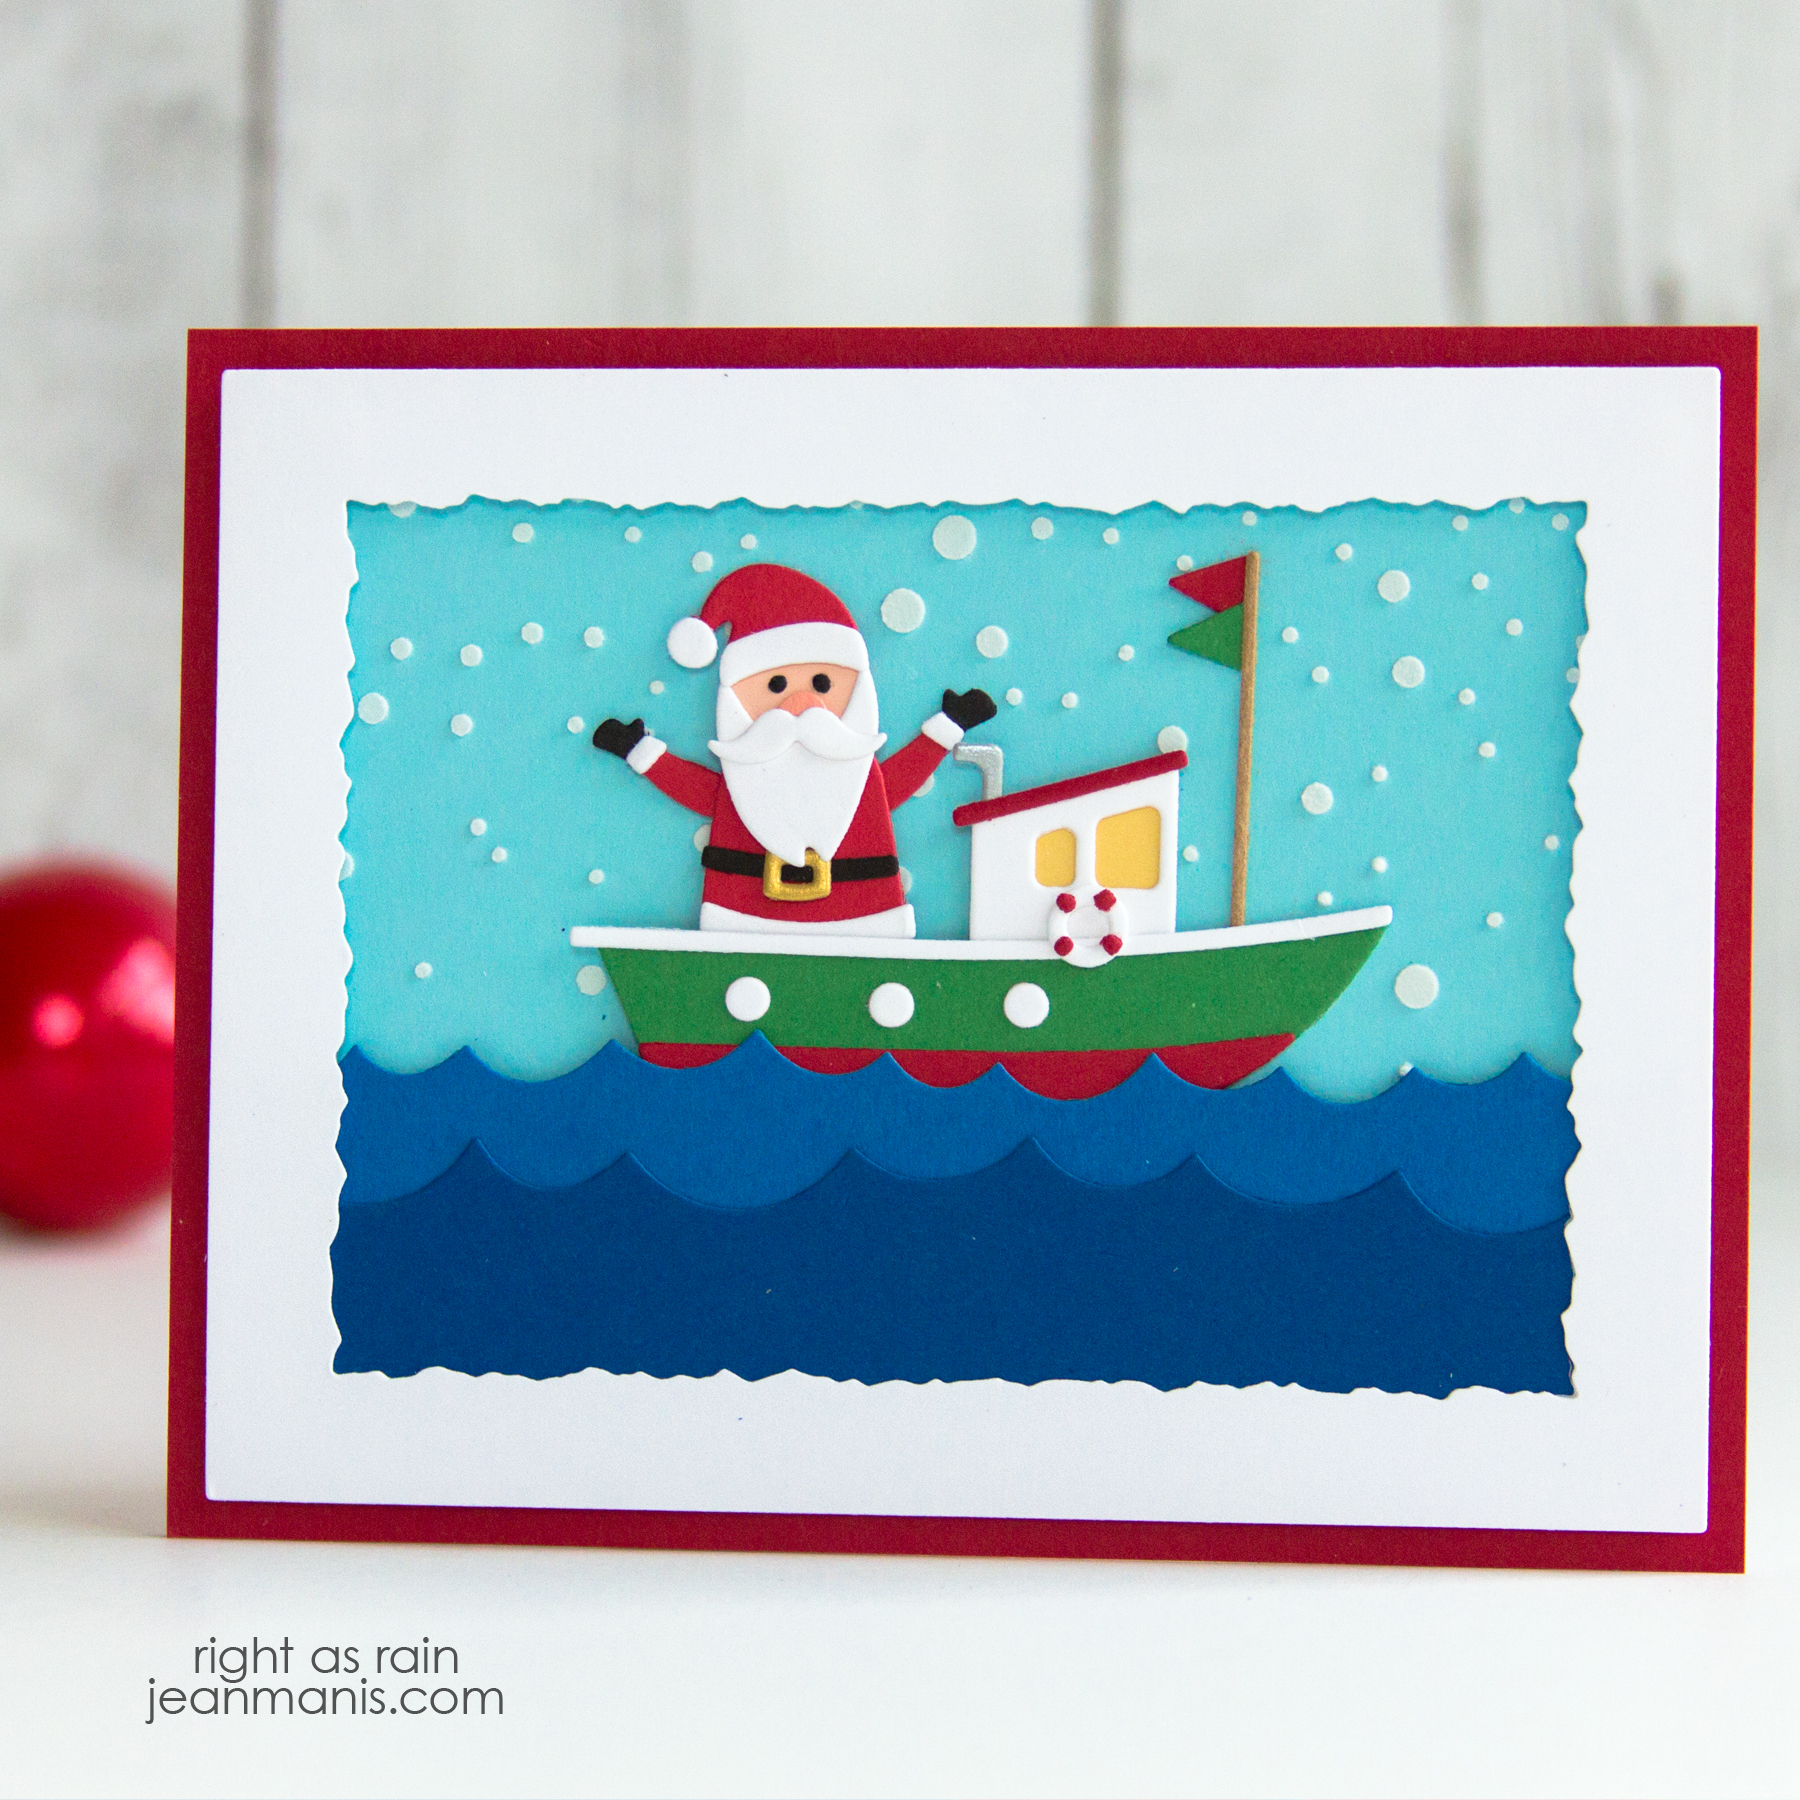
  • Die-cut small circles with the Fishing Boat and Lifeguard Tower die sets from blue glitter cardstock and adhere for embellishment.

Rubbernecker | Mini Slimline Die-cut Birthday Card


Rubbernecker Birthday Celebration Blog Hop

Hello! Welcome to the Rubbernecker Blog Hop celebrating their 29th birthday with a new release and prizes!

Rubbernecker Birthday Release

Comment on each post in the blog hop for a chance to win the four sets shown below, worth over $60. One winner will be chosen on 2/6.

Rubbernecker Blog Hop Prize

For the celebratory blog hop, I am sharing two mini-slimline, birthday-themed cards created with just-released Rubbernecker stamp sets. A full list of blog hop participants appears at the end of my post.

Rubbernecker Birthday Celebration Blog Hop

My first card features bright, die-cut balloons and a fun script sentiment.

Rubbernecker Birthday Celebration Blog Hop

  • I stamped the pattern image in the Happy Birthday #1 stamp set on to colored paper with coordinating inks for a tone-on-tone look.
  • I die-cut the stamped paper with the Balloons Die. I die-cut the strings from white cardstock and assembled the balloons.
  • I stamped the sentiment in the Birthday Vase set in VersaFine ink on a mini-slimline sized light-blue cardstock panel.

Rubbernecker Birthday Celebration Blog Hop

  • I created a mini-slimline frame by cutting patterned paper using the two largest dies in the Mini Slimline Nested with Stich set.
  • I attached the sentiment panel to a card base and adhered the frame.
  • After assembly everything, I embellished the card with circles cut from glitter cardstock using dies in the Lifeguard Tower and Fishing Boat die sets.

Rubbernecker Birthday Celebration Blog Hop

My second card showcases the fun-to-color Birthday Vase stamp set.

Rubbernecker Birthday Celebration Blog Hop

  • I created a mini-slimline frame by cutting patterned paper using the two largest dies in the Mini Slimline Nested with Stich set.
  • I stamped the sentiment in the Birthday Vase set in VersaFine ink on a mini-slimline sized white cardstock panel.
  • Using vellum as a mask, I applied Distress Oxide inks above and below the horizon line.
  • I attached the sentiment panel to a card base and adhered the frame.
  • I stamped the vase and flowers in Memento black ink on white cardstock, colored the image with Copic markers and colored pencils, and fussy-cut it.
  • I assembled the card, adding the flowers and vase with foam adhesive.
  • I embellished with Silver Mix Gems.

Rubbernecker Birthday Celebration Blog Hop

Scroll past the supplies for the full blog hop list.


Blog Hop List

Rubbernecker Blog
Colleen
Lisa
Annie
Jamie
Kittie
Jean <–You are here
Natasha
Carol
Preeti
Allison
Julie

Rubbernecker Die-cut Snowmen Card

Hello! Today, I am sharing a winter-themed, friendship card featuring Rubbernecker die-cut snowmen. Just because the holidays are over, it doesn’t mean that winter-themed craft dies and stamps have to be stored away with the decorations. Use them to brighten up someone’s day! Of course, you can use these same supplies to create a Christmas card with a red-and-green color scheme.

Rubbernecker Die-cut Snowmen Card

  • Create card background from patterned paper cut with the largest die in the Mini Slimline Nested with Stitch set, measuring 6 by 3 ½ inches.
  • Create a 6 by 3 inches rectangle from colored paper or cardstock. Cut with the Circles Stitch die in the center, using washi tape to secure the die to the paper. Trim ¼ inch from both sides (the larger original size provides more wiggle room).
  • Die-cut snowmen from various colors of paper and cardstock with the Winter Snowmen set and assemble.

Rubbernecker Die-cut Snowmen Card

  • •With white powder, heat-emboss the Snowmen with Presents sentiment on dark blue paper. Trim heat-embossed panel to a size slightly larger than the die-cut circles.
  • From the back of the paper rectangle with the die-cut circles, attach the sentiment to show in the center circle.
  • Create a 6 inch by 2 ½ inches strip from pink paper and attach to the back of the die-cut circle strip.
  • To highlight the circle frame, attach white cardstock strip measuring 6 by 2 3/4 inches to the back of the die-cut circle assembly. Adhere to card background ¼ inch from the left edge. The asymmetry creates visual interest.
  • Position the die-cut Winter Snowmen in the top and bottom circles and adhere. (Photo below shows the die-cut pieces before final assembly.)

Rubbernecker Die-cut Snowmen Card


Rubbernecker Mini Slimline Dies

Hello! Today I am sharing a CAS die-cut card to introduce the new mini slimline dies at Rubbernecker. You can see read more about the release here.

Rubbernecker Mini Slimline Dies

Rubbernecker Mini Slimline Dies

Rubbernecker Mini Slimline Dies


Rubbernecker Santa in a Boat

Ho ho ho! Today I am sharing a last-minute holiday card featuring several Rubbernecker die sets. I previously used the Santa die here and here. One of the first times we took our sons to see Santa was in Mystic, Connecticut, where Santa arrived by boat.

Rubbernecker Santa in a Boat

Rubbernecker Santa in a Boat

Thanks for visiting. I do not plan to post any more cards until Christmas Day, so before you go, I want to mention that Scrapbook.com is currently offering 5% off your entire order with the code JINGLE (through Saturday, December 25 at midnight, MST).

Supplies: