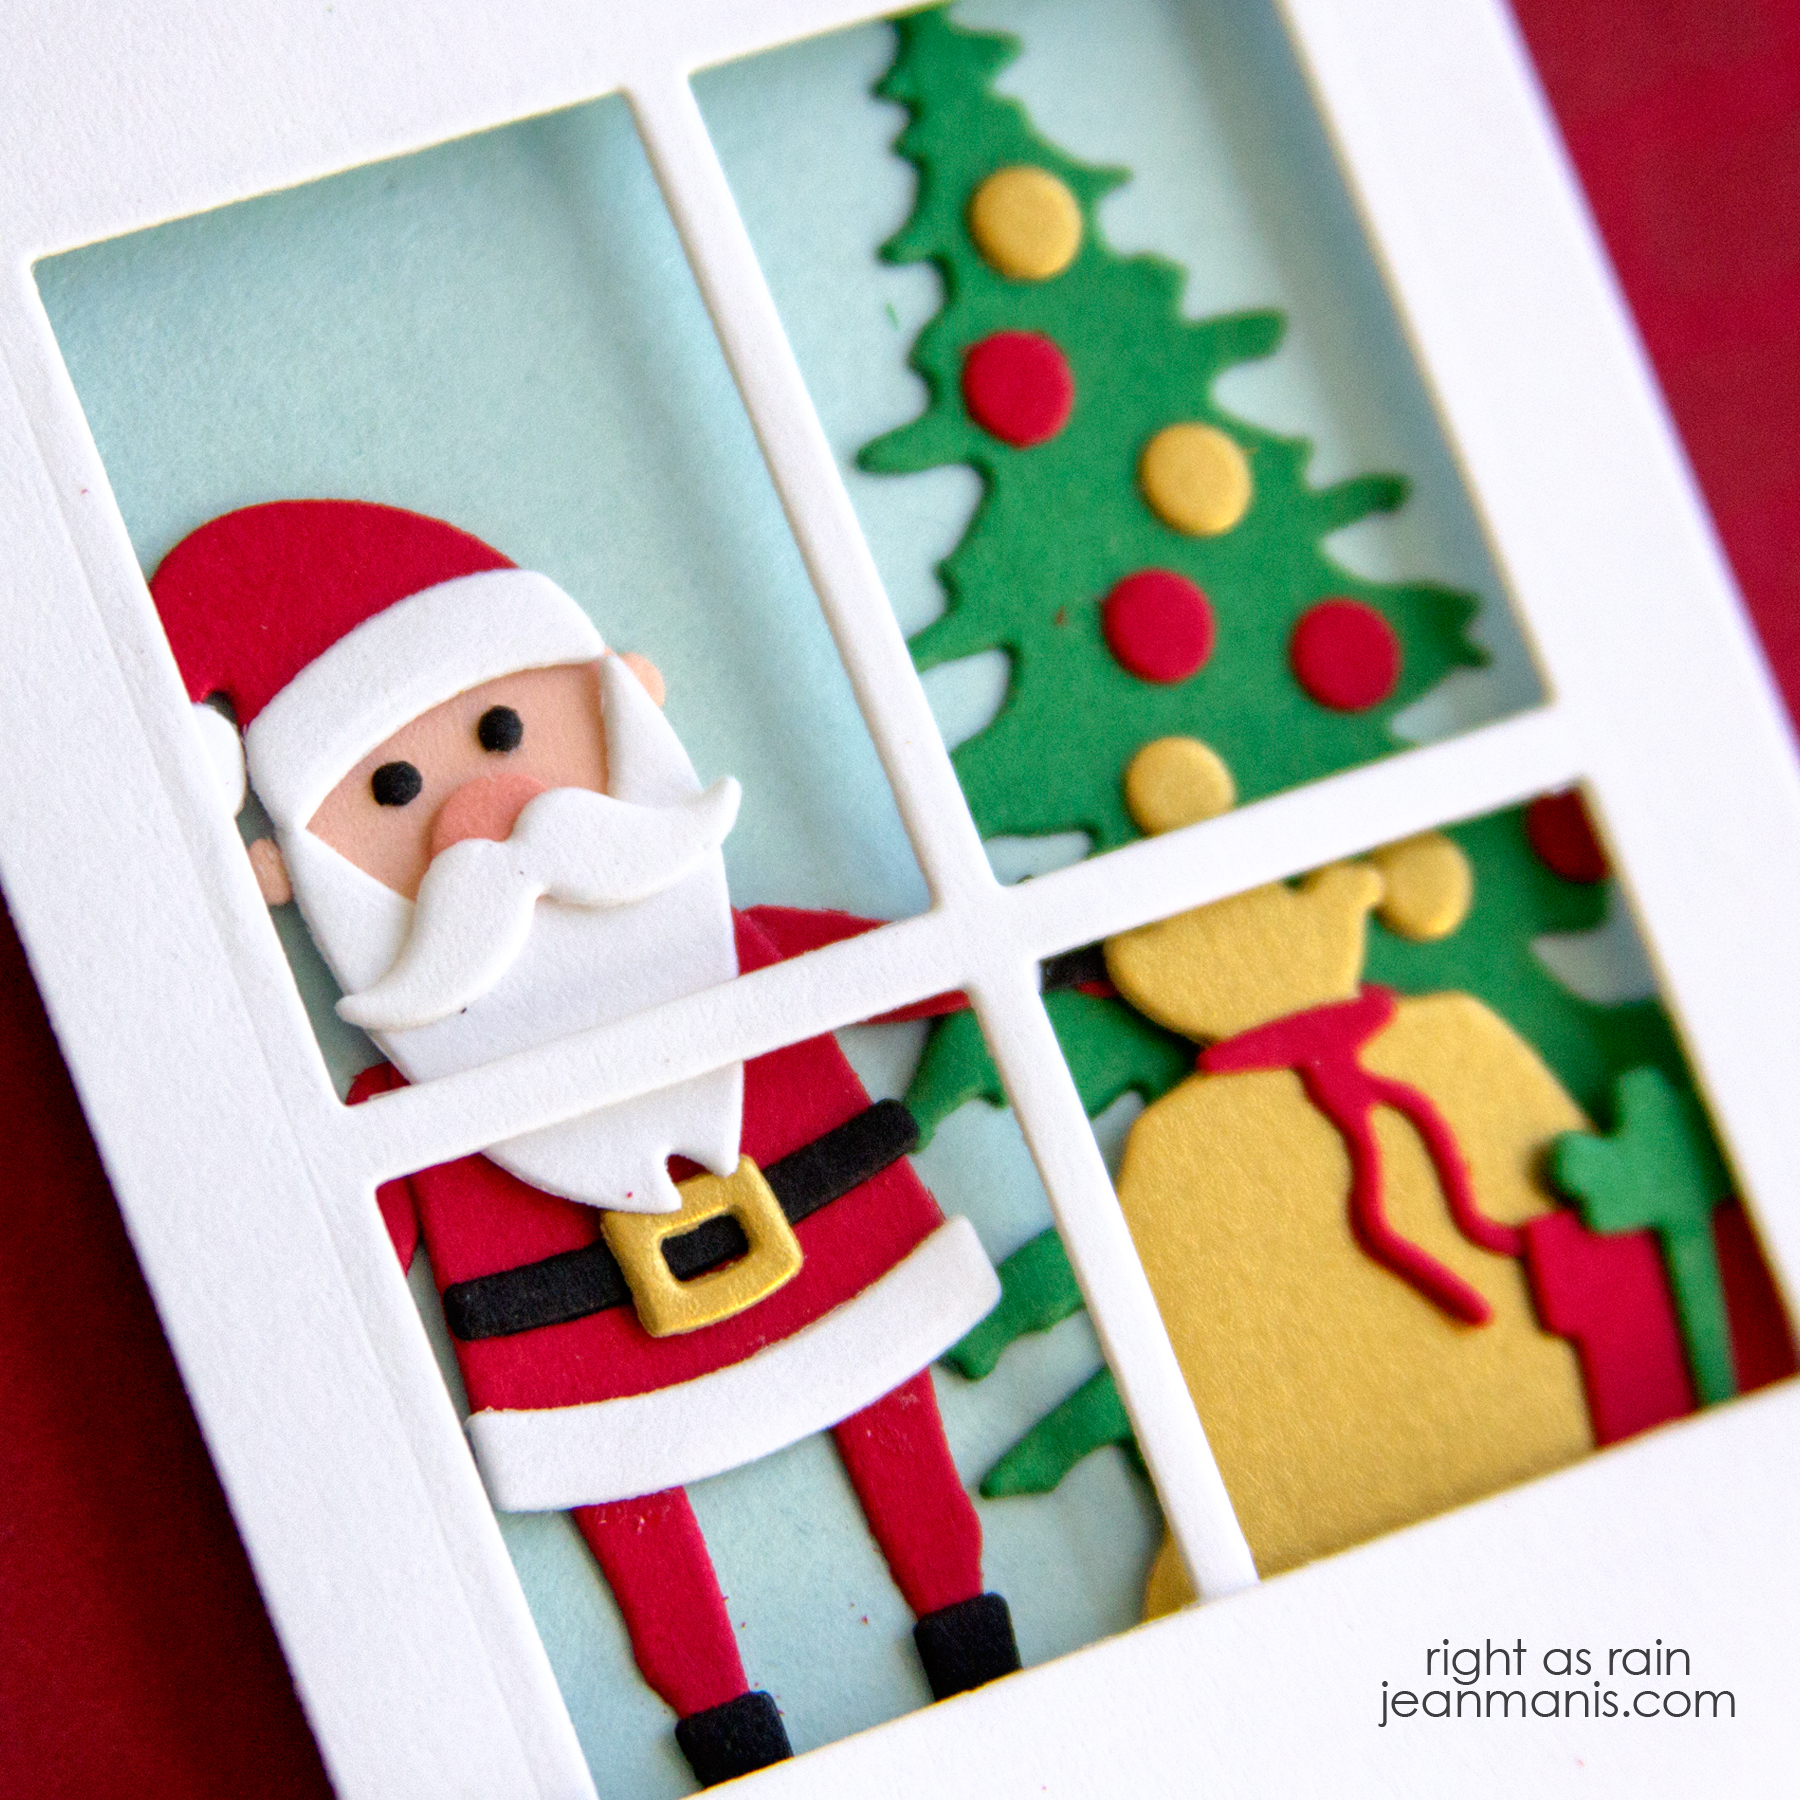
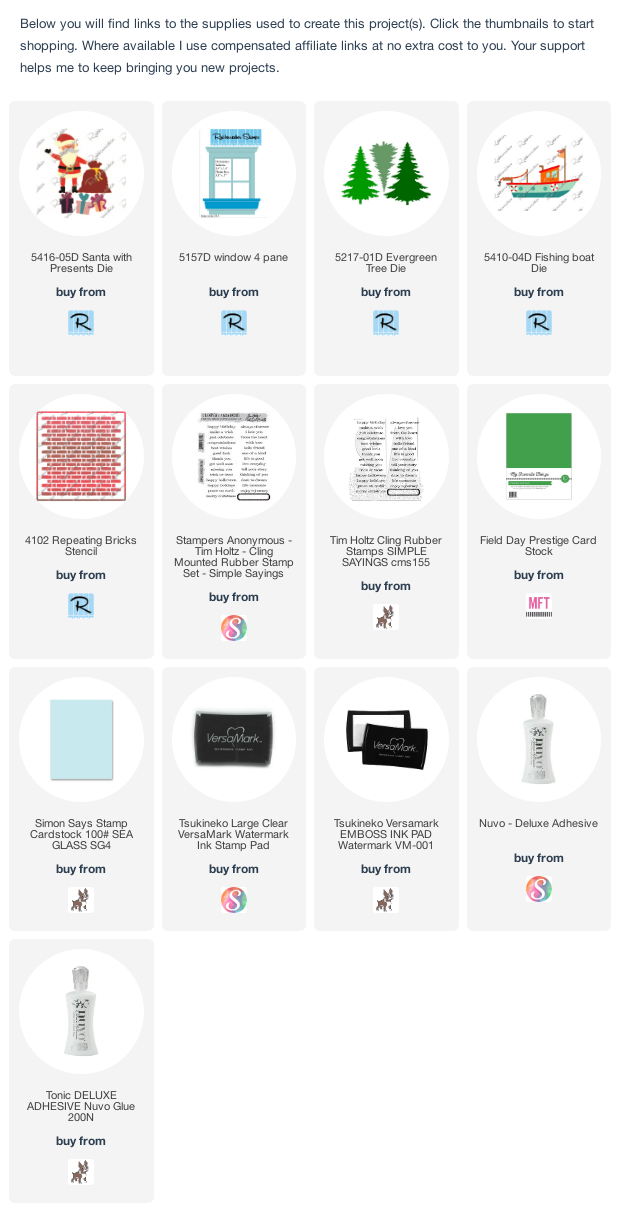
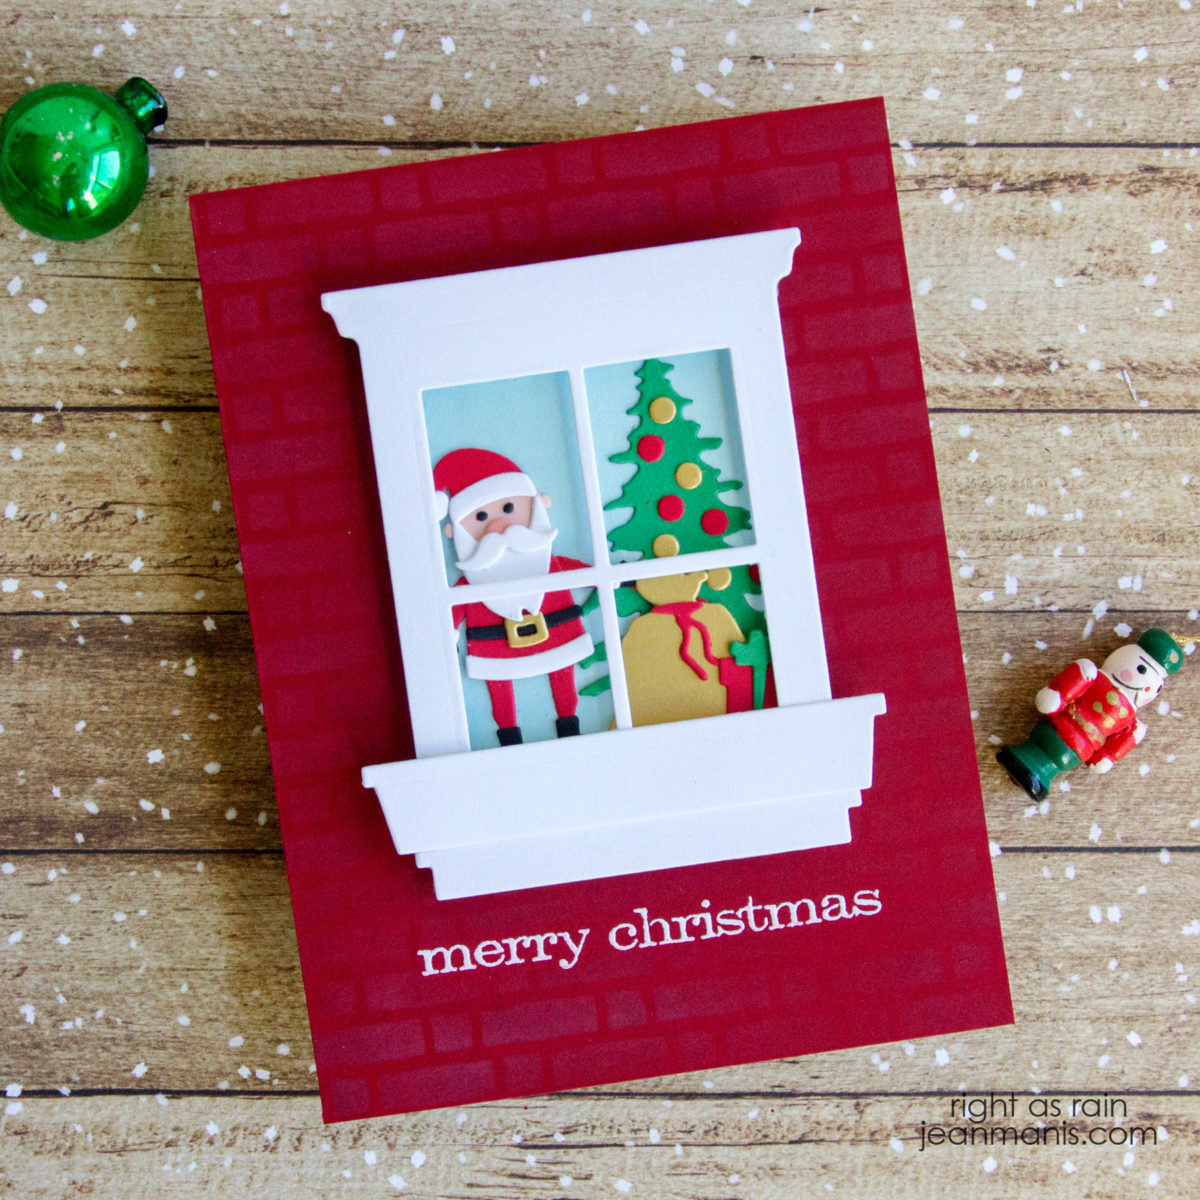
Rubbernecker Santa in a Pickup

Hello!  I am sharing a Christmas card created with Rubbernecker supplies and letting you know that today is the first day of their Black Friday Sale. All Clear Stamps Sets are discounted 10% to 35% and over 90% of the Dies are  discounted 10% to 50%.

Rubbernecker Santa in a Pickup

Rubbernecker Santa in a Pickup


Rubbernecker Frosty Fun – Die-cut Snowmen

Looking for the Spellbinders Blog Hop post? Head here.

Hello! After a massive wind and rain storm, the temps have dropped here in the Pacific Northwest. Today I am sharing a winter-themed card created with Rubbernecker supplies. The card could be sent at Christmas, for a winter birthday, or to catch up with a friend.

Rubbernecker Frosty Fun - Die-cut Snowmen

  • I die-cut the Winter Snowmen from a variety of cardstock colors including cardstock to which I had applied Clear Rock Candy Glitter.
  • I stamped the Snowmen with Presents sentiment on a cardstock panel and trimmed it to fit behind the Deckle Frame.
  • I die-cut the Pine Tree Forest from white cardstock, trimmed it to fit behind the frame, and adhered the glitter with glue.
  • I added the frame and background assembly to white canvas cardstock.
  • The snowmen were added to the scene with foam adhesive.

Rubbernecker Frosty Fun - Die-cut Snowmen

Rubbernecker Frosty Fun - Die-cut Snowmen


Rubbernecker – Cabin in the Woods

Hello! Today I am sharing a Christmas, winter-themed card created with Rubbernecker supplies.

Rubbernecker - Cabin in the Woods

  • I heat-embossed the Snowmen with Presents sentiment in white on dark blue cardstock. After masking the sentiment, I added white embossing paste through a Carta Bella snow stencil and set the panel aside to dry.
  • I die-cut the Pine Tree Forest and Deckle Frame from white cardstock.
  • I trimmed the Pine Tree Forest to fit behind the Deckle Frame. Once the stenciled background was dry, I adhered the forest and frame to the background.
  • I added the assembly to a light gray card base.
  • I die-cut the Cabin from a variety of cardstock colors and assembled the pieces. The small trees, snow on the chimney, and roof were cut from Doodlebugs Lily White glitter cardstock. I added the assembled cabin and trees to the scene with foam adhesive.

Rubbernecker - Cabin in the Woods


Rubbernecker Halloween Gnomes

Hello! Today, I am sharing a Halloween card featuring the Gnome Couple die set at Rubbernecker.

Rubbernecker Halloween Gnomes

  • I die-cut the Gnome Couple from colored cardstock and assembled the pieces.
  • I die-cut the Window 4-Pane and cut a panel of soft yellow cardstock with which to back the window.
  • I stamped the Reverse Confetti Spooktacular greeting on to a panel and added a strip of gray cardstock to the bottom.
  • I added the female gnome to the yellow cardstock and adhered the window frame to the panel with foam adhesive. I adhered the window to the card base.
  • I added the mail gnome to the card base with foam adhesive.

Rubbernecker Halloween Gnomes

Check out additional inspiration with the  Gnome Couple die set here, here, and here.


Rubbernecker School Spirit Gnomes

Hello! Can you believe it is almost time for fall football? I created a card featuring the Rubbernecker Gnome Couple headed to a football game at the University of Colorado (my alma mater). CU’s colors are gold and black; the mascot is a buffalo.

Rubbernecker School Spirit Gnomes

  • I die-cut the Gnome Couple from colored cardstock and assembled the pieces.
  • I die-cut the Rectangle Stitch frame from Brushed Gold cardstock.
  • I die-cut the Pine Tree Forest from Noble Fir cardstock.
  • I trimmed the Pine Tree Forest before attaching it to a panel of Sea Glass cardstock.
  • I attached the frame to the front of the panel.
  • I die-cut and attached the custom sentiment to the sky.
  • I added the gnomes to the scene with foam adhesive and added the assembly to a white card base.

Rubbernecker School Spirit Gnomes

I have previously featured the Gnome Couple here and here. I used the Pine Tree Forest here.