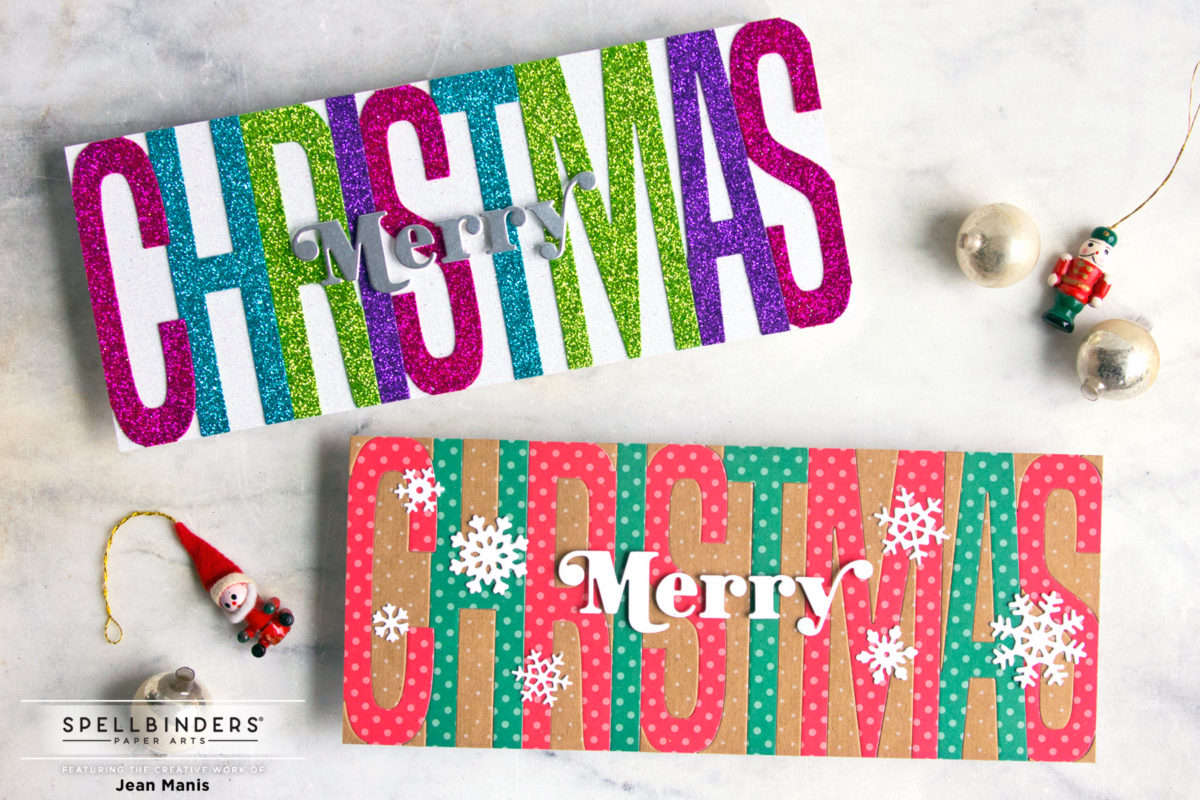
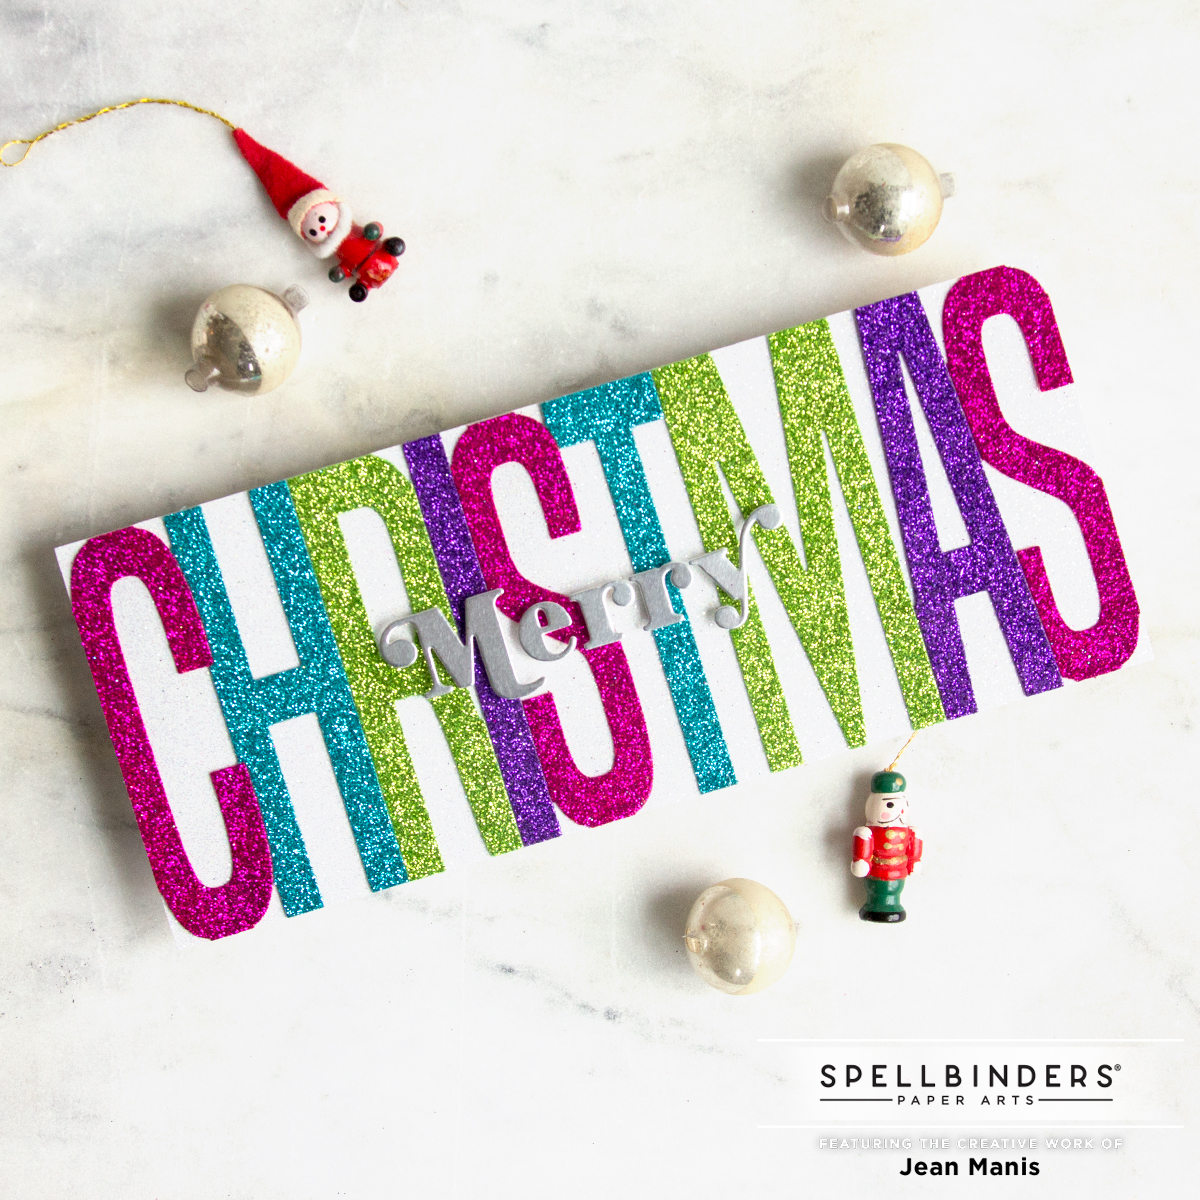
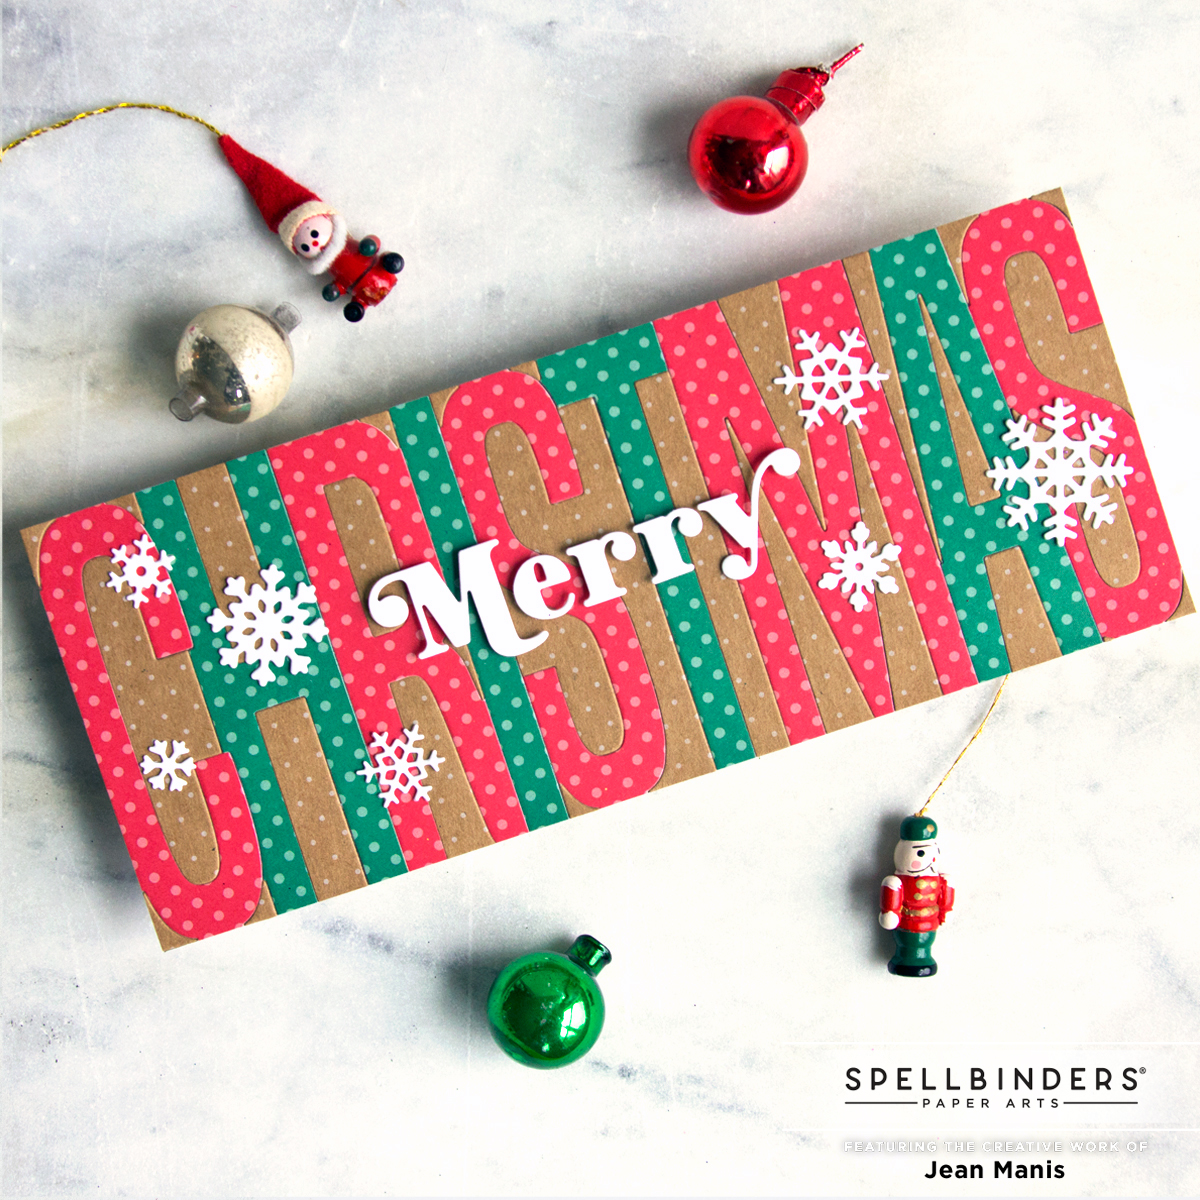
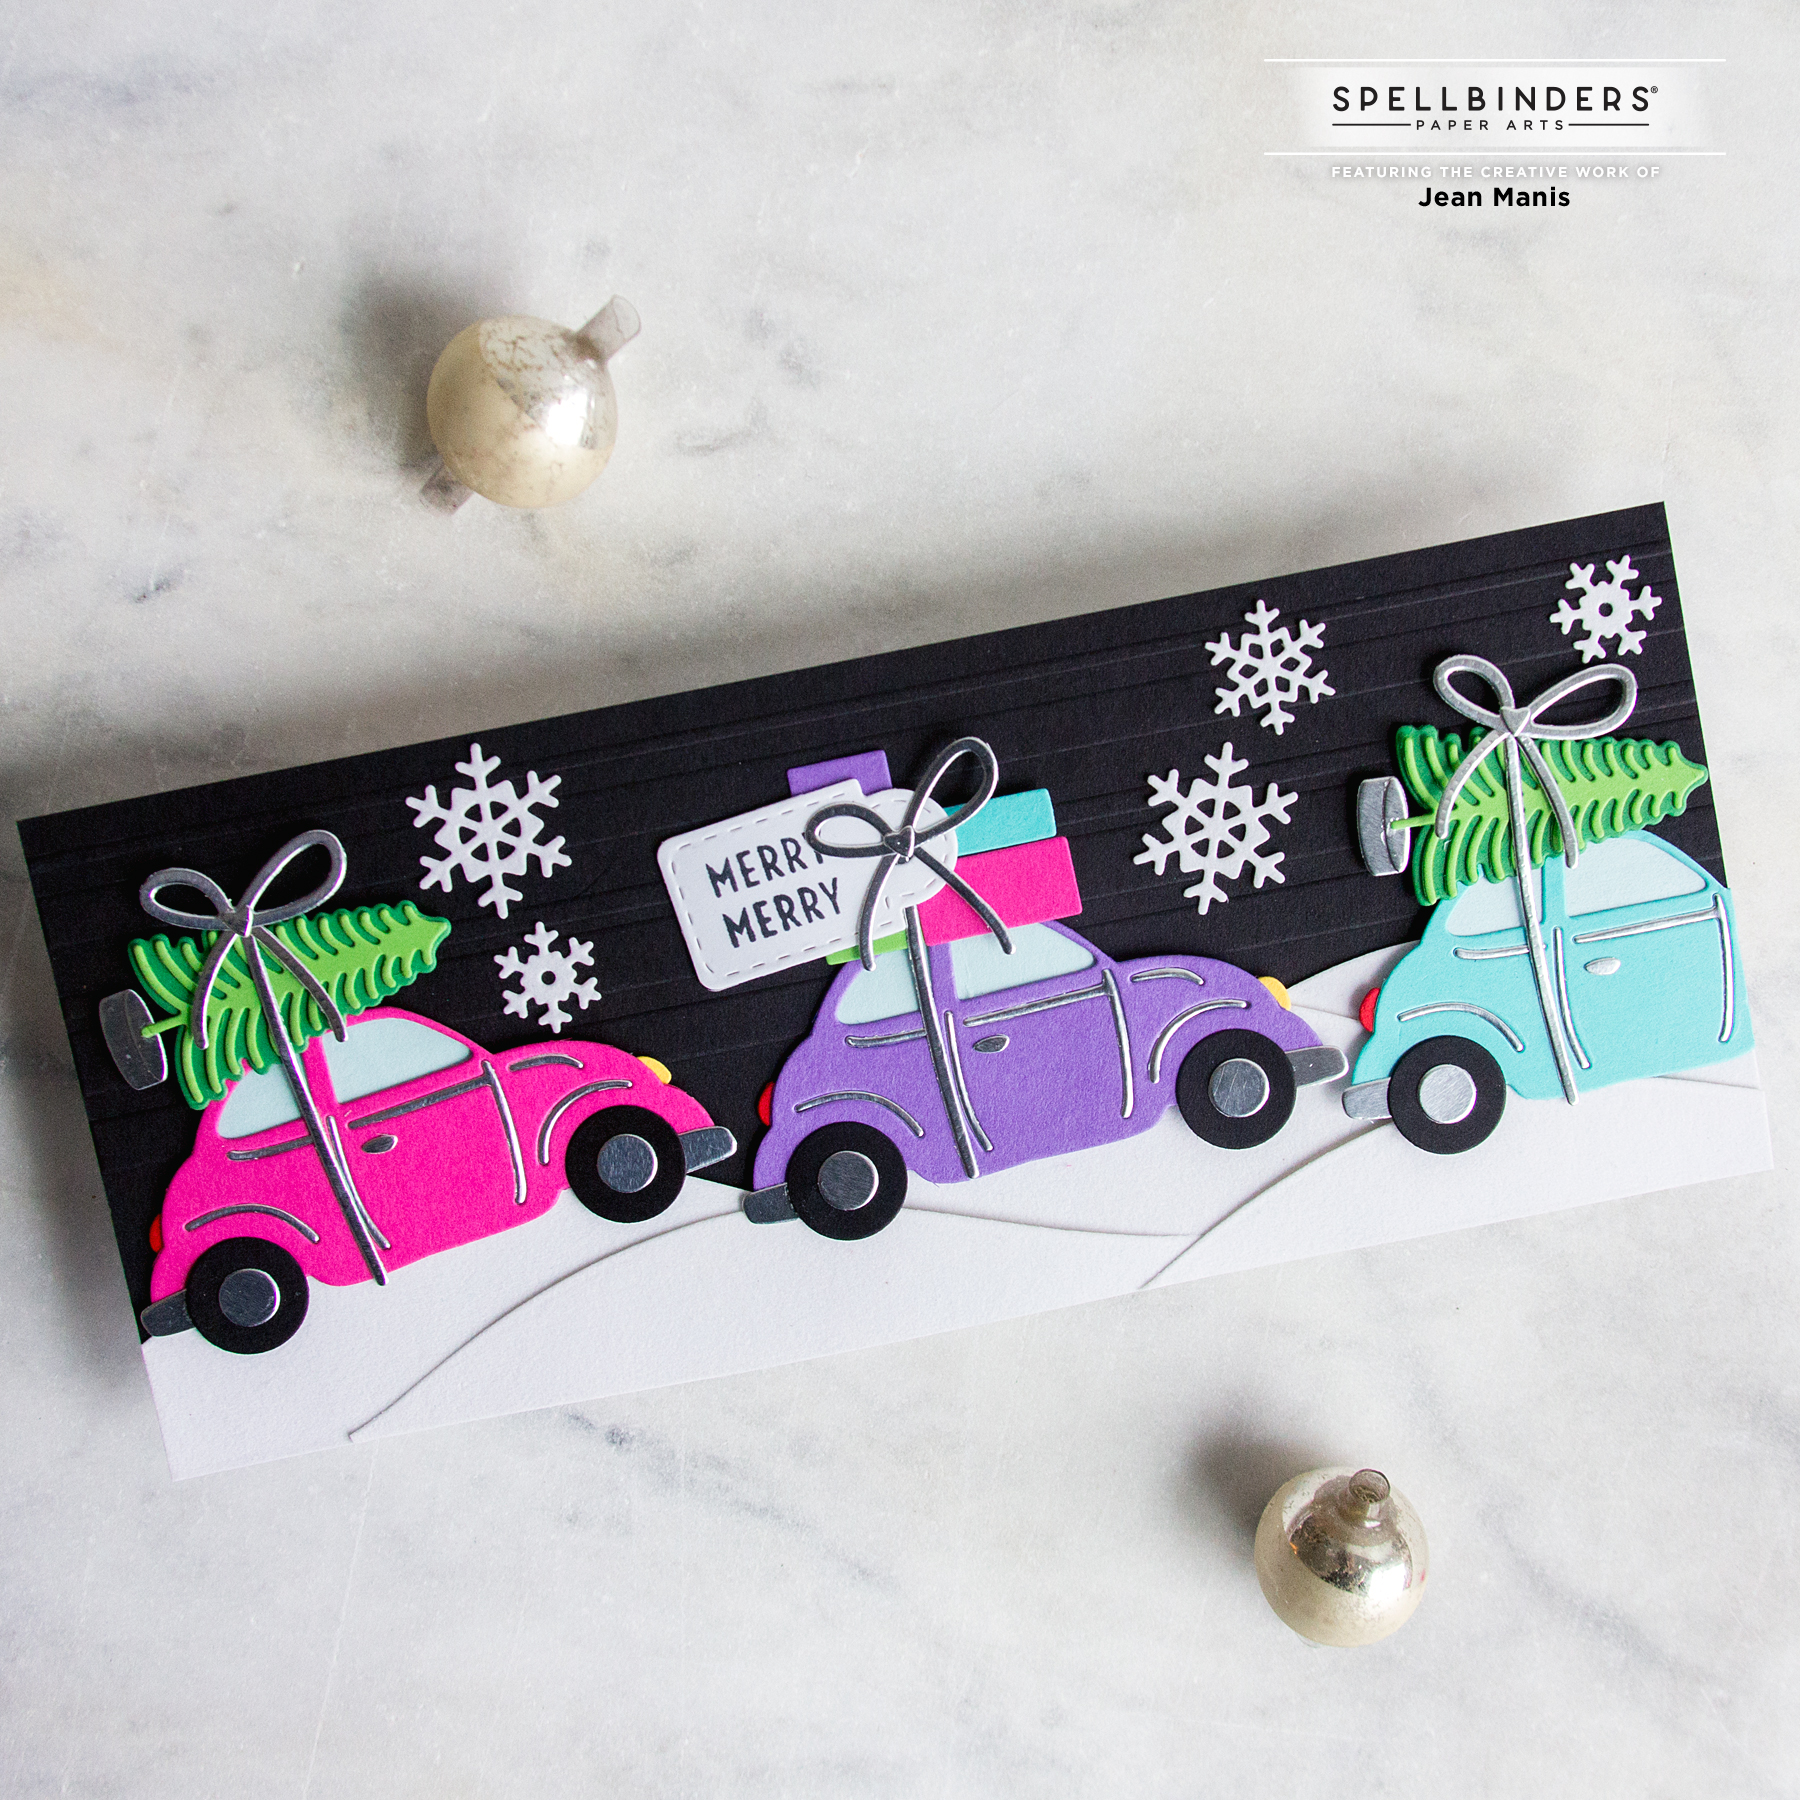
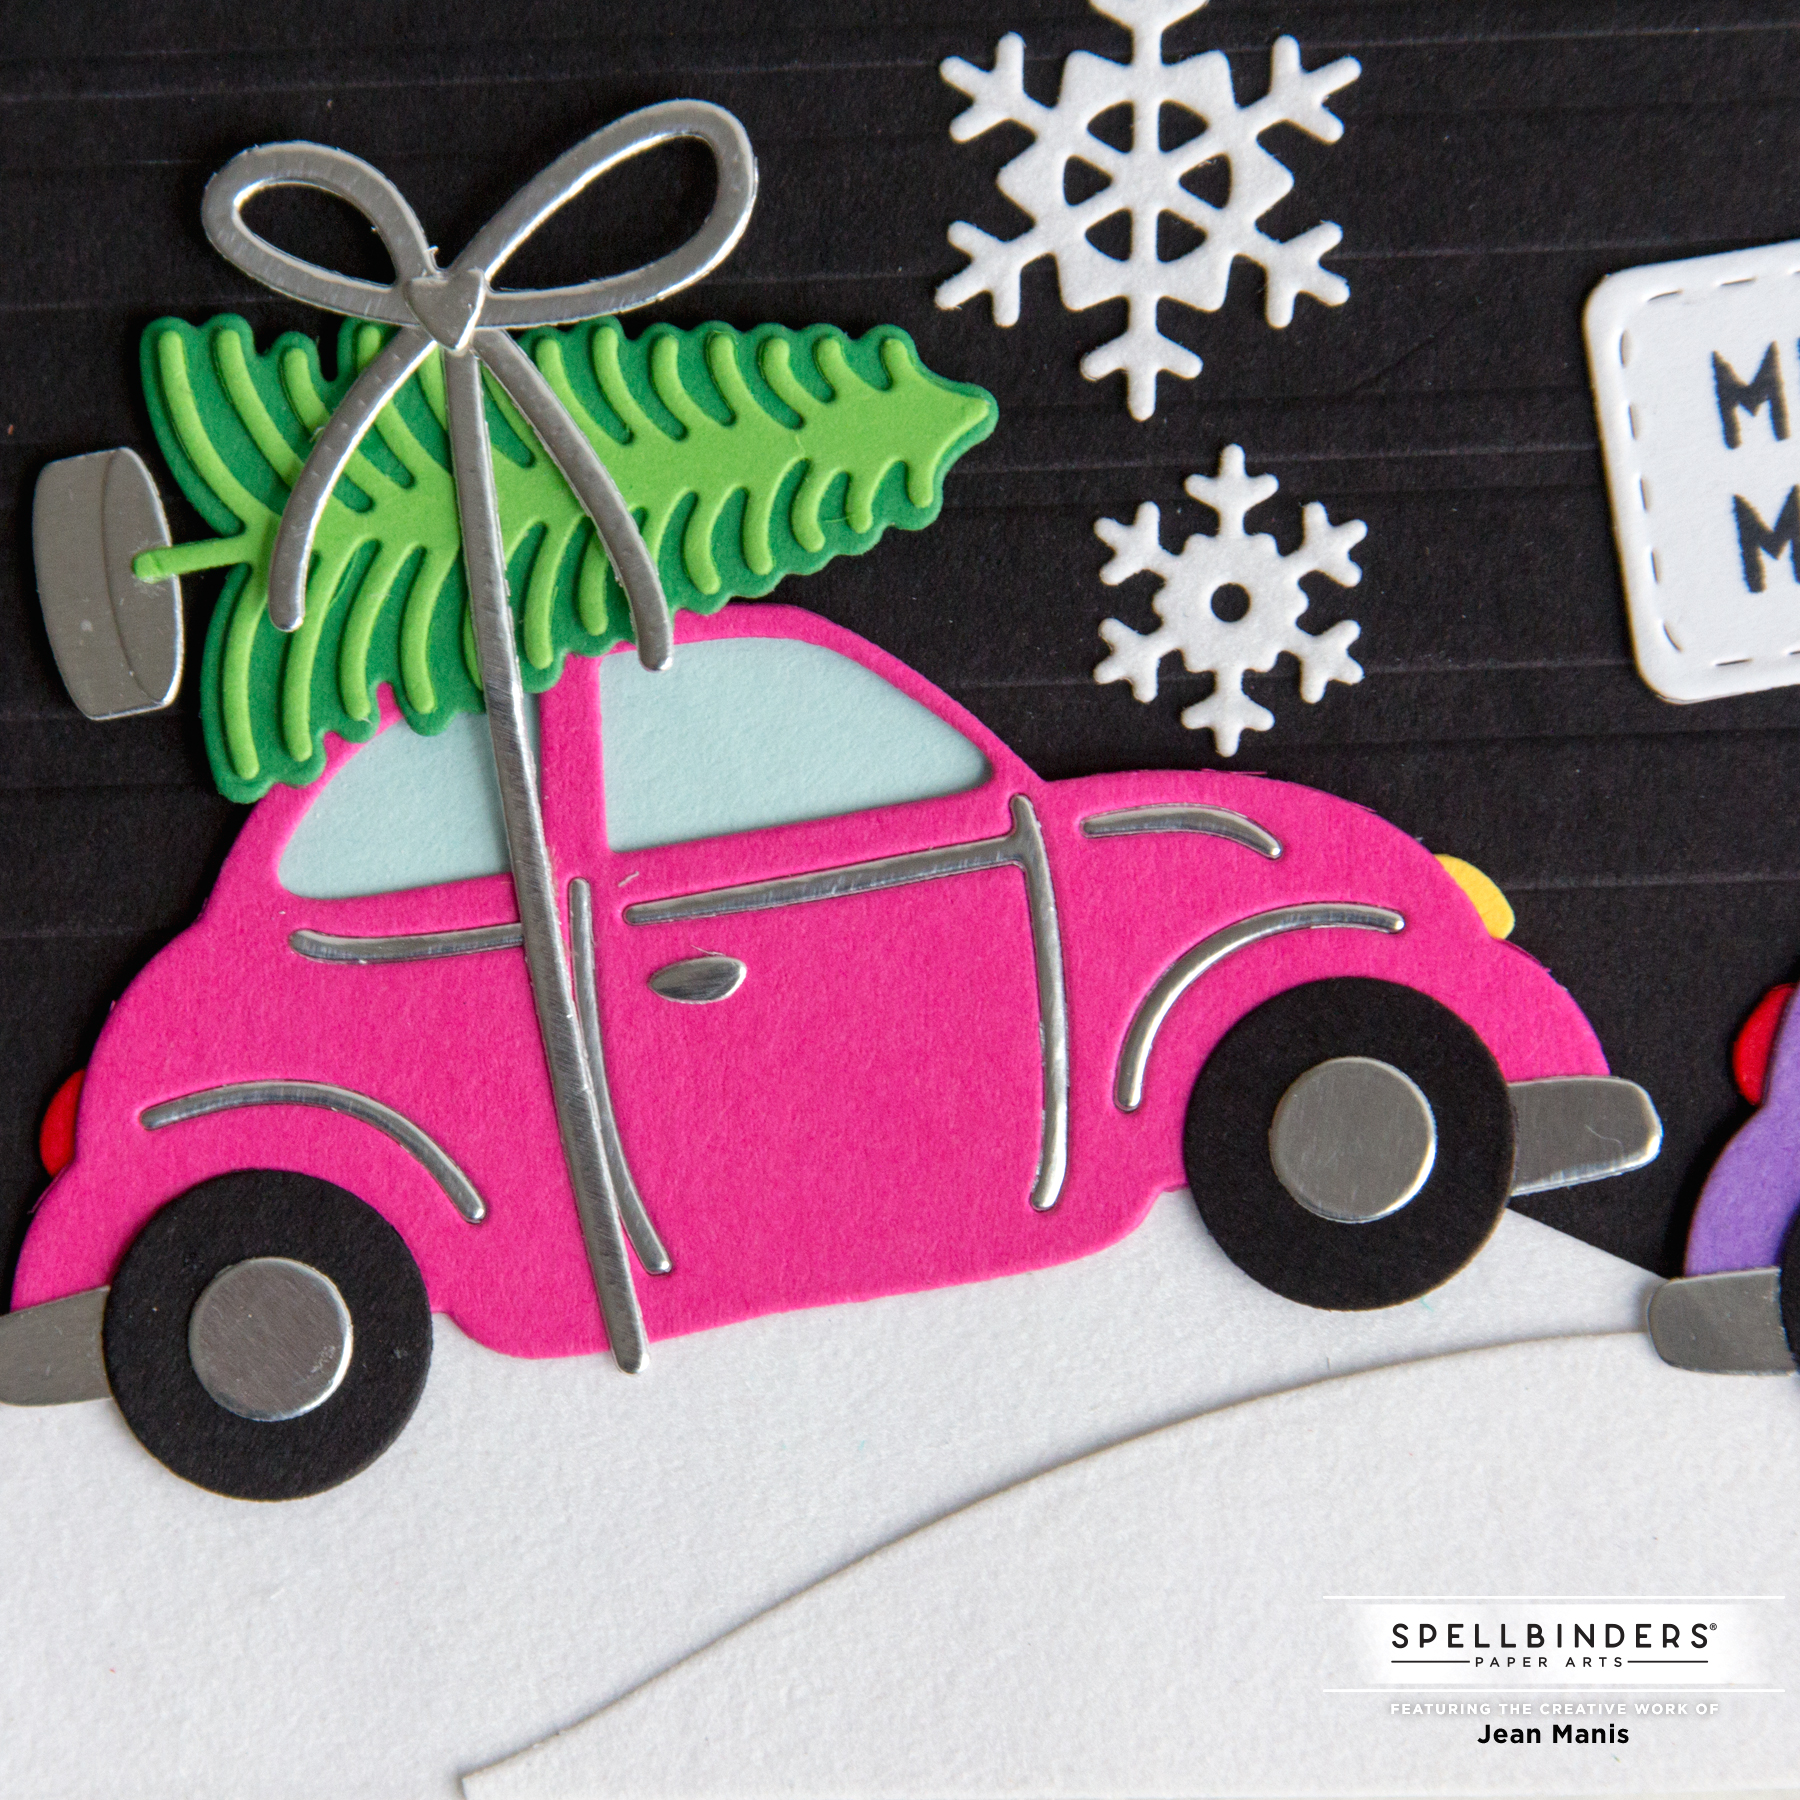
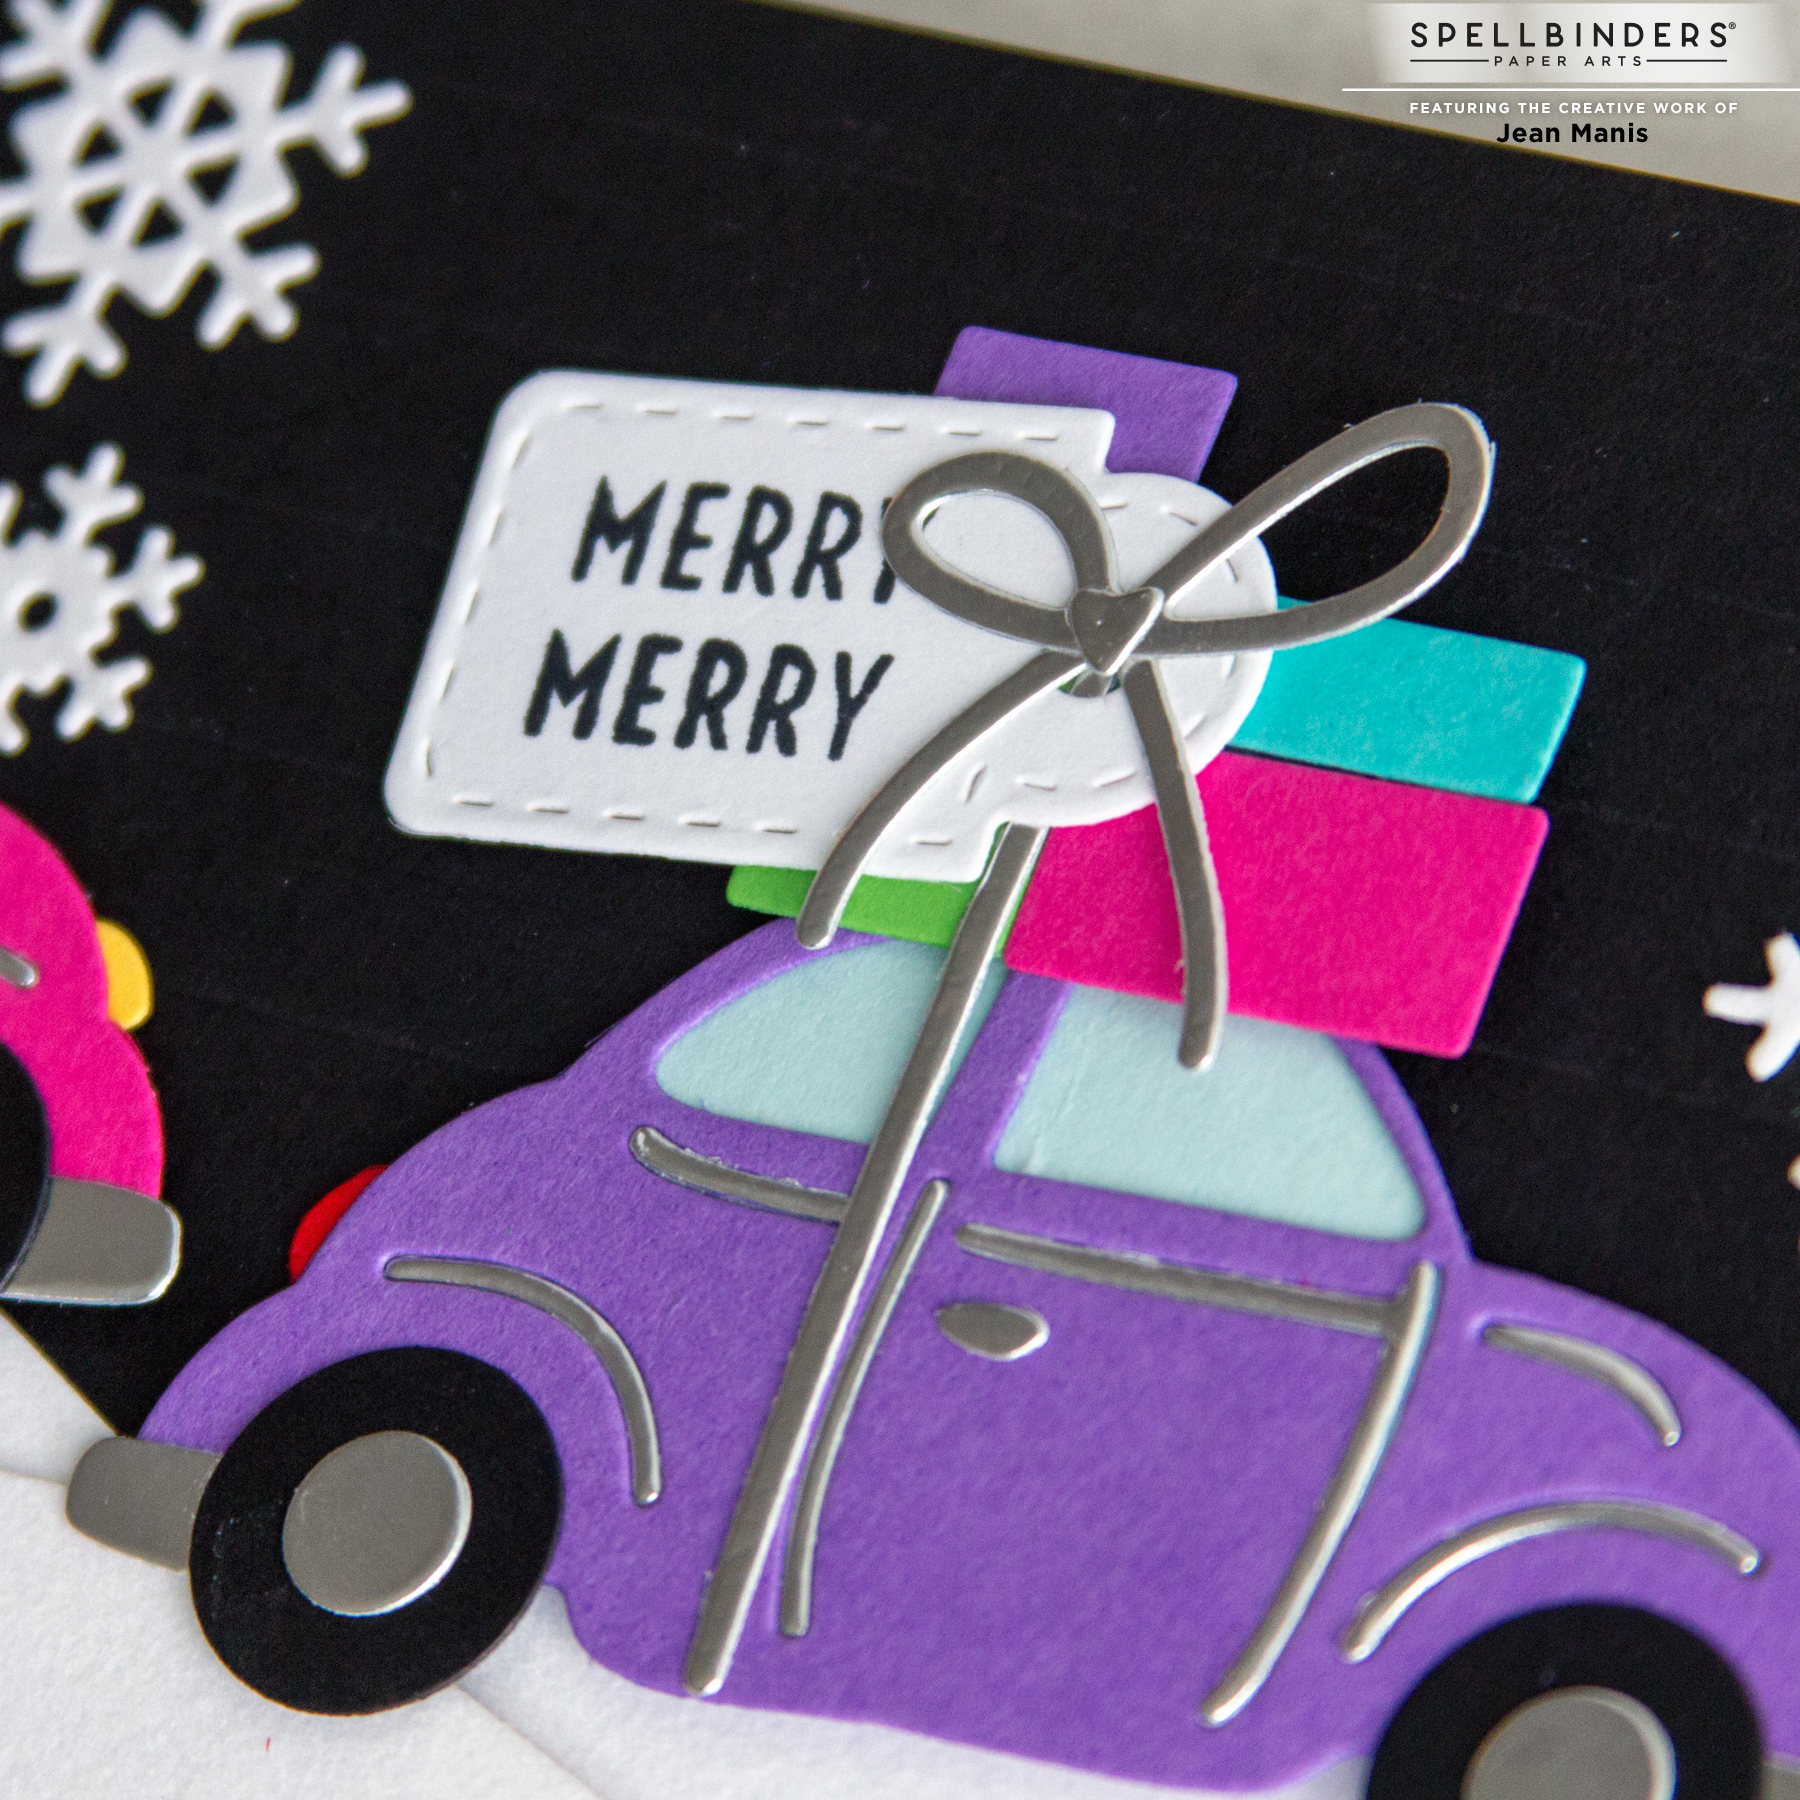
Hello! I was recently a guest on the Spellbinders blog sharing two takes with the Be Bold Color Block Merry Christmas die set. I would love for you to head over to read more about the die set and my designs.
Category: Slimline
Spellbinders November 2021 Large Die Kit Club
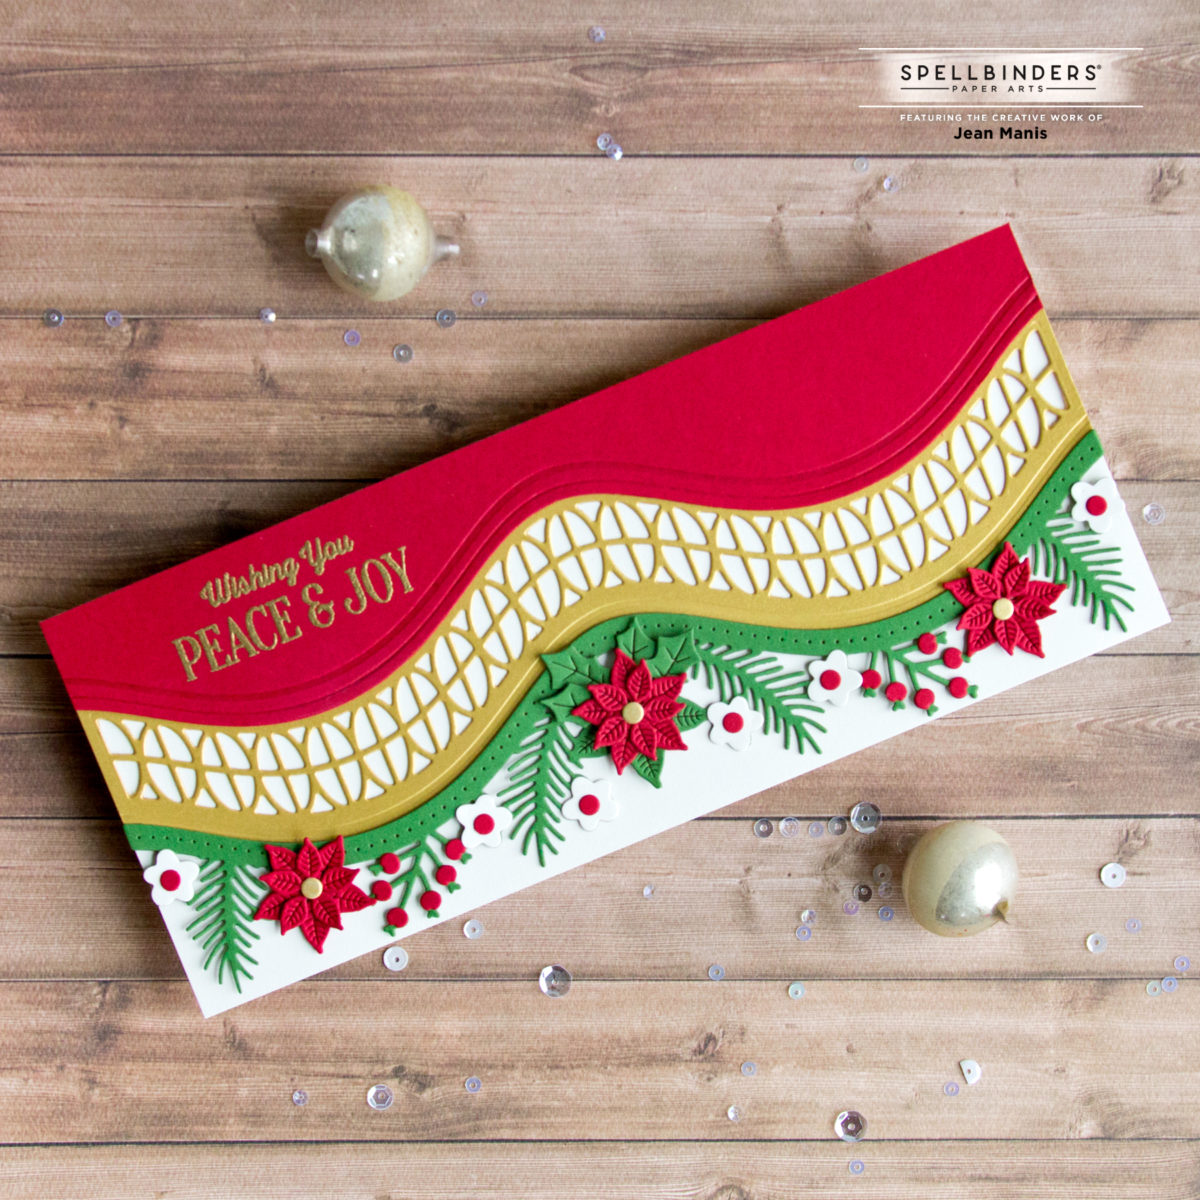
Hello crafty friends! Happy November! I’m delighted to share a slimline holiday card created with the Spellbinders November 2021 Large Die of the Month “Christmas Foliage Strip & Borders.” This jam-packed set includes 13 dies with which to create elegant and distinctive slimline cards. (Find out more about this set here.) The border dies in the set mix-and-match; I have paired three on my card, which I crafted from traditional Christmas colors.
- With one of the Large Die of the Month border dies, I cut the top piece from red cardstock, trimmed to 8 1/2 inches long, and heat-embossed the Christmas Time Sentiments sentiment.
- I die-cut the center section from Brushed Gold cardstock and adhered it to the red cardstock.
- I die-cut the floral border (Noble Fir cardstock) and additional elements.
- I adhered the elements to the floral border before adding the assembly to the red and gold piece.
- I added the entire assembly to an off-white, slimline-sized cardstock base.
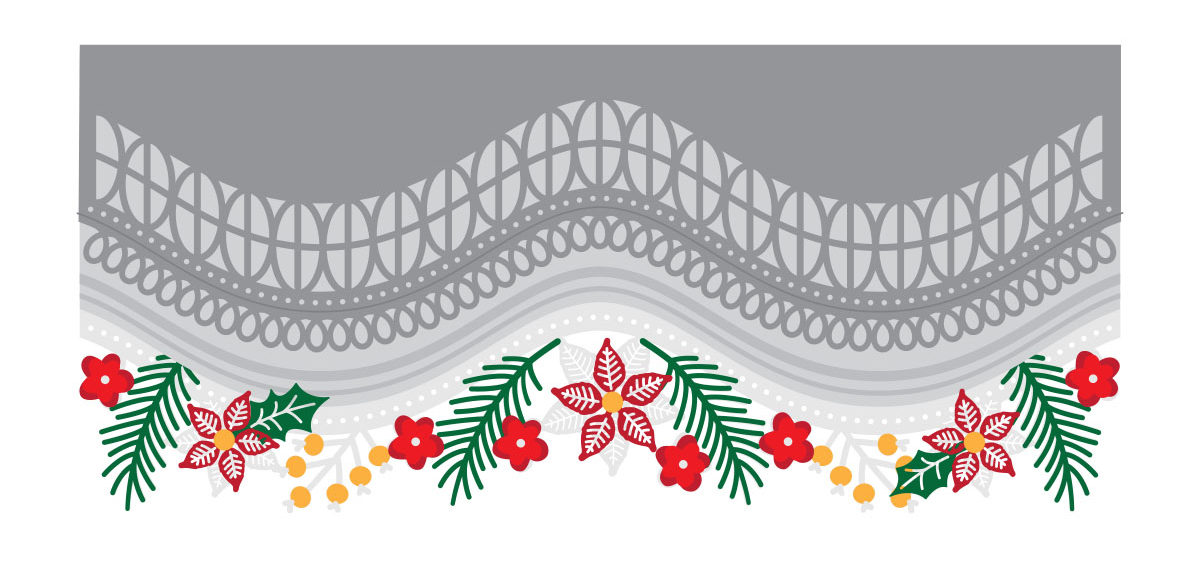
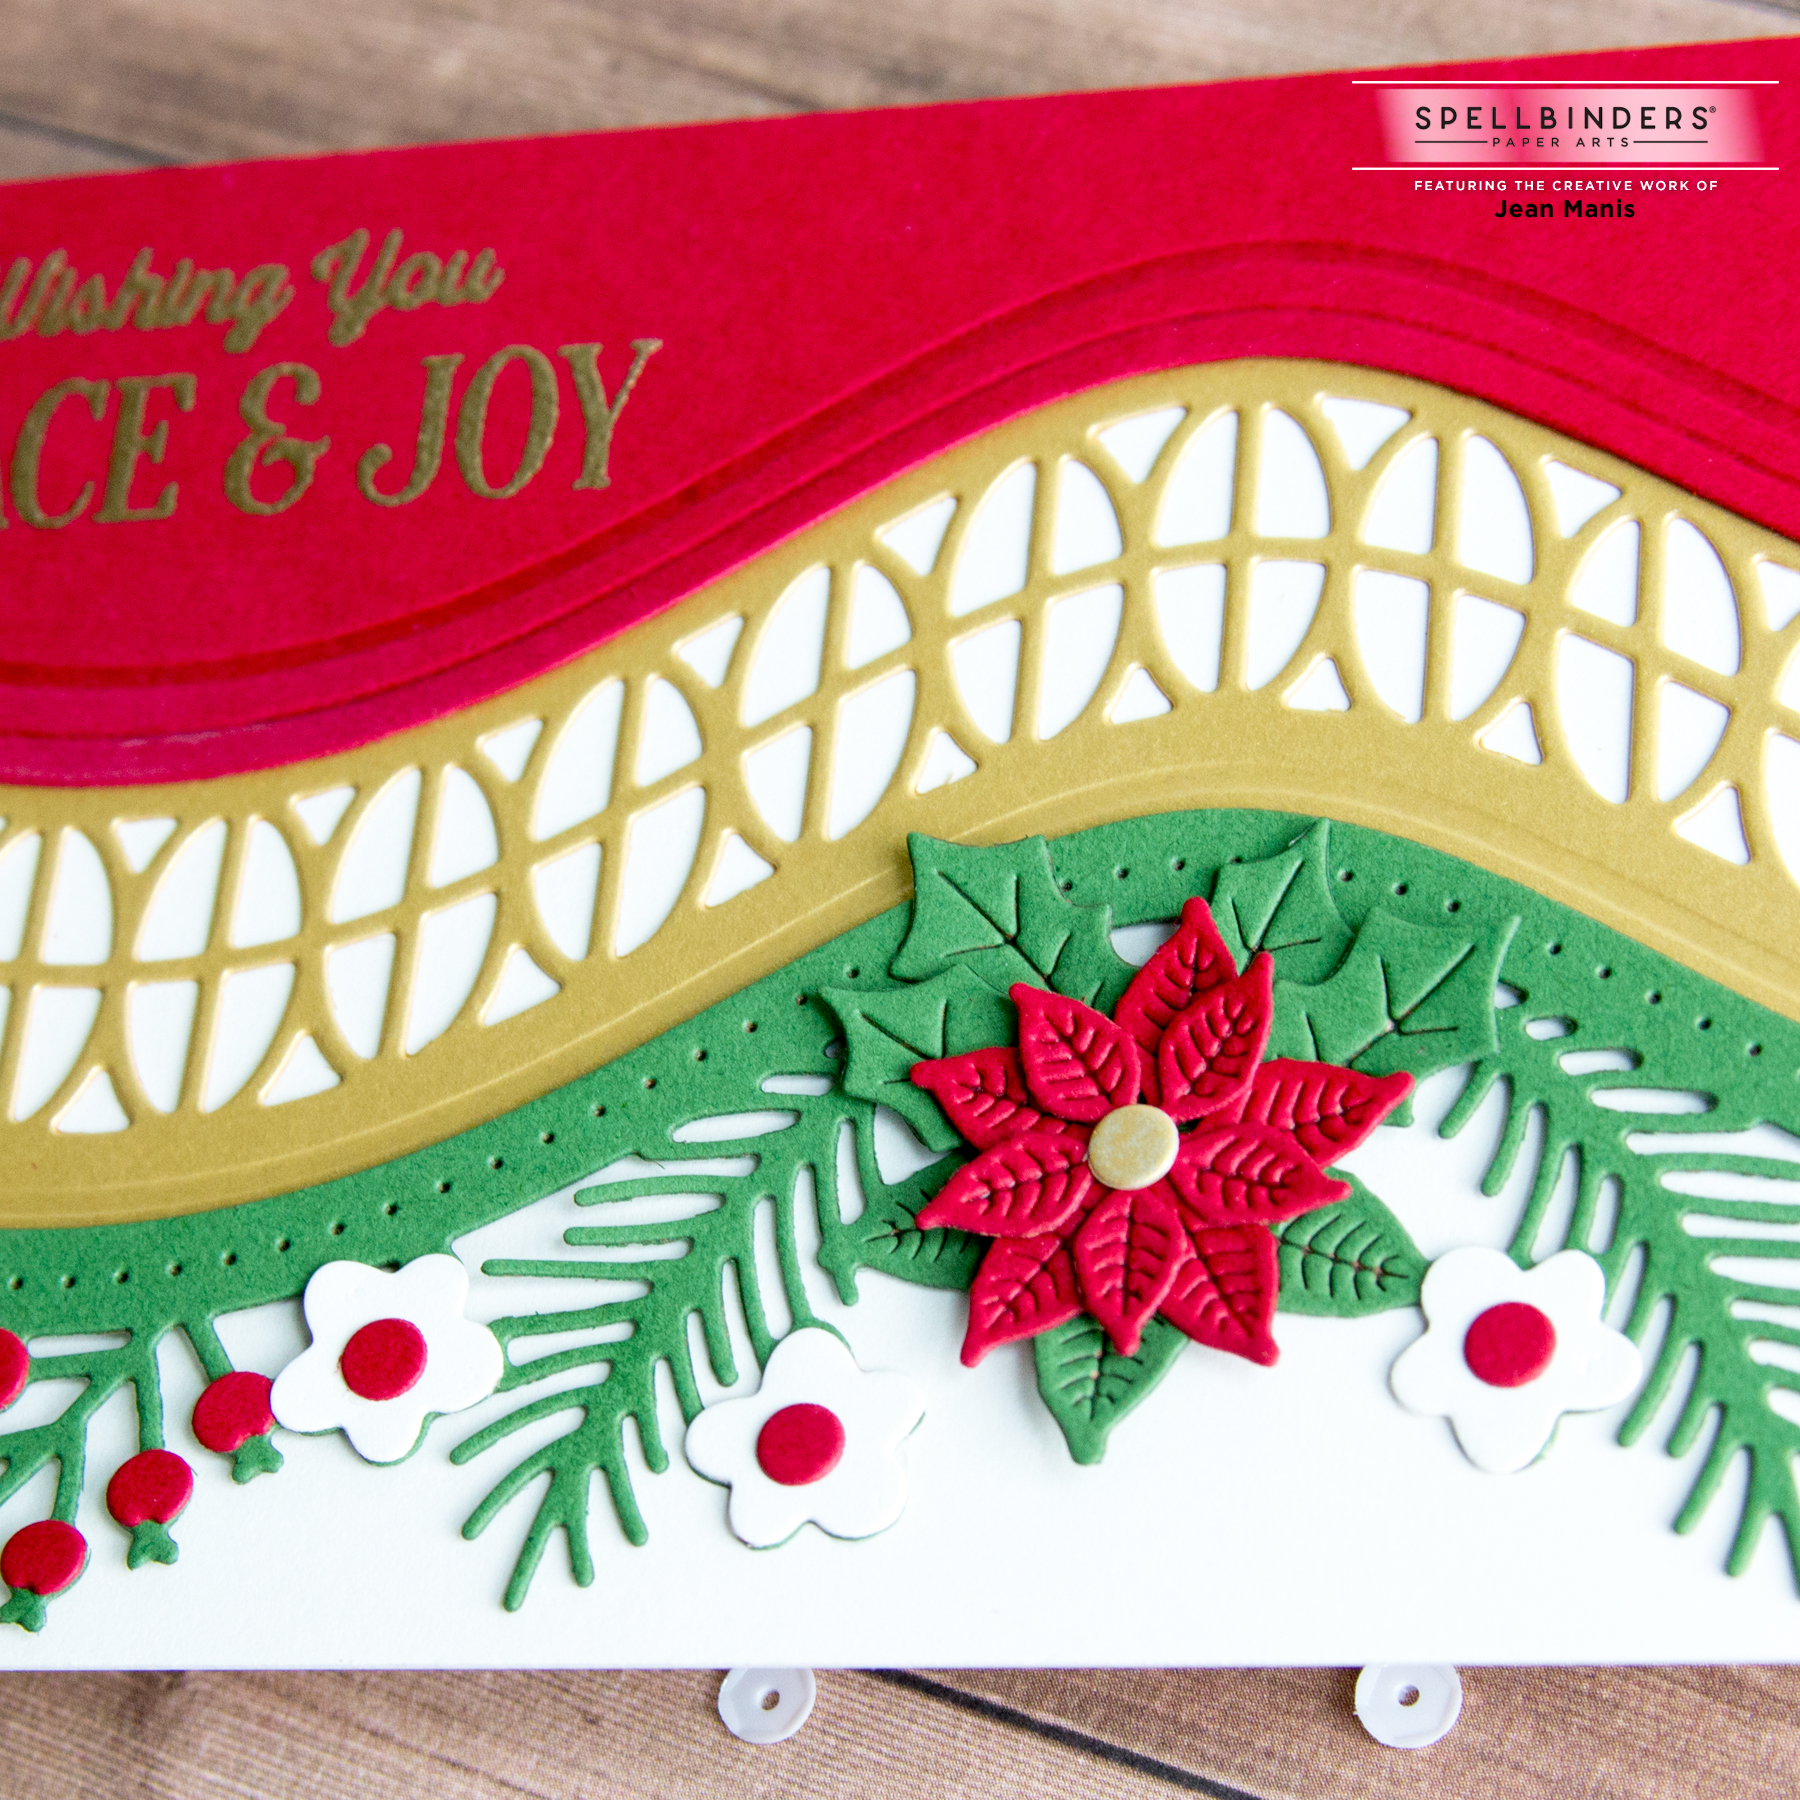
There are a number of possible variations with these dies! While I chose traditional Christmas colors, I am envisioning another version in a palette of white and silver, for example. Additionally, the borders can be run vertically for an entirely different look.
Penny Black Making Spirits Bright
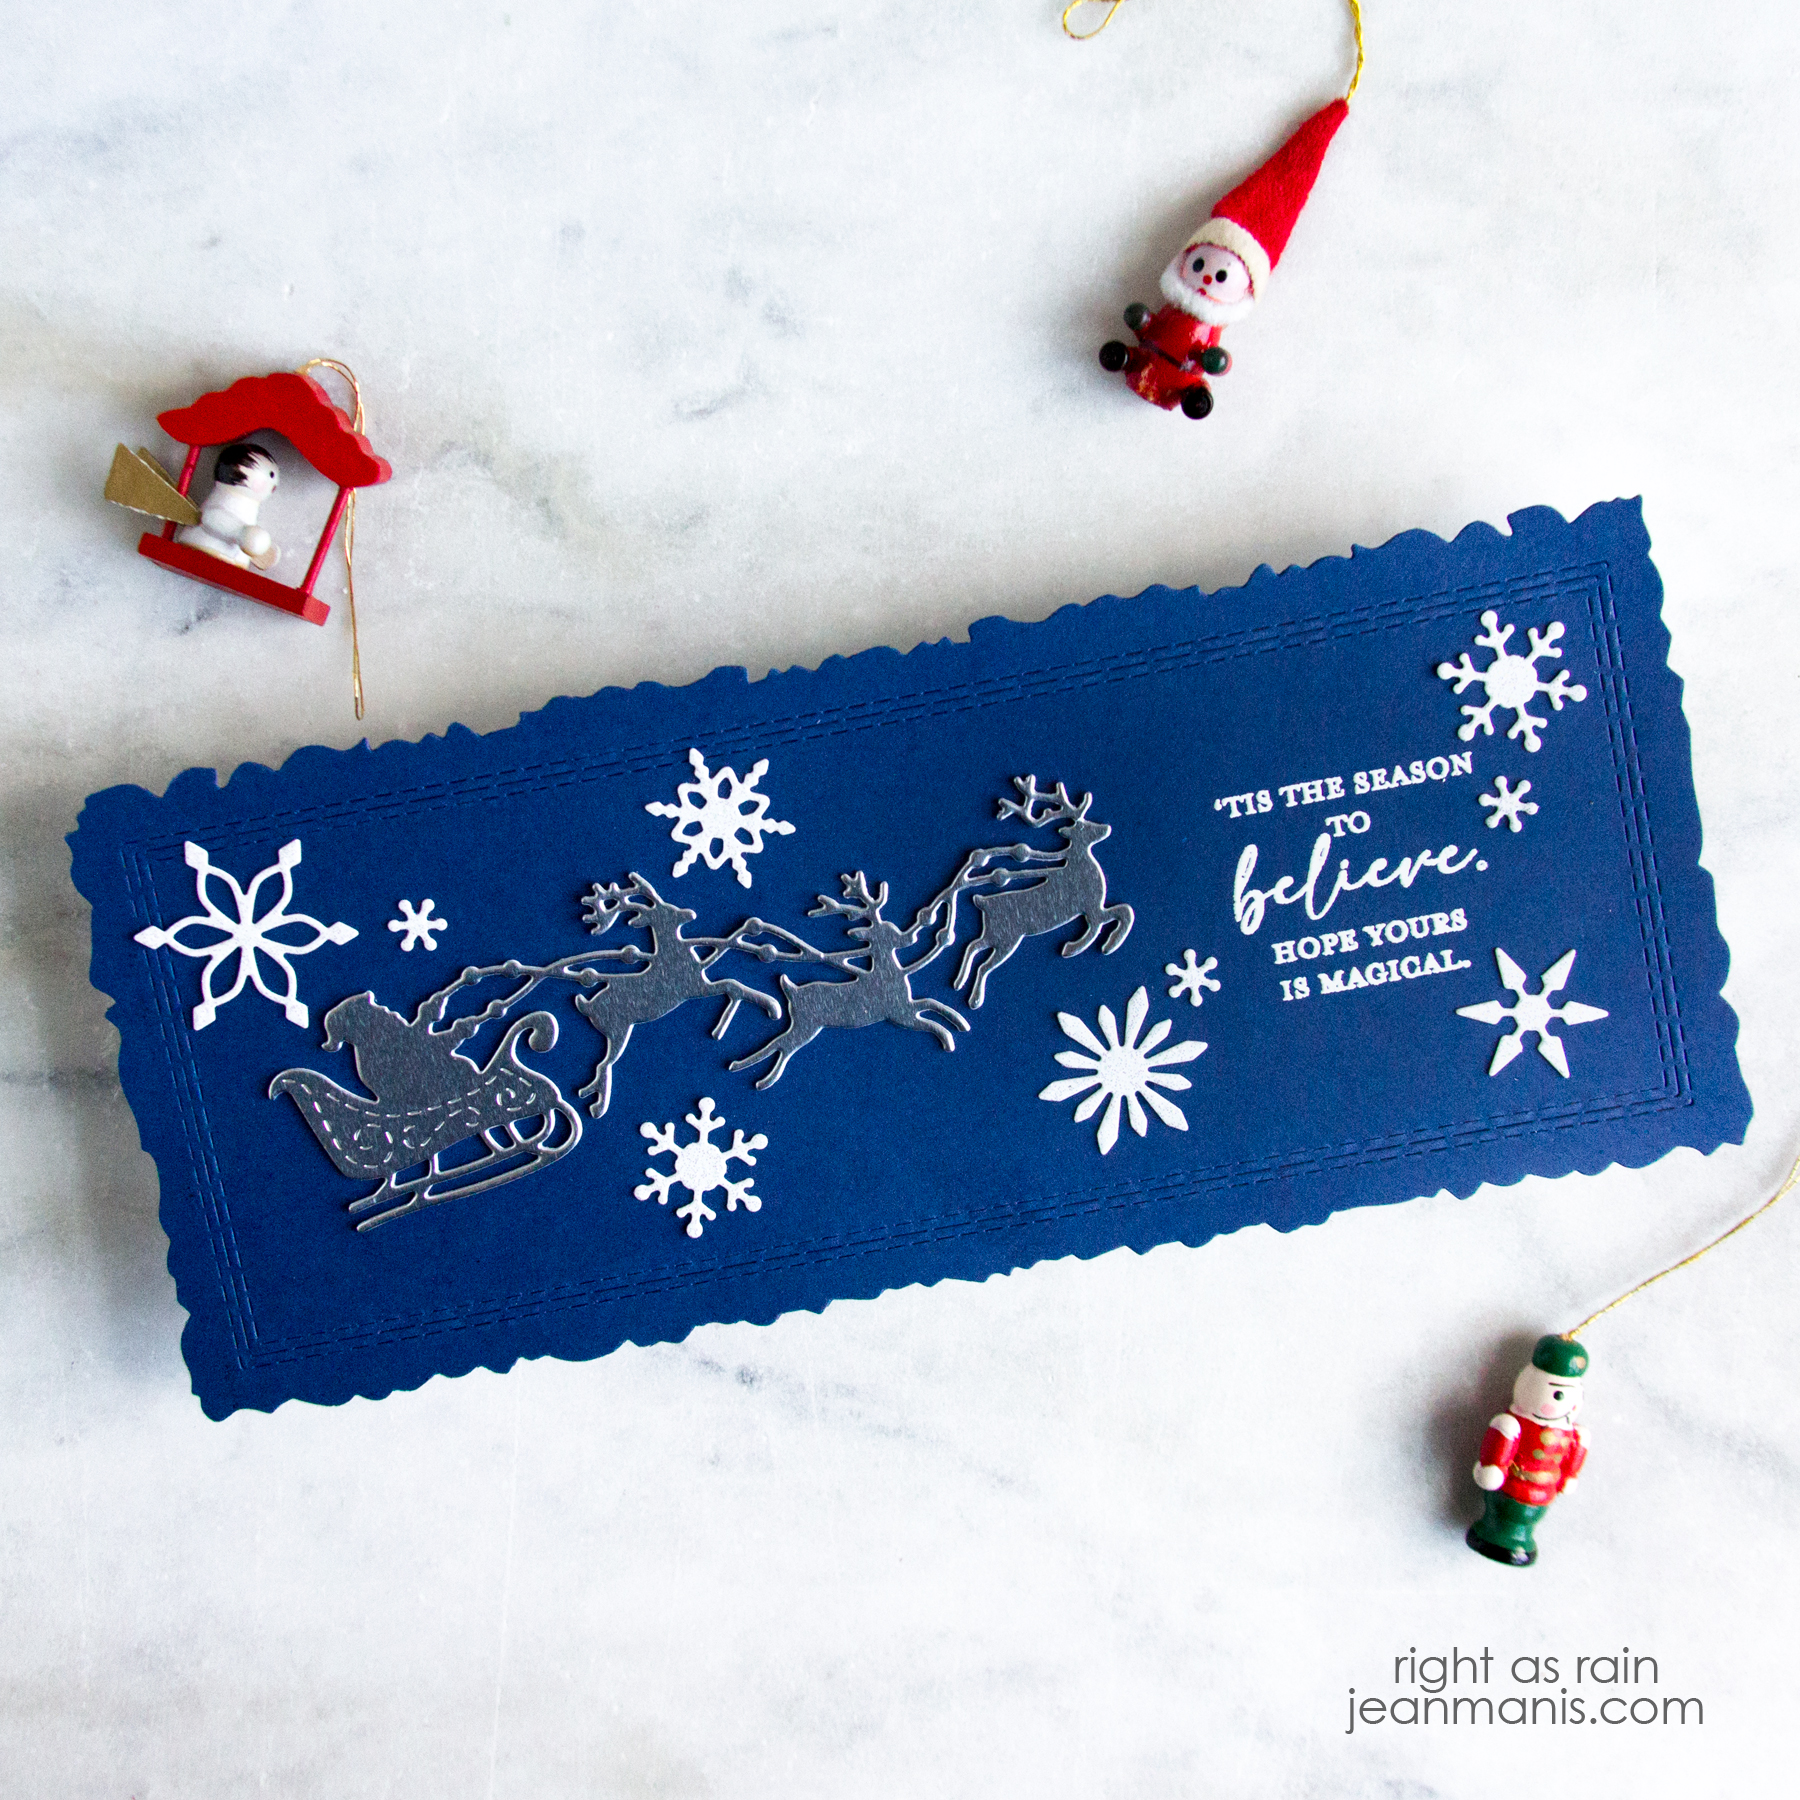
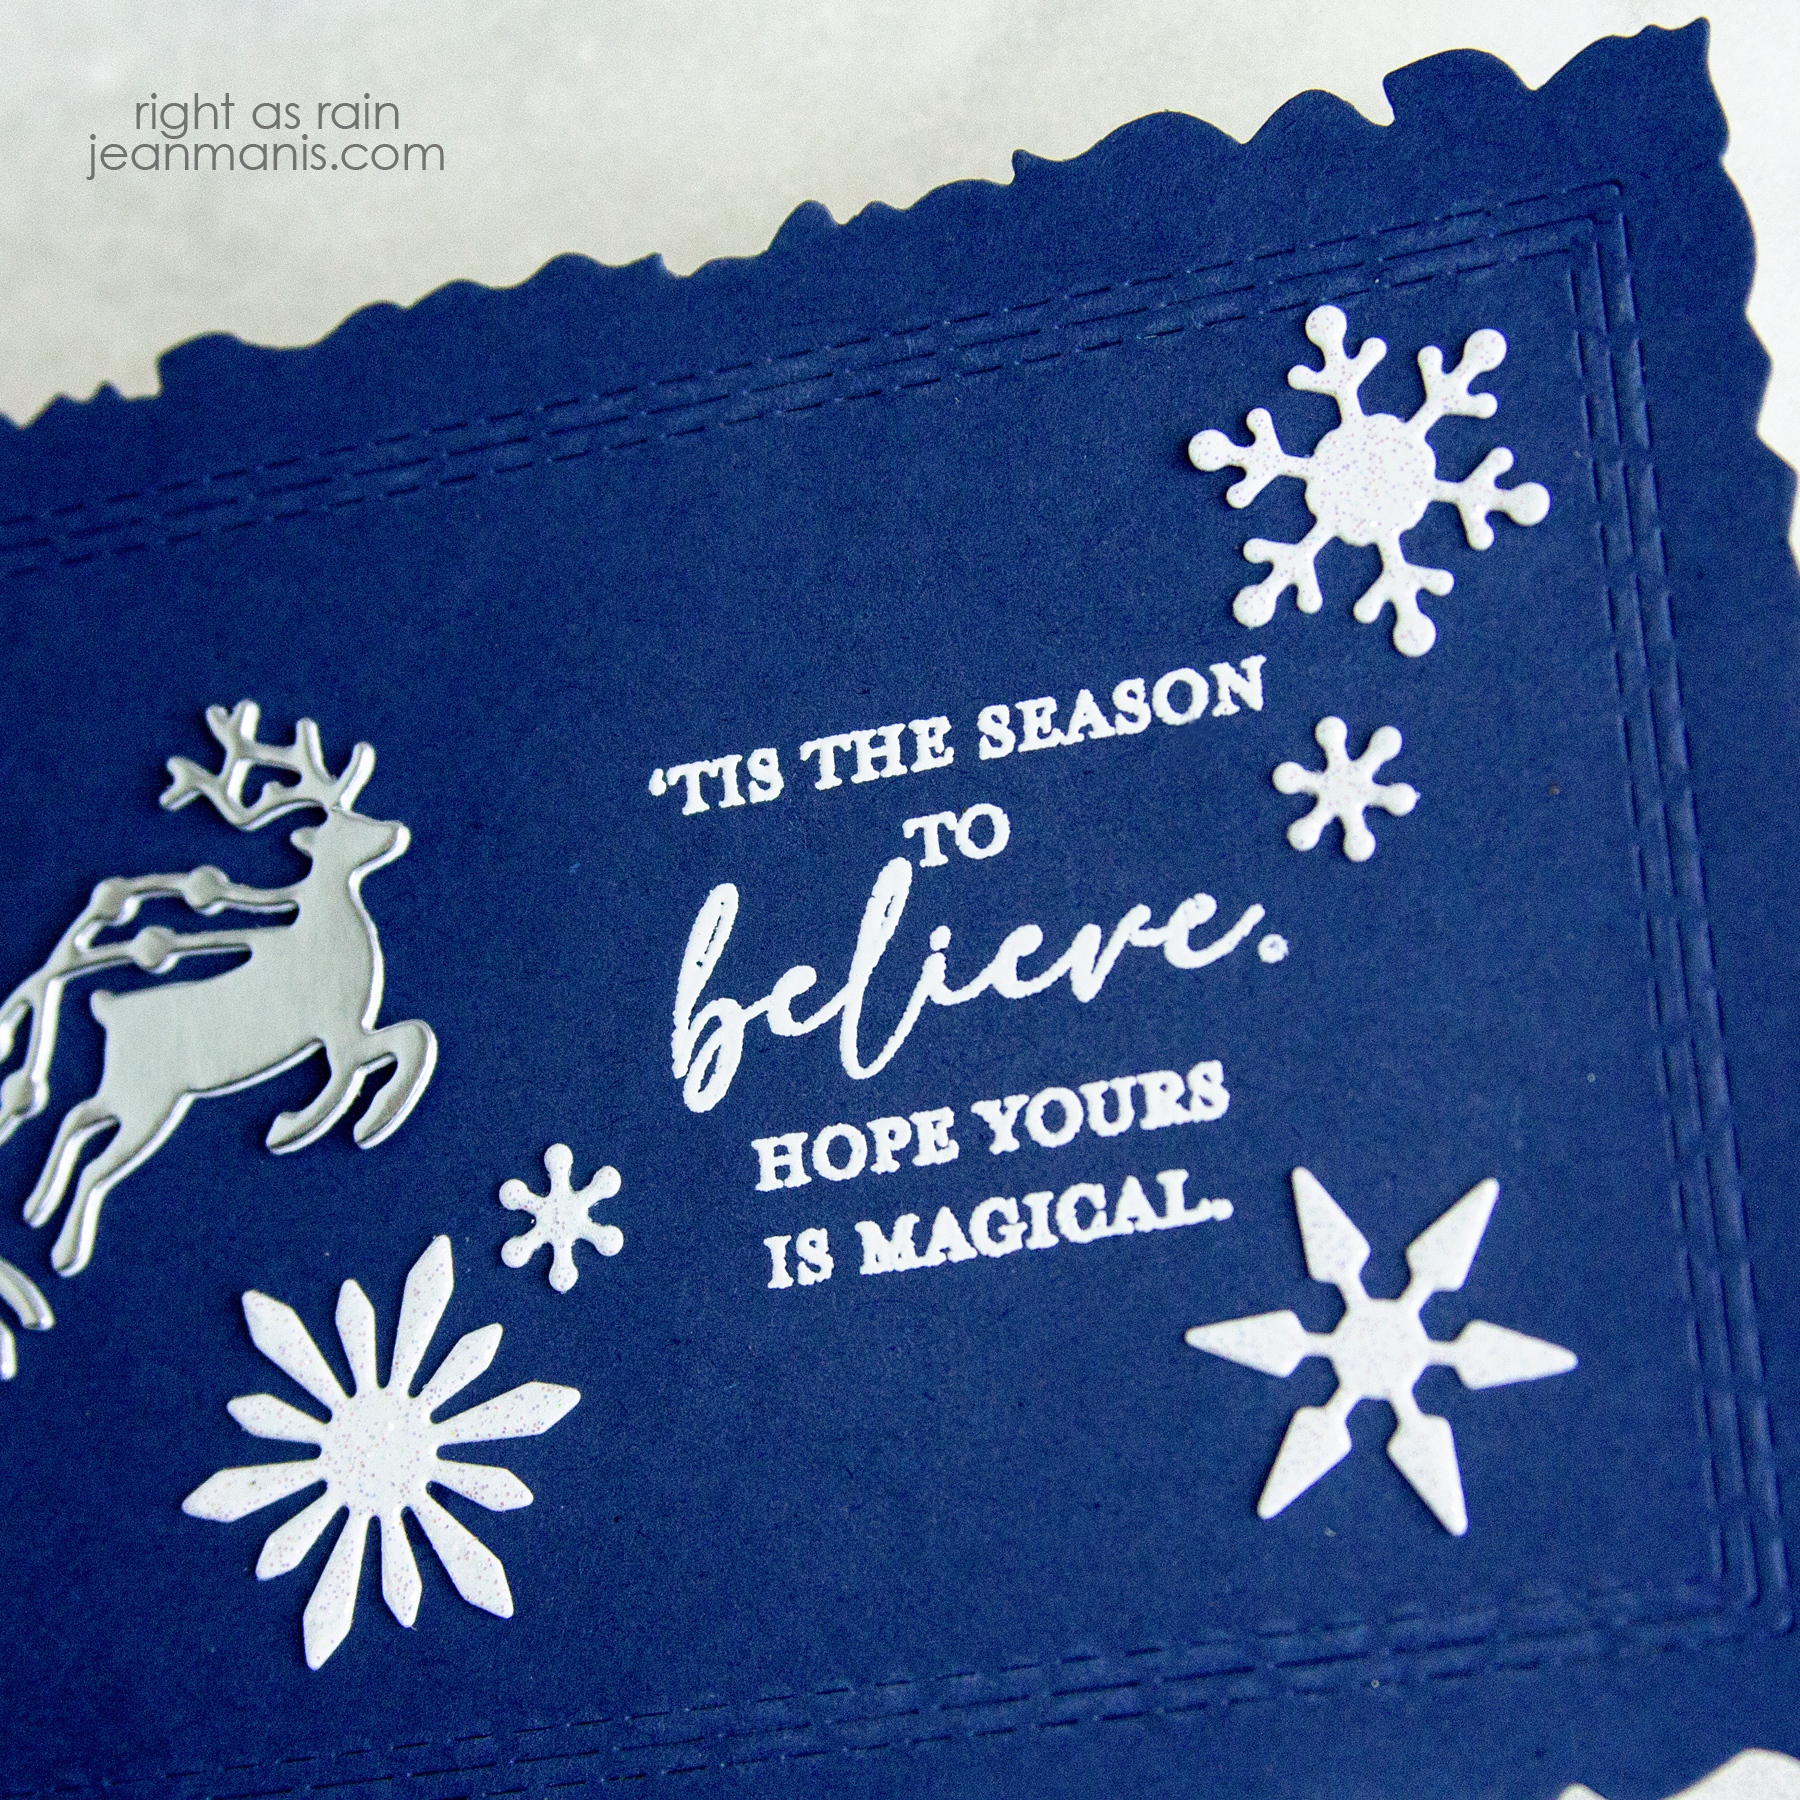
‘Tis the season! Today, I am sharing a slimline Christmas card created with a Penny Black sentiment set 30-868 Season To Believe from the Making Spirits Bright release paired with the new 51-718 Slimline Medley die set and other Penny Black die sets.

- With the 51-718 Slimline Medley outline and detailed border dies, die-cut the card base from navy cardstock.
- Heat-emboss the 30-868 Season To Believe sentiment in white.
- Die-cut Santa and his team of reindeer with 51-560 Here Comes… from silver foil.
- Die-cut the snowflakes from with the 51-708 Dancing Snowflakes, 51-268 A Blizzard, and 51-080 Around Town die sets from Sugar Coated cardstock.
- Adhere elements to the card base.

Spellbinders – Festive Christmas Cars
Today, I am sharing a slimline Christmas card featuring products from Spellbinders. If it looks familiar, it is because I designed a similar one a couple of months ago, which you can see here.

- Create a slimline card background by dry-embossing Onyx cardstock with the Striped Slimline folder.
- Die-cut snowy hills from white velvet cardstock (Stampin’ Up) with the dies in the Color Block Scenic Scape set.
- Die-cut the vehicles with the Special Delivery die set; they were assembled with the inlay technique.
- Add trees to the top of two of the vehicles created with the Bottle Brush Trees set and packages to the center car using the Shopping Spree set.
- Stamp the sentiment using the All-Occasion Sentiments set on to a tag cut with a die in the Party Cupcake Pocket set. Add tag to the middle vehicle with the packages.
- To embellish, add snowflakes cut with dies in the Holiday Decorations set.


Spellbinders September 2021 Clear Stamp Club
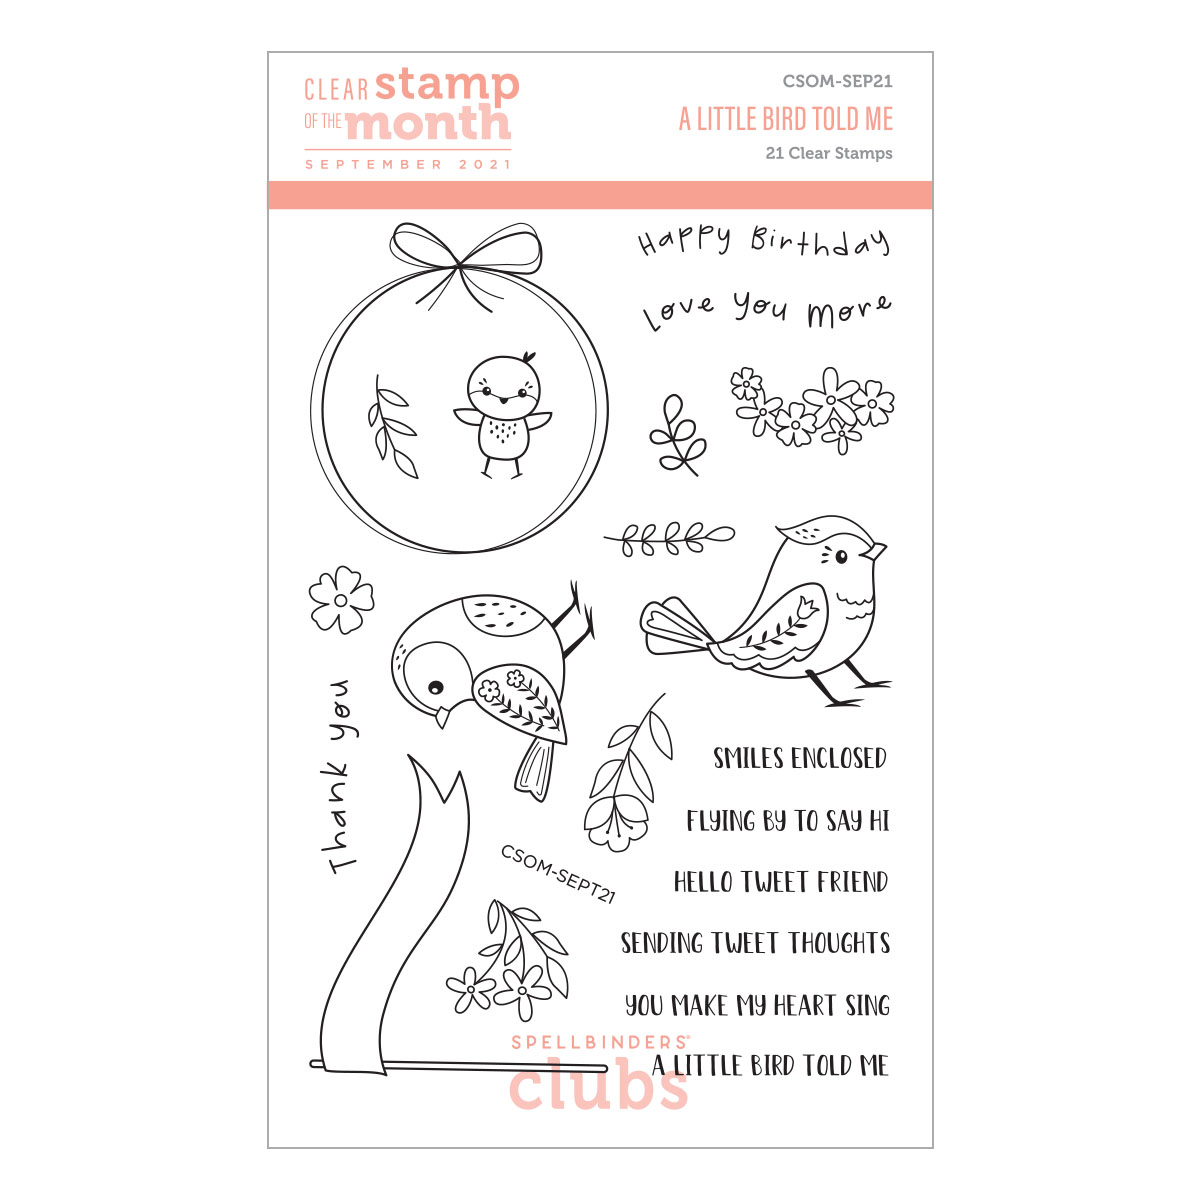
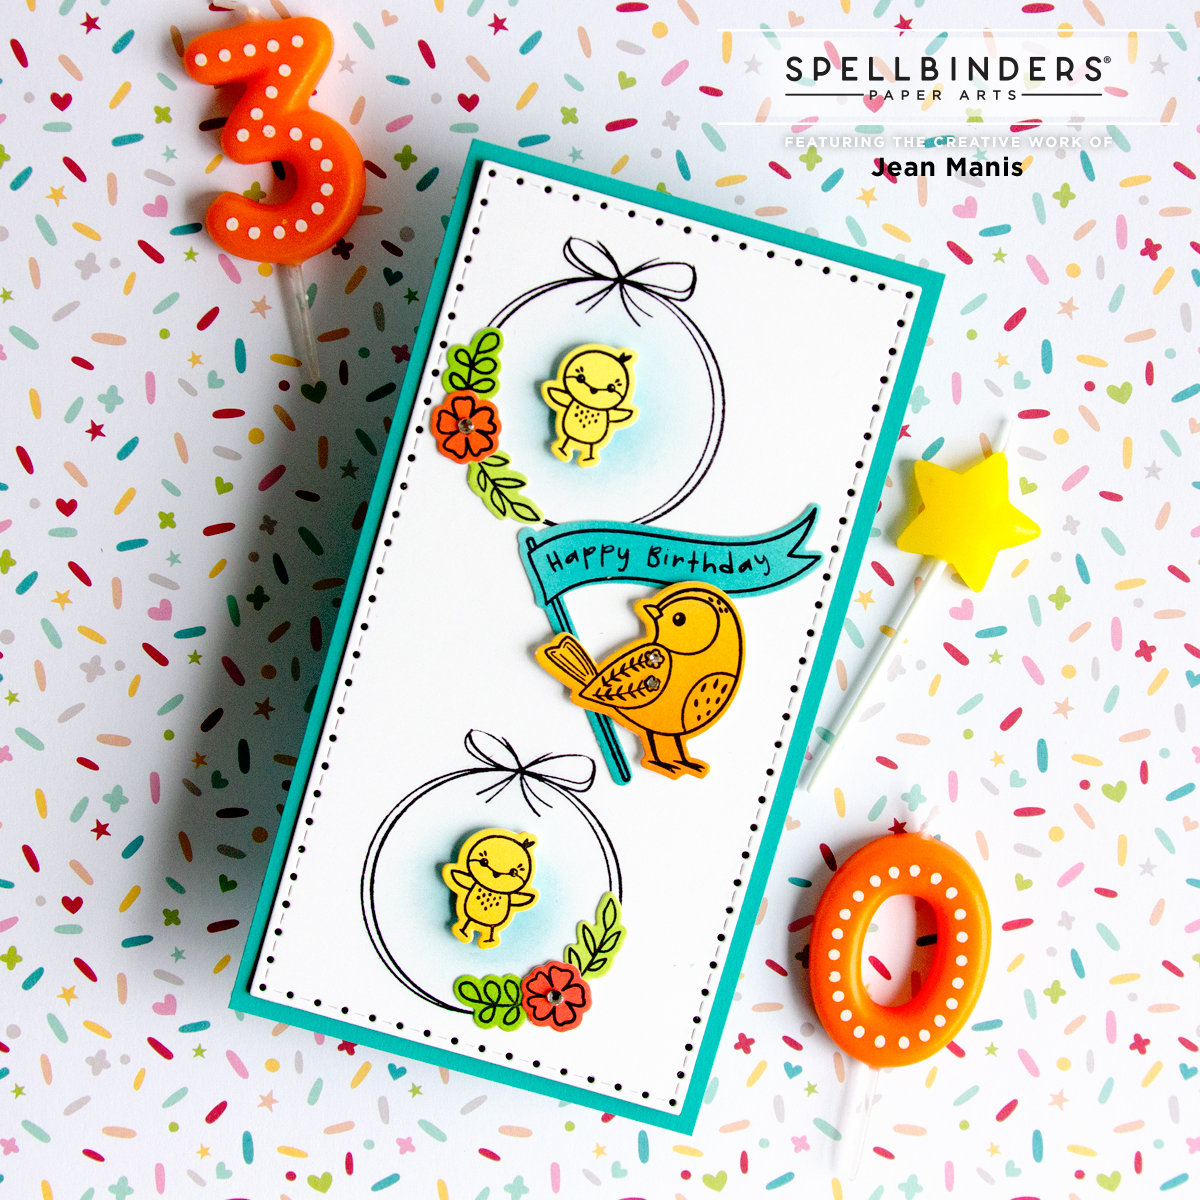
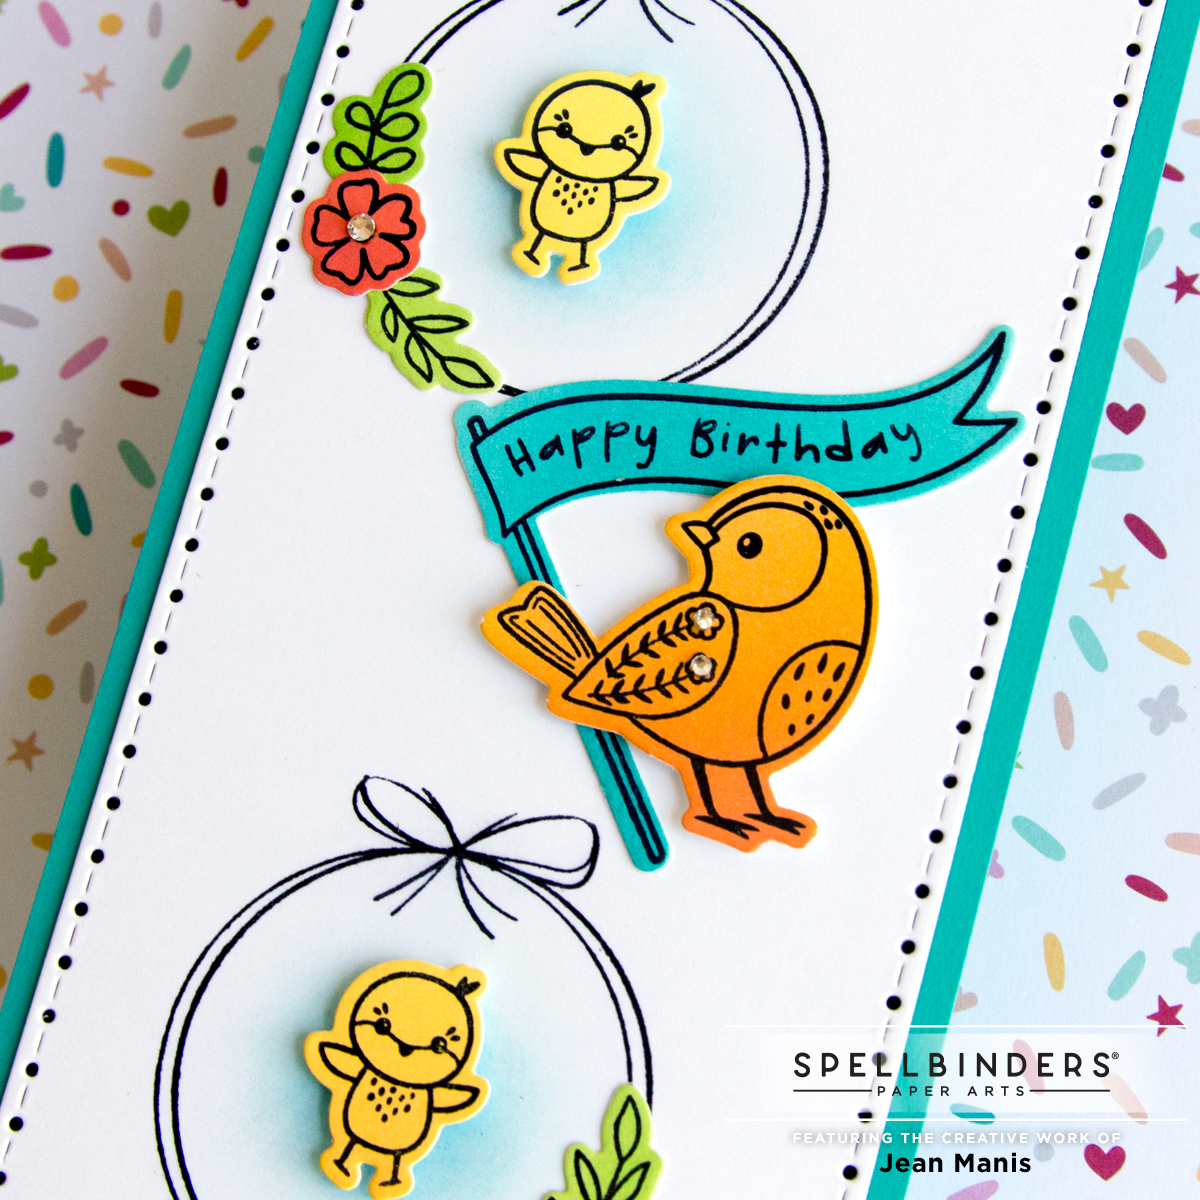
Hello crafty friends! I’m delighted to share a birthday card created with the Spellbinders September 2021 Clear Stamp of the Month Club – “A Little Birdie Told Me.” The stamp set is designed to work with the other Club Kits. Find out more about the stamp set here.


- In black ink, stamp the birds, flowers, sentiment flag, and foliage on to cardstock colored with Distress Oxide inks. Cut the images with the coordinating die set (available separately).
- Create a Snowdrift cardstock background with the Mini Slimline set (black with Onyx cardstock). Stamp the wreath images in black ink on to the background. Add Distress Oxide ink to the center of the circles. Add panel to teal cardstock card base.
- Adhere the elements to the card with dot and foam adhesive. Add Silver Mix Gems to the flower centers and to the wing of the largest bird.


