Happy 2021! I’m delighted to be sharing two projects created with the January 2021 Large Die of the Month – “Slimline Kaleidoscope
Hearts” – at Spellbinders.
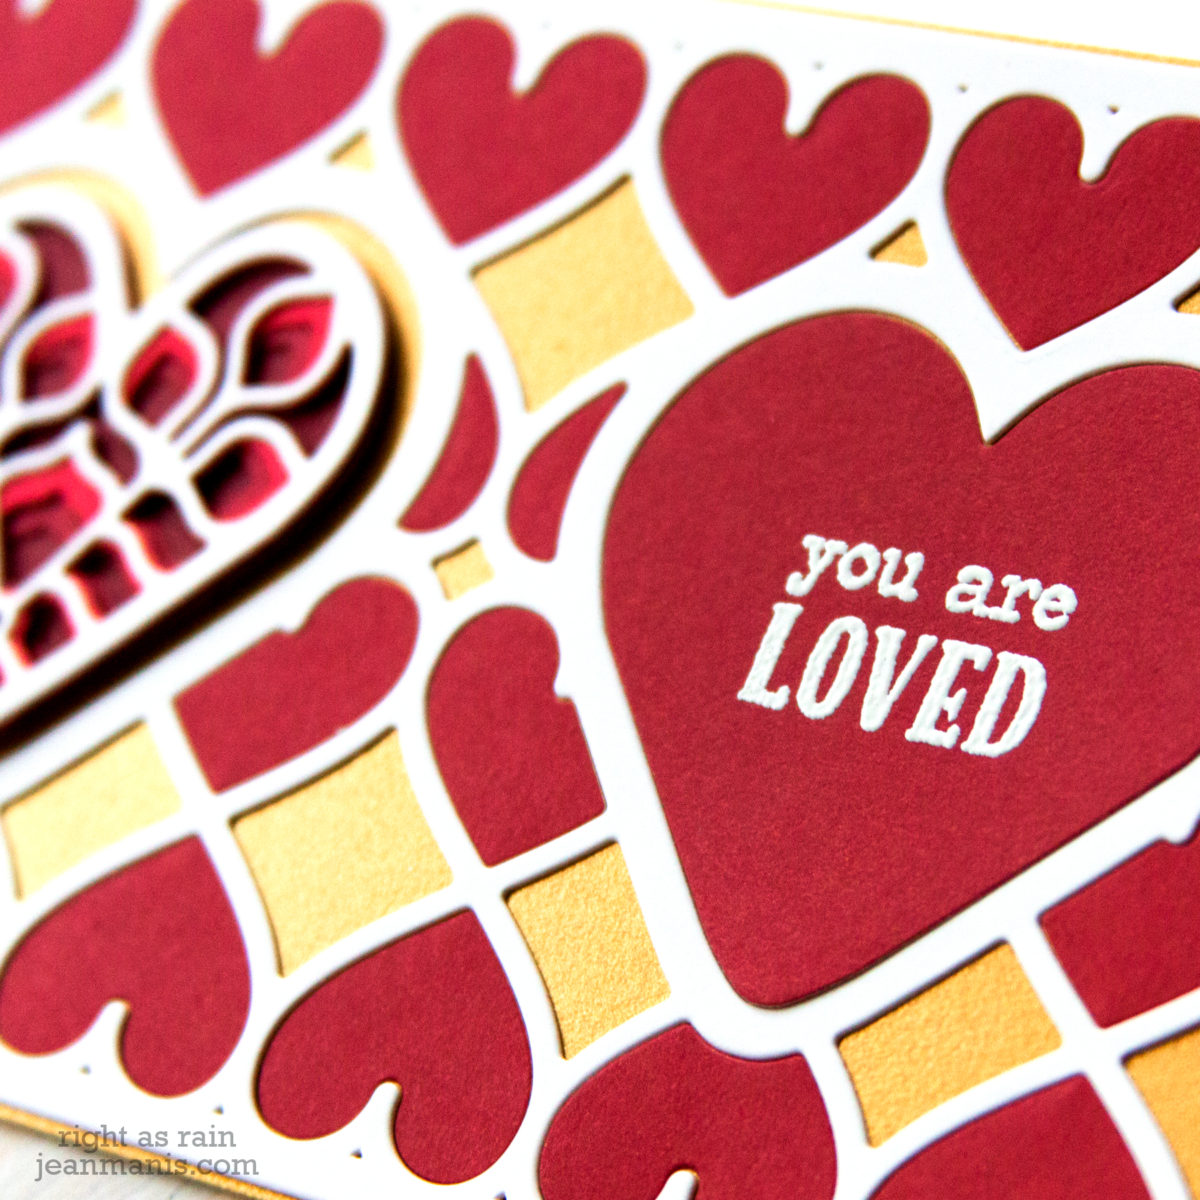
My first project is a slimline Valentine’s Day card.
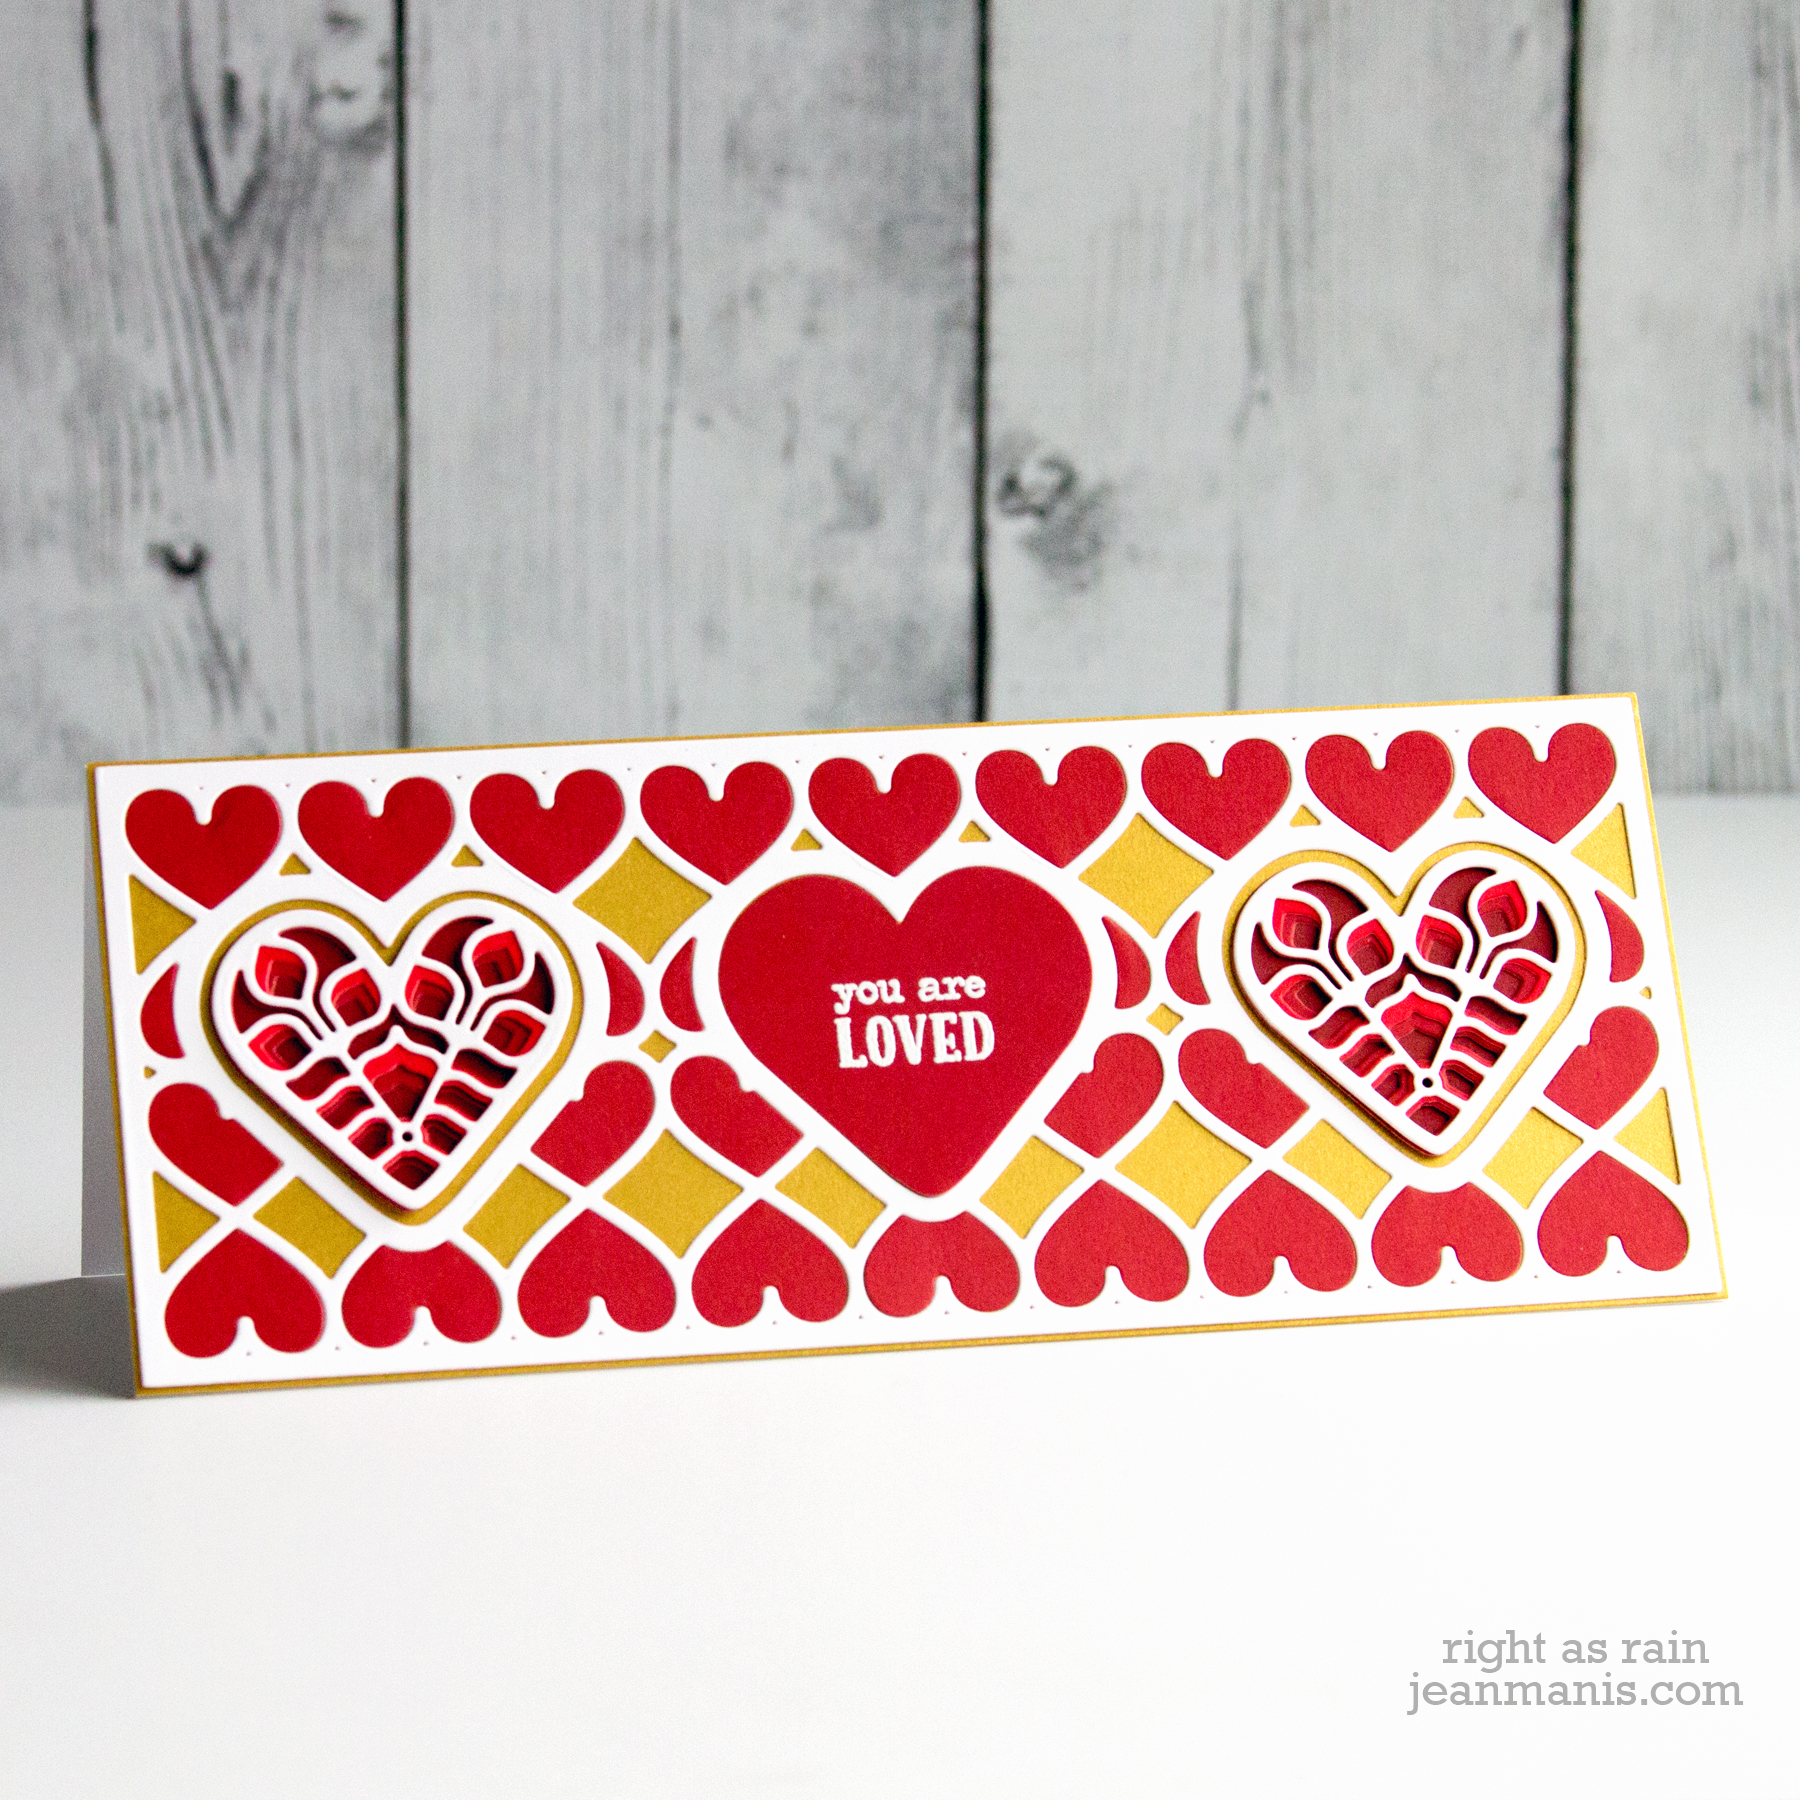
- I cut the Large Die of the Month frame from Whip Cream cardstock.
- I used the frame to cut the smaller hearts from red paper and inlaid them into the frame. I backed the frame with Brush Gold cardstock.
- I cut two kaleidoscope hearts from white cardstock and two shades of red, backing the assembly with a solid heart cut from dark red.
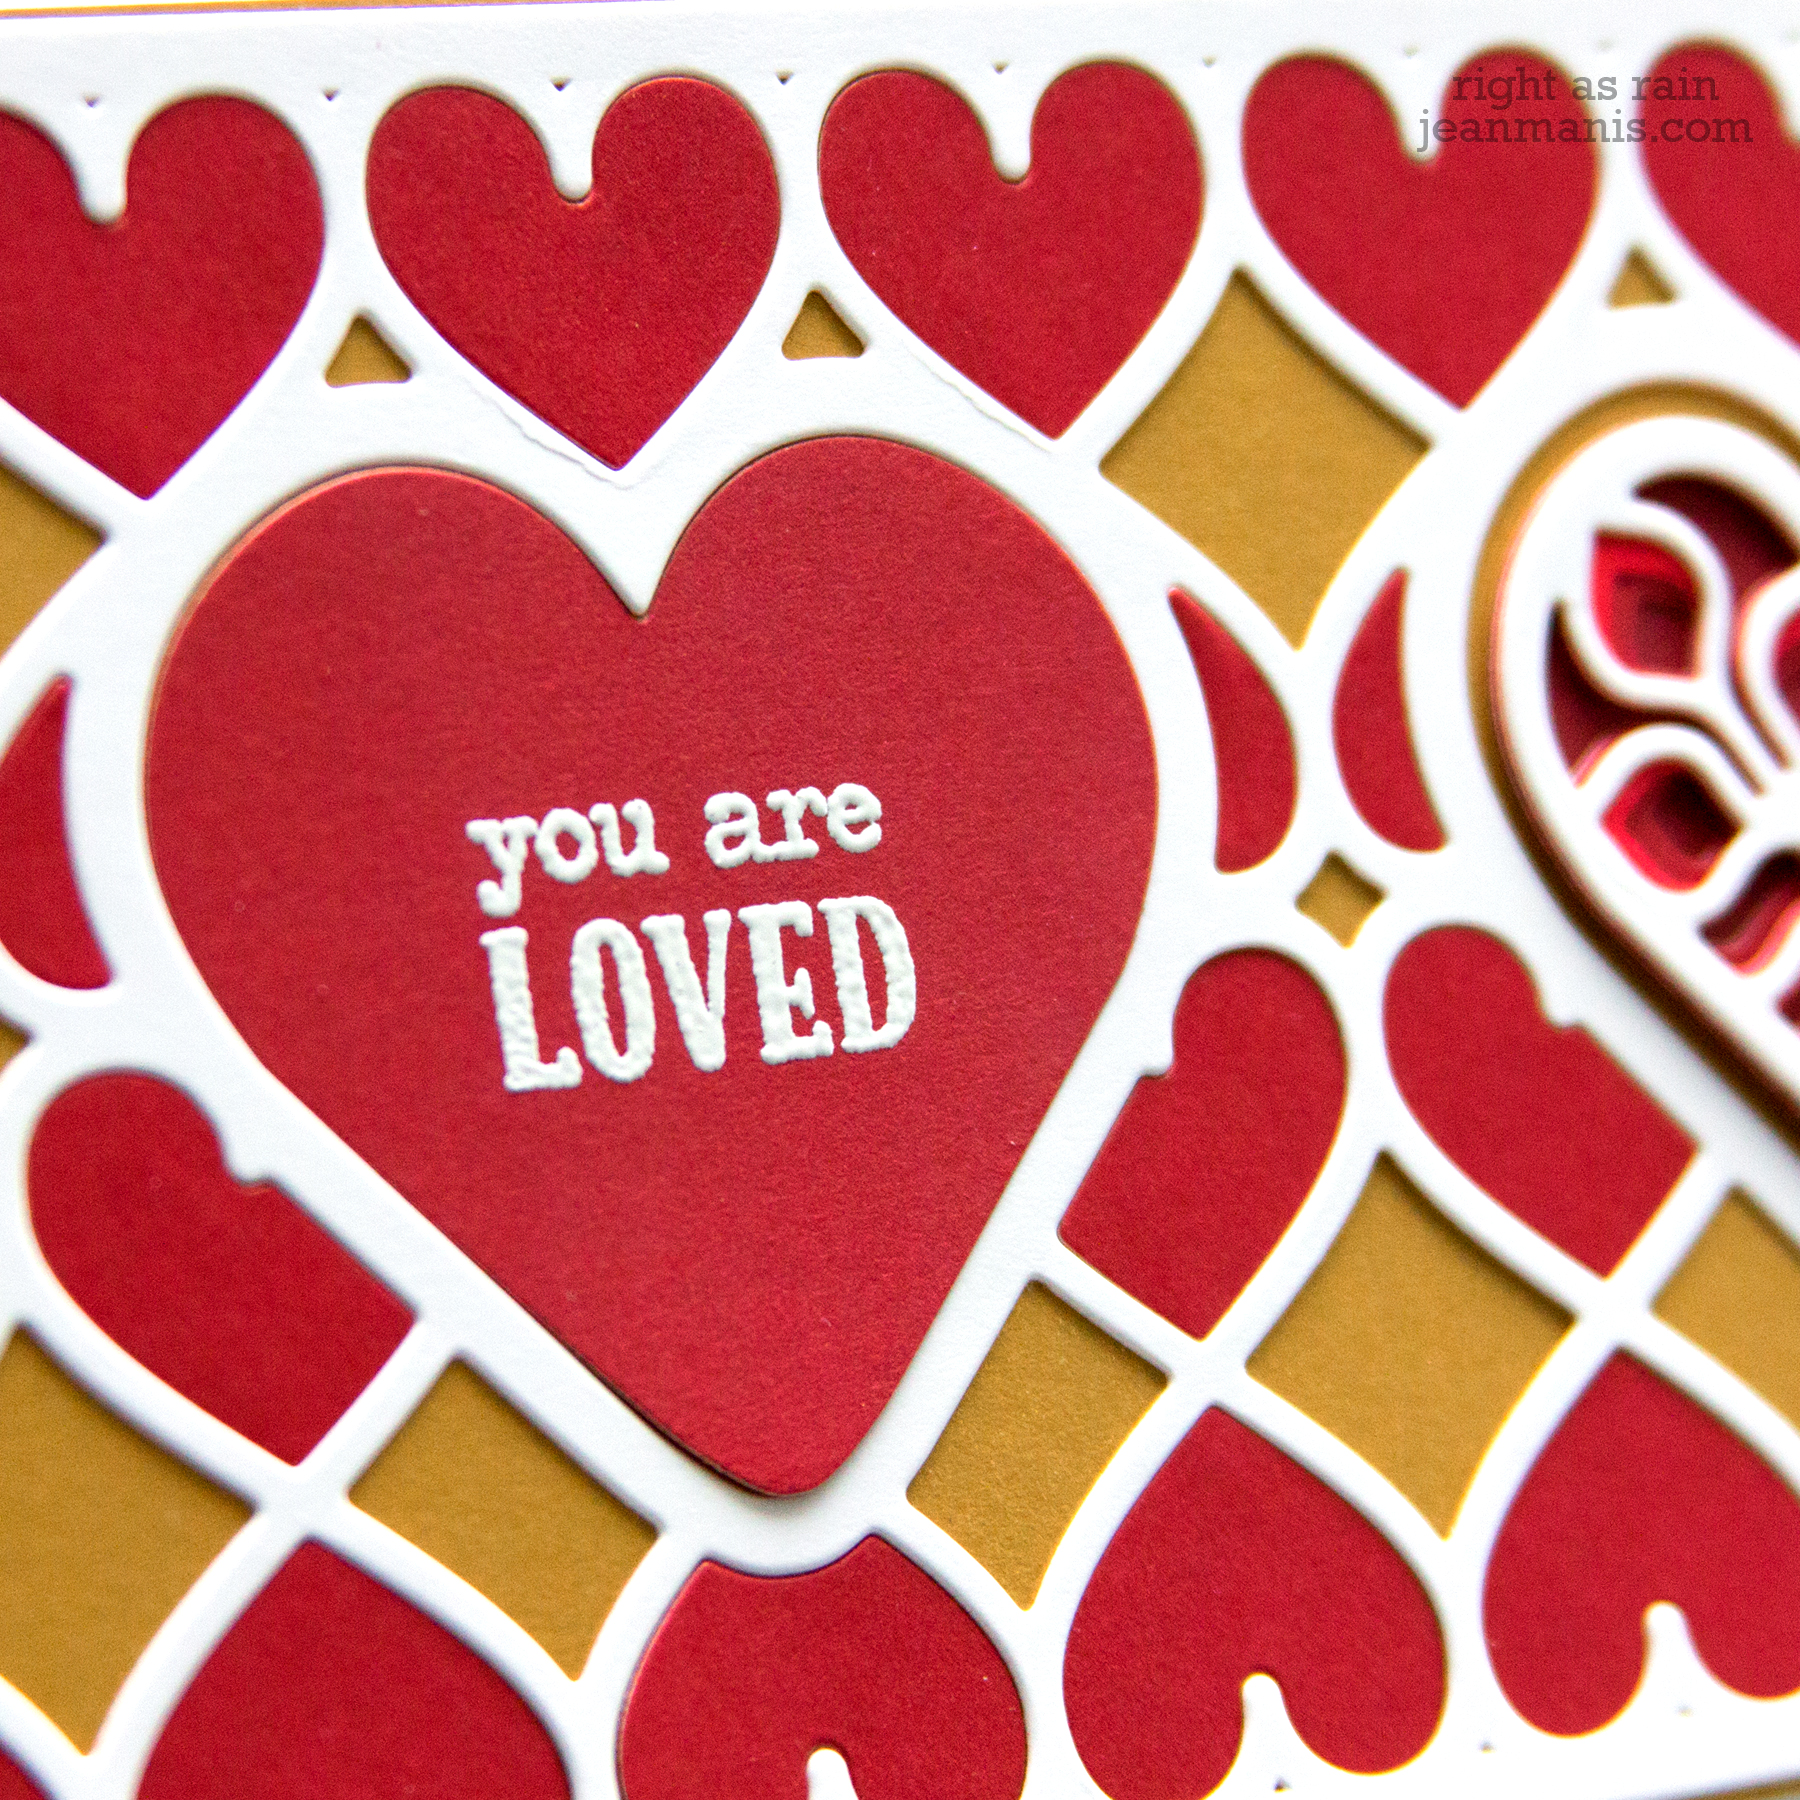
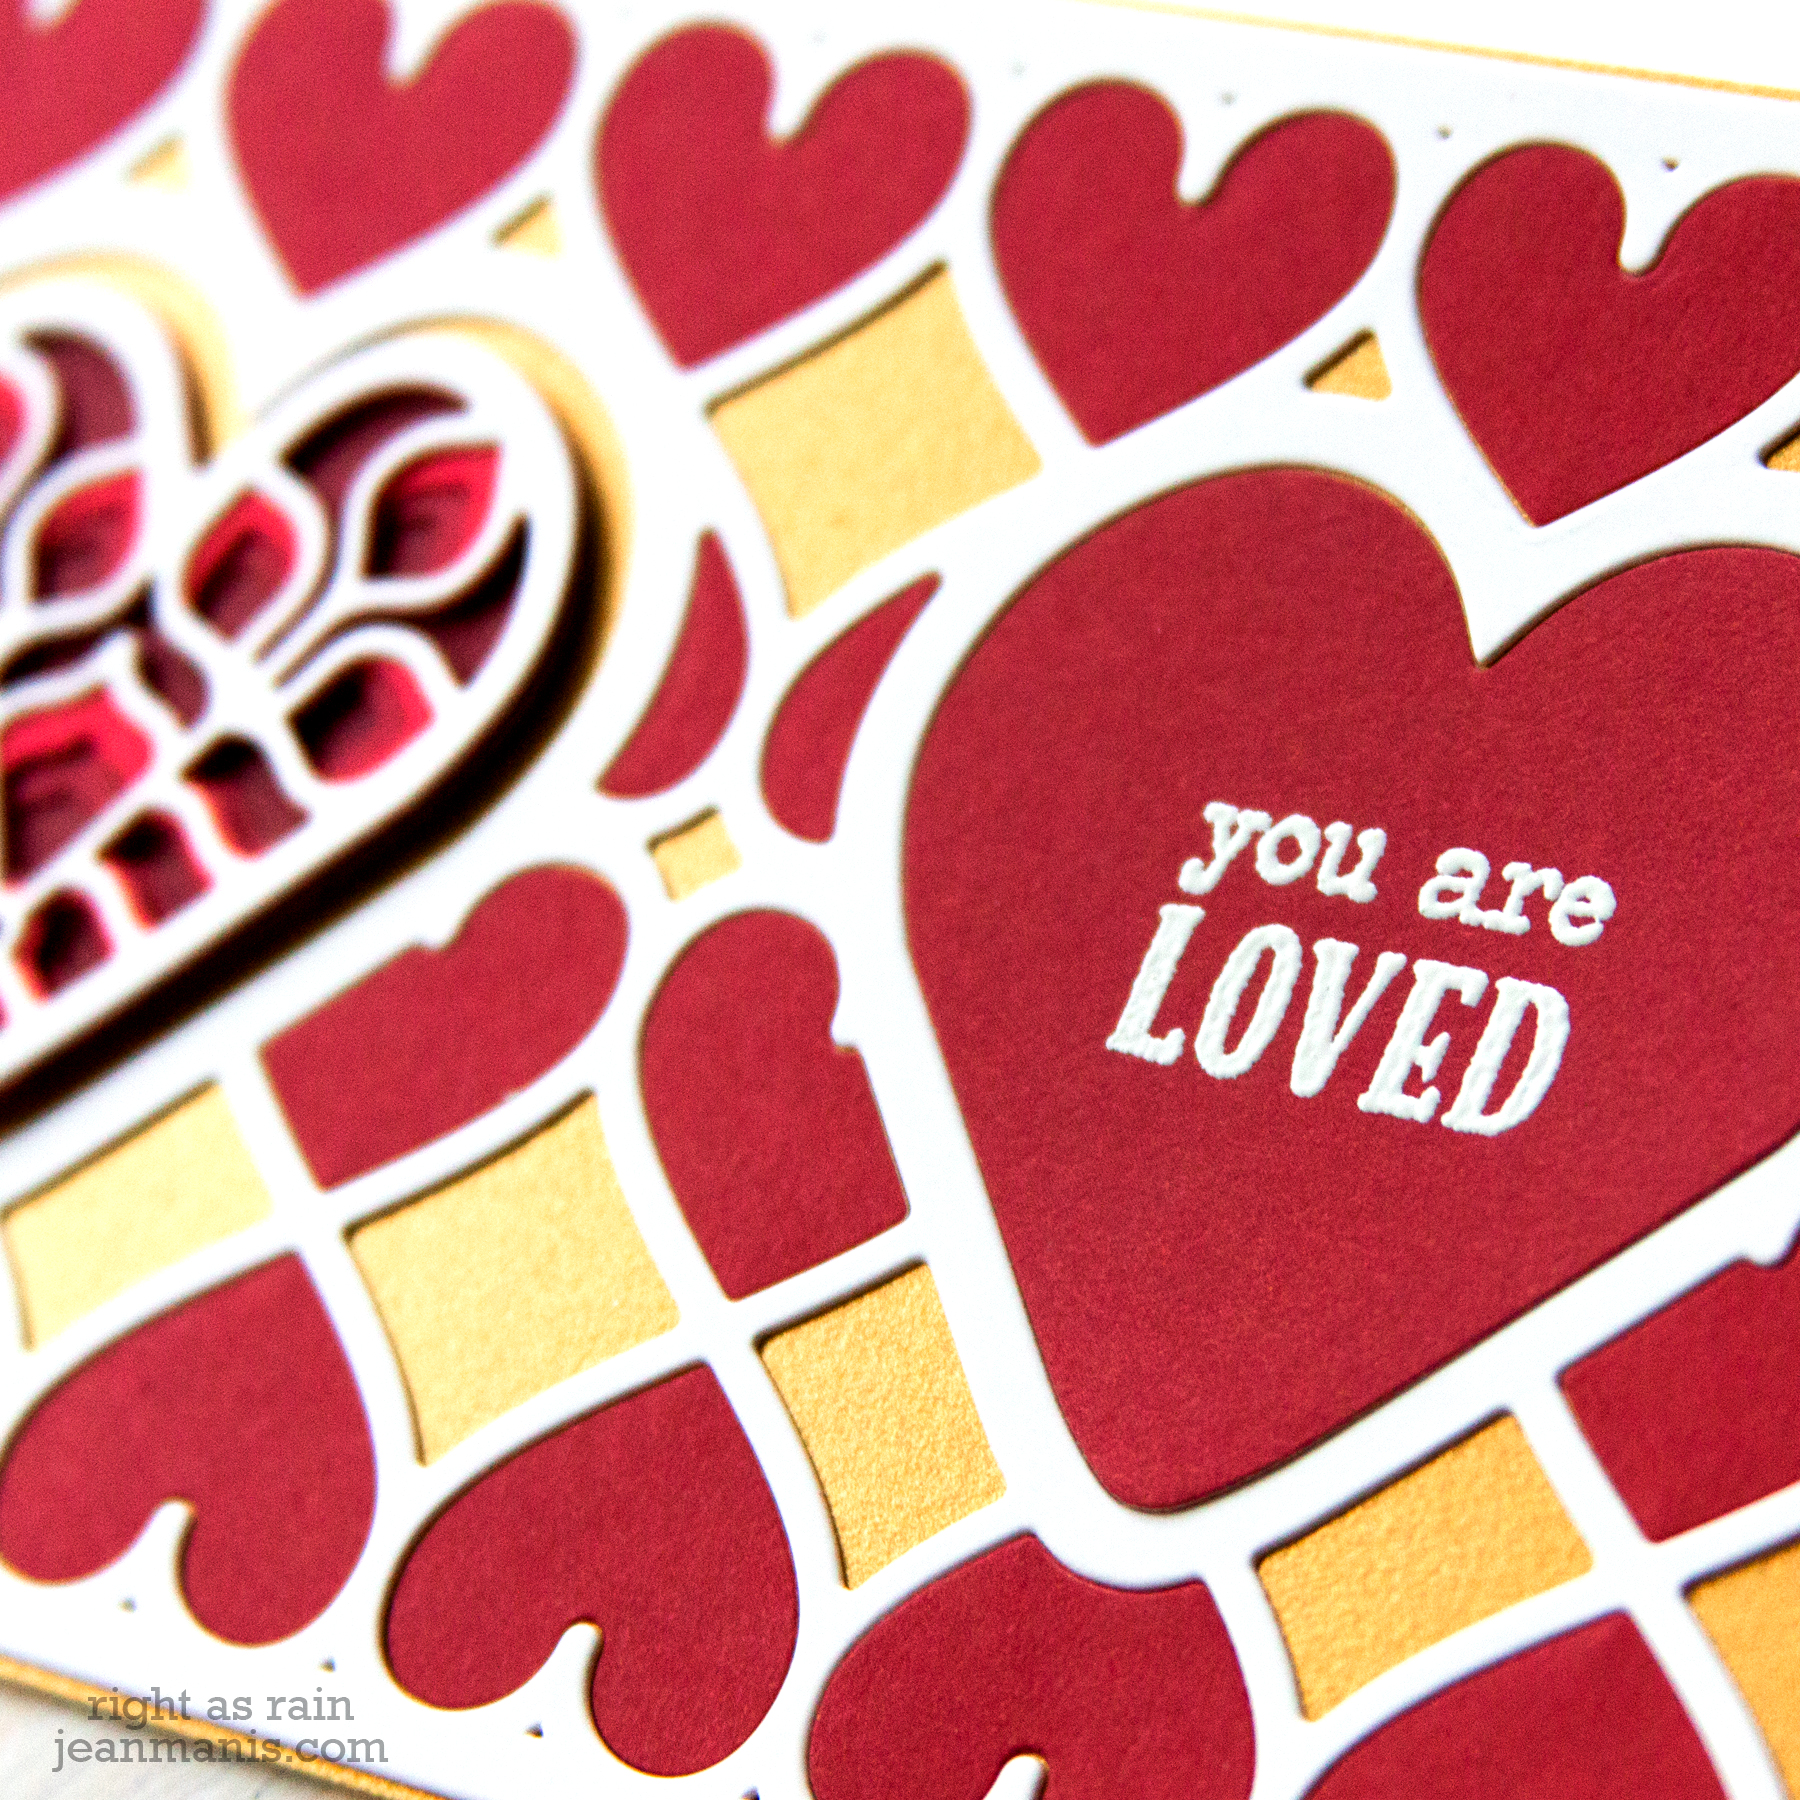
- I heat-embossed the Sending My Love sentiment in white on red and cut it with the frame die. (The solid heart of the kaleidoscope is slightly smaller than the large heart of the frame.)
- I adhered the sentiment heart and kaleidoscope hearts to the frame.
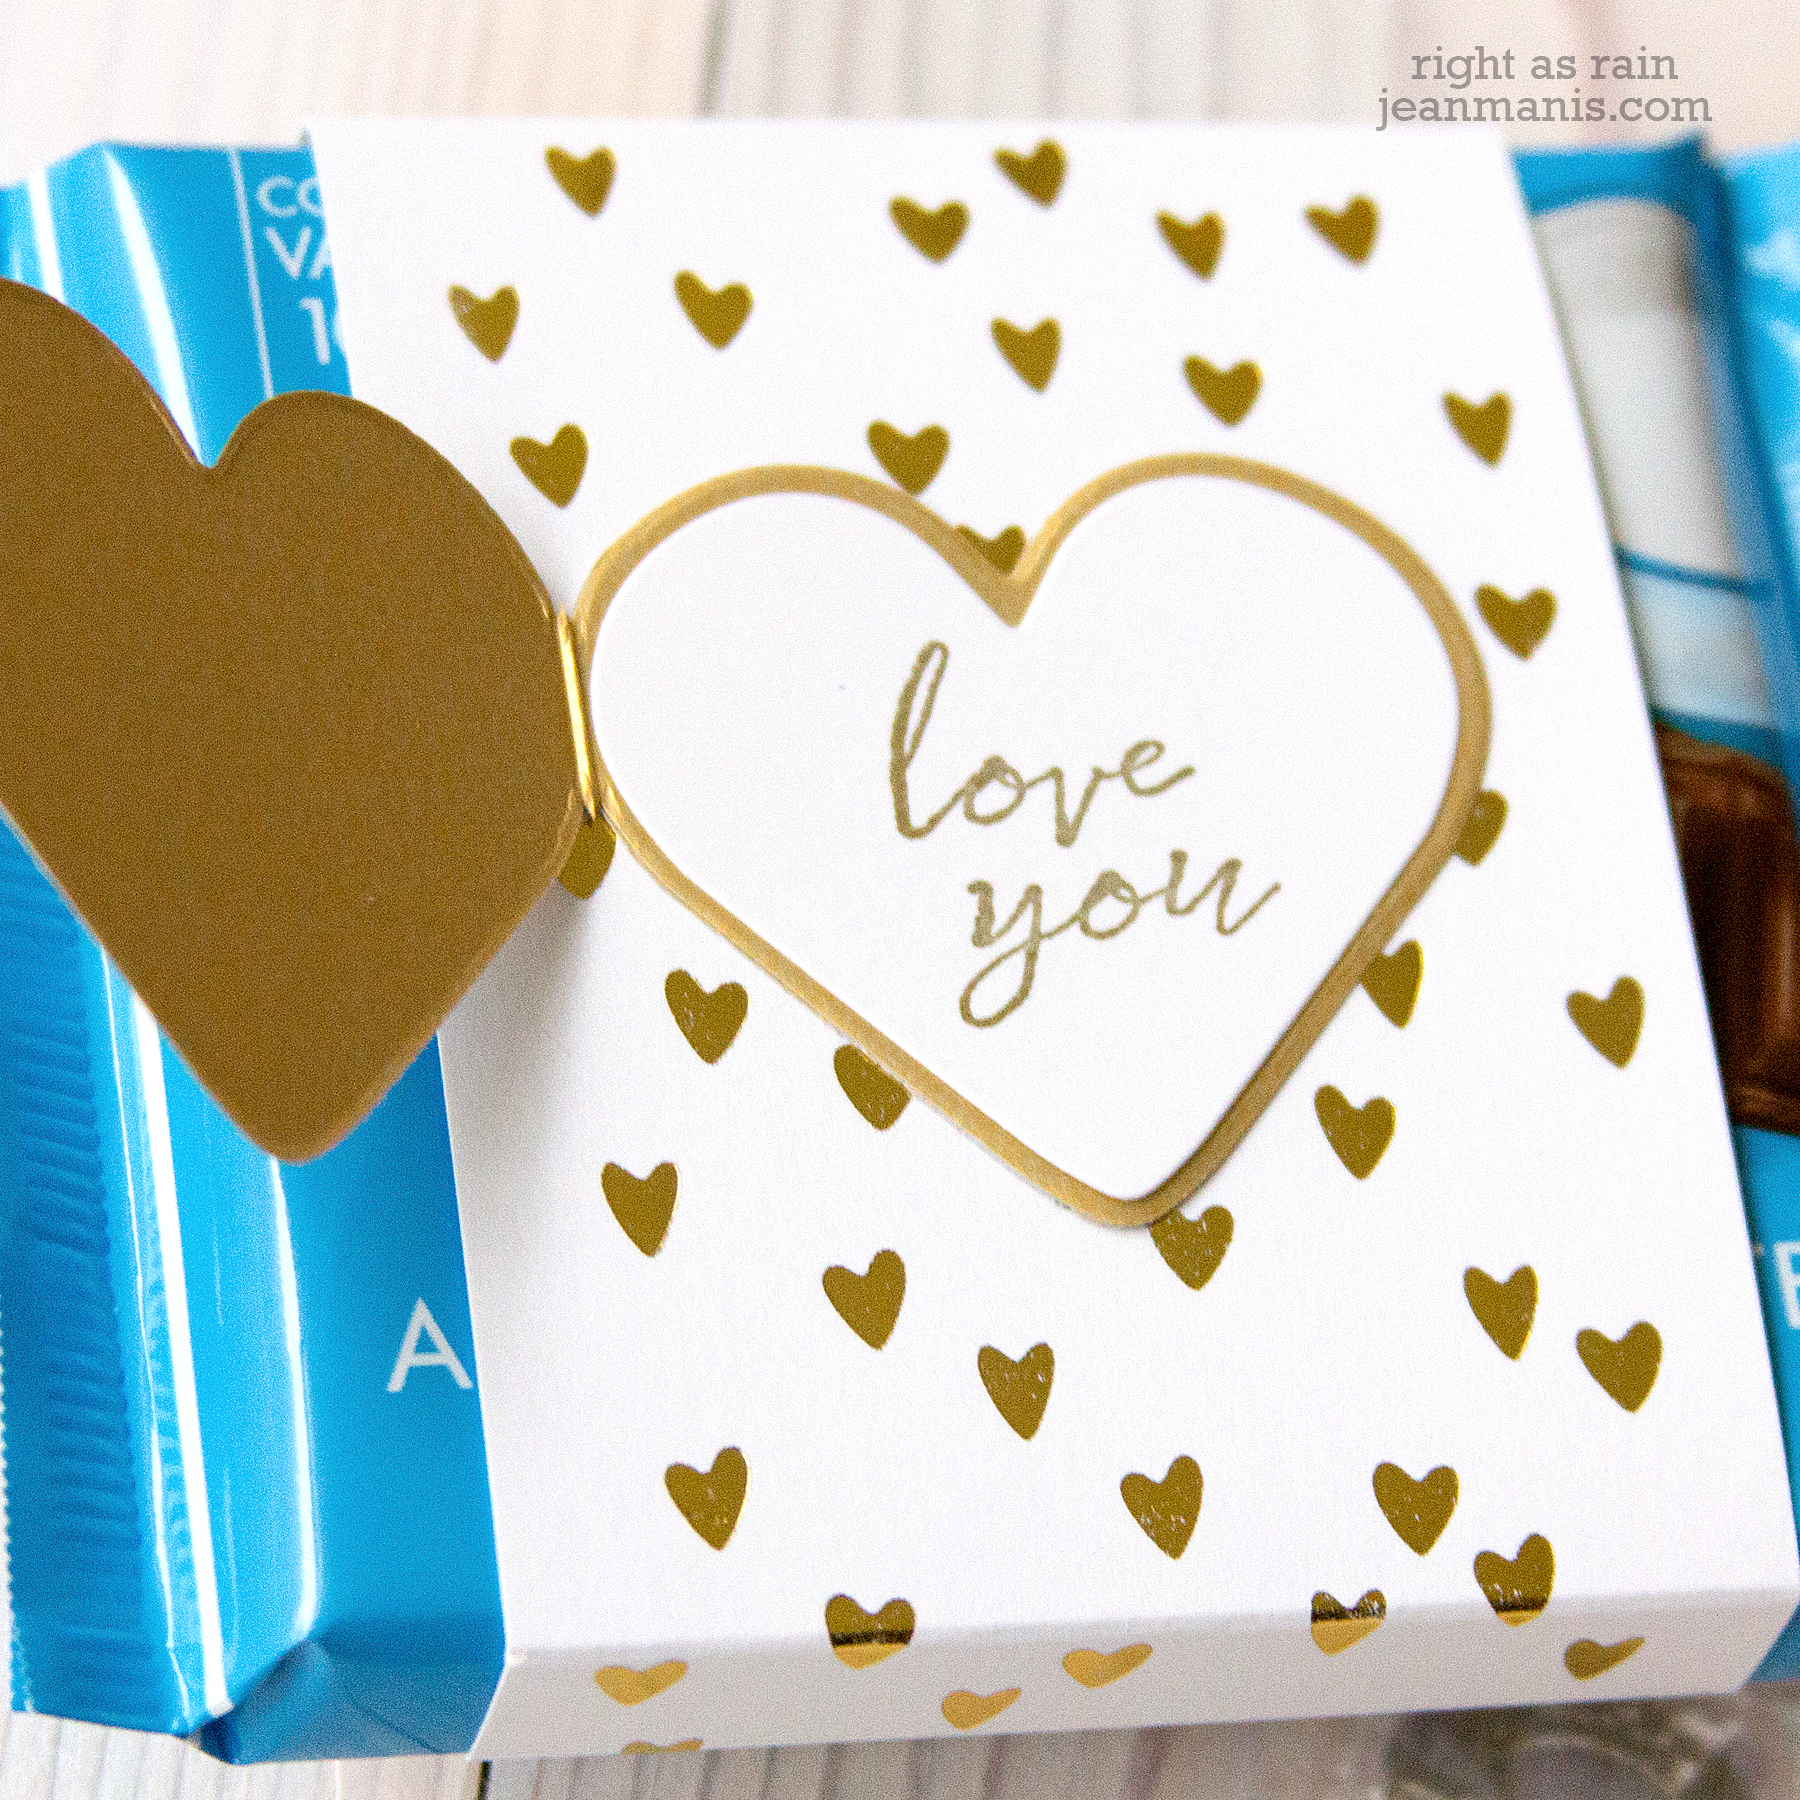
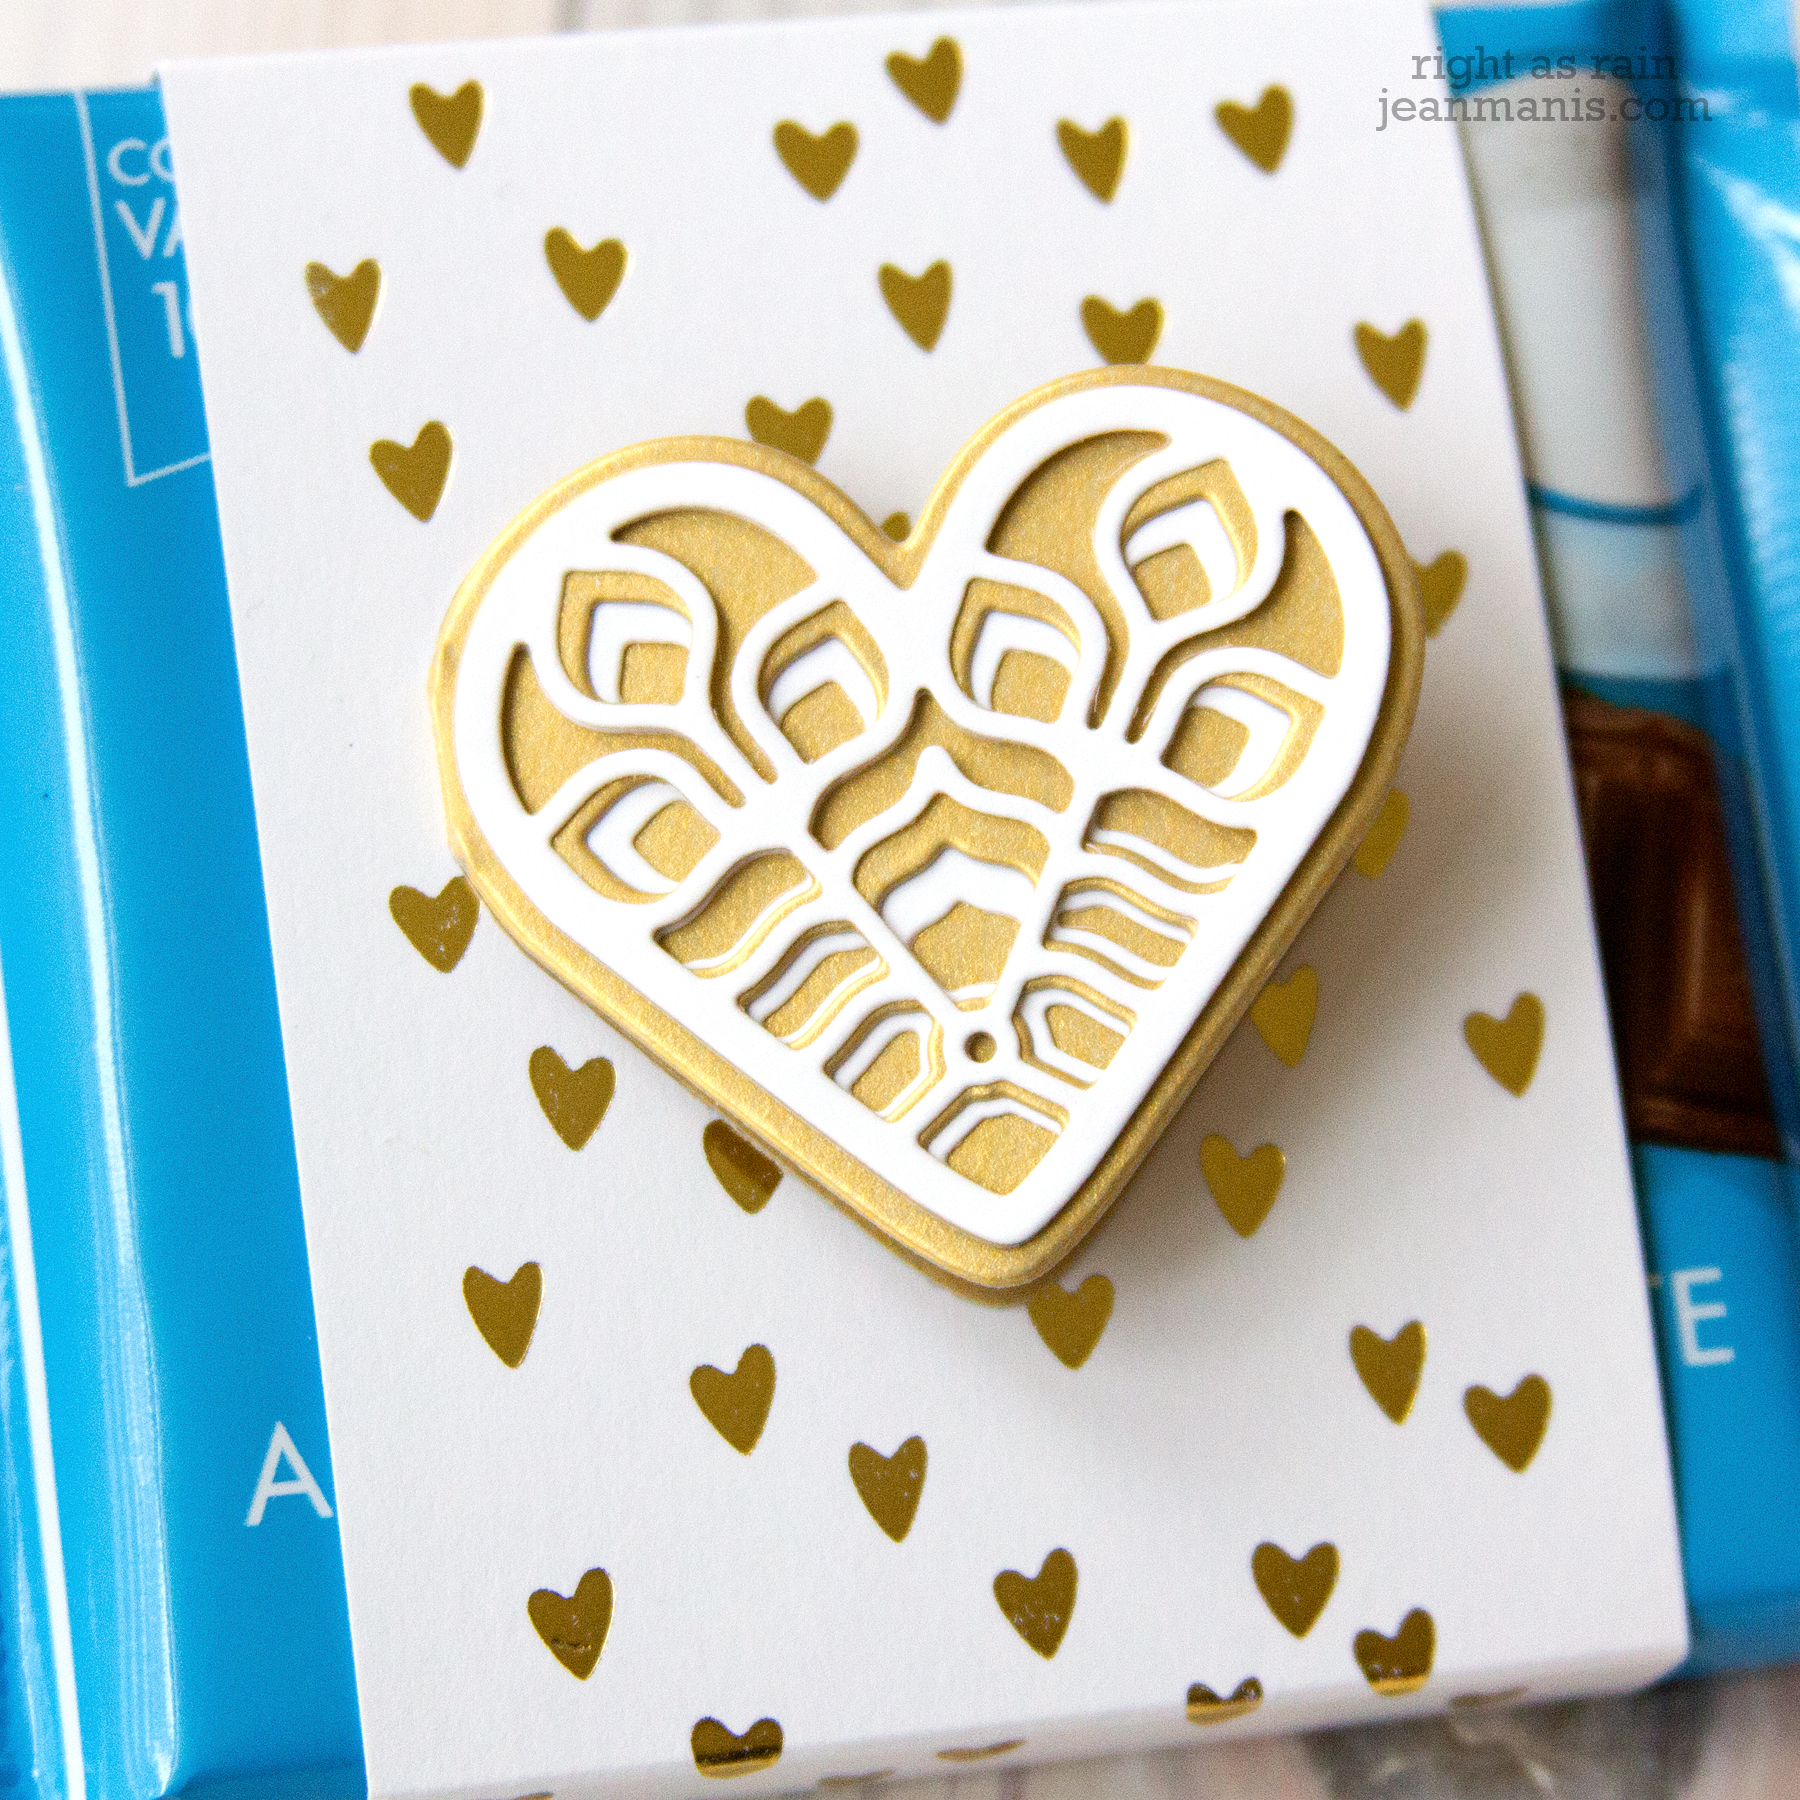
To illustrate the set’s versatility, I created a gift tag with the kaleidoscope heart for a Valentine’s Day treat.
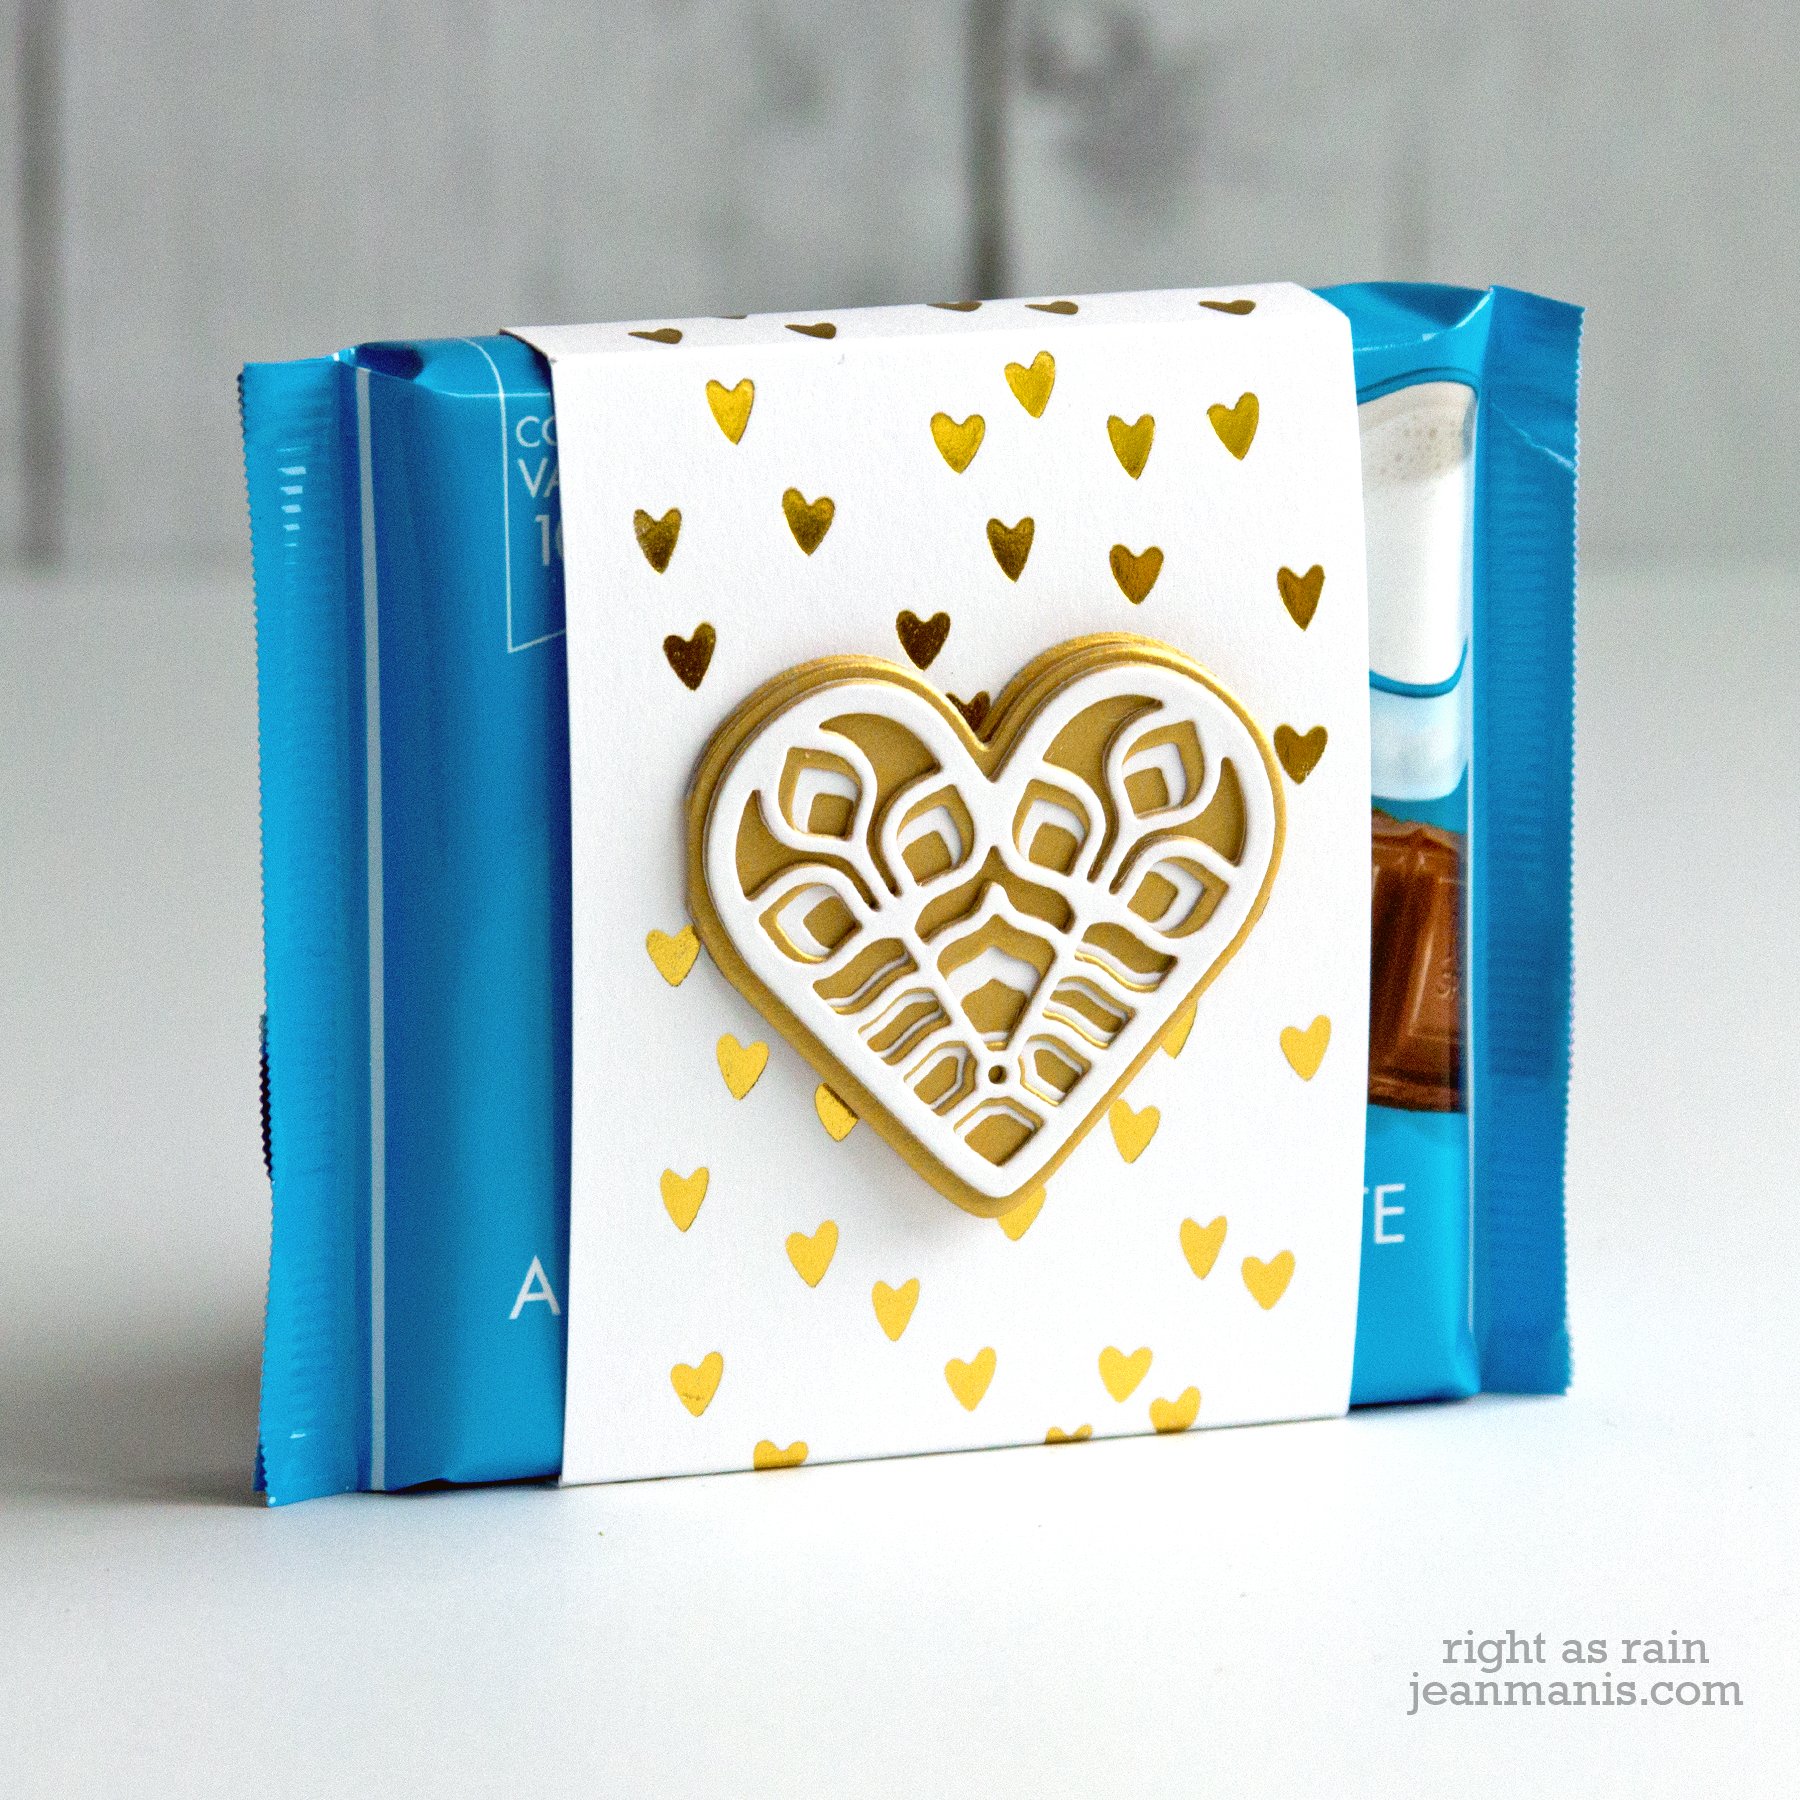
- For the candy wrapper, I glimmer-foiled Scattered Hearts in Gold on Whip Cream cardstock. I scored the rectangular strip to cover the chocolate.
- I cut the kaleidoscope heart layers from Whip Cream and Brush Gold cardstock.
- I used the Large Die of the Month to cut the tag from Brush Gold cardstock. The left-hand side is not cut through completely, which creates a hinge.
- I stamped the Sending My Love sentiment in gold on Whip Cream cardstock and cut it with the solid heart die, adhering it to the inside of the tag.
