Hello! Today I am sharing three projects created with the Spellbinders holiday kit that contains OVER 630 PIECES aptly called Merry Everything. Let’s take a look!
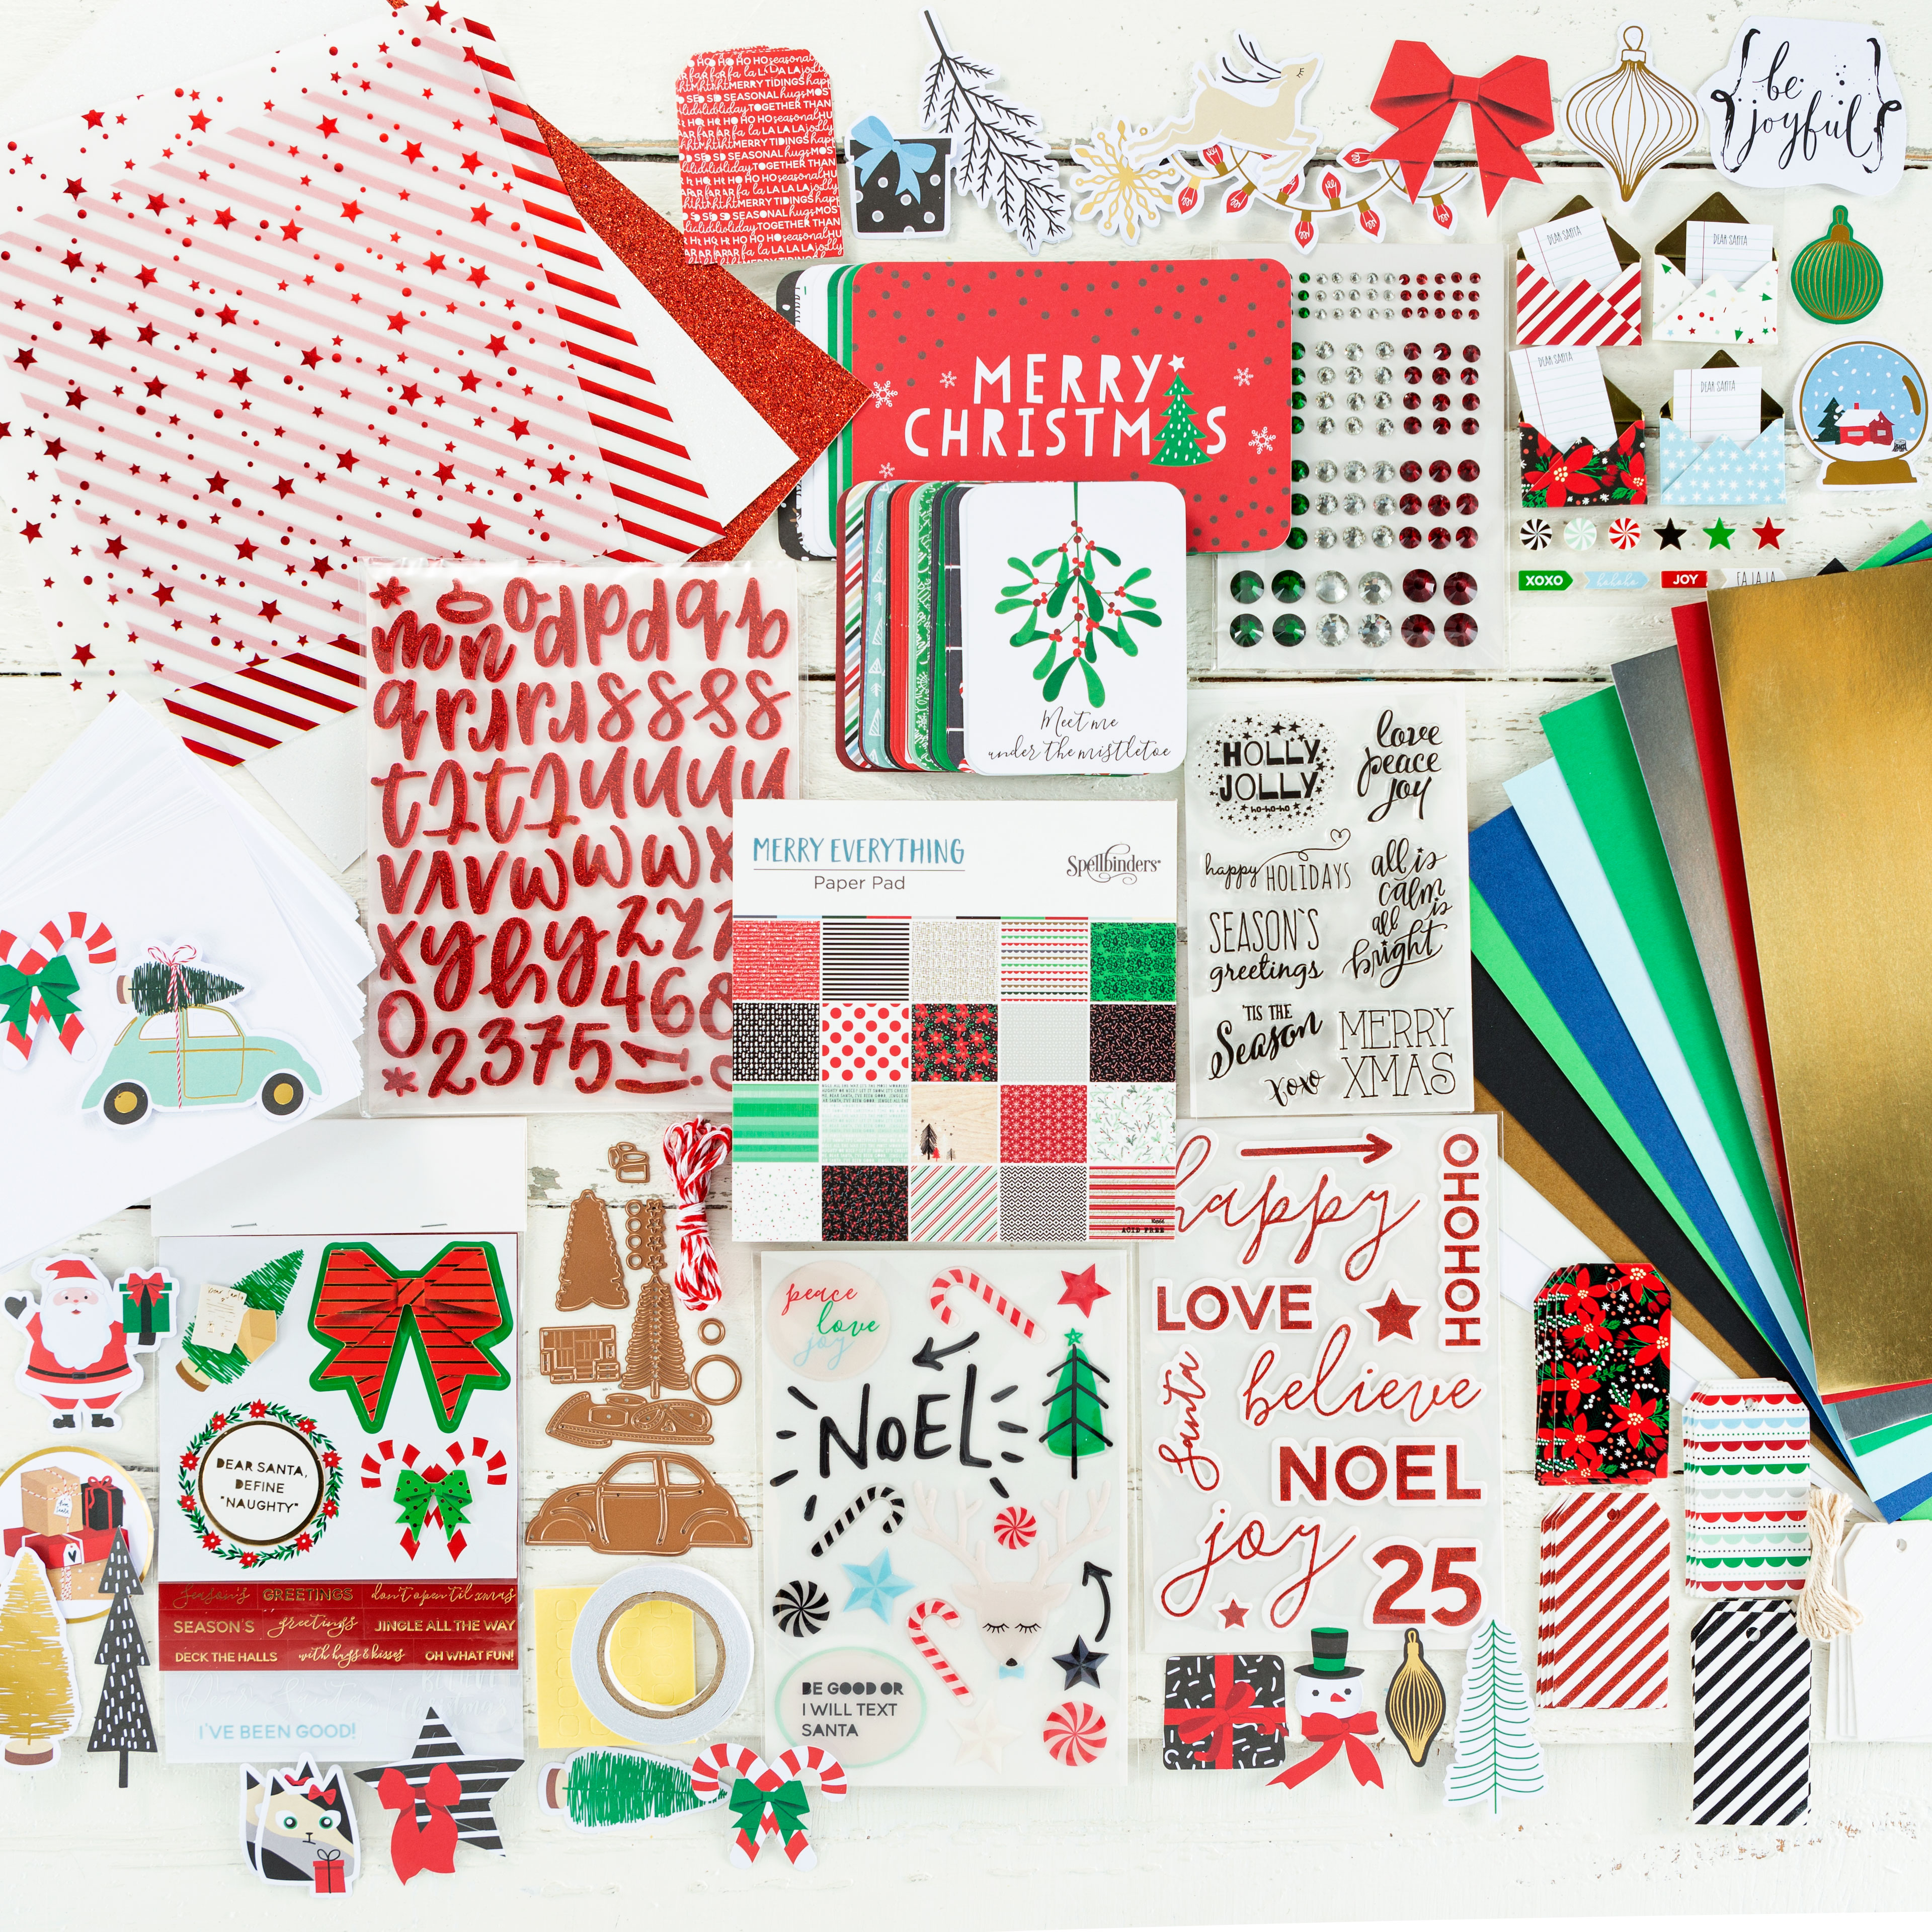
The Merry Everything kit includes: 25 cards & 25 envelopes, patterned paper, cardstock, foil cardstock, a stamp set, a die set, pocket memory keeping cards, stickers, chipboard, tags, twine, glitter alpha, and more! The colors and themes are on trend and easily coordinate with one another.
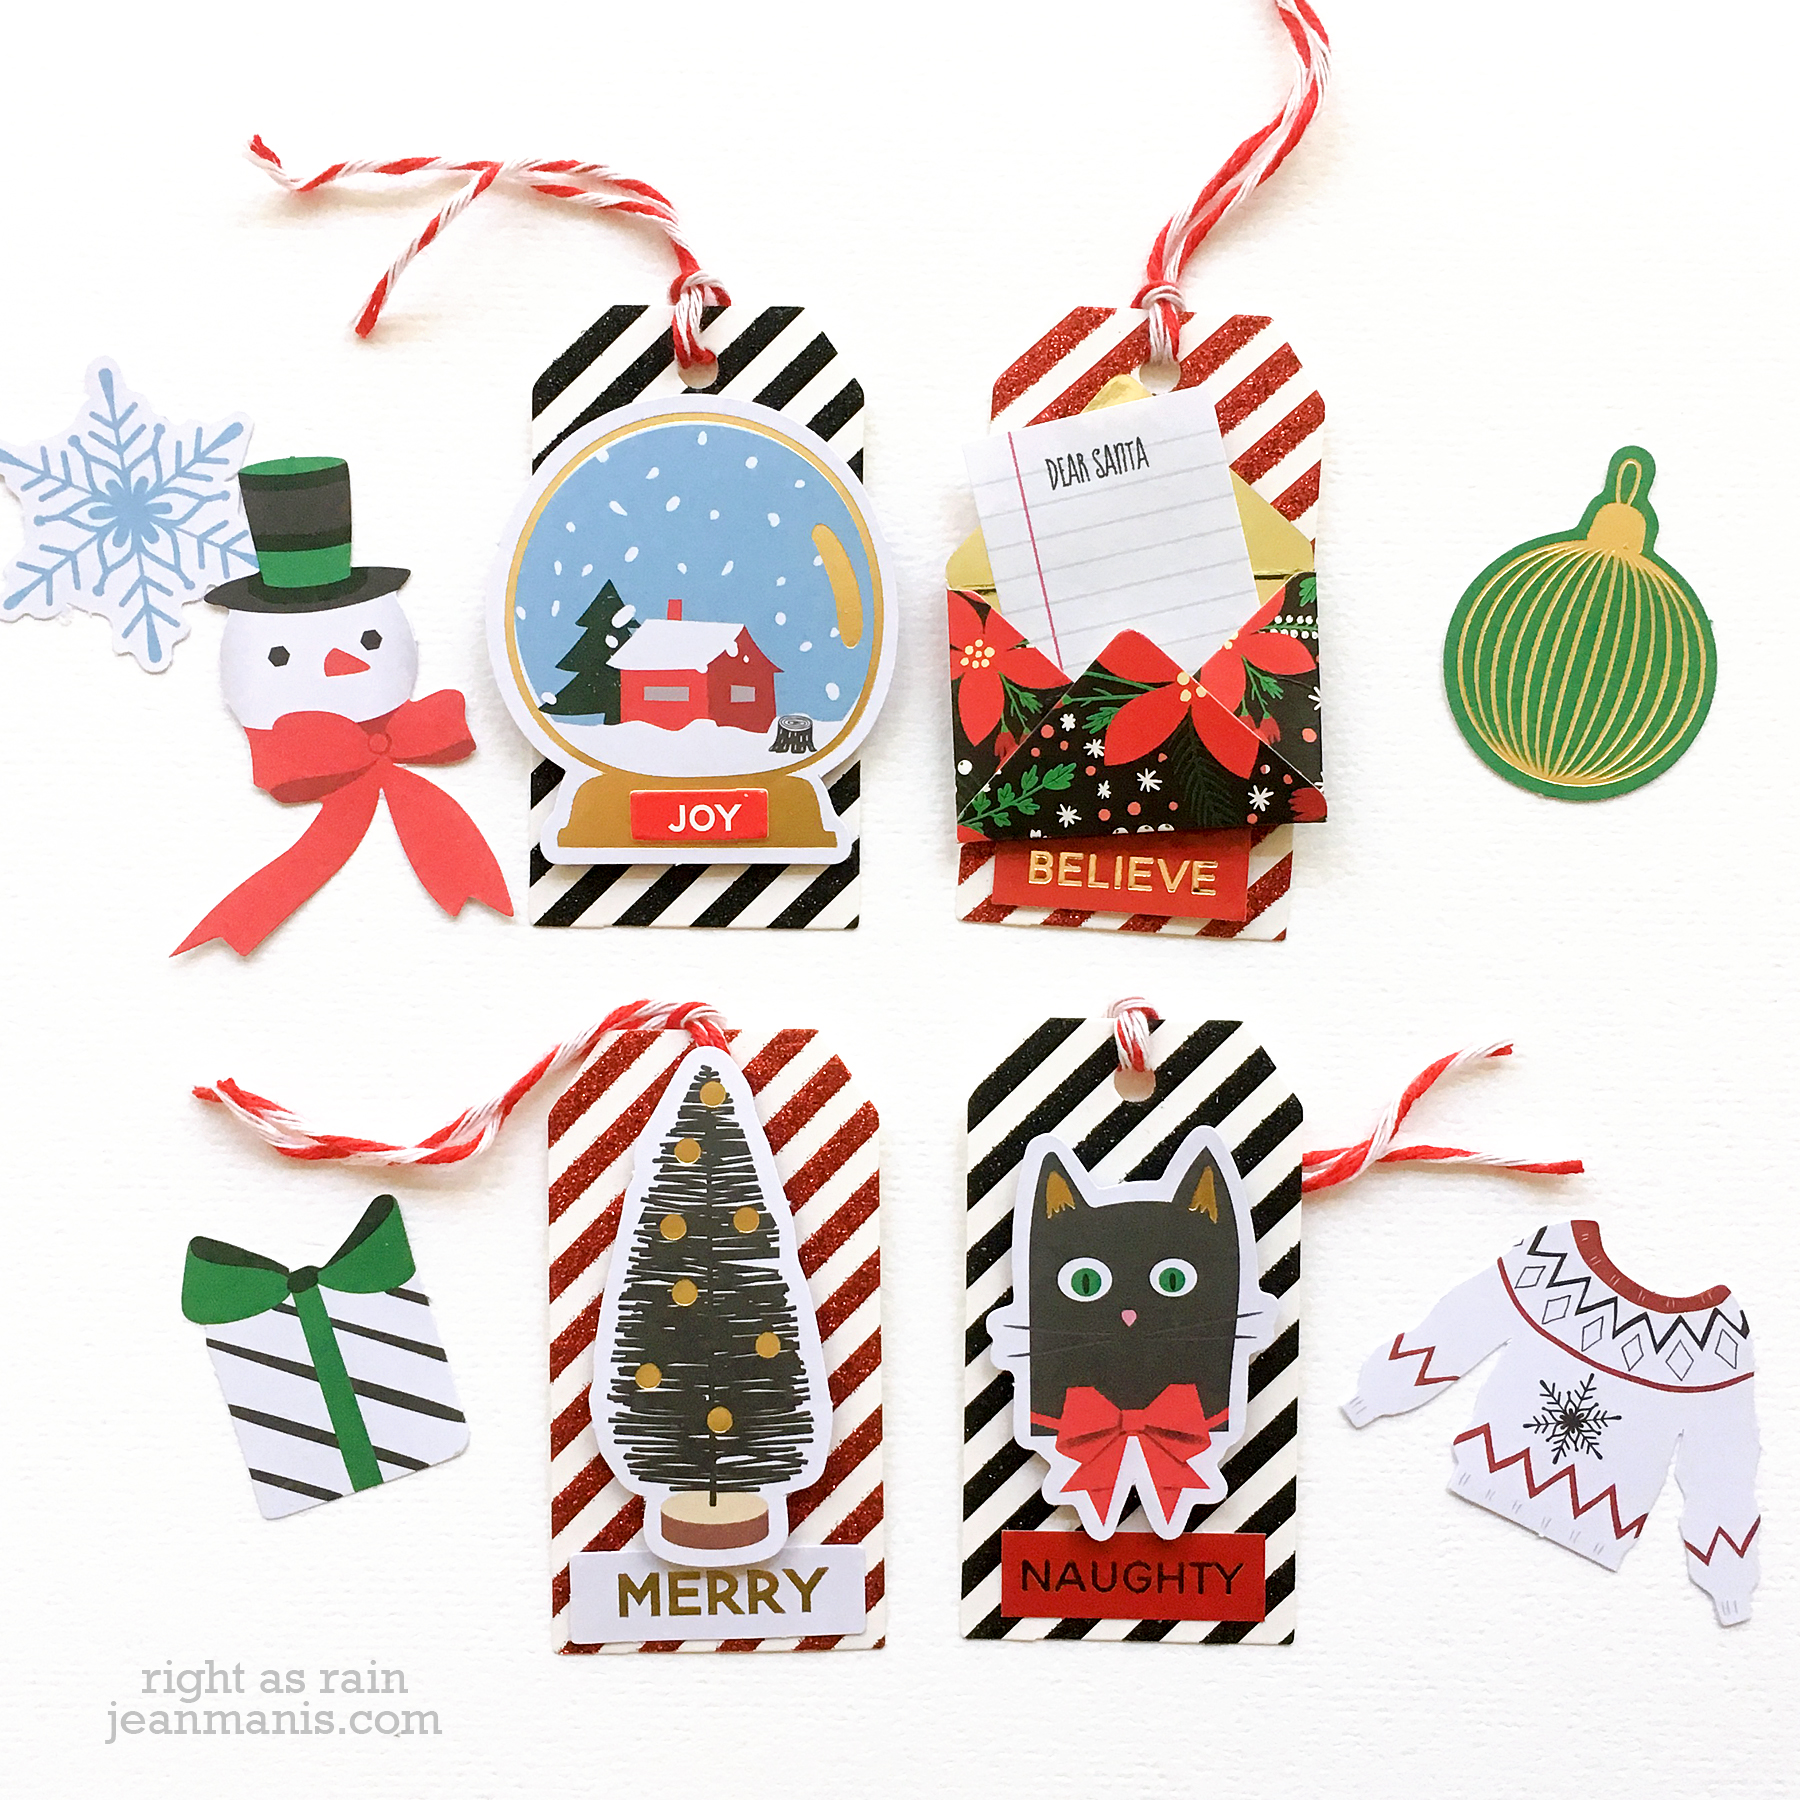
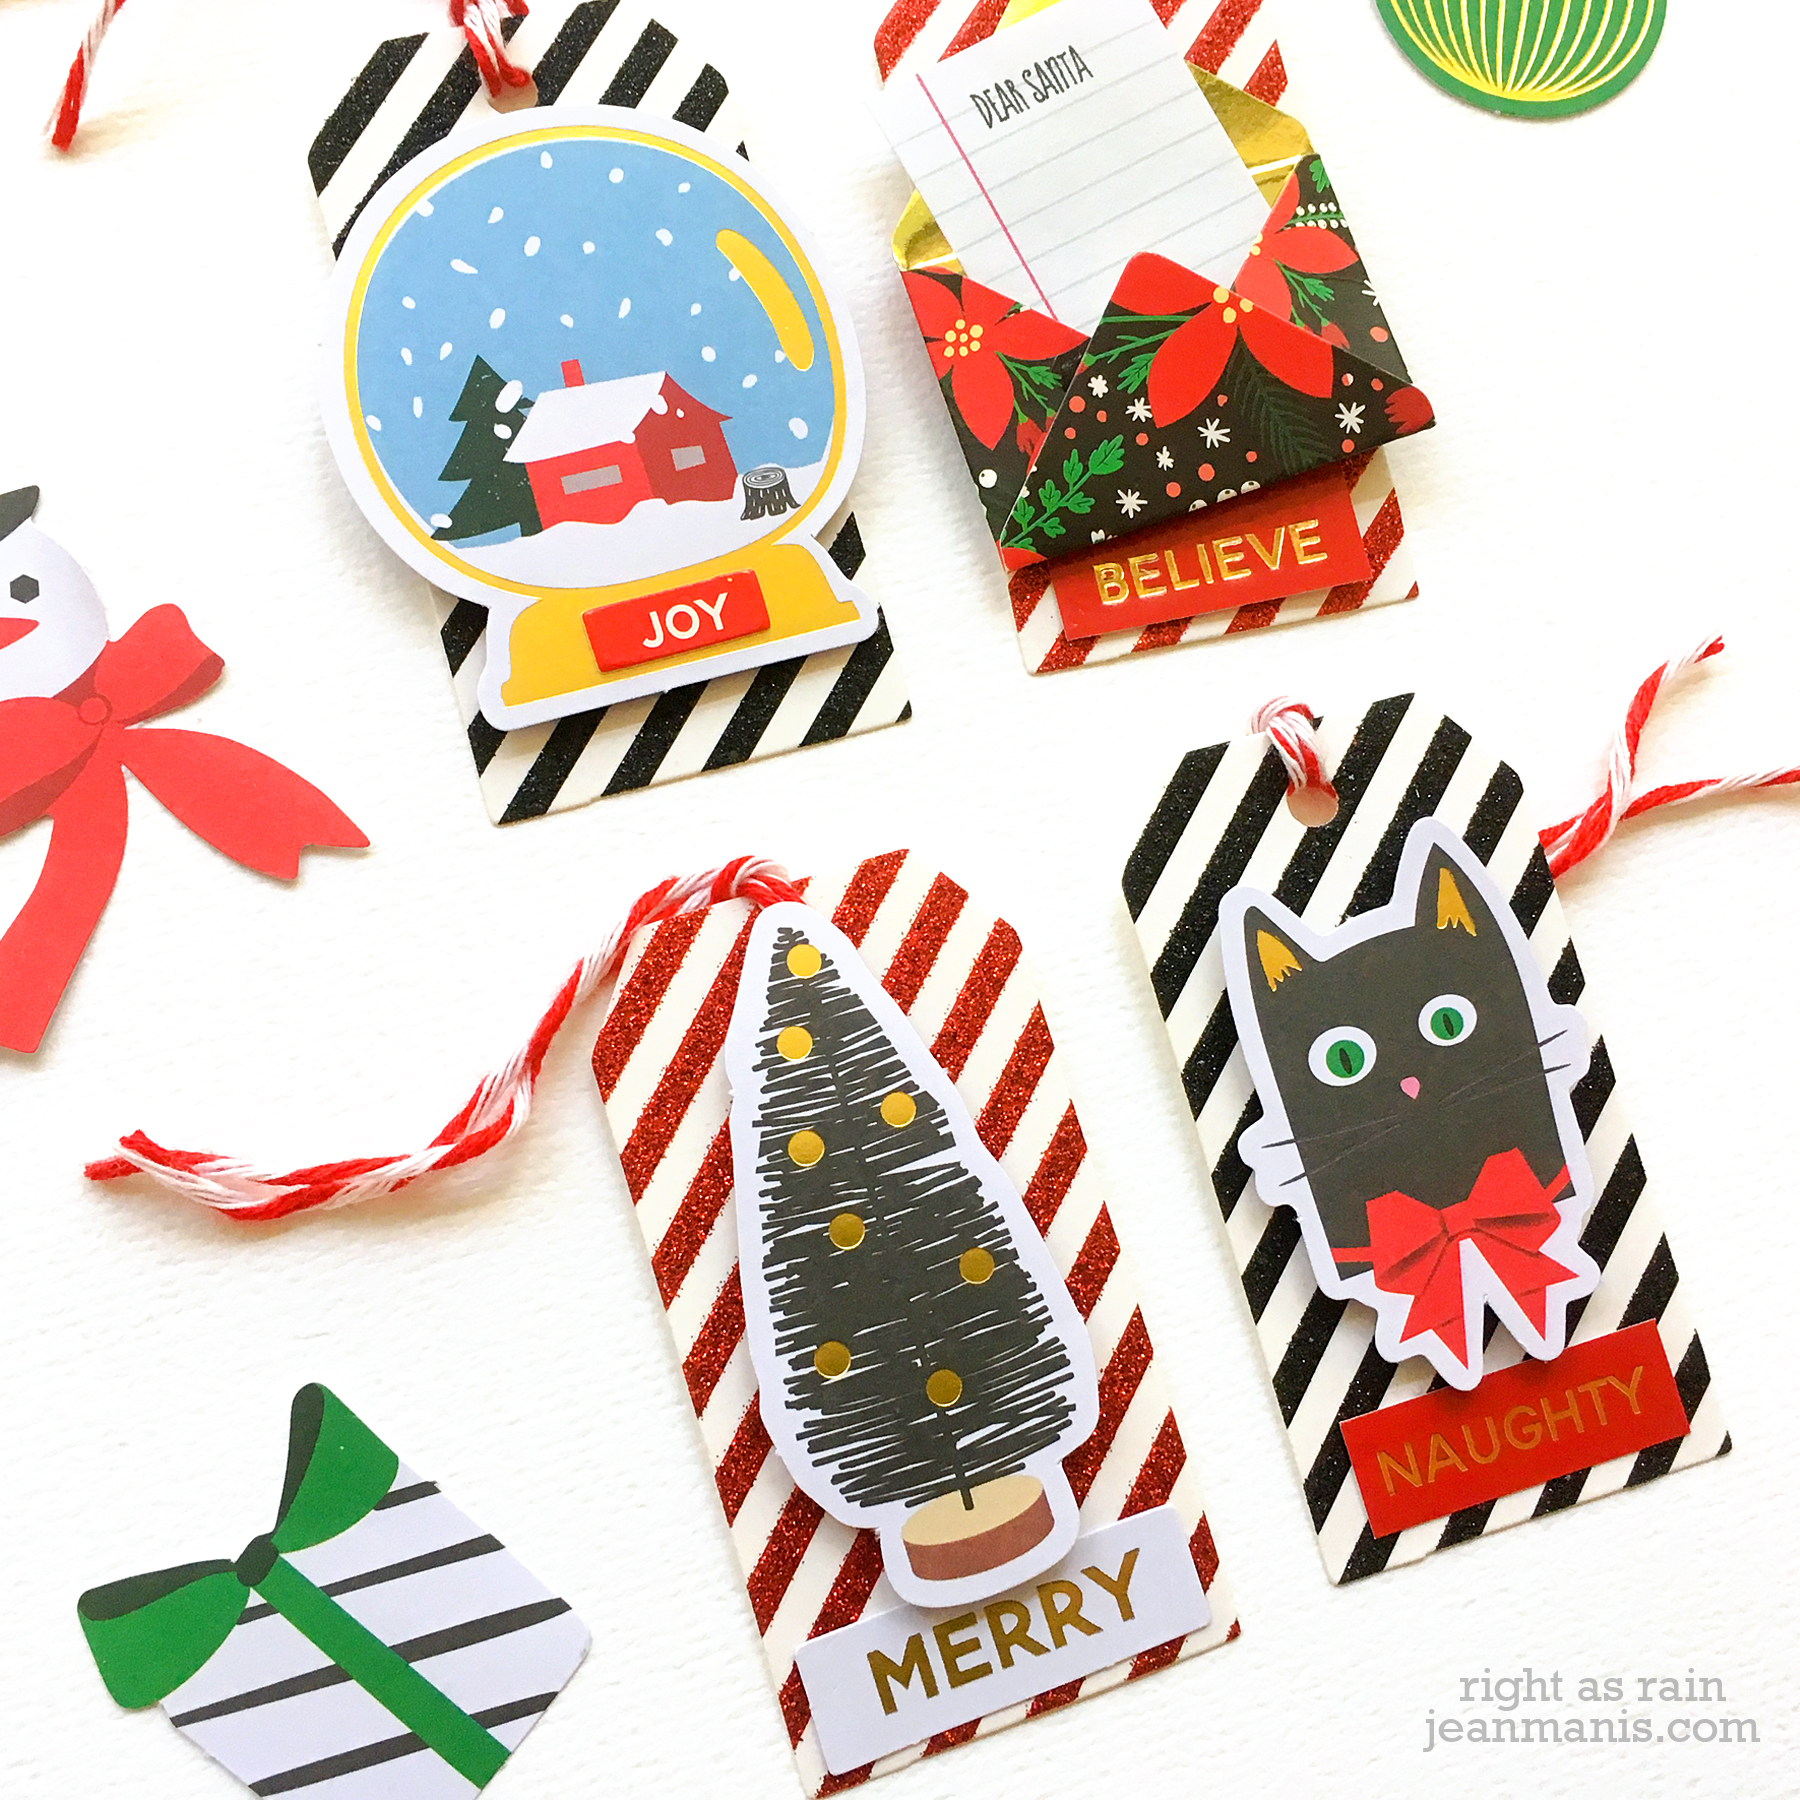
My first project is a set of Christmas tags which were a cinch to assemble with the kit’s contents. These are so pretty, my holiday packages can be wrapped with plain paper.
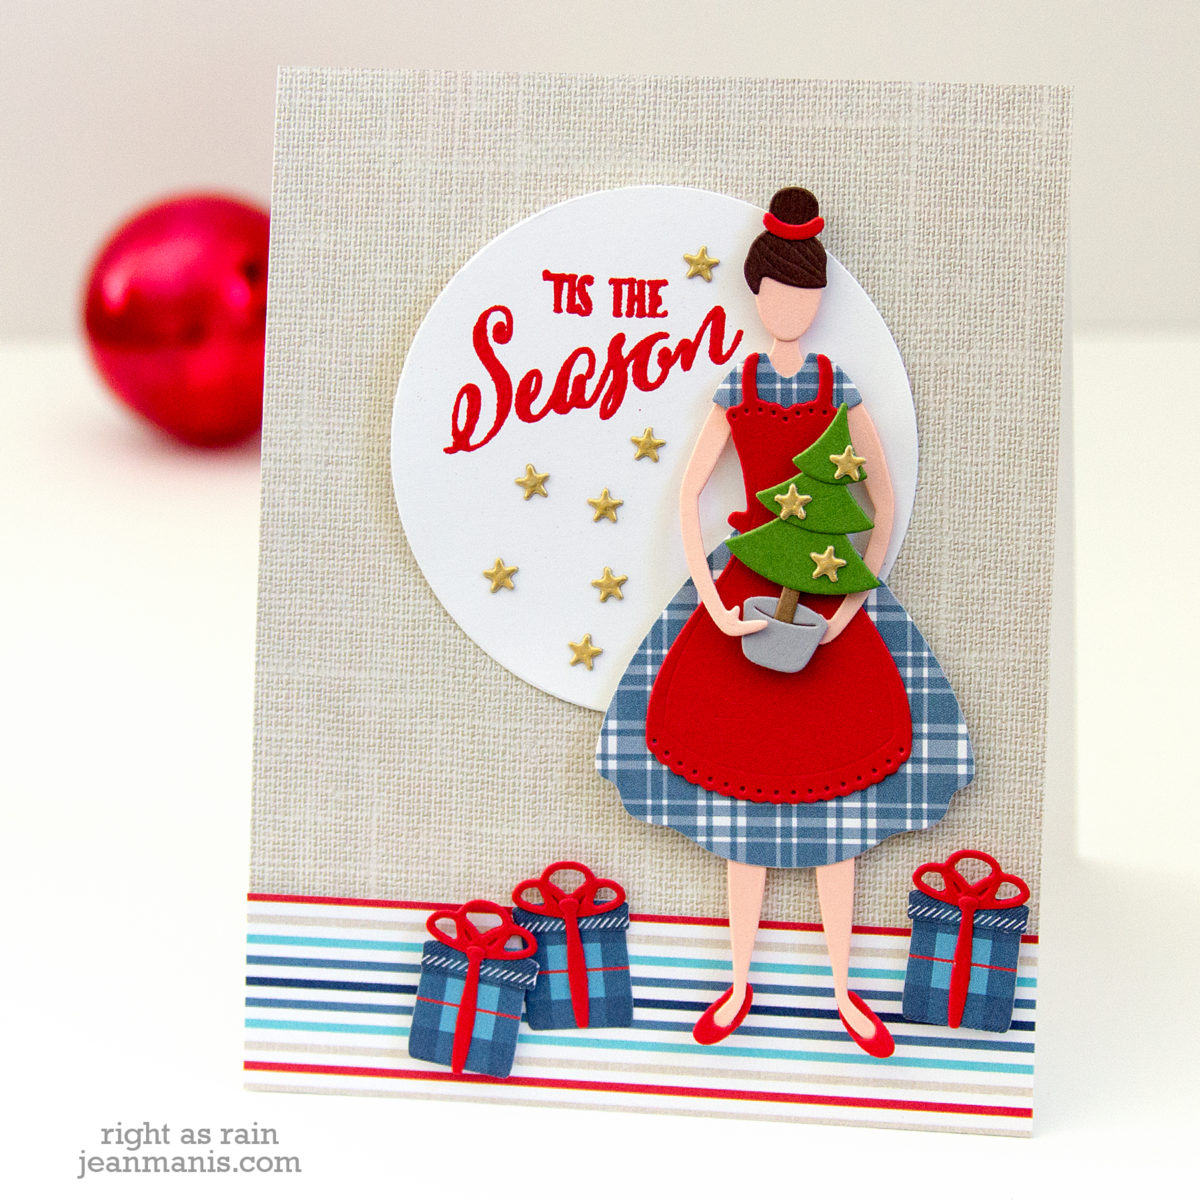
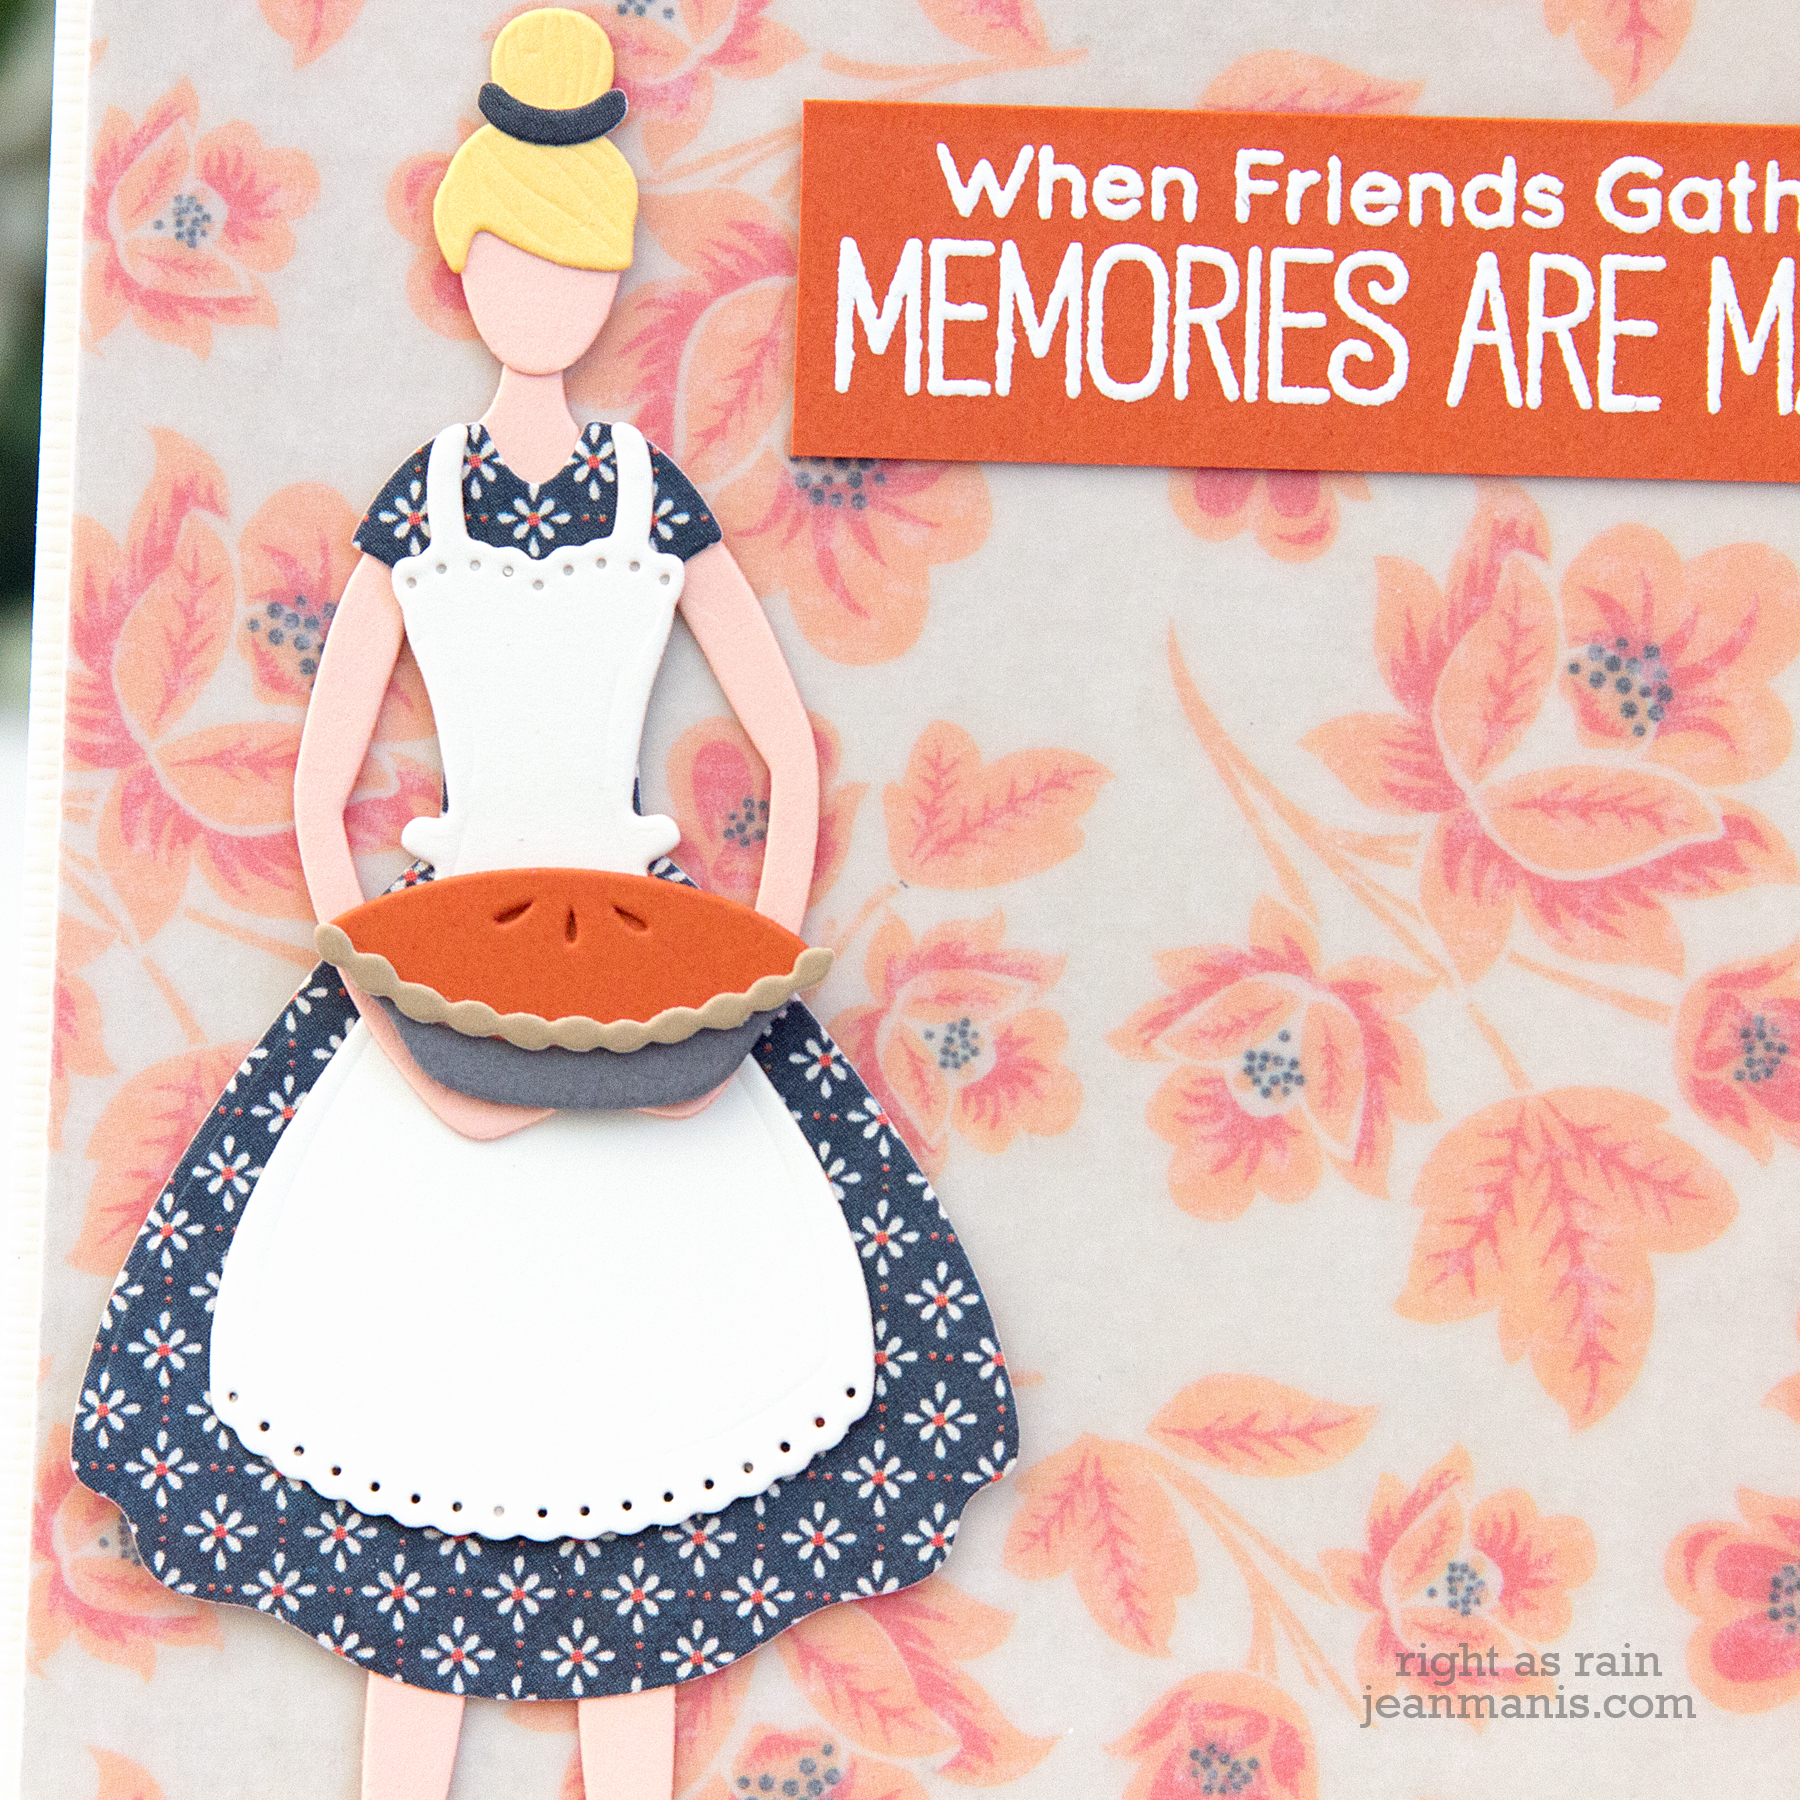
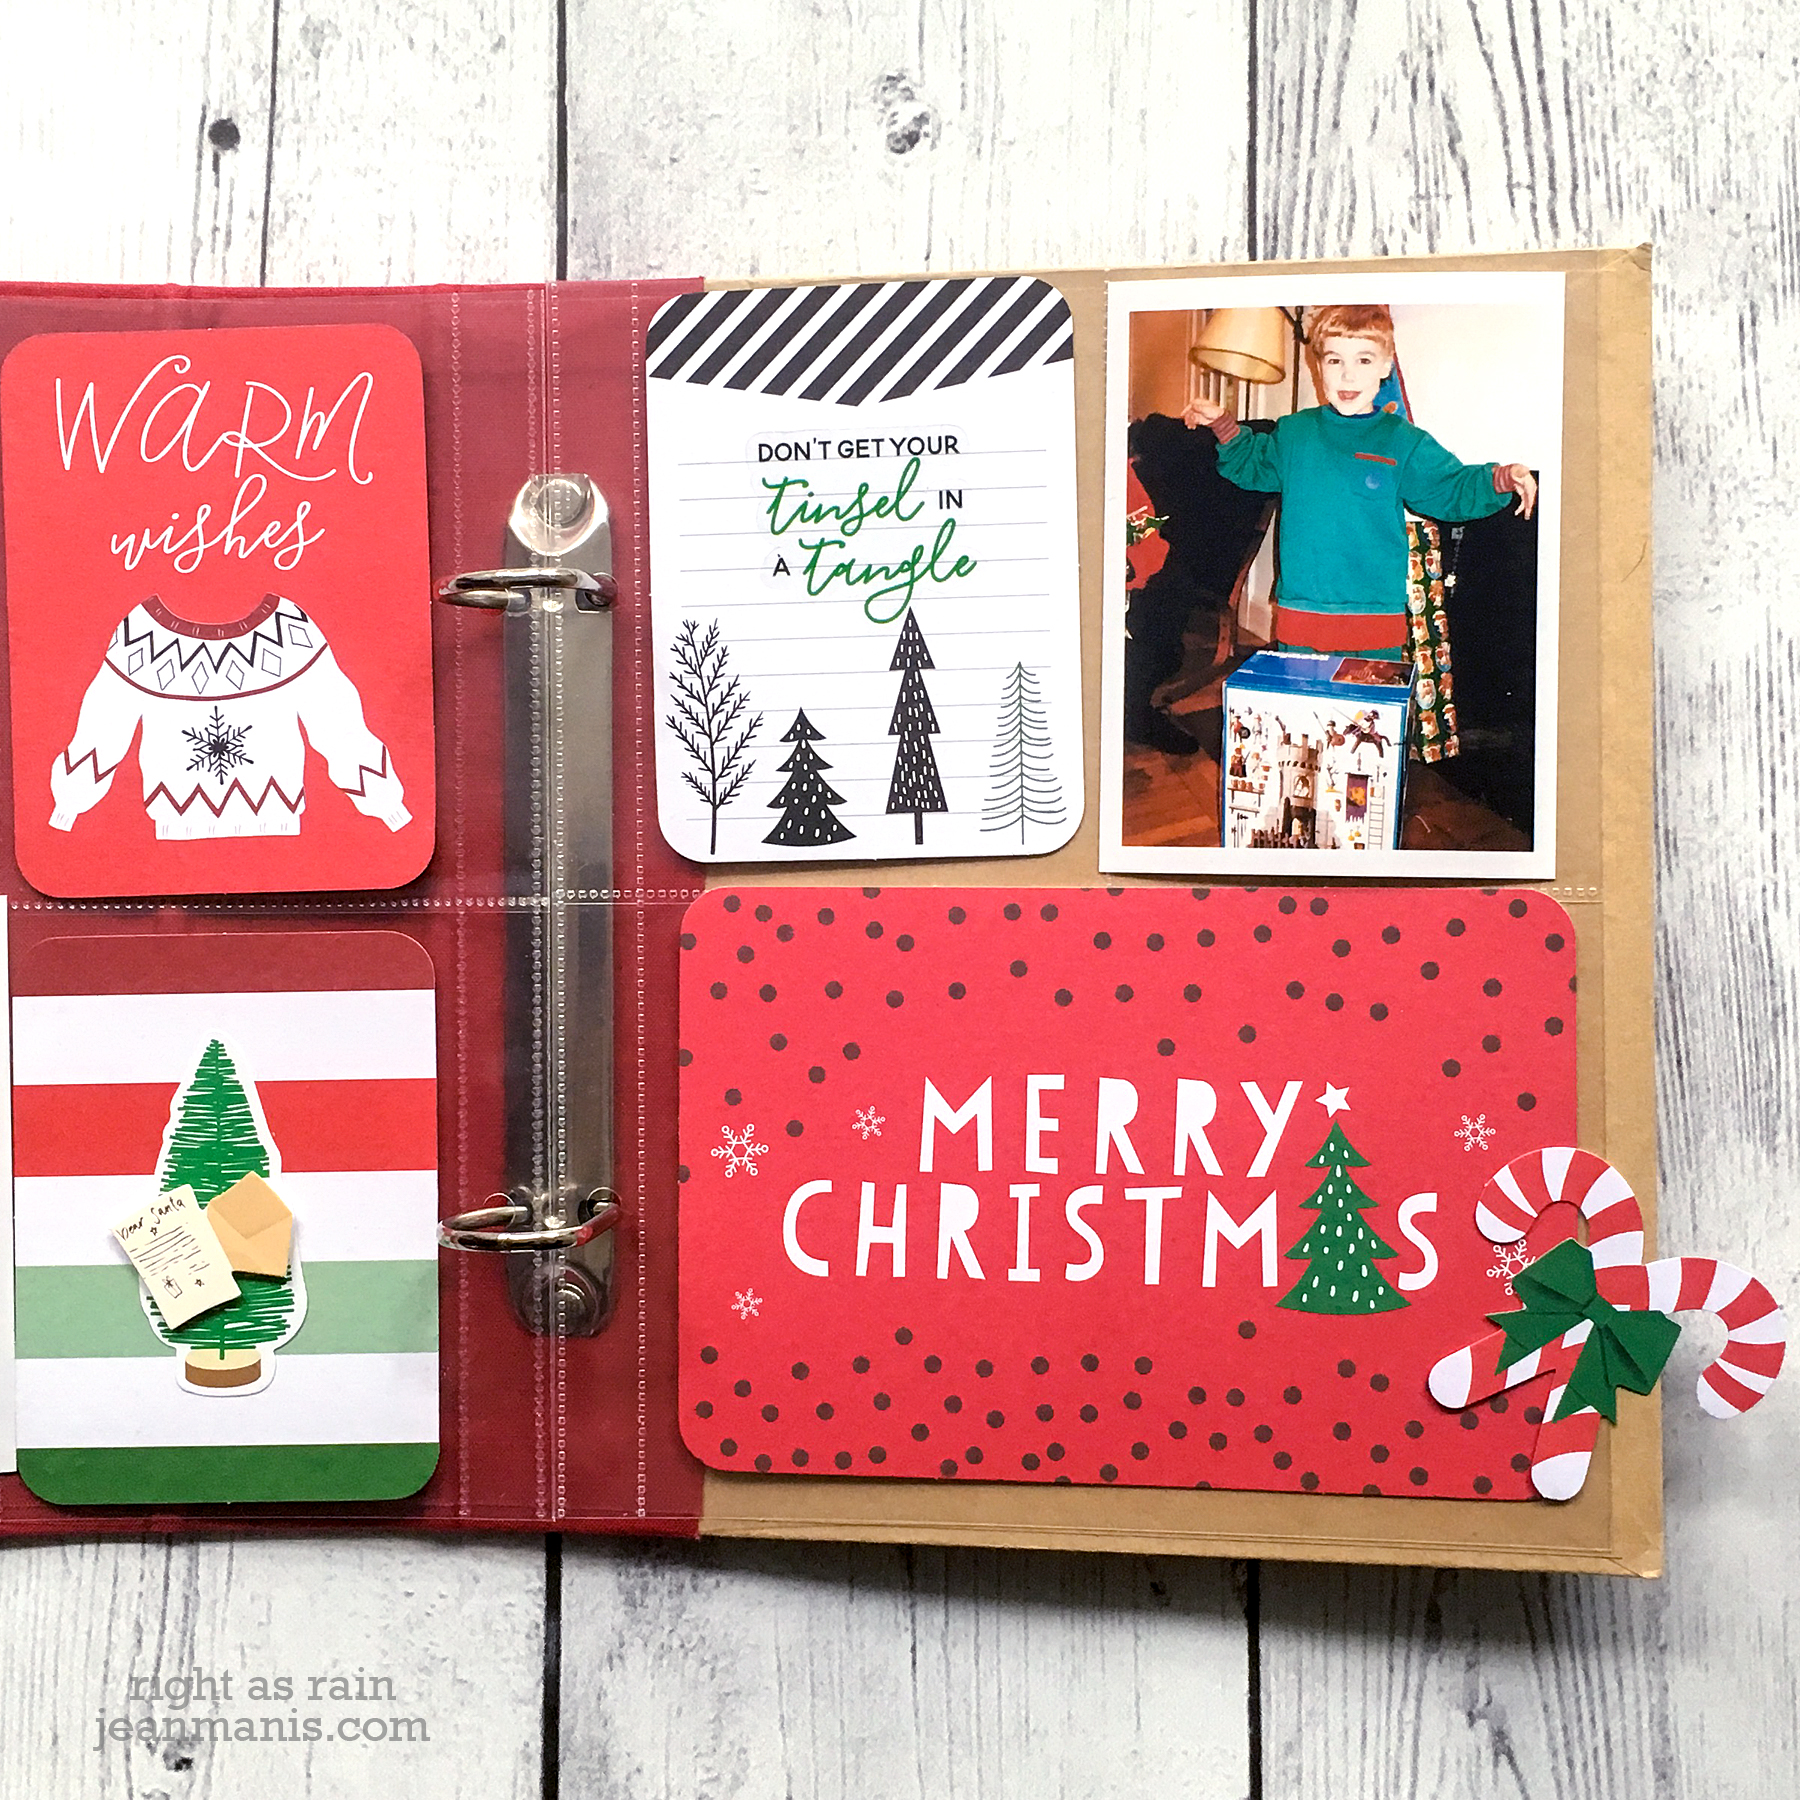
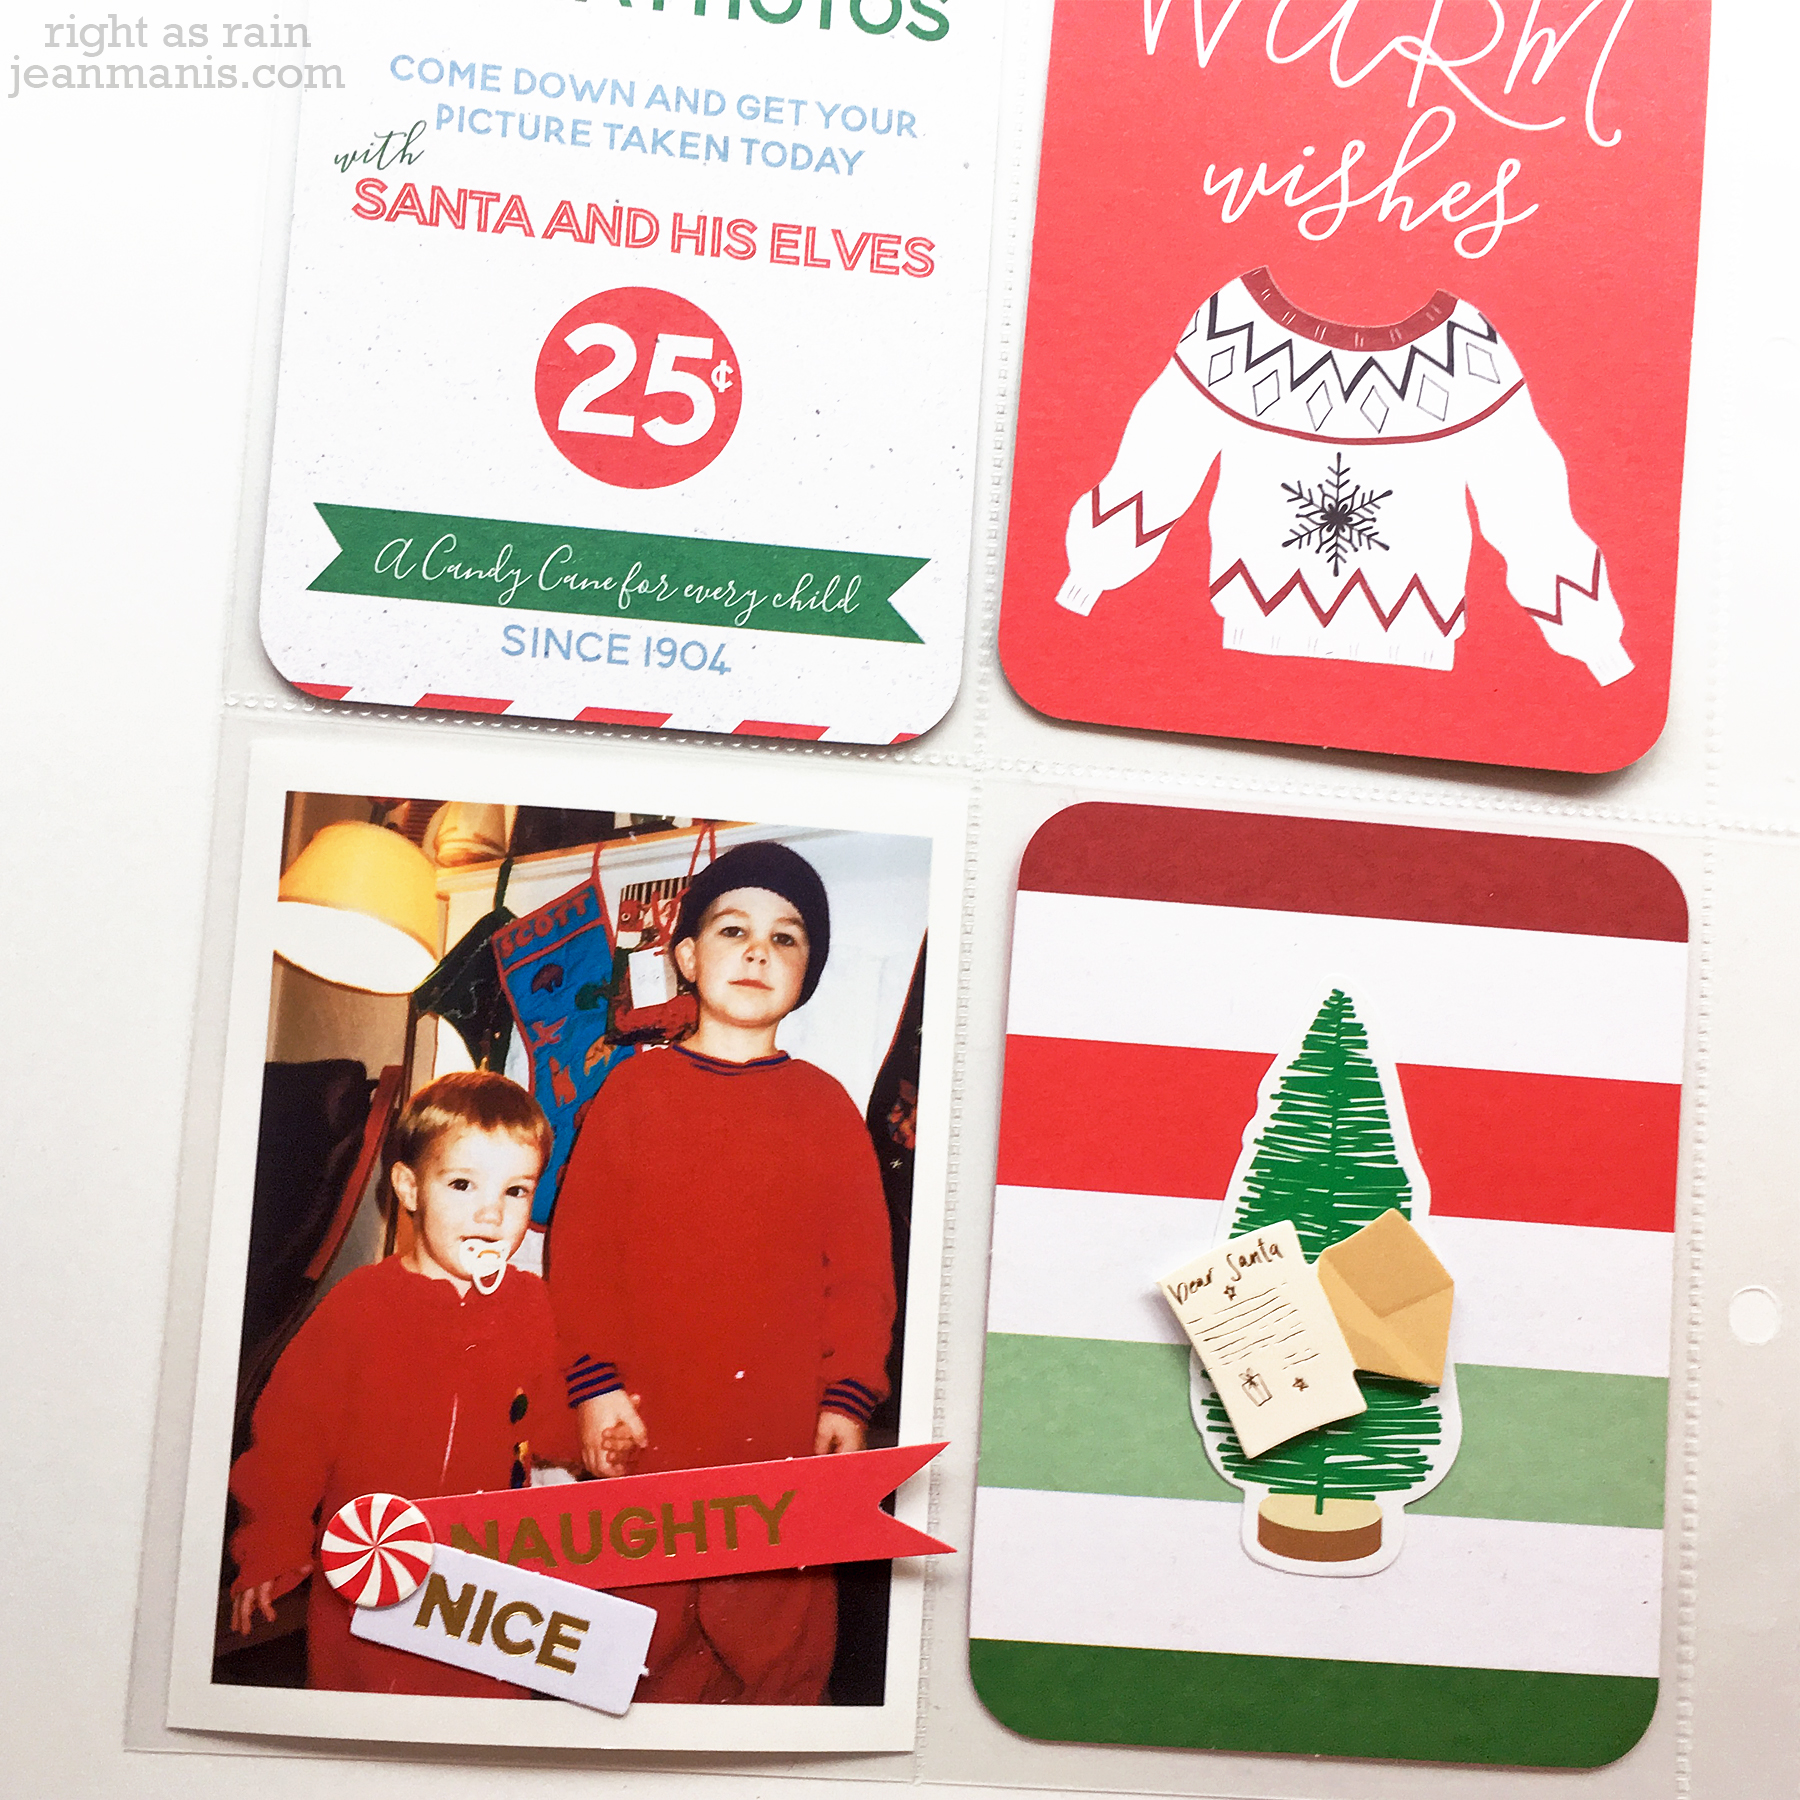
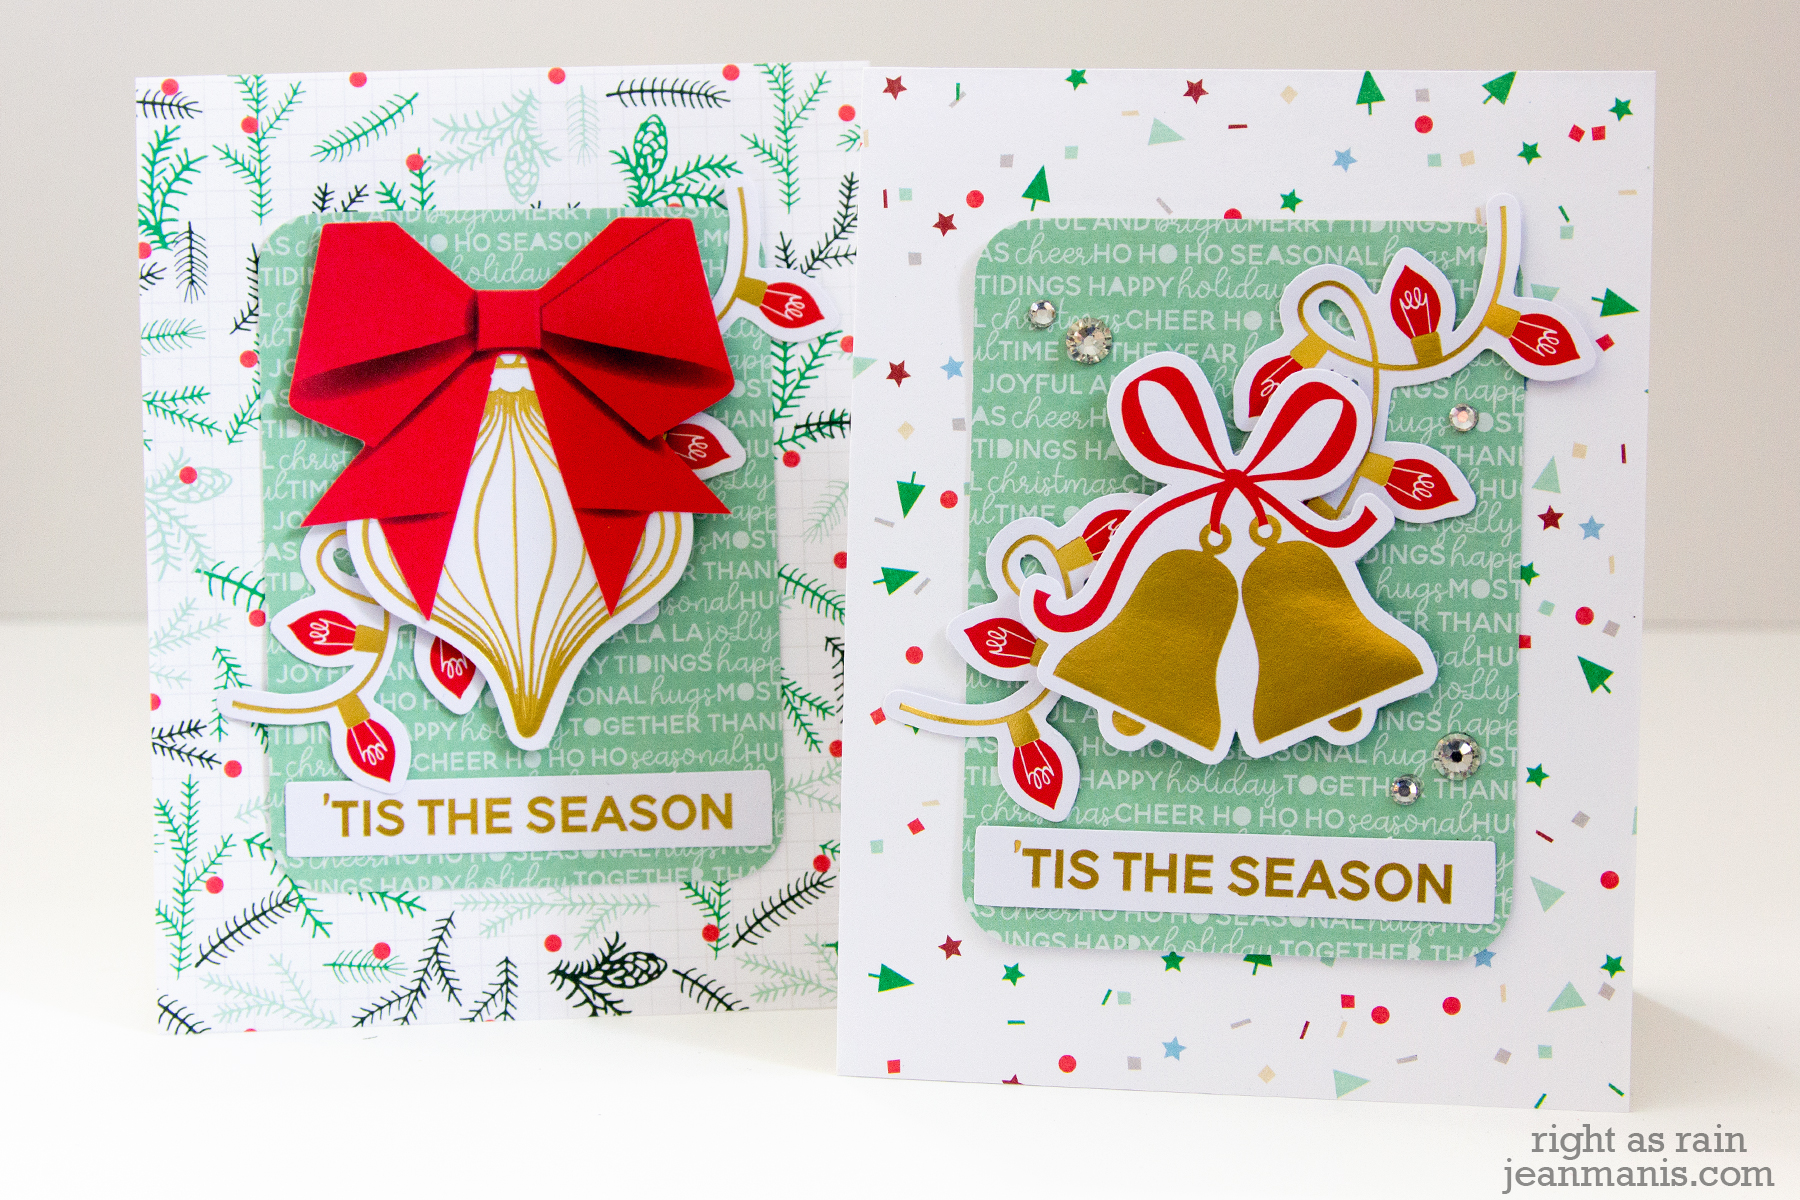
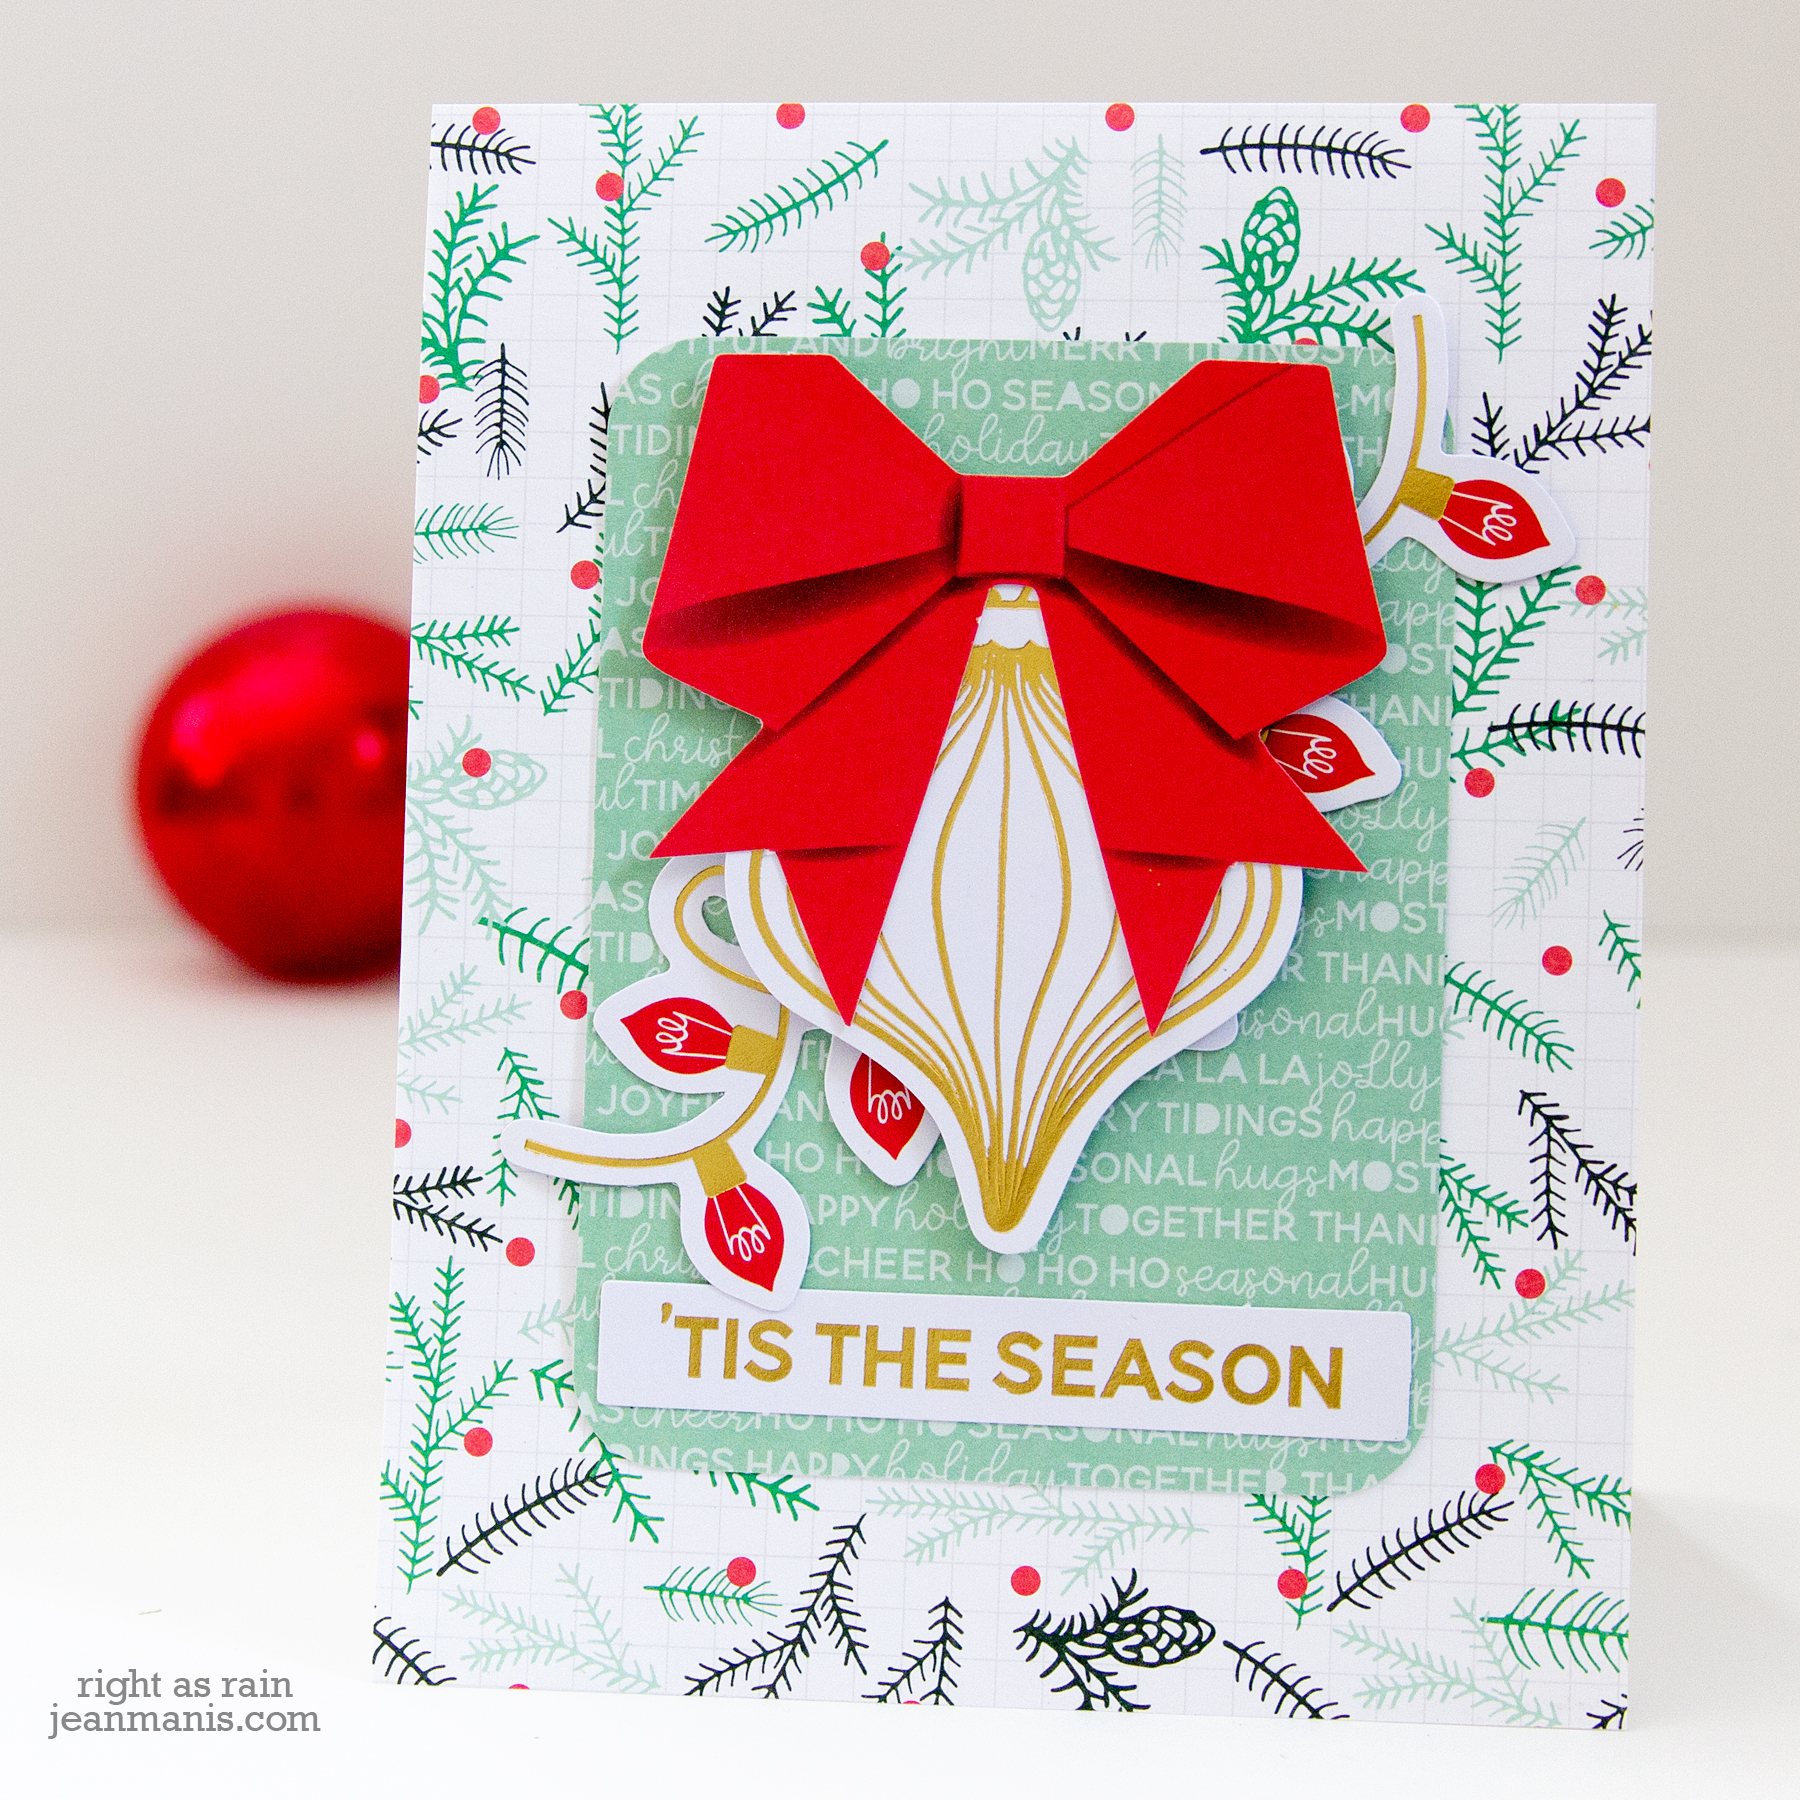
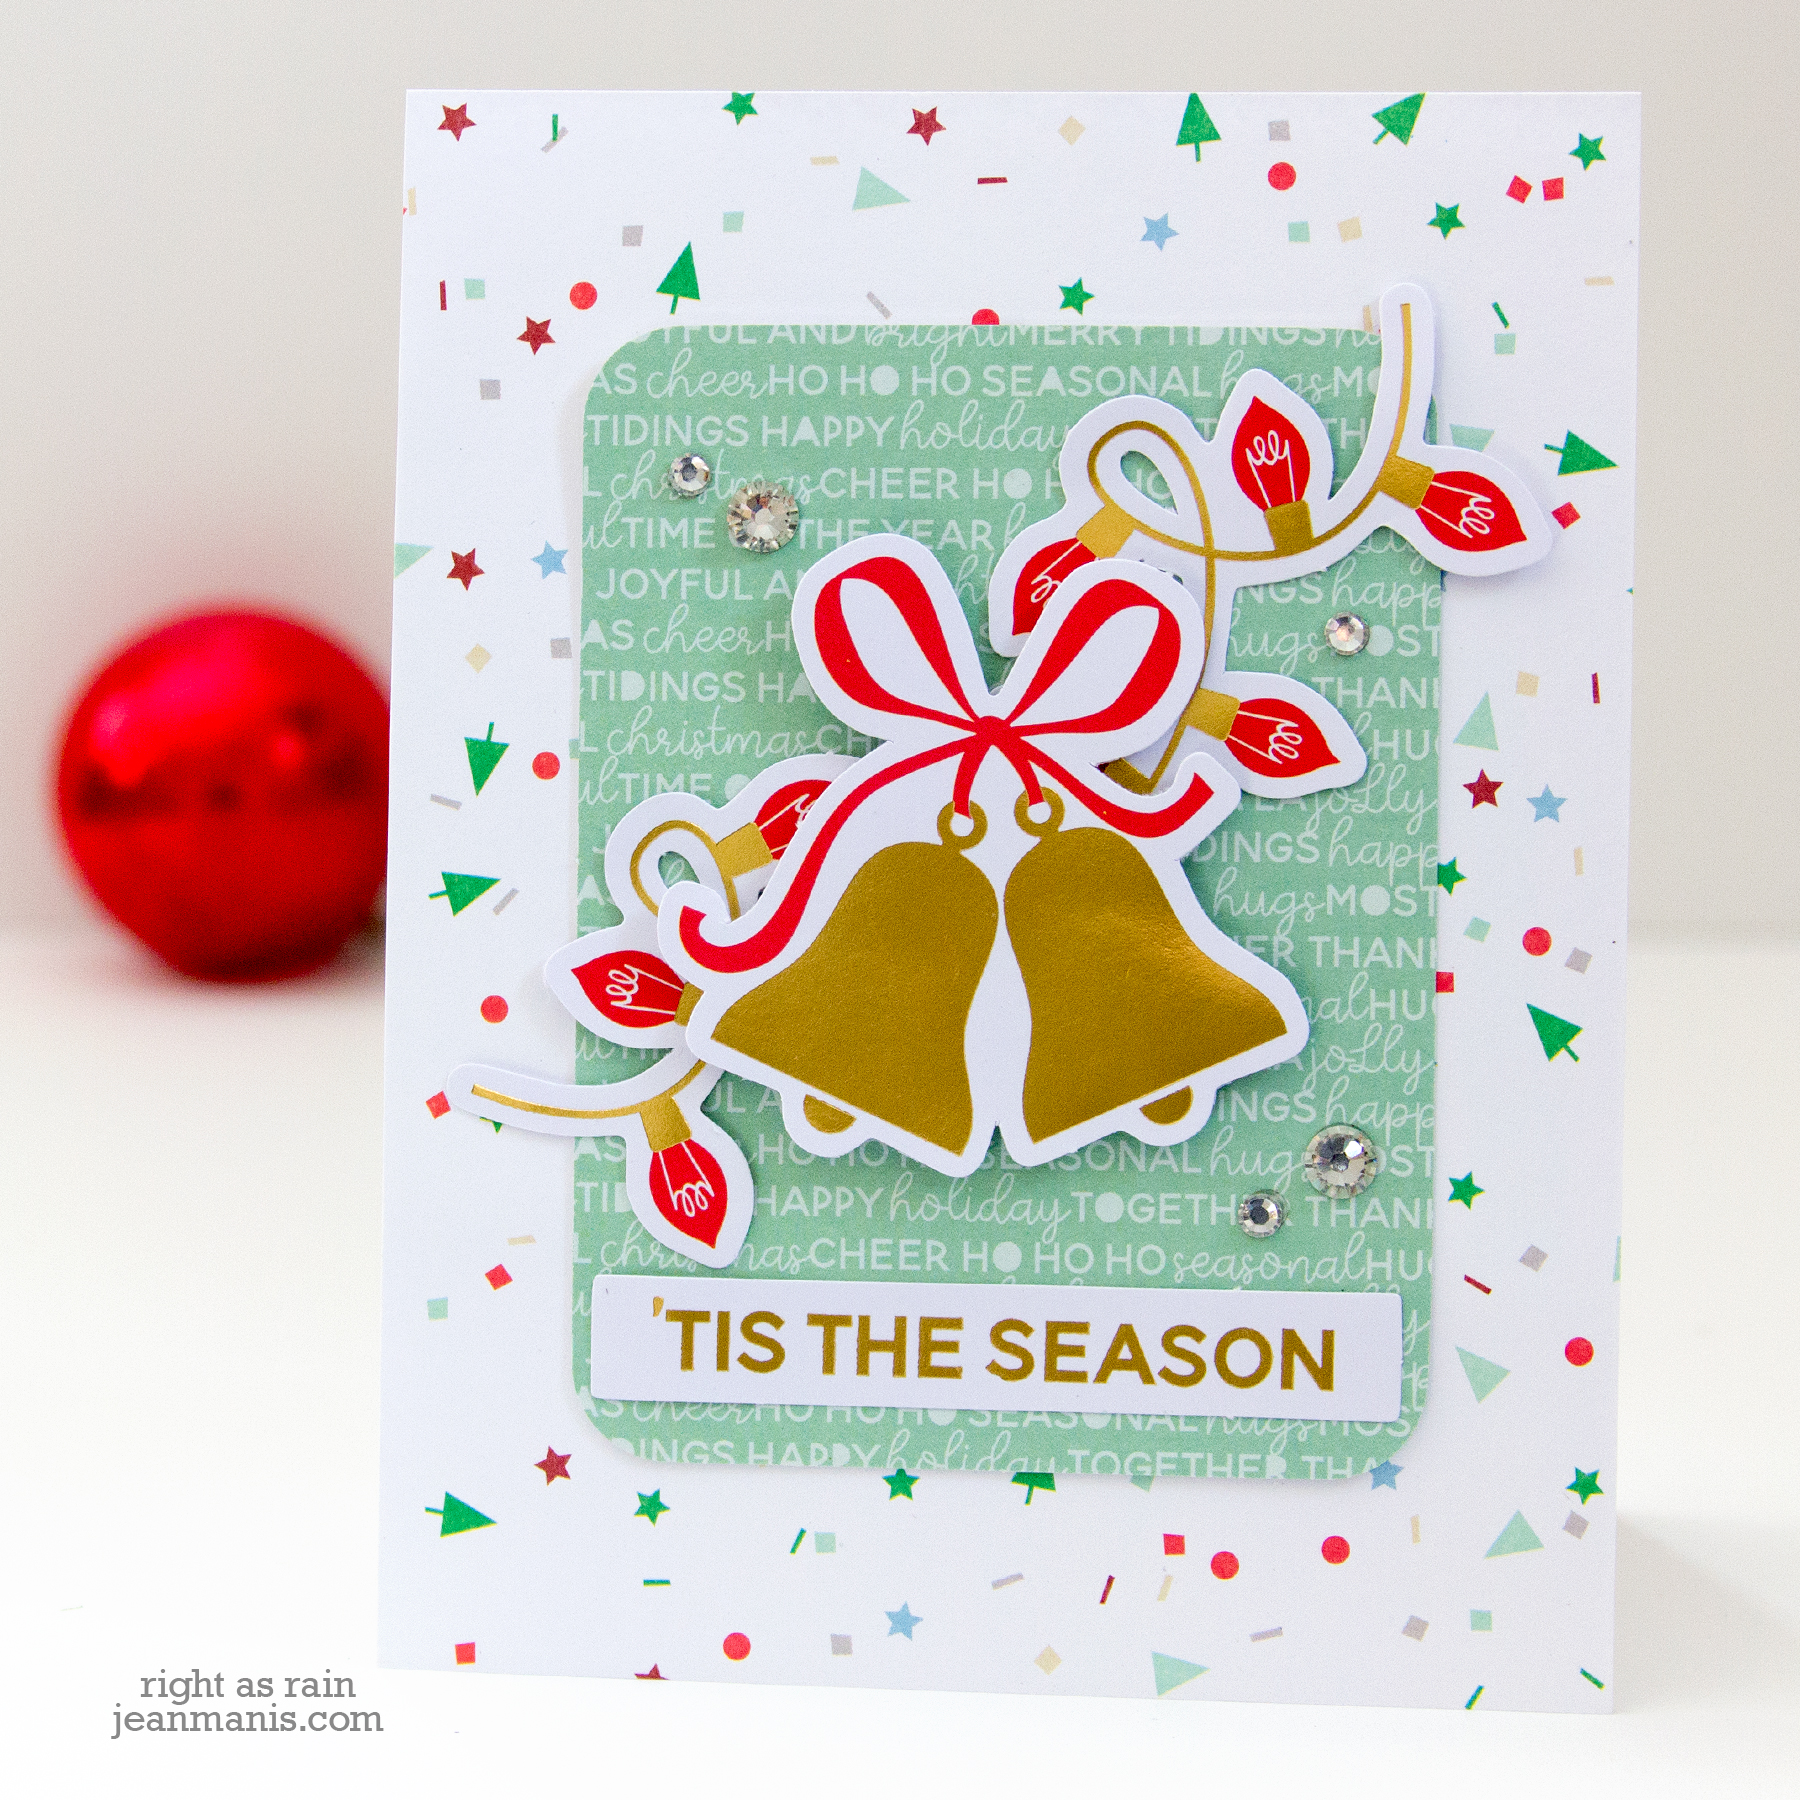
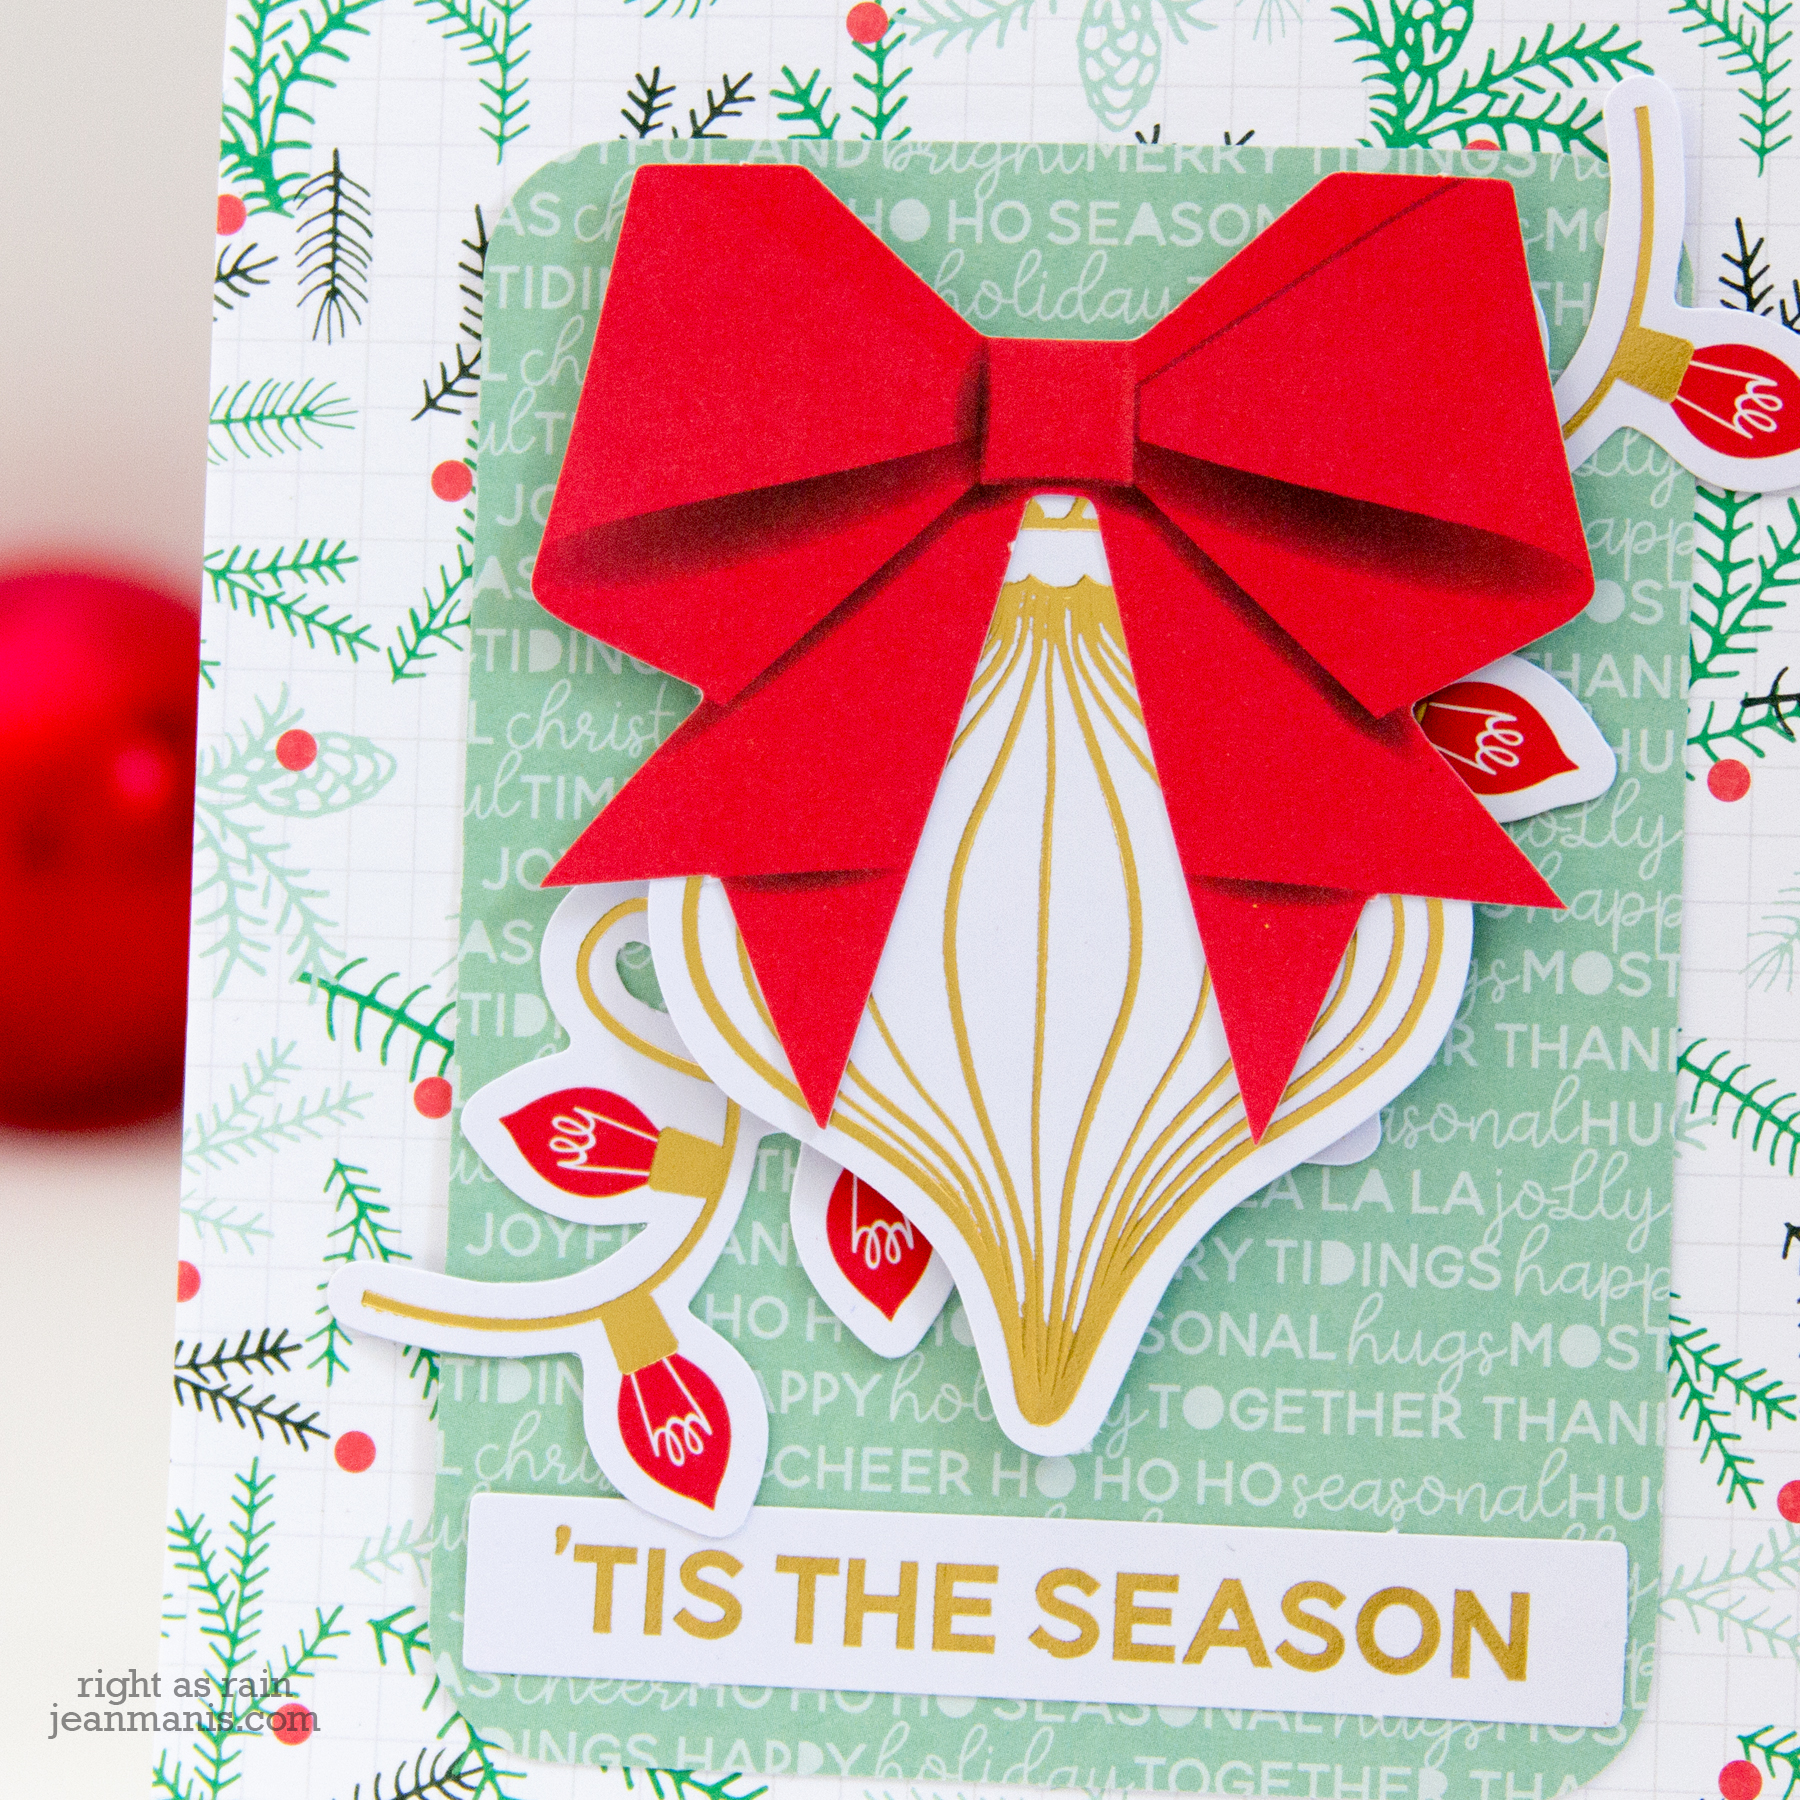
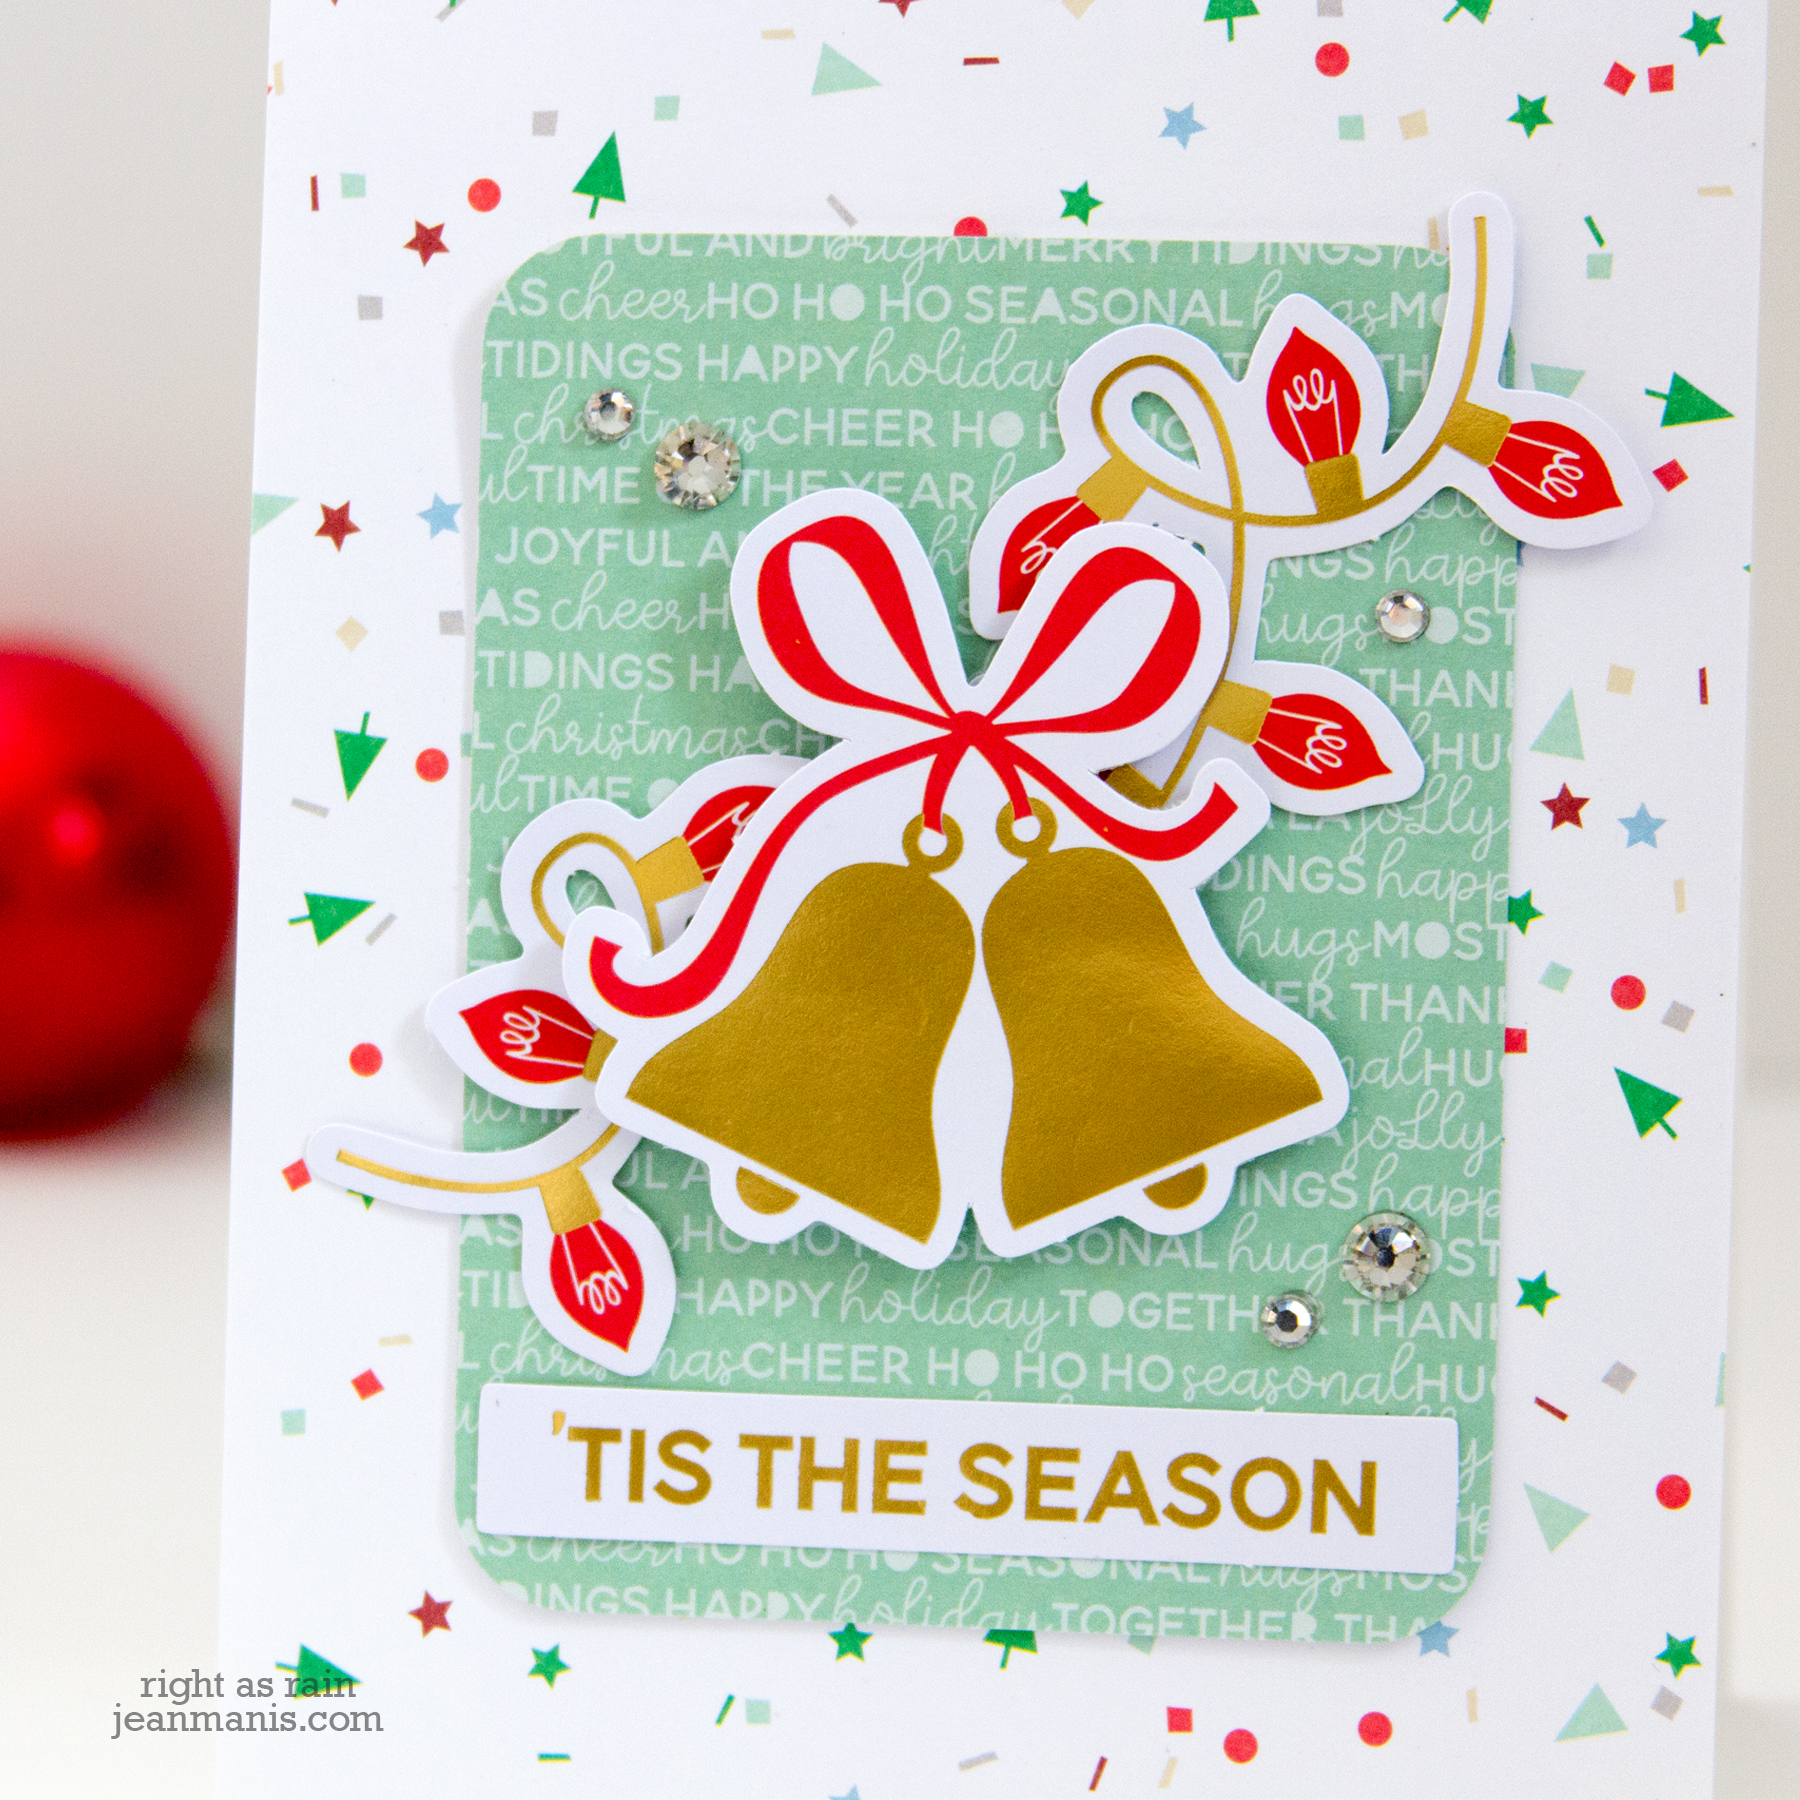
Next up, two “ready made” cards I created by combining pieces – patterned paper, pocket memory keeping cards, diamante embellishments, and die cut shapes – from the kit. Again, these were created in just a few minutes.
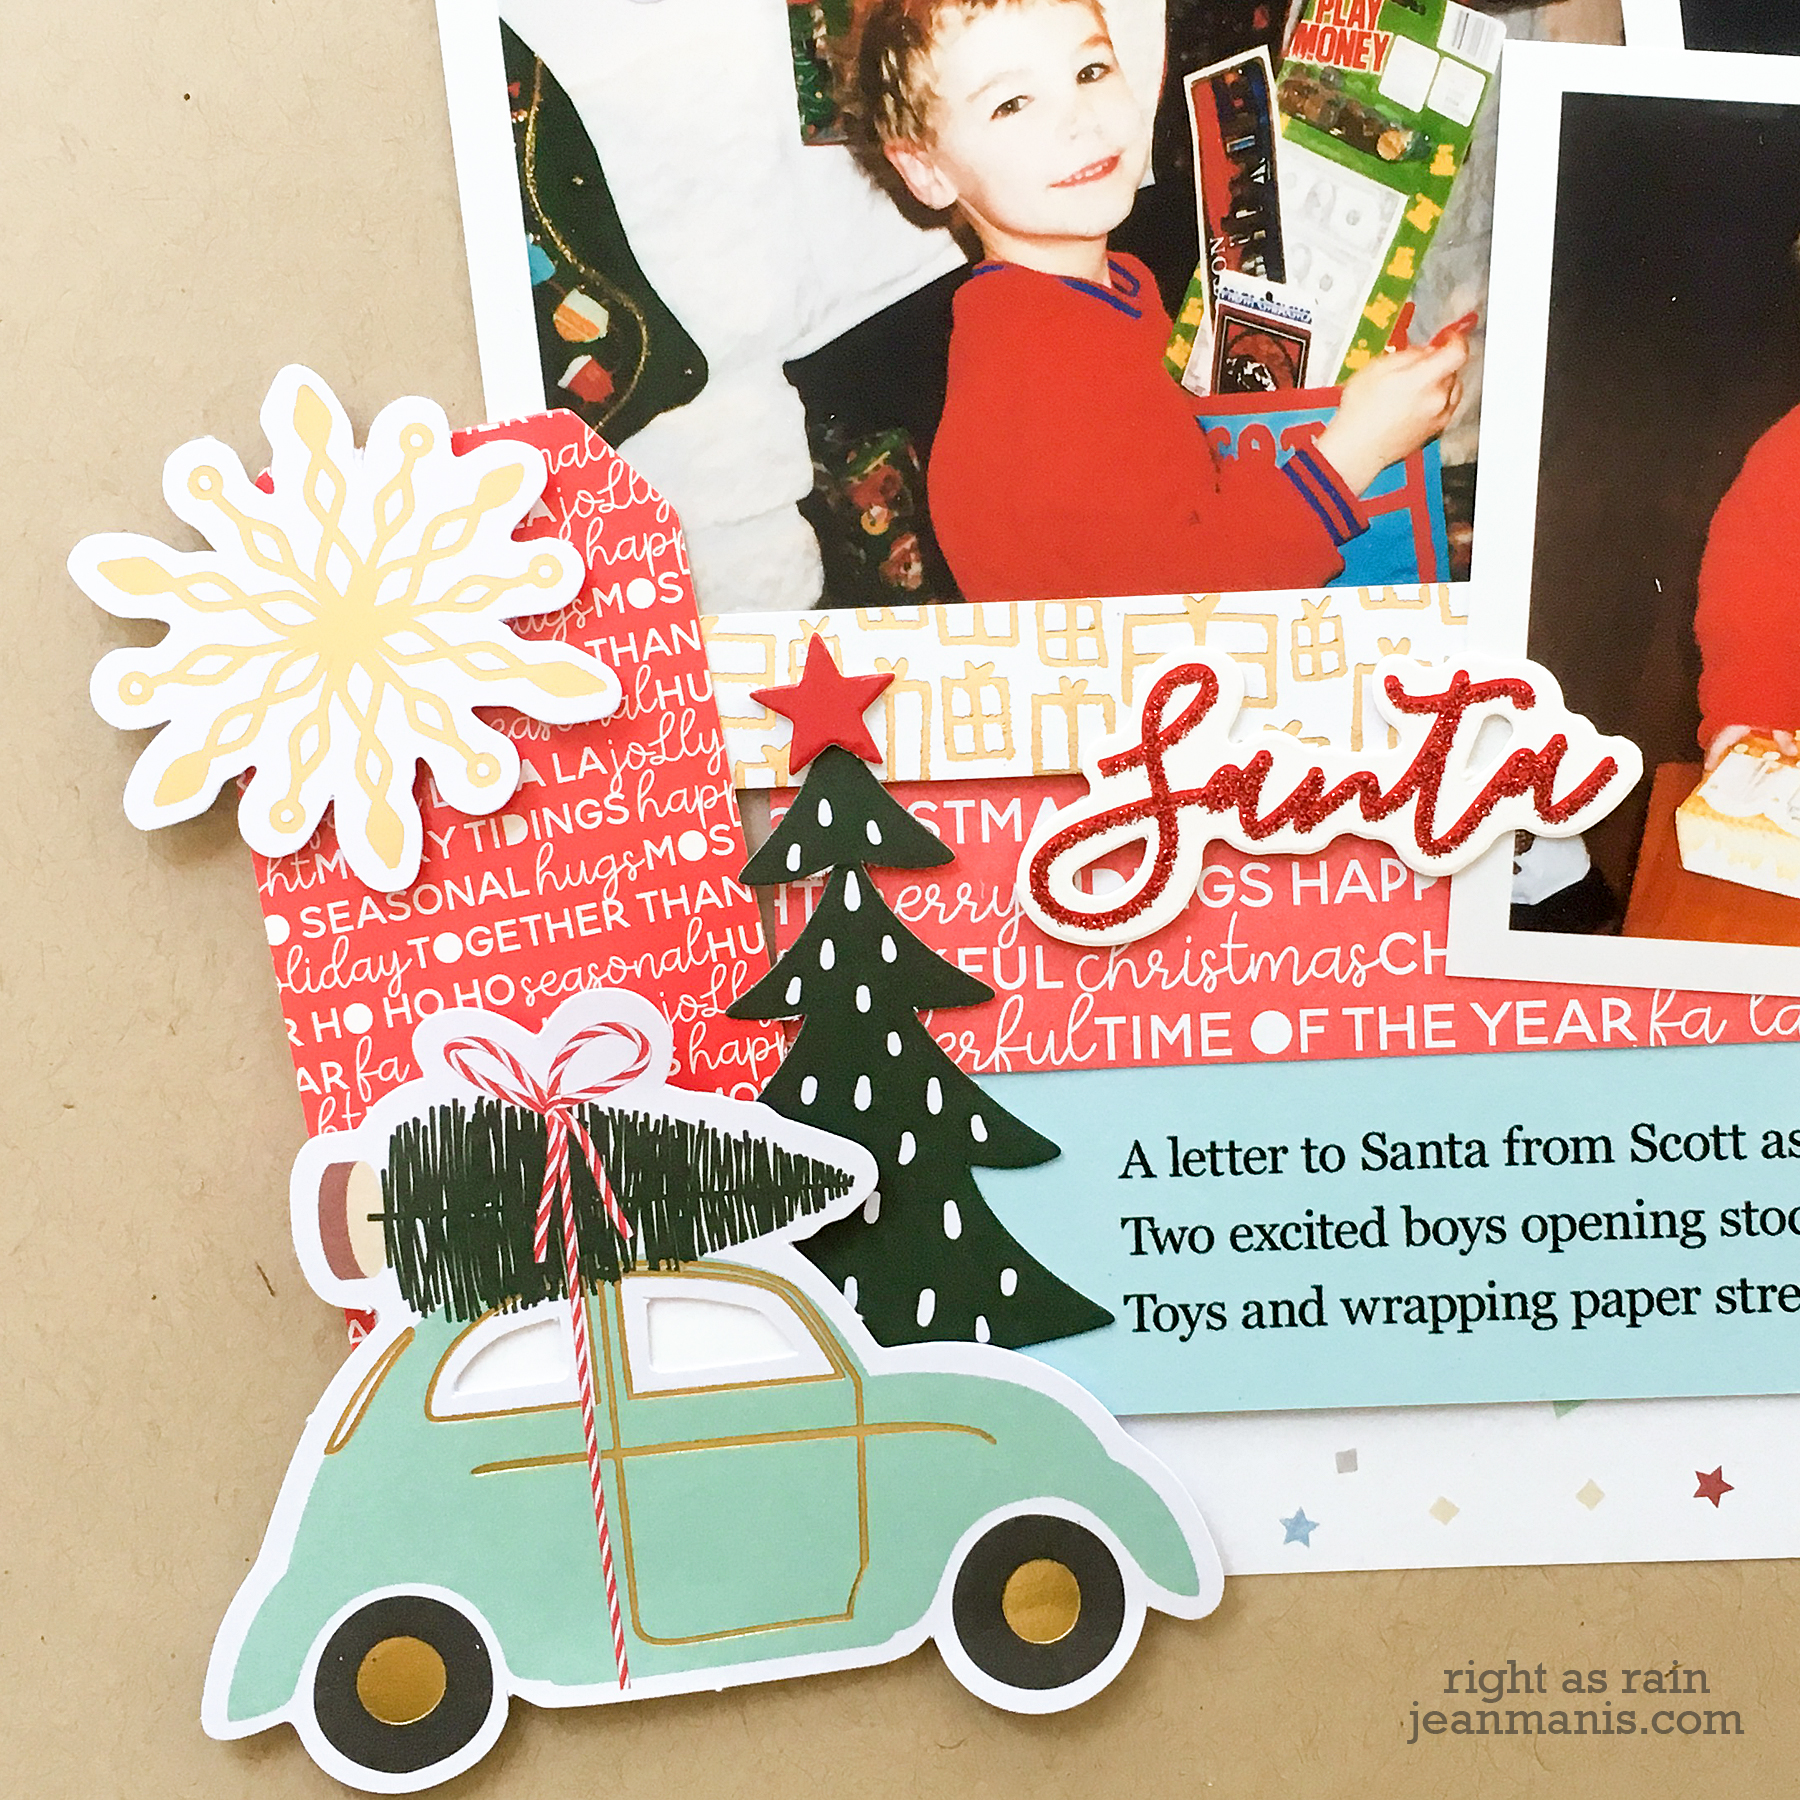
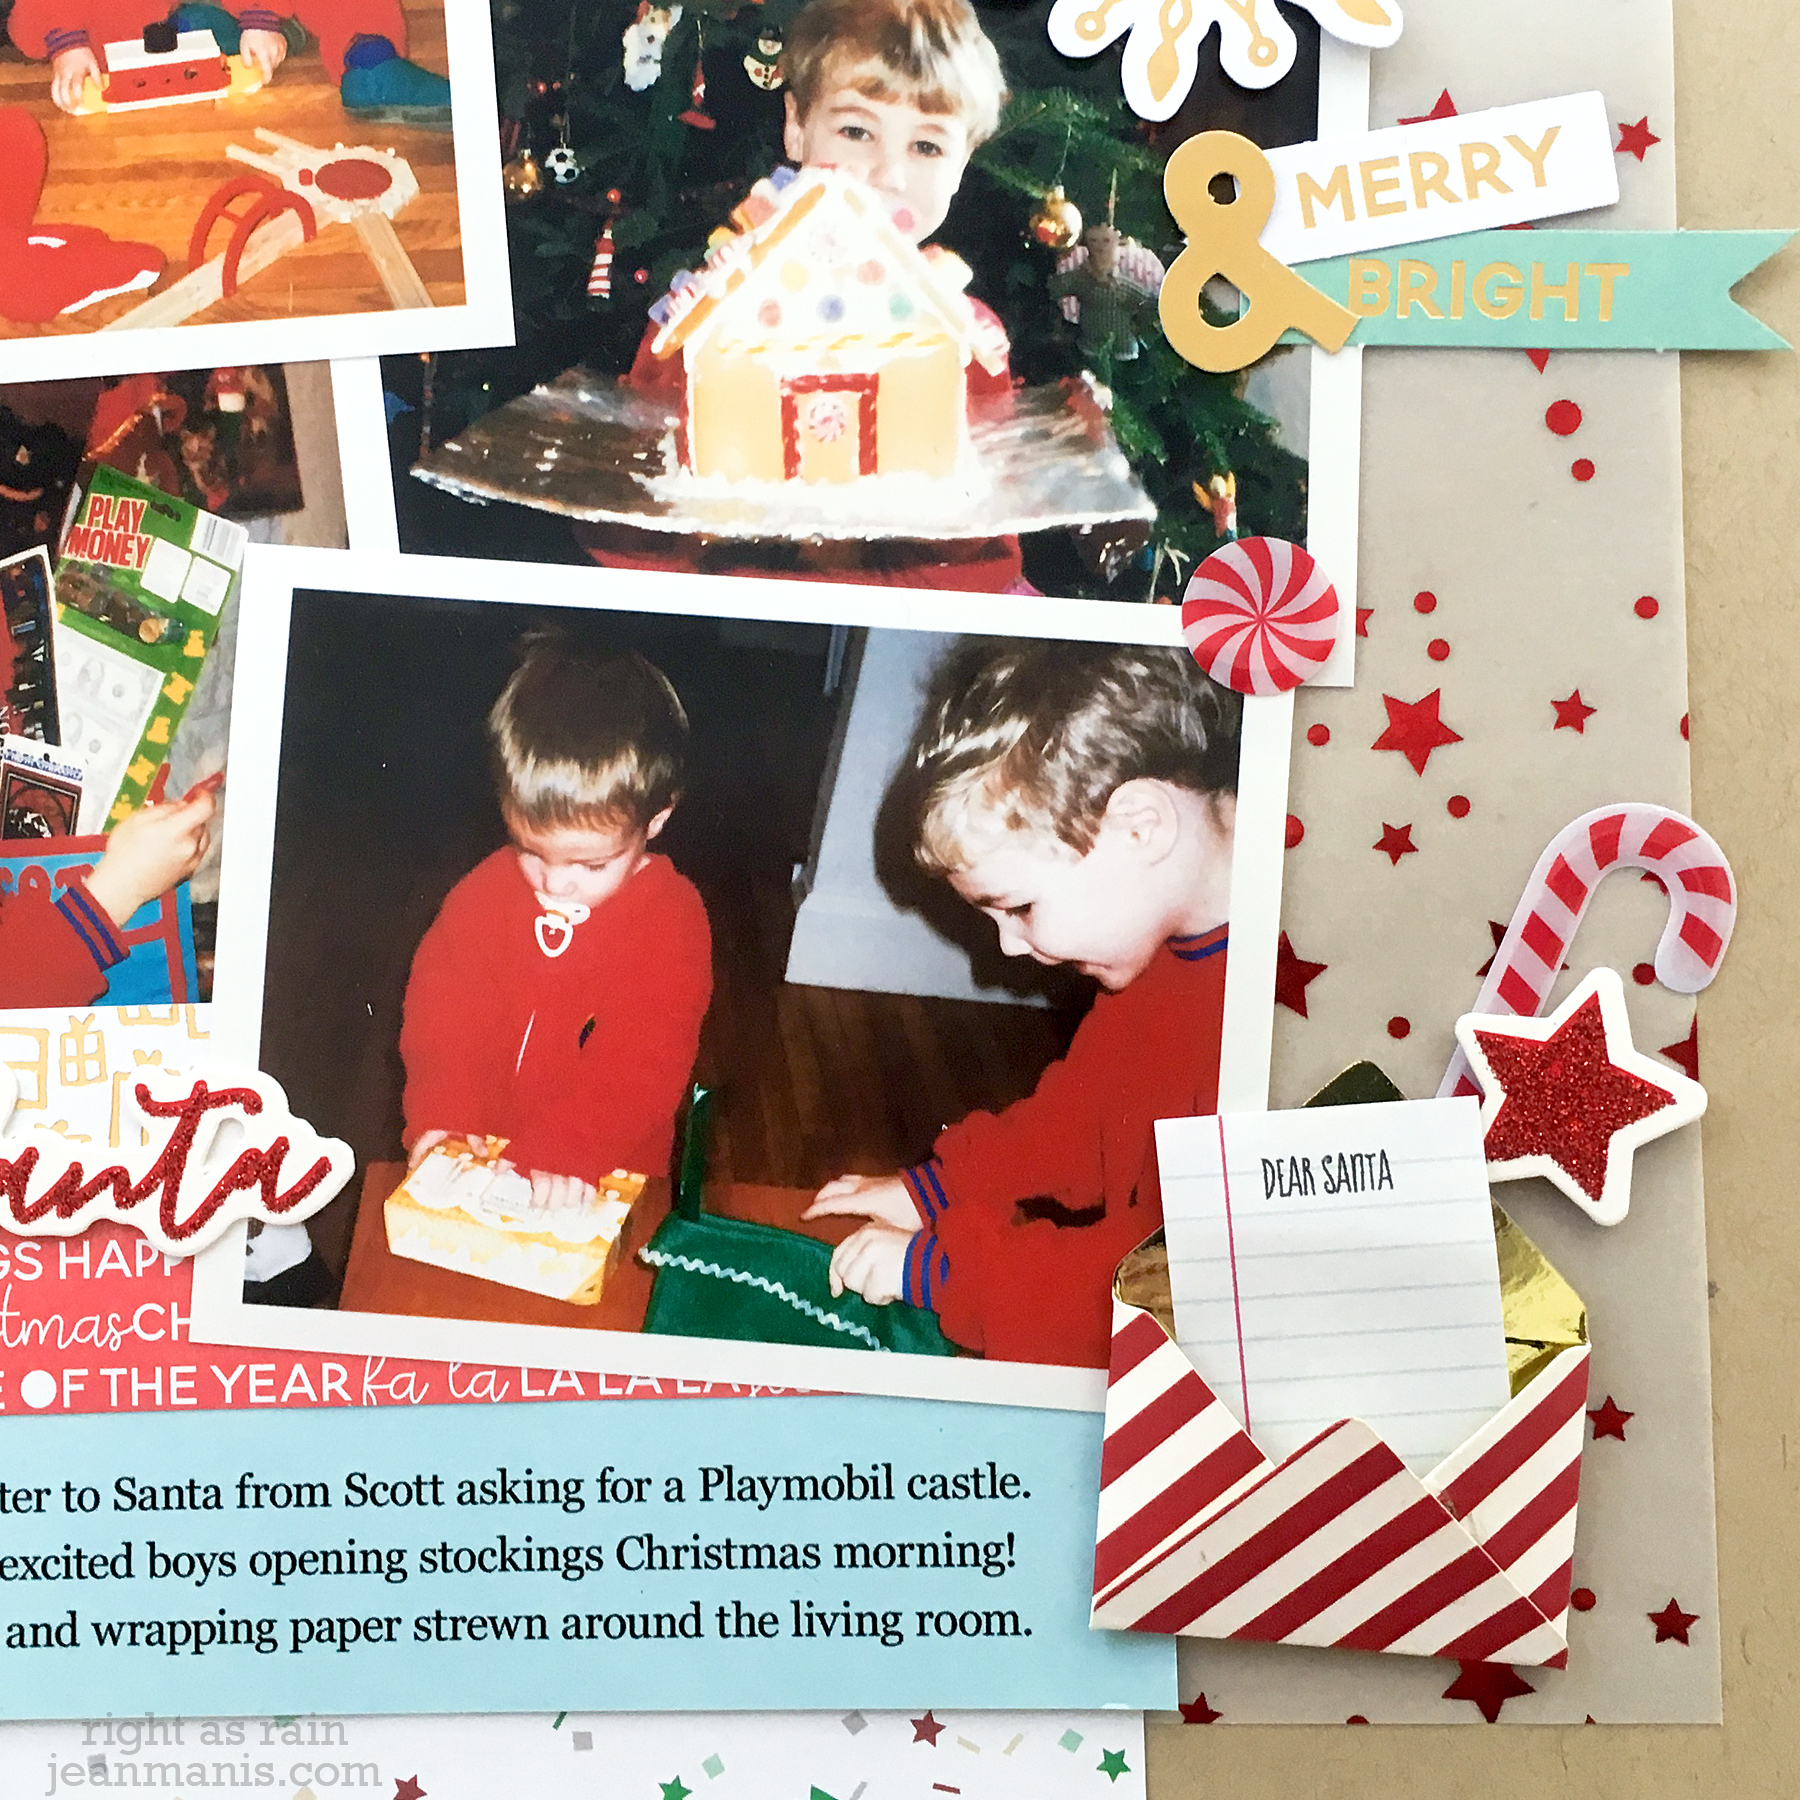
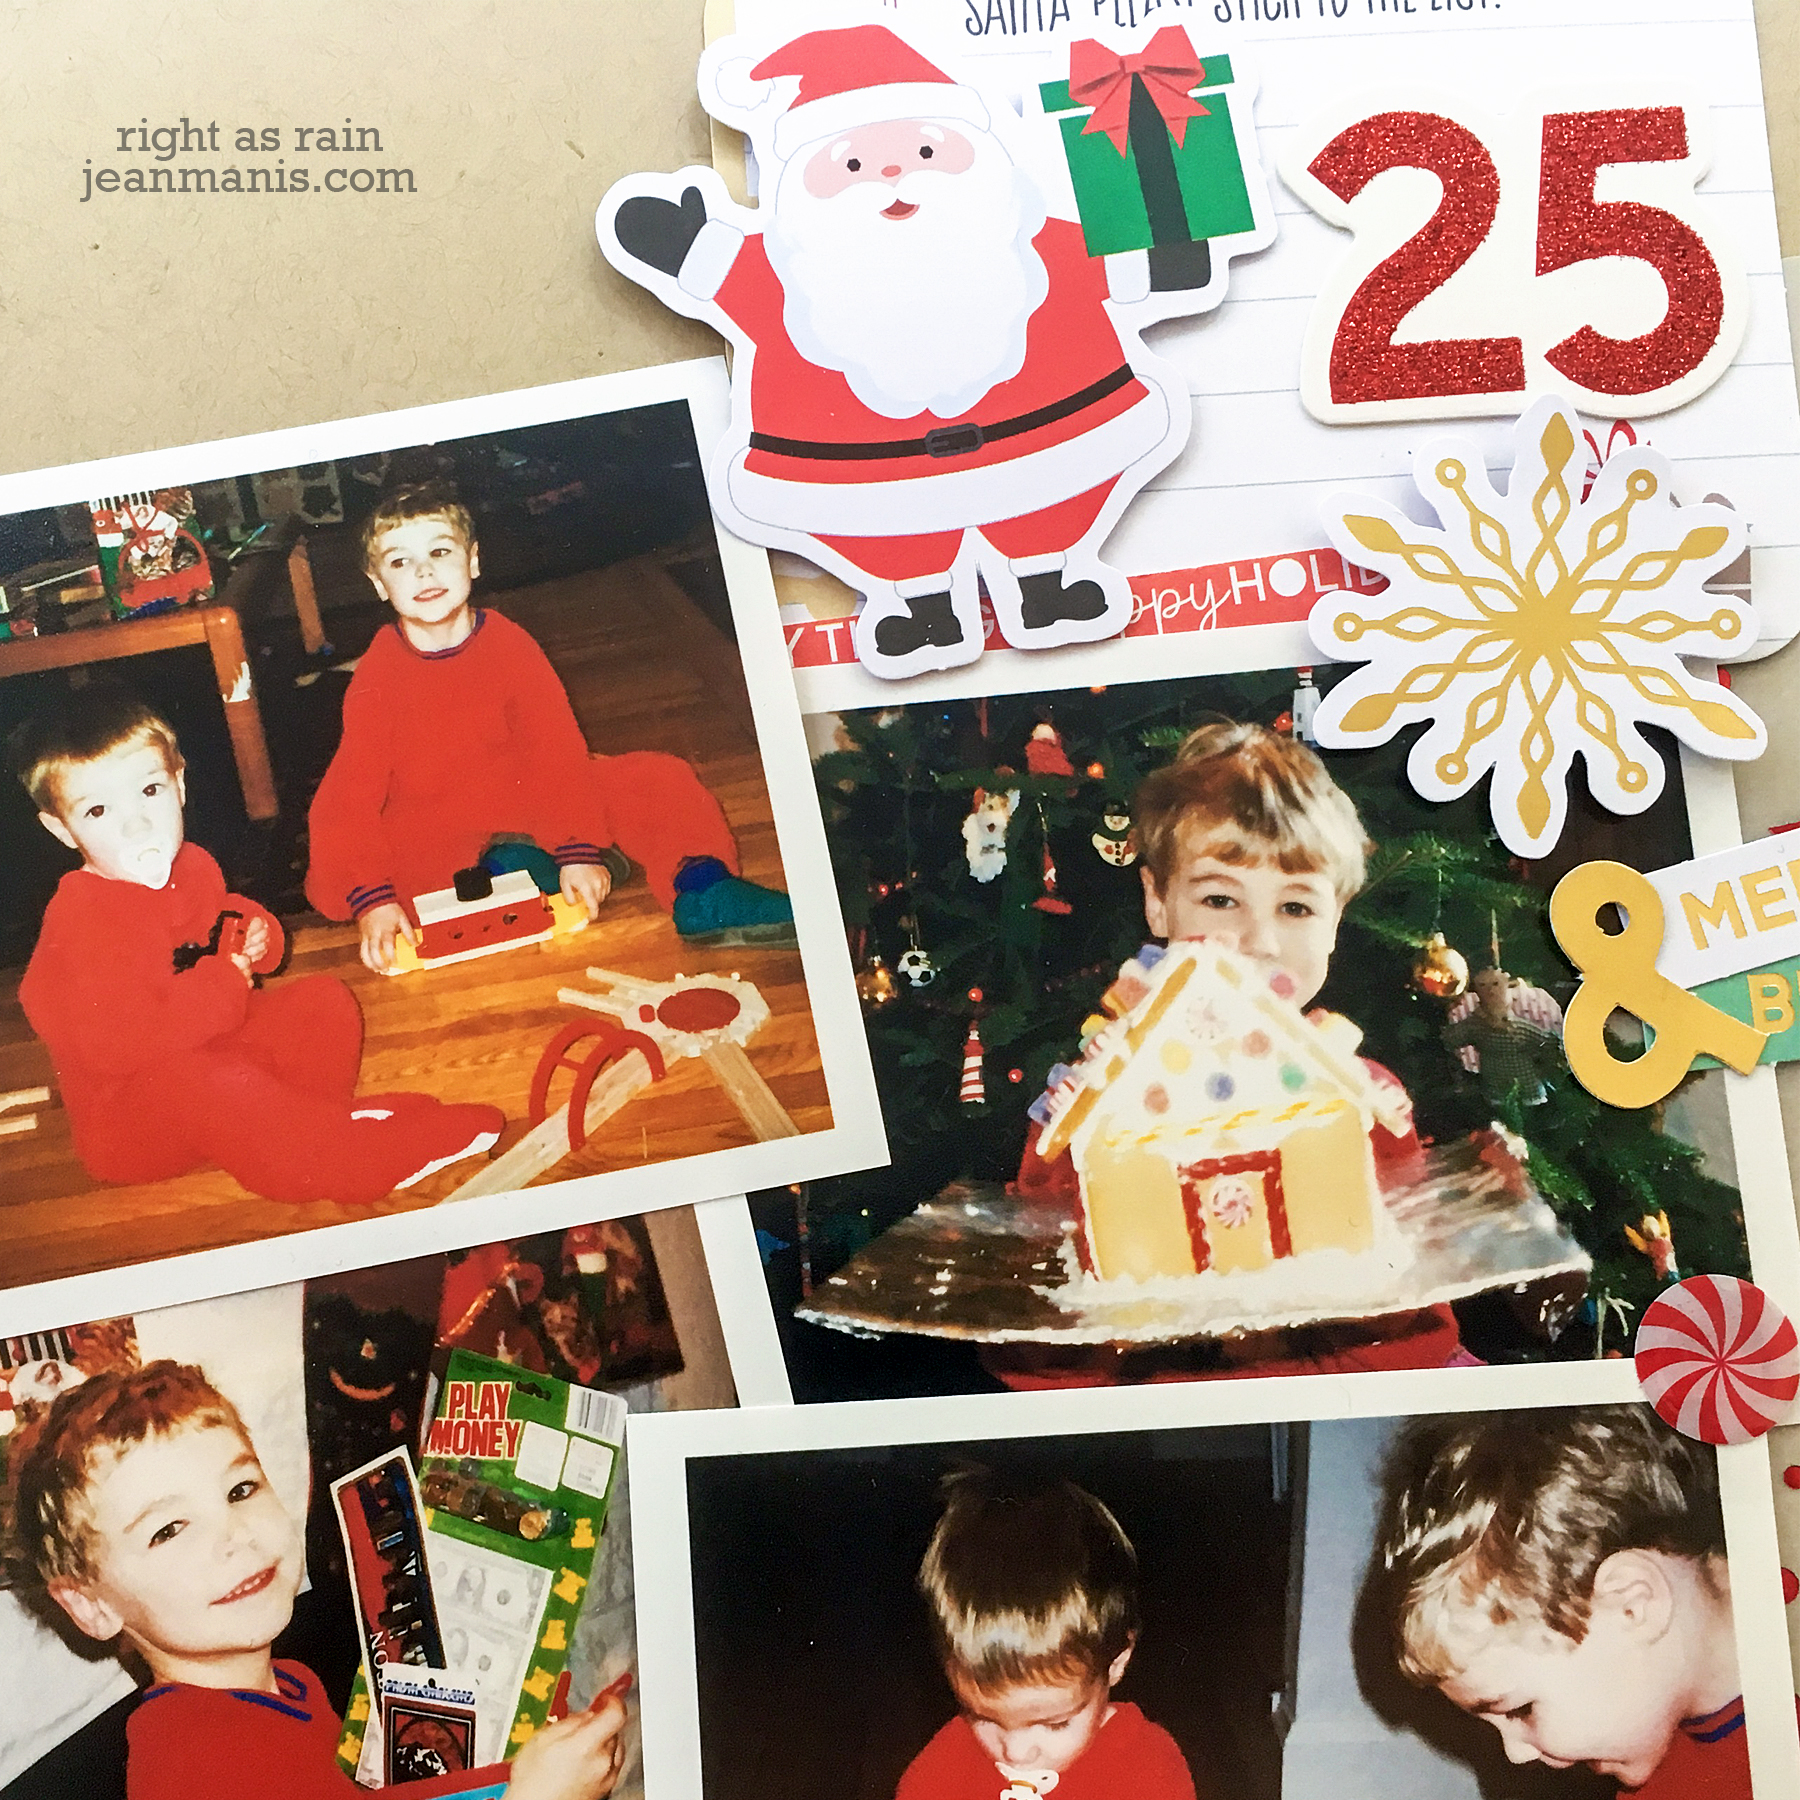
My final project is a 12 x 12 scrapbook layout documenting the excitement of Christmas morning for two young boys. I combined pieces from the kit – pocket memory keeping cards, die cut pieces, stickers, tags – to create embellishment clusters for the page. Additionally, I used solid cardstock (the journaling strip), vellum paper, and patterned paper from the kit on the layout.

I’ll be back tomorrow with two more projects, a card created with the die set and stamp set and pocket memory keeping pages, using pieces from the Merry Everything holiday kit!