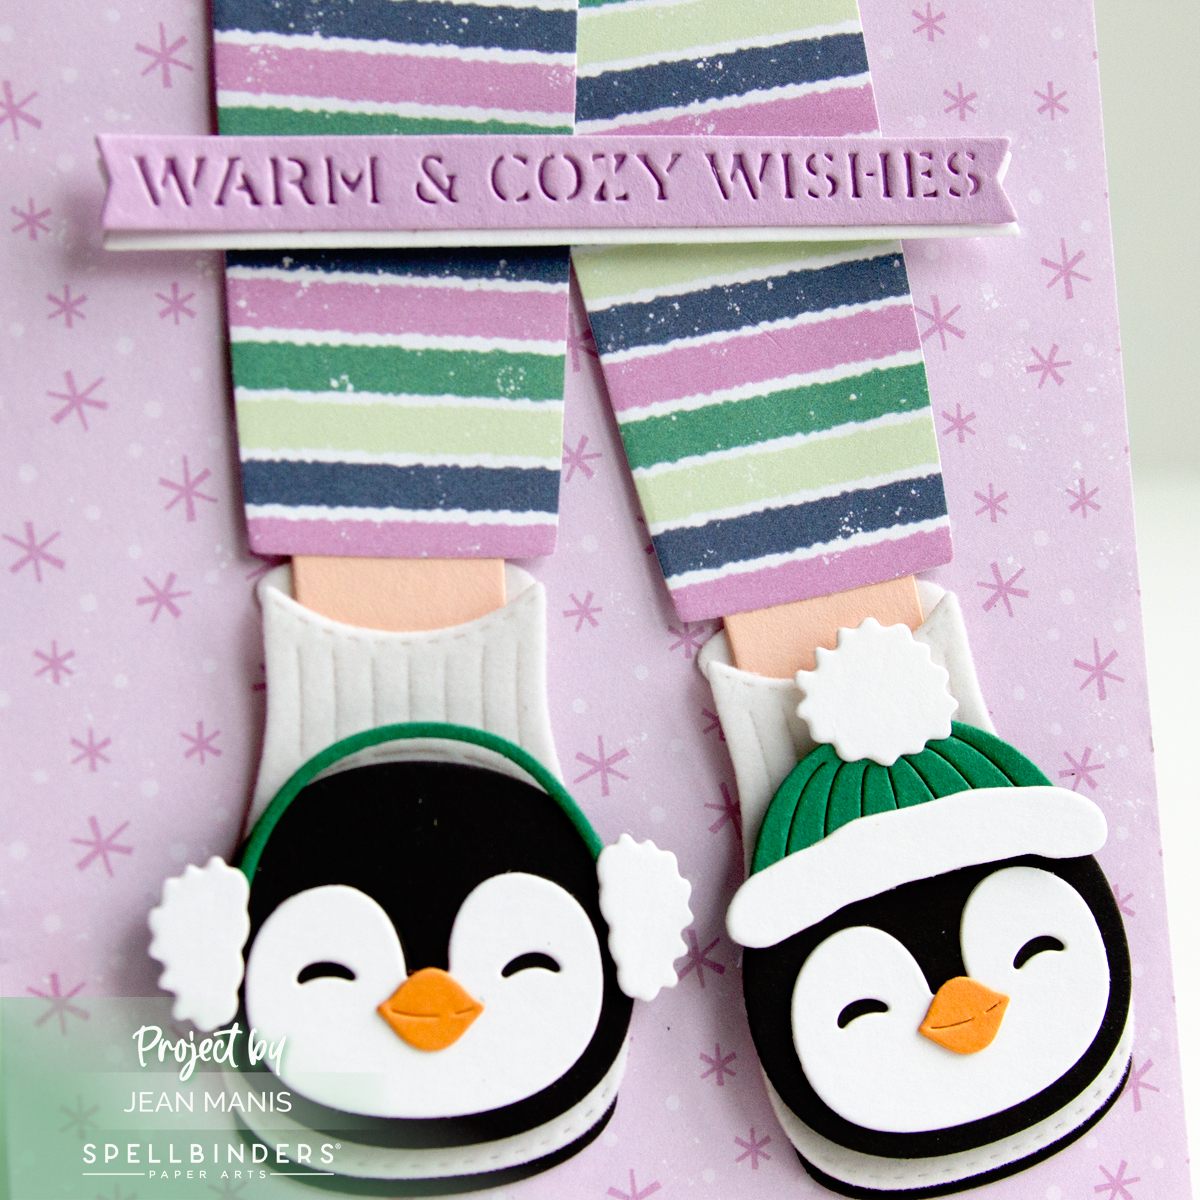
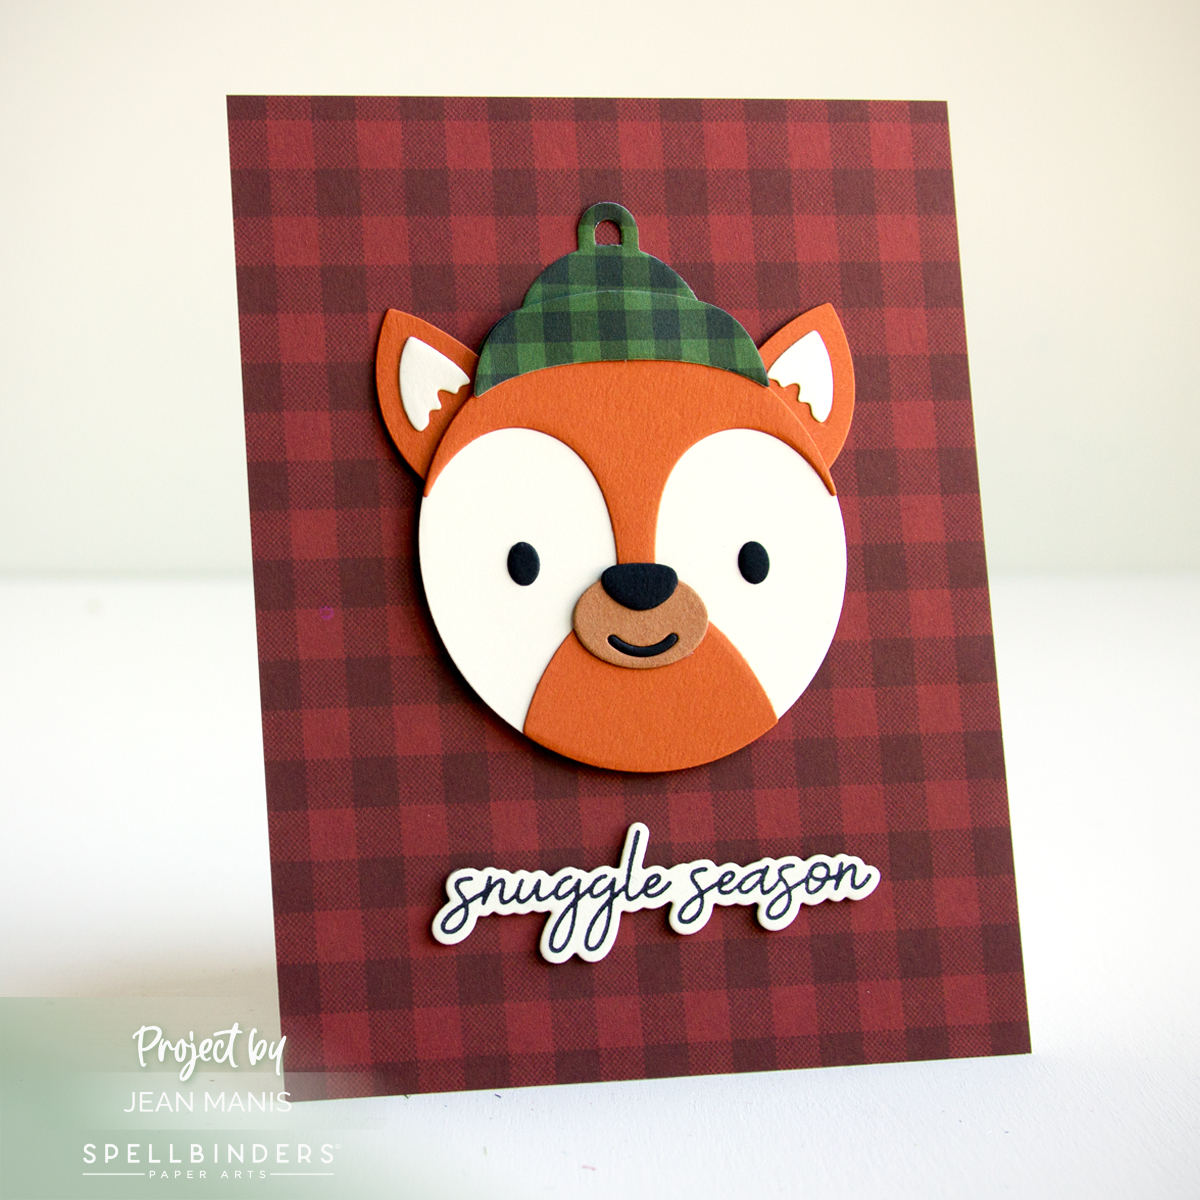
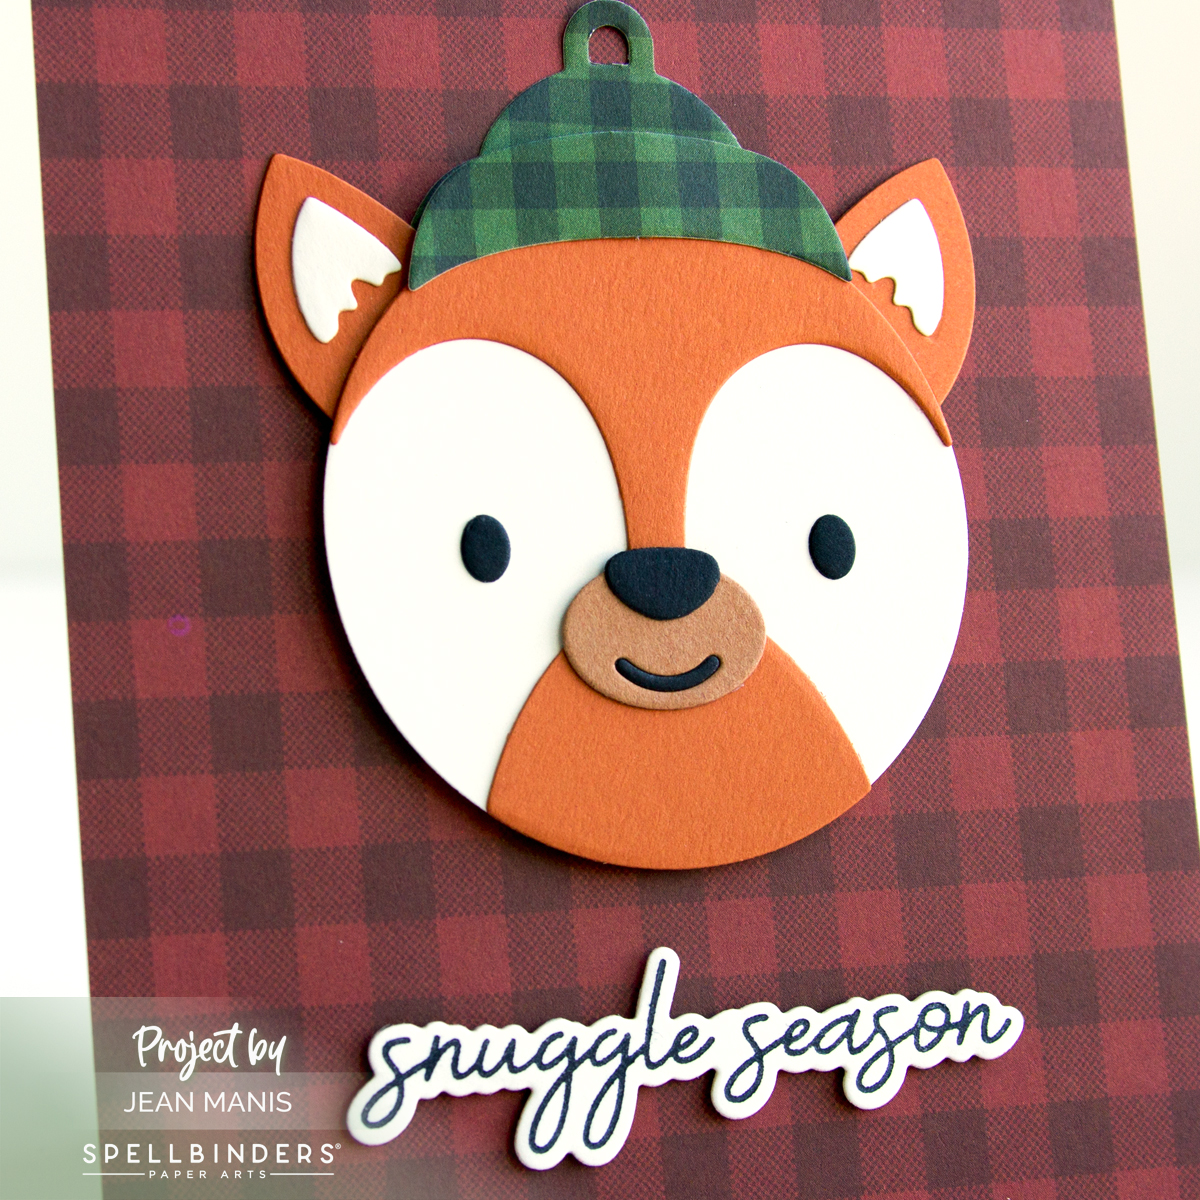
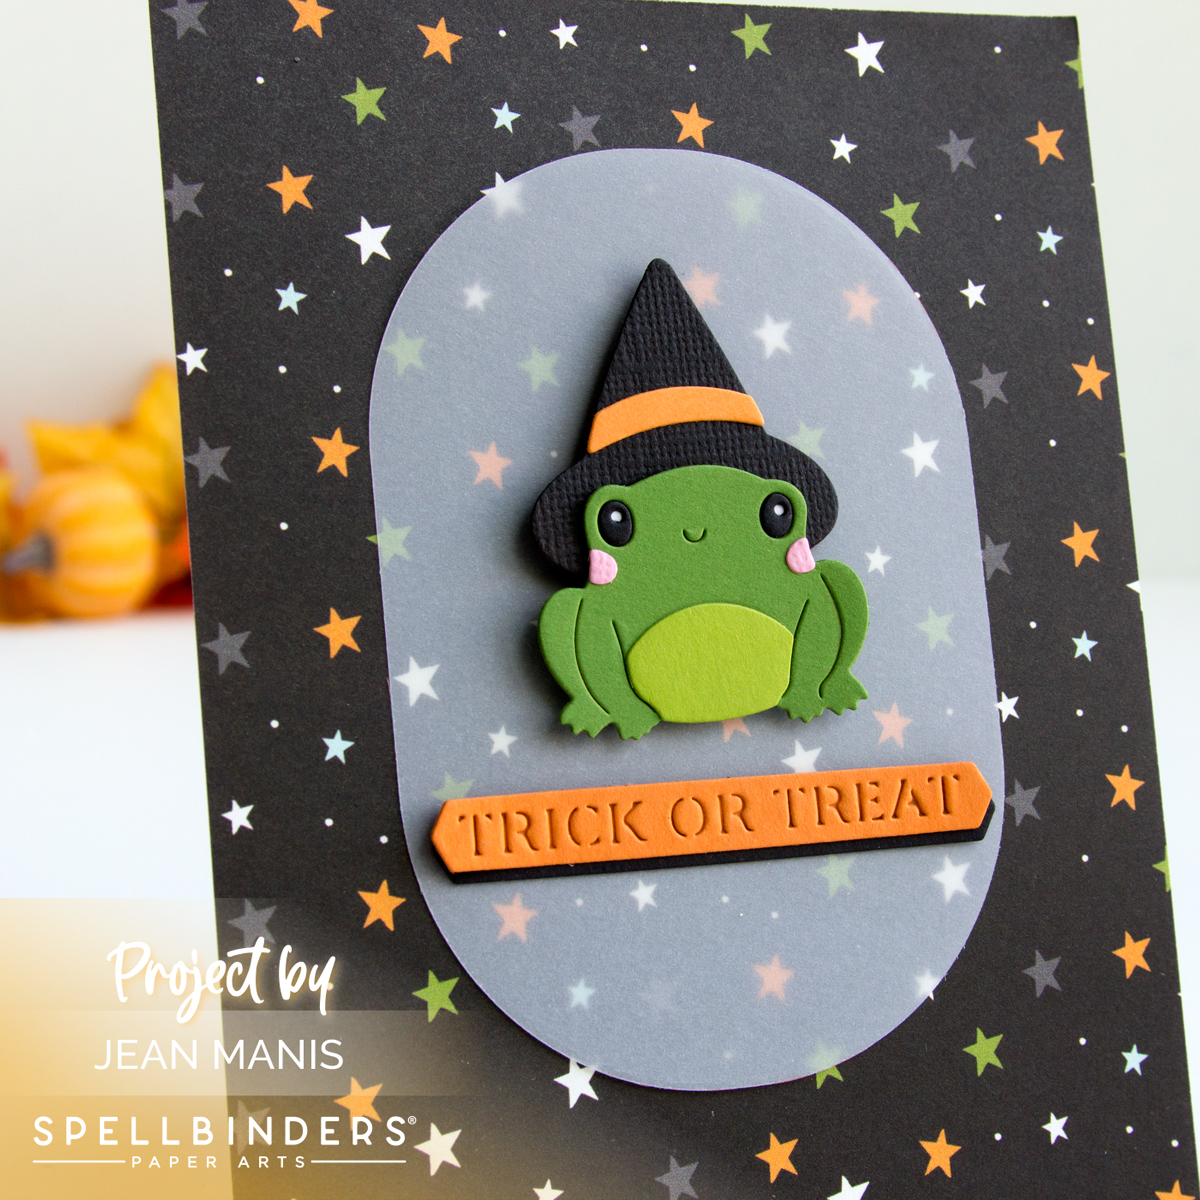
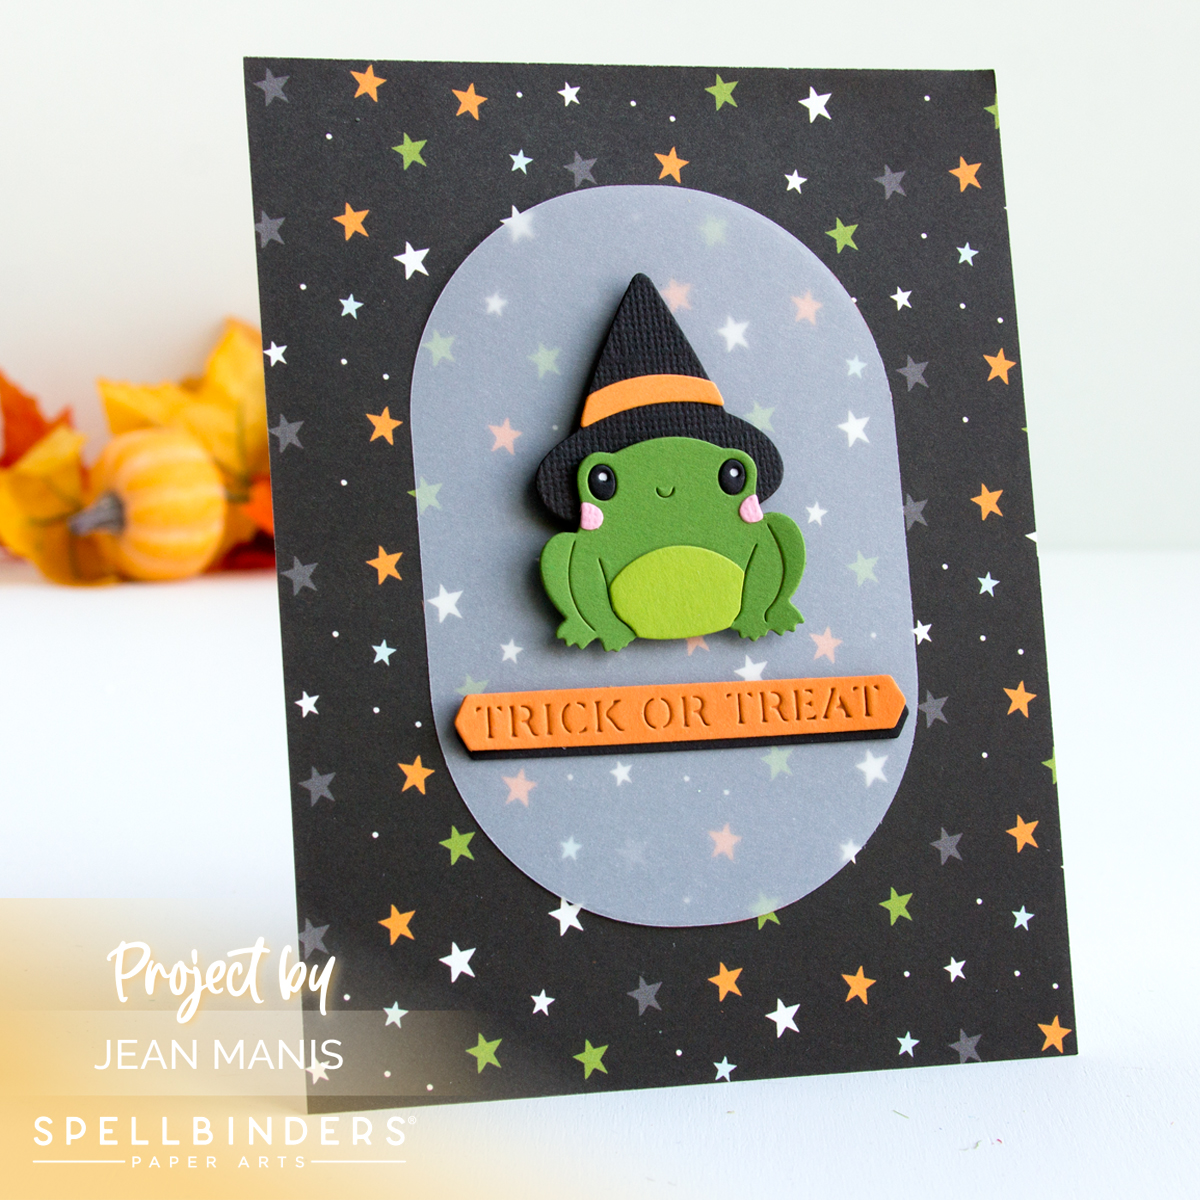
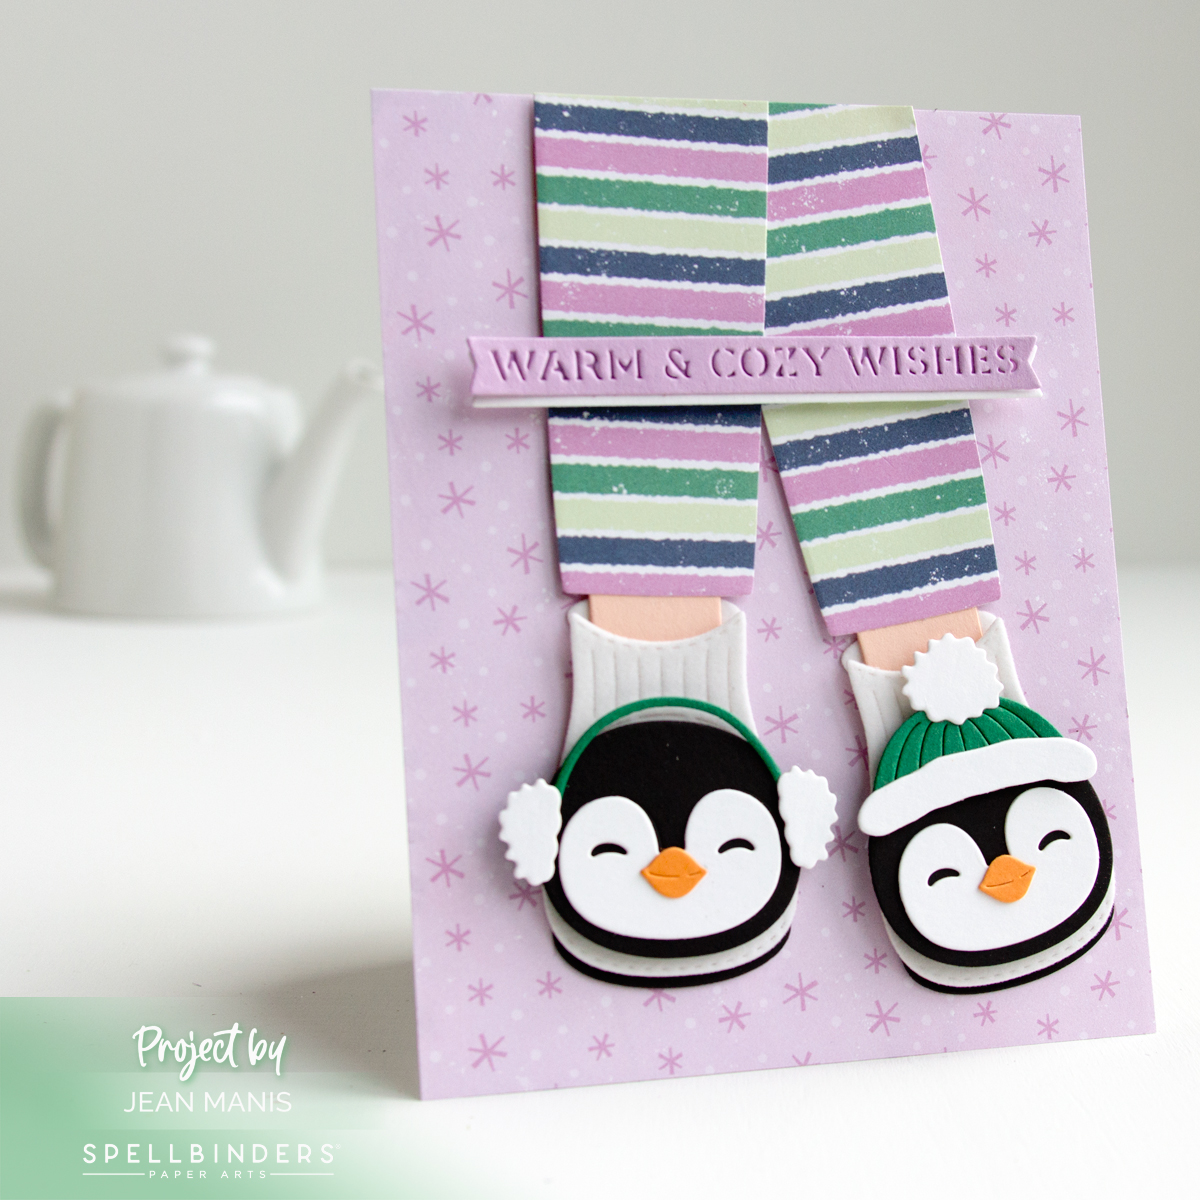
Nothing says holiday comfort like cozy pajamas and adorable slippers! Today, I’m excited to share a Christmas card featuring a pair of die-cut penguin slippers at the ends of PJs, made with the “Cozy Toes Slippers” set – the October 2024 Large Die of the Month offering at Spellbinders. The set includes dies to create not only the adorable penguin slippers but also Santa, reindeer, a monster/reptile foot, and bunny slippers, offering lots of creative possibilities.
-
- Cover an A-2 size card base with patterned paper.
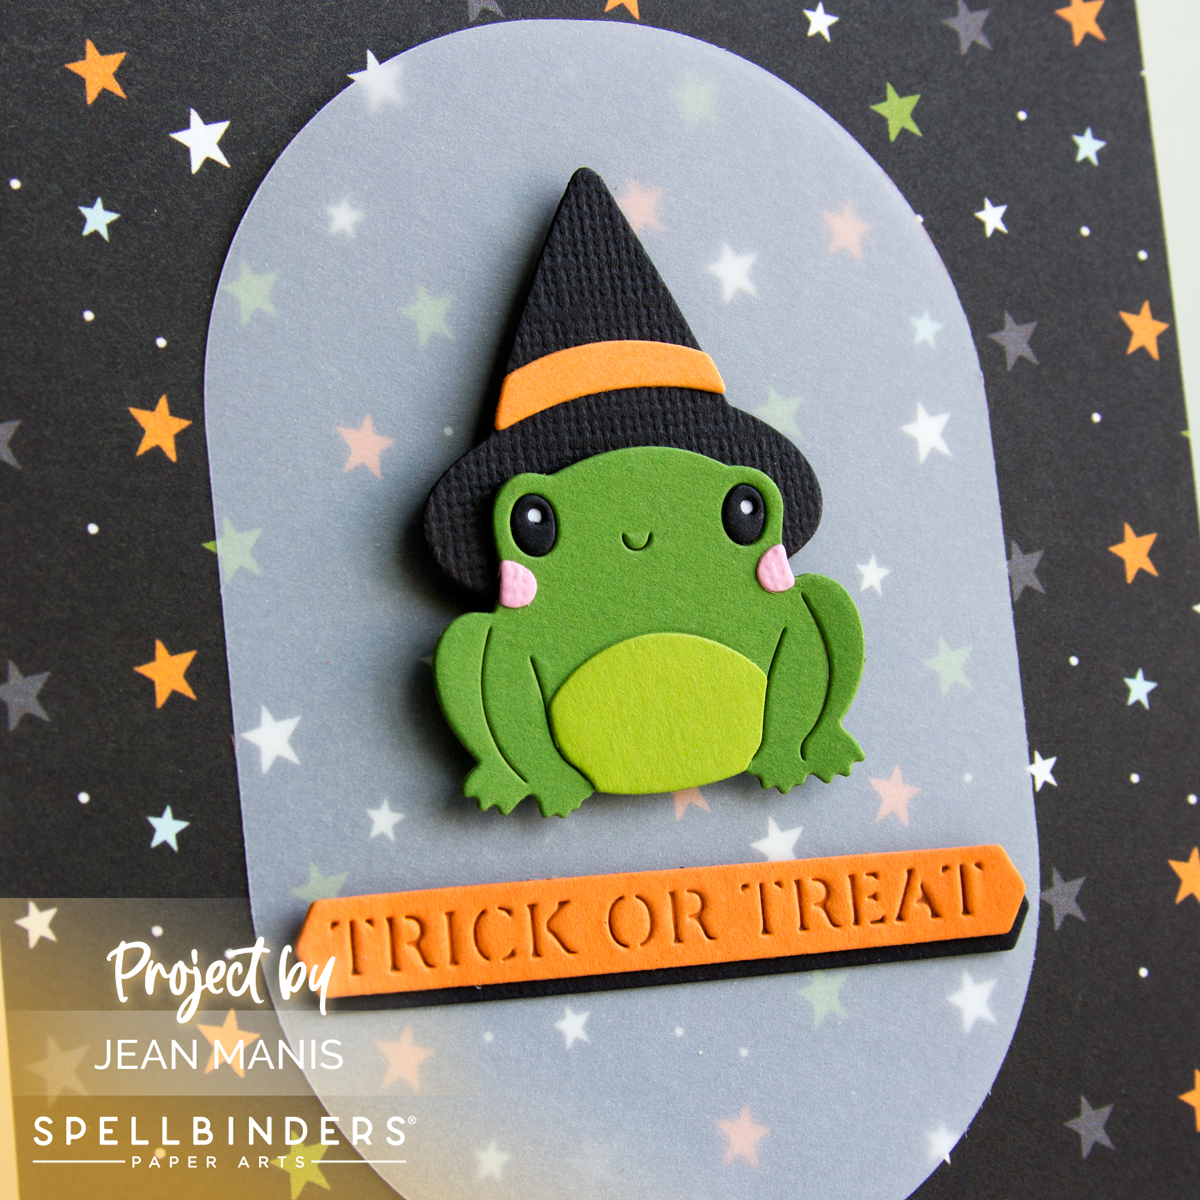
- With the “Cozy Toes Slippers” set, cut slippers, legs, pajamas, and sentiment from a variety of cardstock colors and textures. The patterned paper used for the pajama legs coordinates with the card base, creating a cohesive design. Assemble.
- Add elements to the card front with foam adhesive.
This card is relatively easy to create since the overall design is straightforward, at the same time, the die-cut pieces add a level of intricacy that makes it visually interesting and detailed.