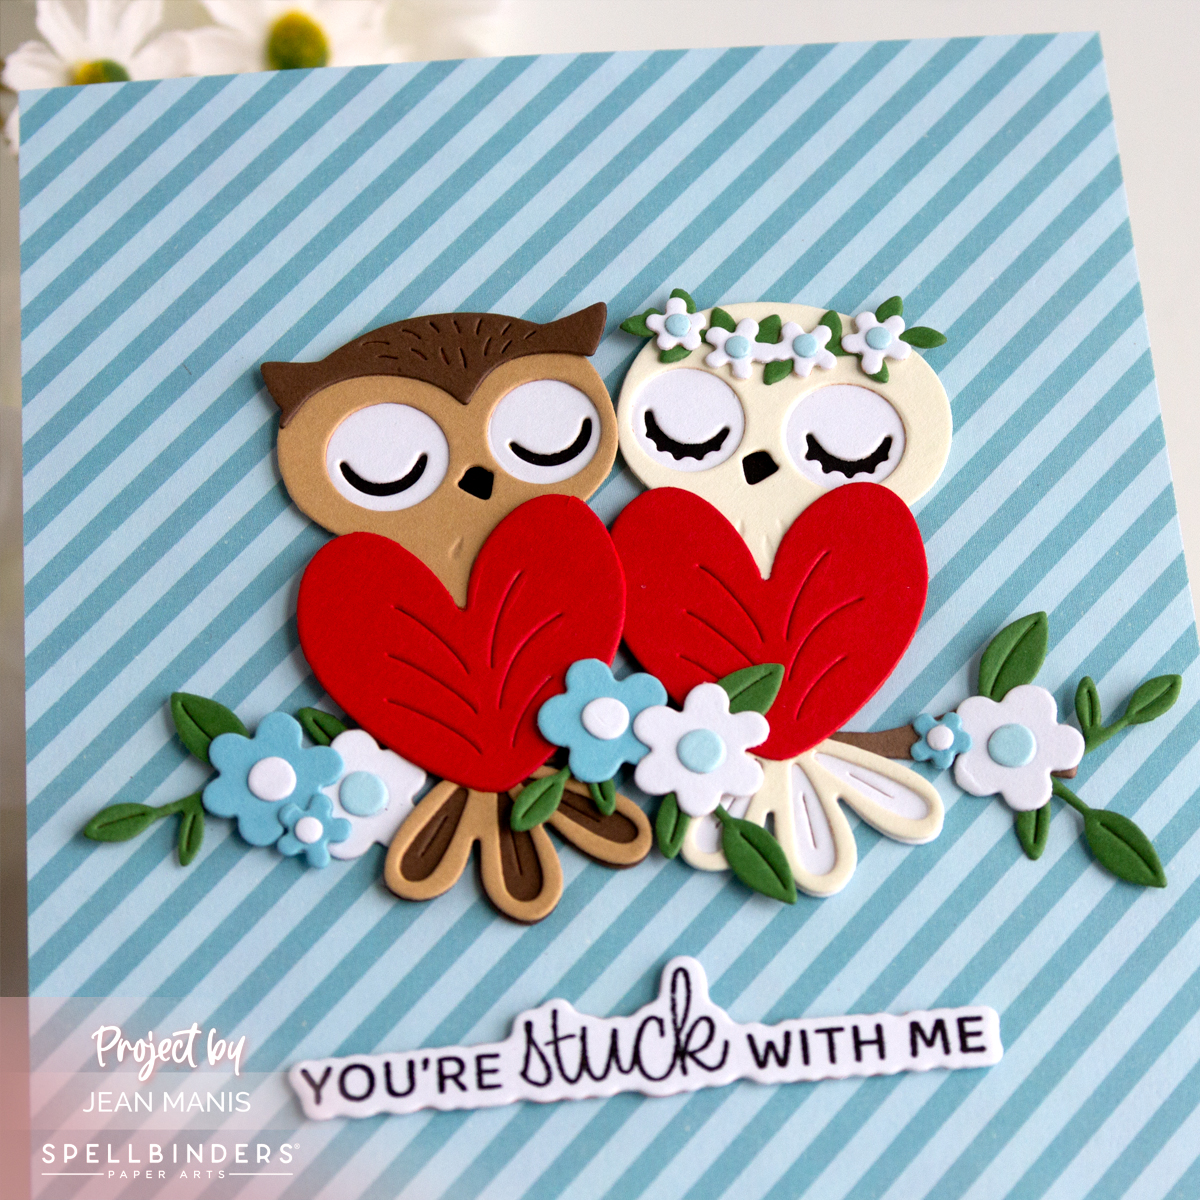
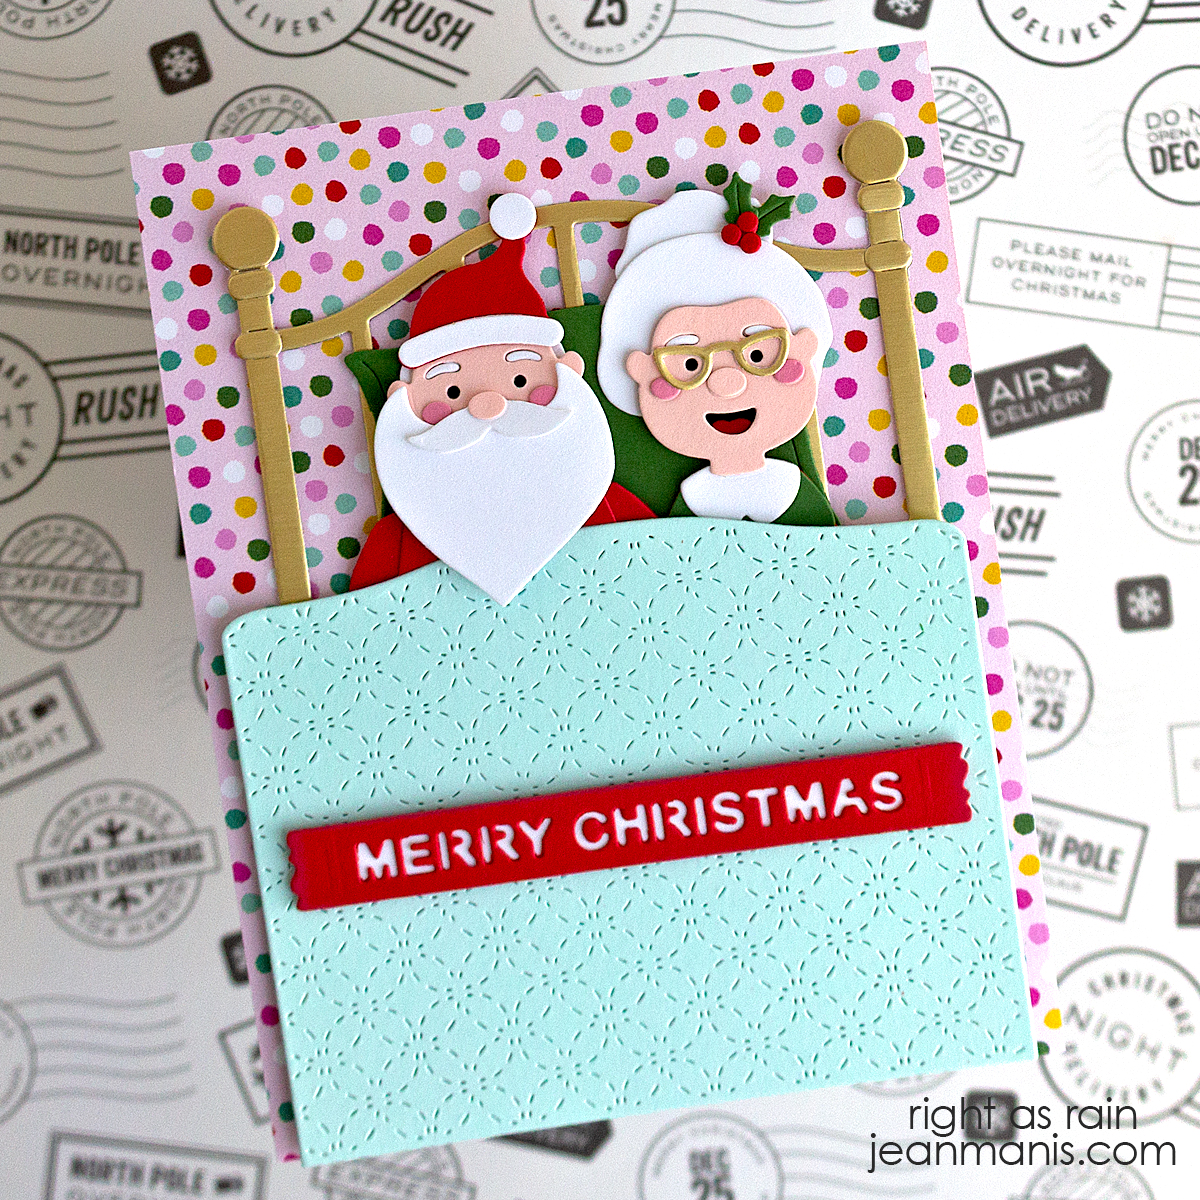
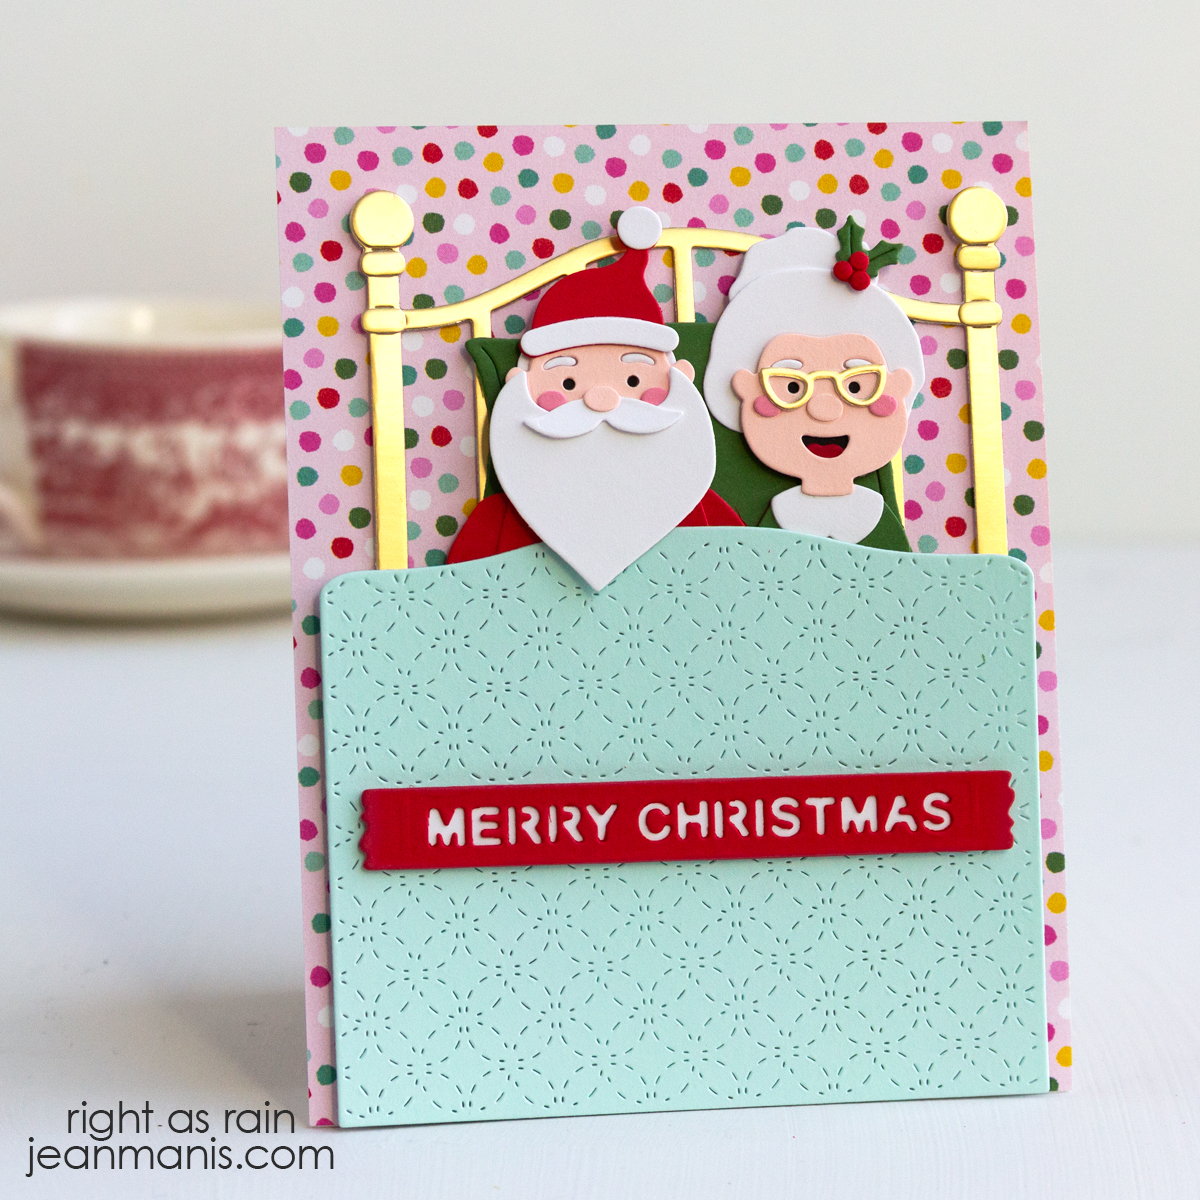
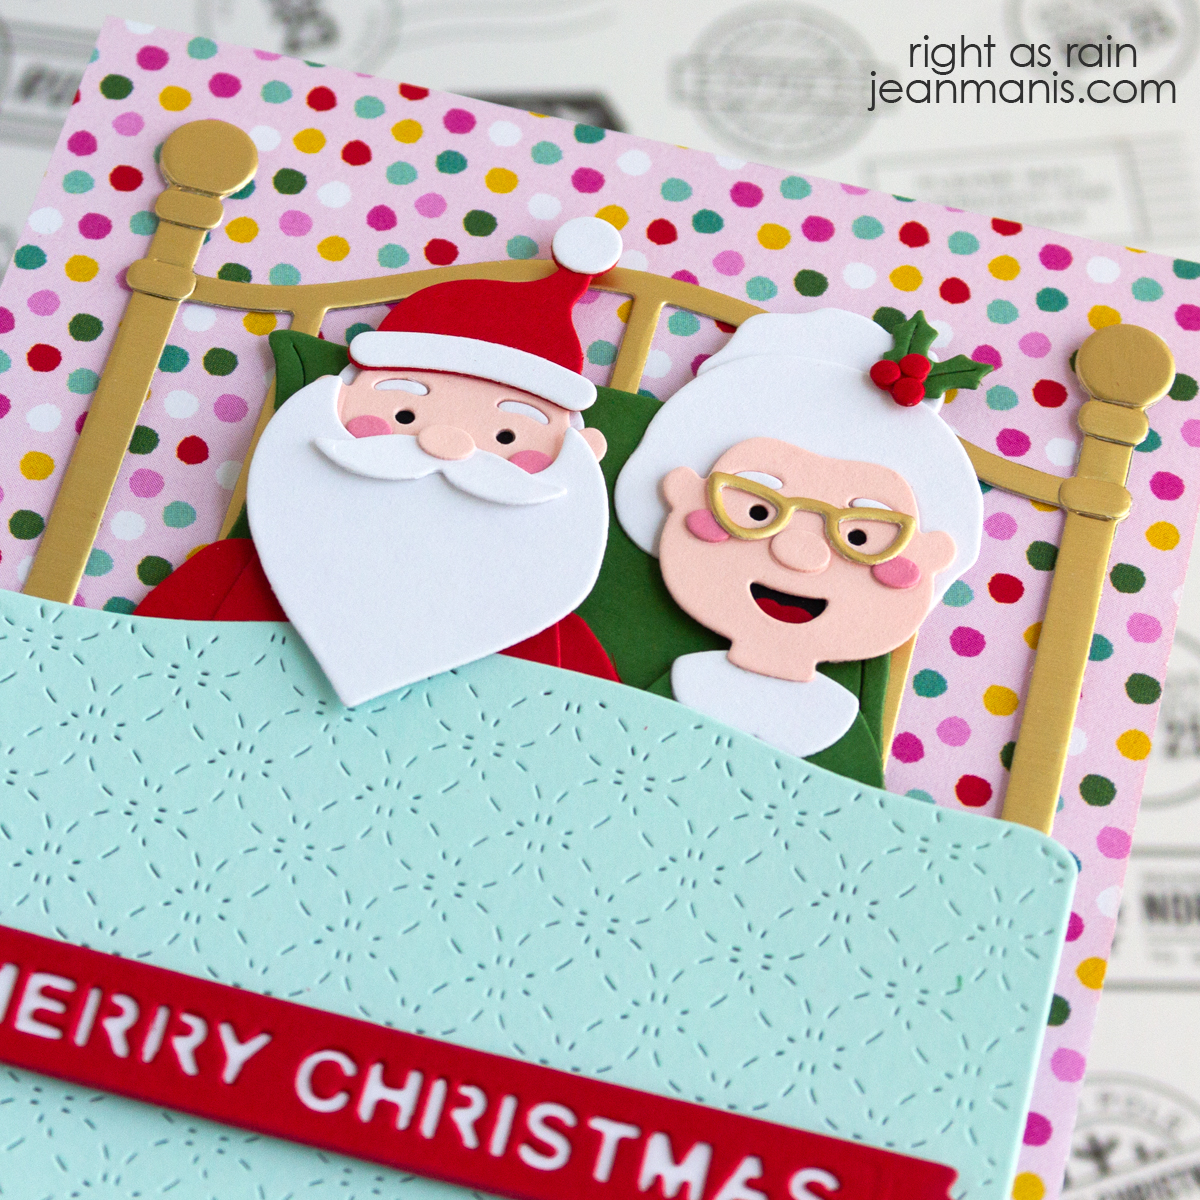
Spellbinders | Underwater Scene Card

Hello! Dive into creativity with this underwater-themed card featuring Spellbinders supplies! A Polaroid-style frame showcases the underwater scene, complete with die-cut fish and a debossed dot pattern for the water.

Spellbinders | Underwater Scene Card

The dry-embossed, rope-textured card base adds a nautical touch, while the sentiment conveys a heartwarming message. Whether for a birthday, a thank-you note, or just a thoughtful gesture, this card is sure to brighten anyone’s day.

    • With the All Wrapped Up folder, dry-emboss green cardstock. Add to an A2-size card base.
    • Cut the frame with the Memory Frames die from white cardstock. Stamp the Typewriter Adventure sentiment in black. Polaroid-style frames not only showcase the focal image but also provide space to stamp a sentiment.
    • With the Tiny Dots folder, dry-emboss a teal cardstock panel. Add to the back of the Polaroid frame, leaving room at the bottom of the scene area to tuck in the plants.
    • With the Underwater Marine Life and Underwater Tunnel die sets cut the fish and plants from a variety of cardstock colors. Assemble as required.

Spellbinders | Underwater Scene Card


Spellbinders | Simon’s Space Adventure

Hello! I’m thrilled to be a guest on the Spellbinders blog sharing space-themed cards created with Simon’s Space Adventure Collection at Spellbinders. I would be delighted for you to take a look and leave a comment!

I previously shared a birthday card created with products in the collection HERE.

Now through January 26, 2025, Spellbinders is having a Paper Party Sale.

Spellbinders Paper Party Sale


Spellbinders | Bougie Birthday Collection

Hello! I’m thrilled to be a guest on the Spellbinders blog sharing three cards created with the Bougie Birthday Collection by Nina Boettcher at Spellbinders. Whether it is a birthday, anniversary, or another special occasion, the collection has supplies with which to create stylish cards. I hope you will take a look and leave me a comment!

Now through January 26, 2025, Spellbinders is having a Paper Party Sale.

Spellbinders Paper Party Sale


Spellbinders Die-cut Still Life Scene

Hello! Today I’m sharing a card on which I’ve brought together several die sets to design a timeless still life scene featuring vases filled with greenery and cheerful daisies. The die-cut sentiment, “bloom,” adds a sweet and simple finishing touch to the design. This card showcases how mixing and matching products can inspire entirely new designs.

Spellbinders Die-cut Still Life Scene

    • Dry-emboss light-yellow cardstock with the Tiny Dots folder. Add to an A2-size card base. Add a strip of gray cardstock (SU Gray Granite) 1 1/4″ tall (by 5 1/2″ wide) to the base to represent the ground.
    • Cut the Ceramic Vases from three cardstock colors.
    • With dies in the Floral Stems set, cut the daisies from textured white cardstock, yellow cardstock (SU Daffodil Delight) and white glitter foam (glitter side down). Cut additional greenery with dies in the Autumn Sealed Sprigs set.
    • Cut sentiment from white cardstock and white glitter foam (glitter side down) with a die in the Fresh Picked Sentiments set. Adhere.
    • Add vases with greenery and flowers to the card base with dot adhesive and foam squares. Add sentiment with glue.

Spellbinders Die-cut Still Life Scene


Out-of-This-World Alien Birthday Card

Hello! Today, I am sharing a birthday card that’s truly out of this world! Using Spellbinders products, I created a playful scene featuring a UFO and an alien with balloons.

Out-of-This-World Alien Birthday Card

    • Dry-emboss an A2-size Blue Jay cardstock panel with the Stargazer folder. Attach to a card base.
    • Cut UFO and aliens with the UFO Friend die set, which is one of several sets in Simon’s Space Adventure Collection. Assemble.
    • Cut the balloons with dies in the Birthday Bliss set. Assemble.
    • Press the Let’s Celebrate sentiment on to a yellow cardstock panel. With the UFO beam die in the UFO Friend set, cut the beam from scratch paper. Using the negative of the beam piece, draw the longer beam on to the sentiment panel. Use scissors or a paper cutter to cut the longer beam.
    • Attach the sentiment beam under the assembled UFO. Add elements to the card base with glue and foam squares.

Out-of-This-World Alien Birthday Card