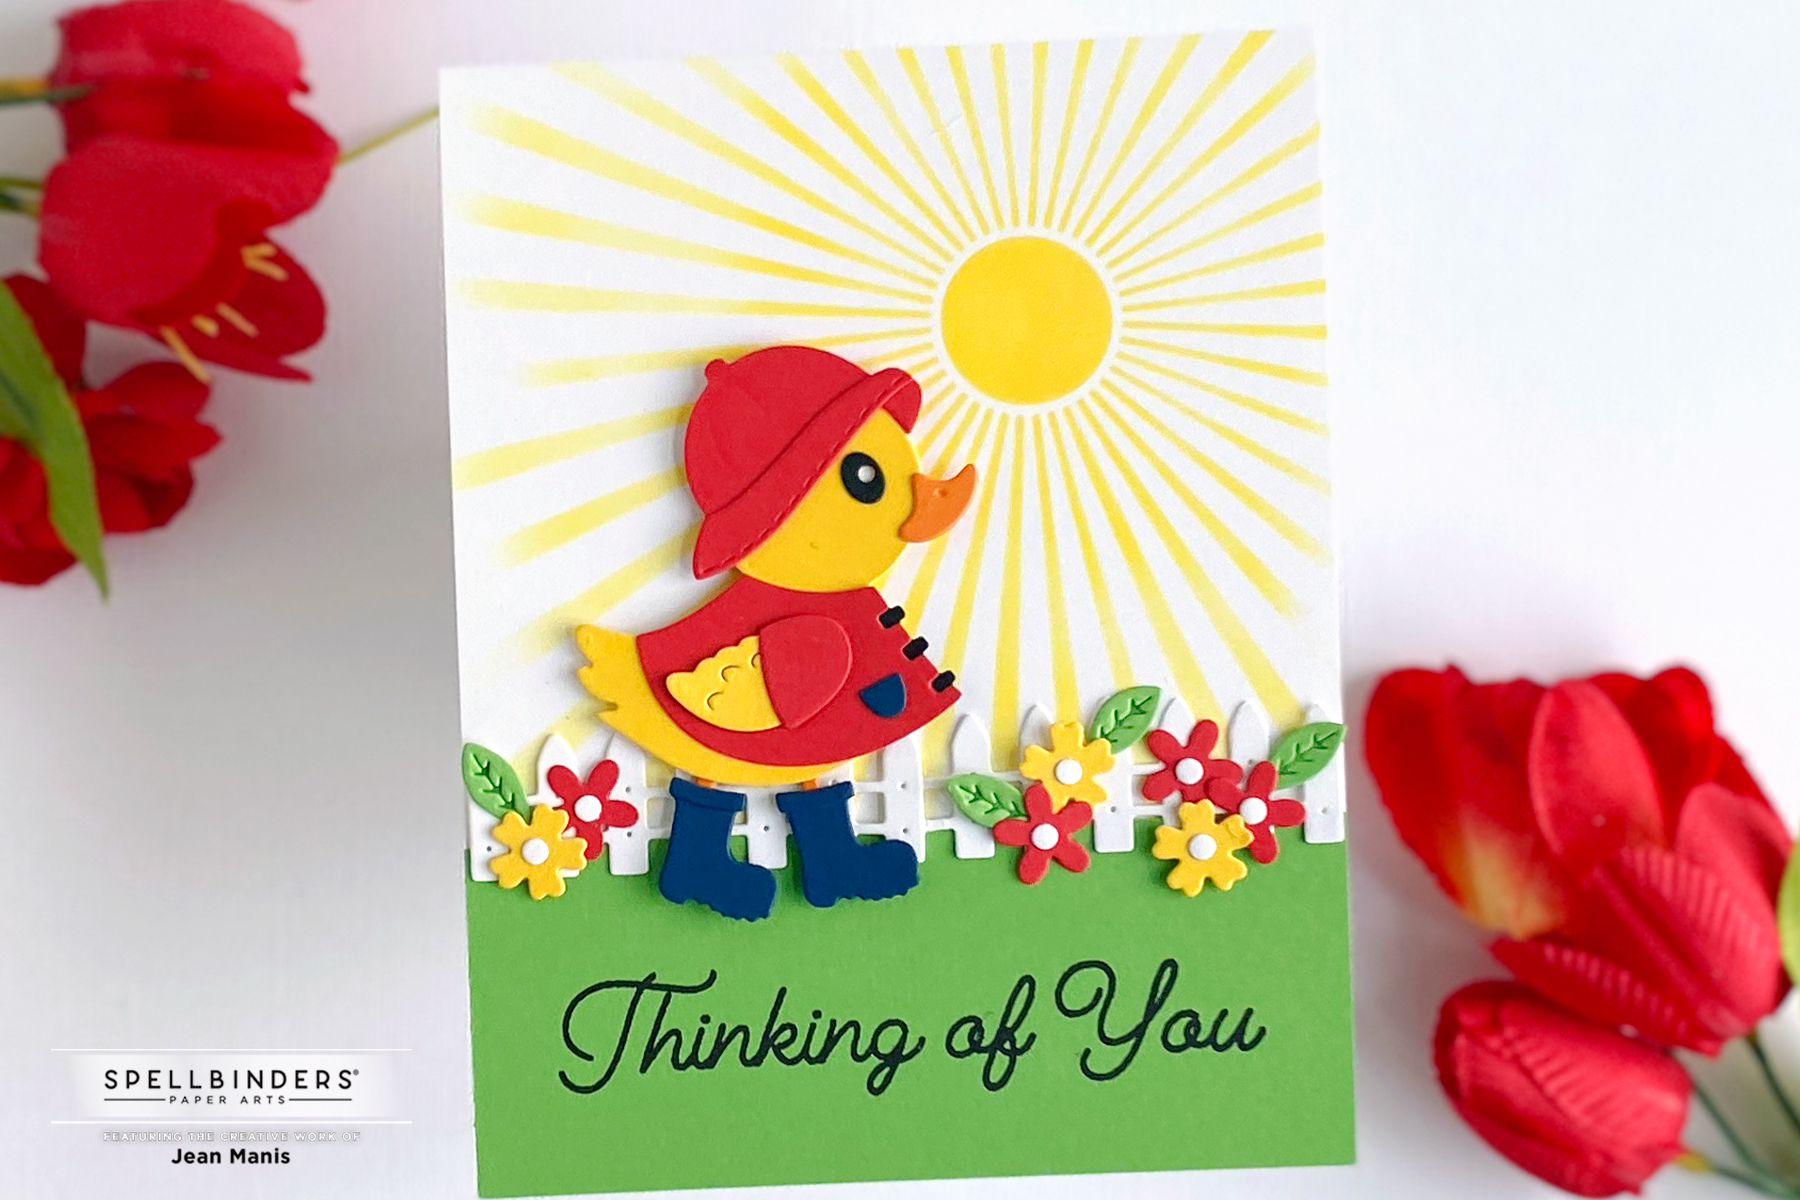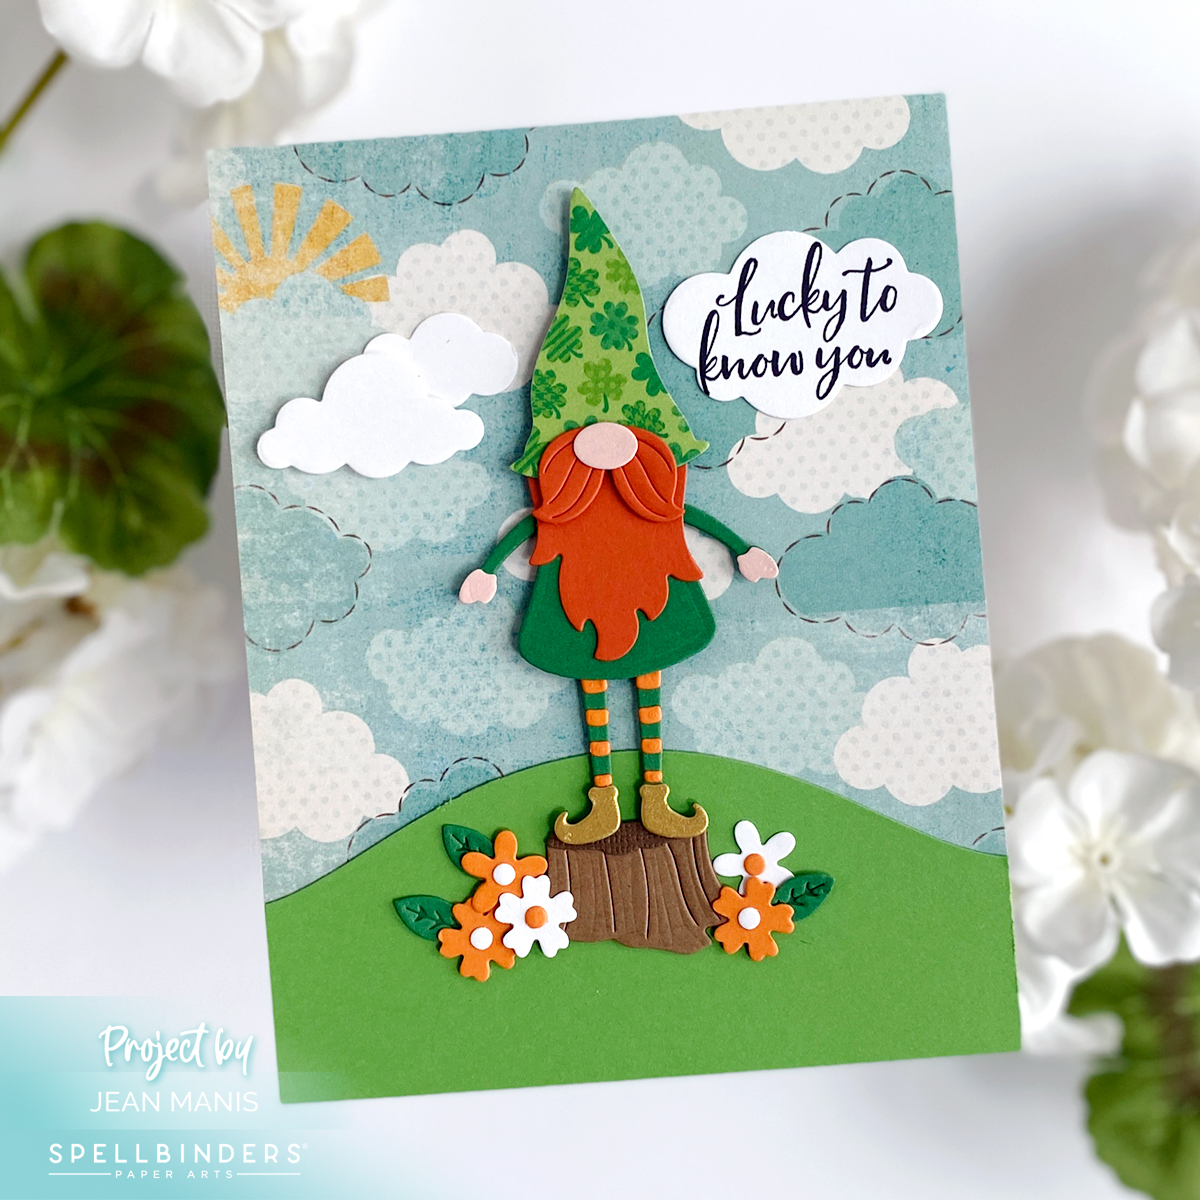
Hello! Today I am sharing a friendship card with a Saint Patrick’s Day theme showcasing a leprechaun gnome created with the Spellbinders Dancin’ Gnome set.
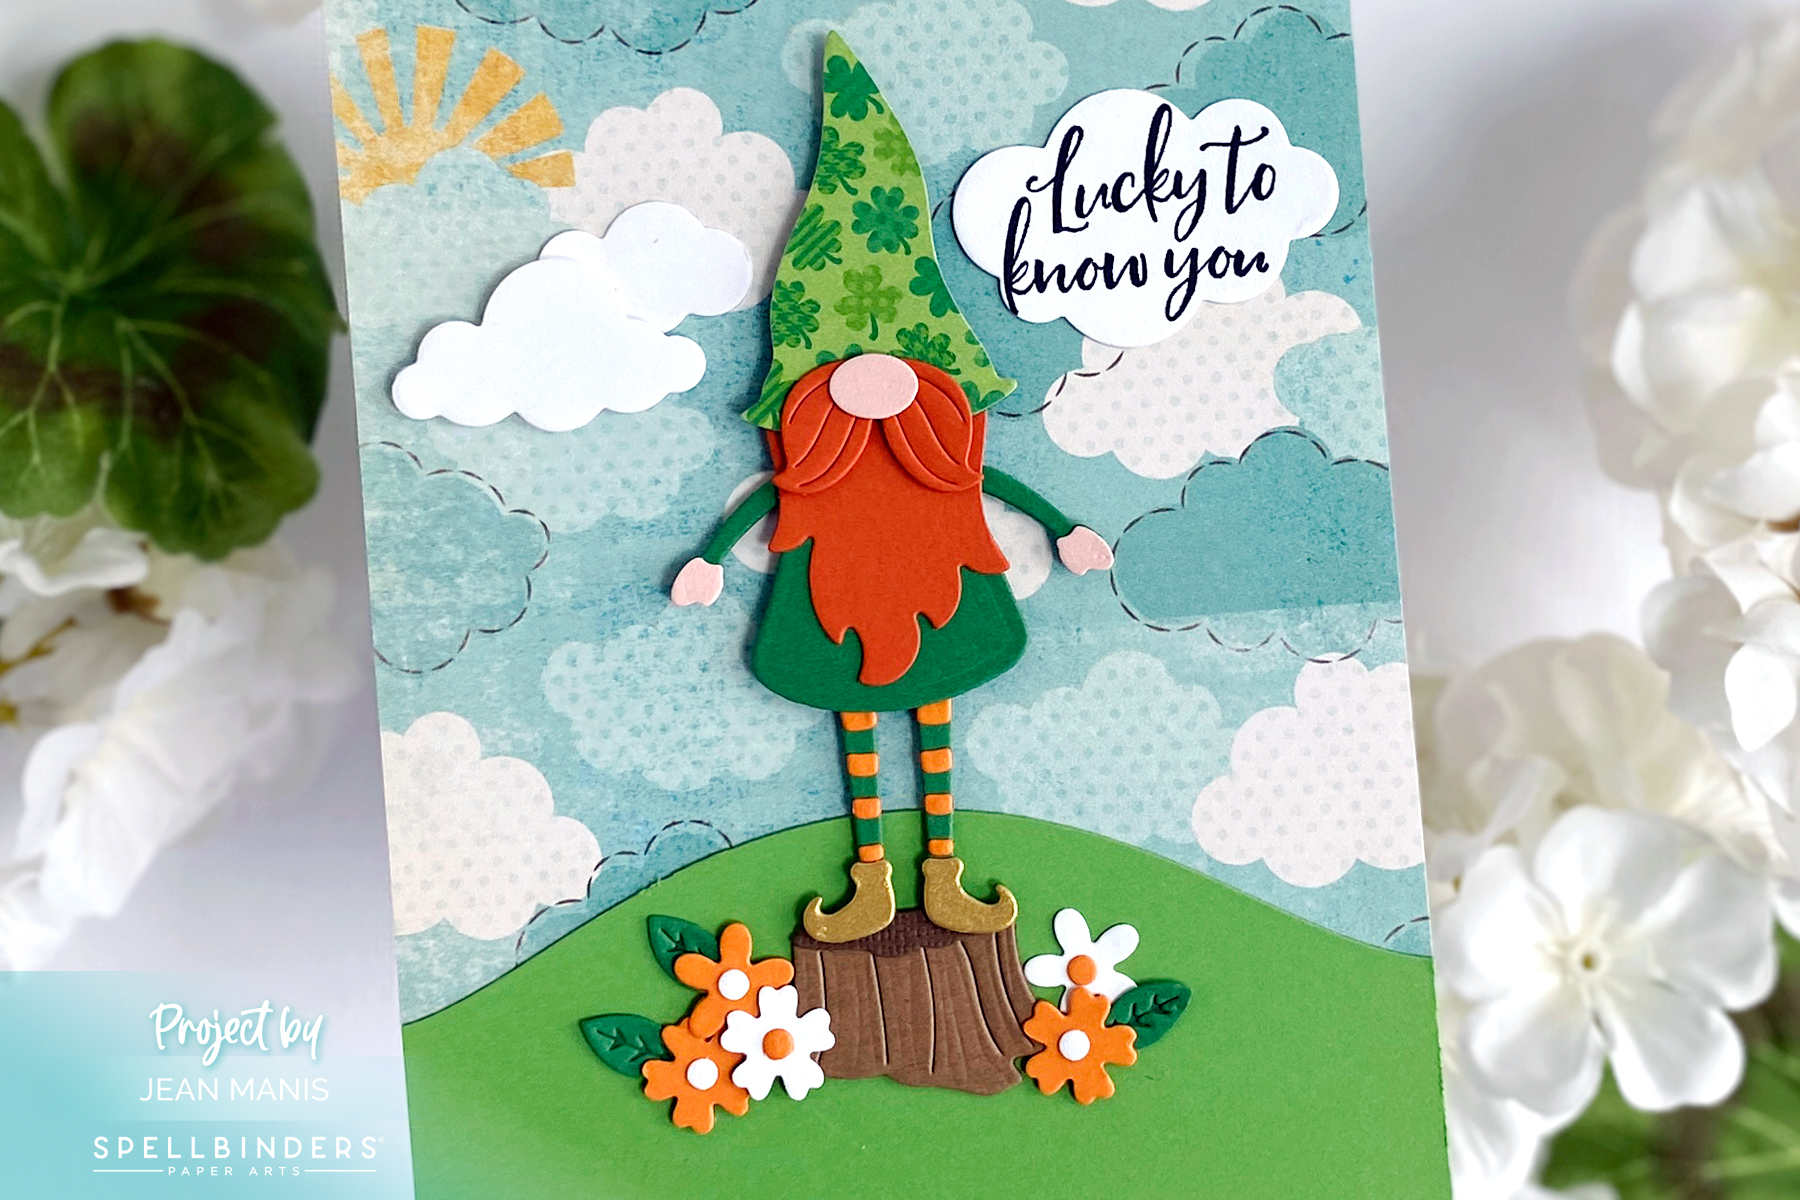
- Create background by cutting hill from green cardstock with the Color Block Scenic Scape die set and attaching to patterned paper; trim. Adhere to A2-size card base.
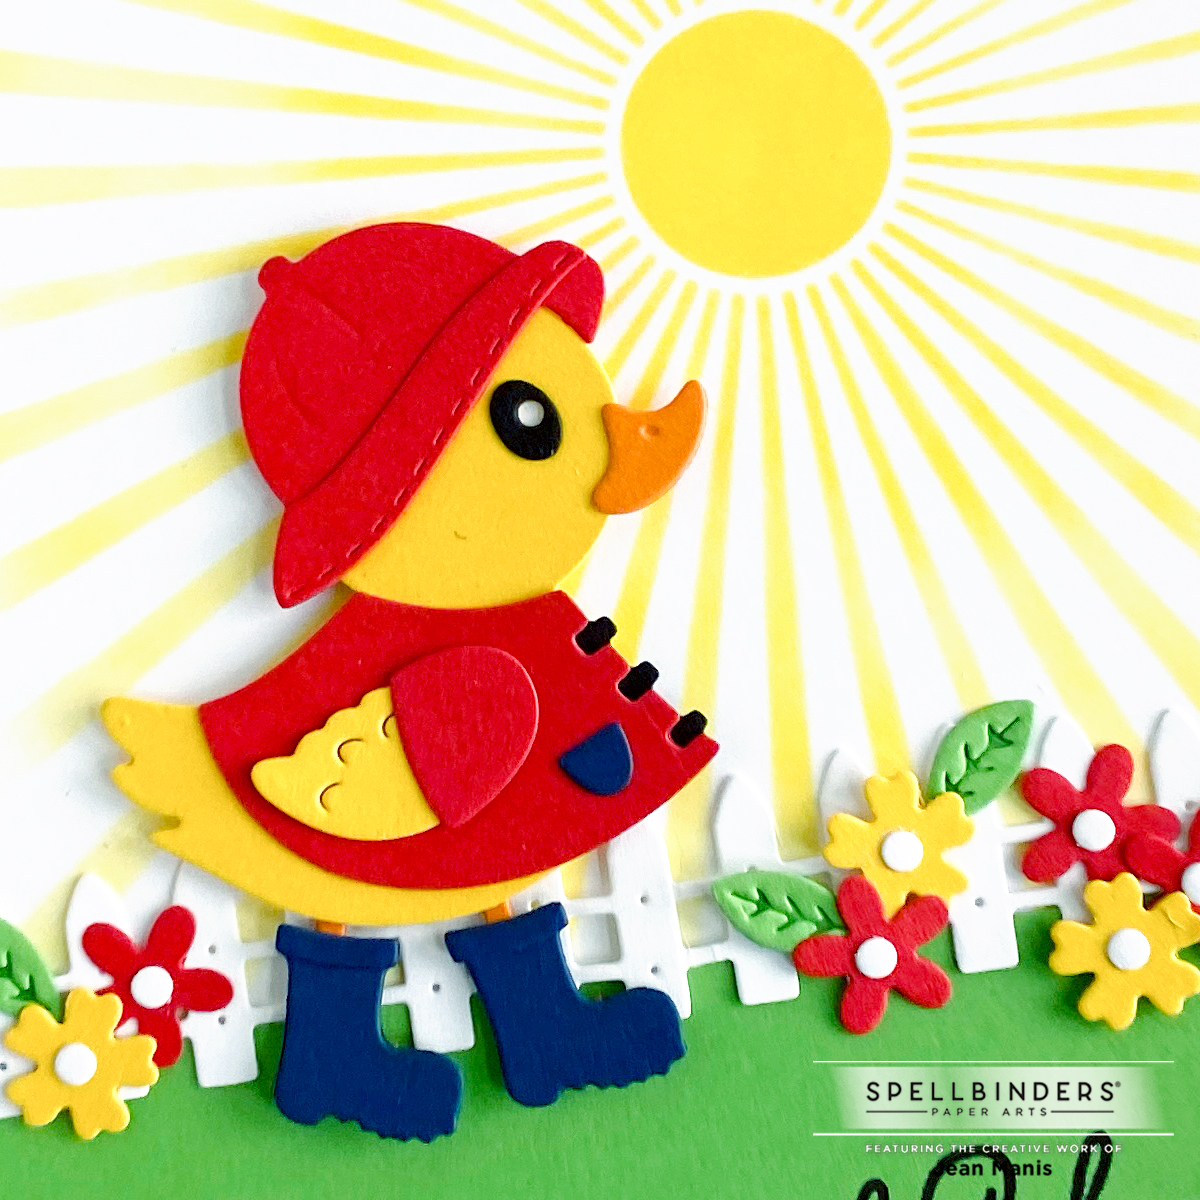
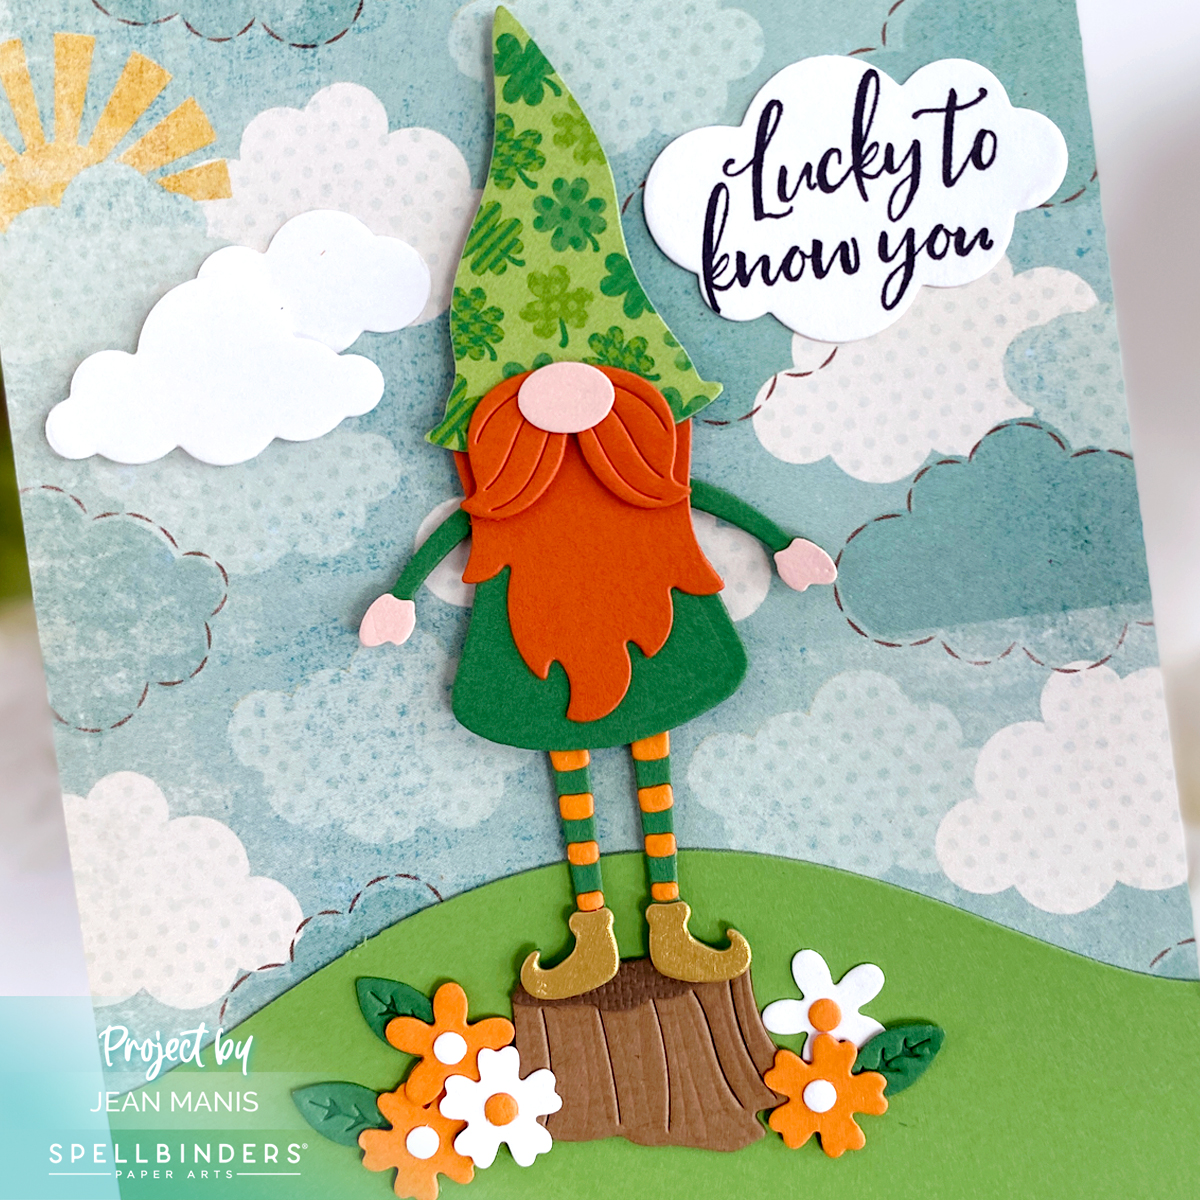
- Cut Dancin’ Gnome pieces from a variety of cardstock colors and patterned paper; assemble. Add to card background.
- Stamp sentiment on Snowdrift cardstock and cut with one of the On Cloud Nine dies. Use same set to cut additional clouds. (I used a now-retired Spellbinders stamp set; Many Greetings set has a similar sentiment.) Add clouds to scene.
- Embellish scene with flowers and leaves cut using dies in the Spring Birdhouse die set.
Now through Thursday, Scrapbook.com is offering free shipping on orders over $85 with code FEB85 (Expedited and International $8 off $85 with code FEBSAVE8).