Spellbinders Snowy Christmas Scene + A Sale

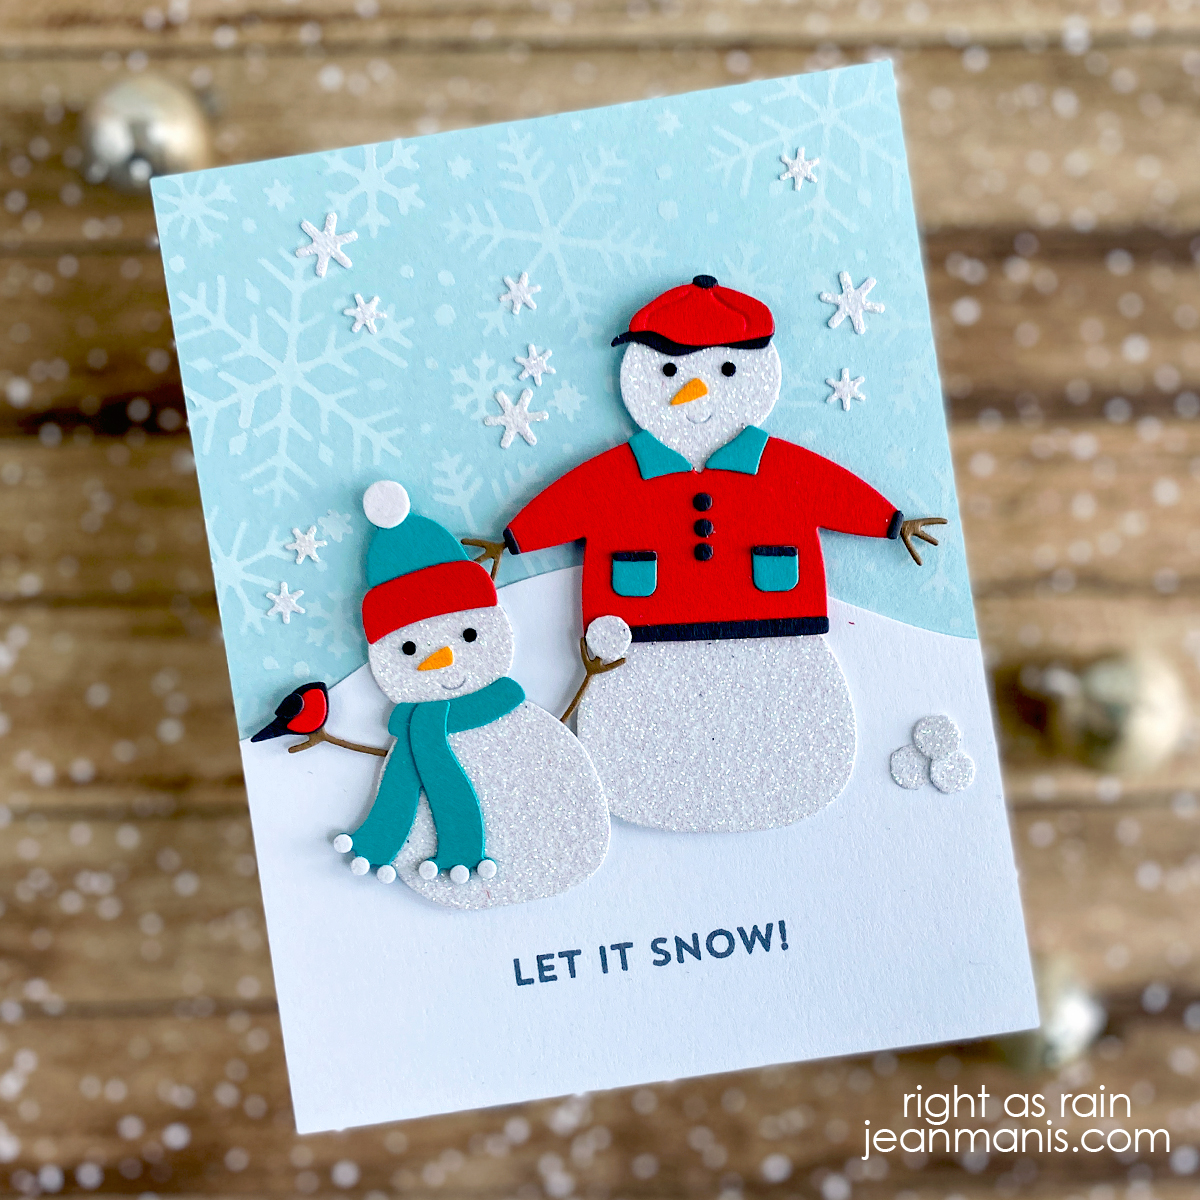
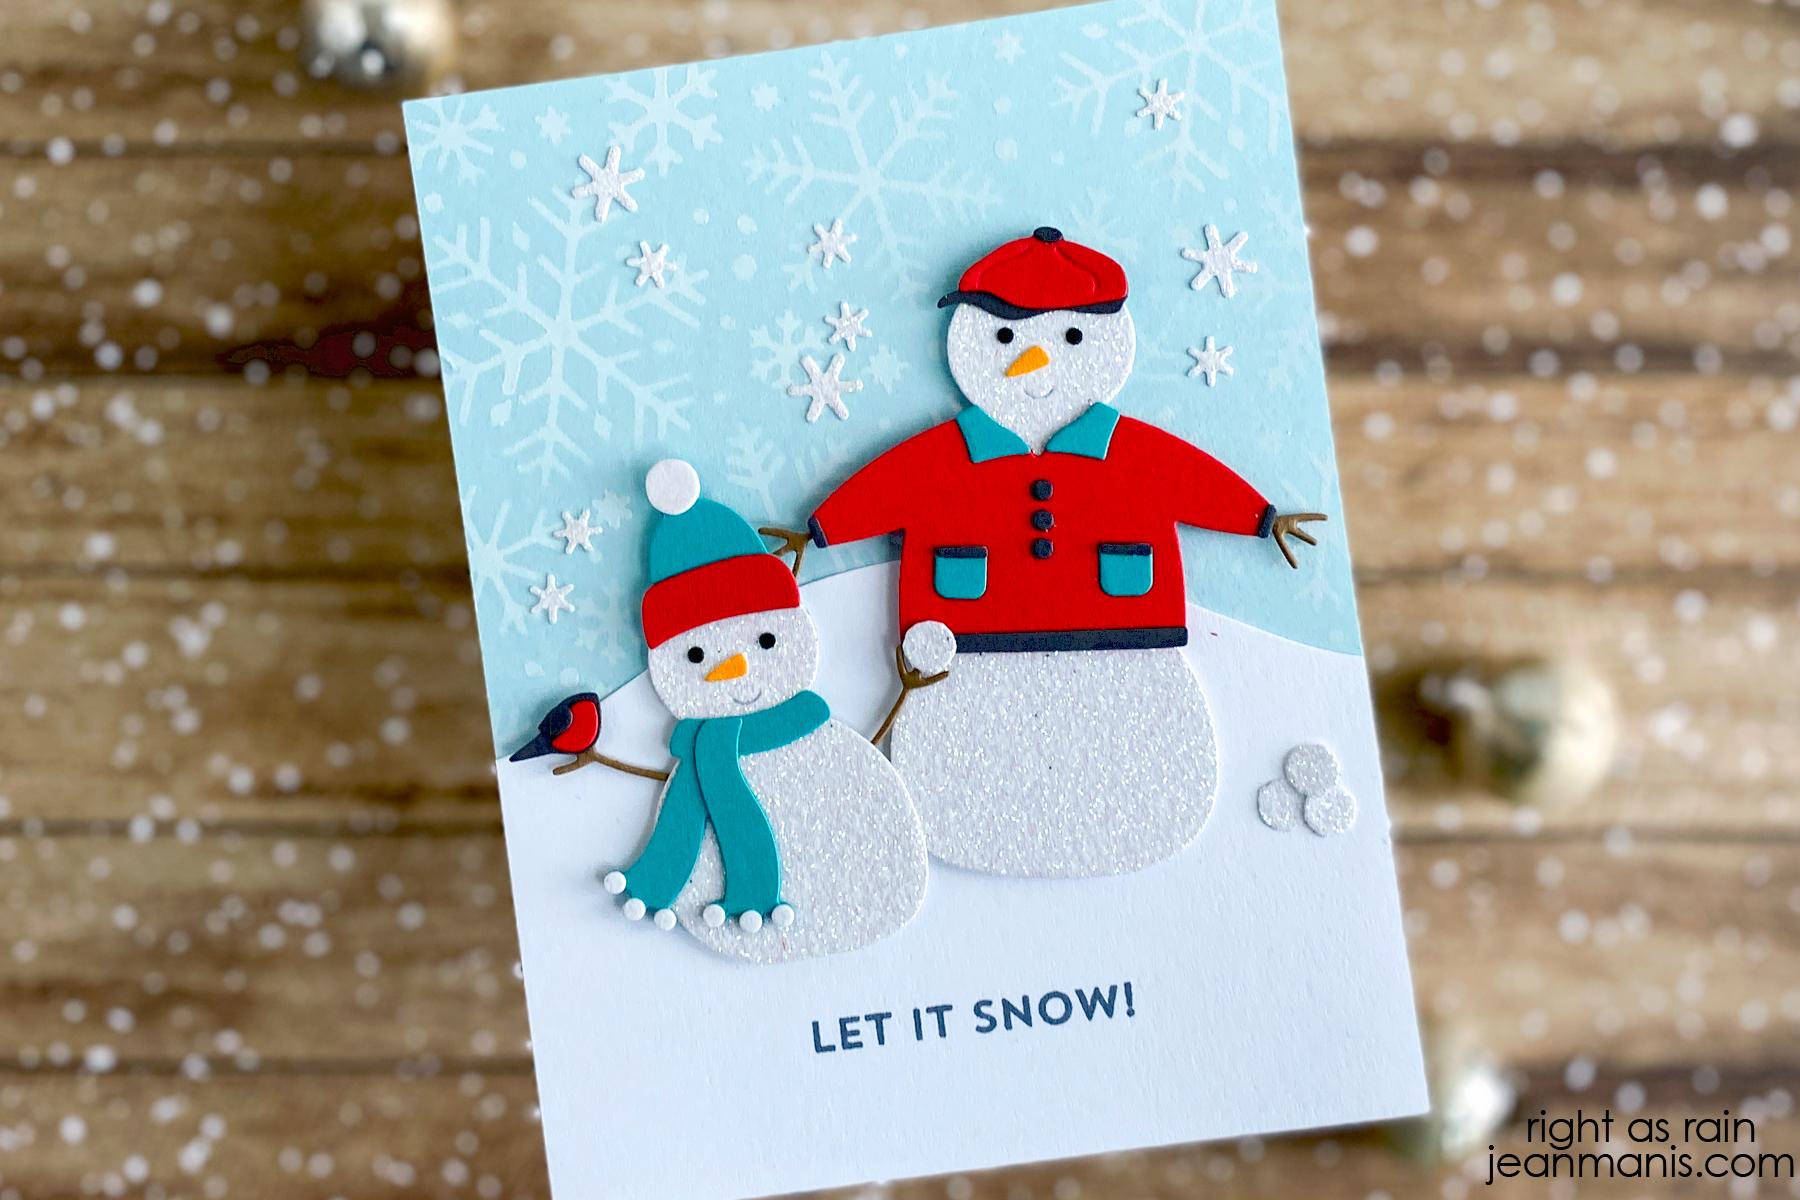
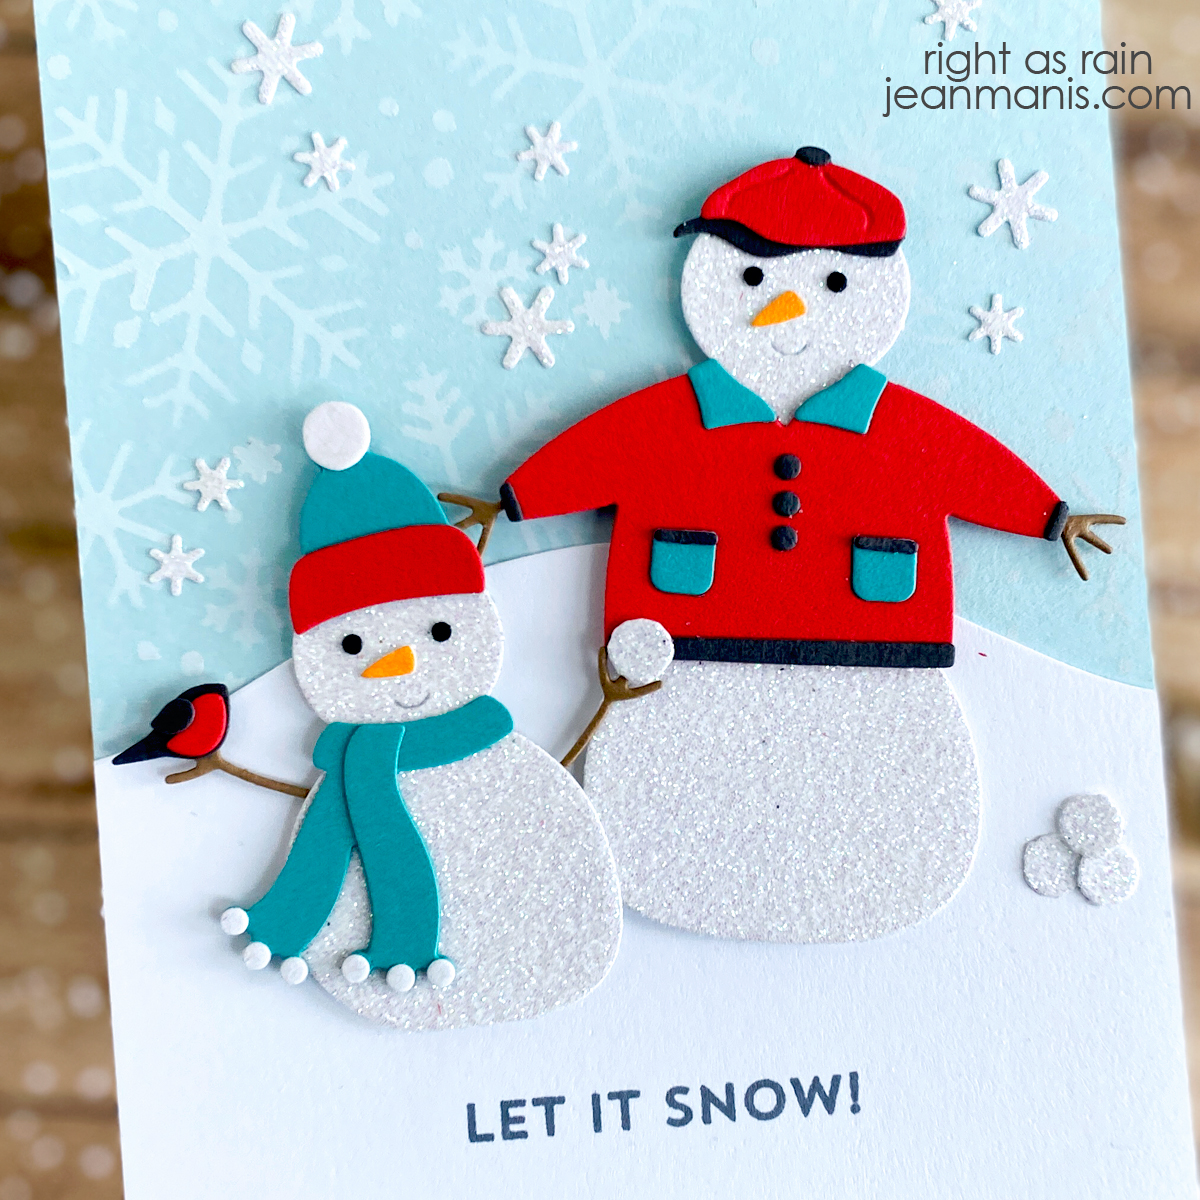
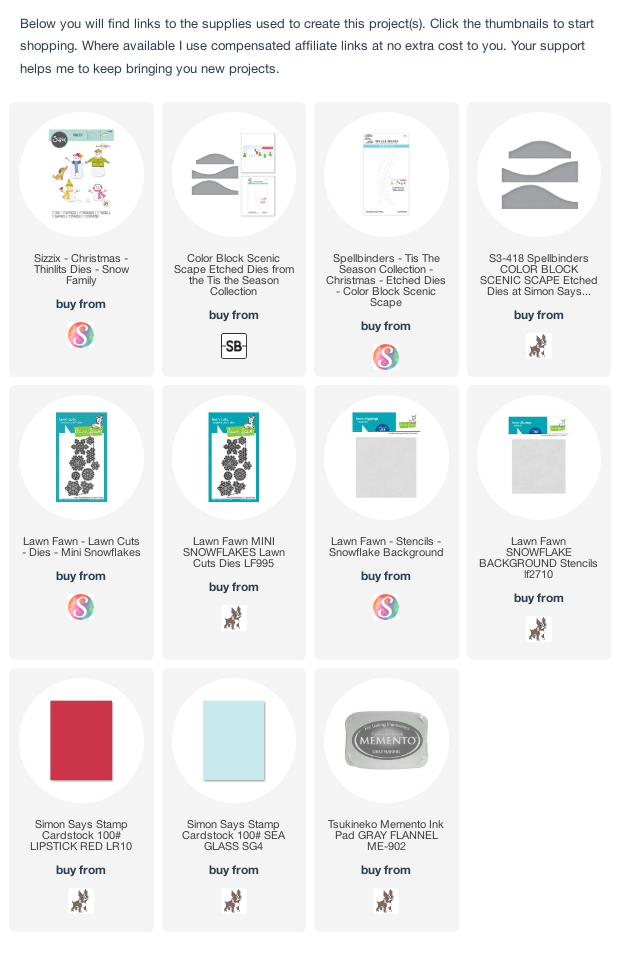
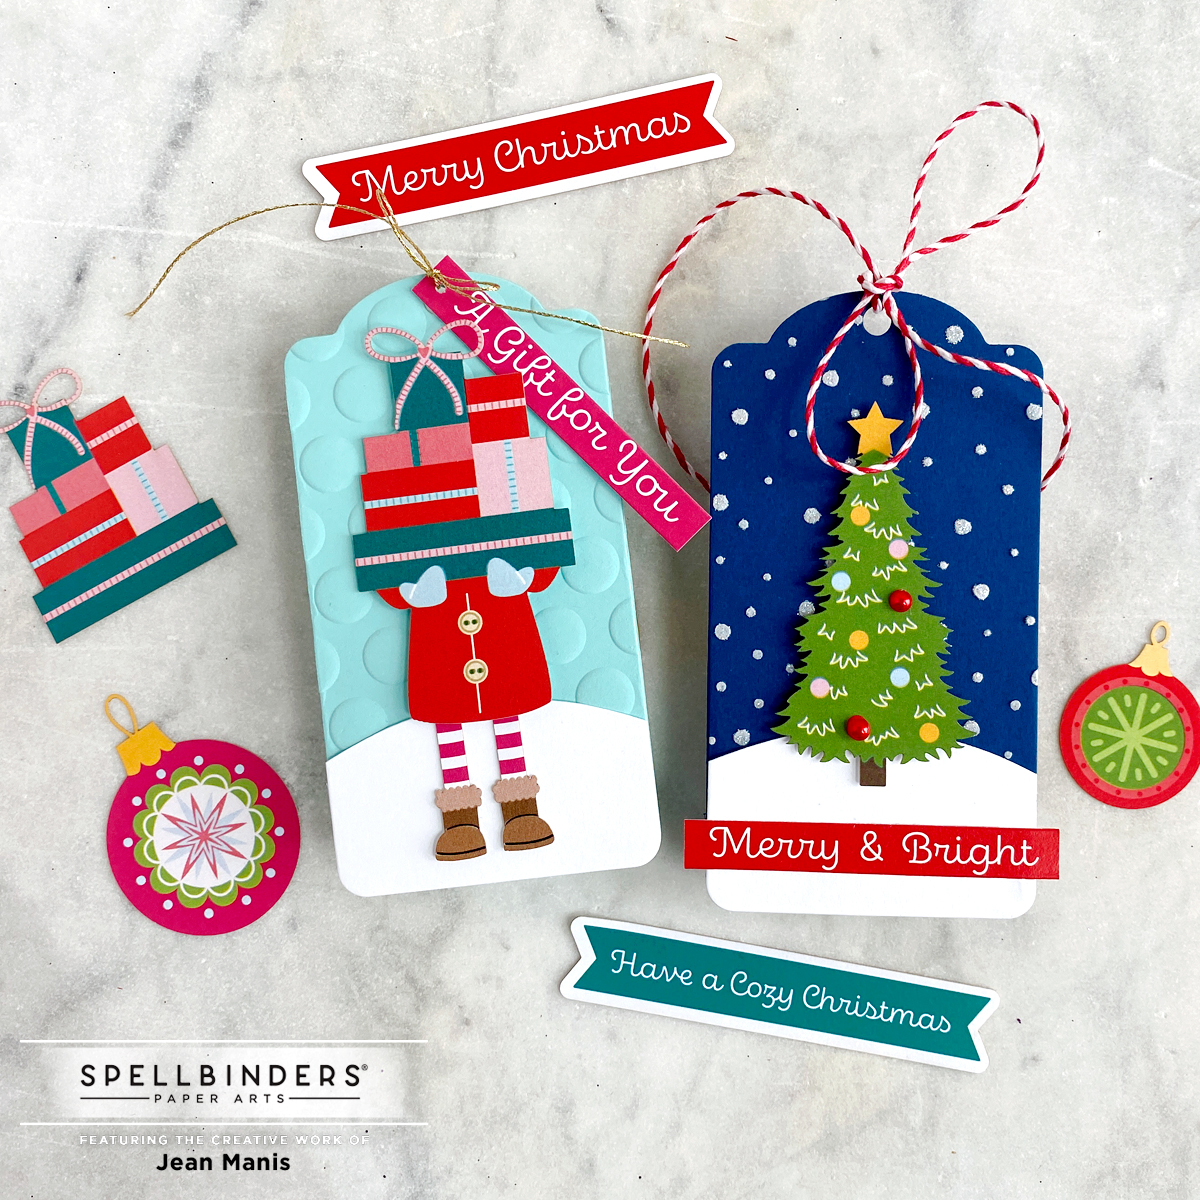
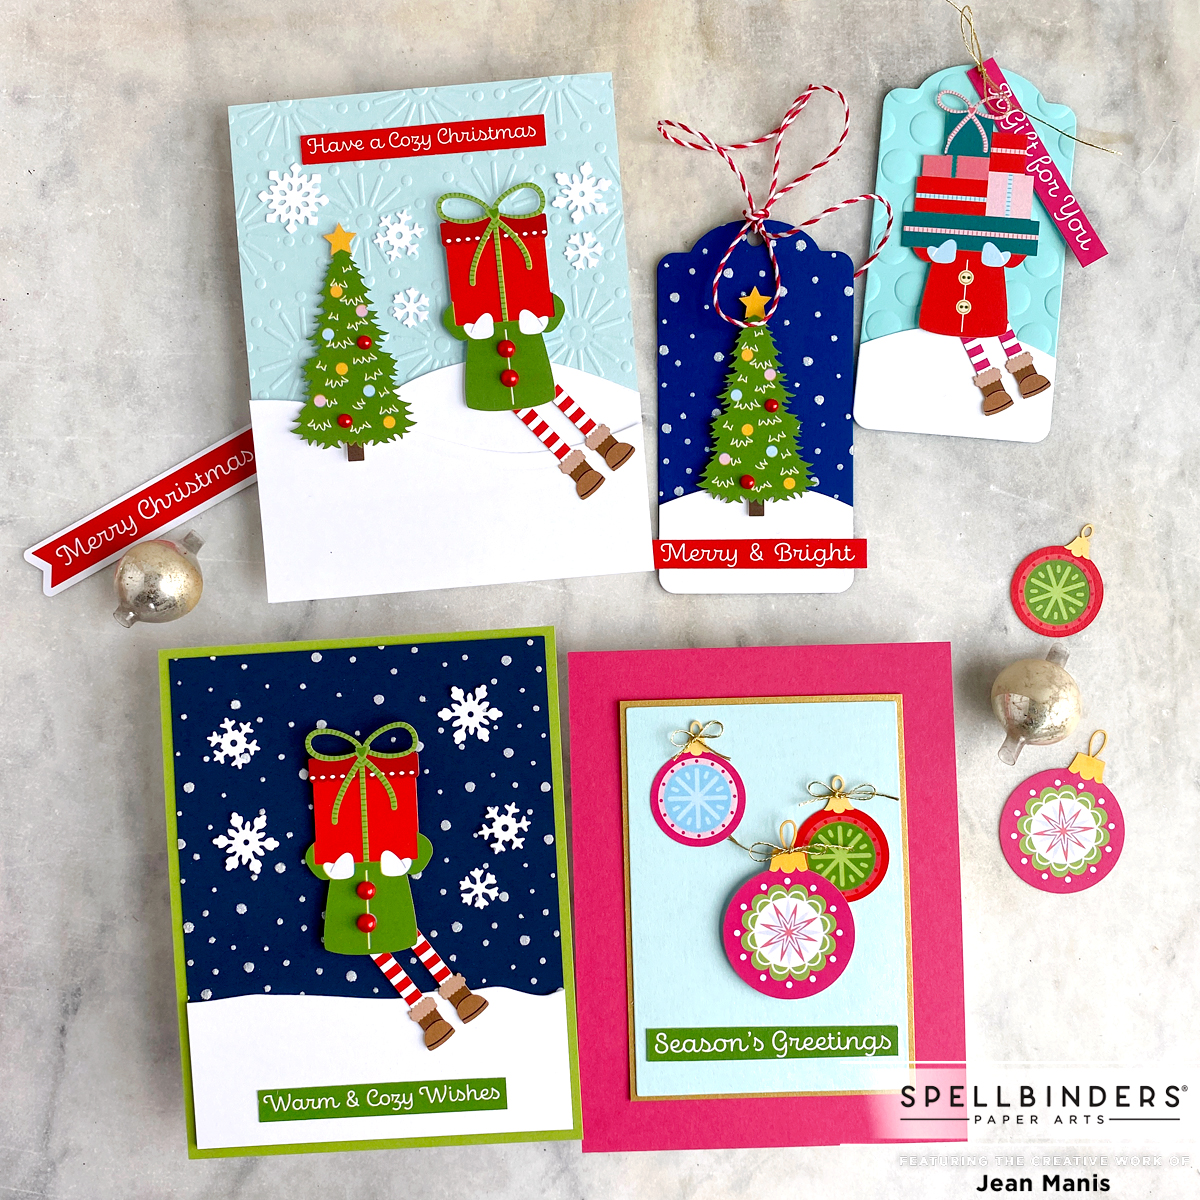
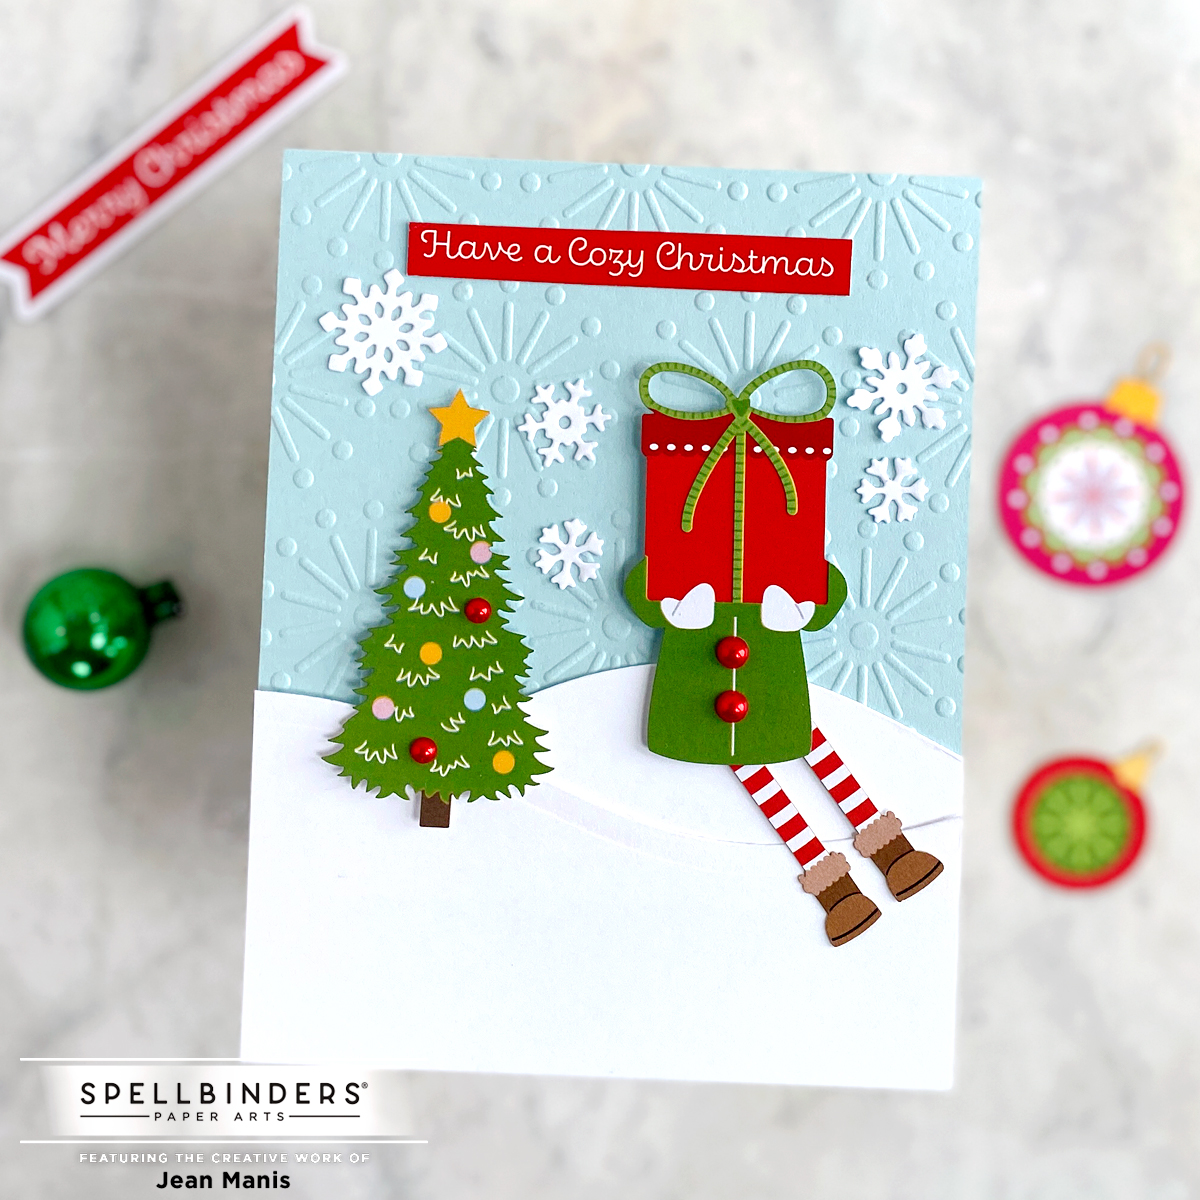
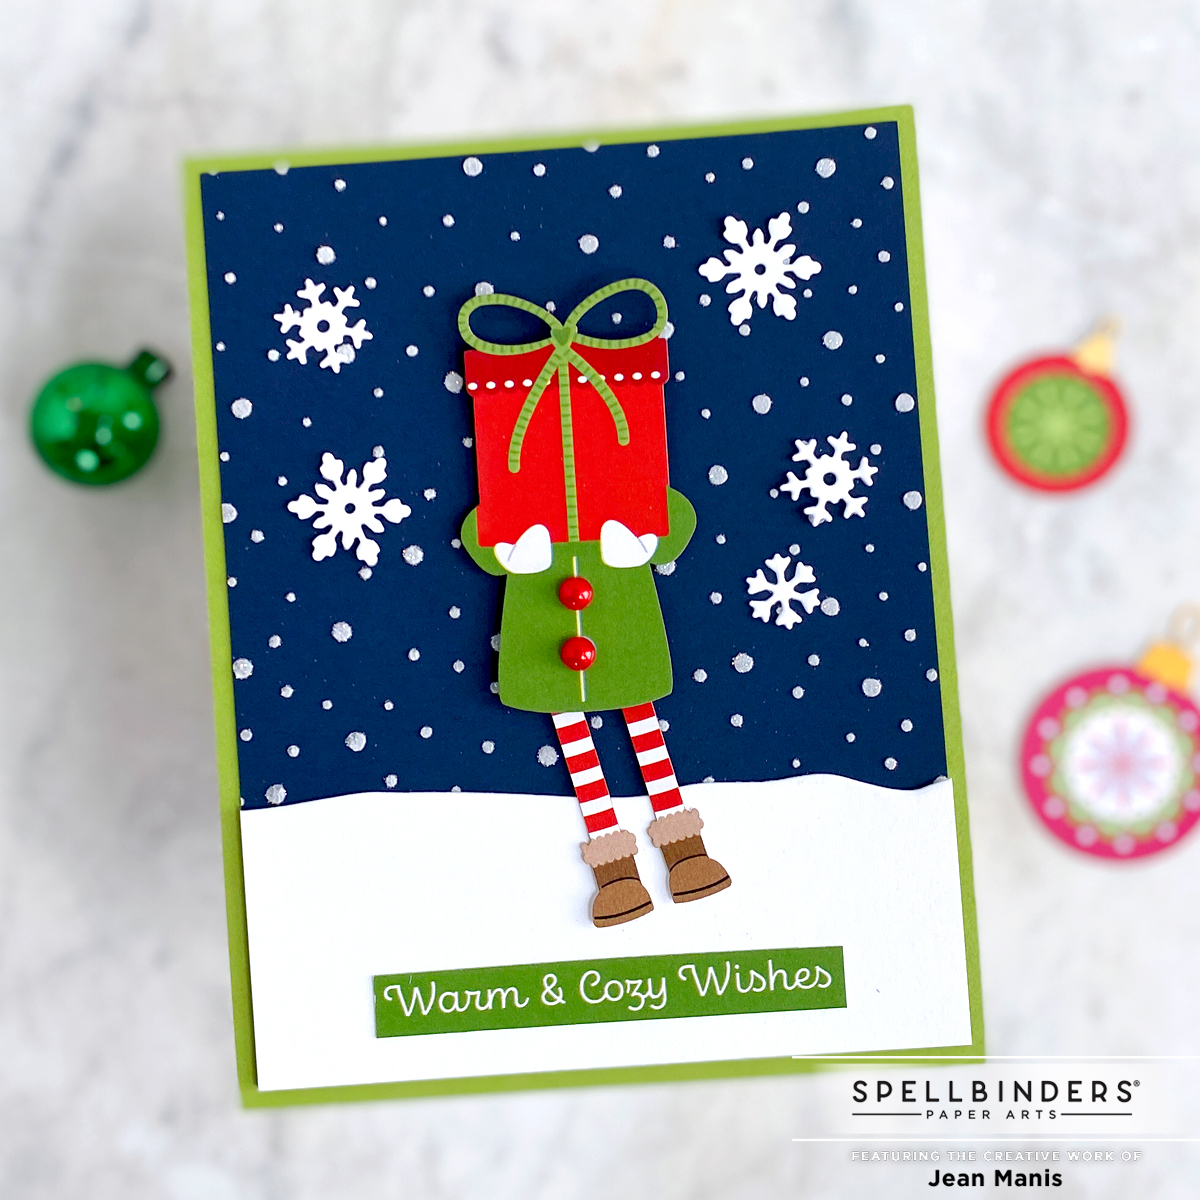
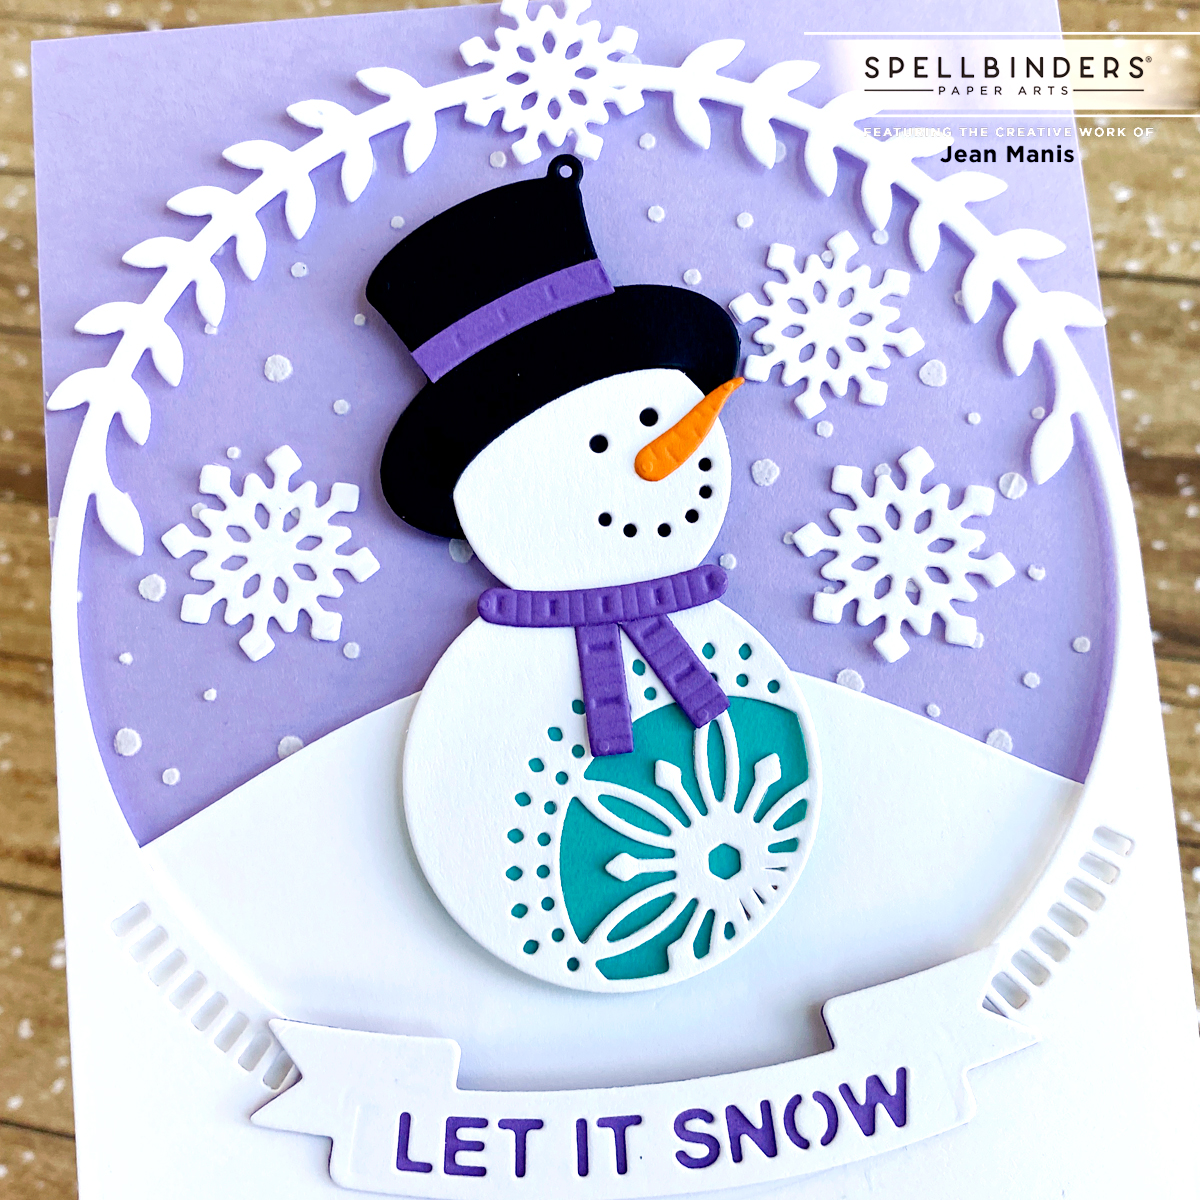
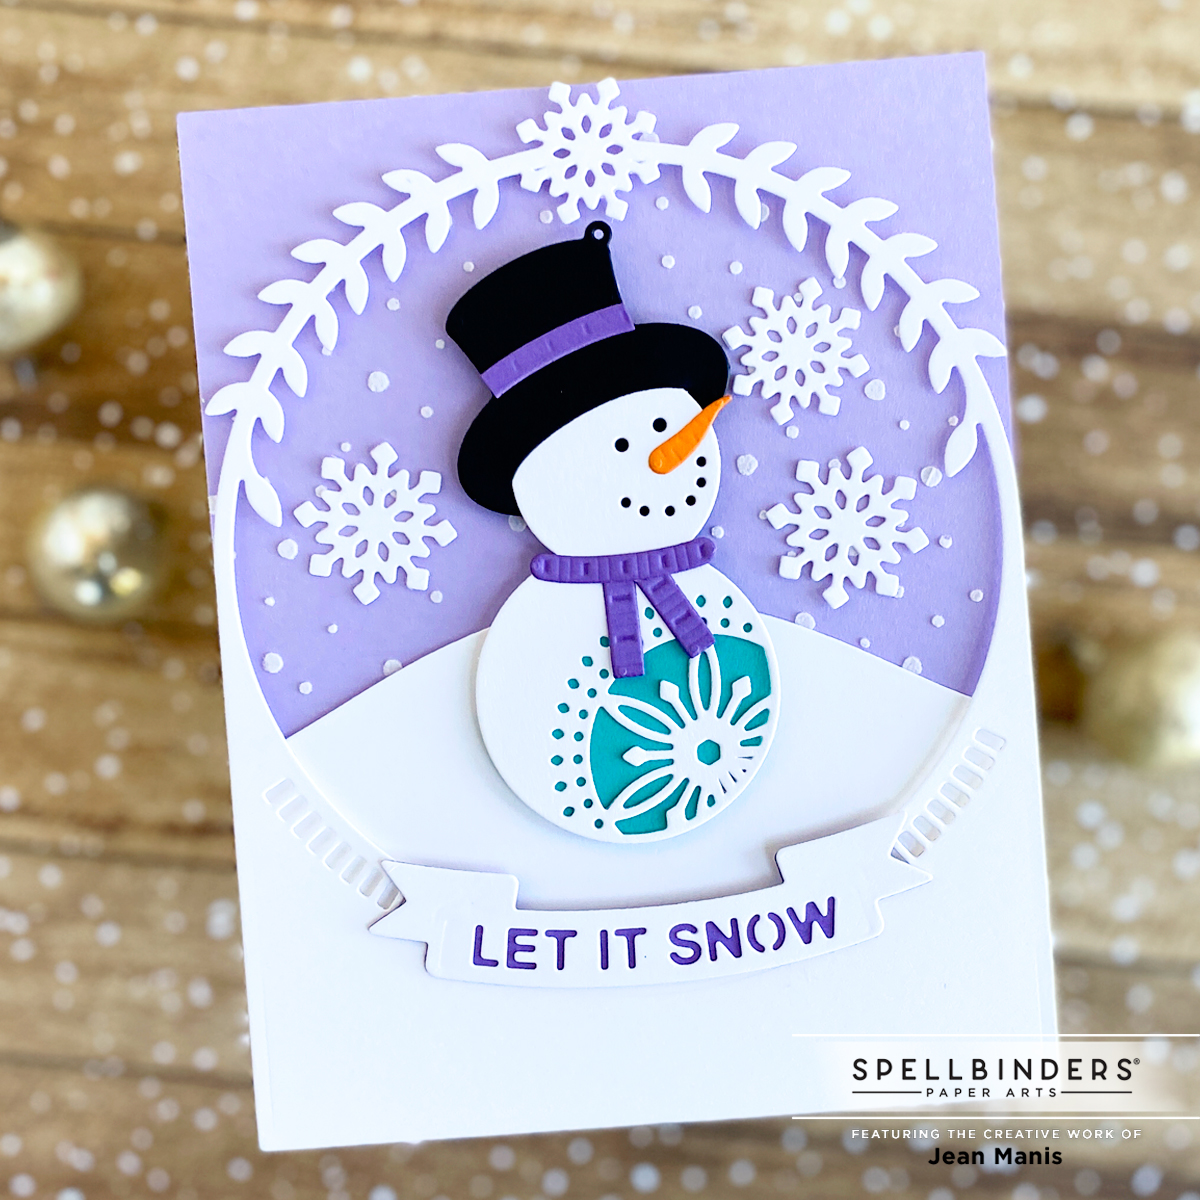
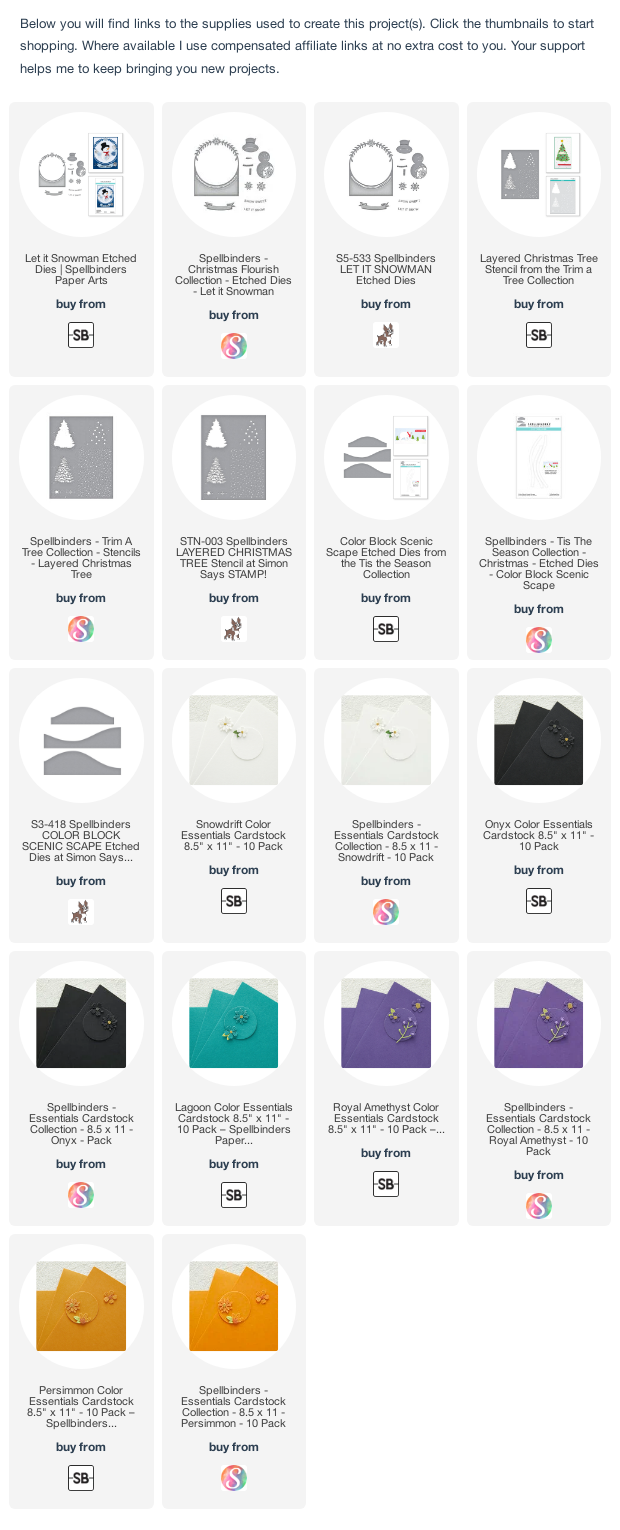
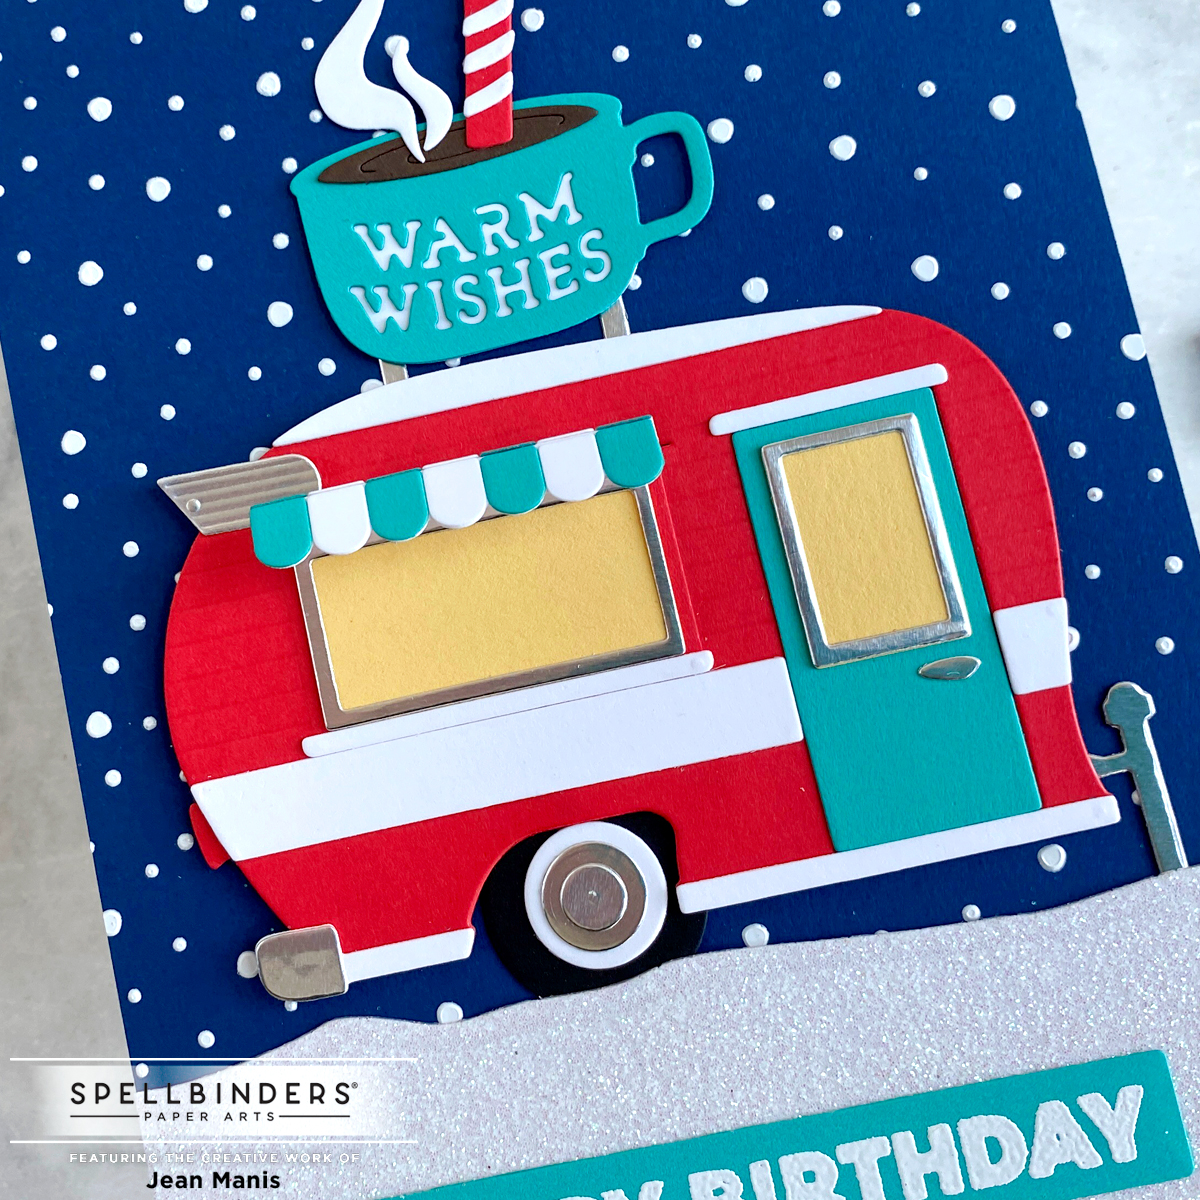
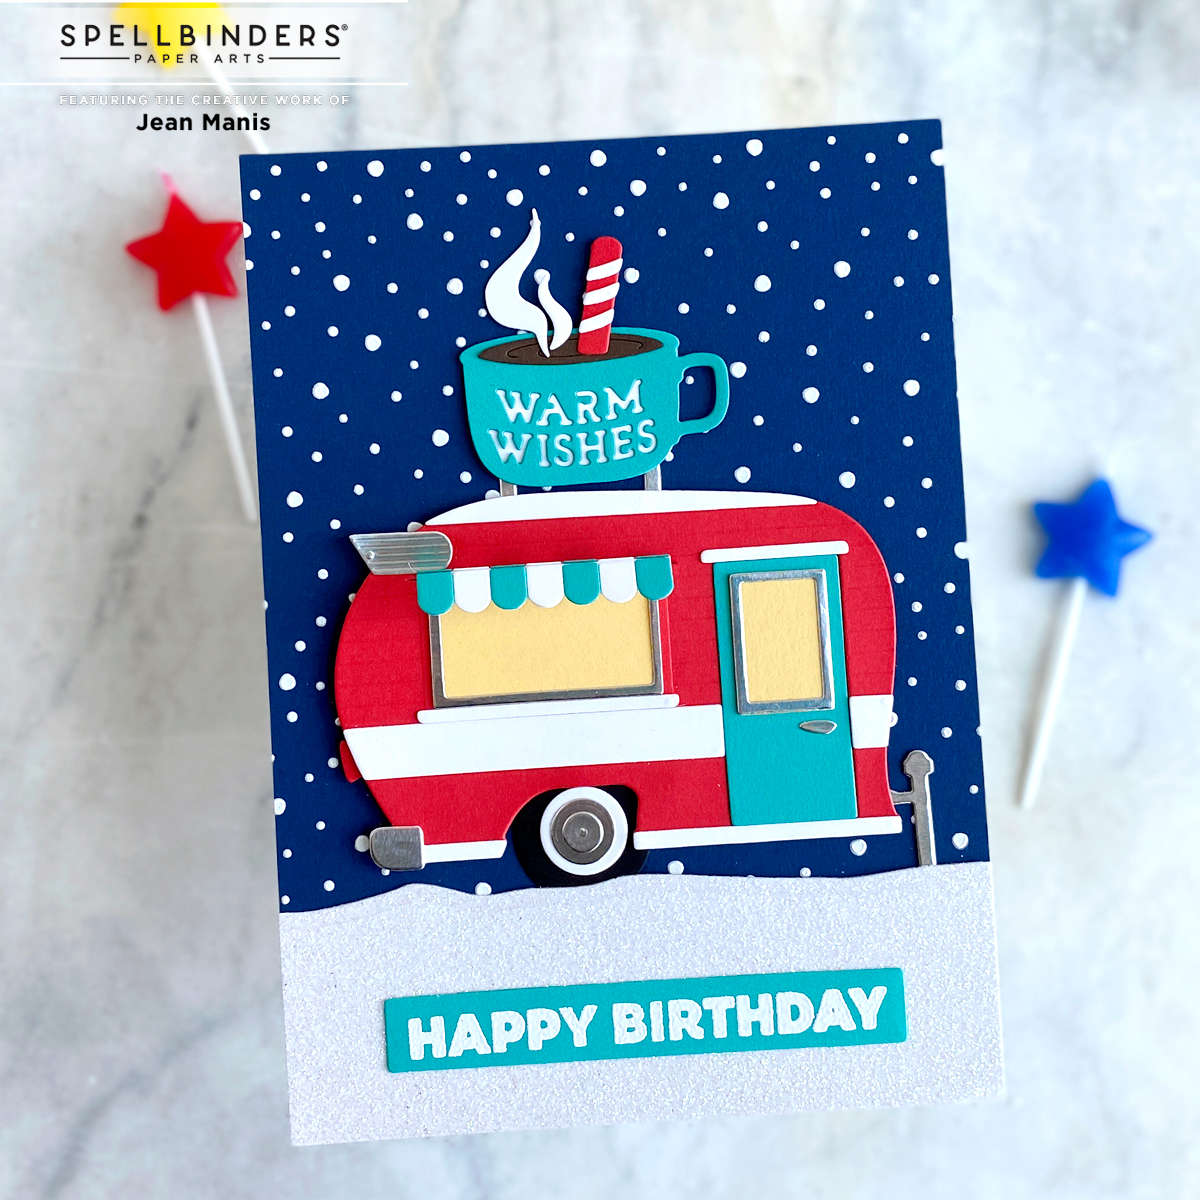
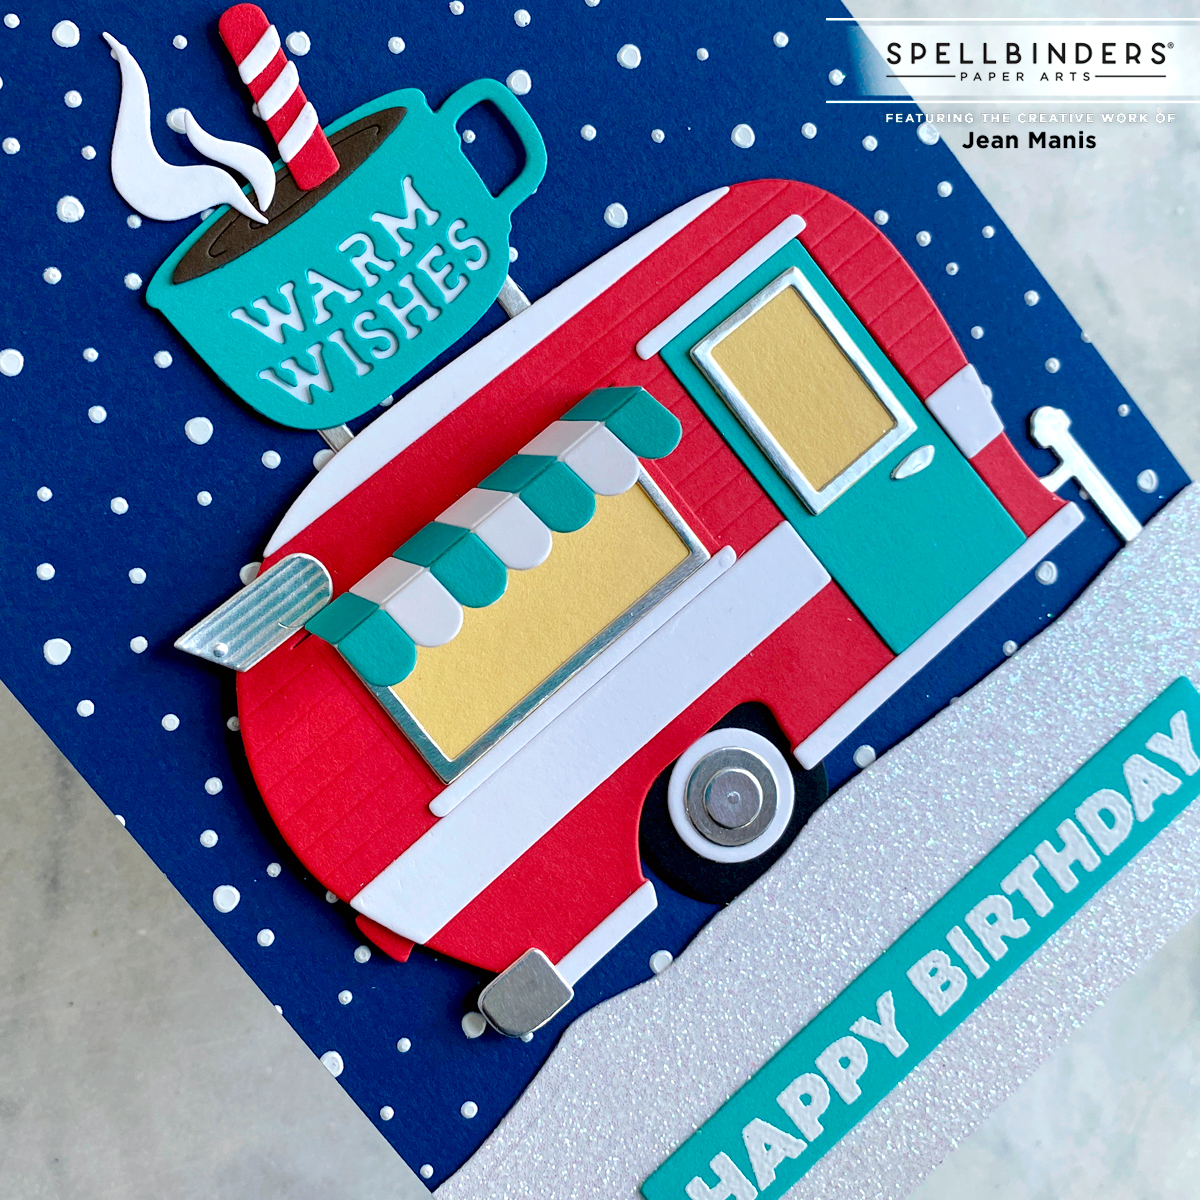
Hello! Today, I am delighted to share a winter Christmas scene created with Spellbinders supplies from several different collections. I really enjoy mixing and matching between collections.

Spellbinders Snowy Christmas Scene

Spellbinders Snowy Christmas Scene

Spellbinders is having a HUGE Sale that runs until 9/19/21.

Spellbinders Autumn Warehouse Sale


Introducing Spellbinders Trim the Tree Collection

Hello! I am delighted to be a guest on the Spellbinders blog featuring two cards created with the recently-released Trim the Tree Collection, which includes dies, glimmer plates, and a stencil that work together or separately. I created the cards with a three-step approach: create the background, create the focal point(s), and embellish. Head to the post for all of the details!

Introducing Spellbinders Trim the Tree Collection

Introducing Spellbinders Trim the Tree Collection

Introducing Spellbinders Trim the Tree Collection

Introducing Spellbinders Trim the Tree Collection

Introducing Spellbinders Trim the Tree Collection


Spellbinders – Christmas Collection – Be Merry

Hello! Today, I am sharing an A2-sized Christmas card showcasing products from the just-released Be Merry Collection at Spellbinders.

Spellbinders - Christmas Collection - Be Merry

Spellbinders - Christmas Collection - Be Merry

  • I stenciled white paste through the Layered Christmas Tree stencil on to an A2-sized panel of red, velvet-textured cardstock.
  • I glimmer-foiled the Gifts of Christmas sentiment in gold on to navy cardstock.
  • After masking the sentiment, I stenciled white paste through the Layered Christmas Tree stencil. Once dry, I cut the sentiment with a 3 inch circle die.
  • I die-cut the snowy hills from glitter cardstock with the dies in the Color Block Scenic Scape set and cut them with the 3 inch circle die. I adhered the snow banks to the navy circle.
  • I die-cut the Chill Bear from Snowdrift cardstock and gold foil.
  • I die-cut the ornament top from gold foil with a die in the Circle Kaleidoscope Slimline die set. The ornament string was cut with a die in a previously-released Spellbinders Christmas die set.
  • I added the ornament and bear to the red background.

Spellbinders - Christmas Collection - Be Merry

Spellbinders - Christmas Collection - Be Merry

Thanks for stopping by!

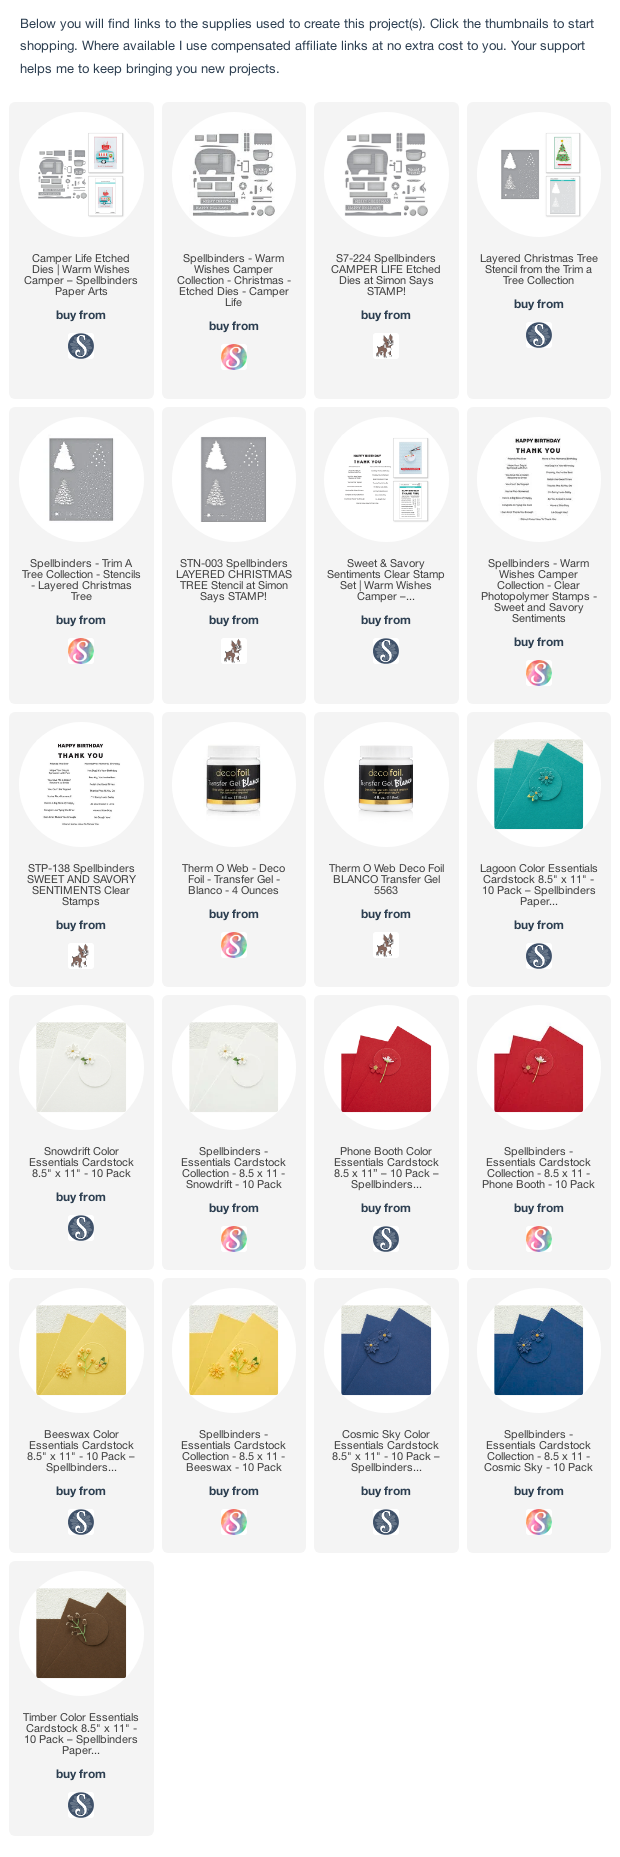
Supplies:

Rubbernecker – Stormy Weather

Hello! Today I am sharing a friendship card showcasing the Fishing Boat die at Rubbernecker.

Rubbernecker - Stormy Weather

  • I have been sharing a lot of nautical cards of late. For this one, I wanted to use a different sentiment than “Ahoy” (or similar). My idea for the different sentiment came about after I inked clouds in the sky with the MFT Cloud Stencil. The sky indicated a storm was moving in. If I found myself in rough sea, I’d certainly prefer to be in a fishing boat rather than a sailboat! Of course, the Fishing Boat can be used for a nautical card with an “Ahoy” sentiment.
  • I created the sentiment on my computer and cut it with the Rubbernecker Deckle Frame die. I did something similar on this card.
  • I used the Lawn Fawn Ocean Wave Borders to cut the waves from two shades of blue cardstock.

Rubbernecker - Stormy Weather


Nautical-themed Die-cut Card

Hello (or should I say ahoy?)! I am always enthusiastic about crafting anything nautical-themed. I’ve been interested in all things nautical my entire life, even though I didn’t spend my childhood anywhere near the water.

Today’s card features the Memory Box Marina Sailboats. I chose a favorite color scheme of red, white, and blue for the boats.

Nautical-themed Die-cut Card

  • I cut the sailboats from red (SU Real Red), white, and navy (SU Night of Navy) cardstock. I trimmed pieces in order to change the color of the hulls.
  • To create the background, I applied white embossing paste to SU Daffodil Delight cardstock through the MFT Radiating Rays stencil. I used Dreamweaver white embossing paste.
  • I created the sentiment by cutting the letters twice, once in white and once in red (SU Real Red), with the Cole’s ABCs dies. I offset the letters when I adhered them.
  • I used the Lawn Fawn Ocean Wave Borders to cut the ocean from Memory Box cardstock. The wave die set includes three wave patterns (three different sizes of the waves); I used all three.

Nautical-themed Die-cut Card

Supplies: Memory Box MARINA SAILBOATS die set; My Favorite Things RADIATING RAYS stencil; Reverse Confetti Polar White cardstock