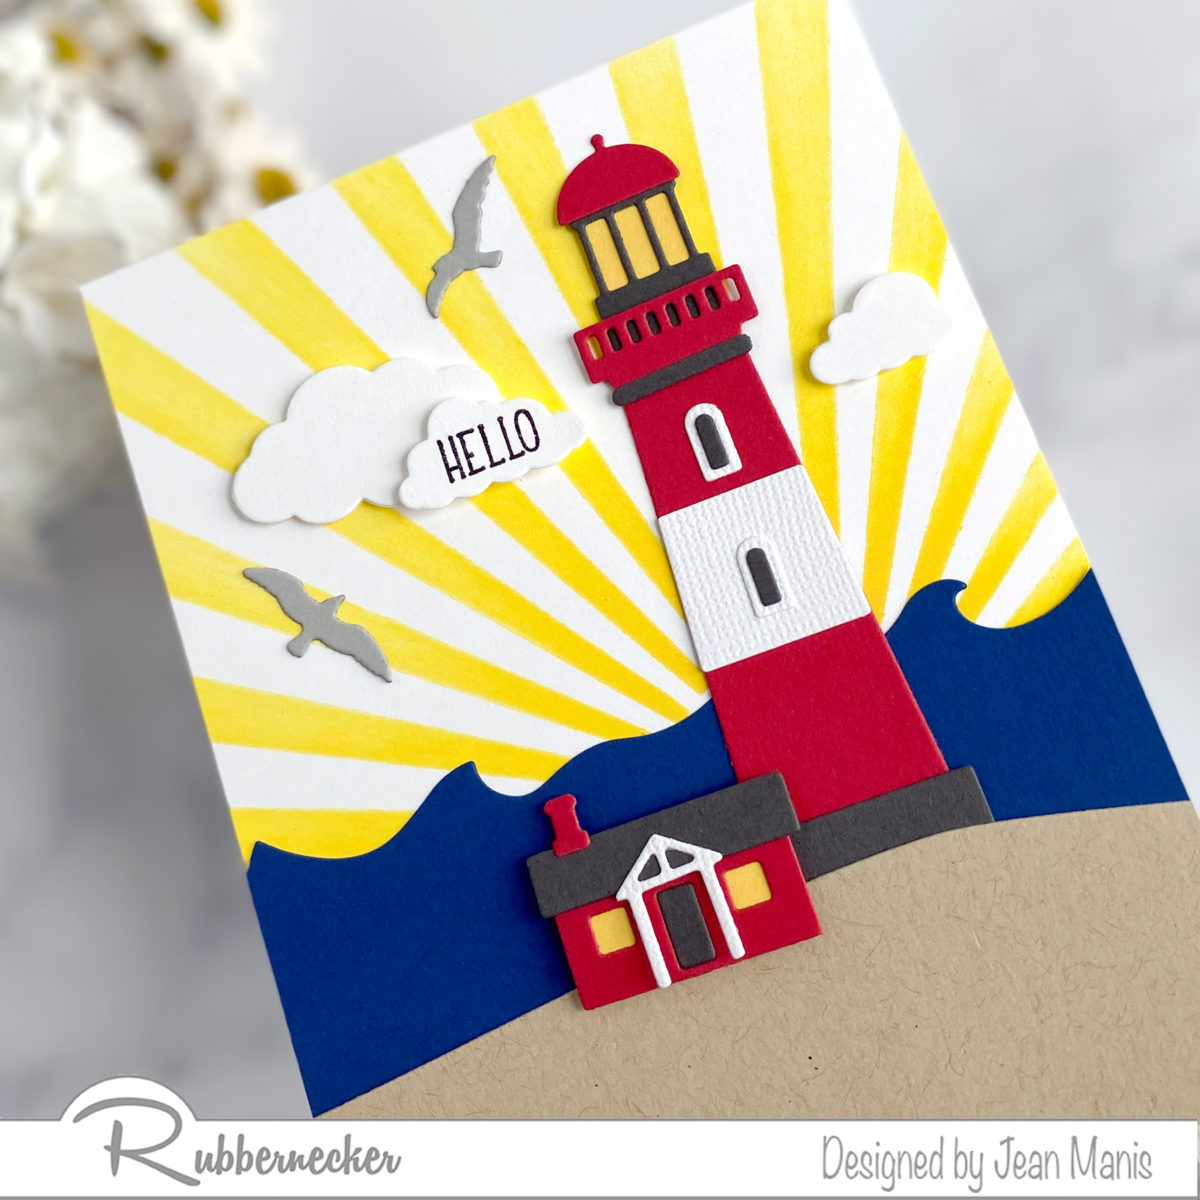
Rubbernecker | Die-cut Encouragement Card

Hello! Today, I am sharing a die-cut encouragement card featuring Rubbernecker dies, stencil, and stamp set.
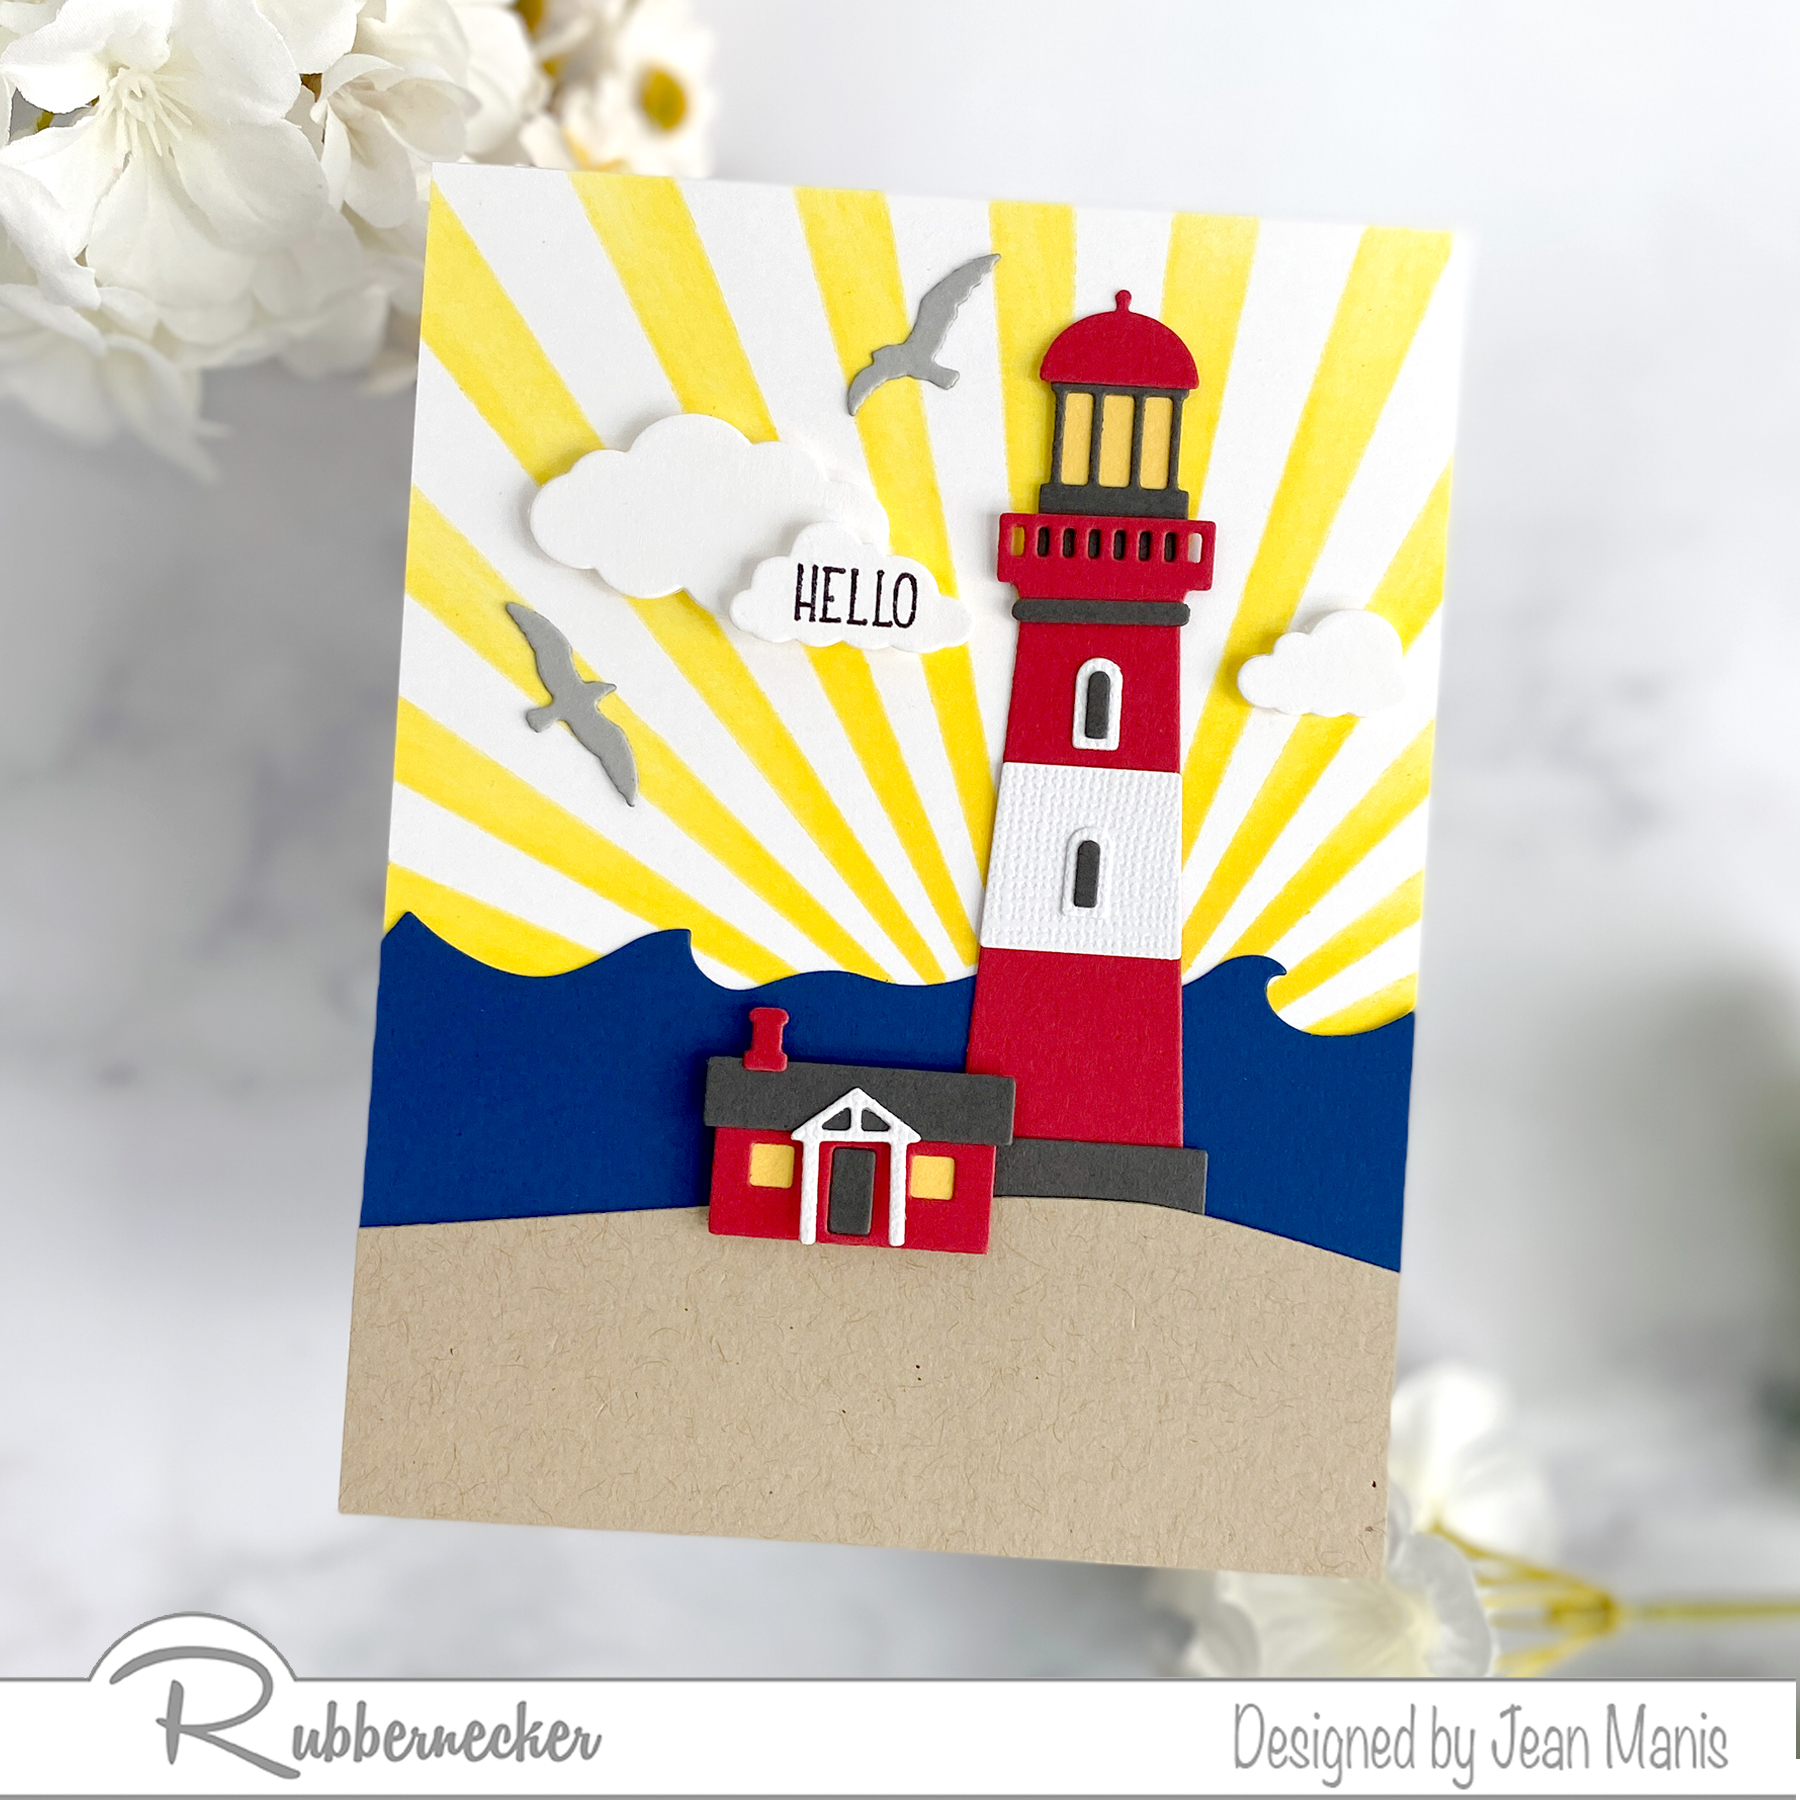
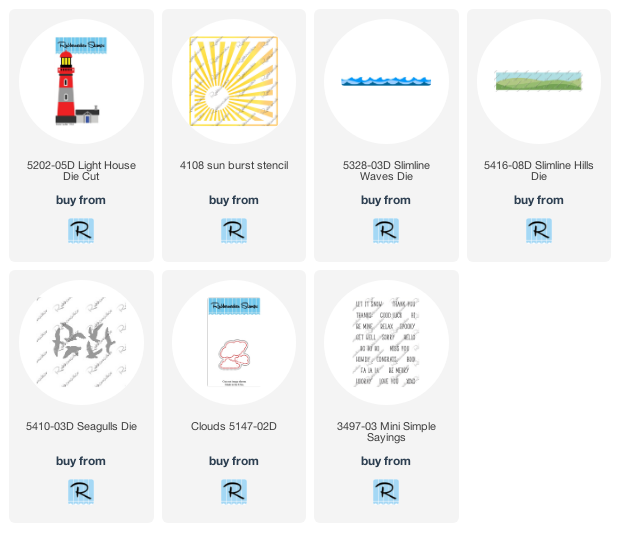
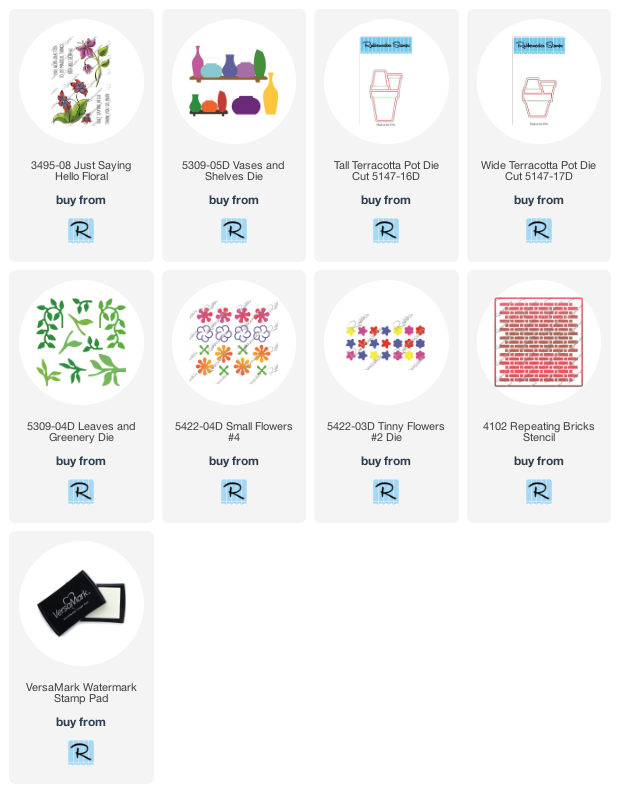
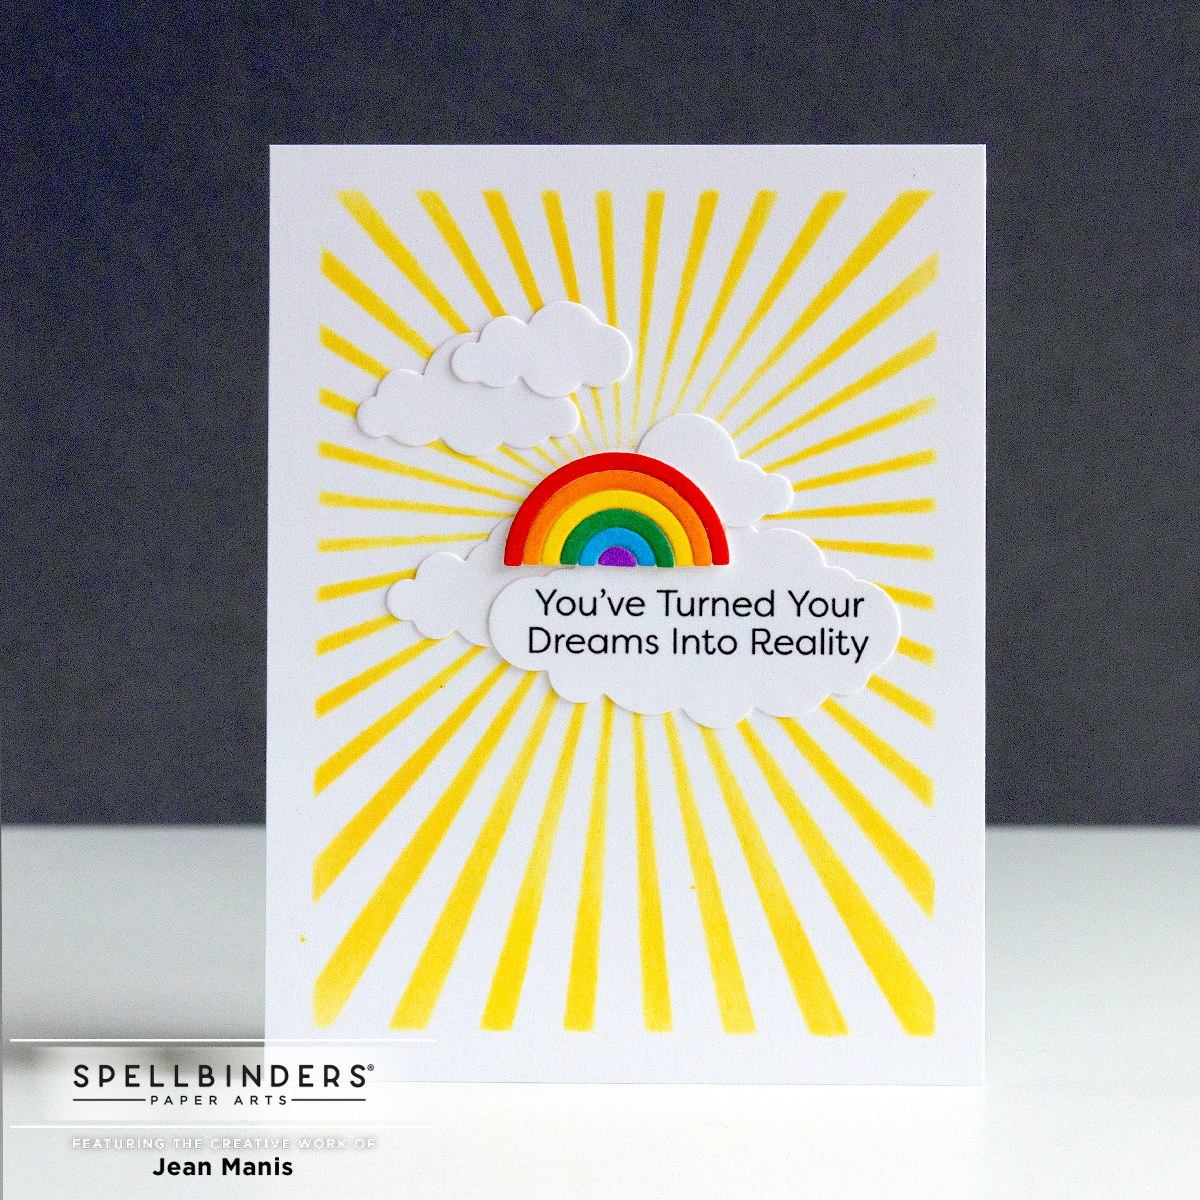
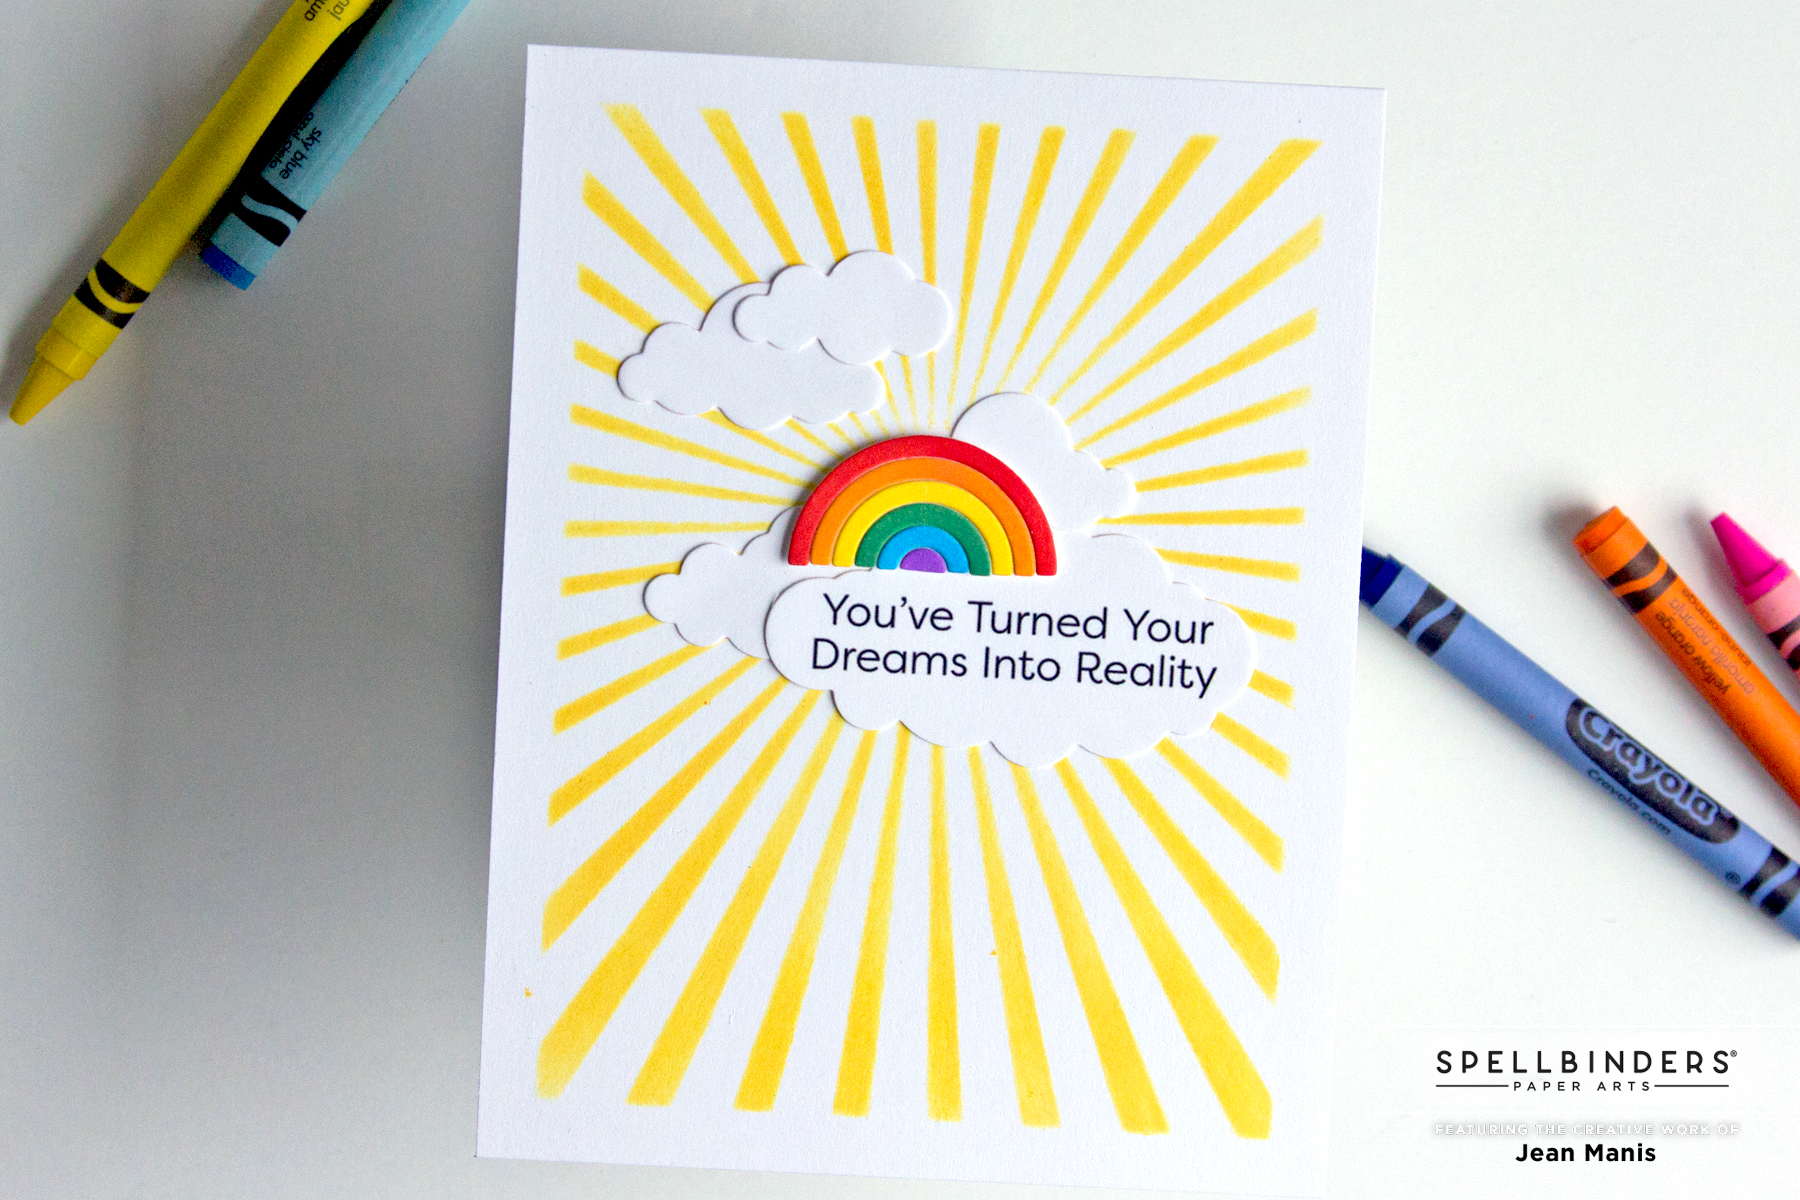
Create background
  • Stamp Just Saying Hello Floral sentiment on white cardstock with VersaFine Black Onyx ink.
  • Place Repeating Bricks stencil over stamped panel. Mask sentiment with washi tape and apply white embossing paste.
  • Set aside to dry; once dry, add to A2-size card base.
Create focal elements
Assembly & Finishing Touches
  • Tape glazed pots to shelves.
  • Cut greenery from green inked cardstock with the Leaves and Greenery die. Glue to the insides of the pots.
  • Add enamel dots to the centers of flowers cut with the Small Flowers #4 and Tiny Flowers #2 die sets from inked cardstock.
  • Add shelves to card front with foam adhesive. Glue on flowers.

Rubbernecker | Die-cut Encouragement Card


Spellbinders | CAS Rainbow Card

Hello! Today I am sharing a CAS card created with Spellbinders supplies, suitable for many occasions including friendship and congratulations.

Spellbinders | Rainbow Card

  • Stencil Squeezed Lemonade ink through the Sun Burst stencil on to a white, A2-size panel, masked to 3.75 x 5 inches
  • To create the rainbow, apply Distress Oxide inks to white cardstock and cut with die in the Colorblock Circles & Stripes set; assemble.
  • Stamp Open Road Sentiments sentiment and cut with On Cloud Nine die. Cut additional clouds with the same set.
  • Add clouds and rainbow to stenciled panel.

Spellbinders | Rainbow Card


Rubbernecker Santa in the Window

Hello!  Today, I am sharing a Christmas card combining several Rubbernecker die sets and one of their stencils. I previously used the Santa die on this card.

Rubbernecker Santa in the Window

  • I heat-embossed the Simple Sayings sentiment on to dark red cardstock.
  • I stenciled the card base with the Repeating Bricks stencil in dark red ink.
  • I die-cut the pieces for the window, Santa, the presents, and the tree, and ornaments (with a circle die in the Fishing Boat die set) and assembled them. (I actually made this card twice. The first time, I had no tree and I showed the card to my eldest son who asked, “Where’s the tree?”)
  • I added Santa, the tree, and the presents to a light-blue cardstock panel.
  • I attached the window with foam adhesive and added the assembly to the card base.

Rubbernecker Santa in the Window


Tim Holtz Christmas Gentleman

Hello! Today, I am sharing a CAS Christmas card that features a festive gentleman, who looks as if he stepped out of Dickens’ “A Christmas Carol.” The Christmas 2021 Vault Series die includes the gentleman, as well as the wreath and lamp post. (Emboldened supplies without links are available from multiple stores and are included in the supply list at the end of the post.)

Tim Holtz Christmas Gentleman

  • To begin I stenciled the snowflakes, part of Mini Stencil Set Number 50, with white pigment ink on to a teal cardstock base. I did this twice to cover the area, letting it dry between the applications.
  • I die-cut the Christmas 2021 Vault Series from cardstock and assembled them, using Brushed Gold behind the lamppost.
  • I heat-embossed the Simple Sayings sentiment on white cardstock with gold embossing powder, trimmed the panel, and added it to the stenciled background.
  • I added the lamp post, gentleman, and wreath to the scene.

Tim Holtz Christmas Gentleman


Spellbinders Christmas Gift Tag + Early Bird Sale

Hello! Today I am sharing a personalized holiday gift tag created with Spellbinders supplies and letting you know that the Spellbinders Pre-Black Friday is here!

Spellbinders Early Bird Sale

Spellbinders Christmas Gift Tag

Spellbinders Christmas Gift Tag