Spellbinders September 2020 Small Die of the Month

Hello! Today, I am sharing fall-themed cards created with this month’s Small Die of the Month kit at Spellbinders – “Hello & Thank You.” The kit is named for the word and letter dies included in the kit, which also includes frame and floral element dies.

Spellbinders September 2020 Small Die of the Month

On my first card, I used the set’s more ornate frame piece with the “thank you” sentiment set against a dry-embossed background.

Spellbinders September 2020 Small Die of the Month

  • I dry-embossed the soft-blue background with the Changing Seasons folder.
  • I die-cut the frame piece (twice), the sentiment, and the flower pieces.
  • I created the frame, adhered the floral pieces and added the assembly to the dry-embossed background.
  • I adhered the sentiment in the center and small flowers around the frame, to which I added centers created with a hole punch.
  • I added the panel to a white cardstock mat which I adhered to a patterned-paper card base.

Spellbinders September 2020 Small Die of the Month

My second card uses the HELLO sentiment with the kit’s other frame set against a stenciled background.

Spellbinders September 2020 Small Die of the Month

  • To create the background, I stenciled the Four Layer Leaves Stencil with metallic inks and a deep orange ink.
  • I die-cut the frame from copper foil. I cut four pieces to make two frames. I die-cut the sentiment from cardstock colored with the same orange ink used on the background. I die-cut flowers from the orange cardstock and leaves from matte silver cardstock .
  • I traced a diamond shape on vellum and cut it with scissors.
  • I glued two of the frame pieces together and glued the vellum diamond  to the back. I glued the second assembled frame at a slight rotation.
  • I glued the frame assembly to the stencil panel and glued the sentiment across the middle.
  • I added the flowers and leaves.
  • The assembled panel was added to a brown cardstock mat adhered to a matte silver card base.

Spellbinders September 2020 Small Die of the Month

Supplies:

Santa at the Window

Hello! I recently commented on how much I like cards with windows – today I am sharing a CAS Christmas card with Santa at the window!

Santa at the Window

  • I cut the window pieces with the Window View die set.
  • I cut Santa with the Santa Parade die and positioned him behind the window.
  • I backed the window with soft yellow cardstock.
  • I heat-embossed a sentiment from the now-retired Hero Arts Holiday Animals stamp set.
  • I added embossing paste to the dark blue base through the Carta Bella Snowed In stencil.

Santa at the Window

I originally had the window assembly on a green dry-embossed (pine bough motif) panel, and it just wasn’t quite whimsical or fun enough. I’m so glad I swapped that panel out for the dark blue with snow. Another idea would be to apply the Transfer Gel product through the stencil and run the panel through the Minc with white flock (something I’m just now thinking about).

Supplies:

Pretty Pink Posh – Whimsical Christmas Stencil

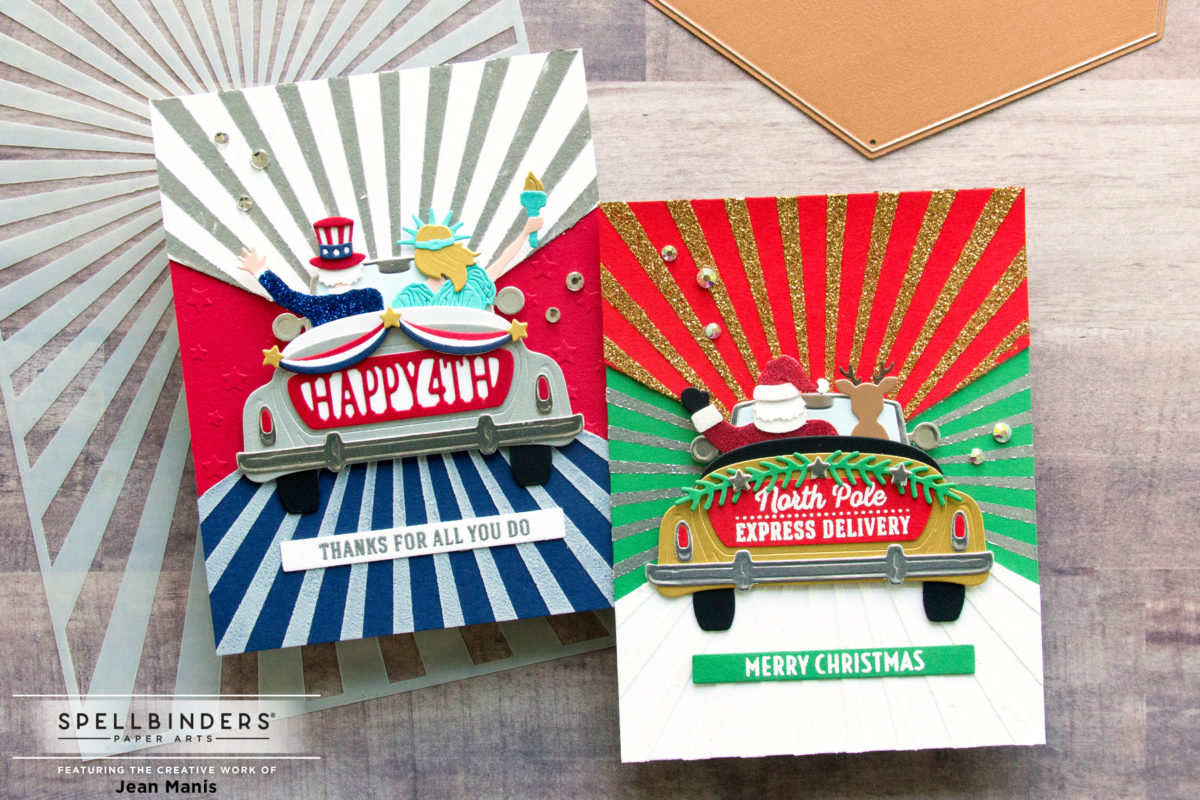
Hello! Today I am sharing two CAS Christmas cards, of the same design, featuring the Pretty Pink Posh Whimsical Christmas stencil.

On the first version (left in the above image), I applied embossing paste through the stencil on to green cardstock. I heat-embossed a sentiment from the now-retired Avery Elle Noel stamp set on to red cardstock, cut with a square die and matted on to a white cardstock square.

On the second version, I applied Gina K Red Velvet Glitter Gel through the stencil. I heat-embossed the same sentiment on to green cardstock to contrast with the red.

This stencil has a fair amount of open area. The embossing paste is stiffer than the glitter gel and was easier to apply, given all of the open area.
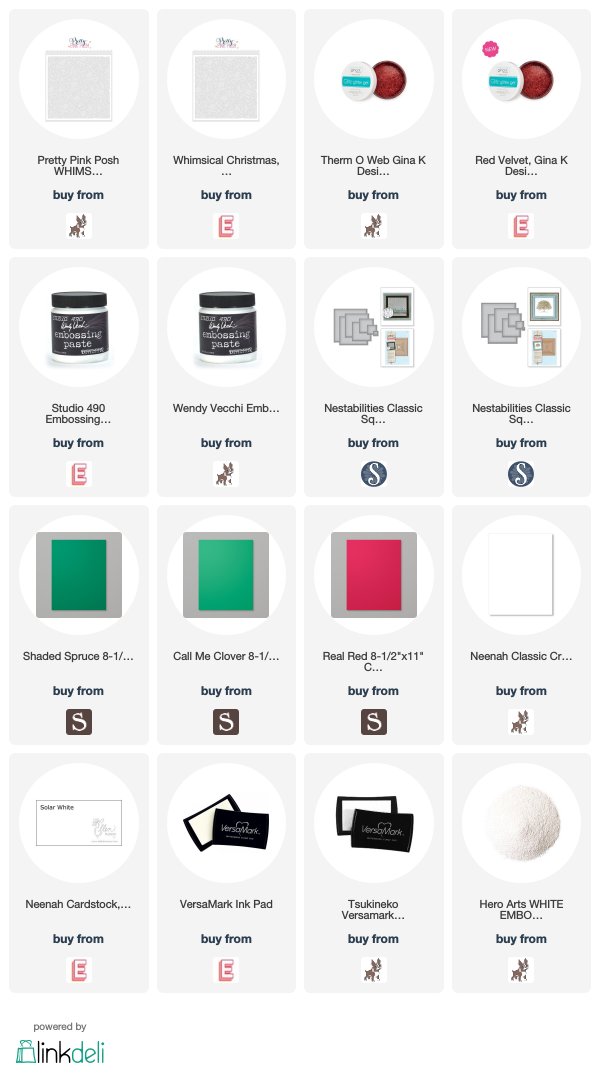
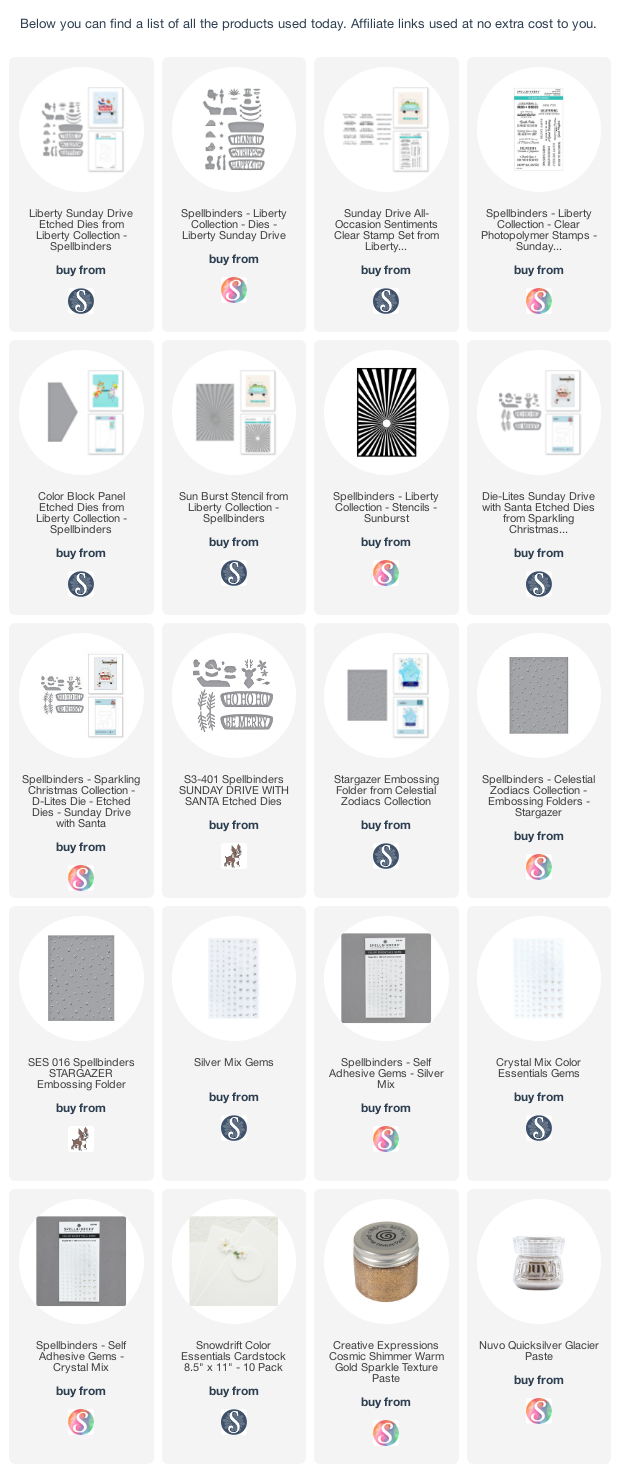
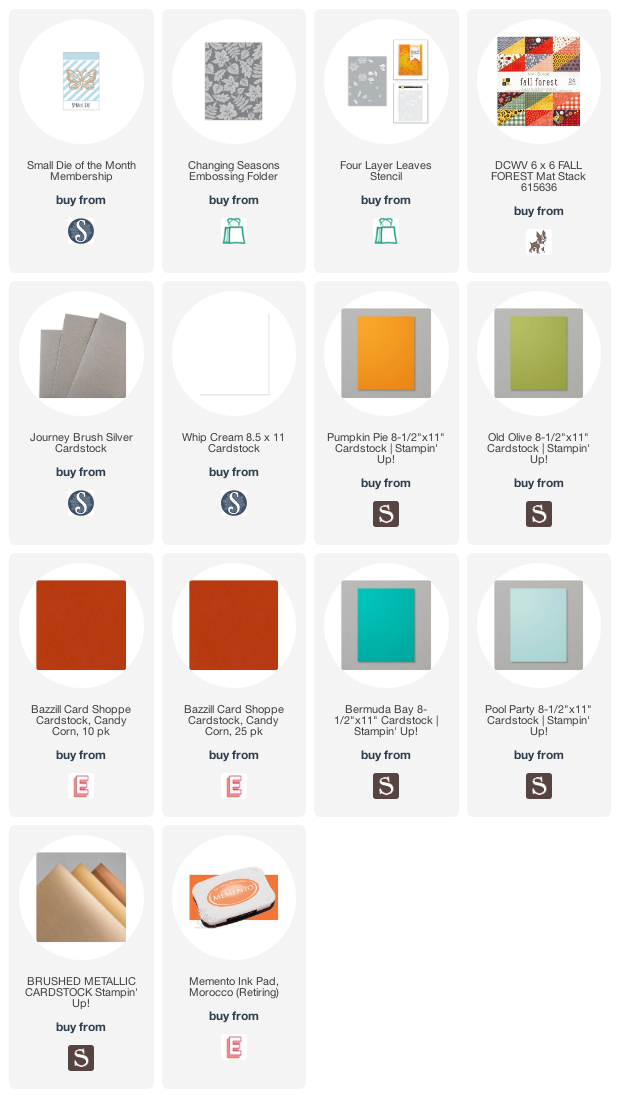
Supplies:

My Favorite Things – Snowman Stenciled Card

Hello! Today I am sharing a CAS snowman-themed card created with a combination of My Favorite Things products, including the recently released Pine Tree Forest stencil.

My Favorite Things - Winter Stenciled Card

  • To begin, I applied Transfer Gel through the Pine Tree Forest stencil on to the A2-sized green cardstock panel. Once dry, I ran the panel through my Minc with white flock. This is the first time I’ve used the flock product and found it incredibly easy to use.
  • I cut the snowman with the Joy Filled Die-namics set. Once assembled, I added him to a panel dry-embossed with a Taylored Expressions embossing folder. I added a white mat behind the red rectangle, as the transition from the red to the green was too harsh.
  • I heat-embossed the sentiment strip and added it to the card front.

My Favorite Things - Winter Stenciled Card

While I used traditional Christmas colors – red and green – it would be easy to make this a friendship, winter-themed card by changing out either the green or the red, or both! Or to reinforce the Christmas theme, I could have used a more Christmassy sentiment rather than “Let It Snow.”

Supplies:

CAS Christmas Stencil Card

Hello! The moment I saw sneak peeks of the Pretty Pink Posh Leaves and Berries stencil, I was intrigued. Today, I am sharing an easy CAS Christmas card showcasing the stencil.

CAS Christmas Stencil Card

  • I cut the white cardstock to A2 size. I placed a loop of washi tape on the back to adhere the panel to my Ranger mat.
  • I placed the stencil over the cardstock and masked off the leaves with washi tape.
  • I applied the red Gina K glitter gel through the stencil and let the panel dry overnight.
  • I placed the stencil back over the panel (using the berries for alignment), masked off the berries, and applied Lucky Clover ink with a sponge dauber through the stencil.
  • I white heat-embossed the Avery Elle sentiment (from the Noel stamp set, now retired) on black cardstock. Then, I cut the sentiment with a circle die and added a slightly larger white cardstock circle as a mat. I dry-embossed the white circle with the Stampin’ Up Subtle embossing folder.
  • The assembled circles were added to the stenciled card base with foam adhesive.

CAS Christmas Stencil Card

I’ve purchased the Gina K glitter gel in green as well, and at a future point I may use that product for the leaves.

Supplies: