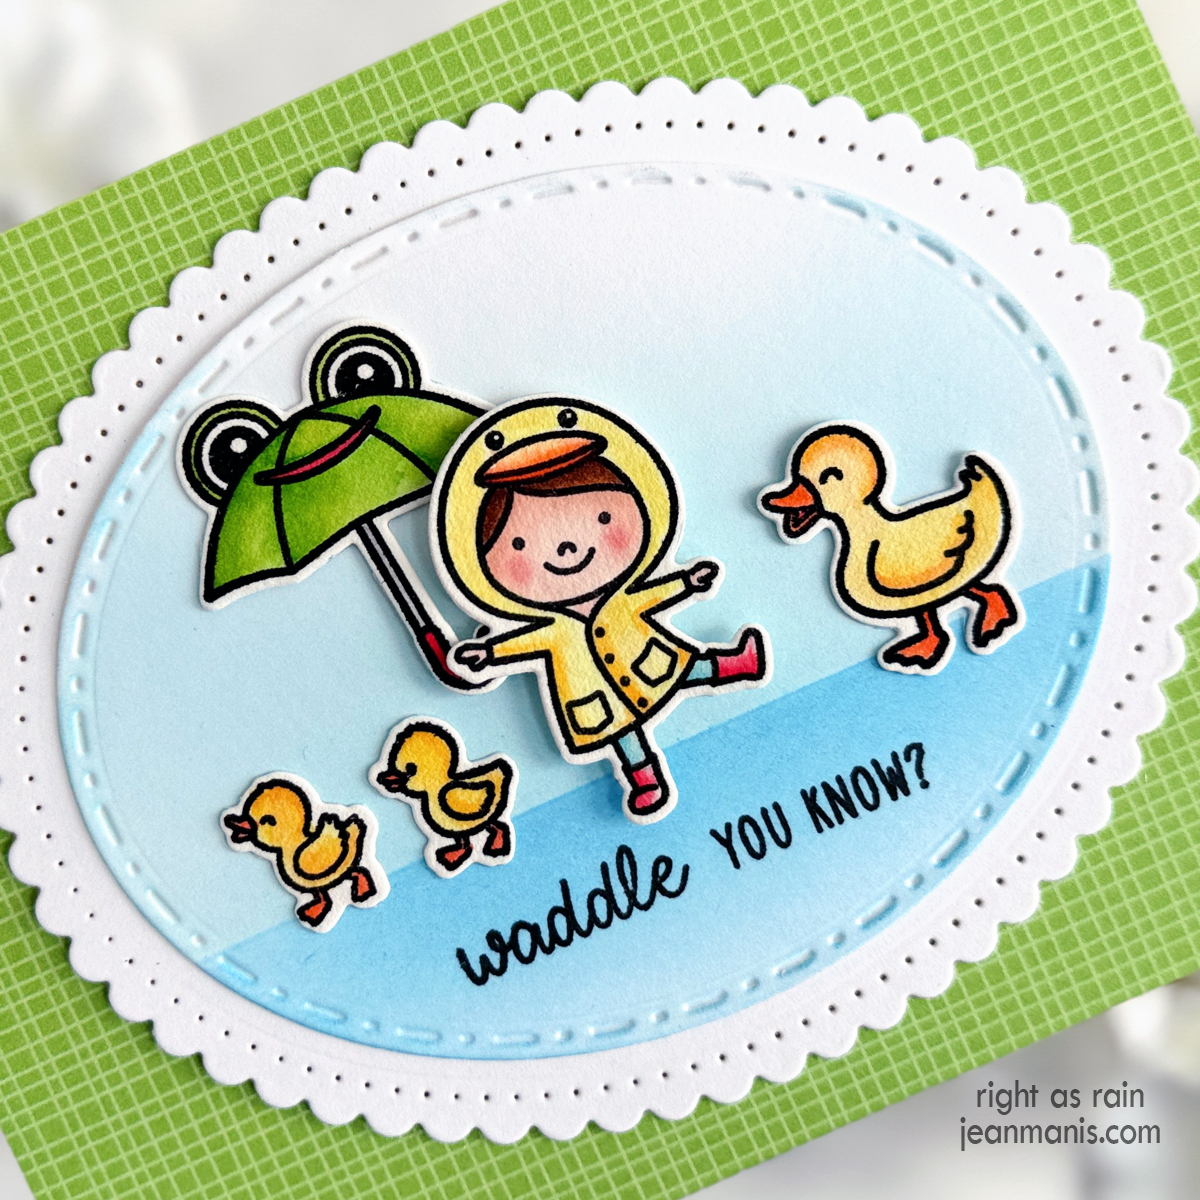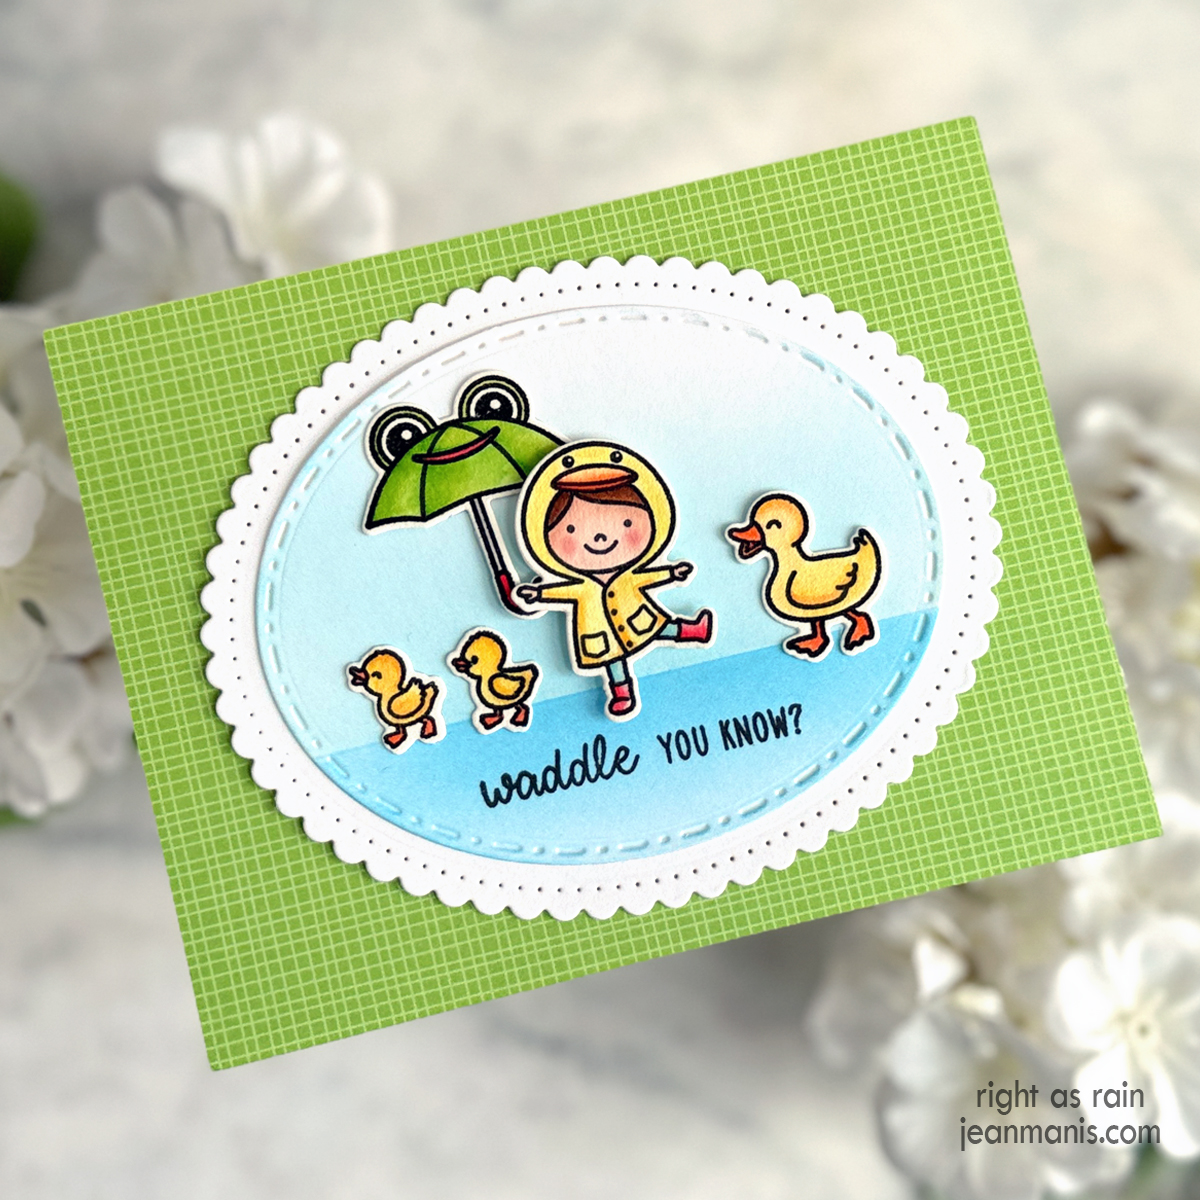
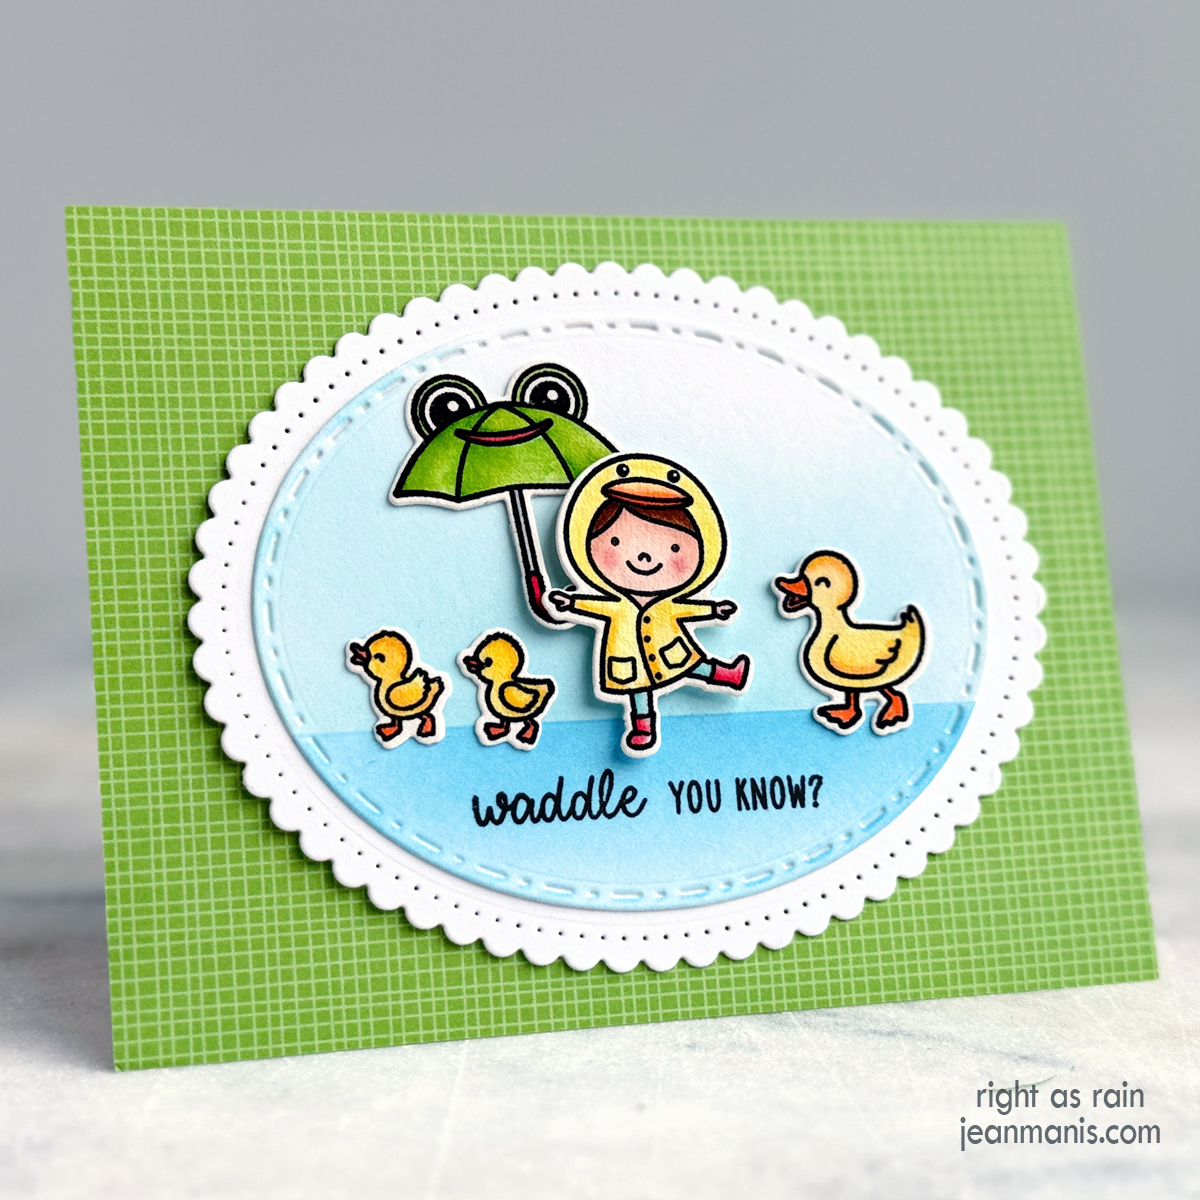
Hello! I am delighted to share a friendship card created with the Sunny Studio Stamps Puddle Jumpers stamp set with coordinating die set. With watercoloring, I brought the images – a girl in a ducky raincoat, her froggy umbrella, duck, and ducklings – to life.
-
- Begin by covering an A2-size card base with patterned paper in the DoodleBug Design Gingham and Linen pad.
- Stamp the Puddle Jumpers images in Versafine on Arches Cold Press watercolor paper and heat set. Color the images with watercoloring mediums of choice. Once dry, cut with coordinating dies.
Zig Pale Pink (28), Light Green (41), May Green (47), Scarlet (23), Summer Sun (503), Bright Yellow (52), Orange (70), Lemon Yellow (51); Tombow Light Apricot (850), Tan (942), Dusty Rose (772). - Cut an oval from white cardstock (I used the retired Spellbinders Fancy Edge Ovals die set). Create a sky and base by sponging on Distress Inks. Stamp the Puddle Jumpers sentiment. Mat the oval with a scalloped oval (same die set). Add oval assembly to card base.
- Add the watercolored images with dot and foam adhesive.
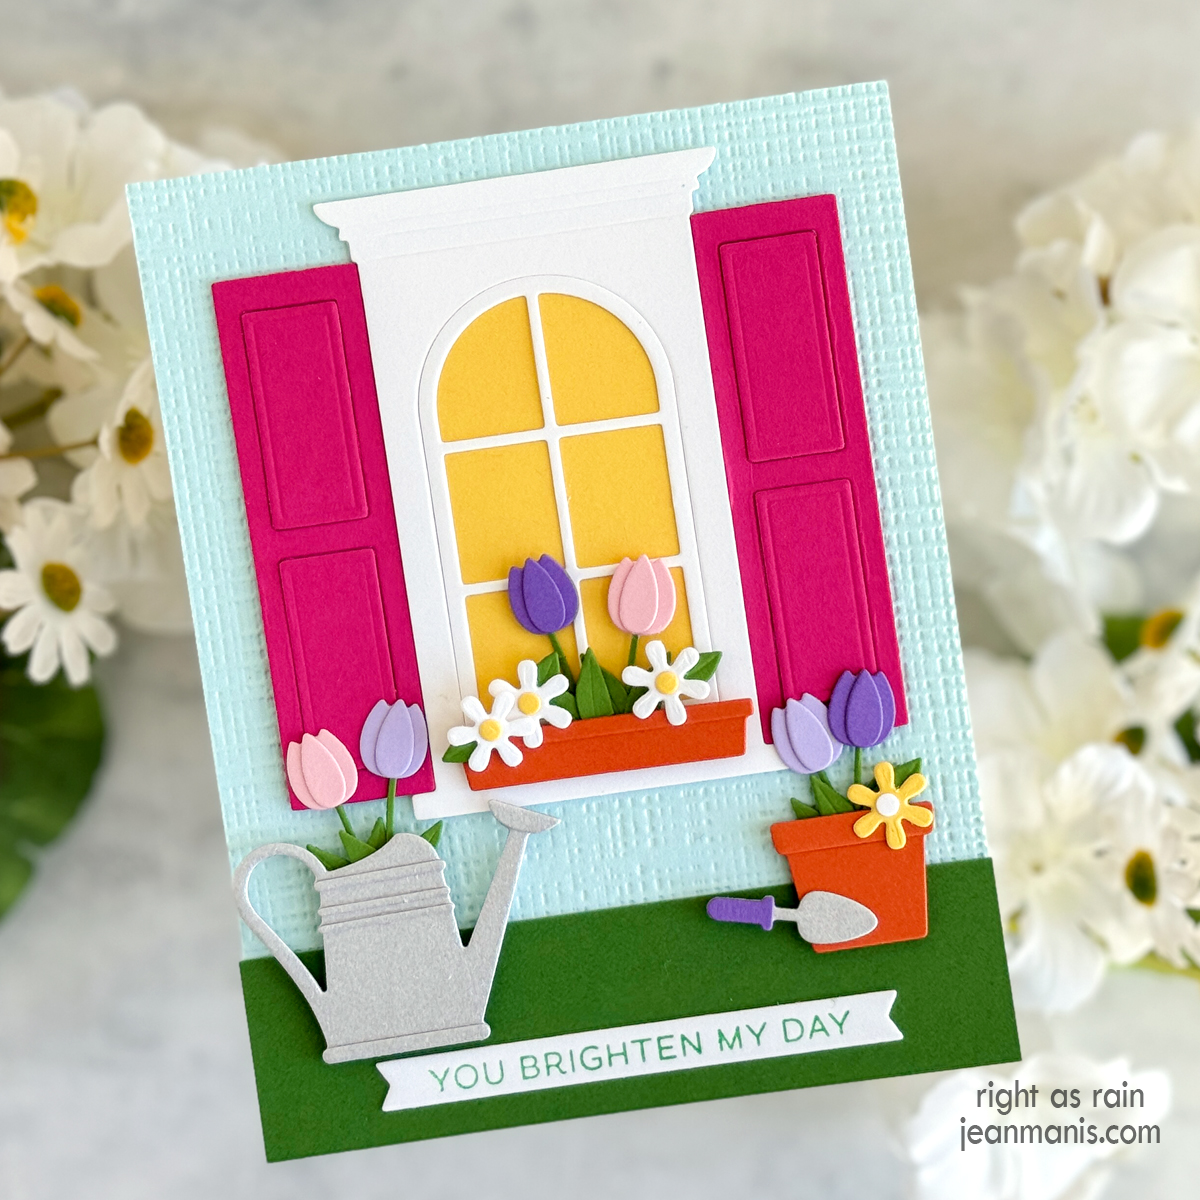
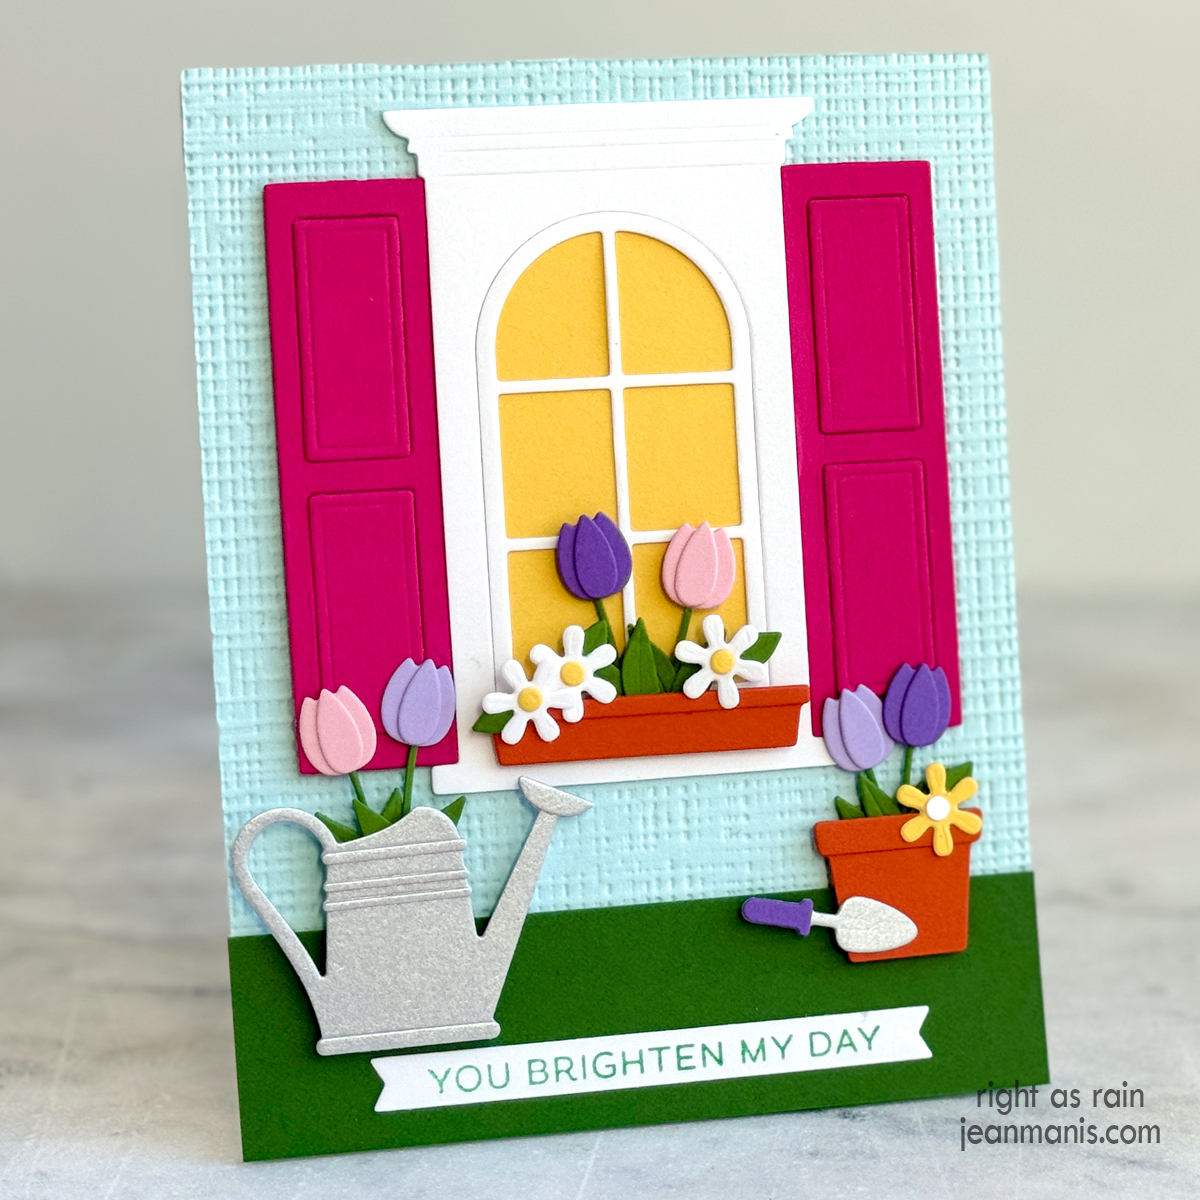
Looking for more spring-themed card inspiration? I recently posted a round-up of spring-themed cards HERE.