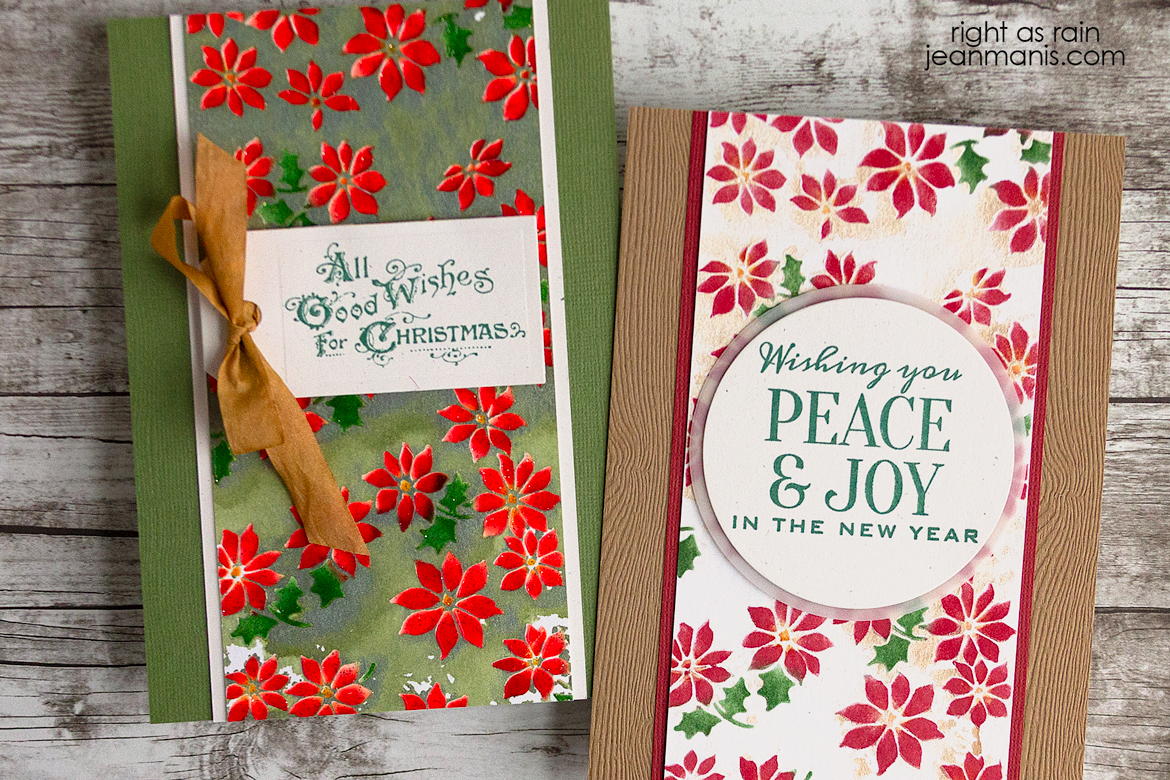
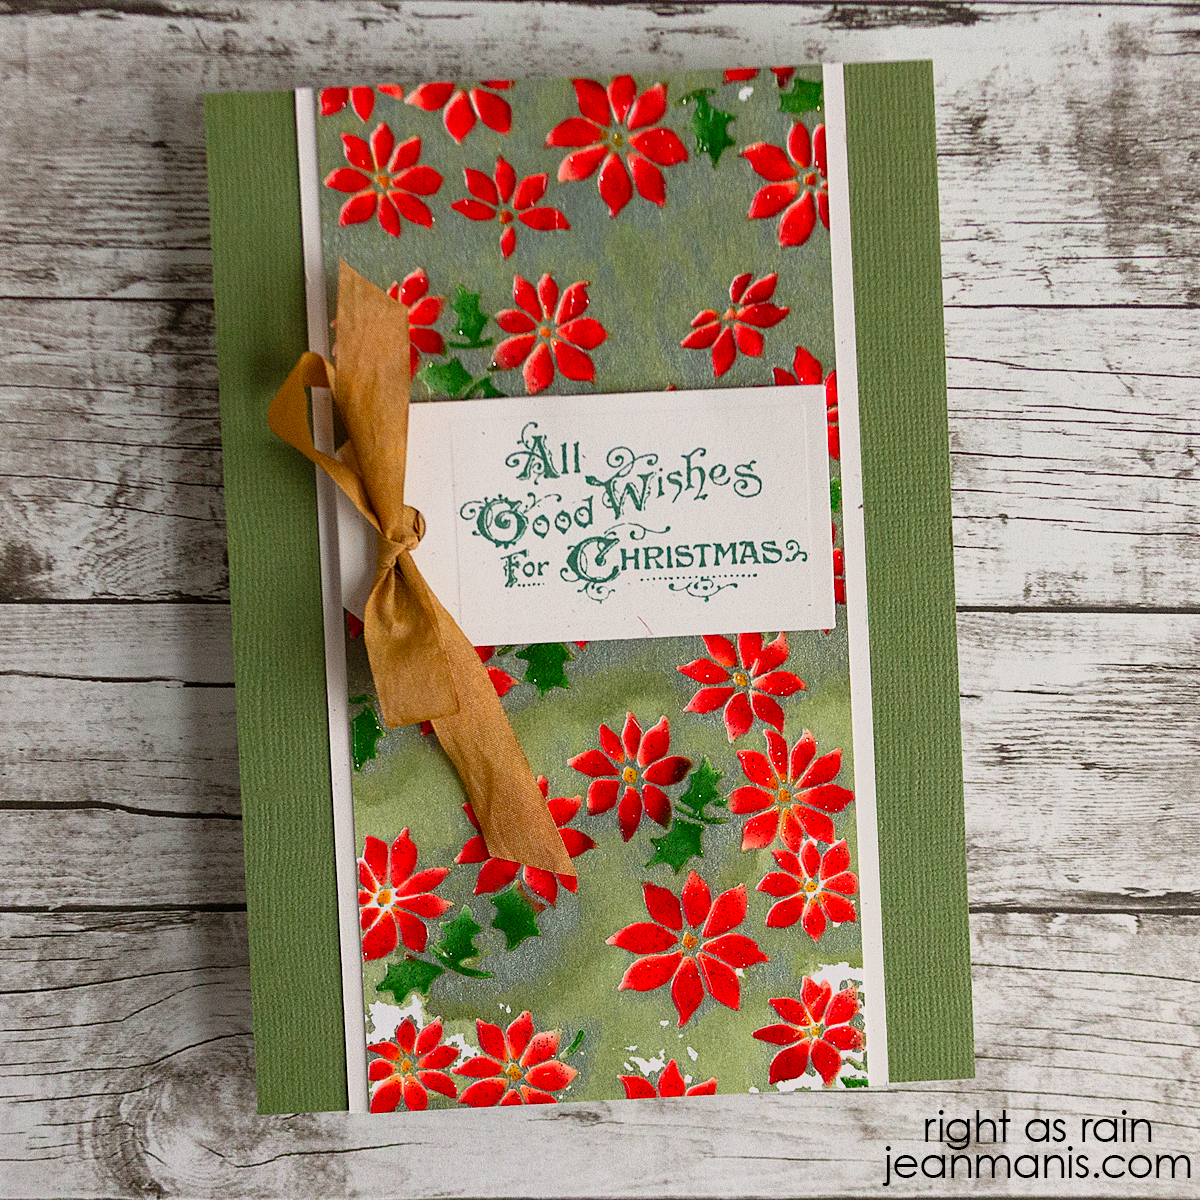
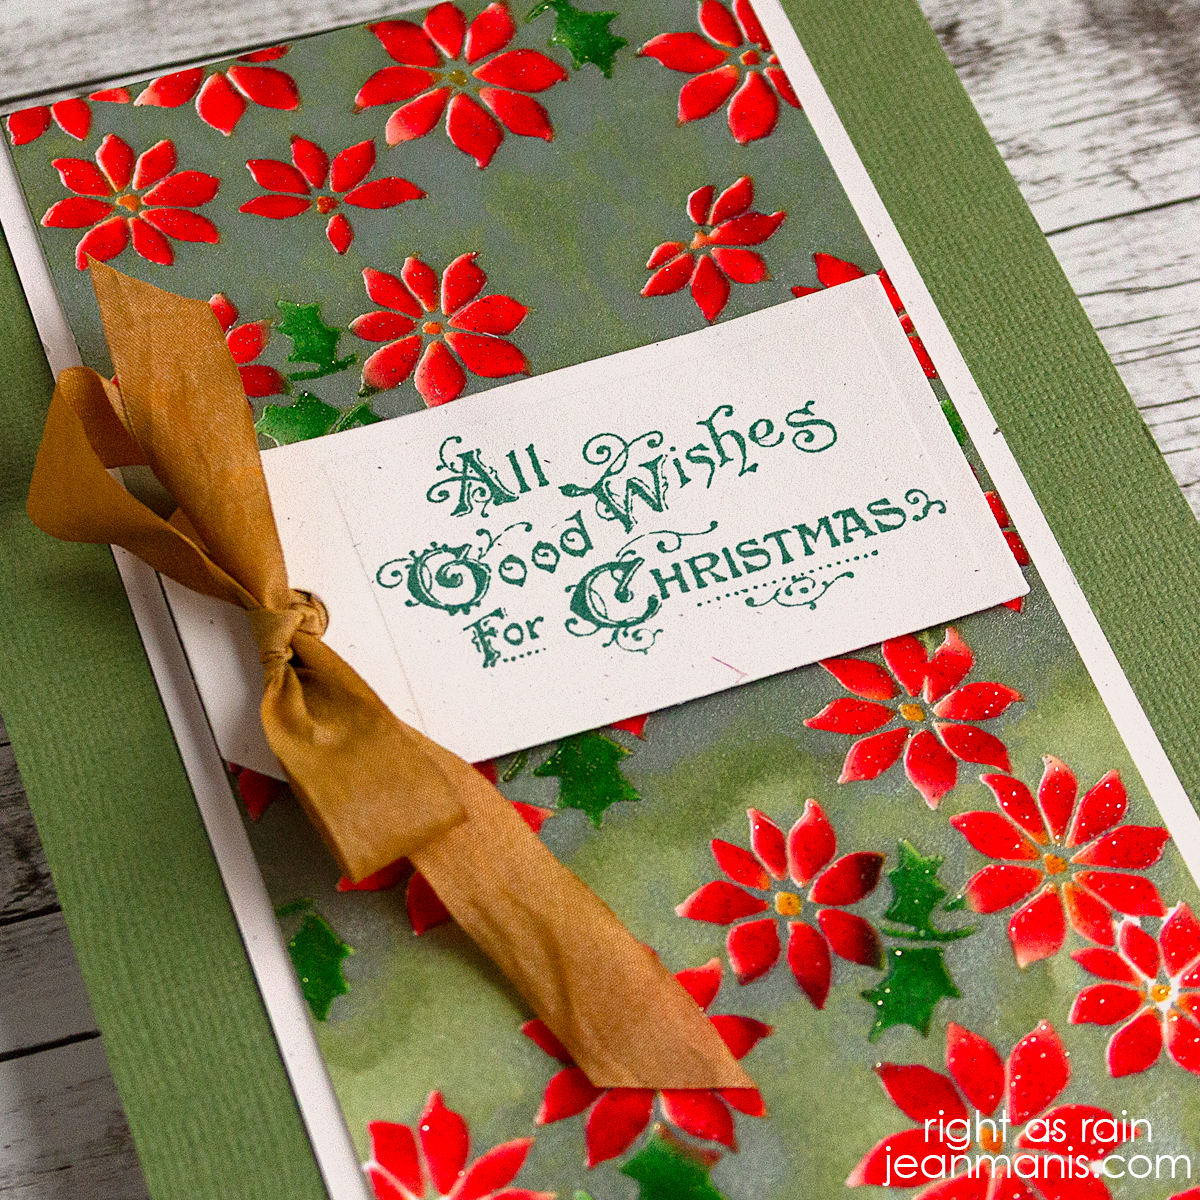
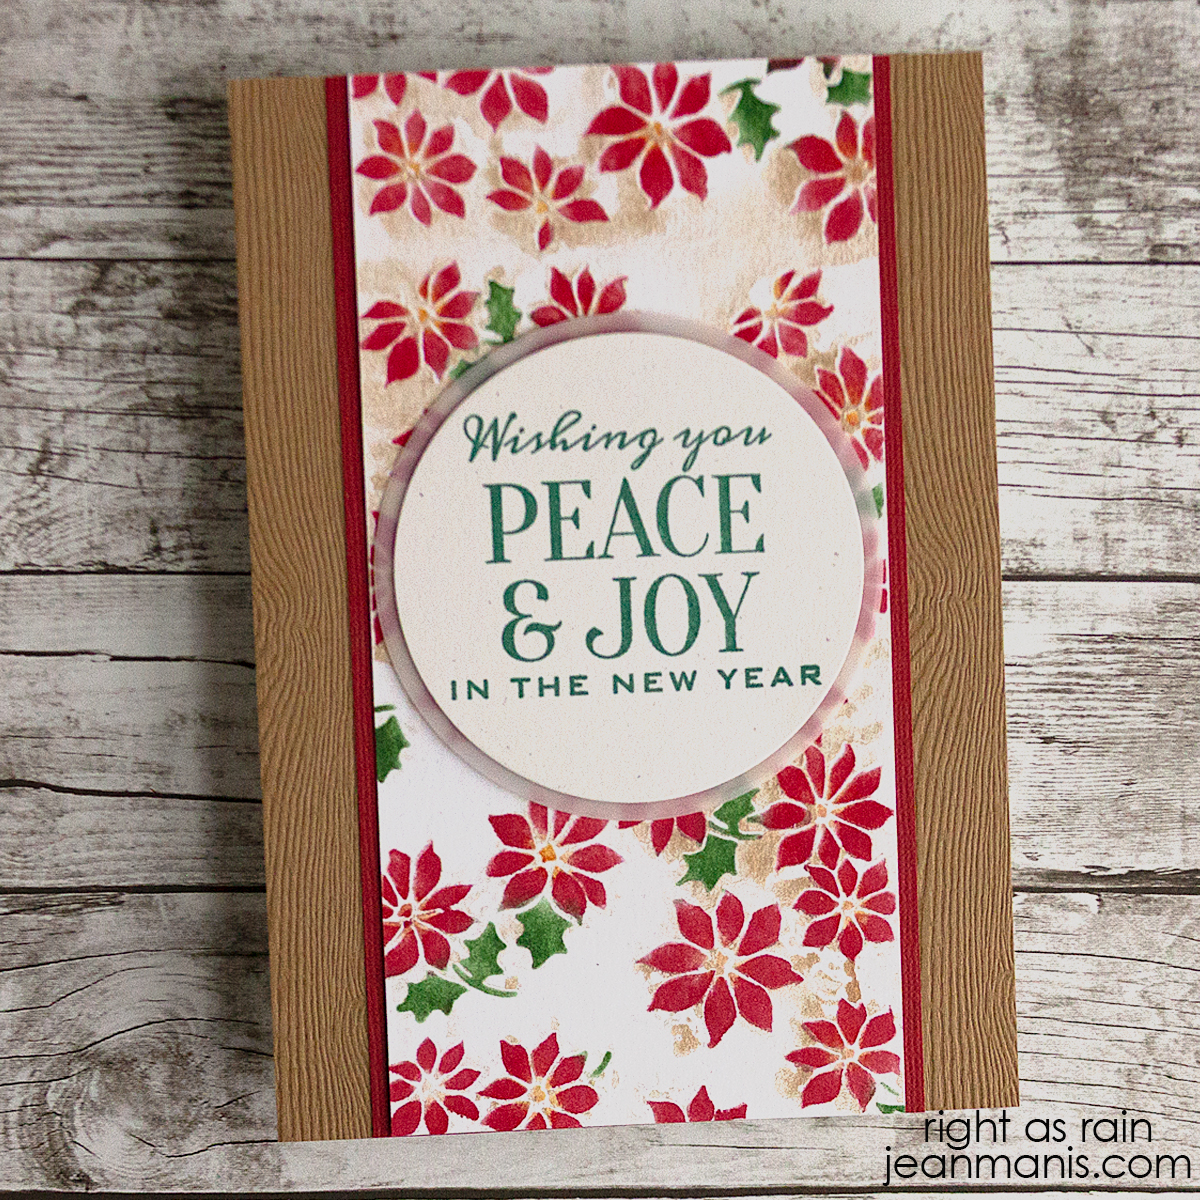
A Tim Holtz-Inspired Holiday Card

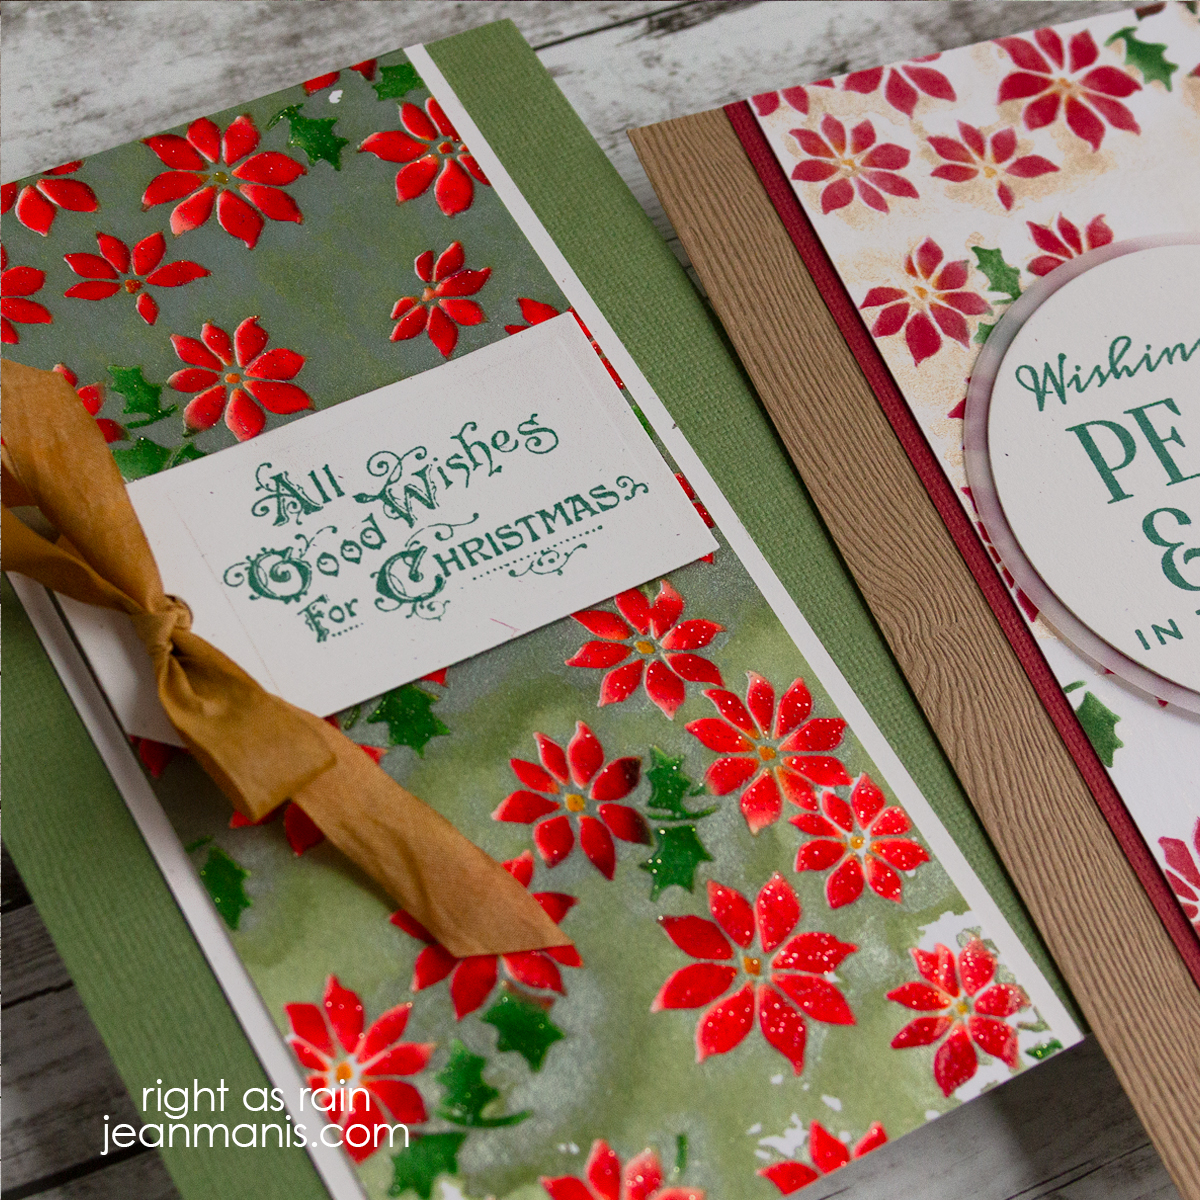
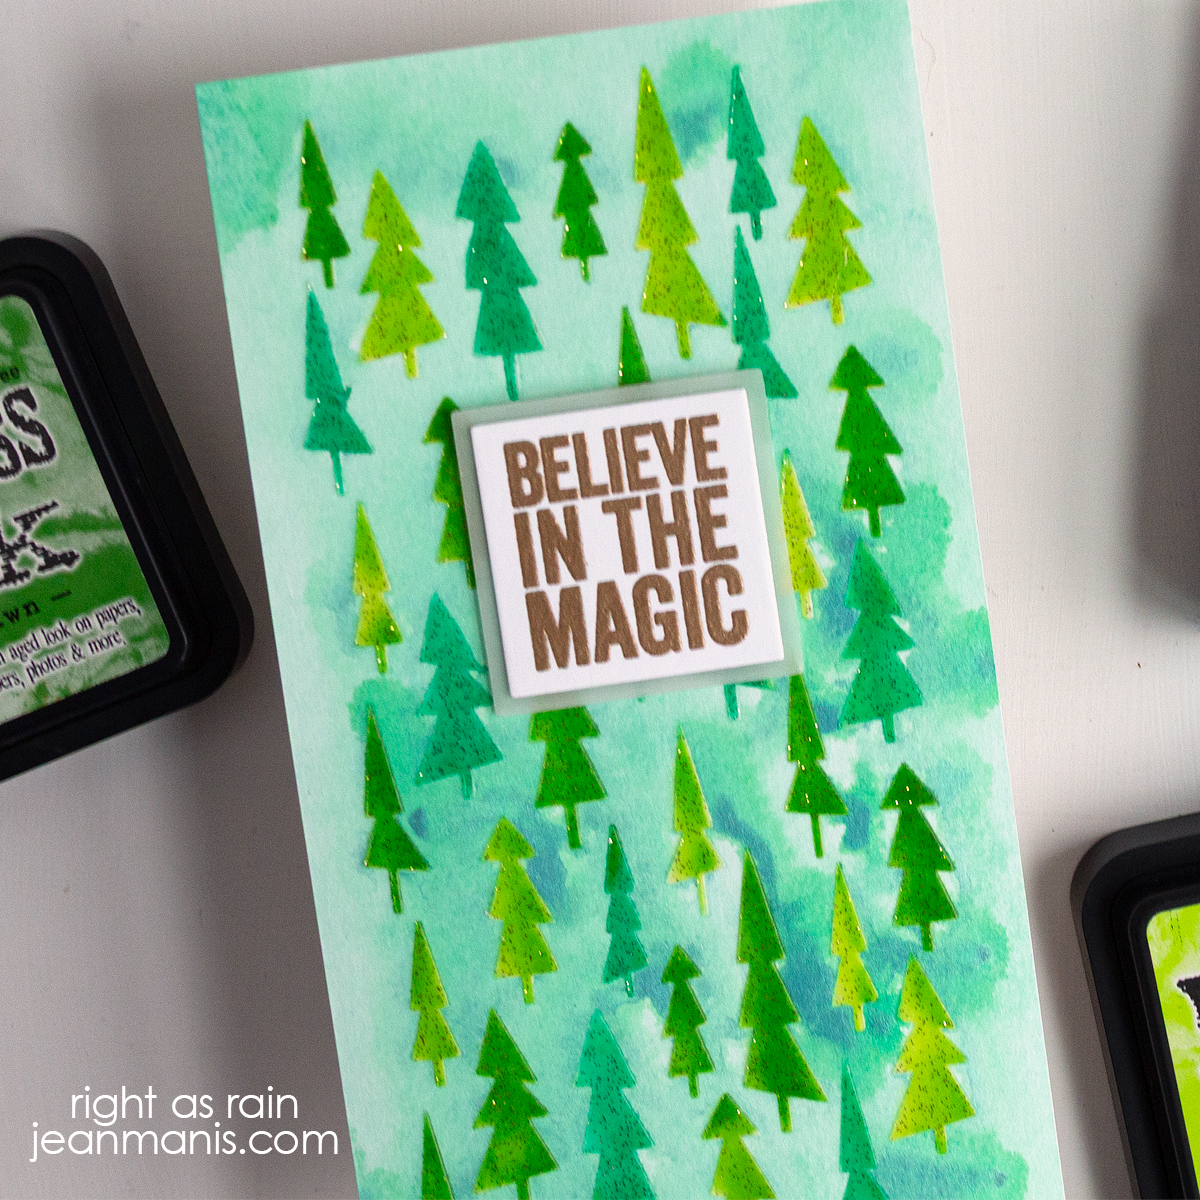
Hello! Mixed media isn’t my usual cardmaking style, but it’s always fun to step outside my comfort zone and experiment. For this Christmas card, I used a variety of Tim Holtz products including stenciling and alcohol inking. The variety of mediums adds character and depth to the design—each layer contributing its own texture and visual interest. It’s a festive project full of wintery sparkle and creative play.

A Tim Holtz-Inspired Holiday Card

    • To begin, create a card base 3 3/4″ x 6 7/8″ from woodgrain cardstock. Ink the sides of the cardstock with Gathered Twigs.
    • Next, create a monoprint on watercolor paper with the Pinecones stencil using Antique Linen Distress Spray and water. There are several of the Tim Holtz makers who regularly use this technique. Once dry, stencil in the pinecones and greenery. Apply the Sparkle paste through the panel and set aside to dry. Tim Holtz recently created a video discussing the many pastes available.; it proved to be an invaluable resource.
    • Once dry, you can add Antique Linen ink to the cardstock since the areas covered by the paste resist the ink. This can help fill in bare spots from the monoprint method.
    • Cut the bird from alcohol-inked black cardstock. I used the same formula as on this card.
    • Cut the greenery, from cardstock to which Distress ink has been applied, with dies in the Holiday Greens set. Add a snow effect by applying Snowfall Grit paste and Rock Candy glitter.
    • Stamp the Festive Overlay sentiment on to cardstock and cut with a circle die. Cut a vellum circle slightly larger. Adhere the two.
    • Trim the stenciled panel and add to the card base. Add sentiment circle, greenery, and bird.

A Tim Holtz-Inspired Holiday Card

It’s a bit more involved than my usual clean and simple cards, but worth every step for the texture and sparkle it brings to the finished design.

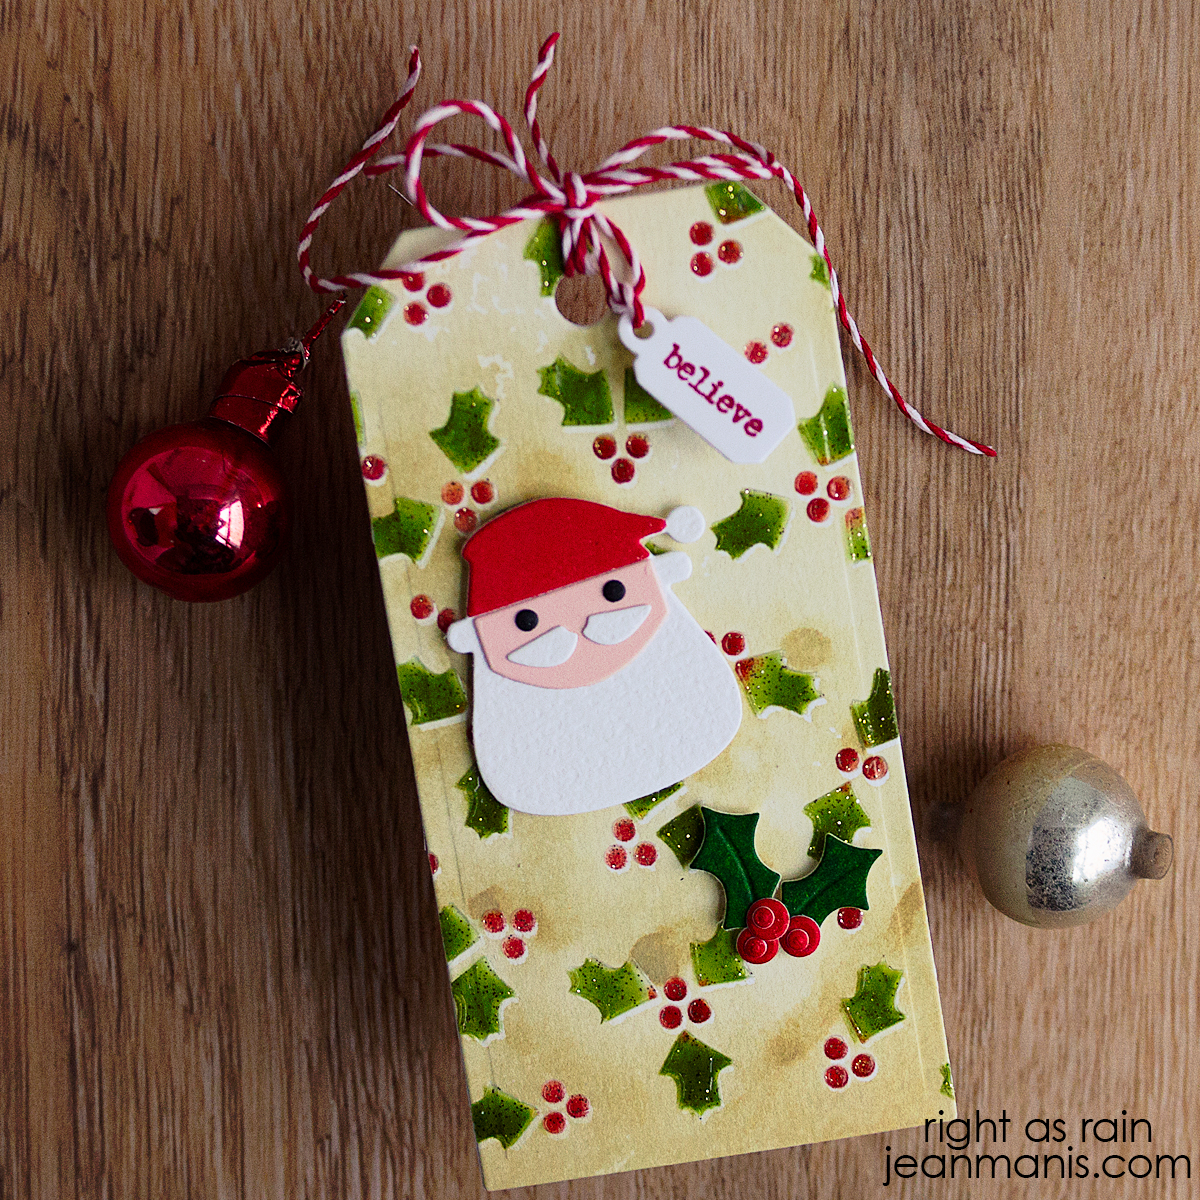
Santa Claus Cards: A Crafting Round-Up

Ho ho ho! Santa Claus is the heart of Christmas magic, symbolizing joy, generosity, and the wonder of the season. In this round-up of handmade cards, Santa Claus takes center stage. While this post is coming a bit late for this year, it’s perfect for planning ahead—many of the featured supplies may be discounted now, making it the ideal time to stock up for next season’s crafting! Click on the card image to be taken to the original post for additional details.

A welcoming Santa takes center stage on this card, set in a Polaroid-style frame.

Santa Claus Cards: A Crafting Round-Up

This card showcases Santa with a bag of toys and a bell, standing on a snowbank. The dry-embossed snowy background and felt accents on Santa add rich texture.

Santa Claus Cards: A Crafting Round-Up

This card features an old-fashioned stamped Santa and vintage-style sentiment, paired with plaid patterned paper for a nostalgic holiday feel.

Santa Claus Cards: A Crafting Round-Up

This slimline card shows a pink-to-red ombré inked silhouette with Santa, children, and a sleigh, set against a teal background. Sequins create sparkling snowflakes, and a white-embossed sentiment completes the festive design.

Santa Claus Cards: A Crafting Round-Up

This slimline card pairs a light teal, dry-embossed peppermint stripe background with Santa’s face appearing as one of three whimsical ornaments.

Santa Claus Cards: A Crafting Round-Up

This tag shows a small Santa inside a snow globe. The stenciled white trees on kraft cardstock create a rustic, yet festive, background.

Santa Claus Cards: A Crafting Round-Up

This card depicts Santa’s workshop, crafted with dies from a shed set. The shed features doors adorned with a Santa sign and stockings. Santa’s sleigh, loaded with a few packages, sits outside—offering evidence of his hard work.

Santa Claus Cards: A Crafting Round-Up

These cards capture a variety of Santa-inspired designs, ranging from playful to nostalgic, to spark your holiday cardmaking creativity. Which Santa stamps or dies in your collection are your favorites? Do you have any Santa-themed products on your wish list?

Tim Holtz Blooming Into Spring

Hello! It is hard to believe that Easter is already in our rear-view mirror and the calendar has been turned to April. I am sharing a spring-themed card using several Tim Holtz die sets paired with a sentiment in the Spring Shadows stamp set. I shared another spring-themed card with Tim Holtz supplies HERE.

Tim Holtz Blooming Into Spring

    • Stamp Spring Shadows sentiment on Waterfall cardstock. Cut panel with the A2-size die in the Lawn Fawn Large Stitched Rectangle Stackables set. Add to card base.
    • To create flowers and leaves, cut textured cardstock with the Modern Floristry and Brushstroke Flowers 2 sets. (I almost always cut Tim Holtz flowers from inked cardstock; for simplicity, I cut these from textured cardstock.) Assemble.
    • To create the barrel, cut Light Brown Woodgrain cardstock and Brushed Silver cardstock with dies in the Potted die. Add dimension by applying Walnut Stain and Black Soot ink. Assemble.
    • Add assembled barrel and floral elements to card front with foam adhesive.

Tim Holtz Blooming Into Spring


Tim Holtz Spring Die-Cut Flowers

Hello! As winter’s chill begins to thaw and the first signs of spring emerge (I am seeing quite a few daffodils blooming), I am drawn to crafting spring cards. Today, I am sharing a floral, spring-themed card created with Tim Holtz supplies.

Tim Holtz Spring Die-Cut Flowers

    • To create the background, stamp the Spring Shadows sentiment in black ink on white cardstock. Cut stamped panel with the A2-size die in the Lawn Fawn Stitched Rectangle set. Apply Tumbled Glass Oxide ink to the center of the stamped panel and add to card base.
    • Color Soft-Finish Cardstock with a variety of Distress Oxide inks. Cut pieces with dies in the Brushstroke Flowers 1, Bloom Colorize, and Modern Floristry die sets. Cut flower centers from Tim Holtz Black Alcohol Cardstock. Assemble flowers. I chose to back the open portions of the flowers with inked cardstock.
    • Add assembled flowers and greenery to card with glue and foam adhesive.

Tim Holtz Spring Die-Cut Flowers


Tim Holtz | Spring Florals

Hello! Today I am sharing a spring-themed card combining several Tim Holtz dies and stamp set. This is not to say that it is the least bit springlike where I am!

Tim Holtz | Spring Florals

As I mentioned in this post, it has been a while since I have pulled out any of my watercolors. With the supplies out, I created washes from which to die cut, using Colorburst powders and Daniel Smith watercolors on Arches Cold Press paper.

  • Stamp Spring Shadows sentiment in black ink on white cardstock, cut to A2-size, and add to card base.
  • Cut florals and foliage with Brushstroke Flowers 4, Modern Floristry, Bloom Colorize, and Festive Bouquet dies from the watercolored paper and Black Matte Alcohol Ink cardstock. Darken foliage with Rustic Wilderness ink. Assemble flowers and adhere foliage to underside of the largest flower.
  • Apply Tumbled Glass ink to card panel. Add floral assembly to card with glue and foam adhesive.

Tim Holtz | Spring Florals