Playing with Penny Black Products

Hello! Lately, I’ve been easing my way back into the craft room. For the past several years, much of my creative time was shaped by design commitments, and now that those have come to an end, I have the opportunity to slow down and play.

As I’ve been watching Jill Foster’s Penny Black videos, one idea has especially stayed with me: limit your choices so you can enjoy the creative process instead of feeling overwhelmed by all the possibilities. That simple shift in mindset has been exactly what I needed. Rather than trying to use every technique or create the “perfect” card, I’m choosing a handful of products and seeing where they lead.
Playing with Penny Black Products

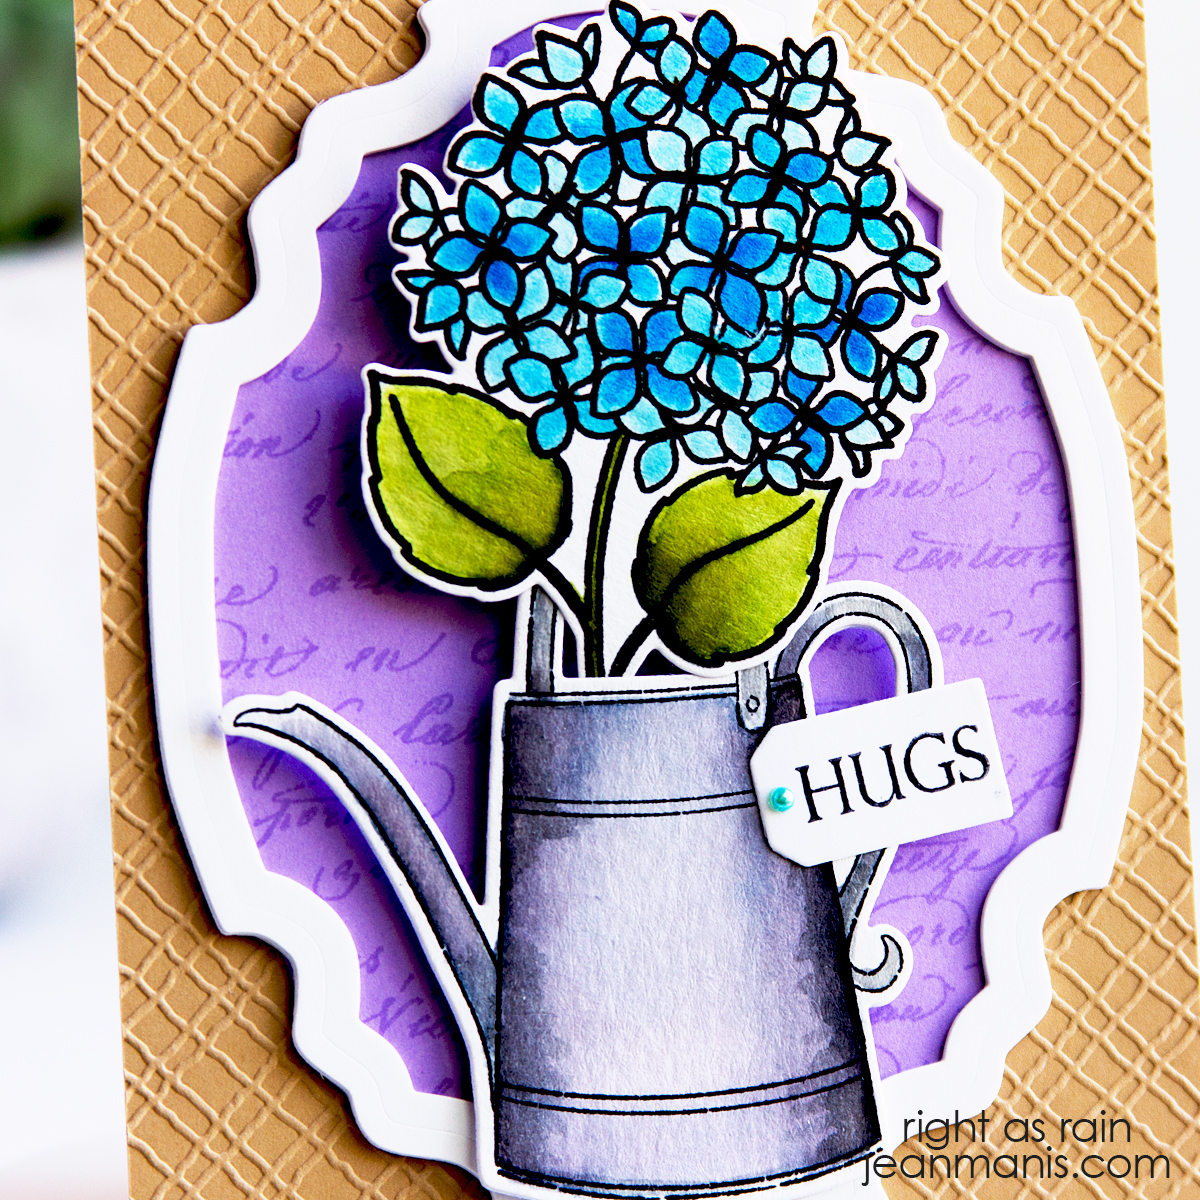
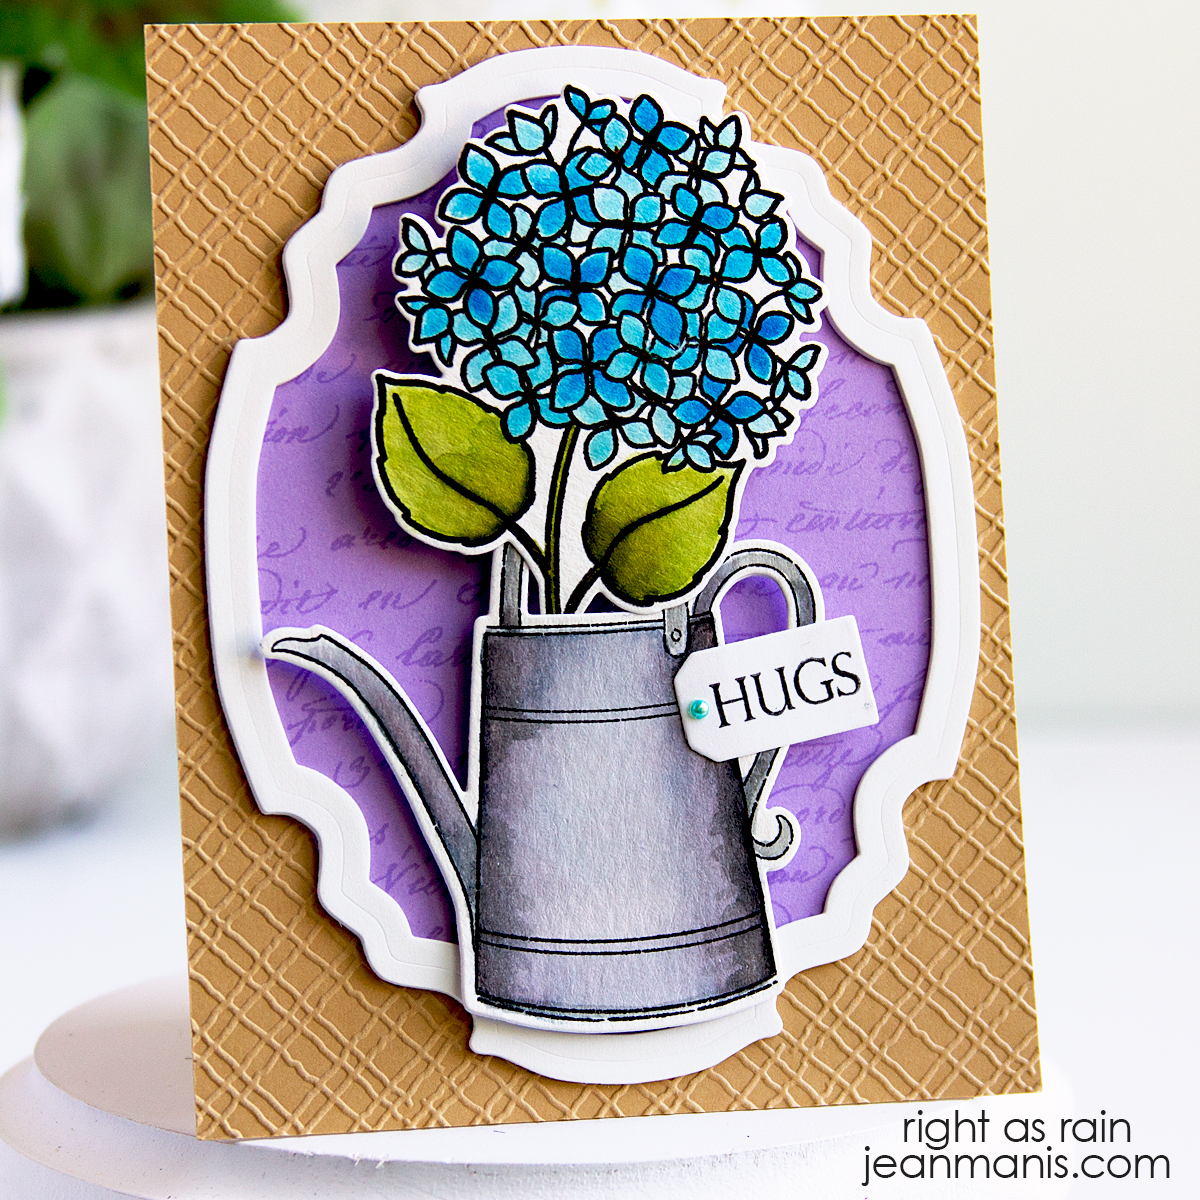
This card combines a Penny Black cling stamp, an embossing folder, stamped images with coordinating dies, and a frame die. The watering can and hydrangea images also gave me another opportunity to practice watercoloring. I wouldn’t say I’ve completely found my creative rhythm again, but I can feel it returning.

    • Dry-emboss a tan A2-size card panel with the Penny Black Texture folder. Add to a card base.
    • Stamp Hydrangeas image onto watercolor paper and color it with your favorite medium. Stamp the watering can image onto watercolor paper and color it with your favorite medium. Once dry, cut the items with the coordinating dies Hydrangeas cut out and watering can cut out.
    • Stamp the Happy Snippets sentiment and cut with a tag die (I used one from My Favorite Things). Add a small jewel/gem to the tag.
    • Use the largest Classy Frames die to cut a frame.
    • Stamp Script (similar cling stamp) onto purple paper with purple ink for a tone-on-tone background. Trim to fit inside the frame.
    • Attach the purple panel to the back of the frame and add the assembly to the card base. Add the watering can and floral to the card with foam adhesive. Add the tag to the can.
Affiliate links are used when available at no extra cost to you.

Art Impressions | Summer Front Porch

Hello! It’s been a while since I reached for Front Porch Series products from Art Impressions, and this card reminded me just how enjoyable watercoloring can be. One of the things I appreciate most about the Front Porch Series is how easily the sets mix and match, making it simple to create fresh scenes with stamps I already own. Returning to these sets has me looking at the collection with fresh eyes and inspired to create more.

Art Impressions | Summer Front Porch

    • Stamp the door and lamp included in the base set.
    • Accessorize the scene with items in the Patriotic and Farm House sets.
    • Emboss the background with the Penny Black Allover Stitches folder. Add a sentiment from the Art Impressions Birthday Sentiment set.

You can see a similar card created with the Front Porch Series sets HERE.

Art Impressions | Summer Front Porch

Affiliate links are used when available at no extra cost to you.
Newton’s Nook | Cozy Fall Card

Hello! There’s nothing like settling in with a good book and a warm cup of coffee on a crisp autumn day, which is the feeling I wanted to capture with today’s card. I used the Newton’s Nook Autumn Reads stamp set to create stacks of books accented with pumpkins and one topped with a steaming mug. The images are stamped and watercolored in rich fall hues, and the simple sentiment, “Happy Fall,” ties it all together with seasonal charm.

Newton's Nook | Autumn Reads

    • Add Summer Snapshots Collection patterned paper panel to an A2-size card base.
    • Stamp Autumn Reads images on Arches Cold Press watercolor paper. Color with medium of choice. I used watercolor markers and Distress inks. Once dry, cut with the coordinating die set.
    • Stamp the Fall Roundabout sentiment and cut with the smallest Lawn Fawn Stitched Rectangle.
    • Add elements to prepared card base.

Newton's Nook | Autumn Reads


Newton’s Nook | Cozy Fall Porch

Hello! Few things capture the charm of autumn like a cozy porch scene! For this handmade card, I used Newton’s Nook supplies to create a sweet image of a cat and dog on a porch surrounded by festive fall décor. The warm fall colors bring out the season’s cozy spirit.

Newton's Nook | Fall Friends

I stamped the Fall Friends scene onto watercolor paper and colored the image with Tombow markers. Once dry, I cut the image with the coordinating die set. I finished the scene with a sentiment in the Fall Roundabout set, which I cut with one of the dies in the Banner Duo set.

For the base, I used Taylored Expressions Sweet Basil cardstock and gingham patterned paper from the Simple Stories Front Porch Collection pad.

Newton's Nook | Fall Friends

Newton’s Nook | Harvest Haul

Hello! Nothing says autumn quite like a vintage pickup truck loaded with seasonal treasures! For this handmade card, I used Newton’s Nook supplies to stamp a fall scene. The heartfelt sentiment, “May the colors of fall bring you a harvest of joy,” captures the charm of the season. I know that I’m drawn to the rich colors of autumn.

Newton’s Nook | Harvest Haul

    • Stamp the Newton’s Nook Harvest Haul sentiment onto gold cardstock. Cut with a square (4 1/4″) stitched die. Cut ground with the same die and add to the sentiment panel. Add assembly to a prepared card base.
    • Stamp Harvest Haul pickup and leaves onto Arches Cold Press paper with Archival Black ink. Color with media of choice. I used Tombow markers. Watercoloring stamped images is a soothing process for me; it’s a chance to slow down and enjoy the process.
    • Once dry, cut the images with the coordinating dies. Add to the card base with glue and foam adhesive.

Newton’s Nook | Harvest Haul

Do you have a favorite fall motif for your crafting that inspires your seasonal cards?