Make 2017 Fun! – TE Build a Scene Calendar

Hello (and Happy Halloween)! Welcome to Day One of the Taylored Expressions November Sneak Peeks. With the winter holidays just around the corner, this month’s release features products designed for creating handmade gifts! The November products will be released Thursday, November 3 @ 7 AM PST!

Today, I’m sharing several themed pages from my 2017 5″ x 7″ calendar, as well as gifting and display options for the pages. By personalizing a calendar, I can create cheerful and meaningful scenes to mark the days in 2017!

TE November 2016 Release

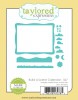
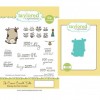
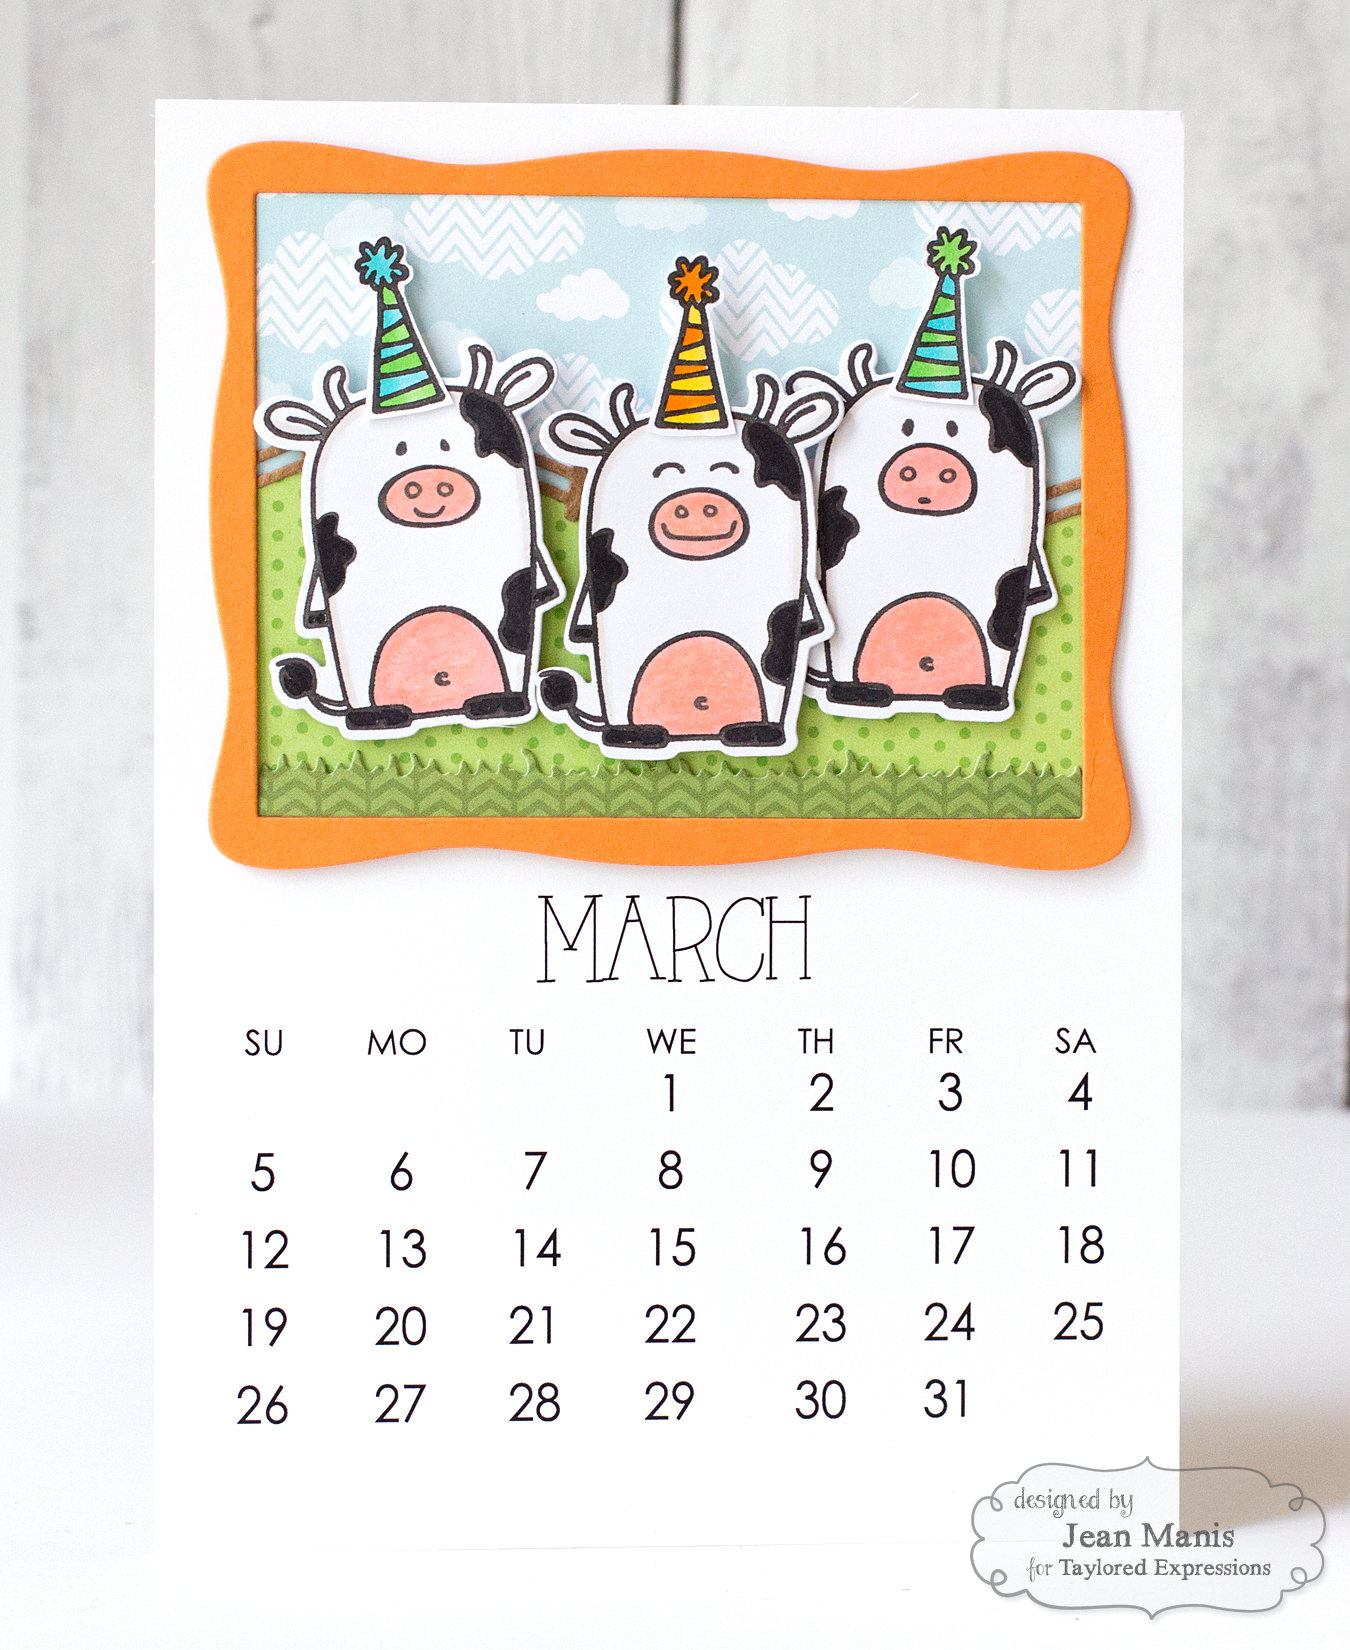
I used the Build a Scene – Calendar – 5×7 die set along with the 2017 5×7 Calendar to create the pages.

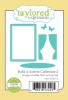
For January, I added Copic-colored Critters on Ice to the scene. Just because the winter holidays are over doesn’t mean that the snow and ice are gone! I wanted January to be cheerful! The ice? That’s an oval from this release’s Build a Scene – Calendar 2 die set.

TE November 2017 Release

TE November 2016 Release

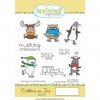
For February, I featured the Crafty Grumplings. I imagined my sons working on their handmade Valentine’s Day cards (possibly making a bit of a mess), and at the same time, cabin fever setting in for everyone involved.

TE November 2017 Release

TE November 2017 Release

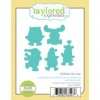
For March, I featured Copic-colored cows created with the If Cows Could Talk Stamp & Die Combo. It’s my oldest son’s birthday in March and this trio of cows is so much fun.

TE November 2017 Release

TE November 2017 Release

Gifting the calendar? The twelve pages fit in a perfectly-sized clear box.

TE November 2016 Release

And to display the individual pages? There’s a tabletop 5×7 Acrylic Frame.

TE November 2017 Release

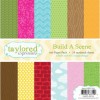
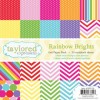
Supplies (items in bold will be released November 3):

Taylored Expressions is celebrating Release Week with some fabulous giveaways! Visit the TE Blog to answer Taylor’s Question of the Day for a chance to win a prize from the latest release!

TEReleaseWeekQuestion

Thanks for visiting! Head on over to the TE Blog to see more projects and product information, as well as a complete list of participating designers!

Magical Holiday Season

Hello!  Today I’m sharing a CAS holiday card featuring Memory Box dies.

Magical Holiday

This card was easy to put together! I cut a dark blue cardstock panel with the Memory Box Snowdrift Breeze die to create the background. I used the same die to cut white cardstock snowflakes that I placed back into the dark blue panel. I cut the front part of the scene with the Memory Box Horse Sleigh Landscape die. The houses and trees were cut with the Memory Box Country Landscape die from matte silver cardstock. The entire scene was adhered together and taped on to a white cardstock base.

I heat-embossed the Lawn Fawn Merry Messages sentiment (this is a set I’ll be reaching for a lot this season!) on red cardstock to add a little punch to the scene. I used the Lawn Cuts Everyday Sentiment Banners die set to cut the sentiment (trimming off the ends).

Magical Holiday
Supplies:

Holiday Latte to Go!

Hello. Today, I’m sharing a CAS die-cut holiday card featuring the CottageCutz Peppermint Latte die set.

Holiday Latte

To begin, I cut and assembled the cups, and then went on the hunt for coordinating patterned paper. I found papers I liked, but they didn’t match the red and green I’d chosen for the cups, so I started over. (Note to self: pick out the patterned paper first!)

Because the background patterned paper has a number of sentiments (it reminds me of a chalkboard at a café listing the specials), I decided to forgo adding another sentiment to the card.

Holiday Latte

I used two different stitched square die sets from Lil’ Inker Designs to cut the background and the card base. One of the sets includes a die that cuts a stitched square 4.25″ x 4.25″.

Taylored Expressions Patterned Paper Die-Cut Holiday Scene

Hello. Today, I’m sharing a CAS Christmas card showcasing the TE Build a Scene Christmas patterned paper pack.

TE Patterned Paper Christmas Scene

The TE Build a Scene Christmas pack contains papers with all-over patterns, such as the tree one I used in the back panel and the stripes used for the snowman’s scarf, as well as scenes, such as the one I used to place the Little Bits – Snowman. The beauty of these packs – the colors and patterns coordinate wonderfully!

I framed the snowman scene using the Picture Perfect – Vertical die. To add texture and visual interest, I scattered snowflakes cut with the Little Bits – Snowflake Confetti die.

TE Patterned Paper Christmas Scene

Supplies:

Holiday Treat Packaging – Taylored Expressions Oct 2016 Release

Hello. Welcome to the Taylored Expressions October 2016 Release! All of the products that we have been sharing this week are now available in the TE store!

Before you head off to shop, I have a holiday treat packaging project to show you!

Taylored Expressions October 2016 Release

This treat box (containing caramel toffees, which my family loves during the holidays) is created with the Tagging Along die. With three men in the house, I decided to use masculine textures and colors for my project.

I dry-embossed the tote pieces with the Plaid embossing folder. I added a panel stamped with the Woodgrain Background (cut with a die in the Tag Stacklets 1 set) against which I placed a portion of the Jolly Old St. Nick silhouette (I really like how this silhouette can be used as a whole or in pieces for scenes).  I heat-embossed a sentiment from Sealed with Love for the smaller tag (Tag Stacklets 1) on top.

Taylored Expressions October 2016 Release

Thanks so much for stopping by! To see more projects with the new release and new product information, head over to the TE Blog for a complete blog roll of our participating designers!

Supplies: