Celebrate Fall with a Pumpkin-Themed Card

Hello!  Today, I’m sharing a fall card featuring pumpkins created with the Elizabeth Craft Designs Autumn Pumpkins die set. The background, a 49 and Market patterned paper, adds an elegant touch with minimal effort. A heartfelt sentiment, “May the bounty of the season fill your heart and home,” completes this simple yet meaningful card, perfect for spreading autumn cheer.

Celebrate Fall with a Pumpkin-Themed Card

    • Stamp the Penny Black sentiment in Potting Soil ink on to the patterned paper. Trim and add to an A2-size card base.
    • Next, cut the pumpkins and leaves from soft finish cardstock with dies in the Autumn Pumpkins set. Color with Distress Inks and assemble as needed. Shape the leaves for additional depth.
    • Cut additional flowers with dies in the Floral Greenery 1 set. Fill flower centers with prills.
    • Lastly, add the pumpkins, leaves, and flowers to the prepared card base with foam adhesive and glue.

Celebrate Fall with a Pumpkin-Themed Card


Spellbinders | Beads of Friendship Collection

Hello! I’m thrilled to be a guest on the Spellbinders blog sharing three cards created with the Beads of Friendship Collection at Spellbinders. Inspired by Taylor Swift’s friendship bracelets, the collection features die sets, BetterPress sets, and a stamp set. I created a Halloween card, a Christmas card, and a card celebrating the spirit of friendship. I hope you will take a look and leave me a comment!


Penguins in the Snow: A Festive Holiday Card

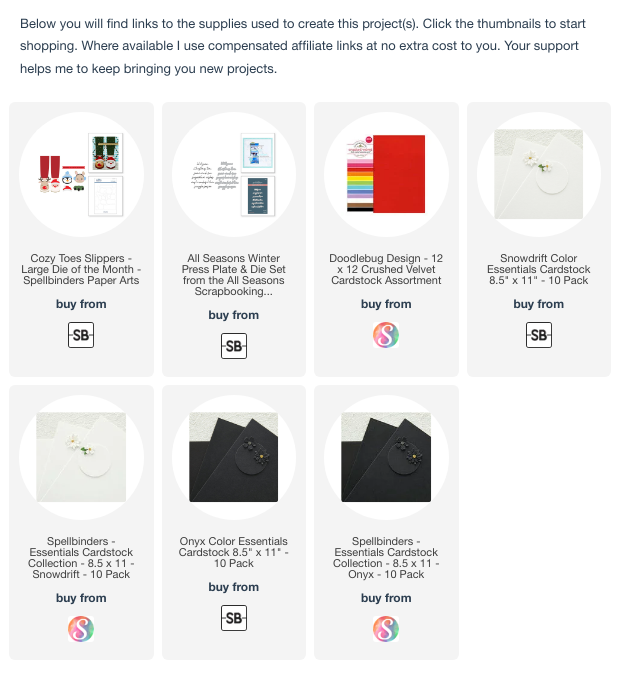
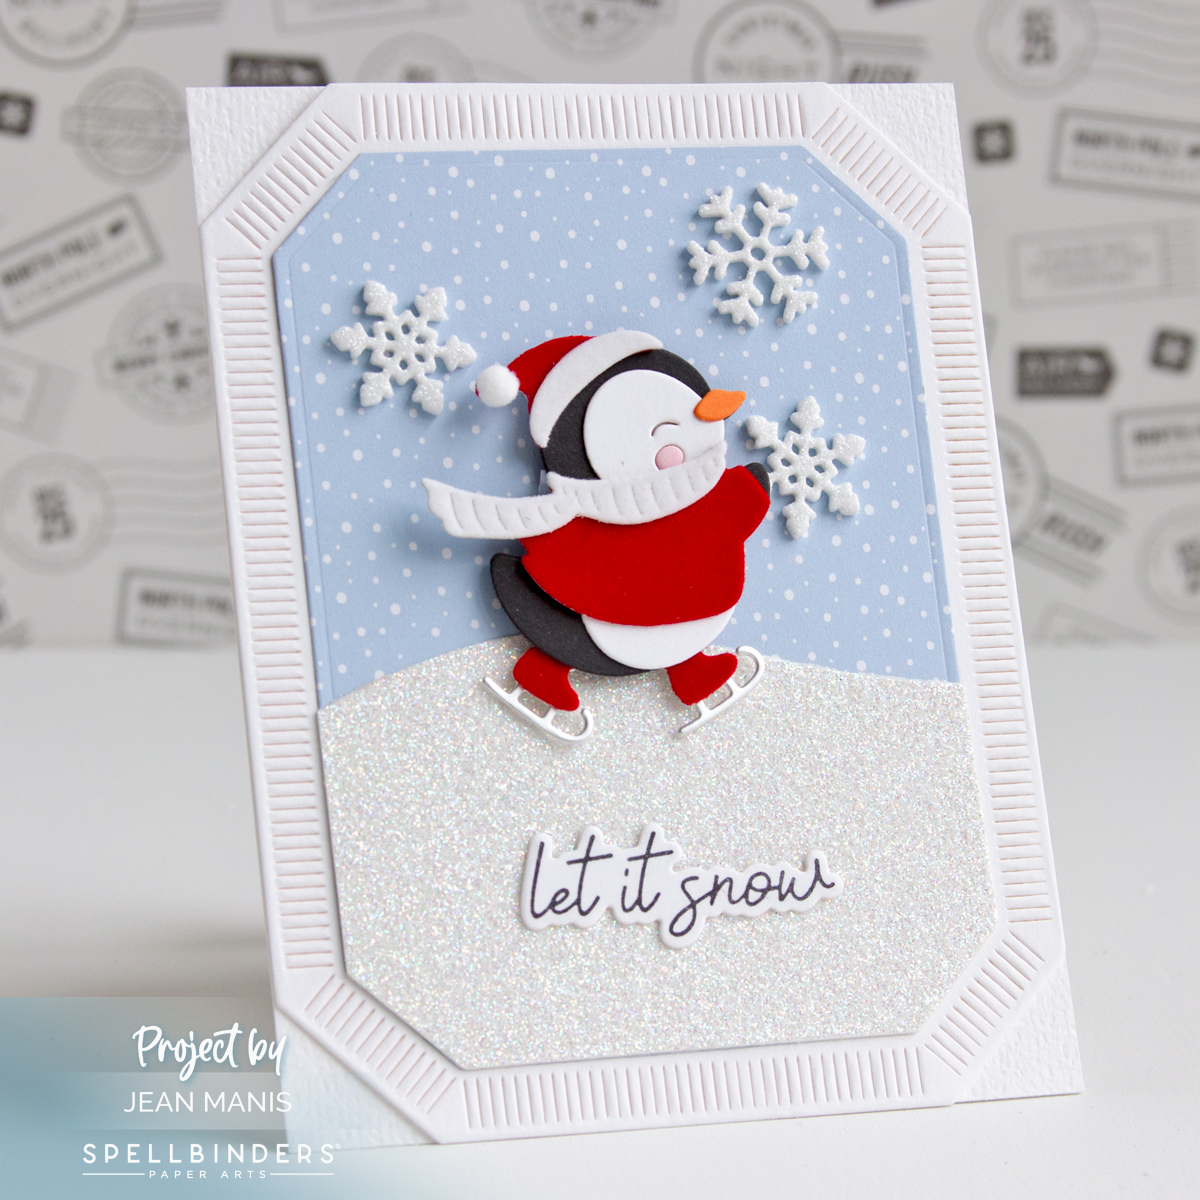
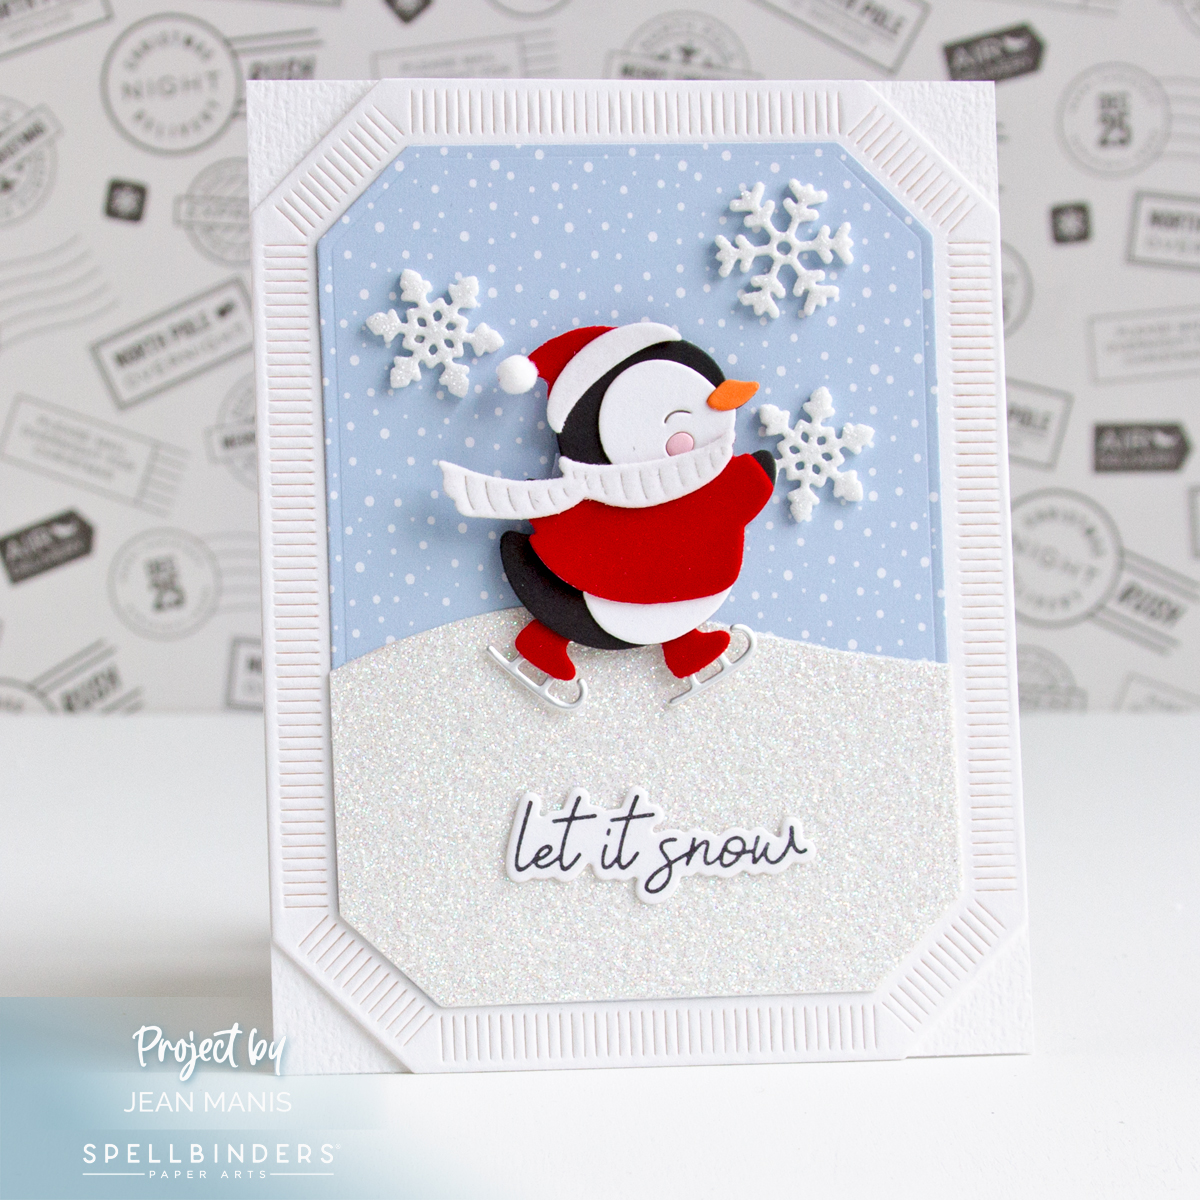
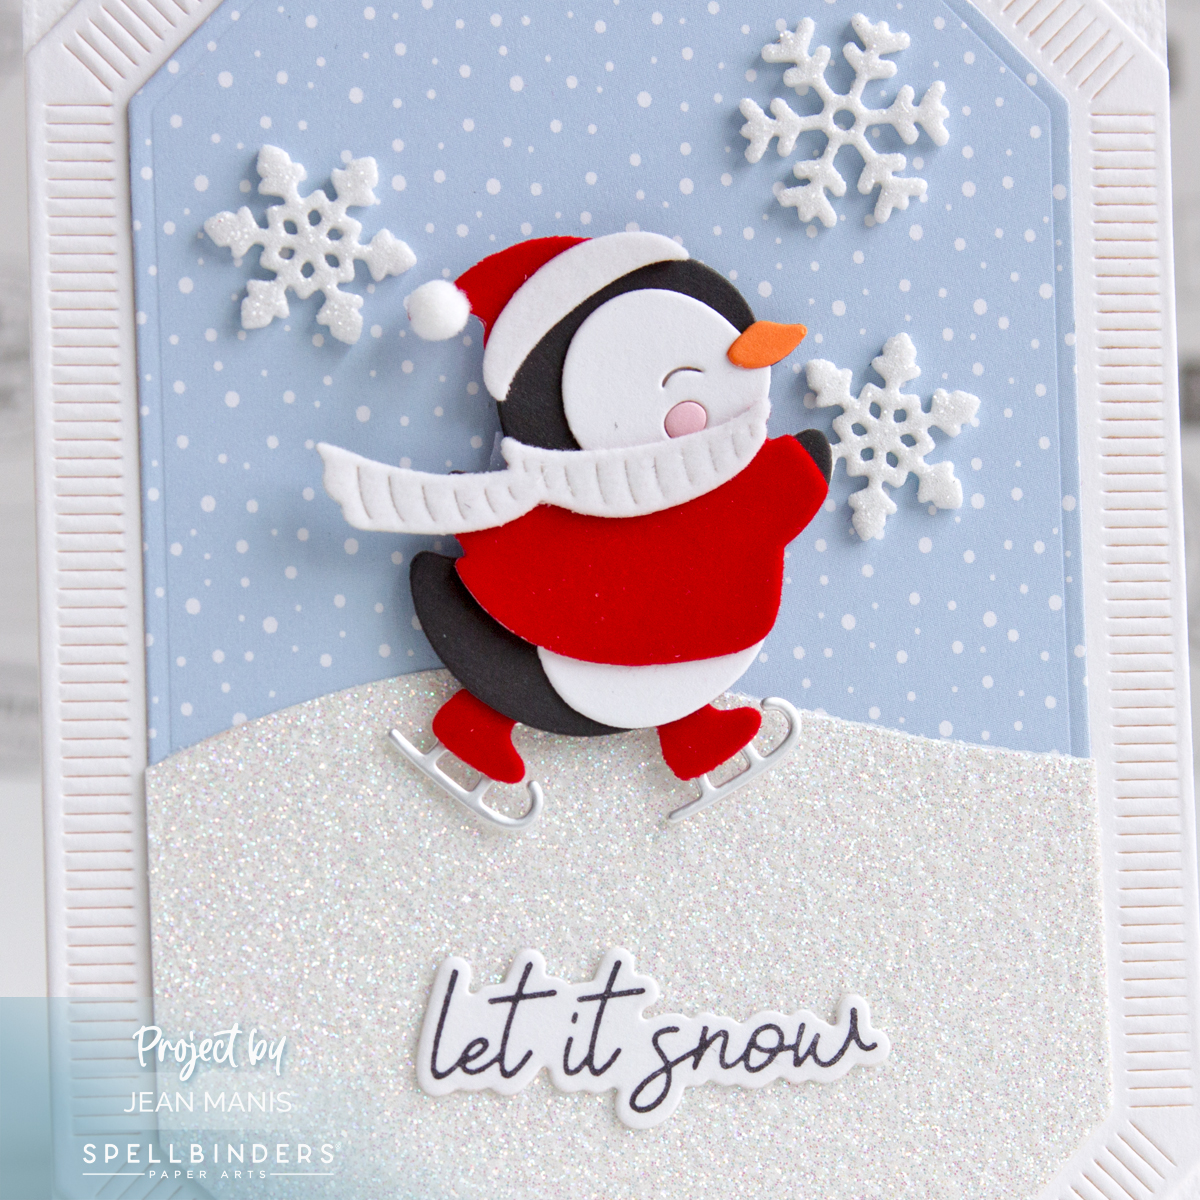
Hello! Charming penguins, dressed for the holidays, steal the spotlight on this card made with the Playful Penguins dies from the Let It Snow Collection by Simon Hurley for Spellbinders.

Playful Penguins - Spellbinders Let It Snow Collection

      • To begin, cover an A2-size card base with patterned paper.
      • Cut penguins and accessories from a variety of cardstock colors; assemble. These are easy to put together.
      • Next, create snowbanks with dies in the Color Block Scenic Scape set. Trim as required and add to the card base.
      • Add the penguins to the scene with dot adhesive.
      • Finally, BetterPress the sentiment in black on white cardstock and cut with its coordinating die. Add to the card with foam adhesive.

Playful Penguins - Spellbinders Let It Snow Collection


Amaryllis Christmas Card with Embossed Details

Hello! I’m excited to share my second Christmas card created with with Spellbinders supplies in the Amaryllis Christmas Collection by Yana Smakula. You can see my first card HERE. You may notice that this card is more detailed than my first card, with the addition of a dry-embossed panel created with the Amaryllis Garden embossing folder from the collection. The embossed texture, floral element, and timeless sentiment come together to create a refined and elegant holiday card perfect for the season.

Amaryllis Christmas Card with Embossed Details

    • Cover an A2-size card base with patterned paper. I used Echo Park paper from my stash.
    • Cut gold cardstock with the largest die in the Essential Stylish Ovals set. To soften the effect of the gold, cut a vellum oval with the same die. Adhere the ovals together in the center, which will be covered by the dry-embossed panel, and add to the card base.
    • Next, cut dark green cardstock with the next smallest die in the Essential Stylish Ovals set. Dry-emboss the oval with the Amaryllis Garden embossing folder and add to the card front.
    • With a die in the Yana’s Amaryllis set, cut the bloom from red cardstock. Carefully turn the piece over and tape from behind to keep the outline and interior pieces together. Cut two more blooms from darker red cardstock, removing the interior pieces and keeping the outlines. Next, adhere these together and adhere to the piece with the full bloom intact. Cut the flower once more from gold cardstock. Fussy-cut and add the gold stem to the bloom piece. Cut two leaves from gold cardstock.
    • Add the amaryllis to the card front with foam adhesive.
    • Press the Home for Christmas sentiment in Spruce ink on white cardstock. Cut with the coordinating die and add to the base of the assembled amaryllis.

Amaryllis Christmas Card with Embossed Details

Trio of Flying Mice Halloween Card

Hello! Today I am sharing a whimsical Halloween card that showcases three mice soaring on a broomstick above a gate that spells out “Happy Halloween.” The mice were stamped with a Penny Black stamp and watercolored. Beneath the gate, pumpkins enhance the festive spirit.

Trio of Flying Mice Halloween Card

    • Stamp Penny Black Bewitched image in VersaFine ink on Cold Press watercolor paper. Heat set. Color with watercolor mediums of choice. I used Distress inks. Once dry, fussy-cut the image. I cut off the tails of the mice, as I was unable to fussy-cut them. Read ahead for what I did to stamp and color the tails.
    • Cut a circle from vellum and position on card base for moon. Apply yellow ink to the negative area of the vellum mask.
    • Cover the moon with a circle cut from masking paper. Apply Tumbled Glass ink for the sky and Hickory Smoke for the base.
    • Now, stamp the Bewitched image on to the panel in the desired position. Color in the tails of the mice. Adhere the watercolored, fussy-cut mice to the card over this stamped image, lining up the bodies to the tails.
    • Cut the Halloween Gate from black cardstock and add to the panel.
    • Add pumpkins cut with dies in the Carved Cuties and Pumpkins & Leaves set.

Trio of Flying Mice Halloween Card

The Penny Black Bewitched stamp has been around at lease since 2015. In 2015, I created two cards with the same image as on the card above for my blog and for the Penny Black Simplicity site, which is now defunct. I have included those cards below. On the first one, I used Zig Clean Color Real Brush pens on watercolor paper and on the second, I used watercolor pencils on watercolor paper.

Penny Black Bewitched

Penny Black Bewitched

Supplies: 30-318 Bewitched, 30-240 Textures, 51-077 Eeek!