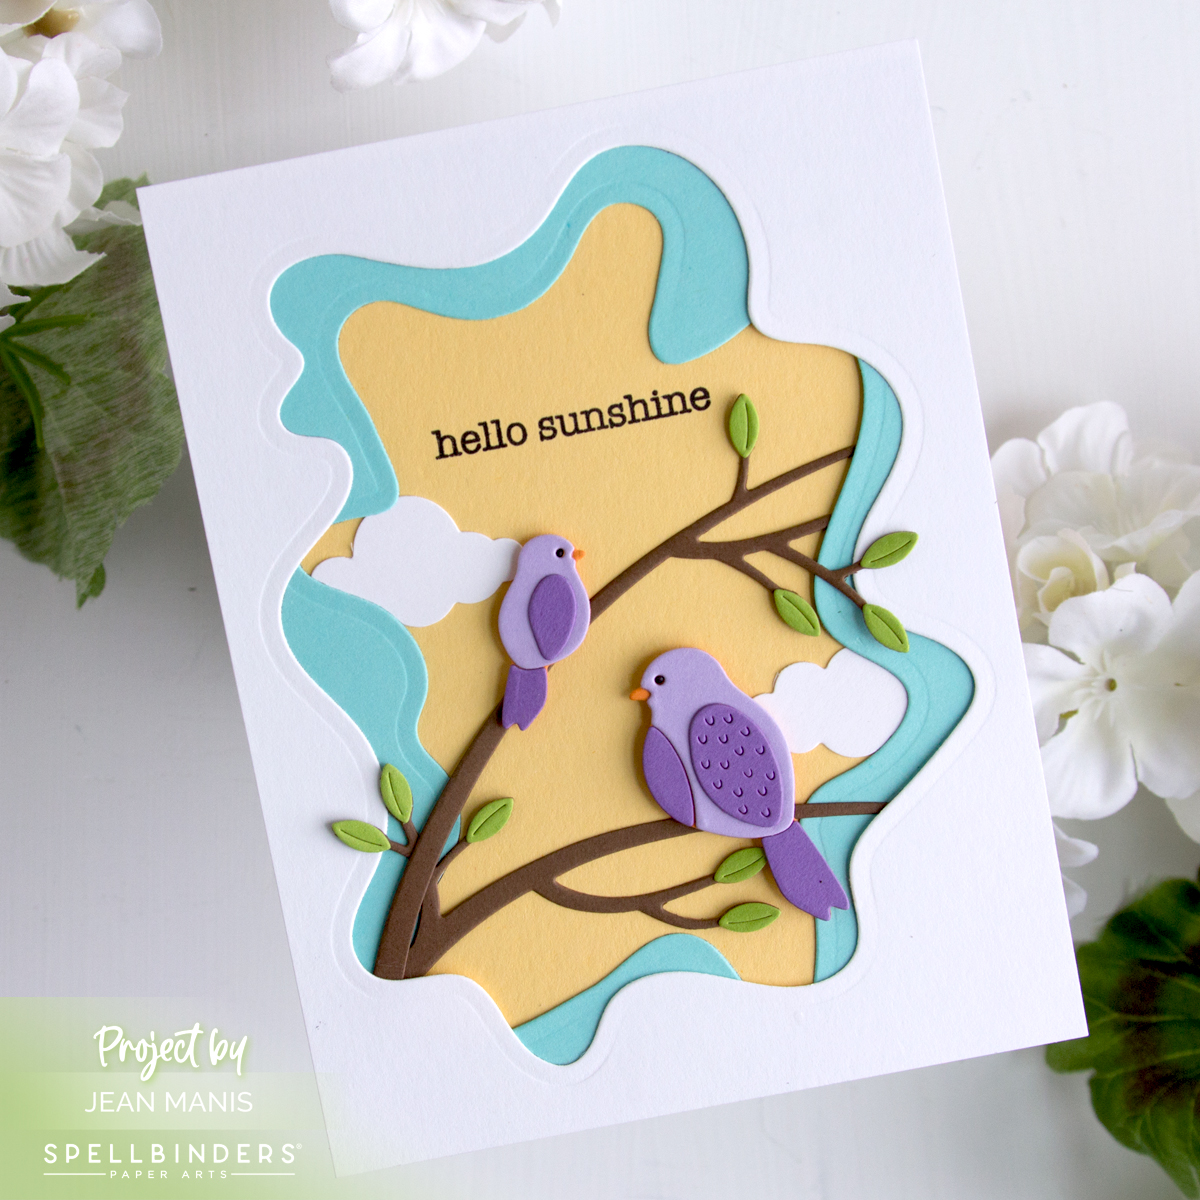
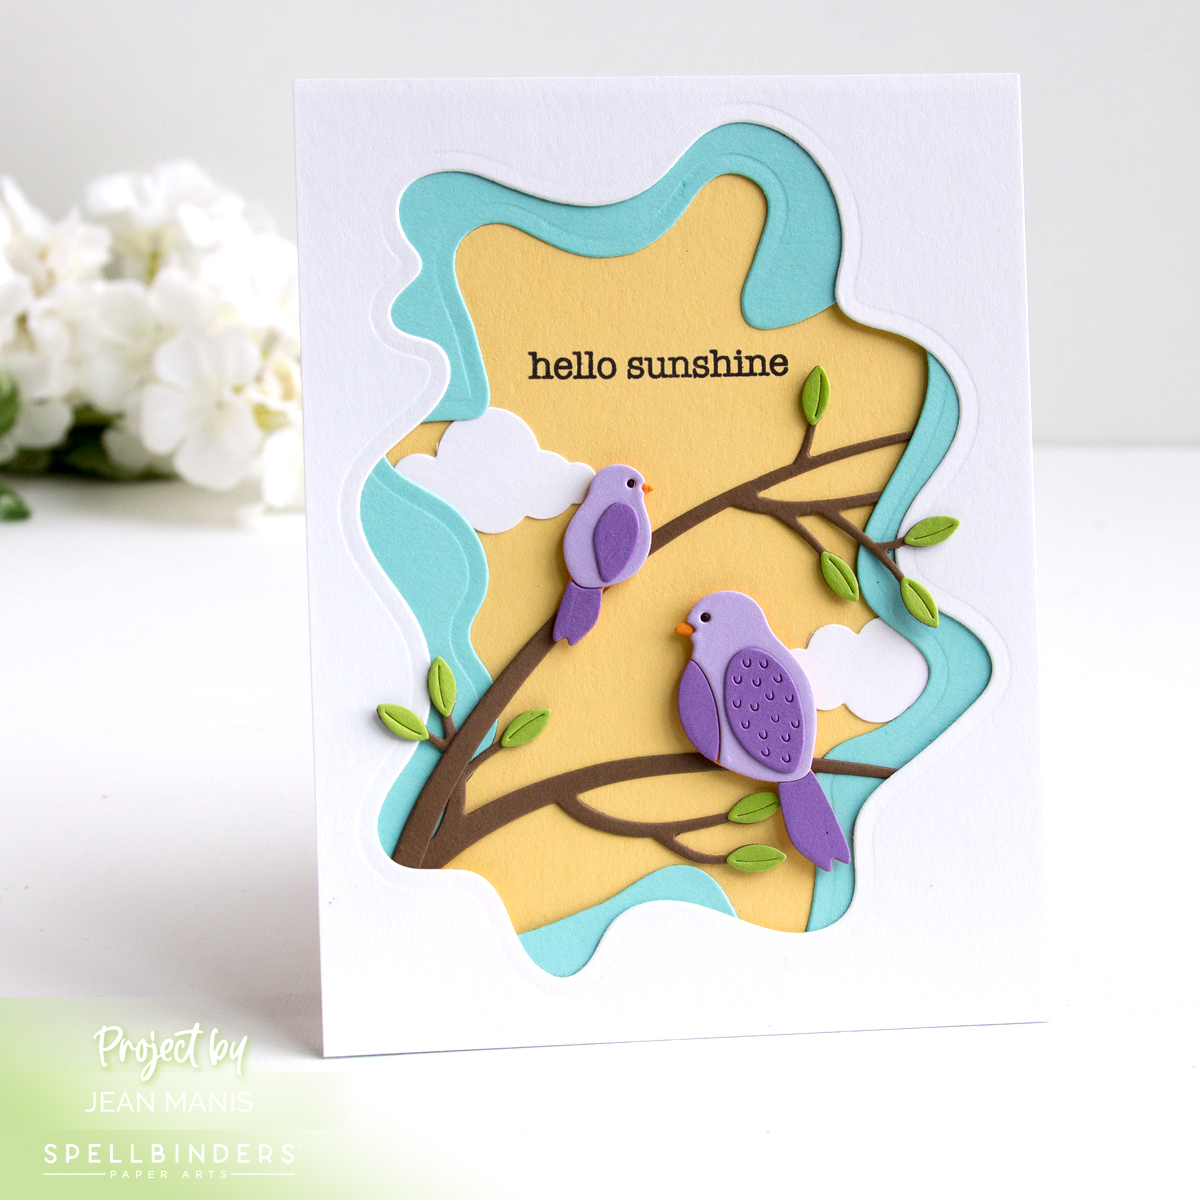
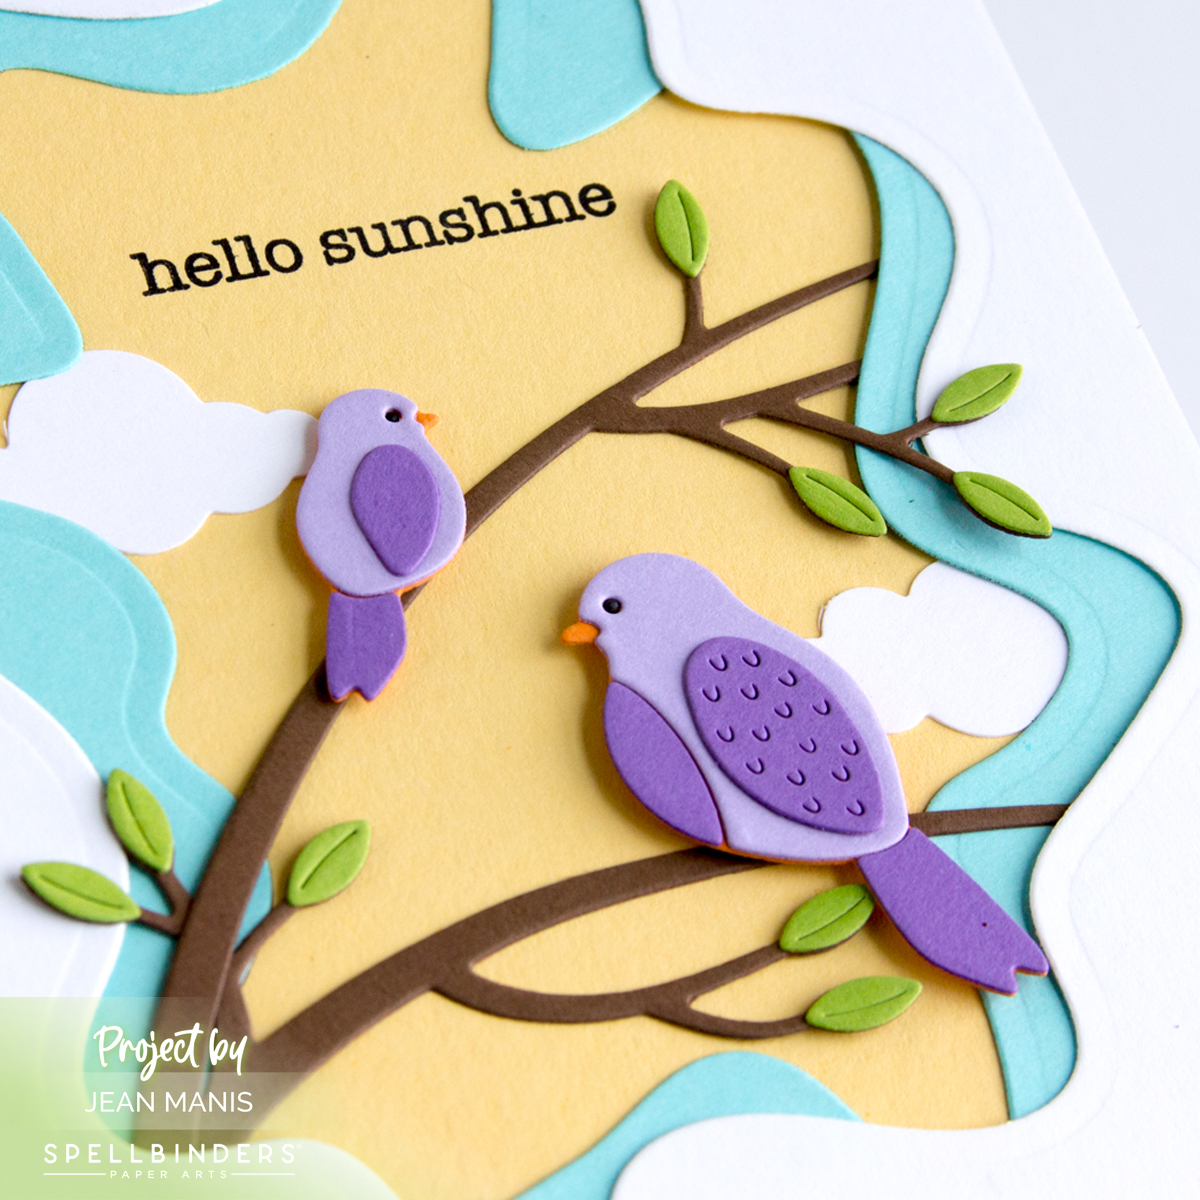
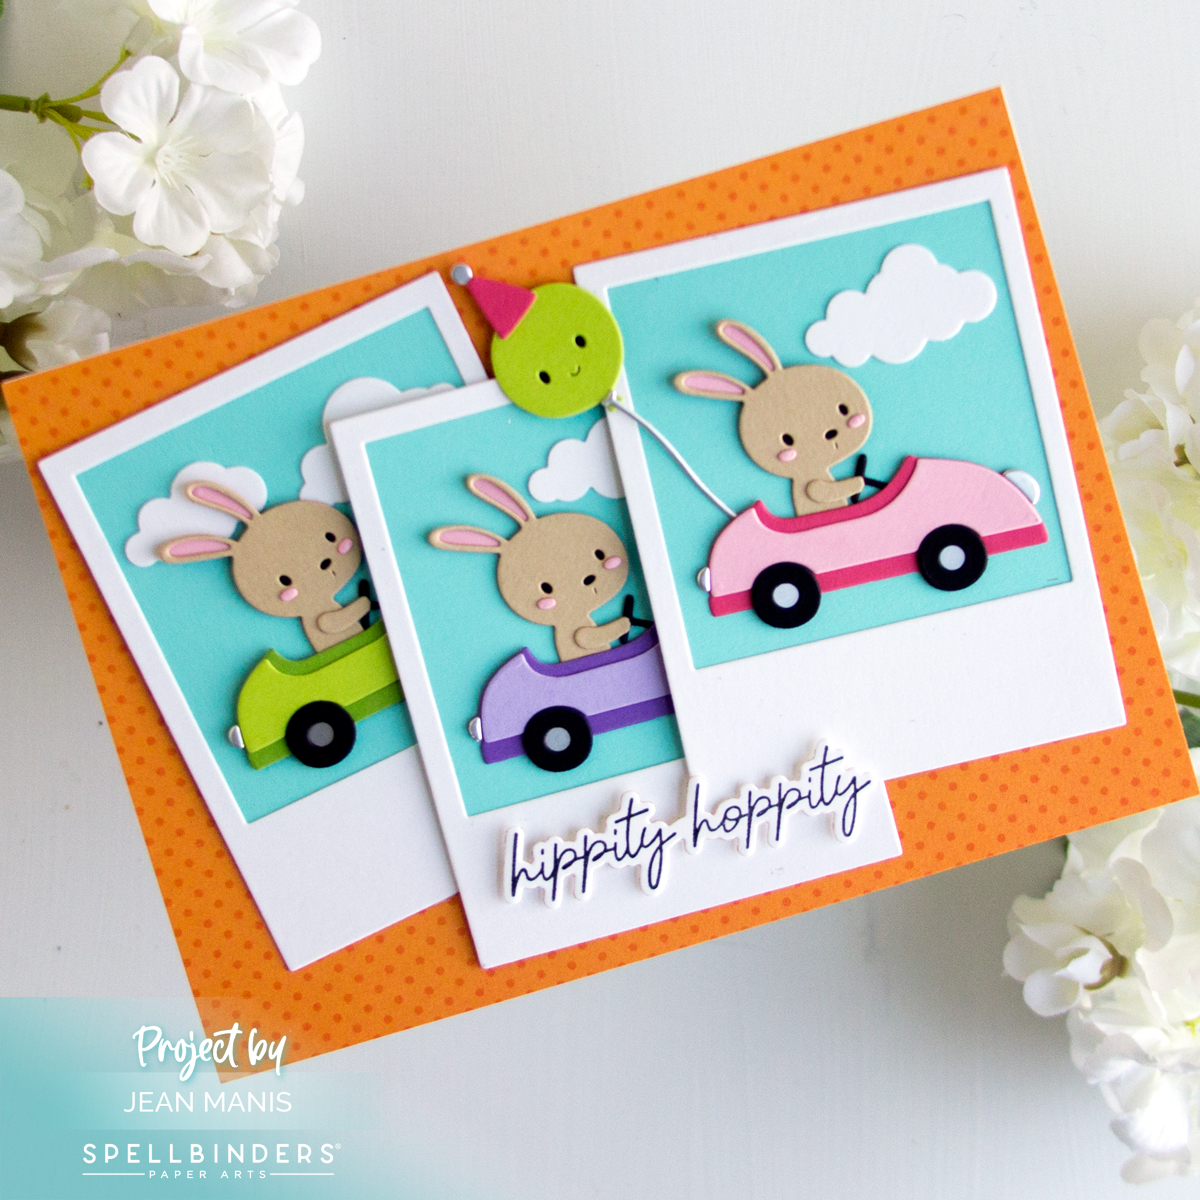
Hello! I am delighted to be a guest on the Spellbinders blog discussing how to create stenciled backgrounds with modeling paste and white glitter. I hope you will head on over to take a look at the three projects I created with Light & Fluffy Modeling Paste and Art Glitter Baby Baubs White Glitter.
Tag: Spellbinders
Spellbinders | Patterned Paper Focus
Hello! Today, I am sharing a gratitude card showcasing a recent addition to the Spellbinders store – Paper Rose patterned paper. Patterned paper offers a quick and convenient way to add character to your card backgrounds.
The Morning Memories 6×6 pack features subtle colors and patterns. As to not overwhelm the paper, I created a floral cluster for the card center using the Anemones die set. I cut the cluster from a metallic paper and Snowdrift cardstock. I inlaid the Snowdrift cardstock into the metallic outline.
The sentiment was letterpressed with the BetterPress You Are Everything Sentiments set in Cosmic Sky ink on Snowdrift cardstock.
I added the anemones and sentiment to the card with foam adhesive.
Spellbinders | Hello Spring
Hello! Today, I am sharing a CAS, spring-themed card crafted with Spellbinders products. Rain or shine, there is a timeless charm to the image of a duck carrying an umbrella. I previously shared cards with these products HERE and HERE. Scroll for info on a die-cutting sale.
-
- Create A2-size card base from Teal Topaz cardstock.
- Add sky and ground to a slightly smaller panel of Snowdrift cardstock using Tumbled Glass and Hickory Smoke Oxide inks.
- Stamp I’ve Got You Covered sentiment on Snowdrift cardstock. Cut with cloud die in the On Cloud Nine set. Cut additional clouds with dies in the set.
- Cut Duck with Umbrella from various cardstock colors. Assemble and add to card front with foam adhesive.
Now through February 28th save up to 40% off select products at Spellbinders.
Spellbinders | Rain Boot Bouquet
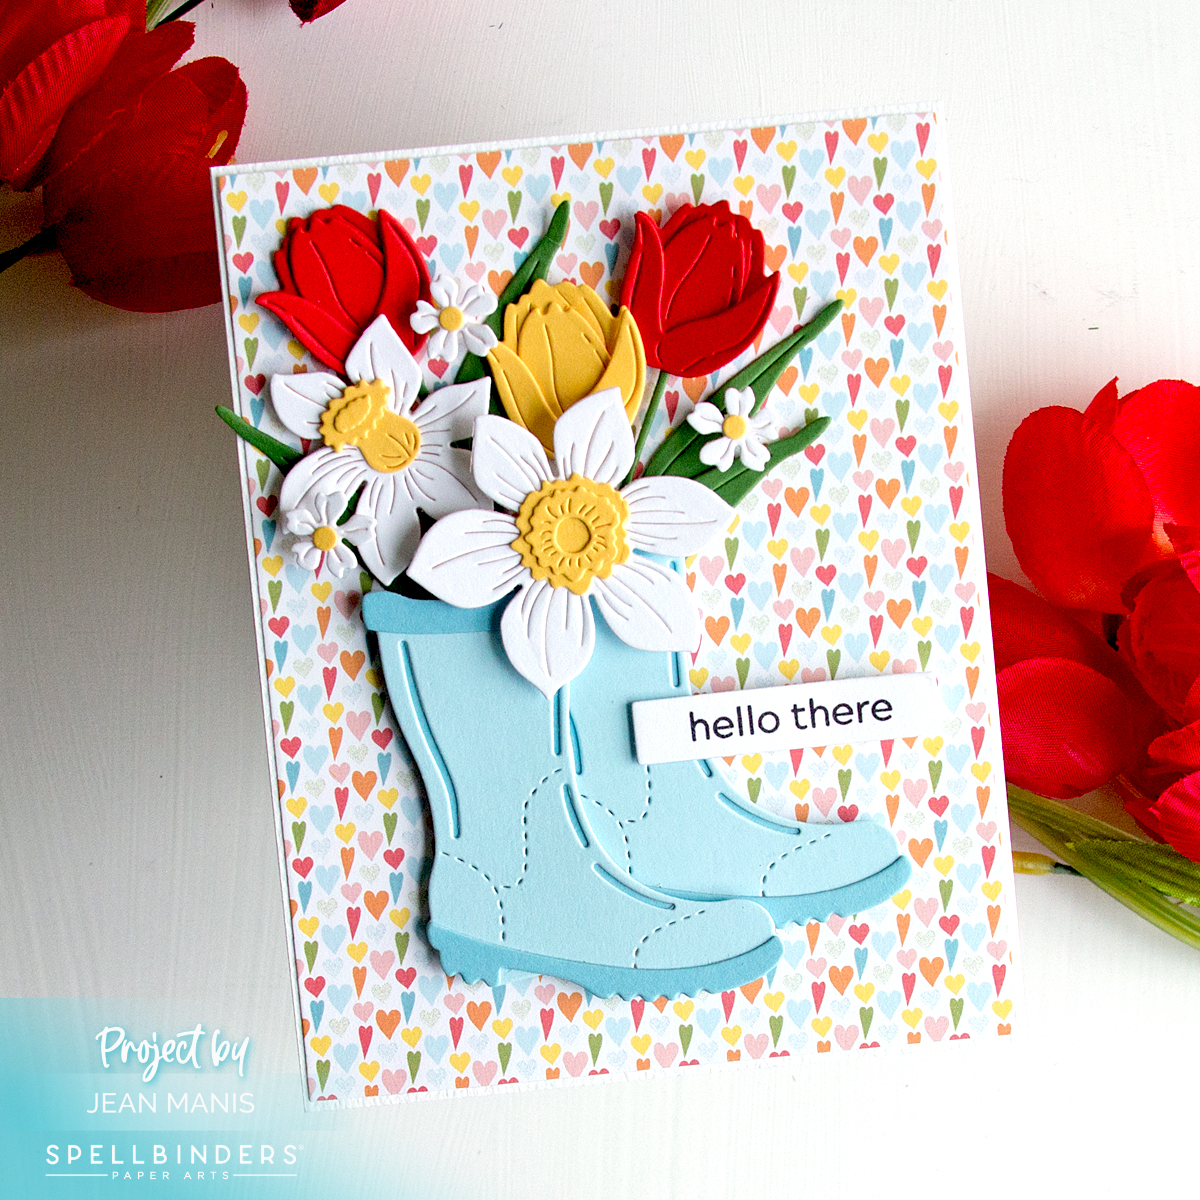
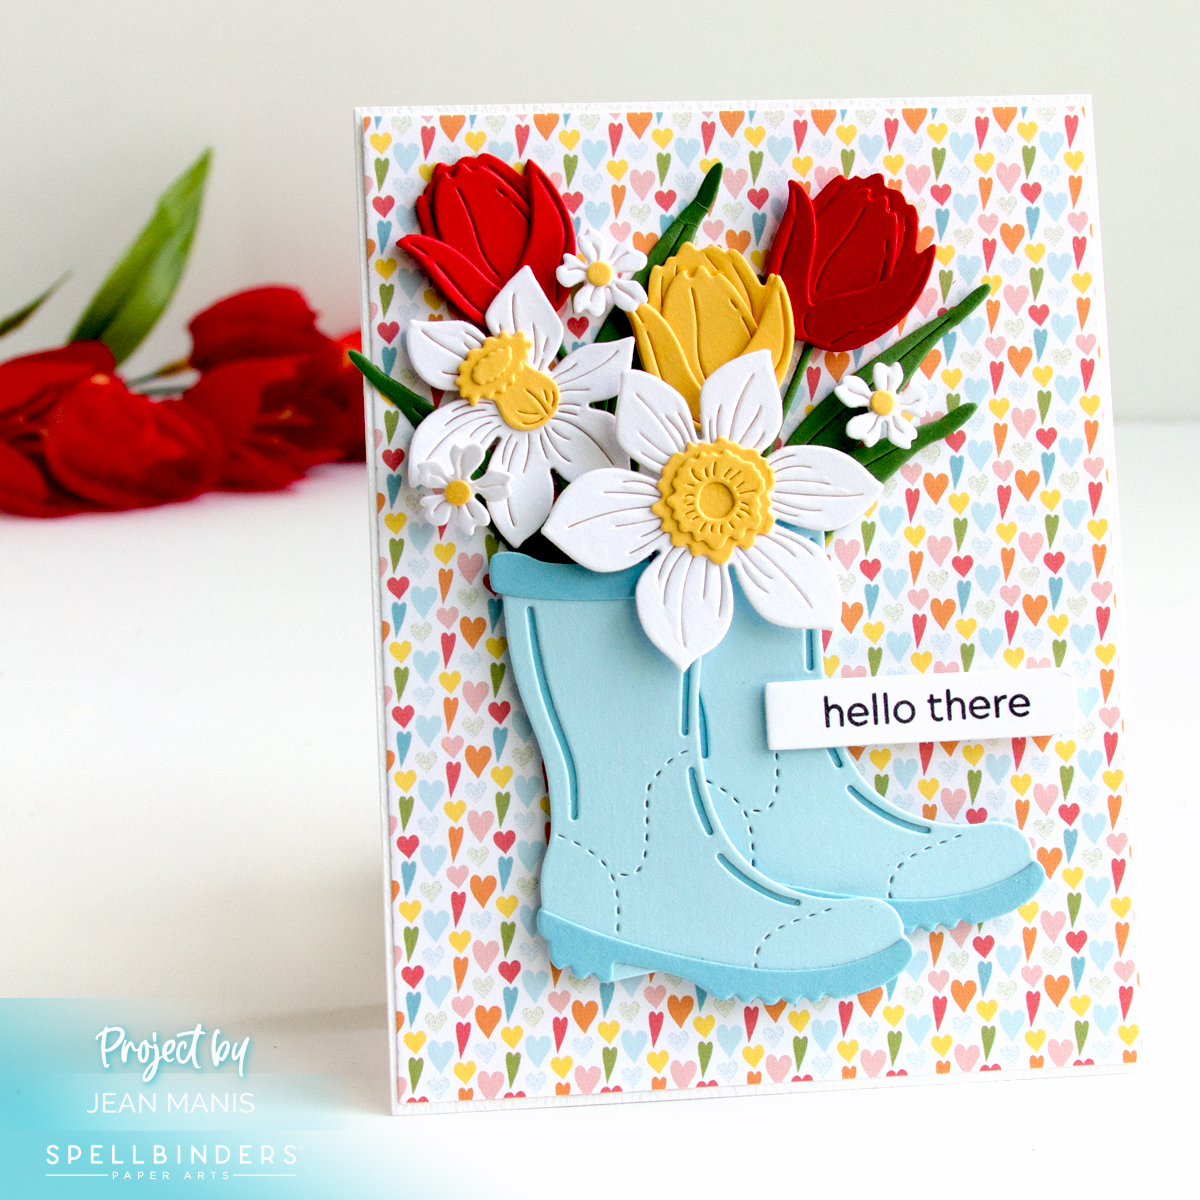
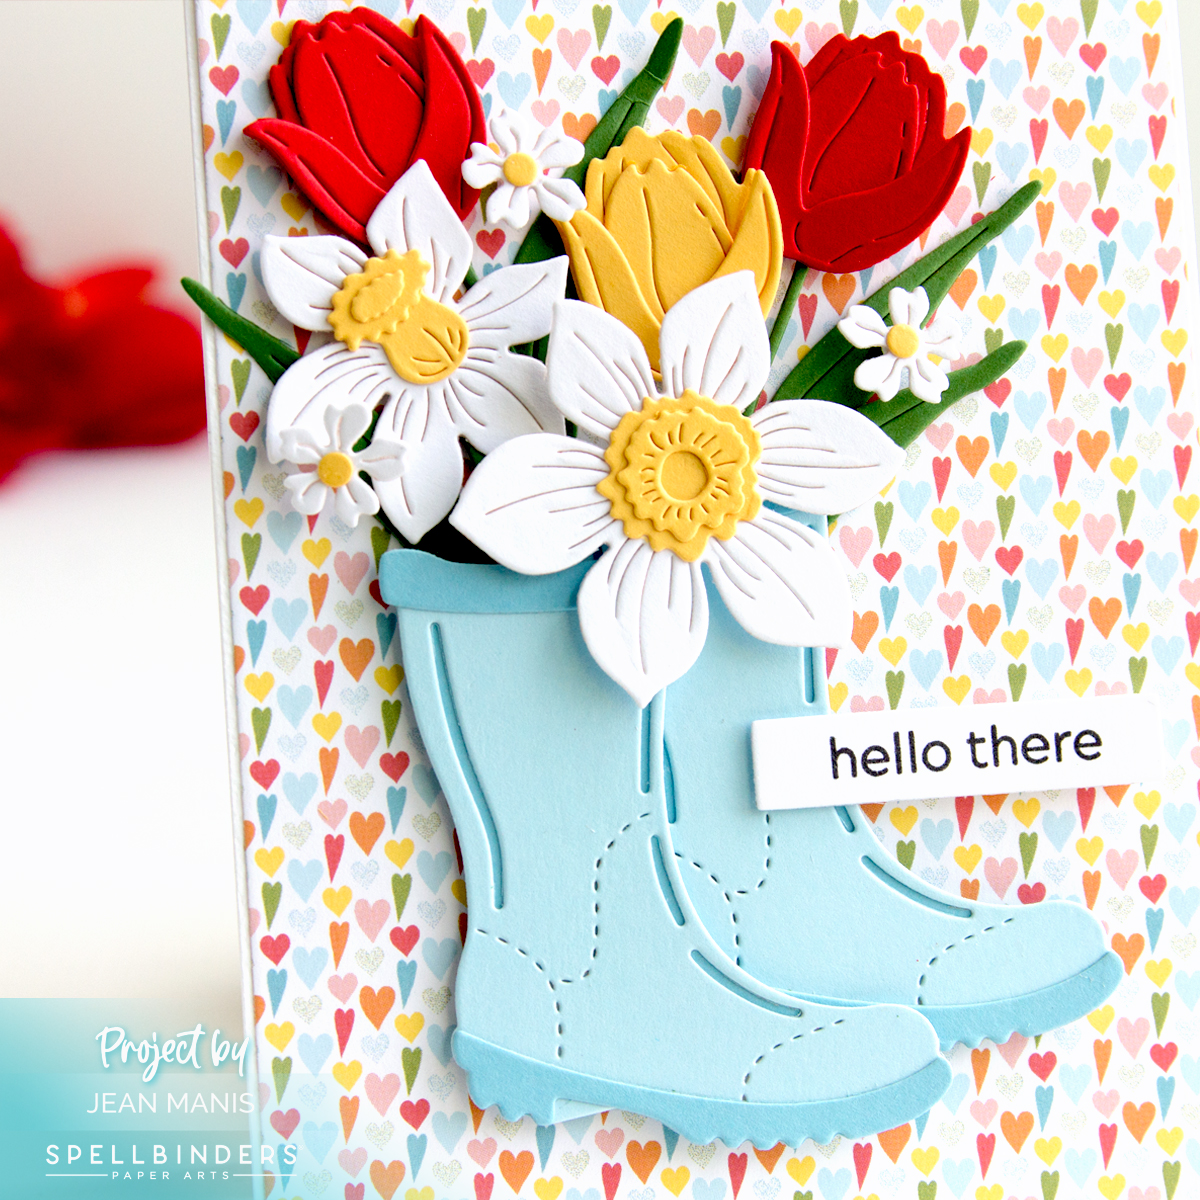
Hello! Today, I am sharing a friendship card, featuring a charming pair of rain boots and an array of exquisite floral elements, created with the Spellbinders February 2024 Small Die of the Month Club Kit – “Rain Boot Bouquet.”
-
- To begin, dry-emboss an A2-size panel of Waterfall cardstock with the Tiny Dots folder. Attach to card base.
- With the Small Die of the Month Club Kit set, cut boots, foliage, and greenery. Assemble.
- Use the BetterPress System to create the sentiment in Black ink on Snowdrift cardstock with the Always and Forever Sentiment set. Use the coordinating die to cut.
- Add sentiment to the card from with dot adhesive.
- Add boots to the card front with foam adhesive.
- Fill boots with greenery and floral pieces.
Spellbinders | Floral Bunny Basket
Hello! Dive into the Easter spirit with the Spellbinders February 2024 Large Die of the Month Club Kit – “Floral Bunny Basket.” The card, created with the 18-piece set that includes dies to create a basket, a bunny, carrots, greenery and foliage for a beautiful Easter basket, effortlessly came together.
-
- To begin, dry-emboss a 5″ x 7″ panel of Sea Glass cardstock with the Tiny Dots folder. Attach to card base.
- Cut bunny, basket, carrots, foliage, and greenery with the dies in the Large Die of the Month Club Kit set from a variety of cardstock colors. Assemble.
- Use the BetterPress System to create the sentiment in Clay ink on Snowdrift cardstock with the Always and Forever Sentiment set. Use the coordinating die to cut.
- Use dot adhesive to add the sentiment to the card front.
- Add the assembled basket with the bunny to the card front with foam adhesive.
- Add carrots, foliage, and greenery to the basket; adhere with glue, dot adhesive, and foam adhesive, as required.