Spellbinders | March 2023 Quick & Easy Card Kit

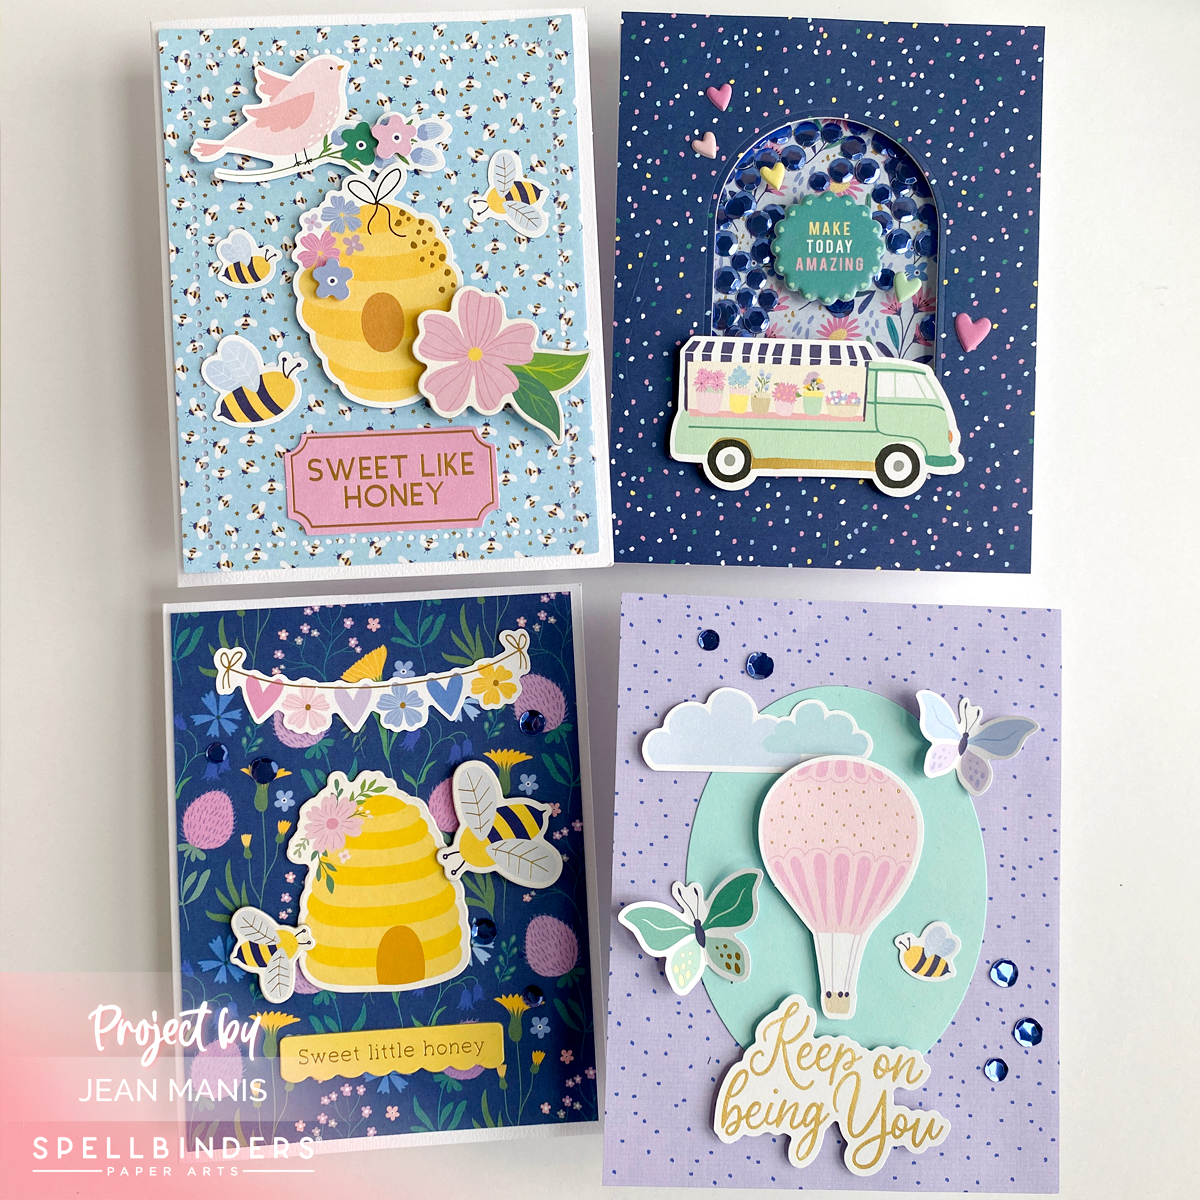
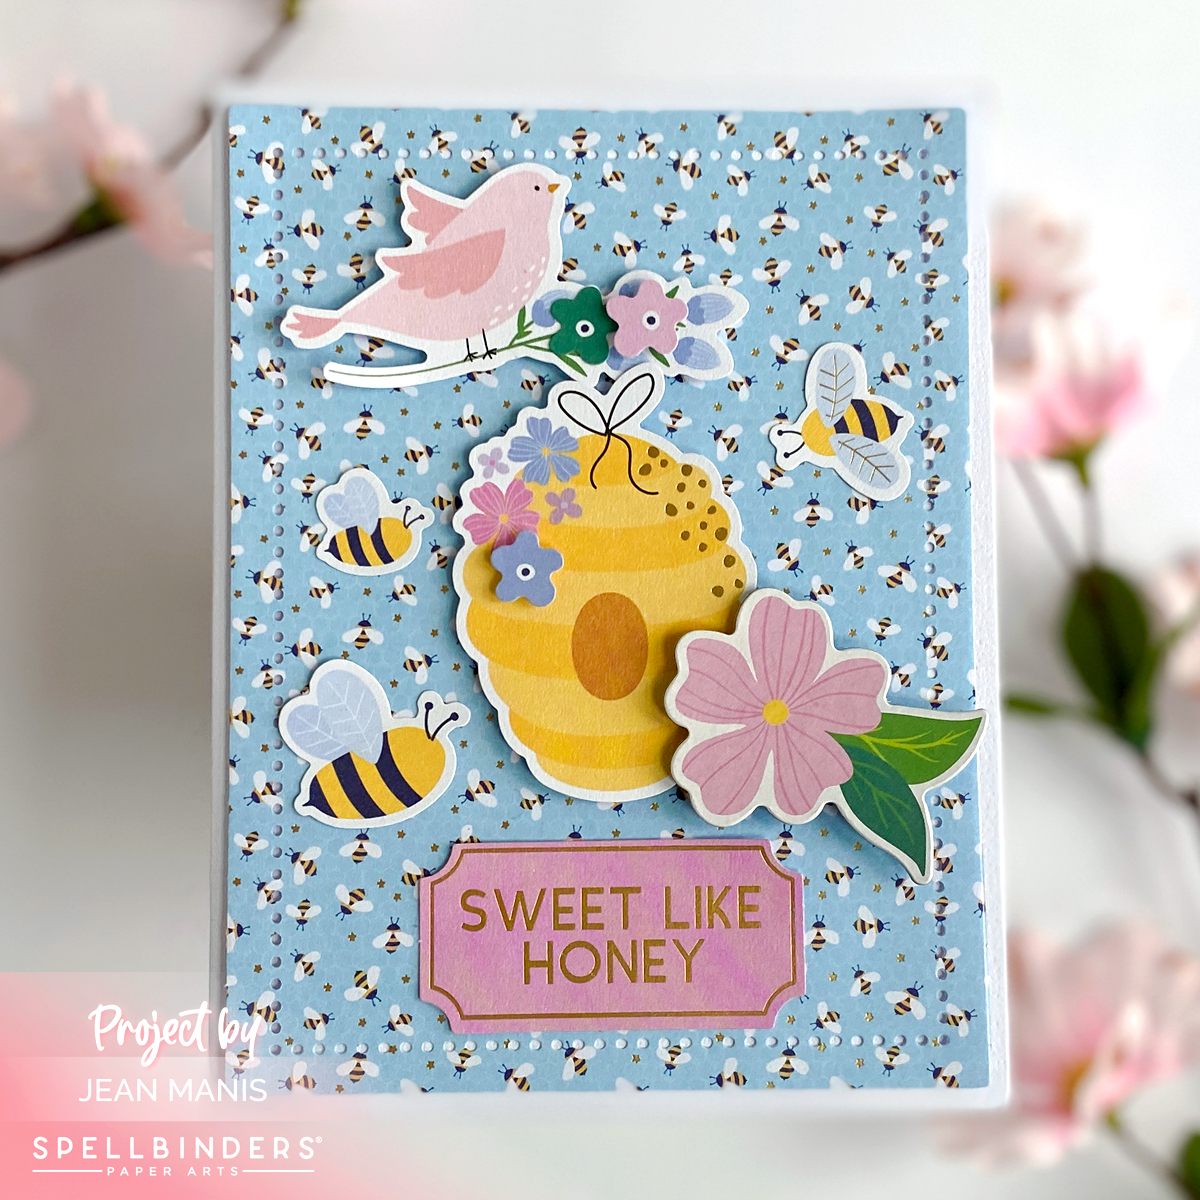
Hello! I am sharing four cards created with the Spellbinders March 2023 Quick & Easy Card Kit of the Month. The “Bee Yourself” kit includes 6×6 patterned paper, die cut shapes, sticker sentiments, embellishments, card bases, sequins, and more!

Add visual interest with the background patterned paper by cutting it with dies in the Essential Rectangles set. The dot pattern adds a delicate border that suits the card theme.
Spellbinders | March 2023 Quick & Easy Card Kit

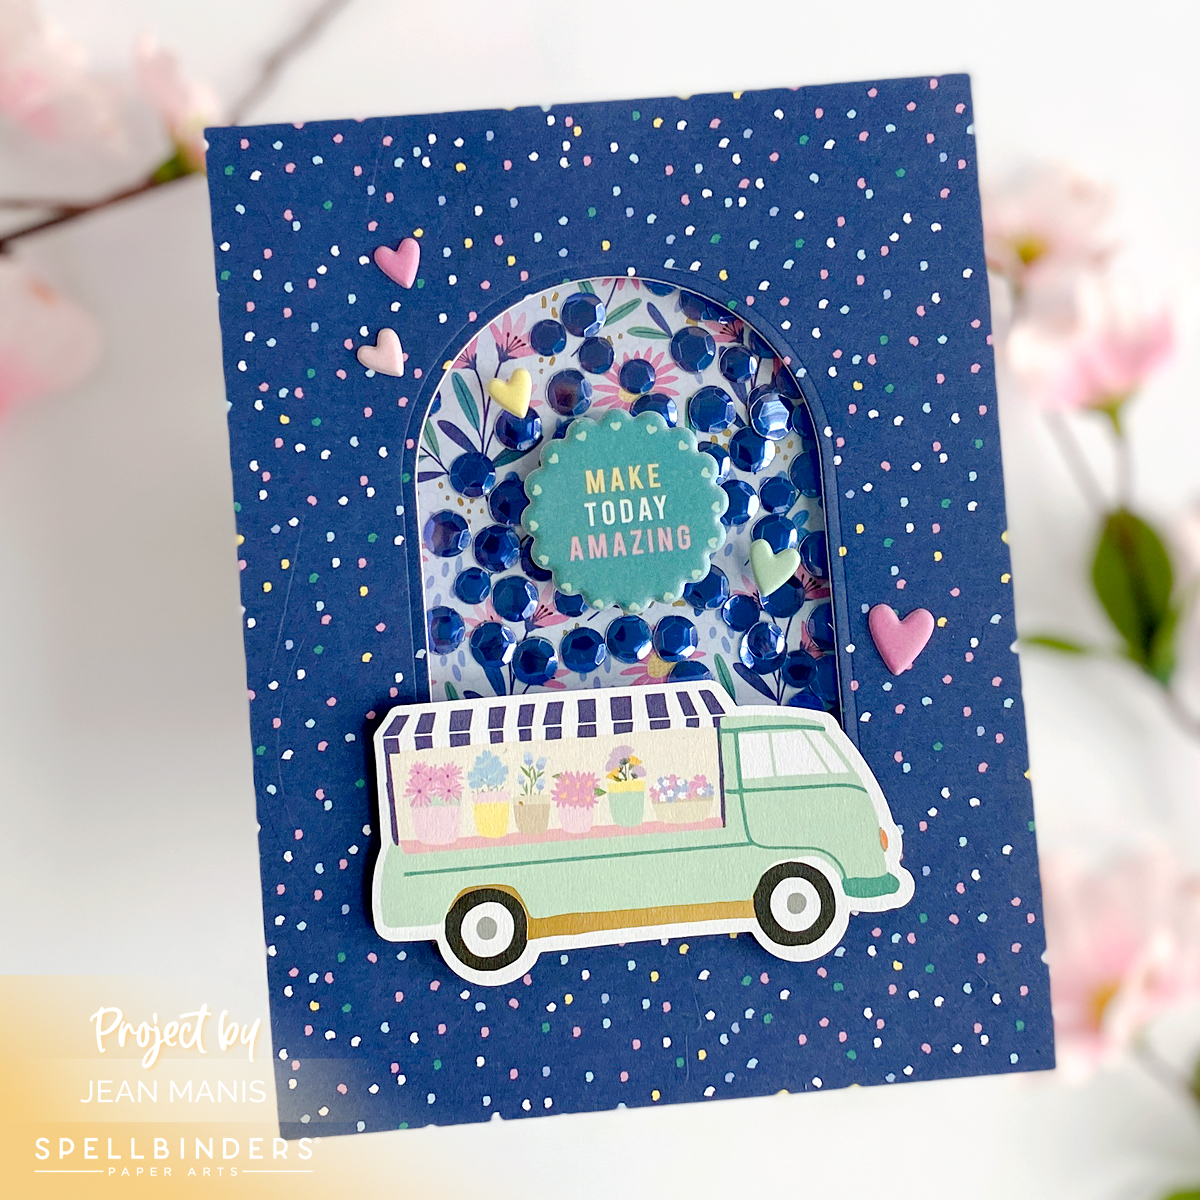
Use the sequins included in the kit for a shaker card. With a die in the Essential Arches set, cut an arch from patterned paper and again from two layers of glitter foam. Sandwich the assembly with a sheet of acetate between the patterned paper on the front and the foam. Back the assembly, after adding the sequins, with patterned paper and a card base. Affix elements to acetate and the card front.
Spellbinders | March 2023 Quick & Easy Card Kit

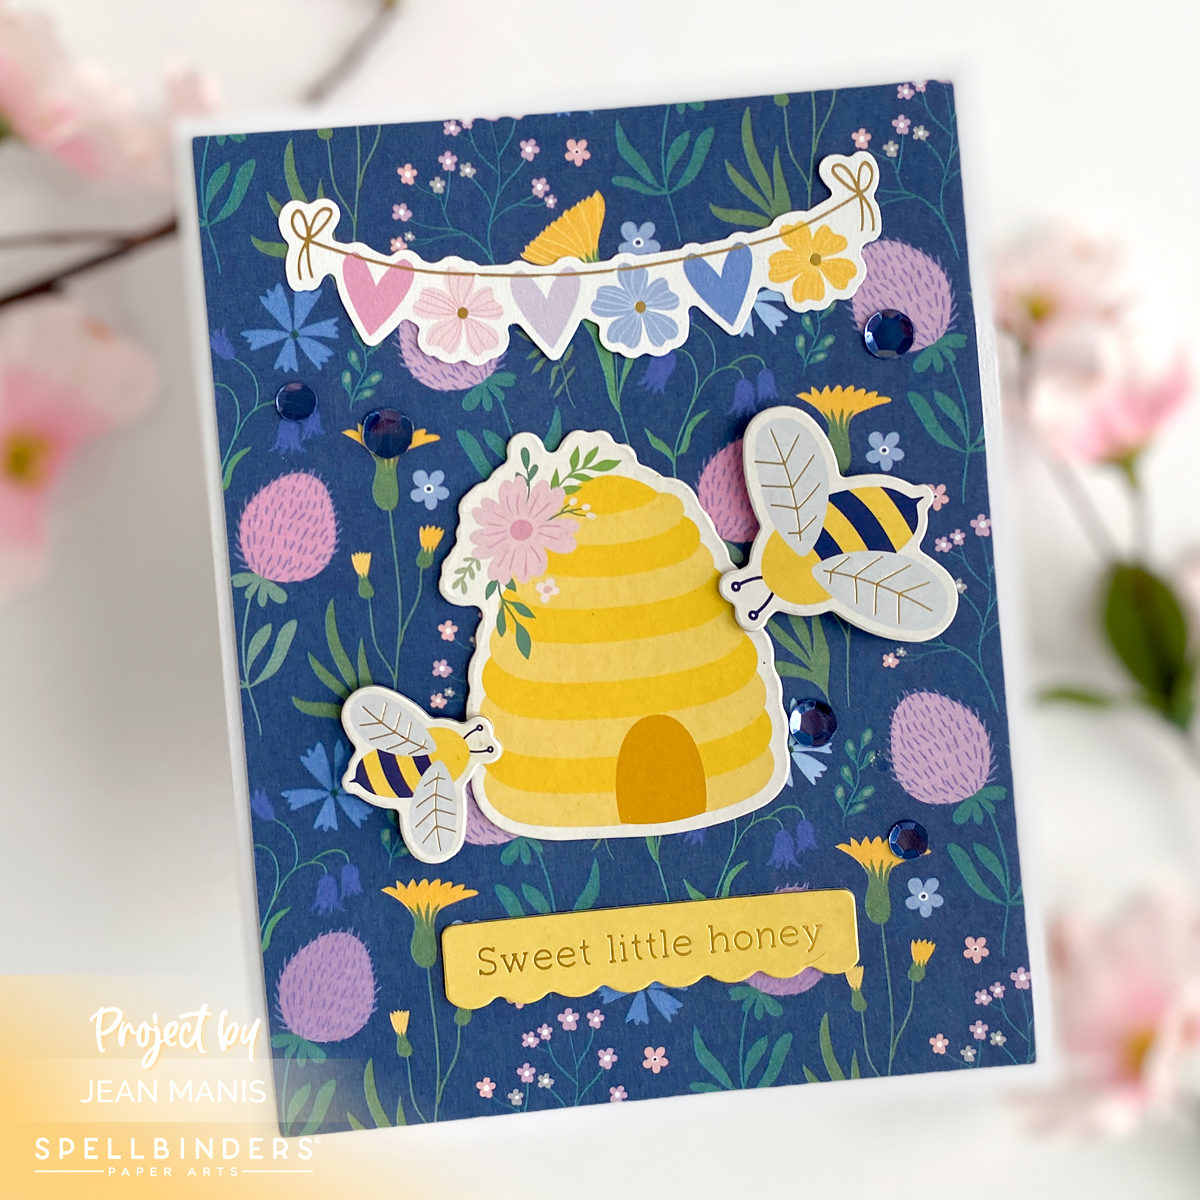
Add sequins as an embellishment for visual interest.
Spellbinders | March 2023 Quick & Easy Card Kit

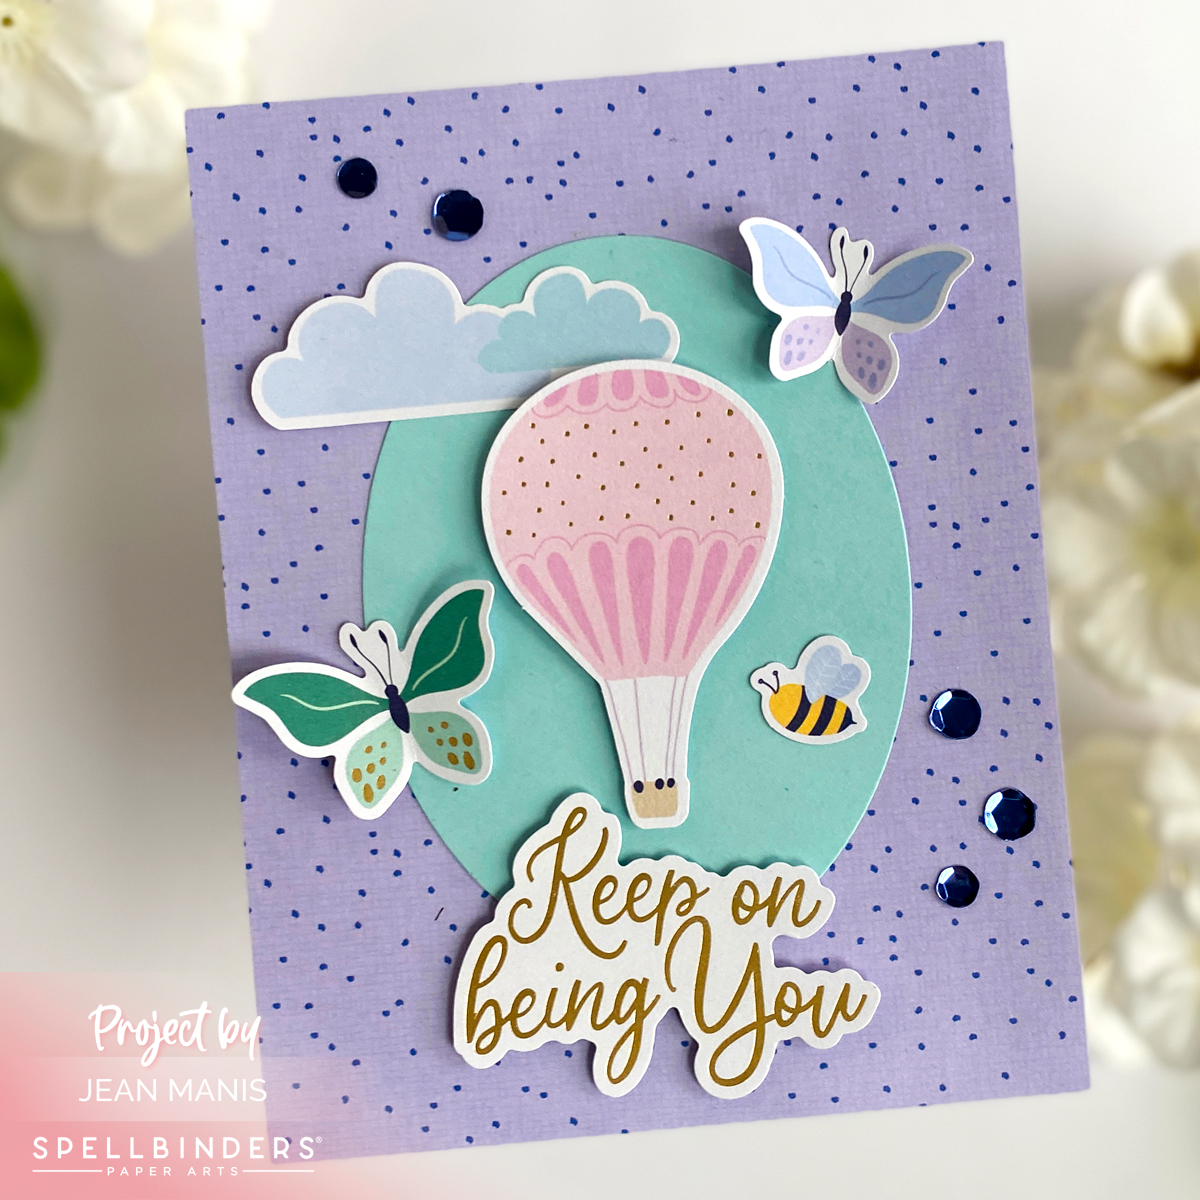
With a die in the Essential Ovals set, cut an oval from cardstock included in the kit to ground the focal elements against the patterned paper background.
Spellbinders | March 2023 Quick & Easy Card Kit


Spellbinders | March 2023 Large Die of the Month

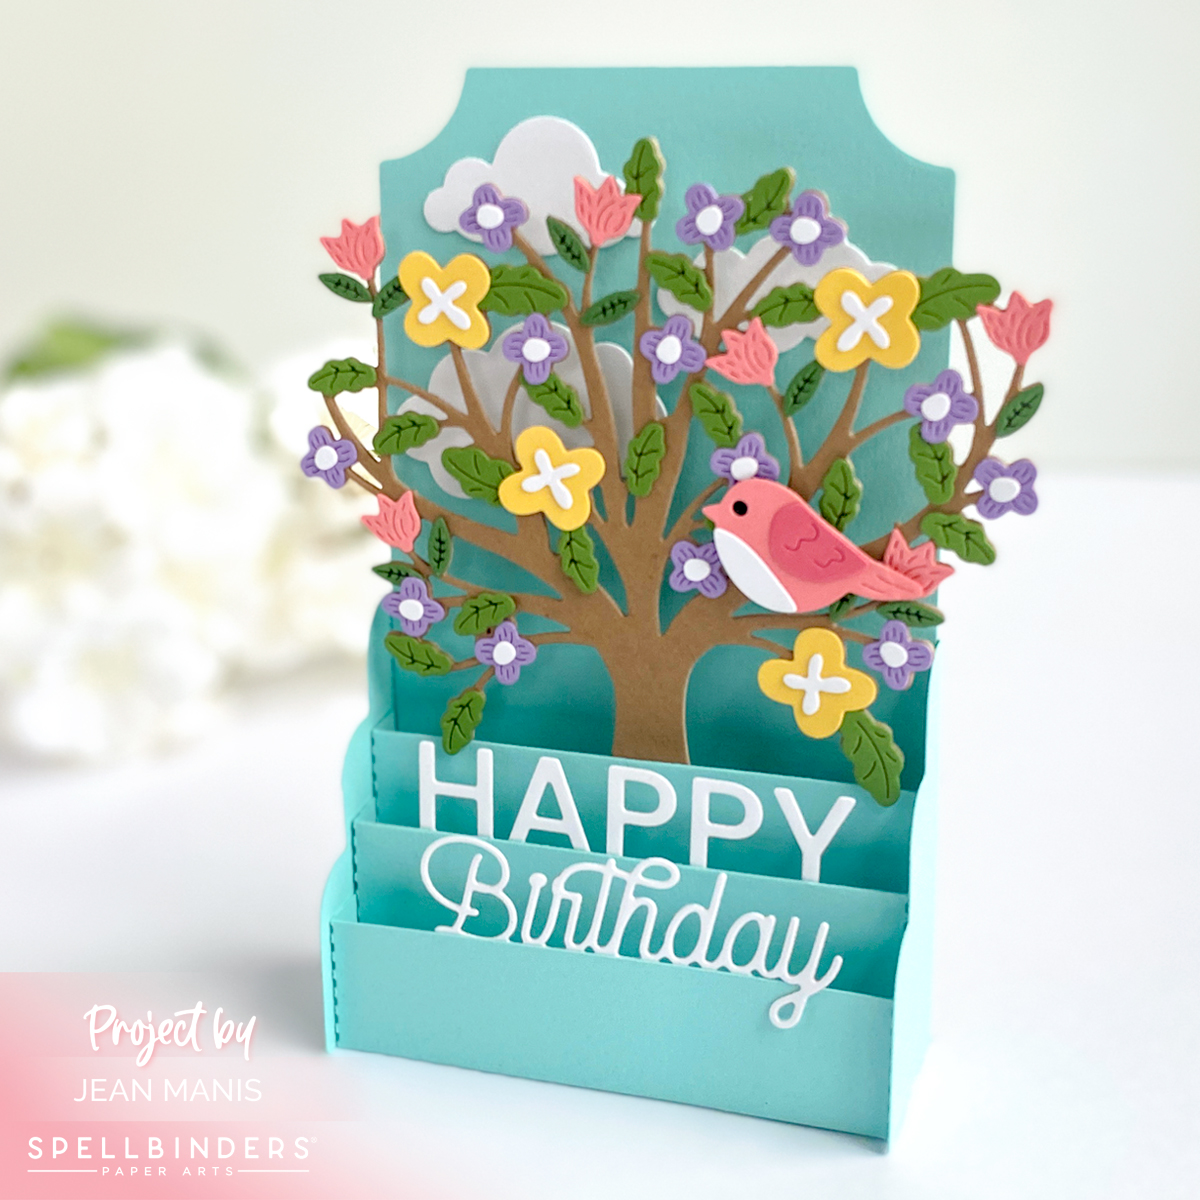
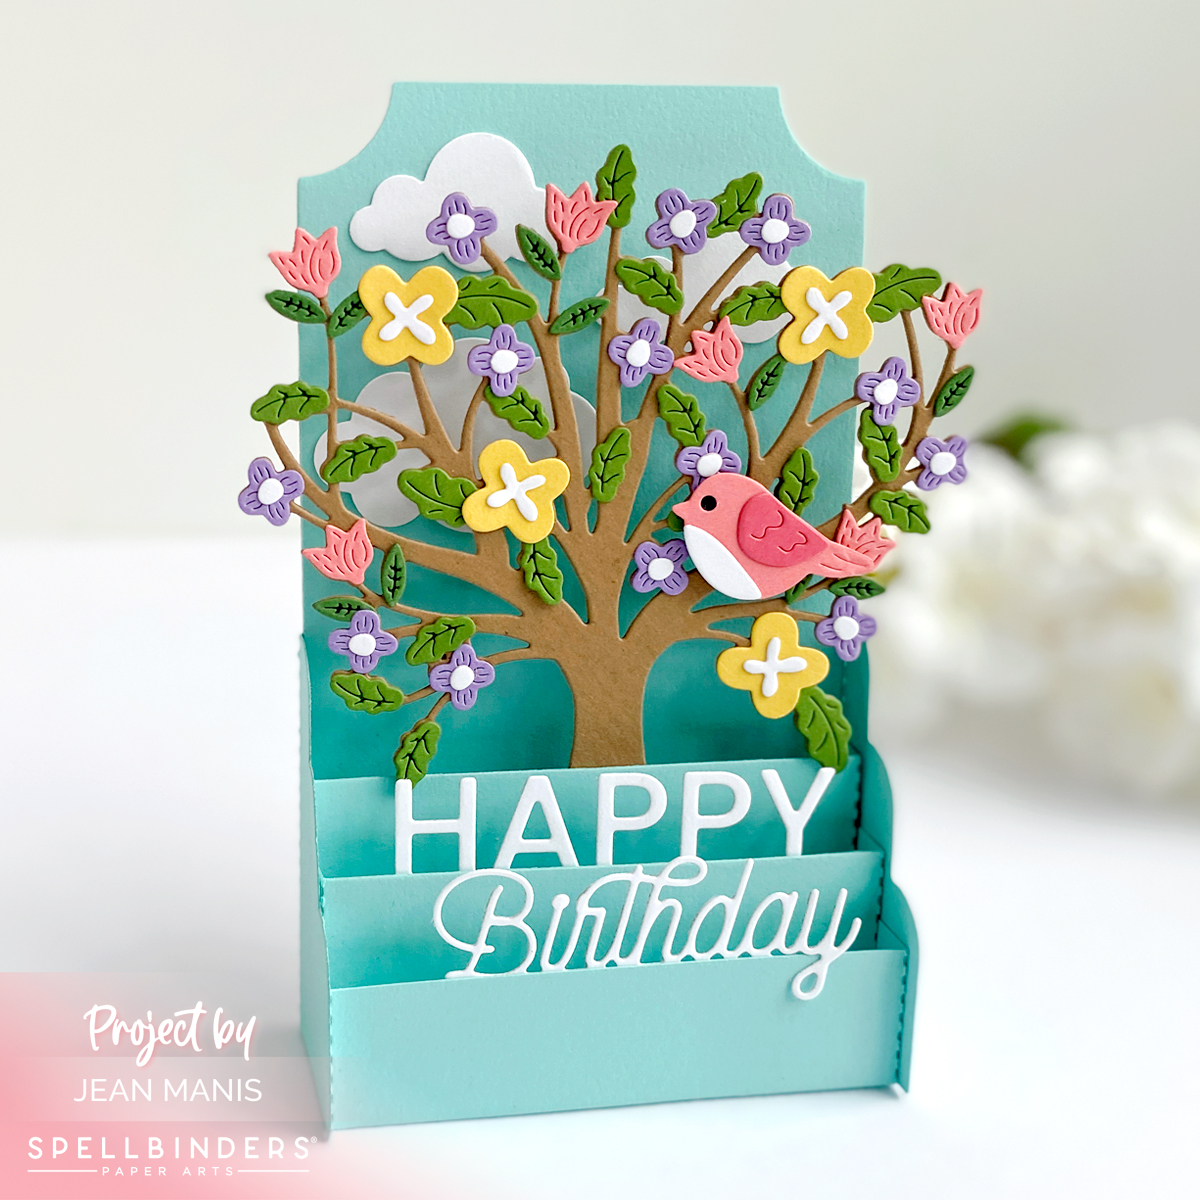
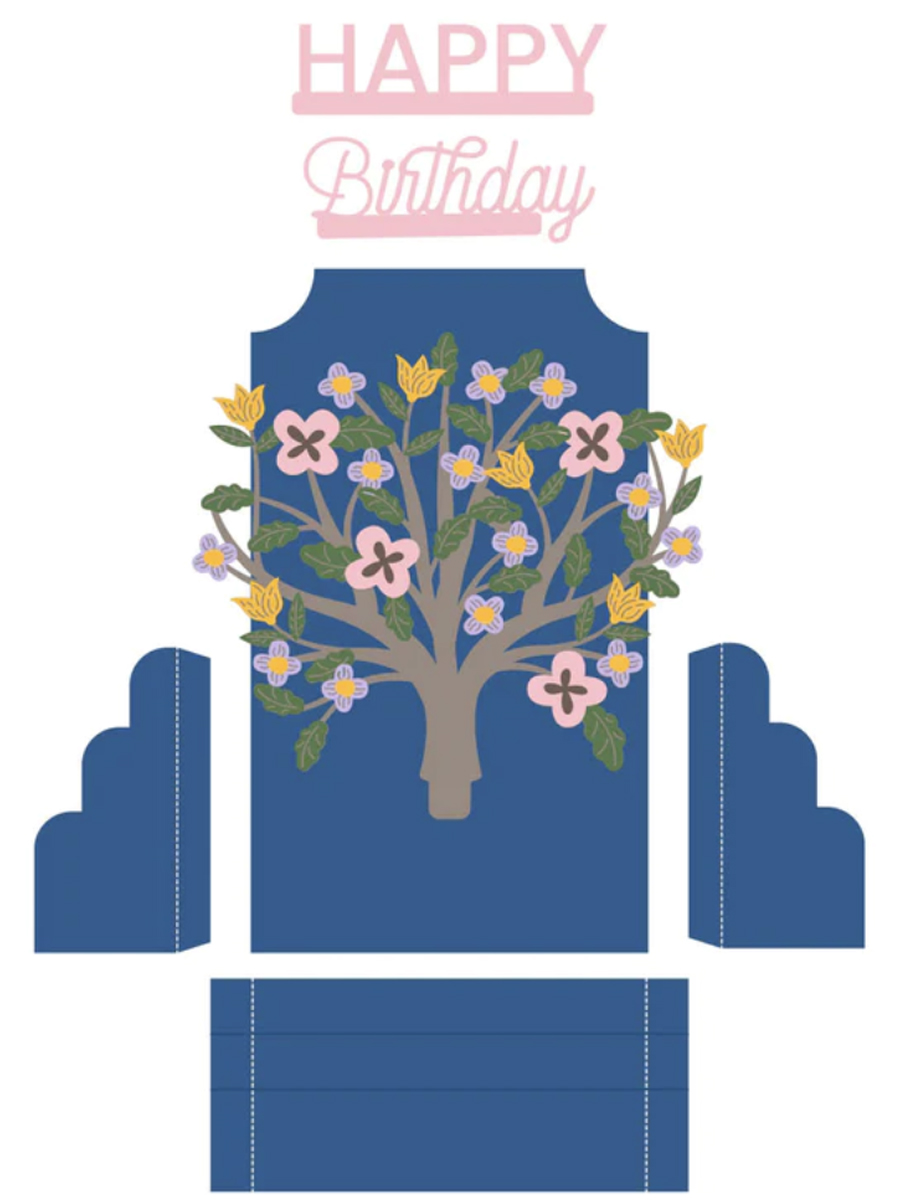
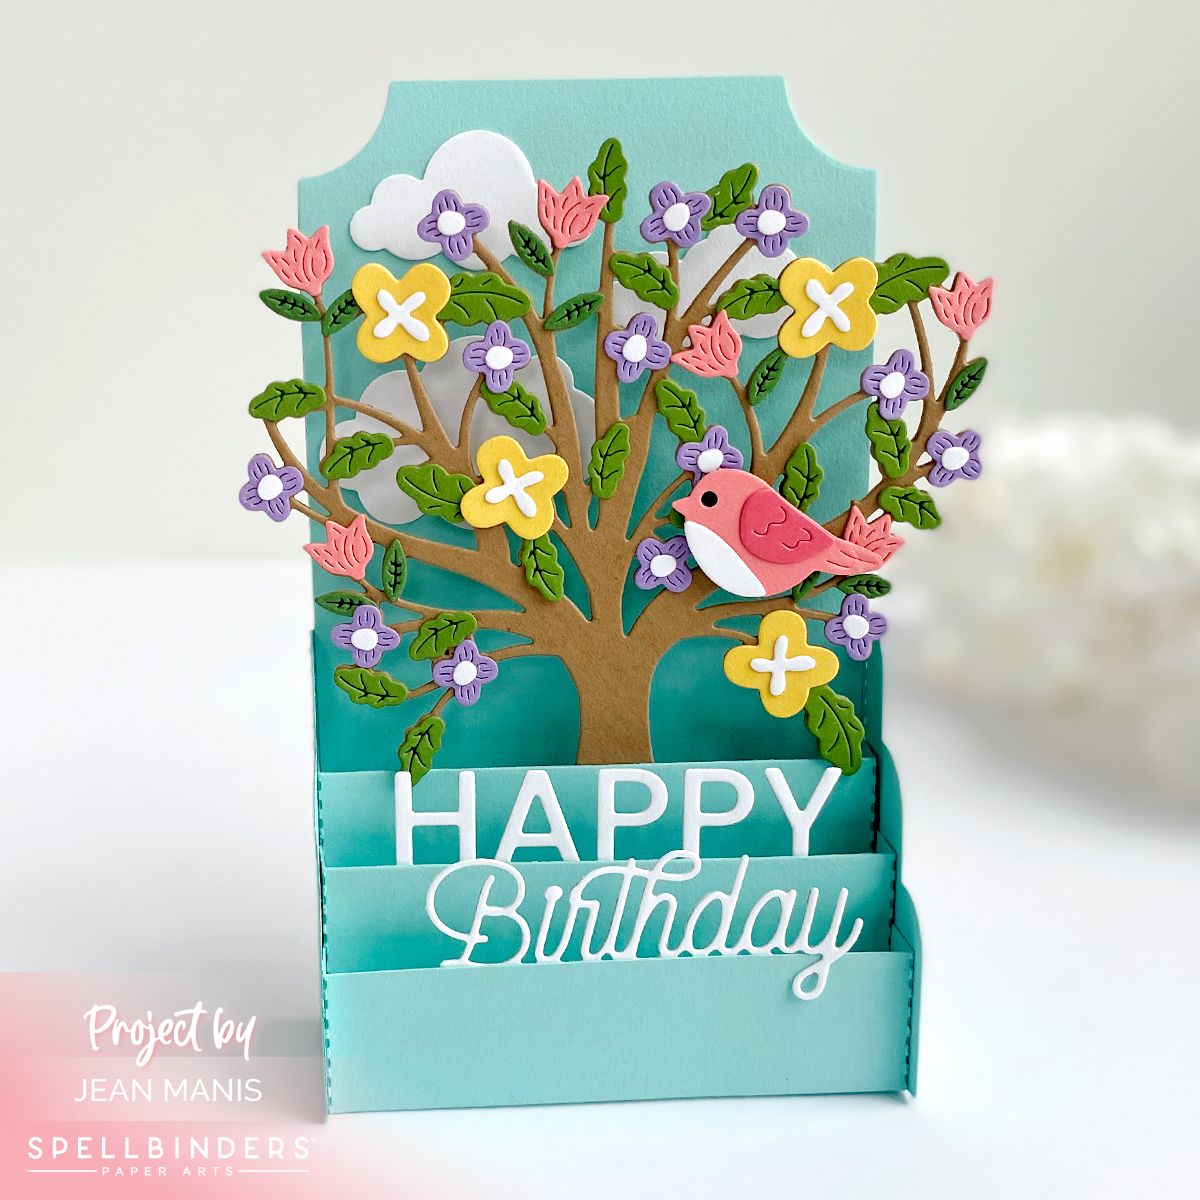
Hello and happy March! I feel a sense of relief when we get to March, as in spring is on its way. Today, I am sharing a three-dimensional birthday card (that collapses for mailing) created with the Spellbinders March 2023 Large Die of the Month “Flowering Tree” set. While I have shown a 3D card, the set can just as easily be used for a 2D card showcasing the beautiful tree.

Spellbinders | March 2023 Large Die of the Month

Spellbinders | March 2023 Large Die of the Month

  • With the Large Die of the Month set, cut the tree, leaves, and flowers from a variety of cardstock colors. Assemble and set aside. (Note: I used spring colors for the blooms; the colors can easily be changed for the summer season.) Cut sentiment pieces from Snowdrift cardstock.
  • Using dies in the Large Die of the Month set, cut the base from Waterfall cardstock and assemble.
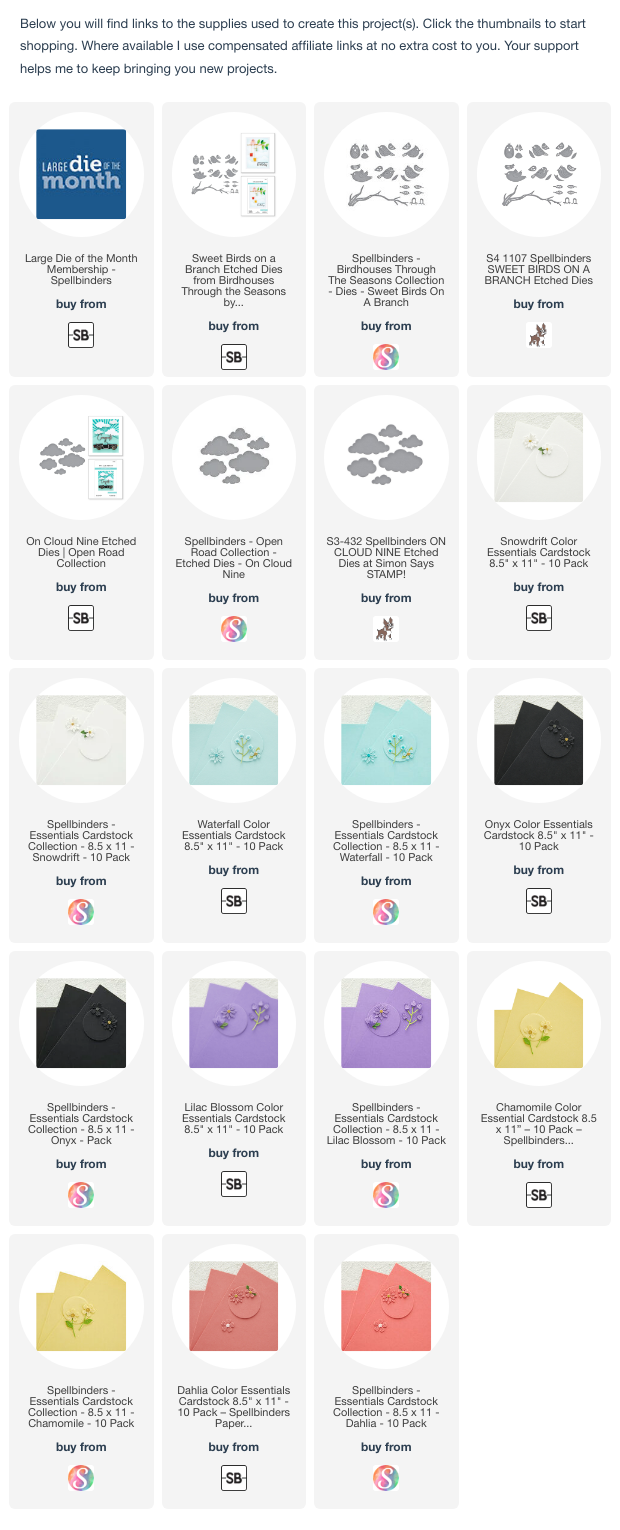
  • Cut clouds from Snowdrift cardstock with dies in the On Cloud Nine set. Add for the background to the tree.
  • Attach tree and sentiment to card base. Embellish with bird cut using the Sweet Birds on a Branch set.

Spellbinders | March 2023 Large Die of the Month


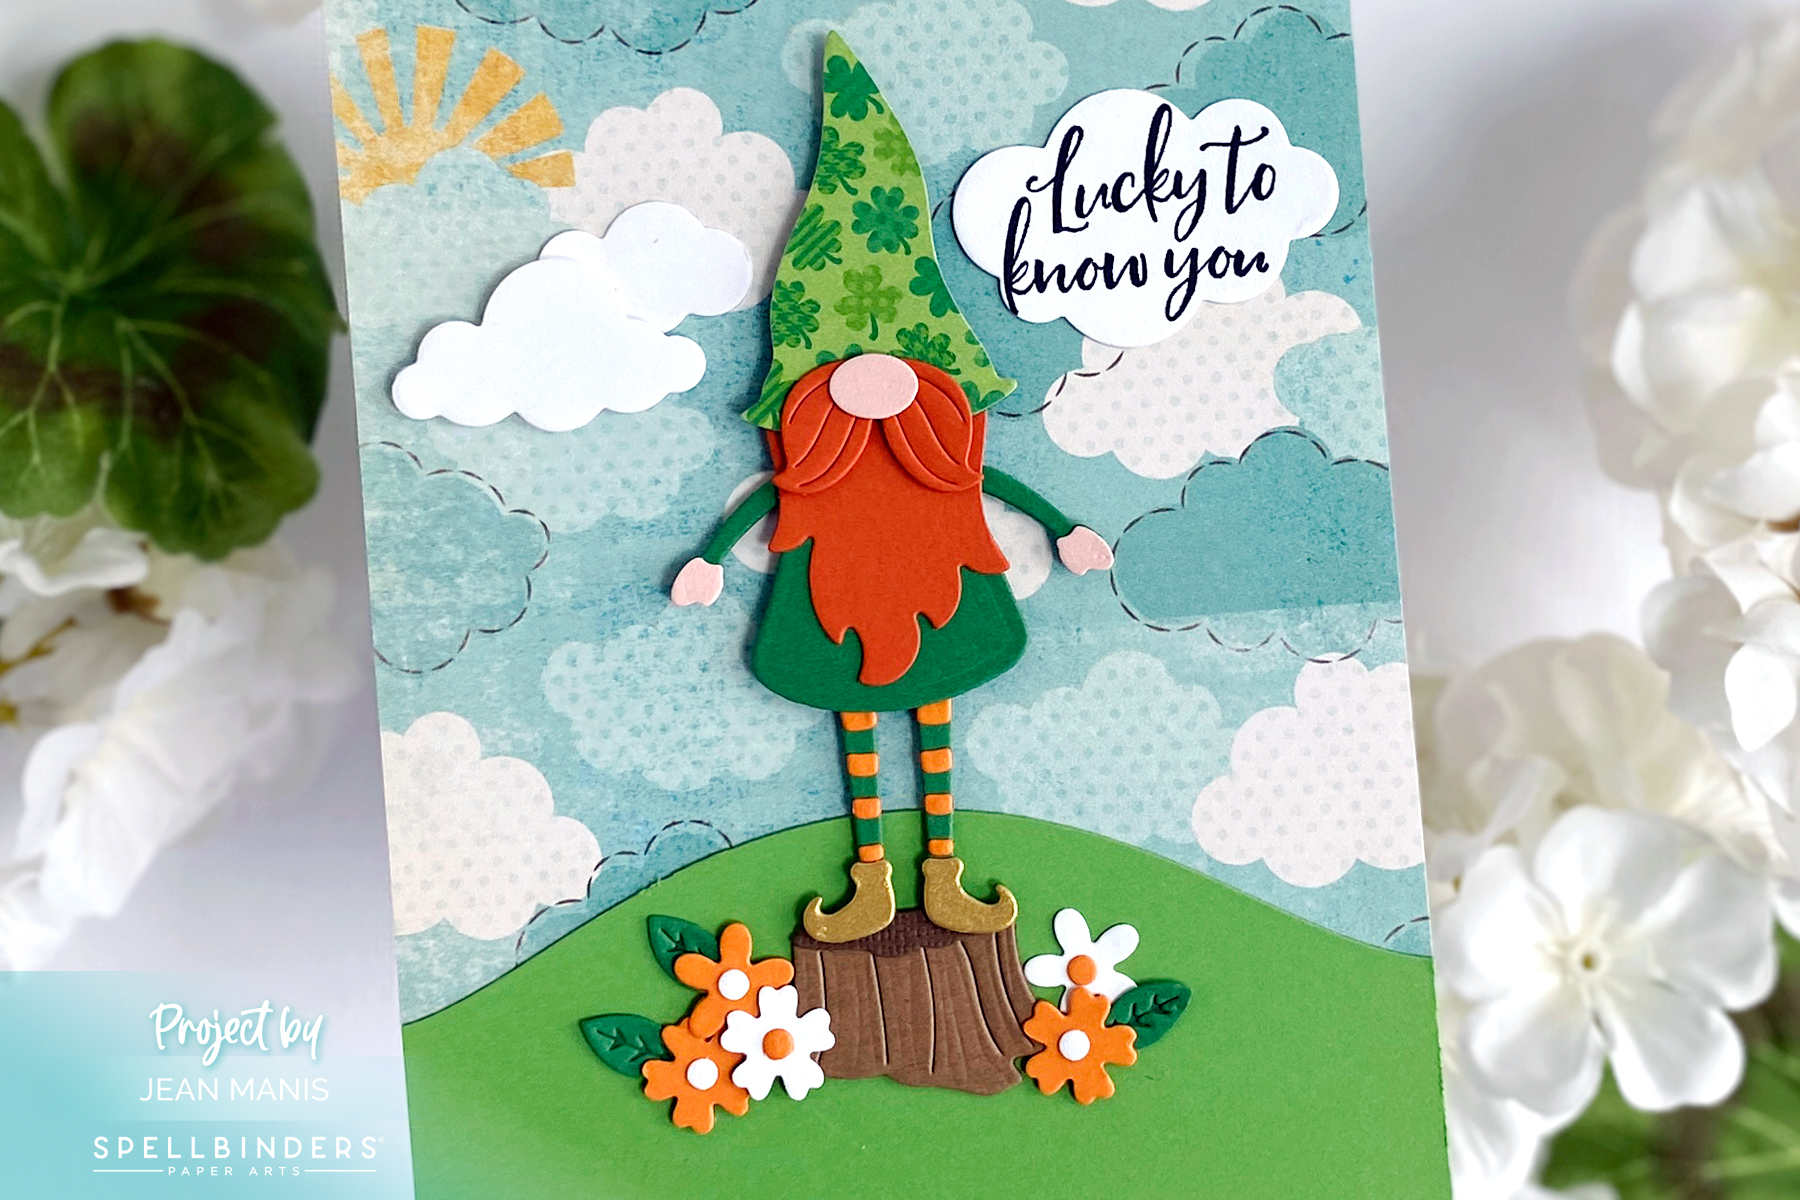
Spellbinders | Lucky Leprechaun

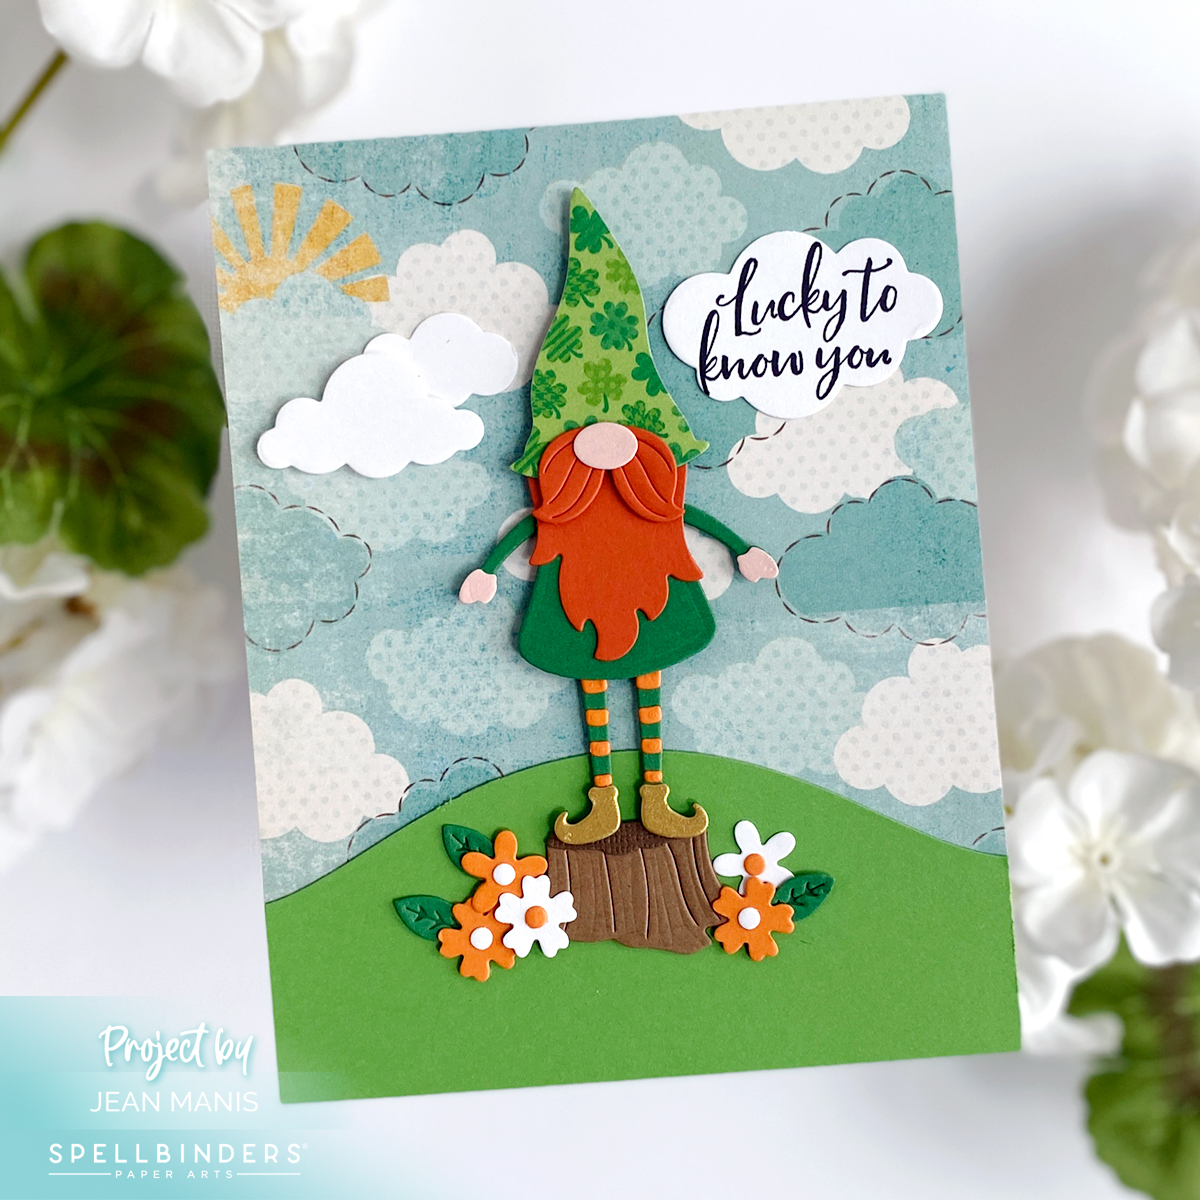
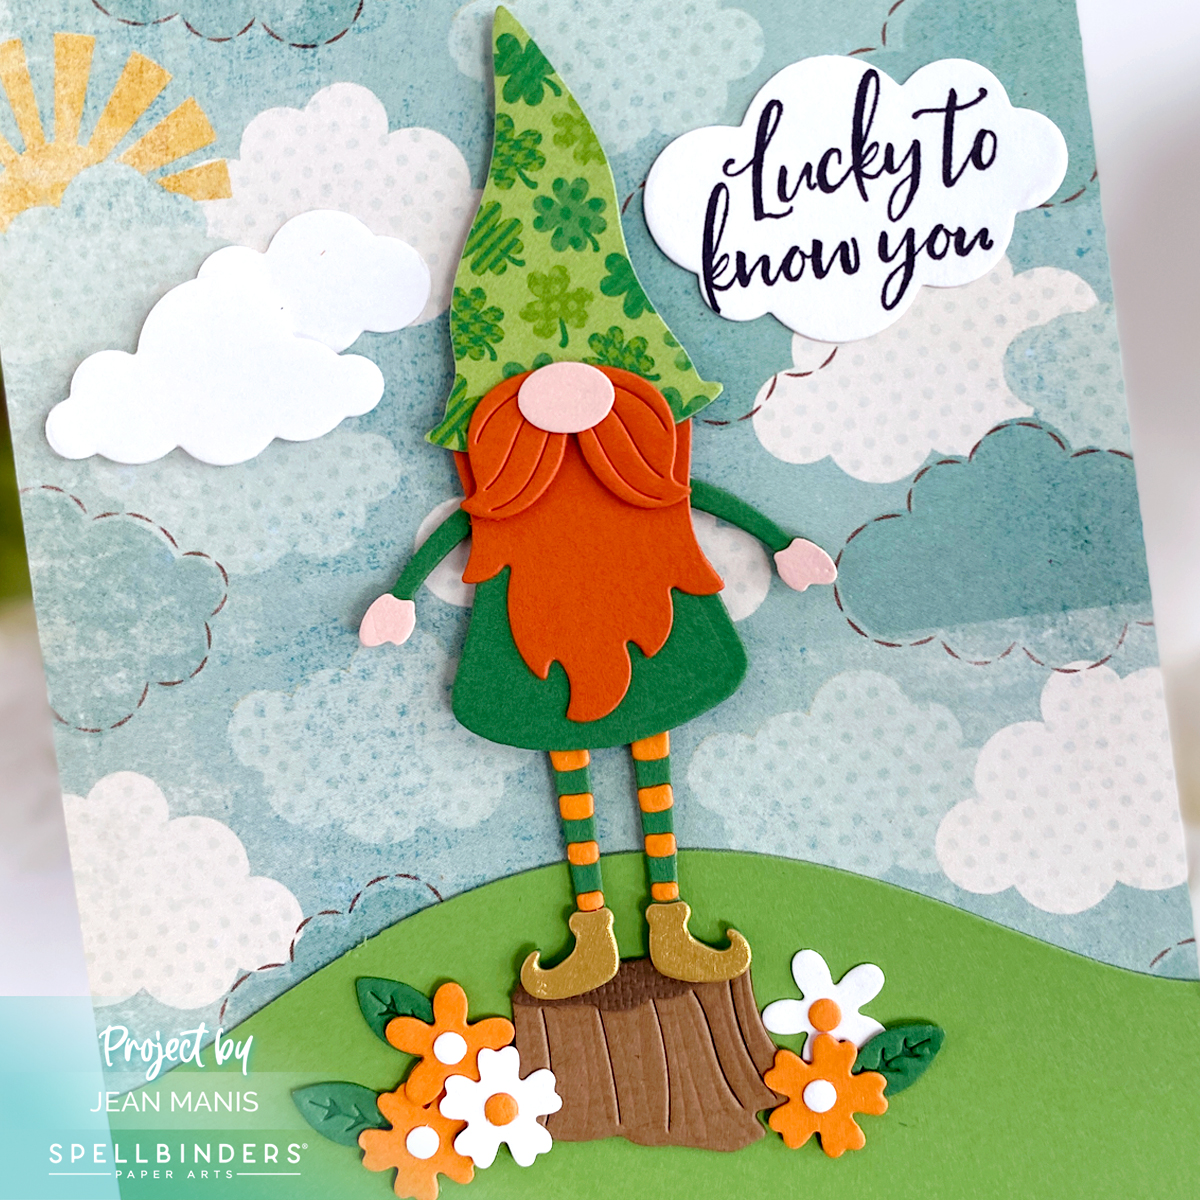
Hello! Today I am sharing a friendship card with a Saint Patrick’s Day theme showcasing a leprechaun gnome created with the Spellbinders Dancin’ Gnome set.

Spellbinders | Lucky Leprechaun

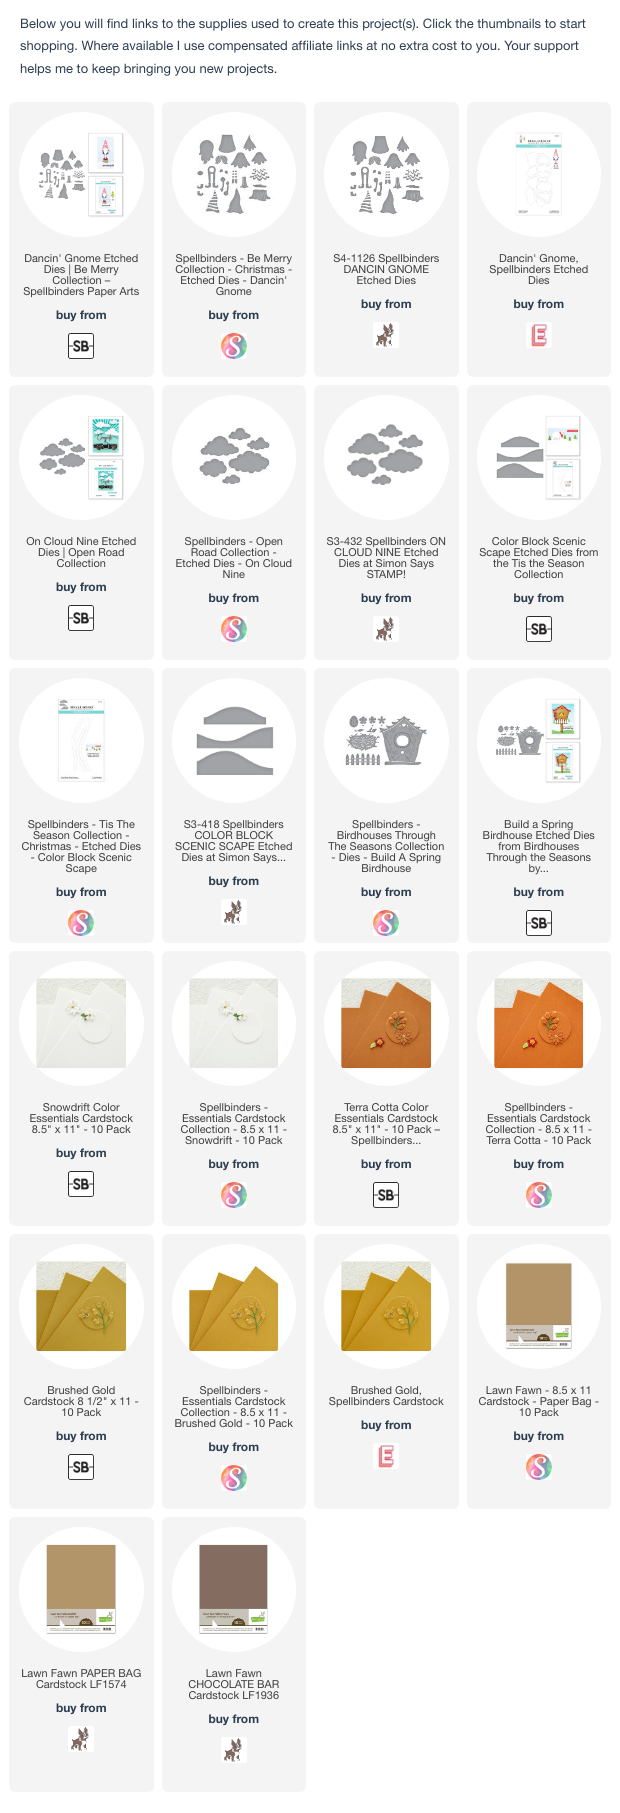
  • Create background by cutting hill from green cardstock with the Color Block Scenic Scape die set and attaching to patterned paper; trim. Adhere to A2-size card base.
  • Cut Dancin’ Gnome pieces from a variety of cardstock colors and patterned paper; assemble. Add to card background.
  • Stamp sentiment on Snowdrift cardstock and cut with one of the On Cloud Nine dies. Use same set to cut additional clouds. (I used a now-retired Spellbinders stamp set; Many Greetings set has a similar sentiment.) Add clouds to scene.
  • Embellish scene with flowers and leaves cut using dies in the Spring Birdhouse die set.

Spellbinders | Lucky Leprechaun

Now through Thursday, Scrapbook.com is offering free shipping on orders over $85 with code FEB85 (Expedited and International $8 off $85 with code FEBSAVE8).

Scrapbook.com Free Shipping Offer


Spellbinders | Add to Cart Too

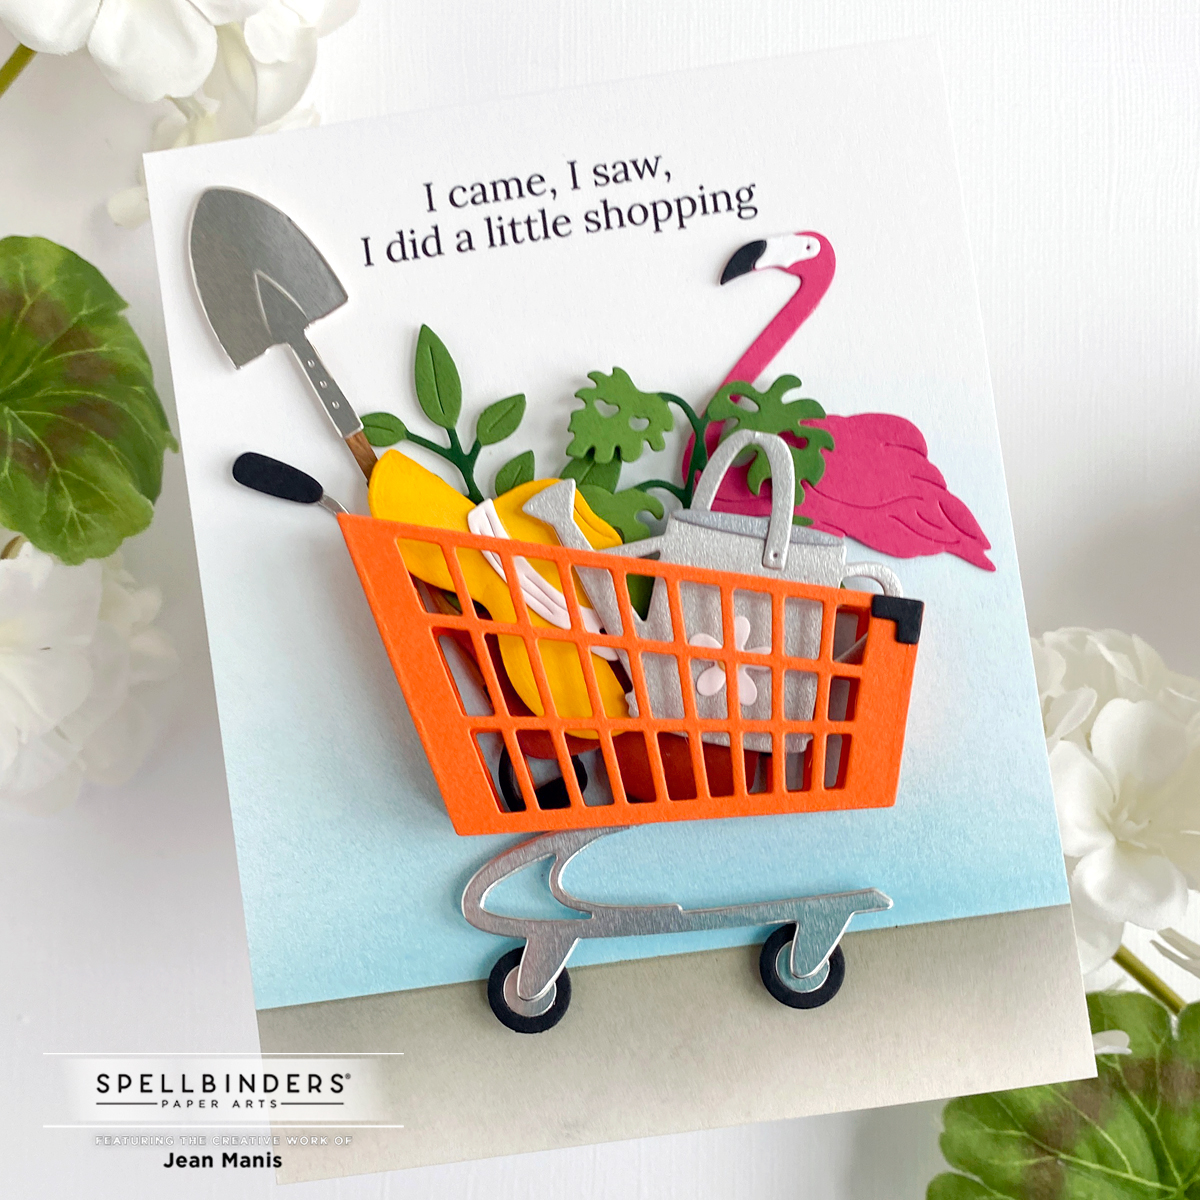
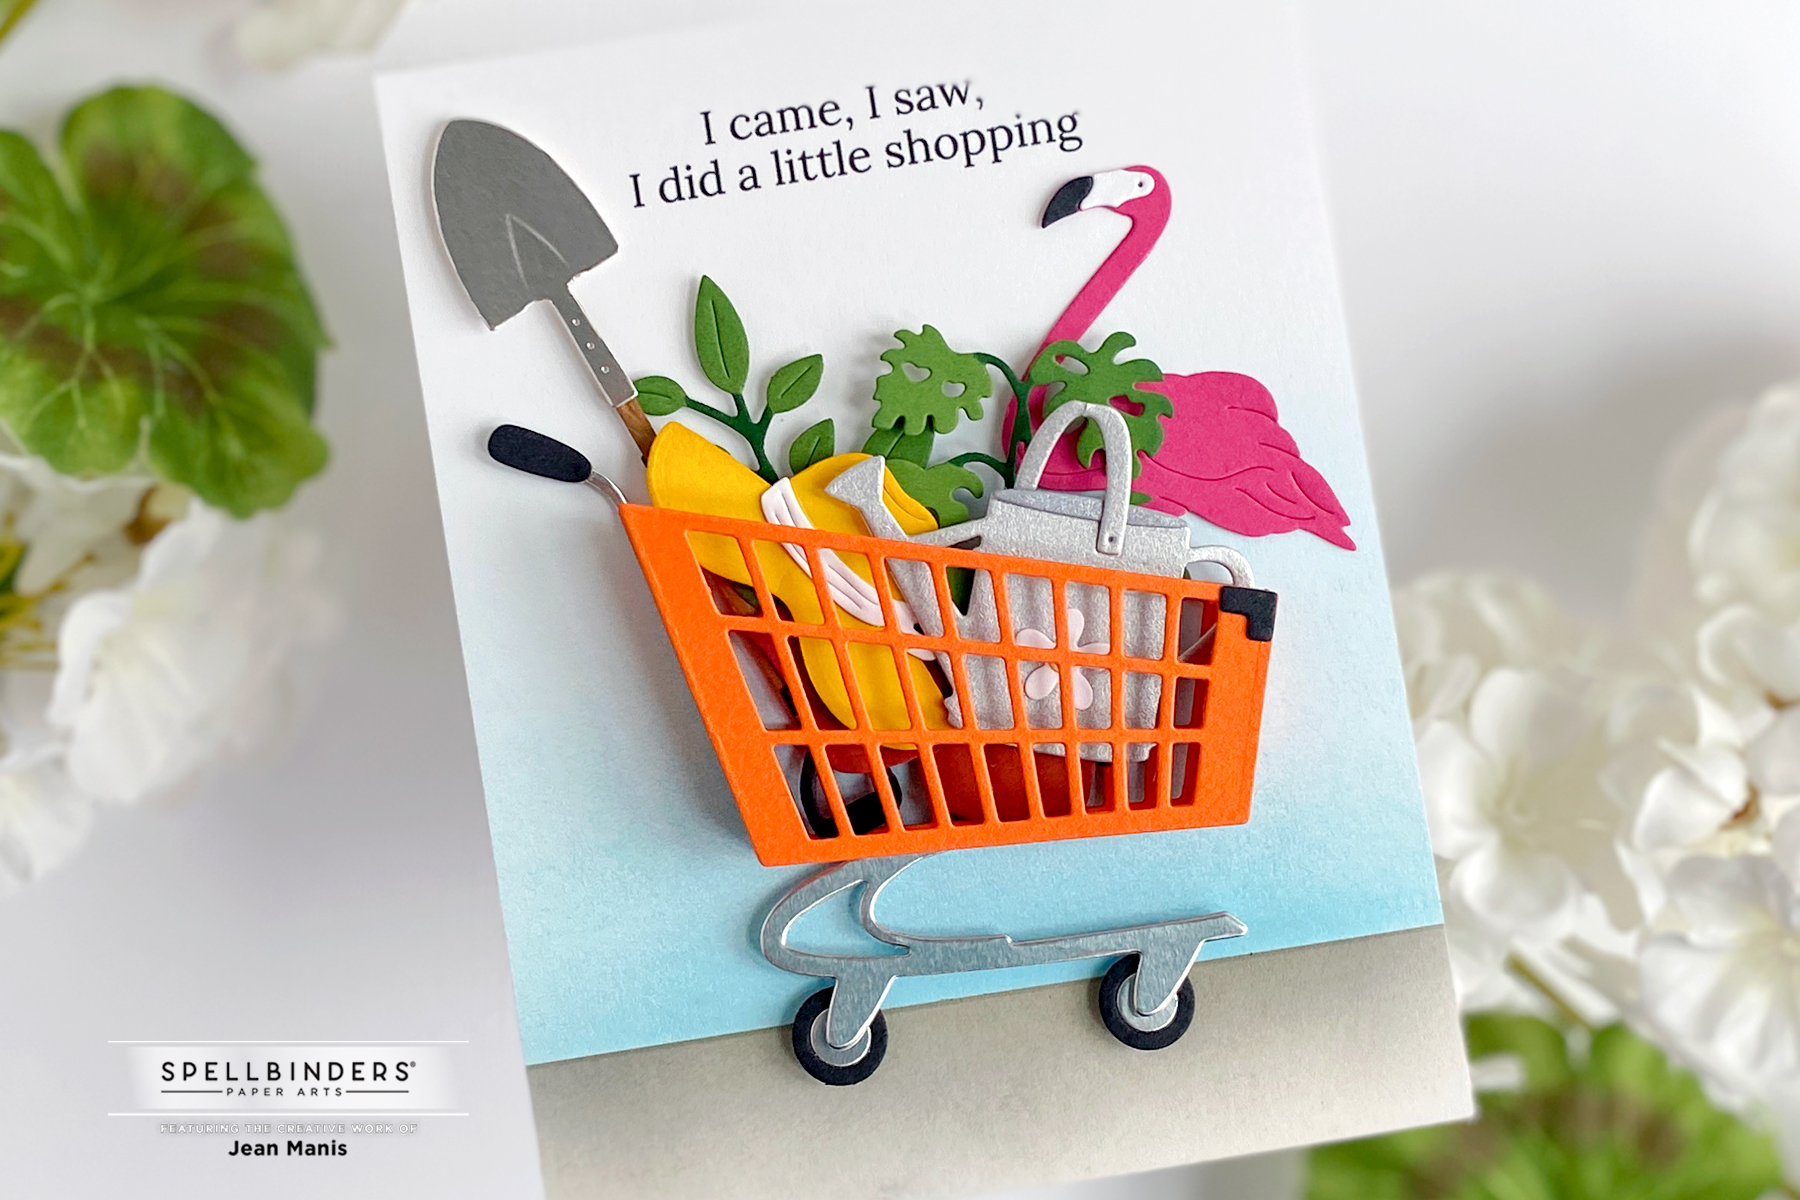
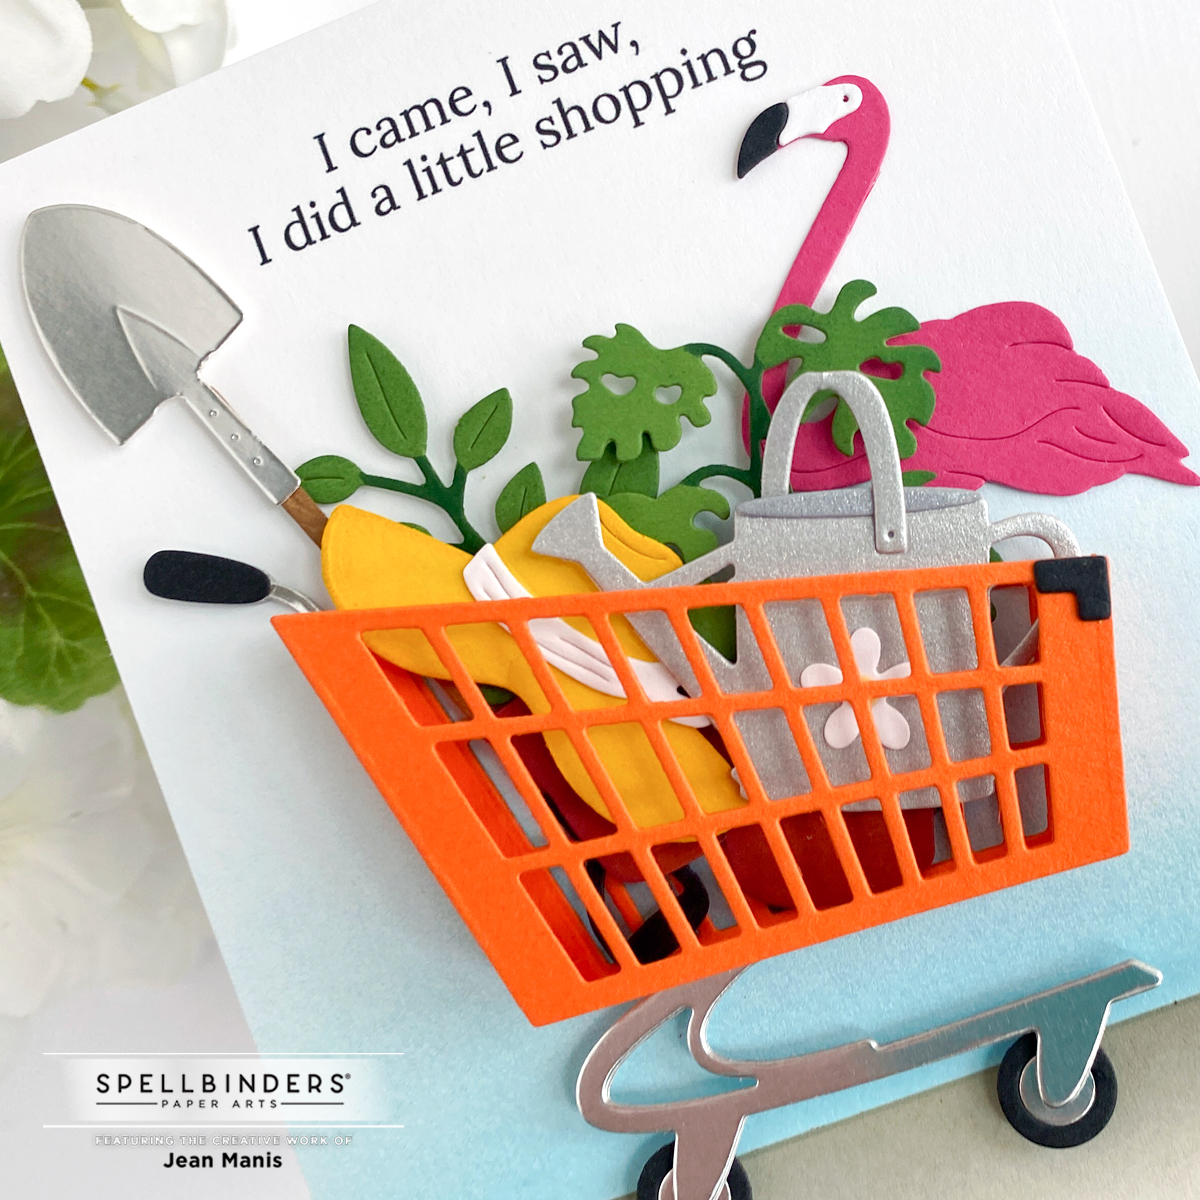
Hello! Today, I am sharing a die-cut card featuring the Spellbinders Add to Cart Too Collection. I envisioned someone shopping at Home Depot for spring gardening supplies, hence the bright orange cart. In fact, it would be fun to include a gift card. Change the cart color for a different store, such as red for Target.

Spellbinders | Add to Cart Too

In the spring of 2022, I posted a card using products from the collection here. Around the same time, I wrote a guest post for the Spellbinders blog with three projects using products from the collection. Until now, I have not used the 3D Shopping Cart, and I was anxious to give it a try!

  • To create the background: Stamp Shopping Run sentiment in black in on Snowdrift cardstock. Using vellum on the horizon line, apply Tumbled Glass Oxide ink to the sky and Black Soot Oxide ink to the ground.
  • Cut the 3D Shopping Cart from orange, Onyx, silver foil cardstock; assemble.
  • Using the assembled cart for placement, trim stamped panel and add to card base.
  • Cut plants, spade, hat, flamingo, and watering can with dies in the Plant It Here, In the Garden, and Shopping Run die sets from a variety of cardstock colors. Assemble, add Distress Ink to edges, and add to the cart.

Spellbinders | Add to Cart Too

Now through Thursday, Scrapbook.com is offering free shipping on orders over $85 with code FEB85 (Expedited and International $8 off $85 with code FEBSAVE8).

Scrapbook.com Free Shipping Offer


Spellbinders | Happy Birthday Balloons

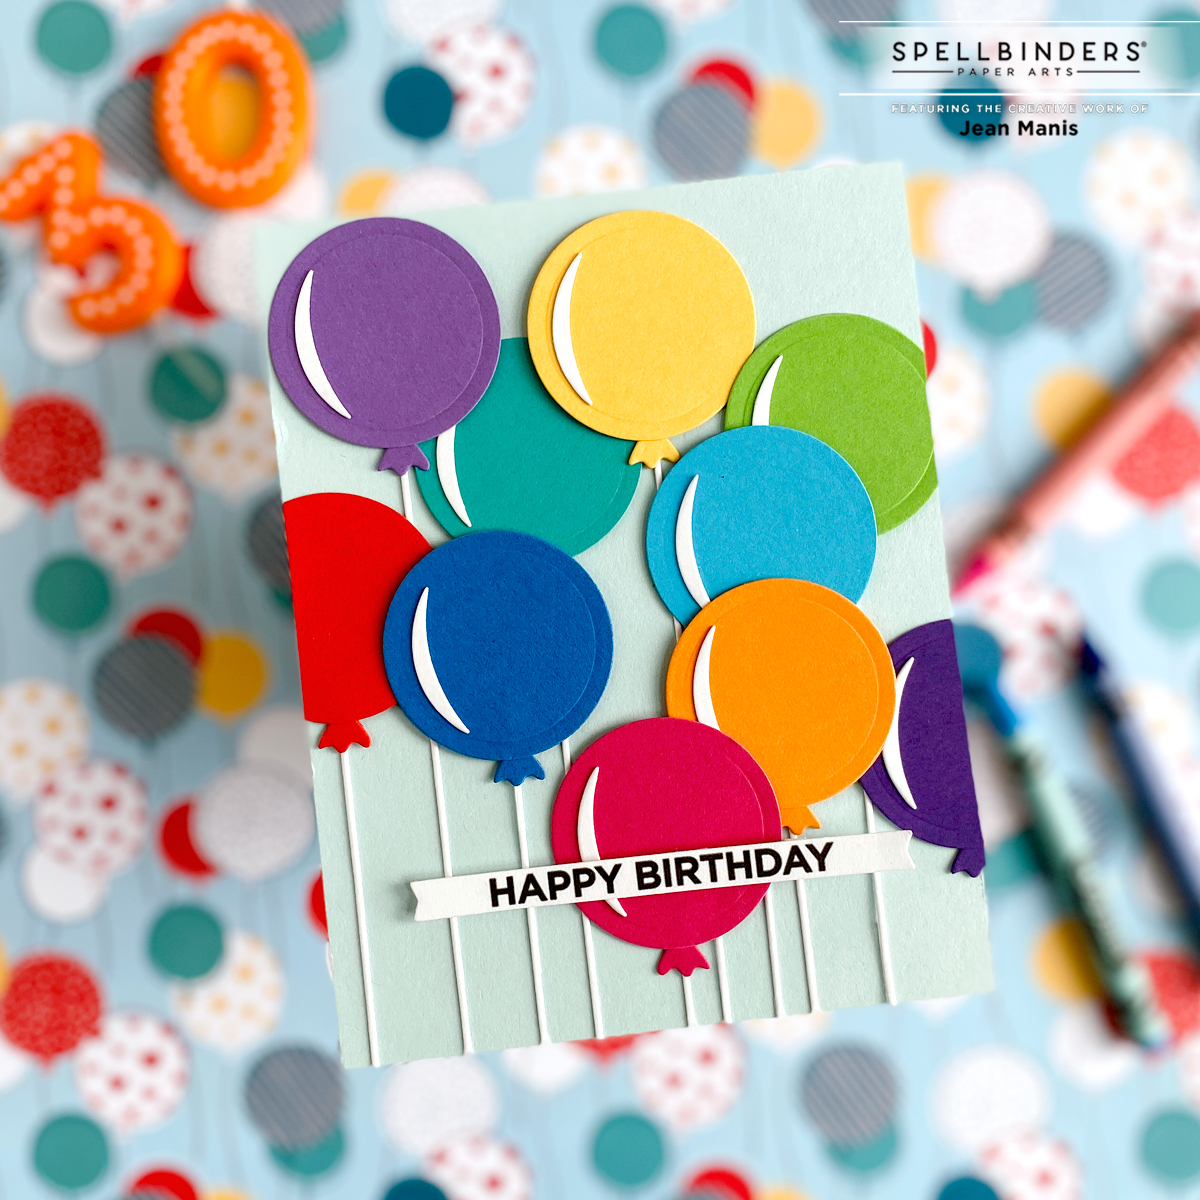
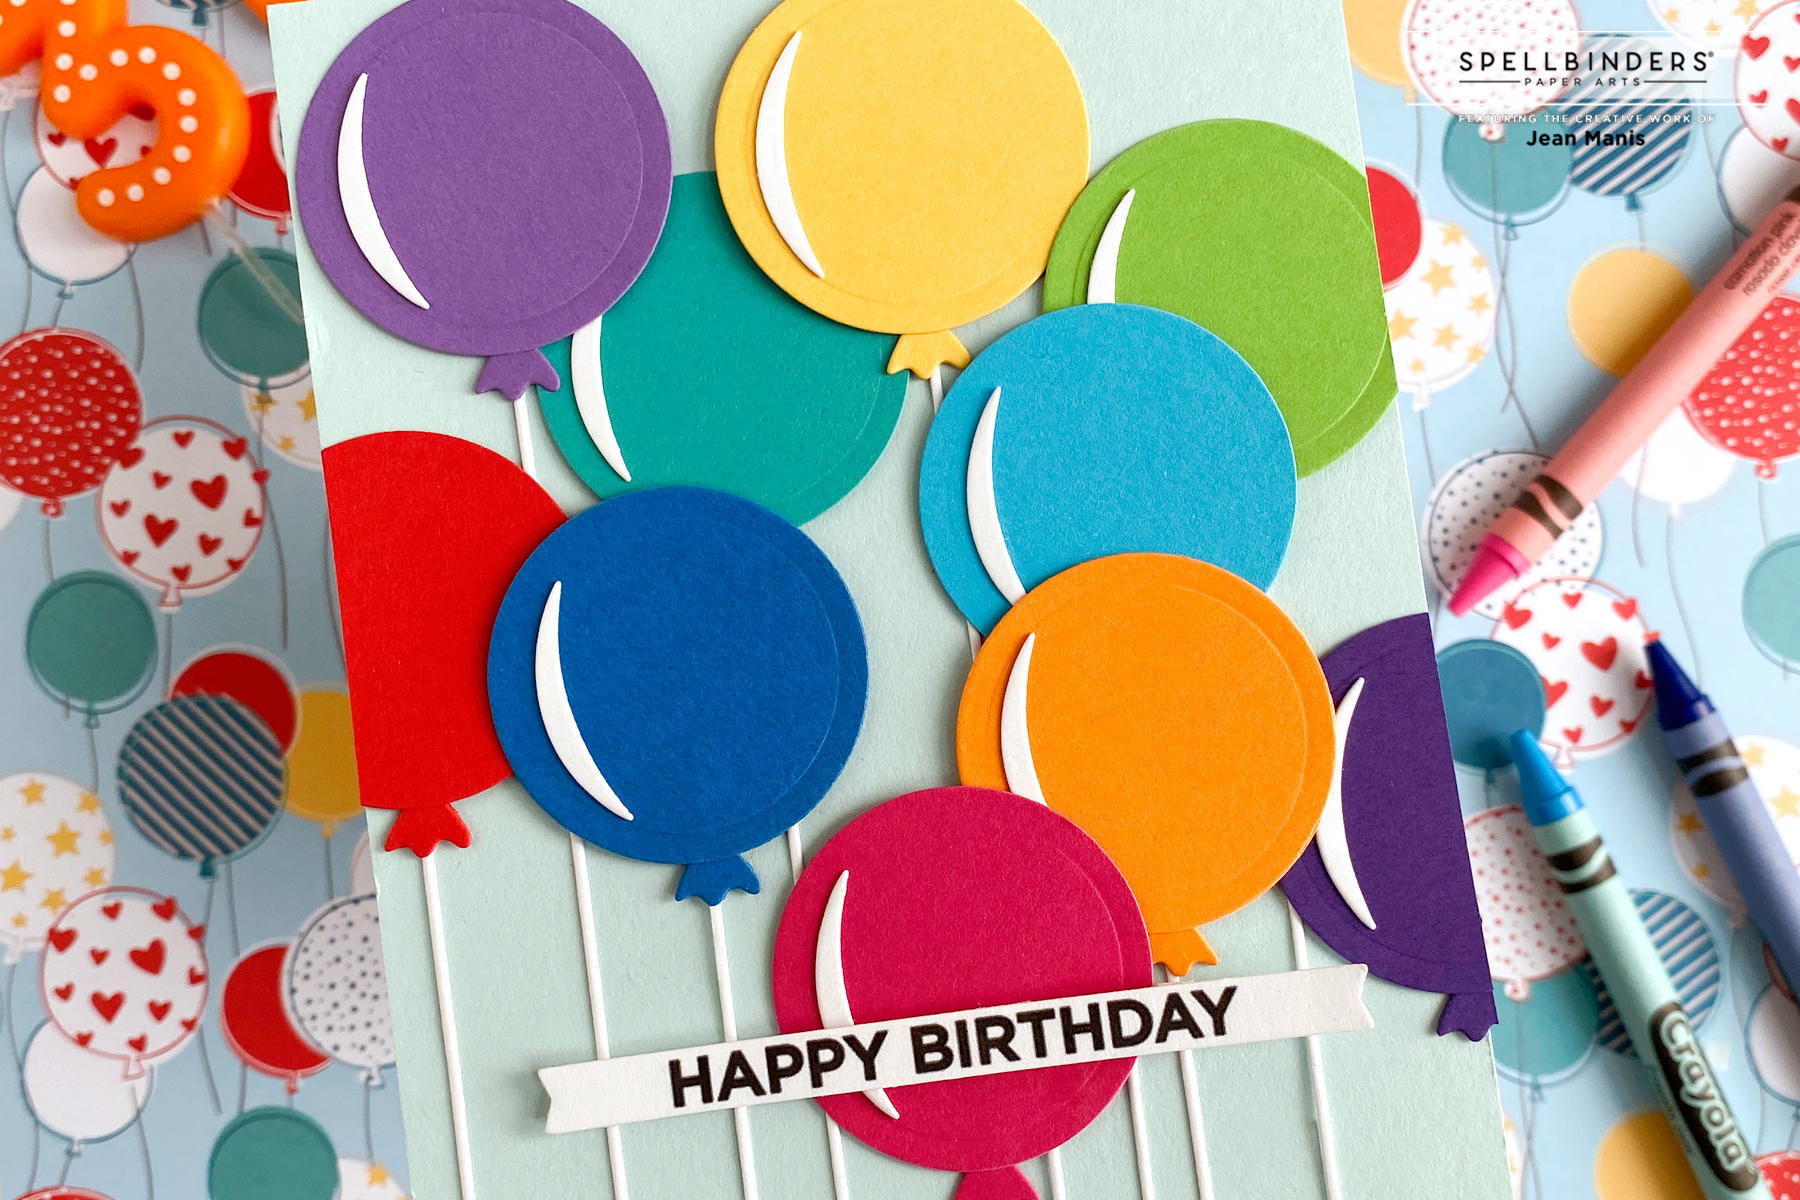
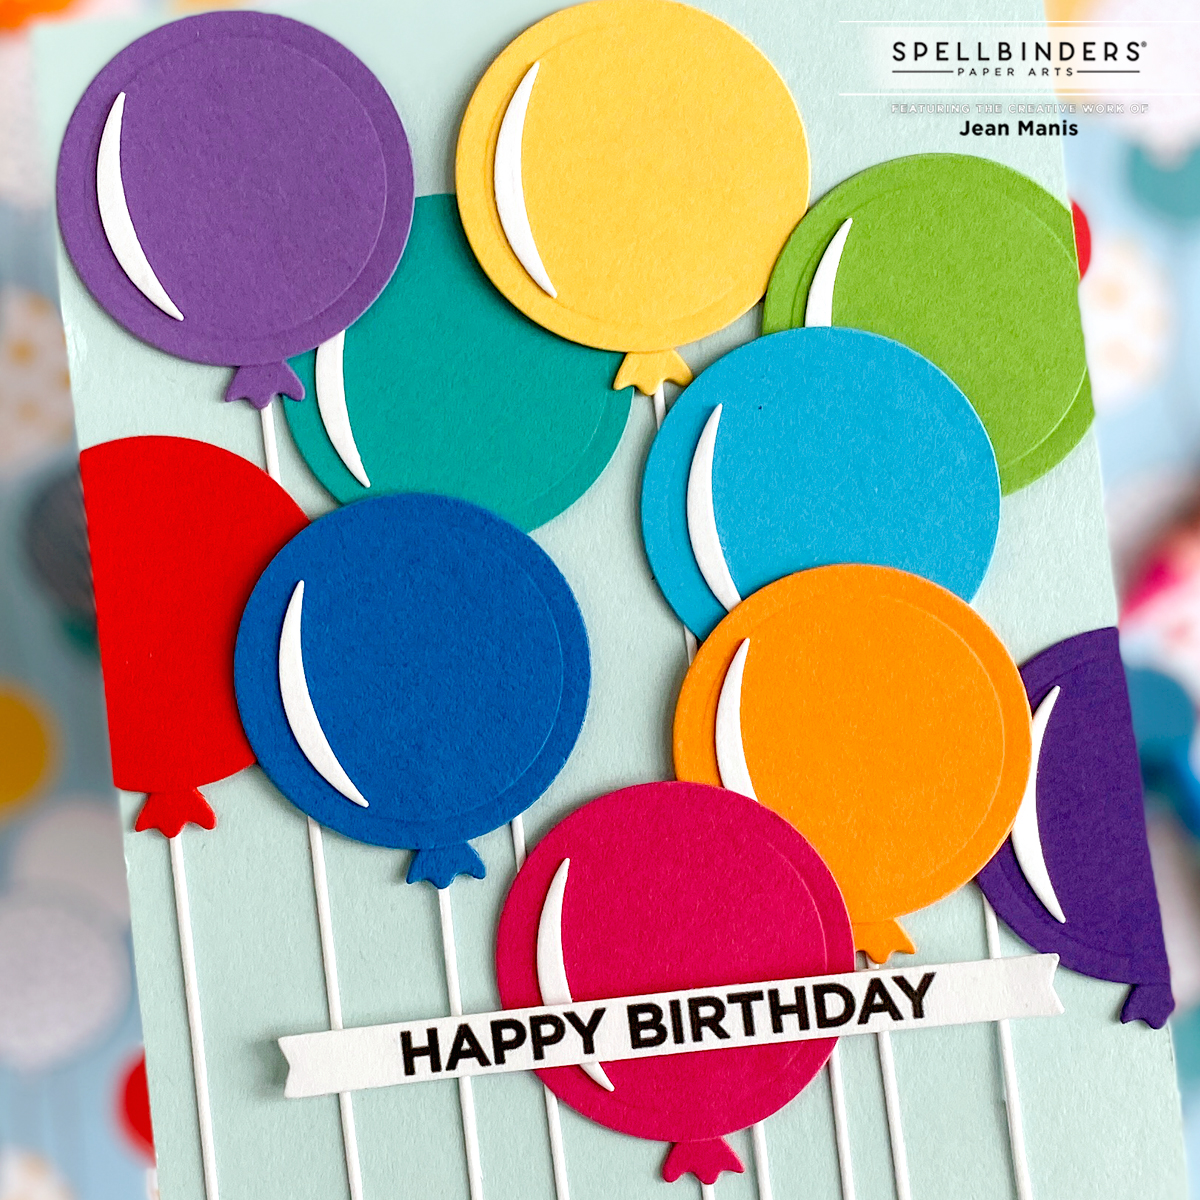
Hello! Today, I am sharing a birthday card created with the Spellbinders Color Block Balloons die set. Again, I am using the design principle of repetition – on the card, there are ten balloons of different colors. I used the Color Block Balloons die set on another card here.

Spellbinders | Happy Birthday Balloons

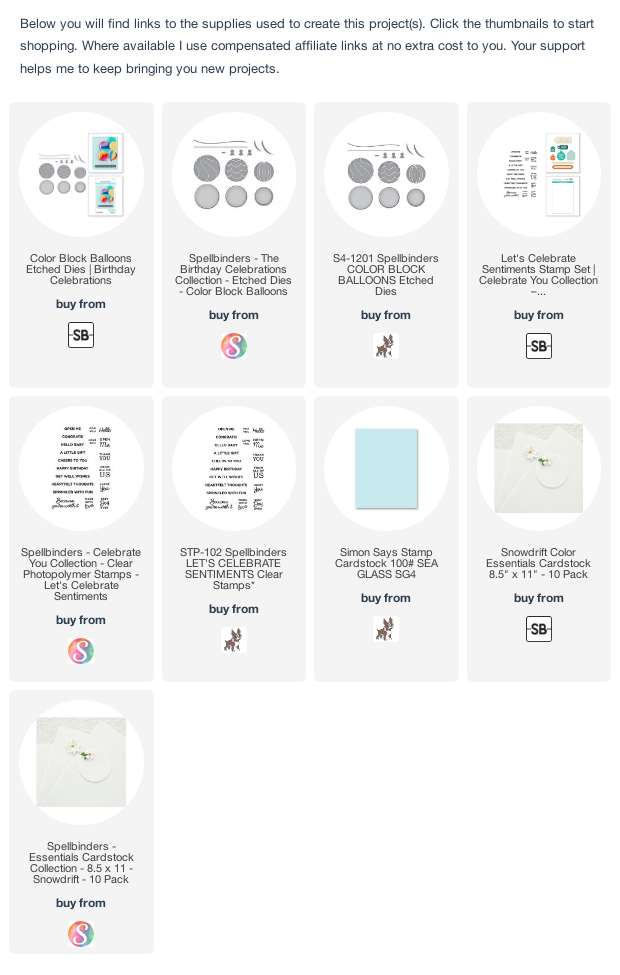
  • With the smallest die in the Color Block Balloons set, cut balloons from colored cardstock and the highlight piece and string from Snowdrift cardstock. Assemble.
  • Stamp Let’s Celebrate sentiment in black on Snowdrift. Cut with a banner die. (I used one that accompanied a glimmer foil sentiment set.)
  • Add balloons and sentiment to Sea Glass card base.

Spellbinders | Happy Birthday Balloons