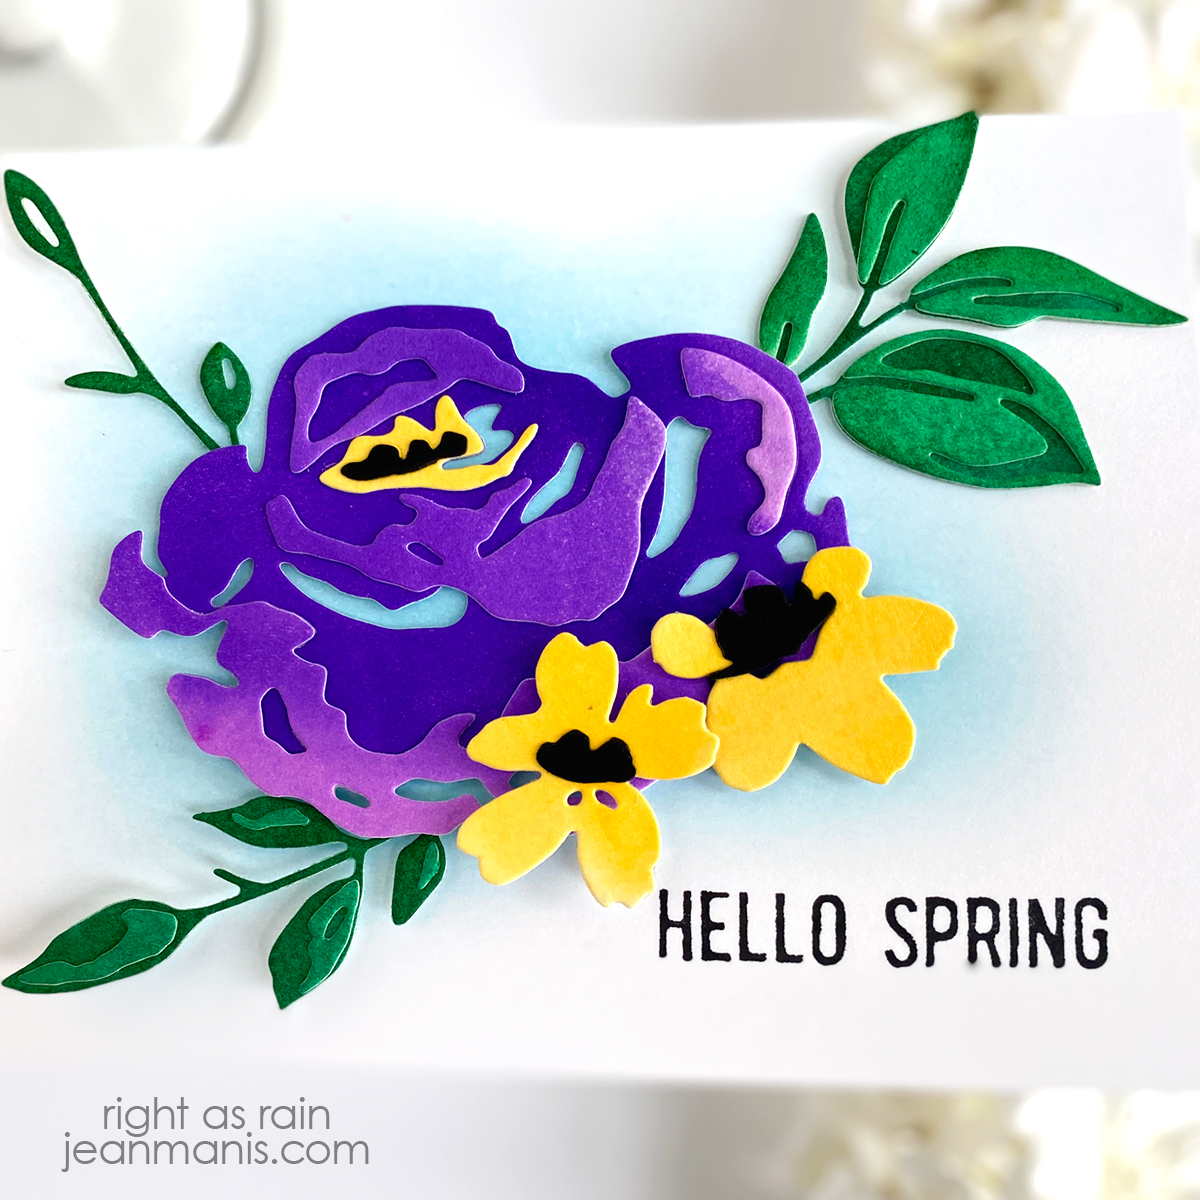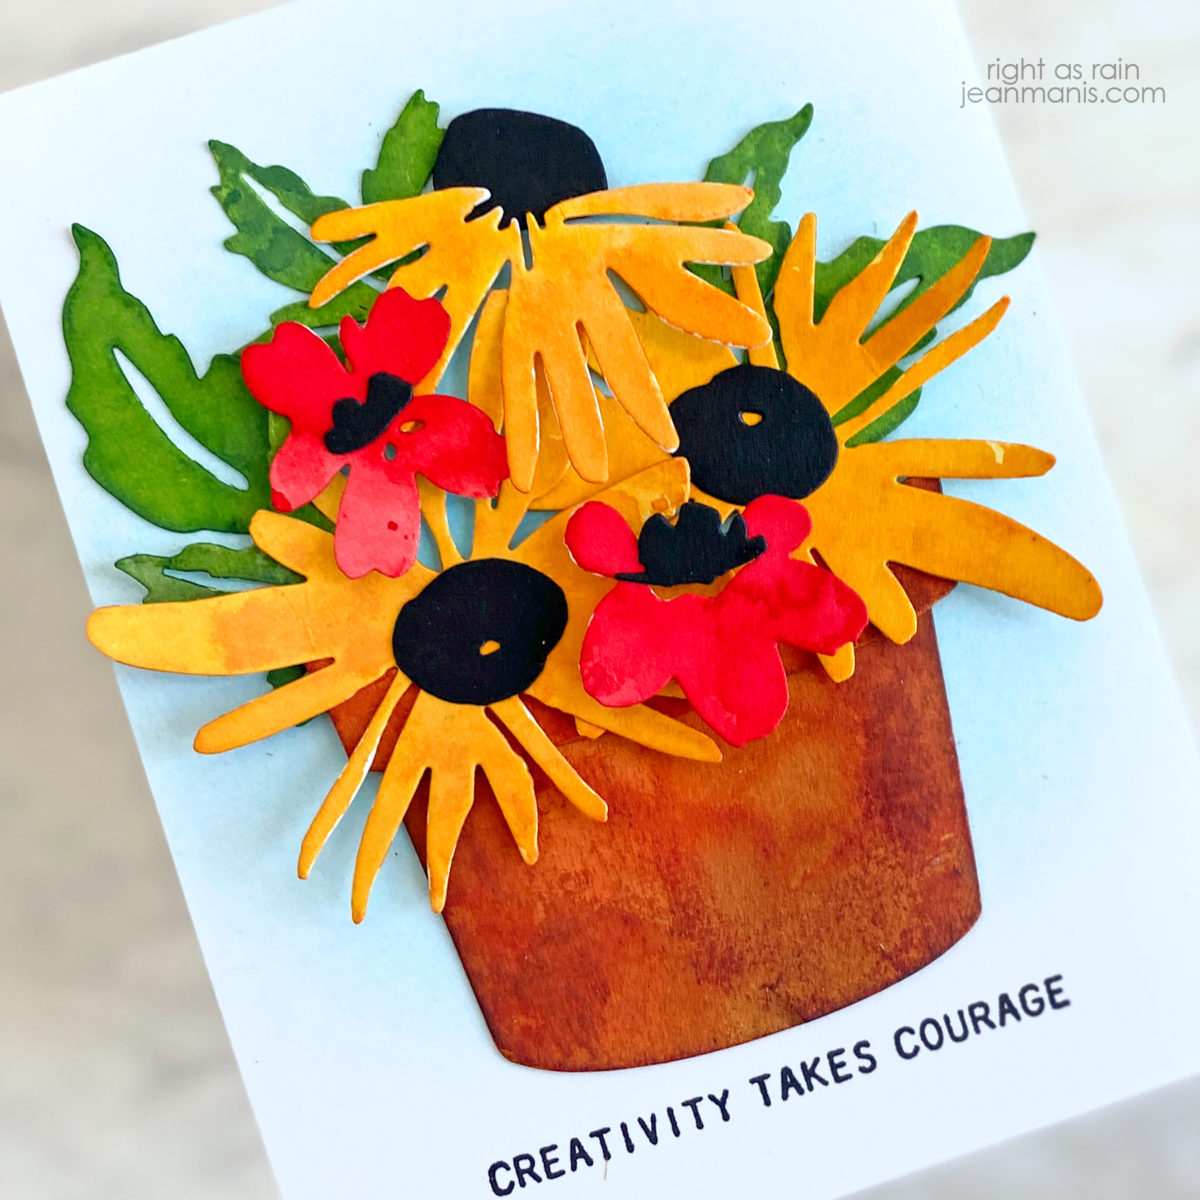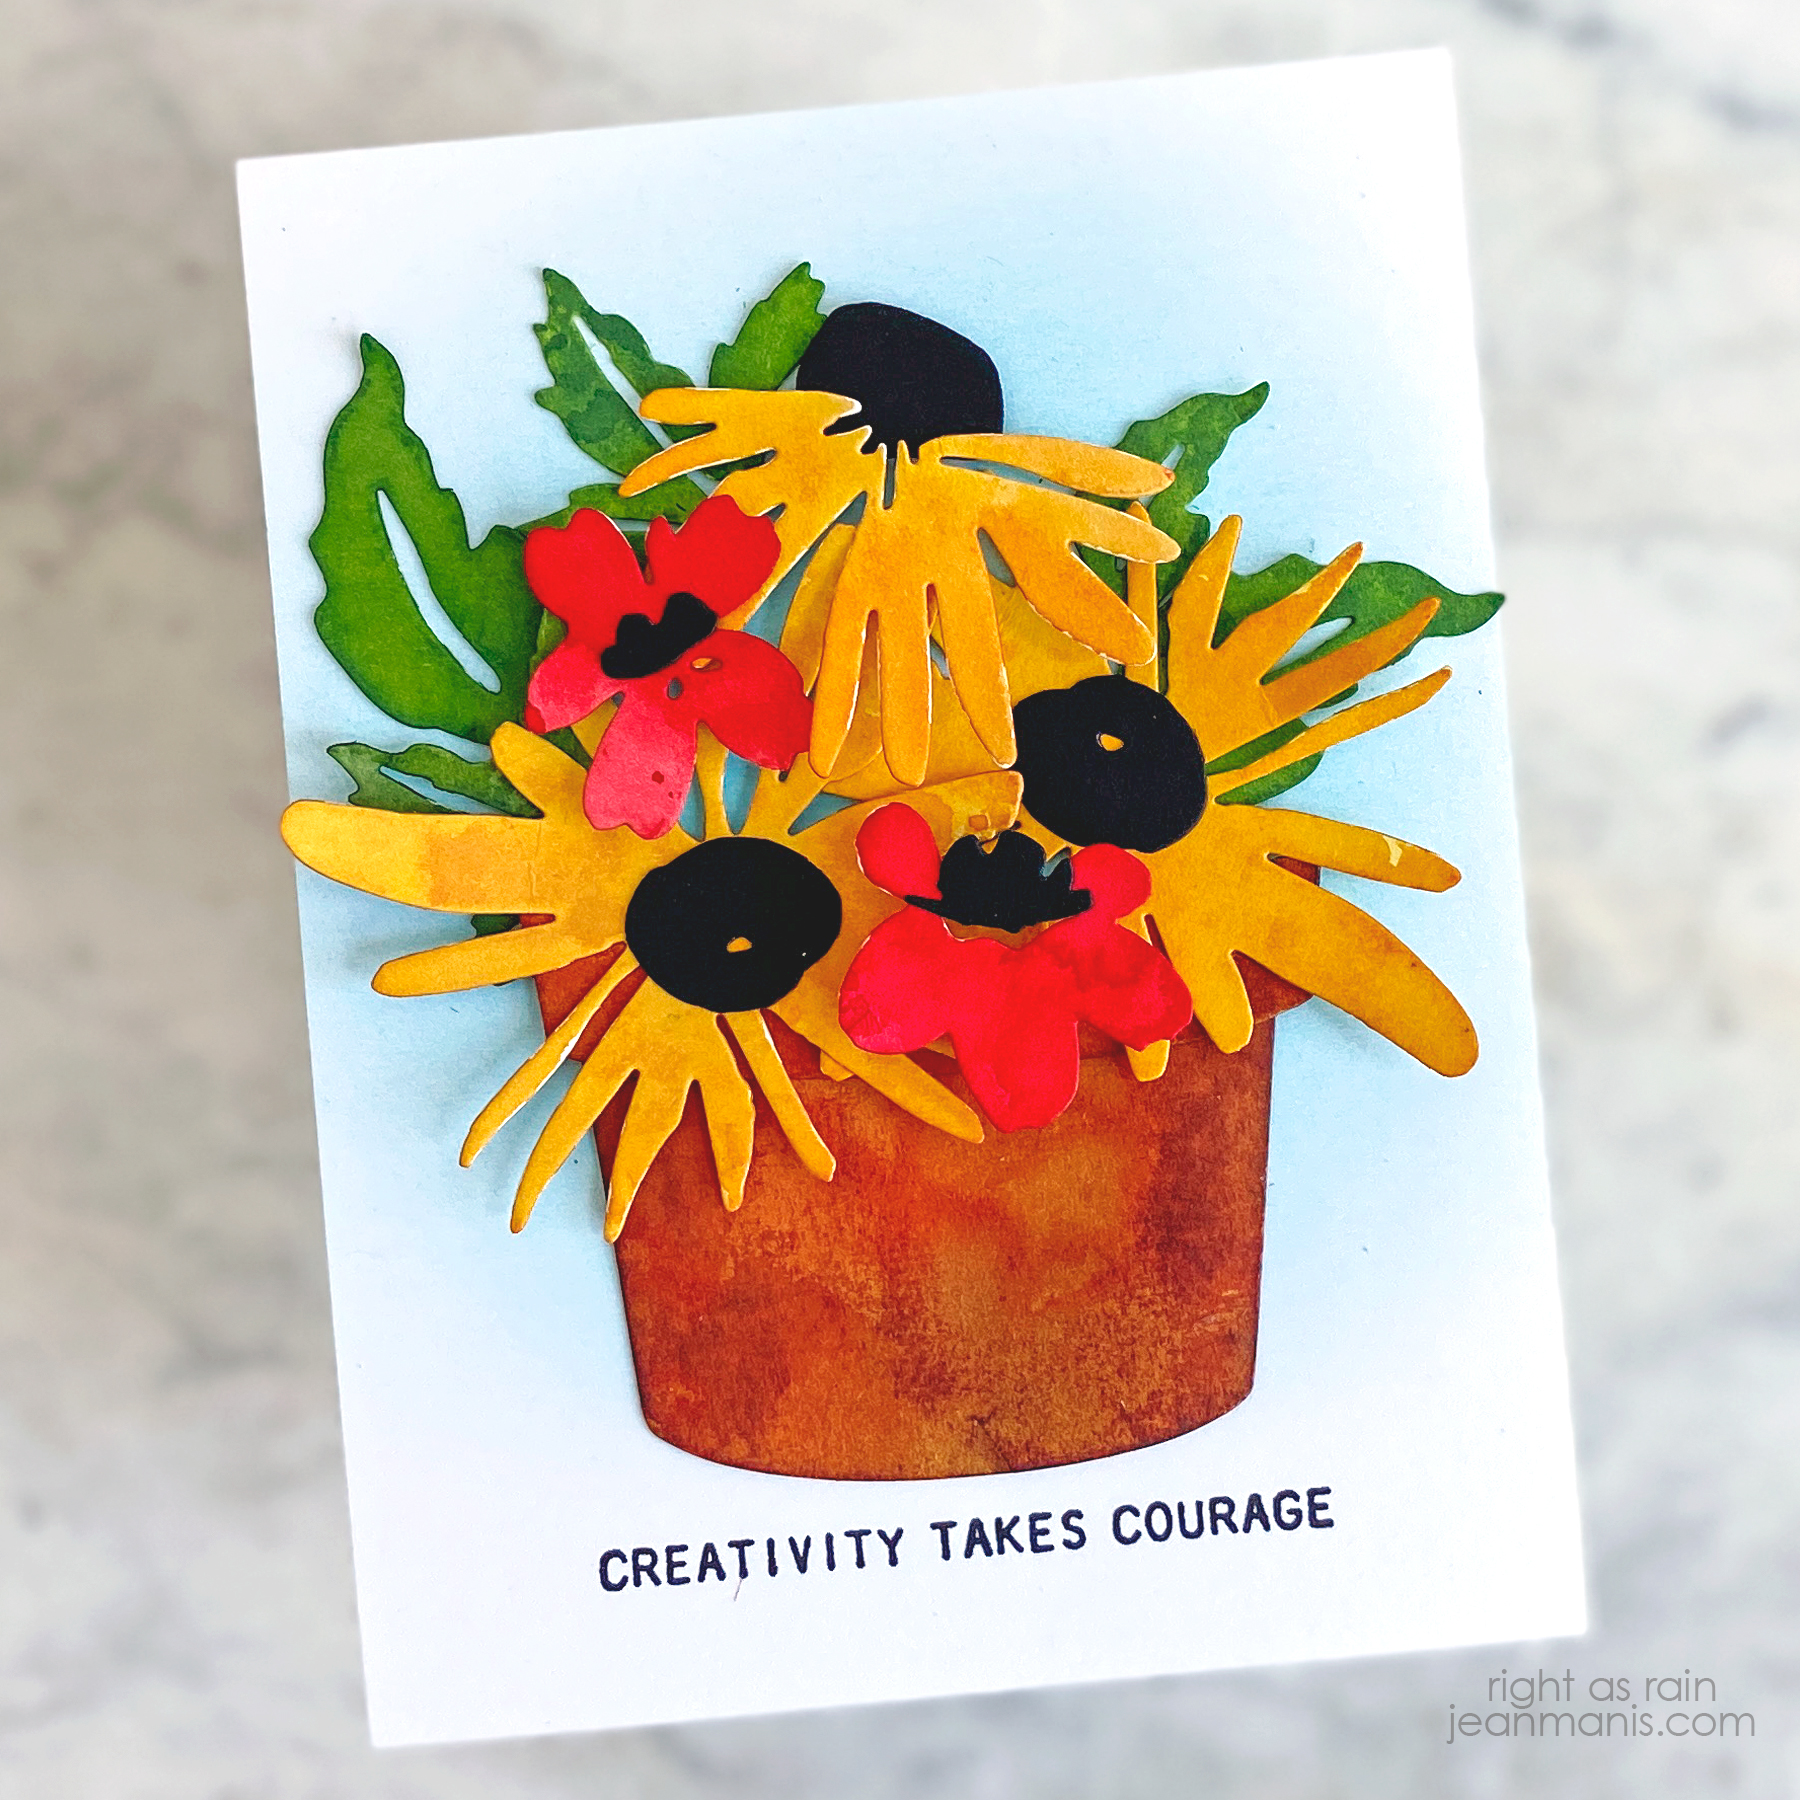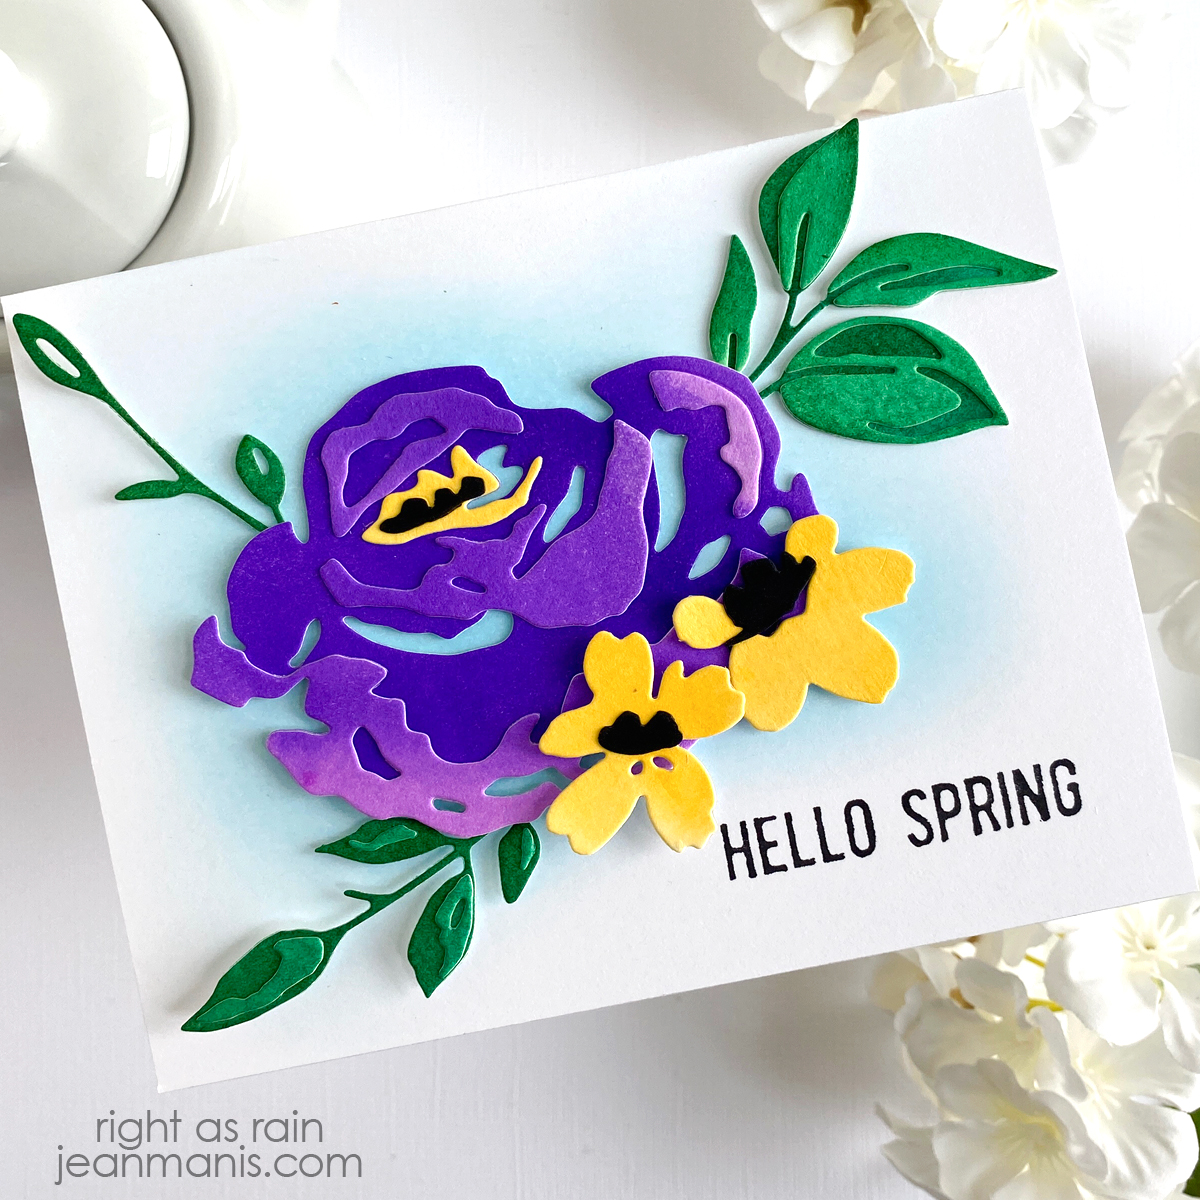
Hello! Today I am sharing a spring-themed card combining several Tim Holtz dies and stamp set. This is not to say that it is the least bit springlike where I am!
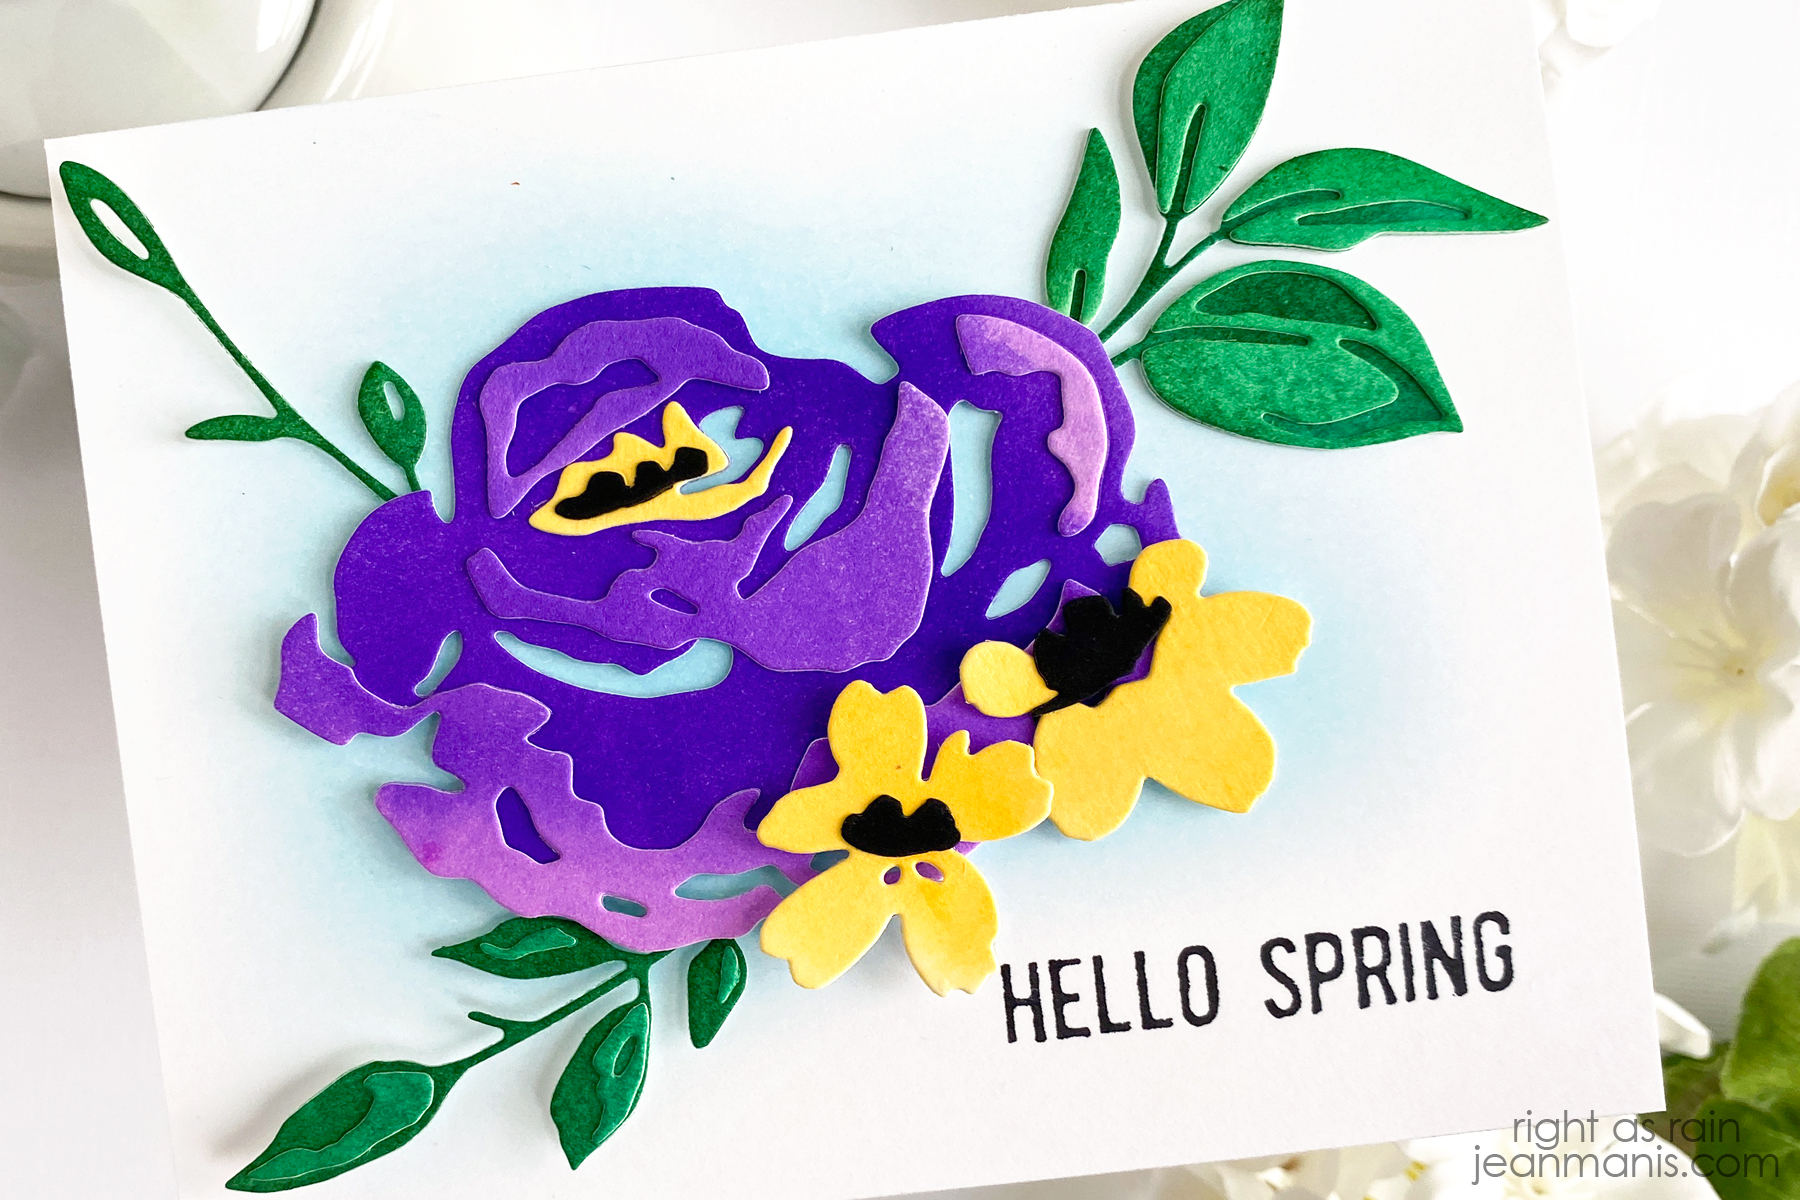
As I mentioned in this post, it has been a while since I have pulled out any of my watercolors. With the supplies out, I created washes from which to die cut, using Colorburst powders and Daniel Smith watercolors on Arches Cold Press paper.
- Stamp Spring Shadows sentiment in black ink on white cardstock, cut to A2-size, and add to card base.
- Cut florals and foliage with Brushstroke Flowers 4, Modern Floristry, Bloom Colorize, and Festive Bouquet dies from the watercolored paper and Black Matte Alcohol Ink cardstock. Darken foliage with Rustic Wilderness ink. Assemble flowers and adhere foliage to underside of the largest flower.
- Apply Tumbled Glass ink to card panel. Add floral assembly to card with glue and foam adhesive.