Christmas Window Scene for 52CCT Challenge

Hello! This week’s 52 Christmas Card Throwdown Challenge provided the perfect opportunity to create a festive holiday card using the August Sketch Challenge graphic as inspiration.

Christmas Window Scene for 52CCT Challenge

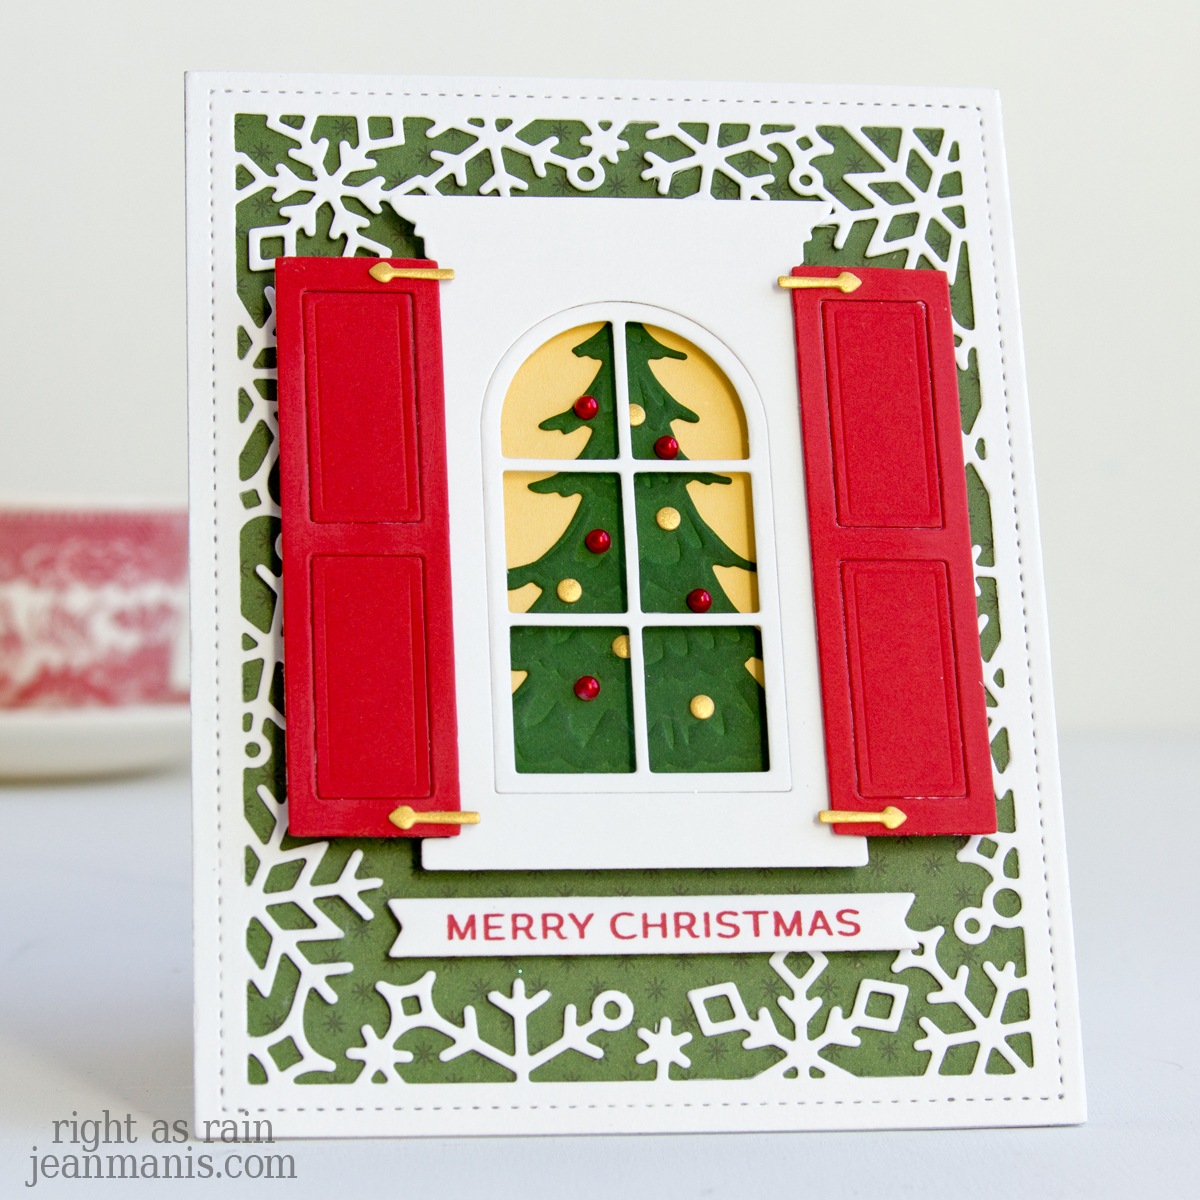
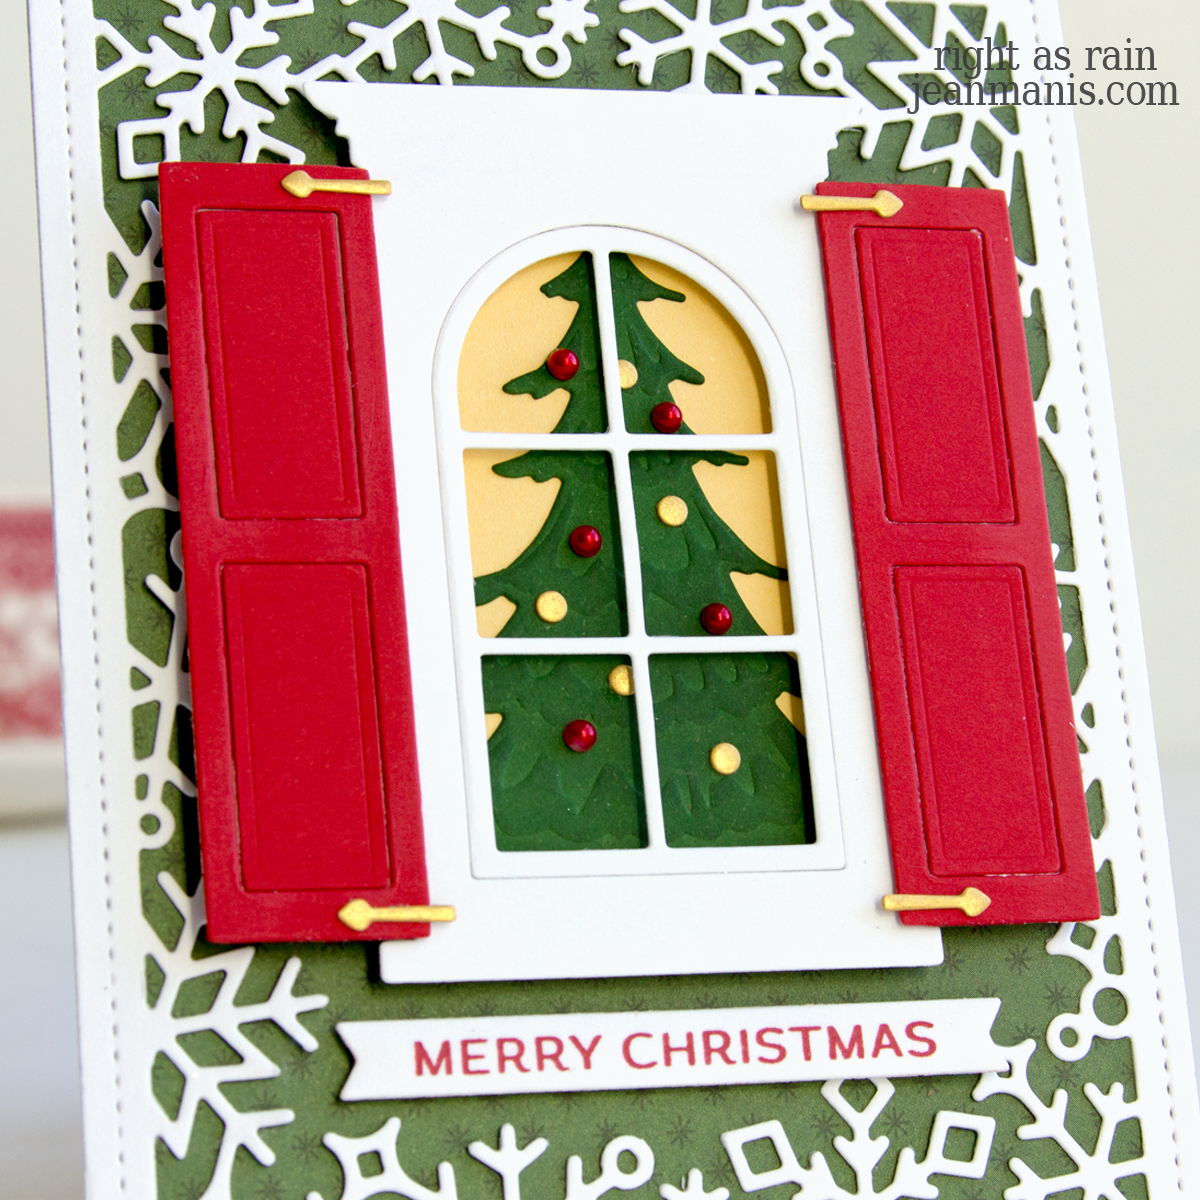
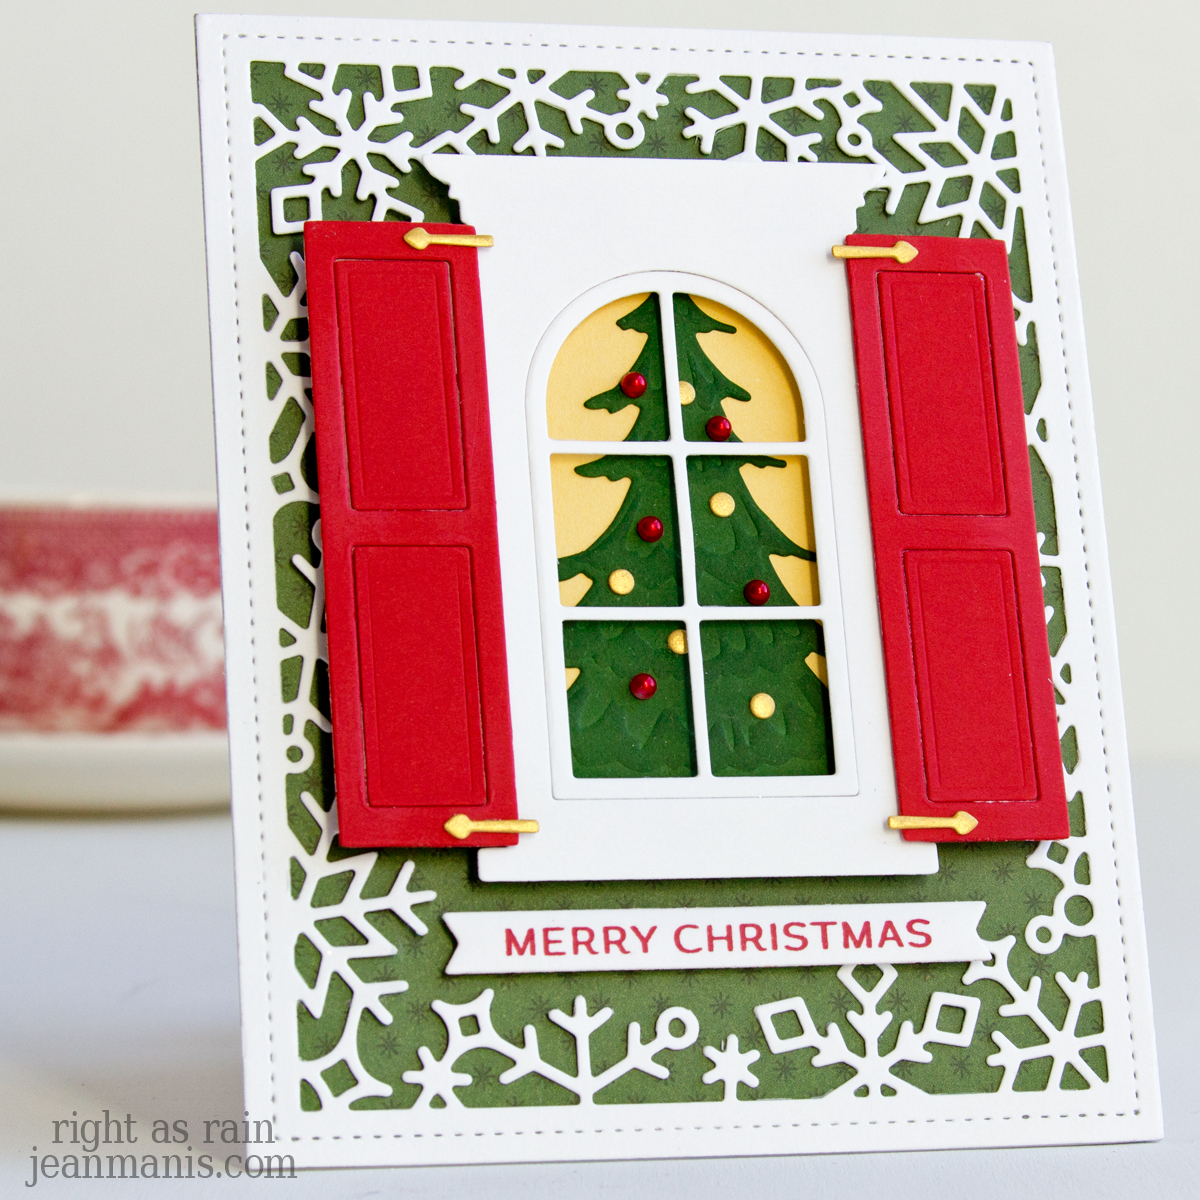
My design showcases a cozy window scene with die-cut shutters framing a decorated Christmas tree. A patterned paper background and intricate snowflake borders add seasonal charm, while the “Merry Christmas” sentiment completes the look. Let’s dive into the details of this cheerful creation!

    • Cover A-2 card base with patterned paper.
    • Cut the Snow Flurries Backdrop from Snowdrift cardstock and add to card front.
    • With the Wonderful Windows die, cut the window and shutters from a variety of cardstock colors.
    • Cut the Christmas tree from green cardstock. I used a now-retired Memory Box die (Frosted Christmas tree) and inked with Rustic Wilderness ink to create more contrast.
    • Trim the bottom of the tree, add to a yellow cardstock panel (SU So Saffron), and attach the assembly to the back of the window with foam adhesive. Attach the assembled shutters and add gold latches. Decorate the tree with adhesive pearls and gold circles (I used a die in the Wonderful Windows set). Attach the window and shutters to the card front with dot adhesive.
    • Press the Merry & Bright sentiment in Geranium ink on Snowdrift cardstock and cut with the coordinating die in the set. Add to the card with foam adhesive.
Christmas Window Scene for 52CCT Challenge

If you’re feeling inspired, head over to the 52 Christmas Card Throwdown Challenge site and join in—create your own card and share it with the community!

52 Christmas Card Throwdown Challenge

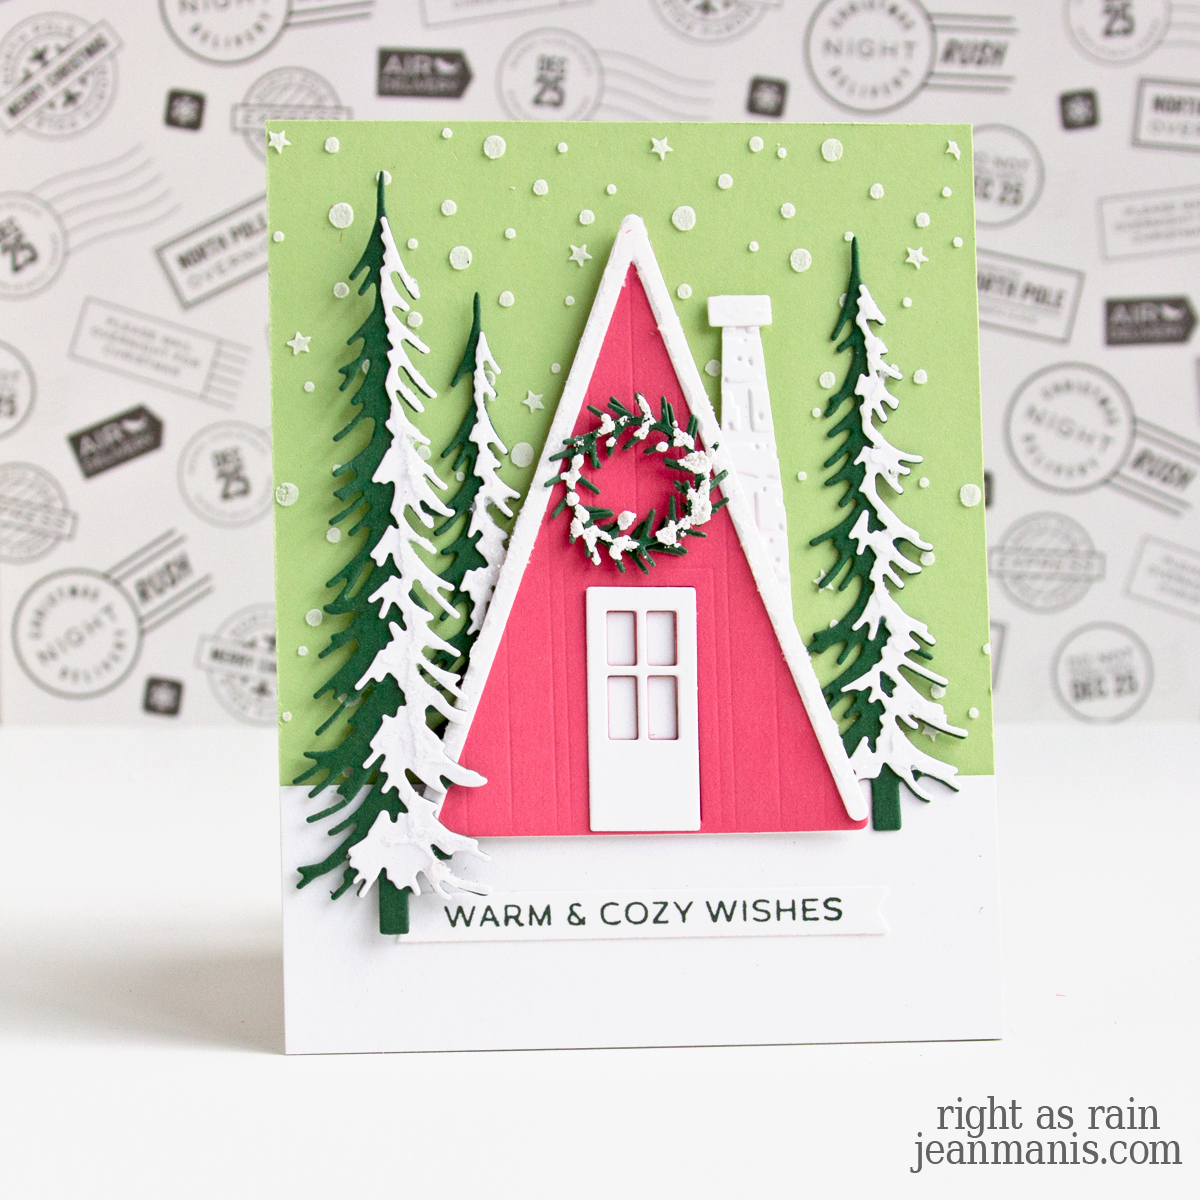
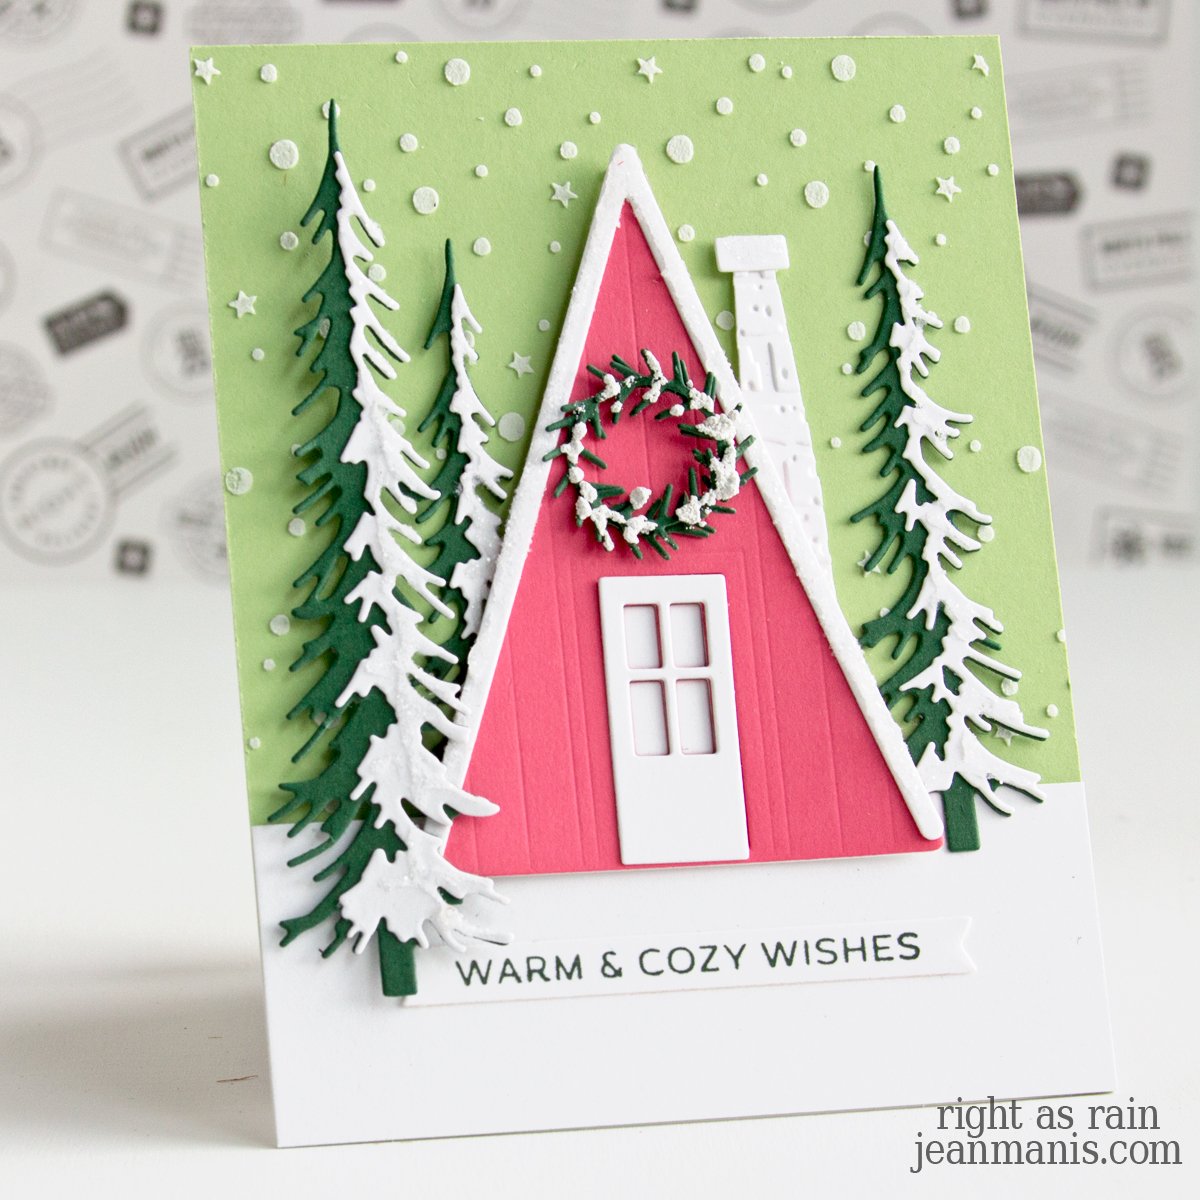
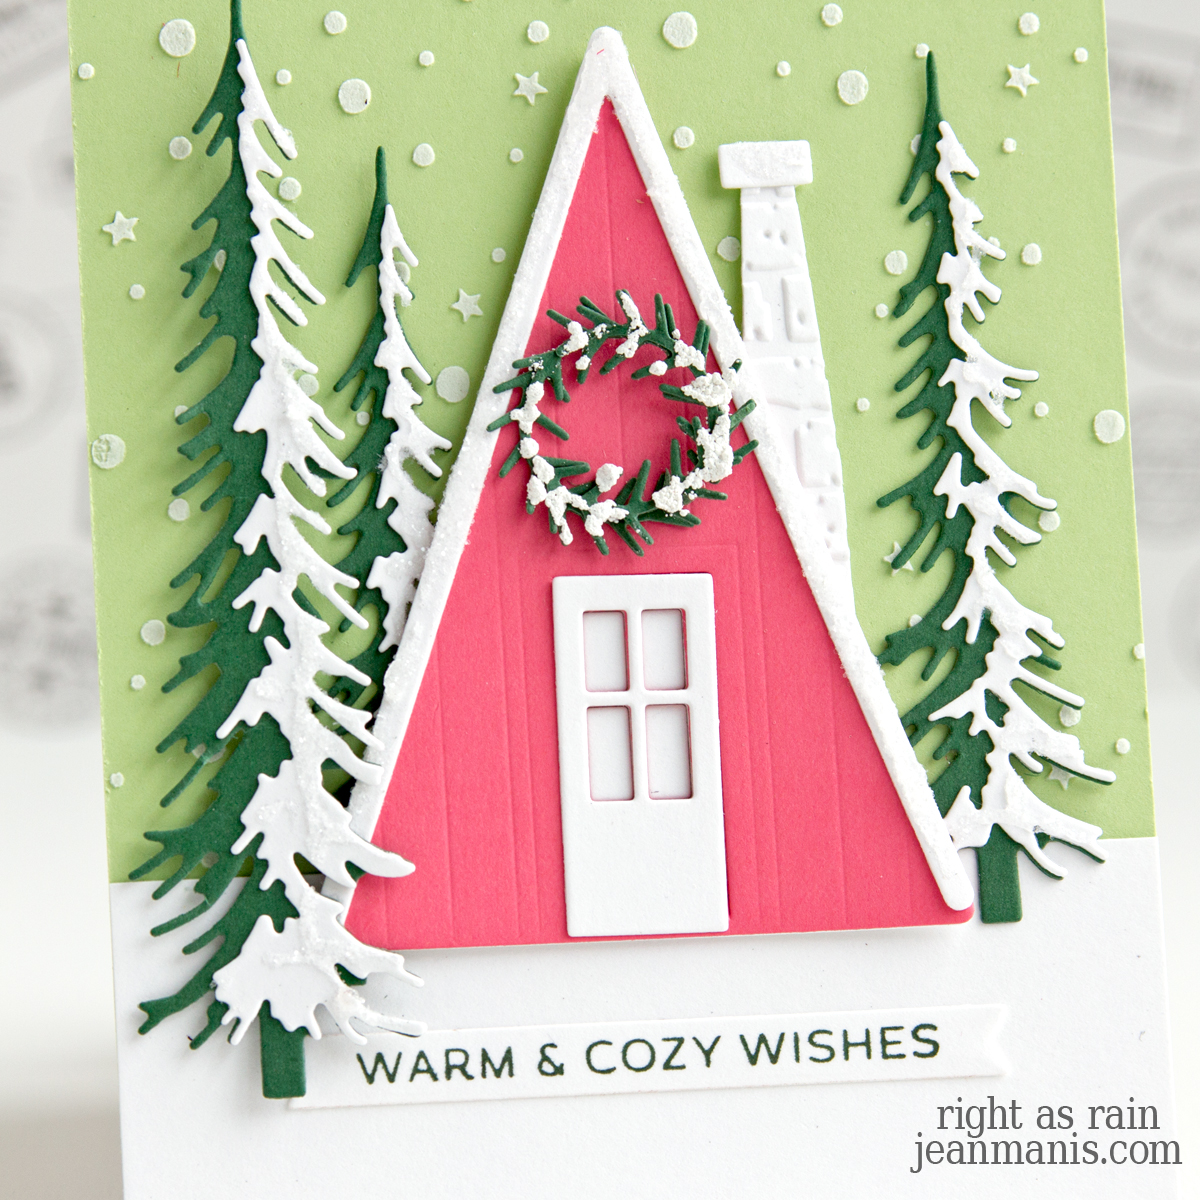
Hello! For the 52 Christmas Card Throwdown Challenge, I crafted a Christmas card that feels both festive and fresh, using the challenge colors of pink, green, and white (the challenge colors). Featuring Memory Box dies, I created a serene forest scene with a cozy A-Frame house nestled among snowy trees.

Working on this card brought back a childhood memory. As a tween, I was convinced that green and pink didn’t belong together—especially when my mother insisted on dressing me in a spruce green sweater and a pink turtleneck for school photos. Now, years later, I see the charm of this unexpected pairing.

Memory Box Christmas A-Frame

    • To begin, apply embossing paste through the Snow Flurries stencil on a light green cardstock panel. Once dry, add to an A2-size card base. Cut a 1 1/2″ strip of Snowdrift cardstock for the snow and add to the background panel.
    • Cut the pieces of the A-Frame house from Snowdrift and Dahlia cardstock. Apply glue and Rock Candy glitter to the top of the chimney and to the roof. Once dry, assemble the house.
    • With dies in the A-Frame house set, cut the wreath from dark green cardstock in the Greenery pack. Apply White Puff embossing powder to create a snow effect.
    • Cut the trees with dies in the Layered Narrow Pines set from dark green cardstock in the Greenery pack and Snowdrift cardstock. Apply glue and Rock Candy glitter to the Snowdrift pieces. Once dry, assemble the trees.
    • Press the Merry & Bright sentiment in Spruce ink on Snowdrift cardstock. Cut with the die in the sentiment set.
    • Add the house, trees, and sentiment to the card with dot and foam adhesive.

Memory Box Christmas A-Frame

To create the effect of snow on the trees and roof, on the wreath, and on the background, I used different techniques, adding dimension and realism. Adding snow to paper creations is a fun way to bring a wintry feel, making your holiday scenes even more magical.


Festive Deer Card for 52CCT Challenge

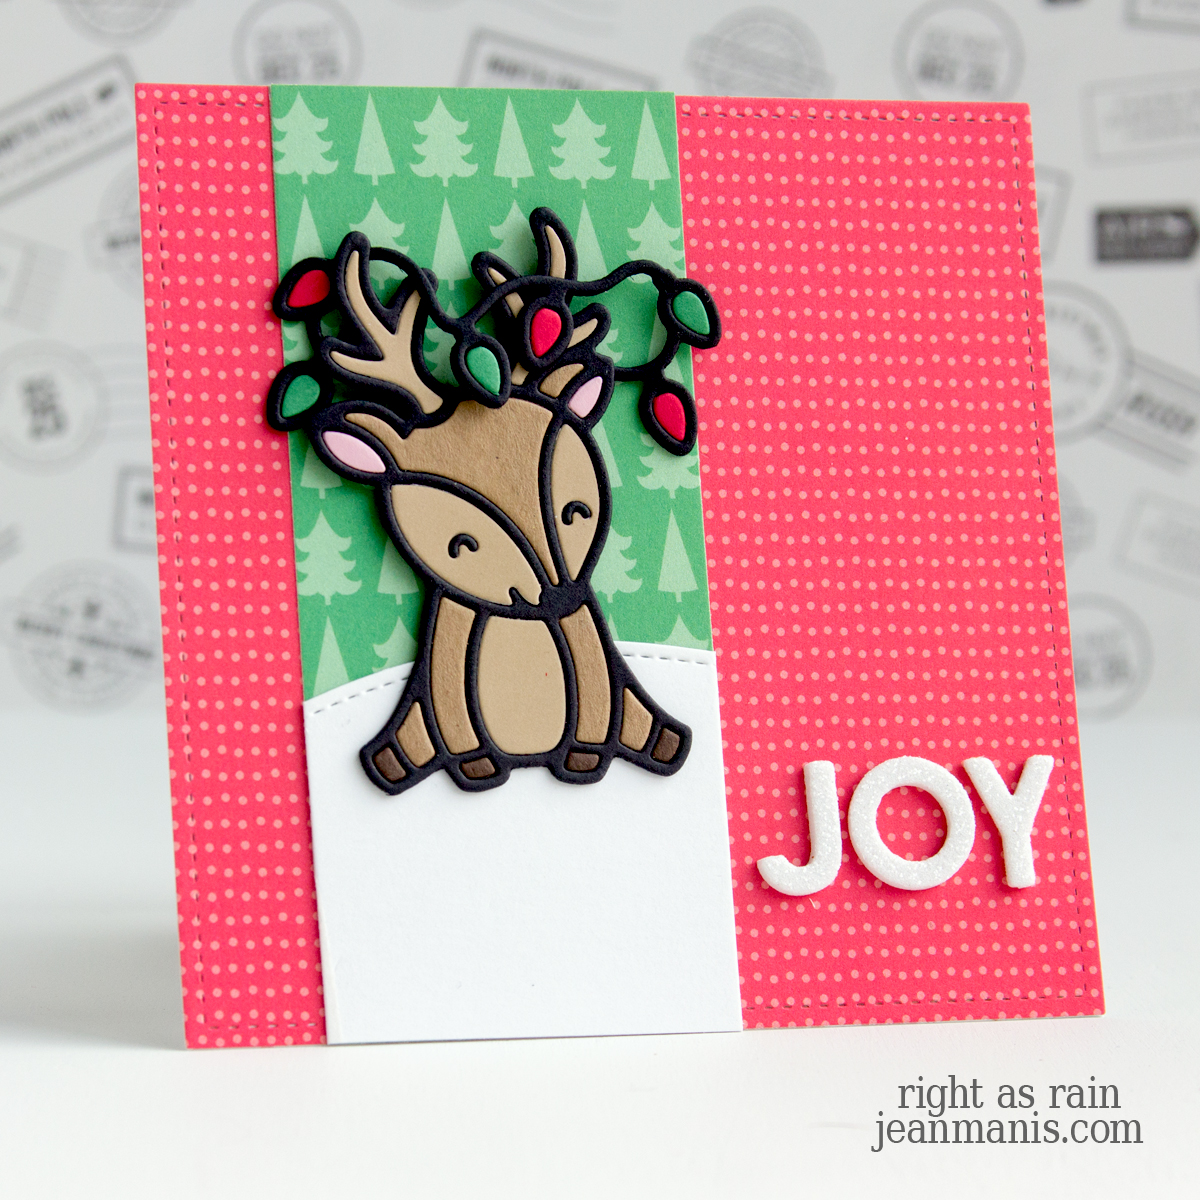
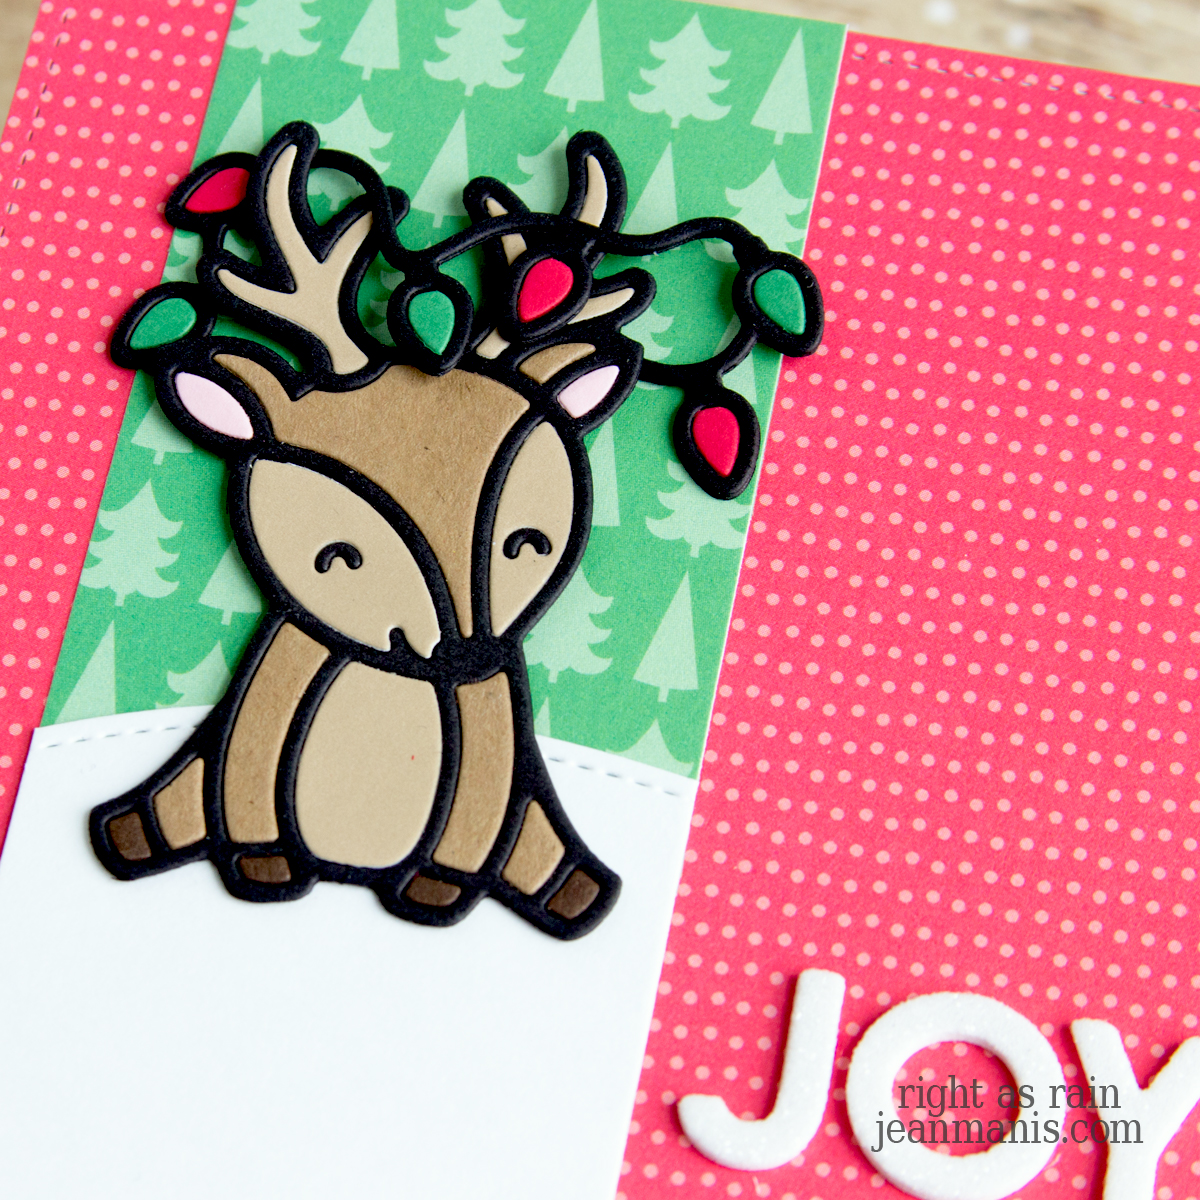
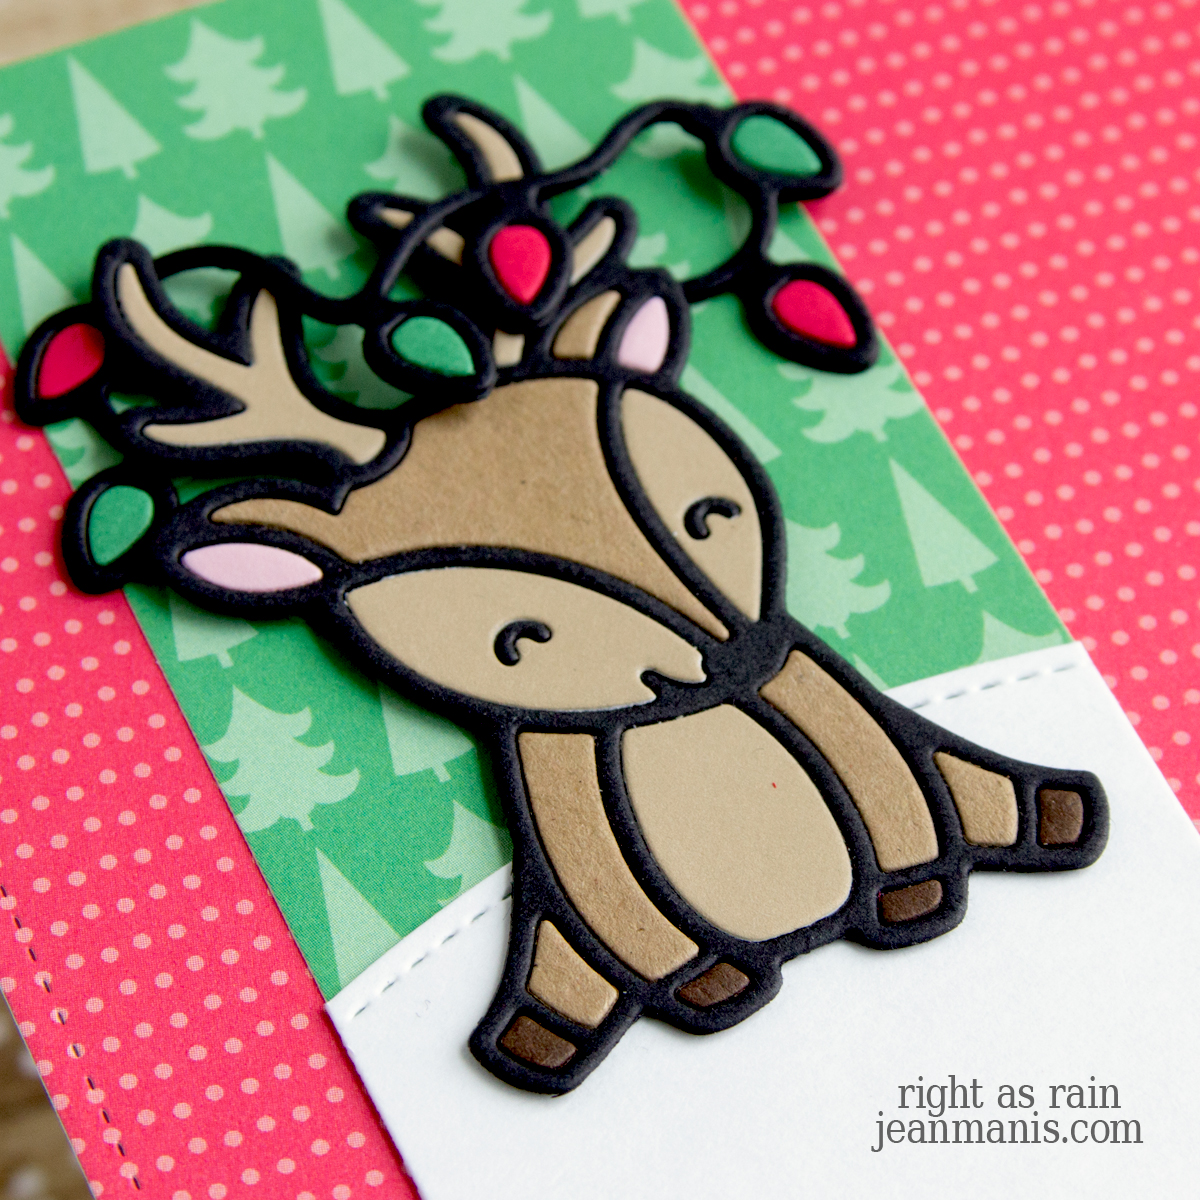
Hello! I’m sharing an entry for the 52 Christmas Card Throwdown! This simple, yet colorful, card brings holiday cheer with a playful die-cut deer and JOY sentiment.

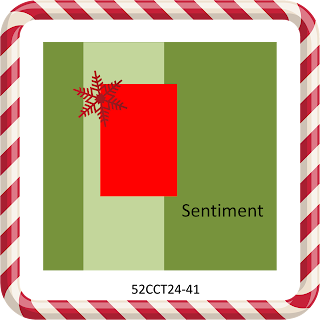
52CCT24-41

The sketch inspired me to keep the layout clean, letting the patterned paper and focal point really stand out.

Festive Deer Card for 52CCT Challenge

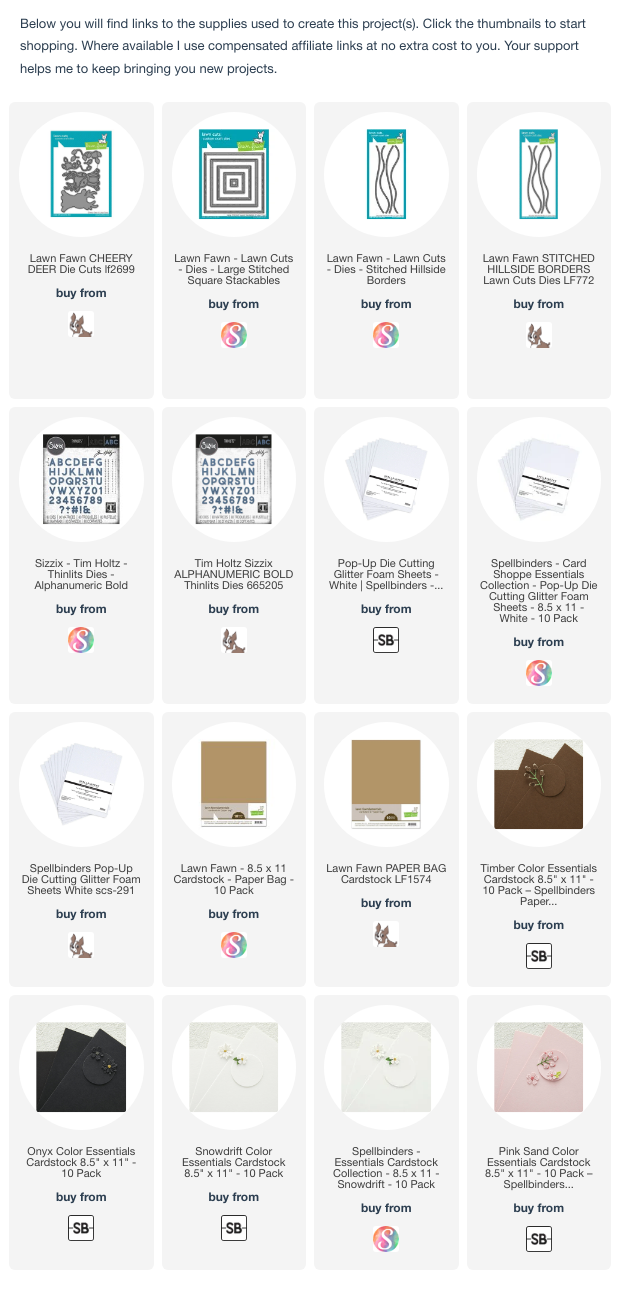
    • With the 4 1/2″ die in the Large Stitched Square set, cut the background paper. Add to a card base.
    • Cut a white cardstock strip and die-cut the top with a die in the Stitched Hillside Borders set. Add to a patterned paper strip and adhere to the card background.
    • Cut the Cheery Deer, including the string of lights, from a variety of cardstock colors and assemble.
    • Cut the sentiment with Alphanumeric Bold letter dies from white foam and adhere to the card front.

Festive Deer Card for 52CCT Challenge


52 Christmas Card Throwdown | Winter Countryside

Looking for the Spellbinders Blog Hop post? Head HERE.

Hello! A few weeks ago, I won the 52 Christmas Card Throwdown Theme Challenge. As the winner, I was invited to be a guest for the November Theme Challenge Winter Countryside.

The sight of a winter countryside evokes feelings of nostalgia with childhood memories of playing in the snow, building snowmen, and/or sledding. It offers a serene and idyllic backdrop creating a magical atmosphere that many people find irresistible!

52 Christmas Card Throwdown | Winter Countryside

To create the challenge card, I eagerly dug through my supplies. One of my favorite aspects of participating in card challenges – they provide an excuse to pull out favorite supplies and those that have never been used or used infrequently.

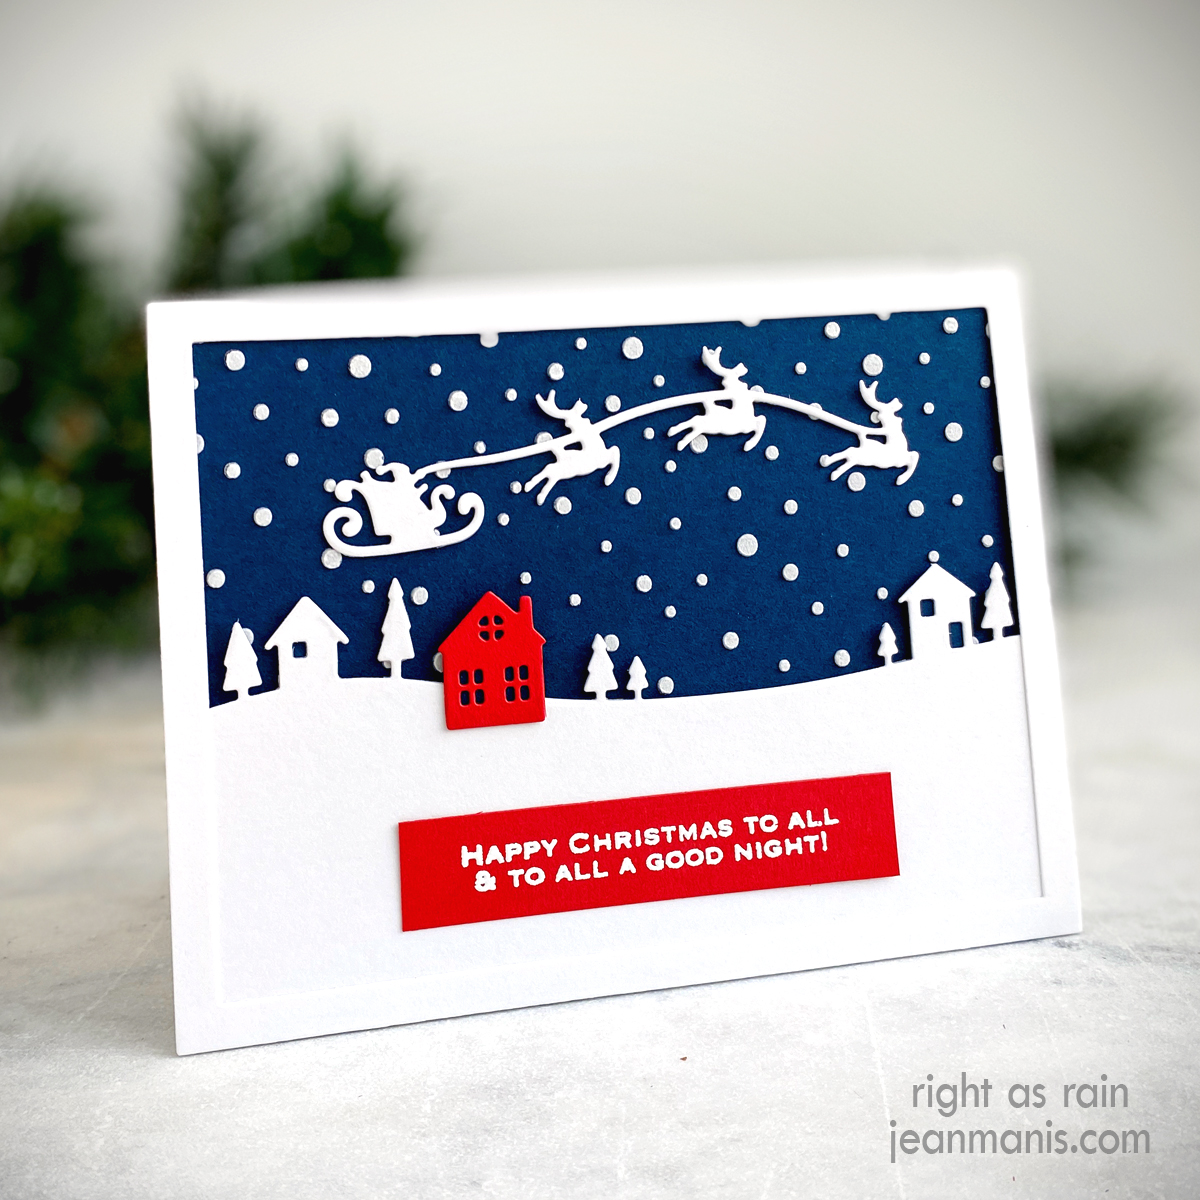
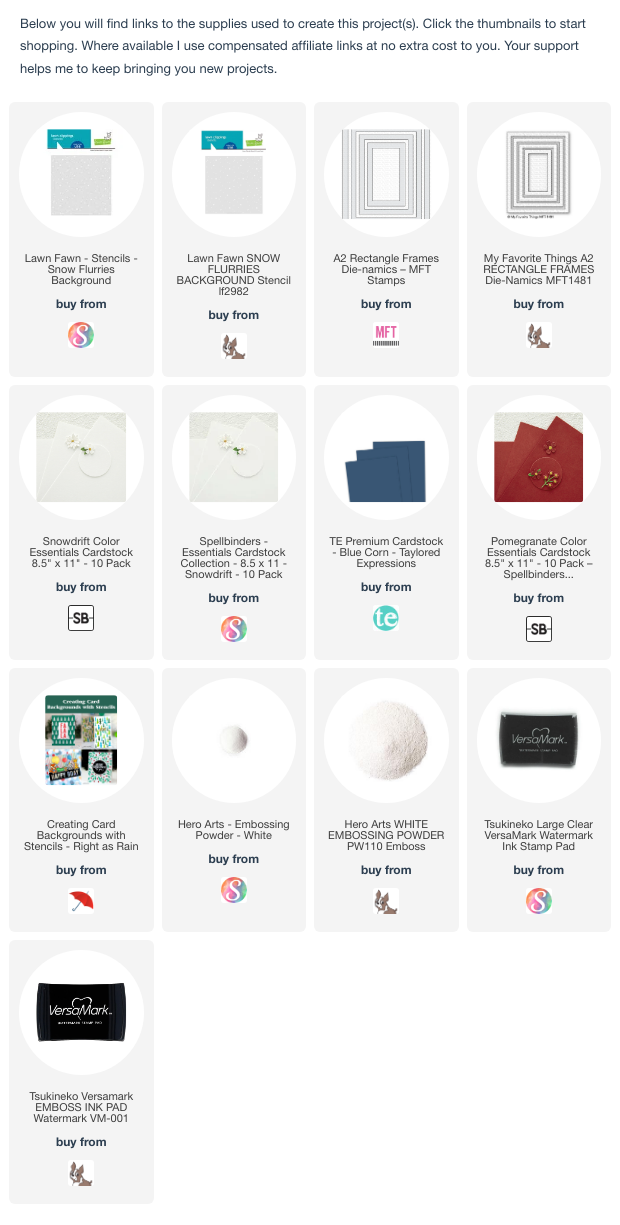
  • To begin, I stenciled and A2-size panel of Taylored Expressions Blue Corn cardstock with white paste through the Lawn Fawn Snow Flurries stencil. You can read more about stenciled backgrounds in my post HERE.
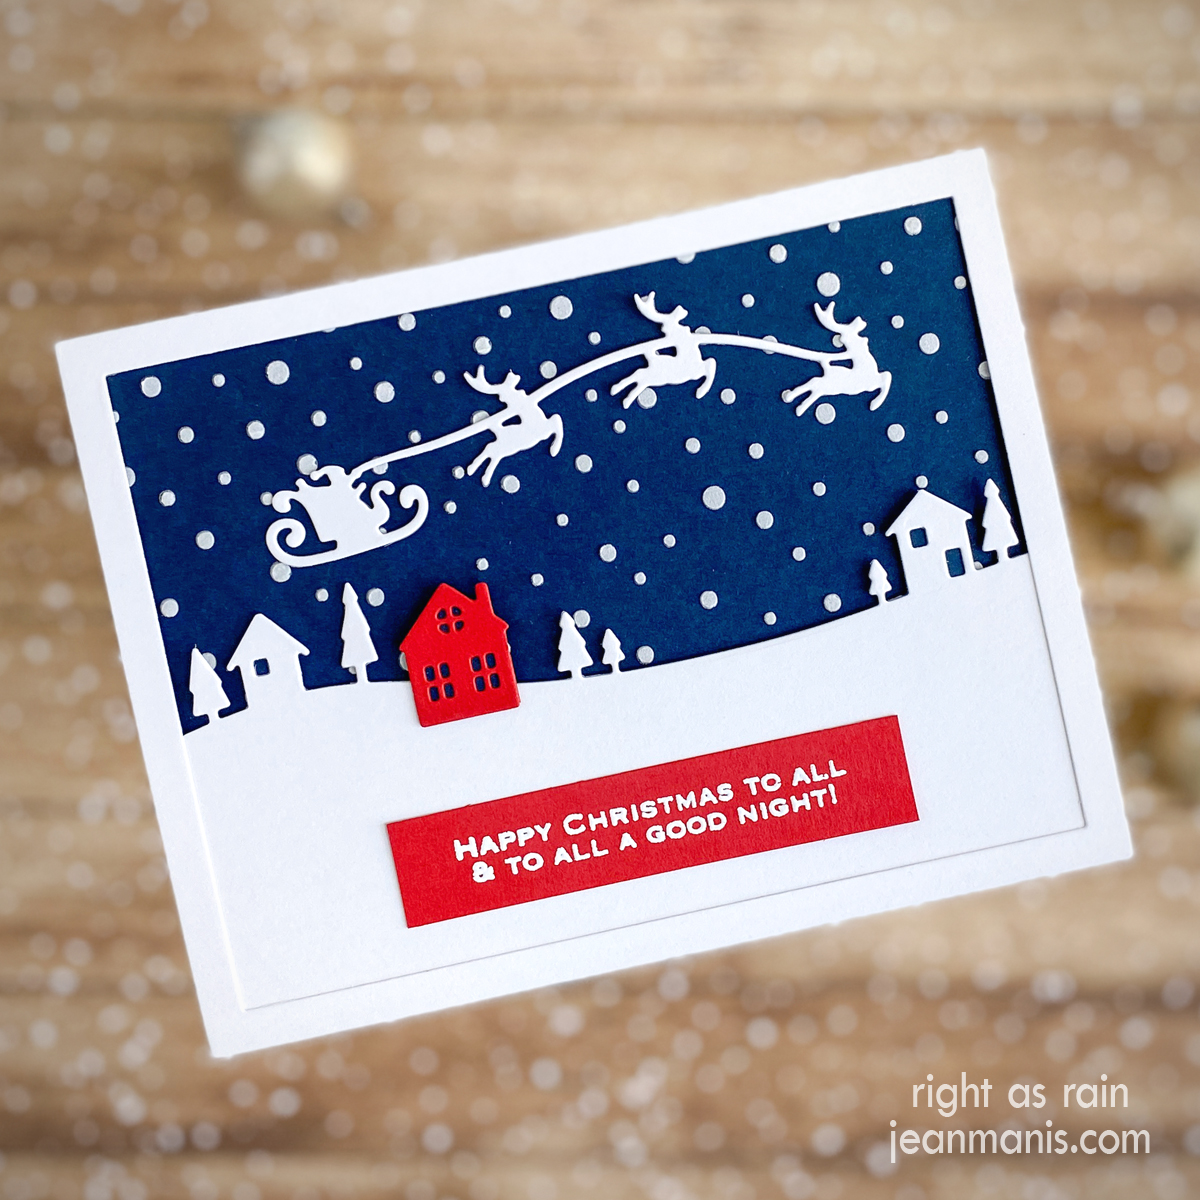
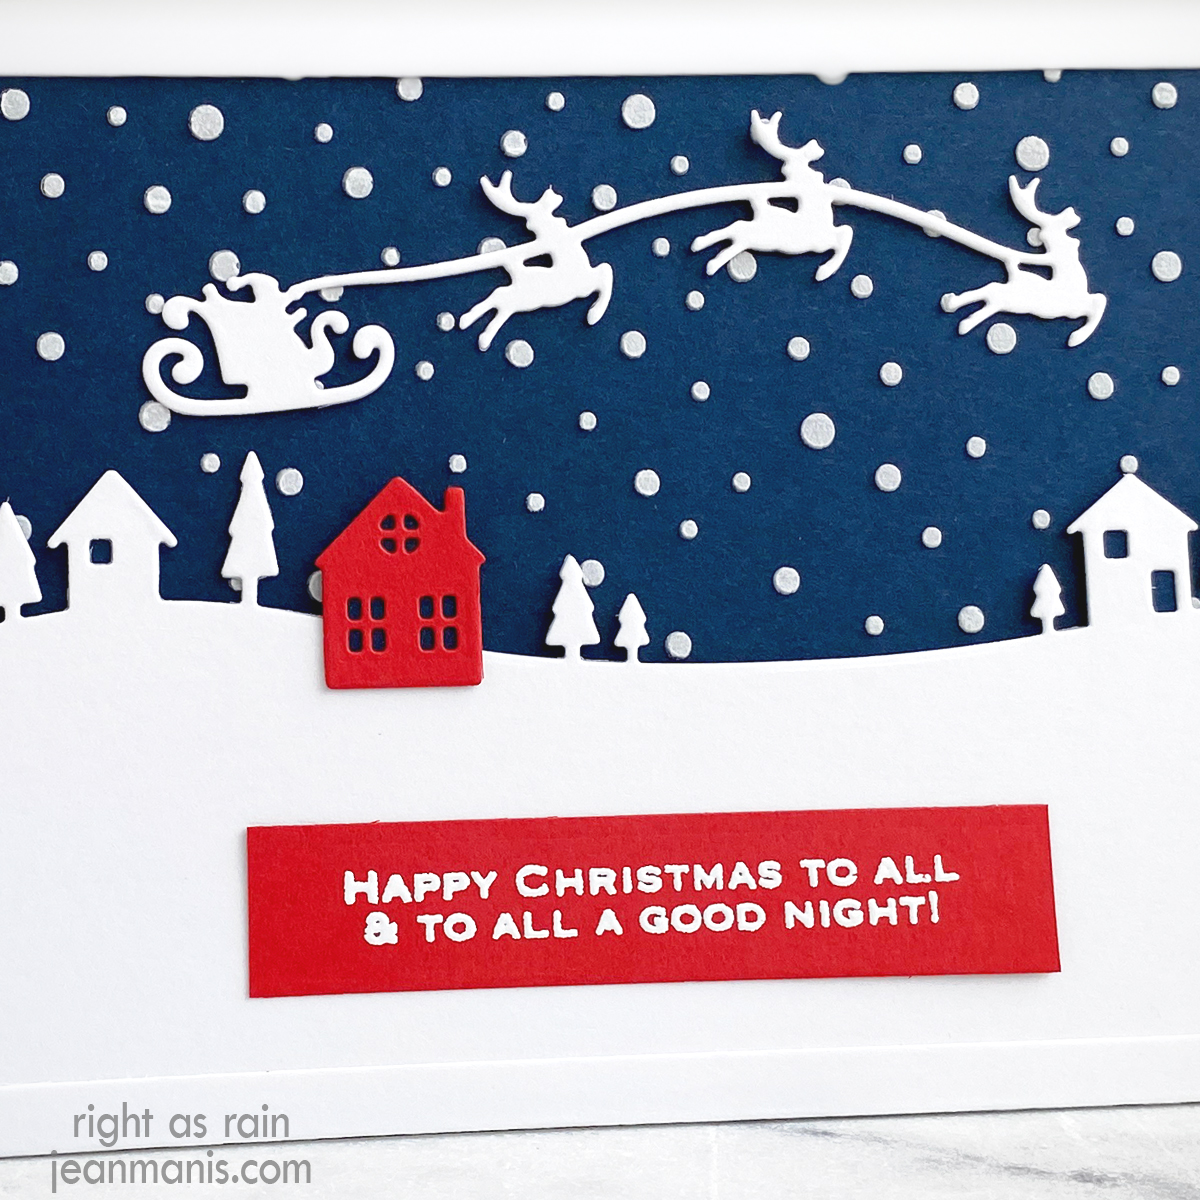
  • While the stenciled background dried, I cut the Memory Box Country Landscape (now retired) from Snowdrift cardstock. I used the Spellbinders Silent Night Make a Scene set to cut the red house and Santa and his reindeer. (The set is retired, however, I see that it is in stock at Frantic Stamper HERE. As I have mentioned before, Fran offers terrific customer service and has a large inventory.) I backed the houses with Blue Corn cardstock as I was depicting a nighttime scene.
  • With Hero Arts white powder, I heat-embossed the Essentials by Ellen Santa’s Flight set sentiment (released in 2015 and now-retired) on Pomegranate cardstock and cut it with a banner die.
  • I cut the frame from Snowdrift cardstock with the largest die in the MFT Stamps A2 Rectangle Frames set.
  • Once dry, I added the stenciled panel to the card base. I added the countryside landscape to the background, and then added the frame. Finally, Santa, the red house, and the sentiment were added.

52 Christmas Card Throwdown | Winter Countryside

I hope you are inspired to craft your own Winter Countryside card for the challenge!


52 Christmas Card Throwdown Sketch Challenge

Hello! Today I am sharing a Christmas card created for the Sketch Challenge at the 52 Christmas Card Throwdown.

52 Christmas Card Throwdown November Sketch

I absolutely love participating in sketch challenges. The limited choice in terms of design pushes me to think innovatively. Instead of feeling restricted, I find that my imagination thrives! Additionally, challenges that don’t have specific manufacturer affiliations or brand restrictions make it possible for me to explore my vast collection of crafting supplies. I can reach into my stash of paper, stamps, and dies and mix-and-match!

52 Christmas Card Throwdown | Sketch Challenge

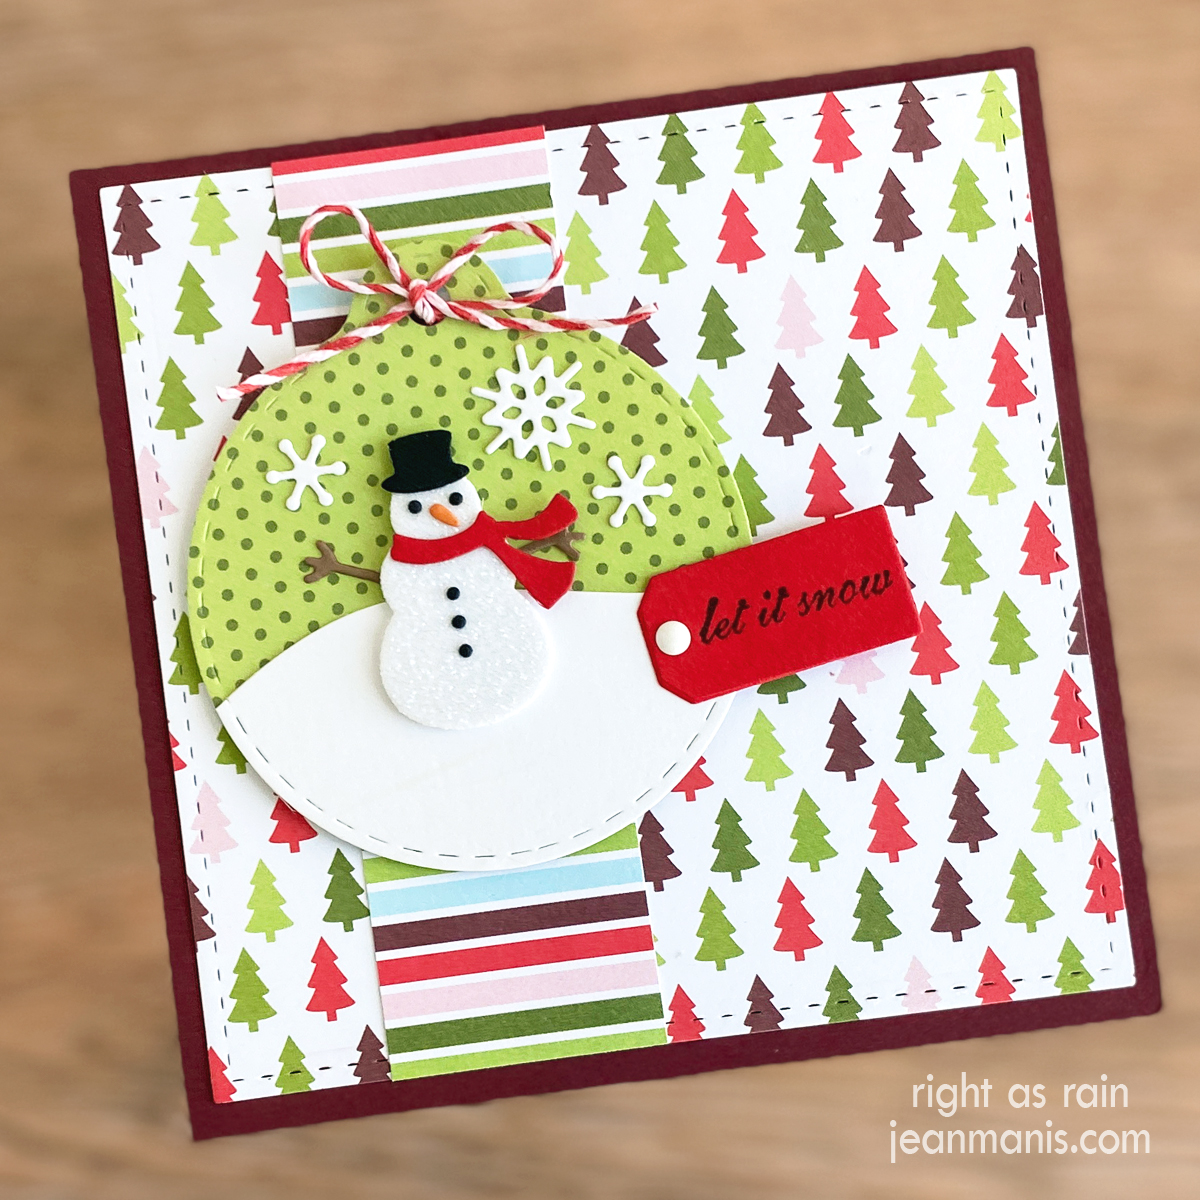
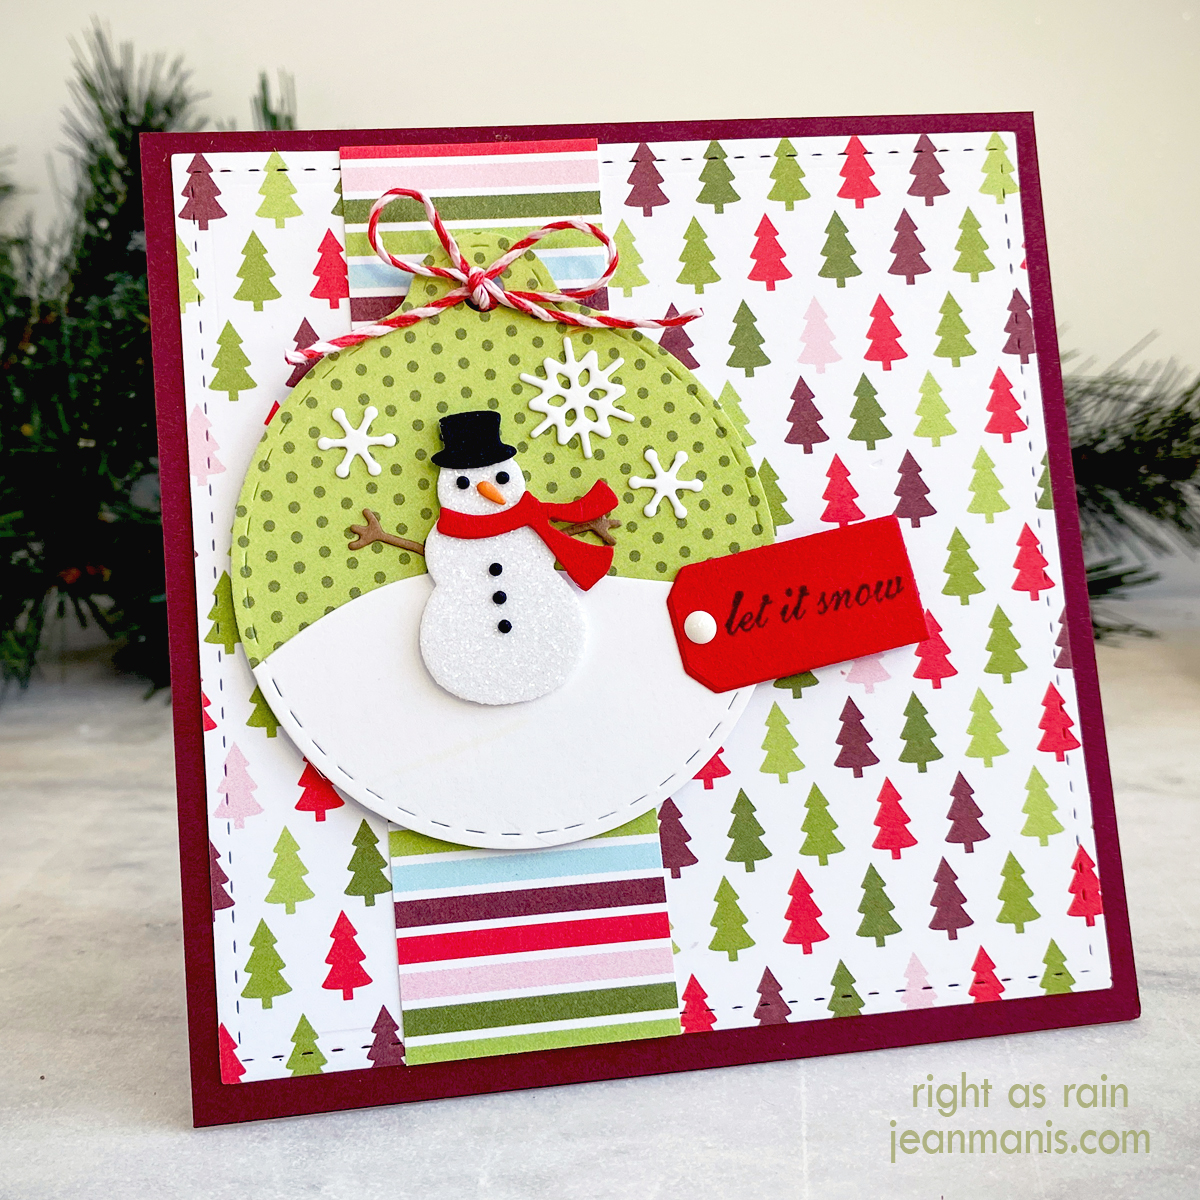
  • I cut a 4 1/4″ square of the tree patterned paper with a now-retired Lil’ Inker stitched die and added it to a 4 1/2″ card base of TE Mulled Wine cardstock. (As I mentioned in this post, patterned paper offers a quick and convenient way to add character in cardmaking. I found a now-retired package of Taylored Expressions patterned paper with a variety of coordinating papers.)
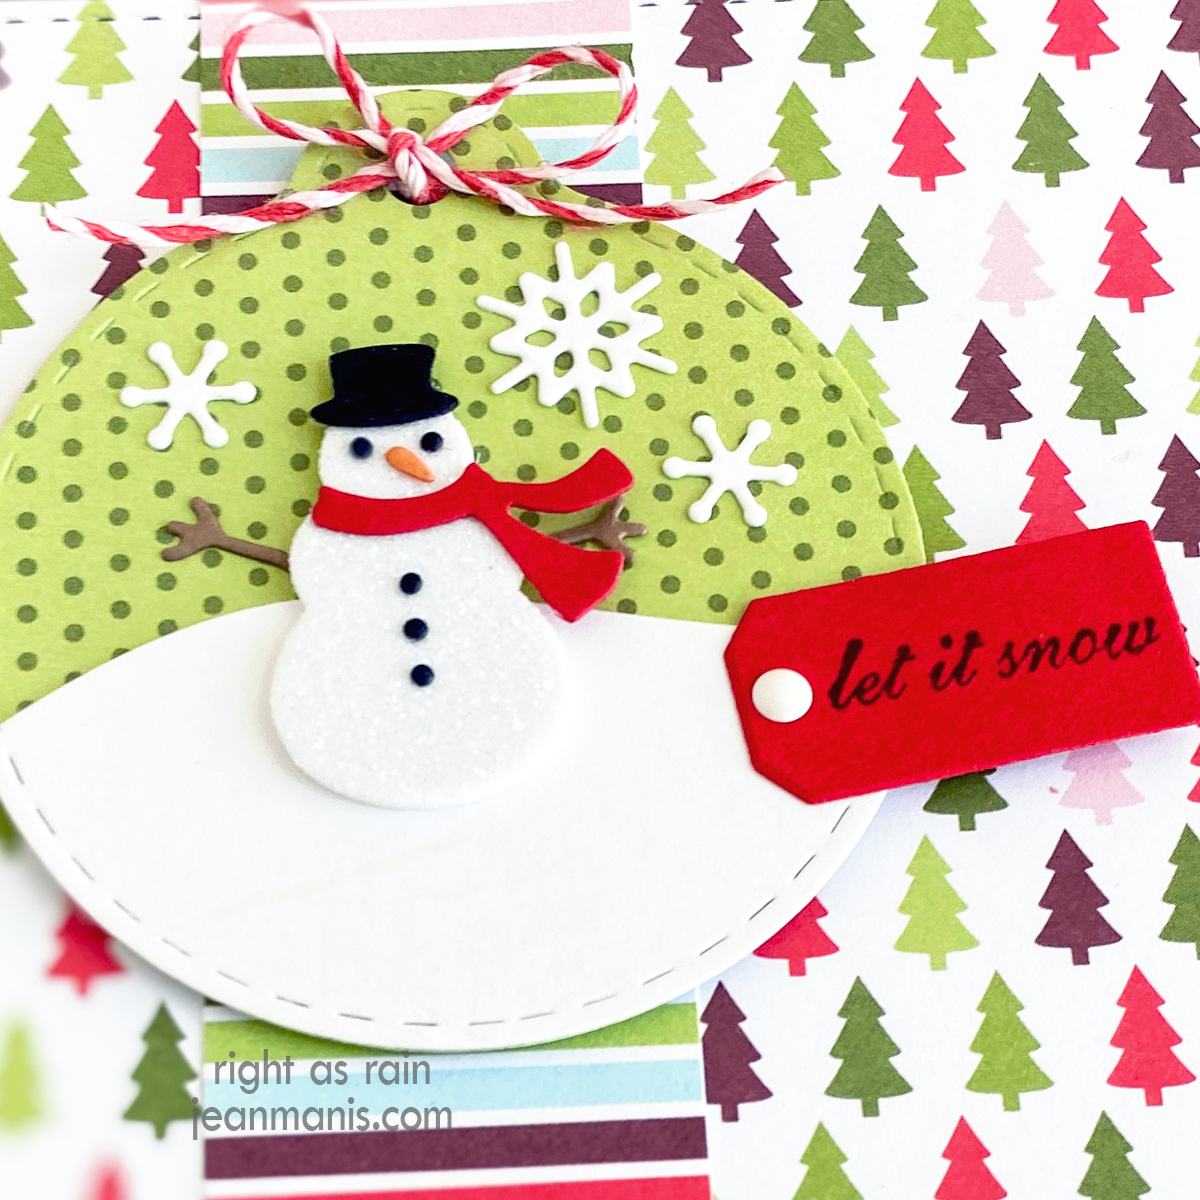
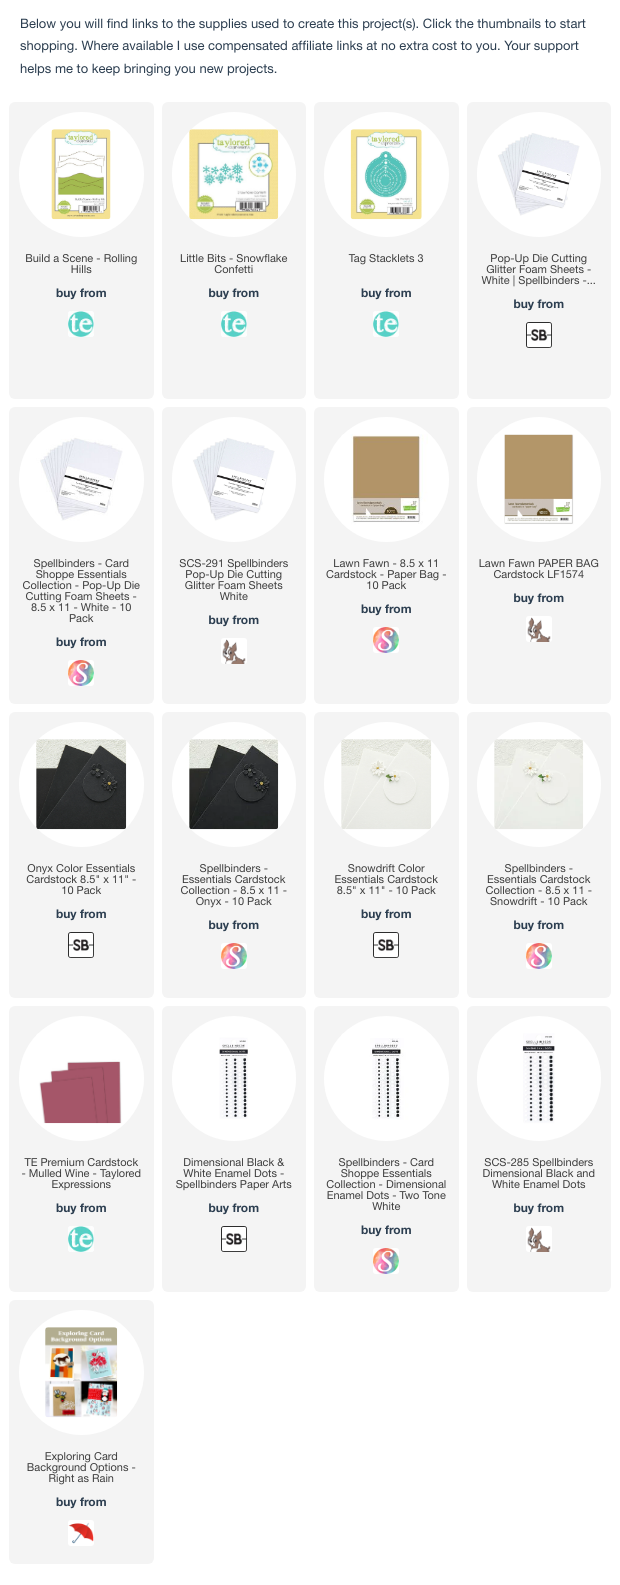
  • With one of the Tag Stacklets 3 dies, I cut the ornament from patterned paper and Snowdrift cardstock. I used a die in the Build a Scene – Rolling Hills set to cut a snowbank from Snowdrift cardstock and added it to the ornament.
  • I cut a strip of the striped paper 1 1/4″ x 4 1/4″ and added it to the background and the ornament to the strip.
  • With the Taylored Expression Little Bits Snowman die set (now-retired), I cut the pieces and assembled the snowman. I used the Little Bits – Snowflake Confetti set to cut snowflakes from the Snowdrift cardstock. I adhered the snowman and snowflakes to the circle ornament and tied twine at the top.
  • I used the Savvy “Let It Snow” rubber stamp, (bought over a decade ago at the Impress stamp store in Seattle), for the sentiment and cut it with a die in the TE Mini Tags set (the set is now retired, although there appear to be similar small tag dies on the Taylored Expressions site). I added the tag to the ornament with an enamel dot.

52 Christmas Card Throwdown | Sketch Challenge

This challenge gave me the perfect excuse to revisit forgotten gems in my stash.