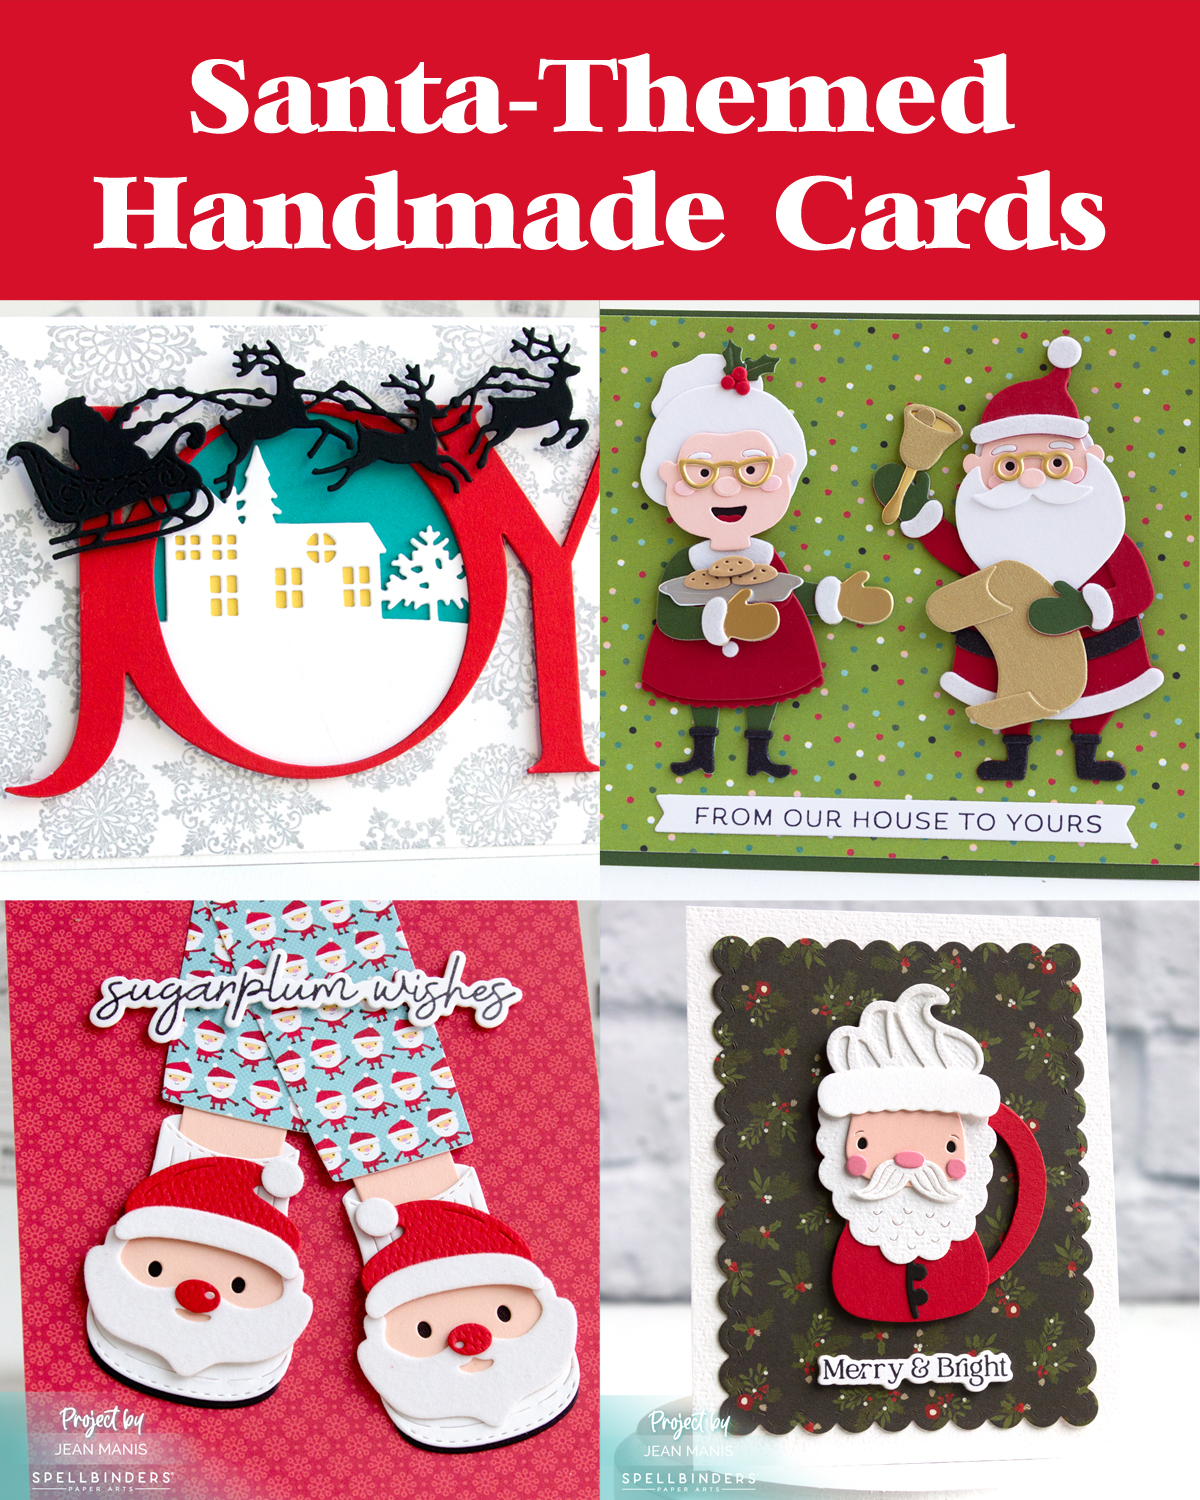
Hello! Santa Claus never goes out of style when it comes to holiday cardmaking. Last year I shared a round-up of Santa cards, and this season I’ve gathered together more designs to inspire your holiday crafting. Click on any card image to visit the original post for details on supplies and techniques.
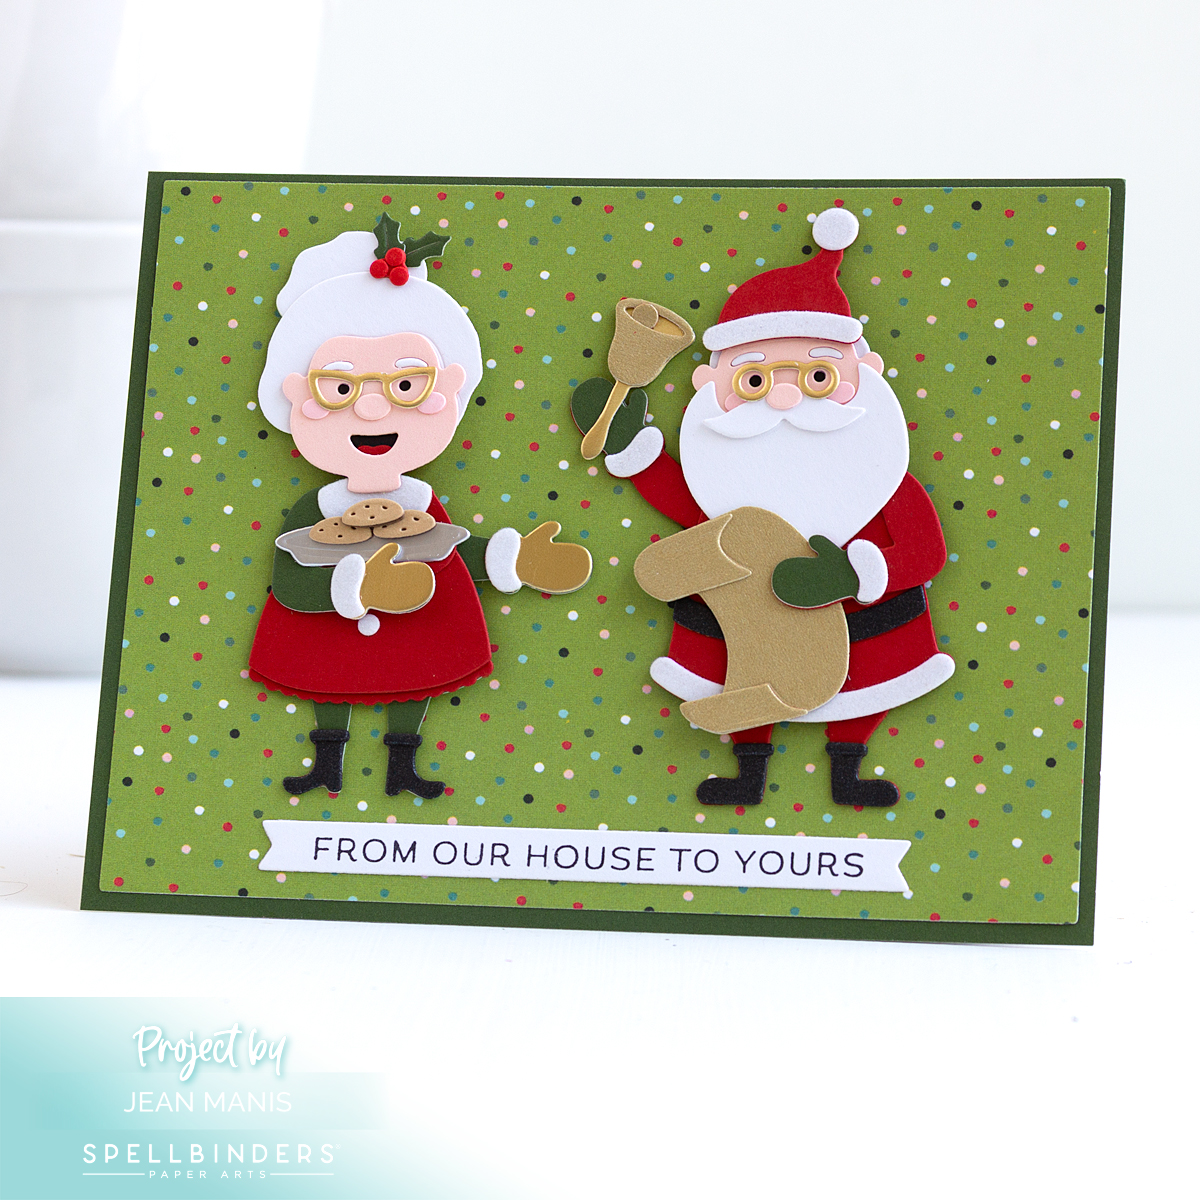
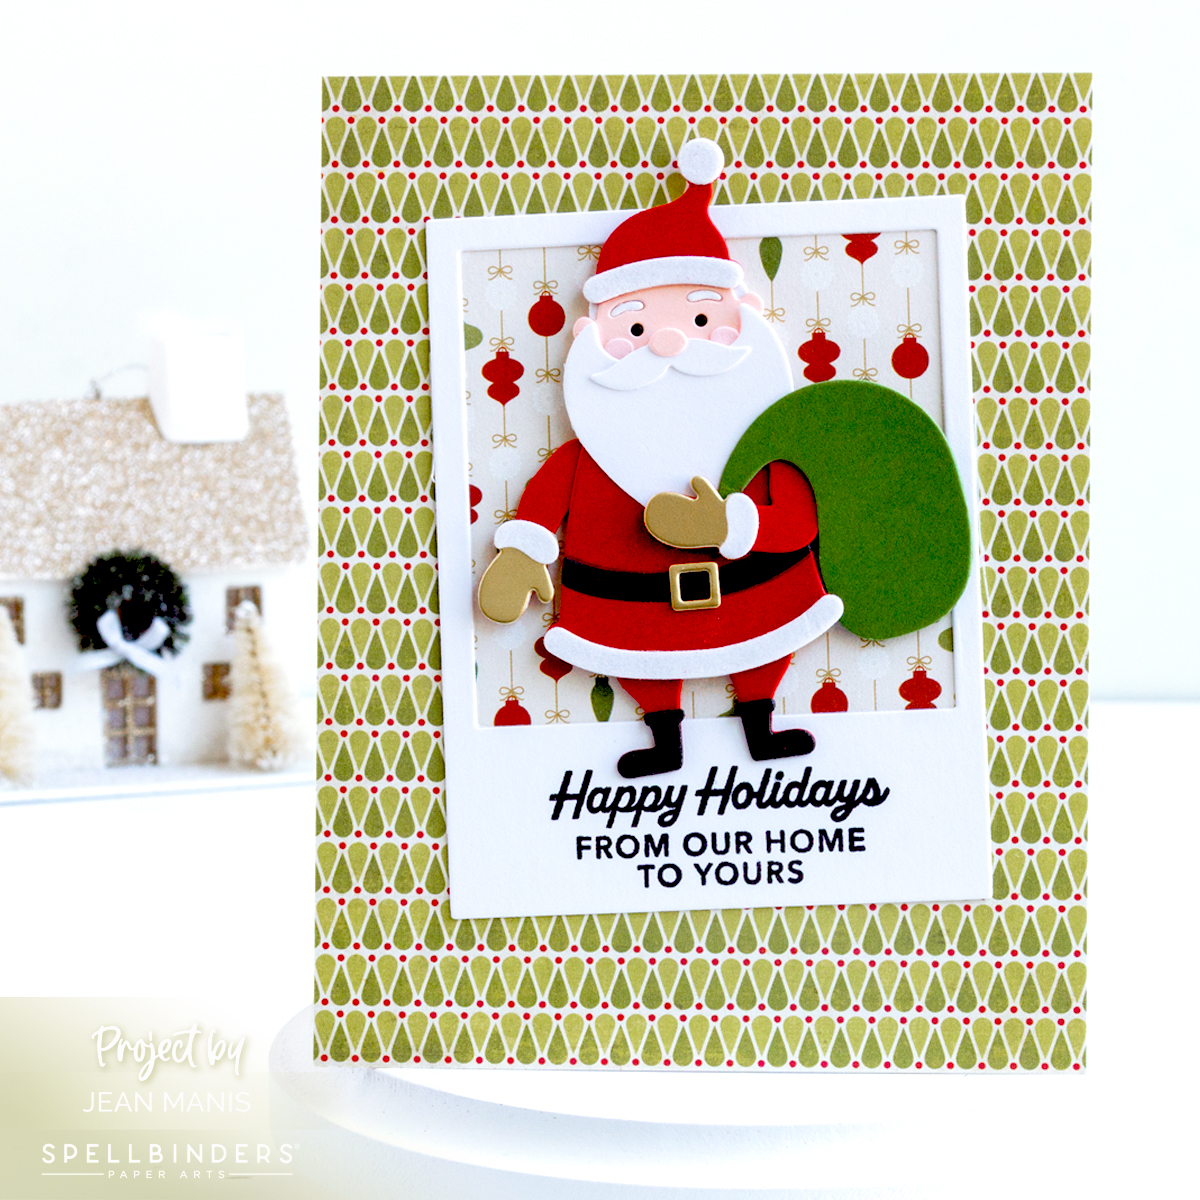
Two of the cards in this round-up were created with the same die set that includes Santa, Mrs. Claus, and an assortment of holiday props.
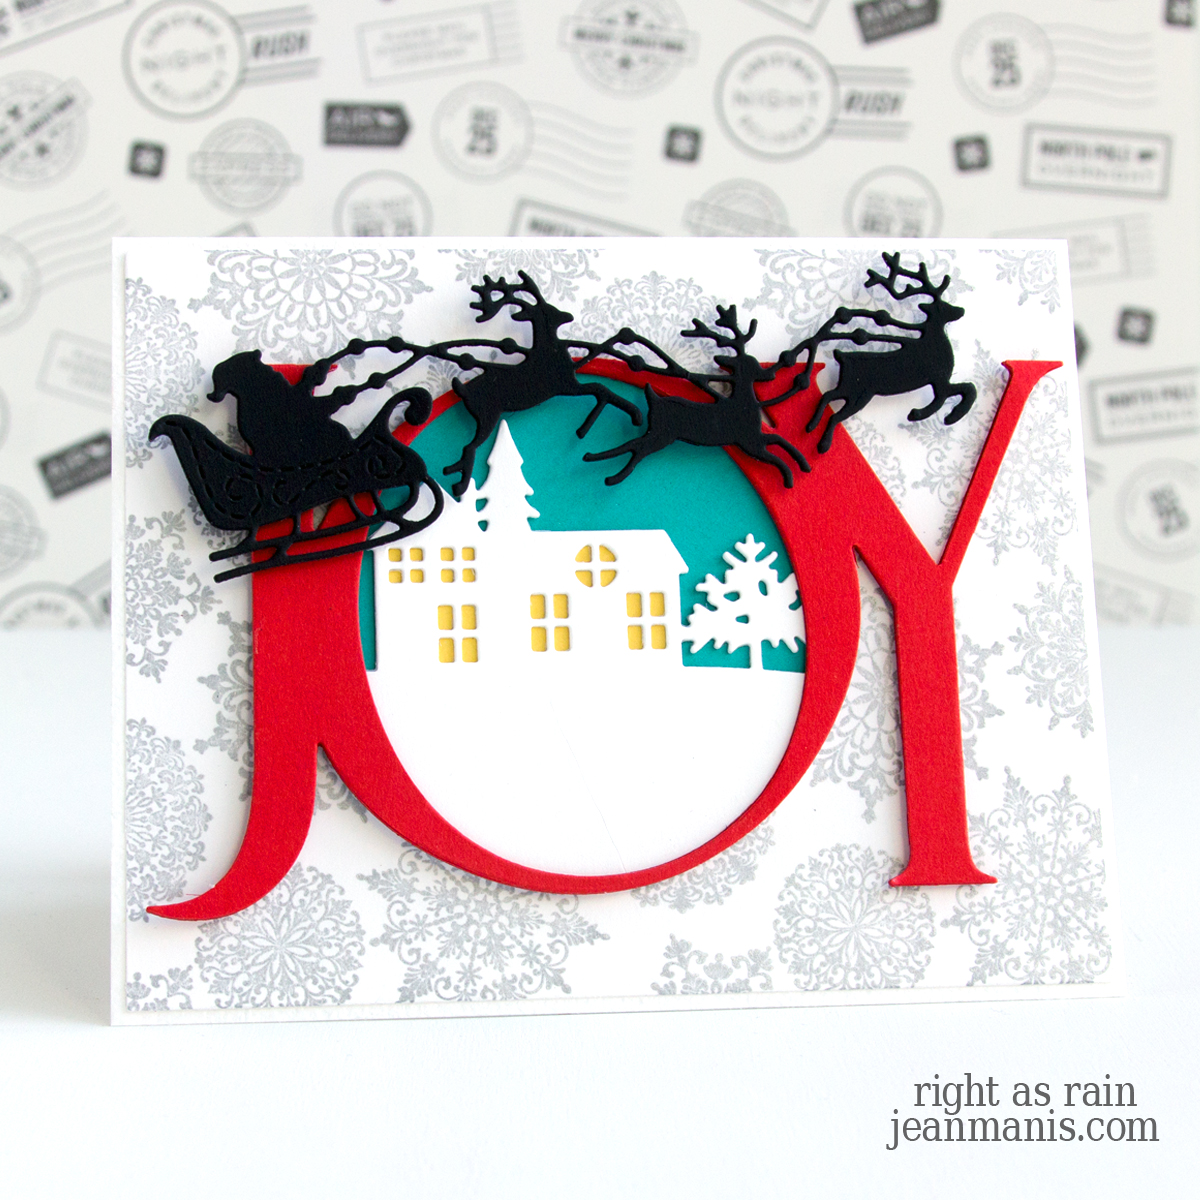
The iconic silhouette of Santa and his reindeer soaring through the night sky perfectly captures the wonder and enchantment of Christmas Eve.
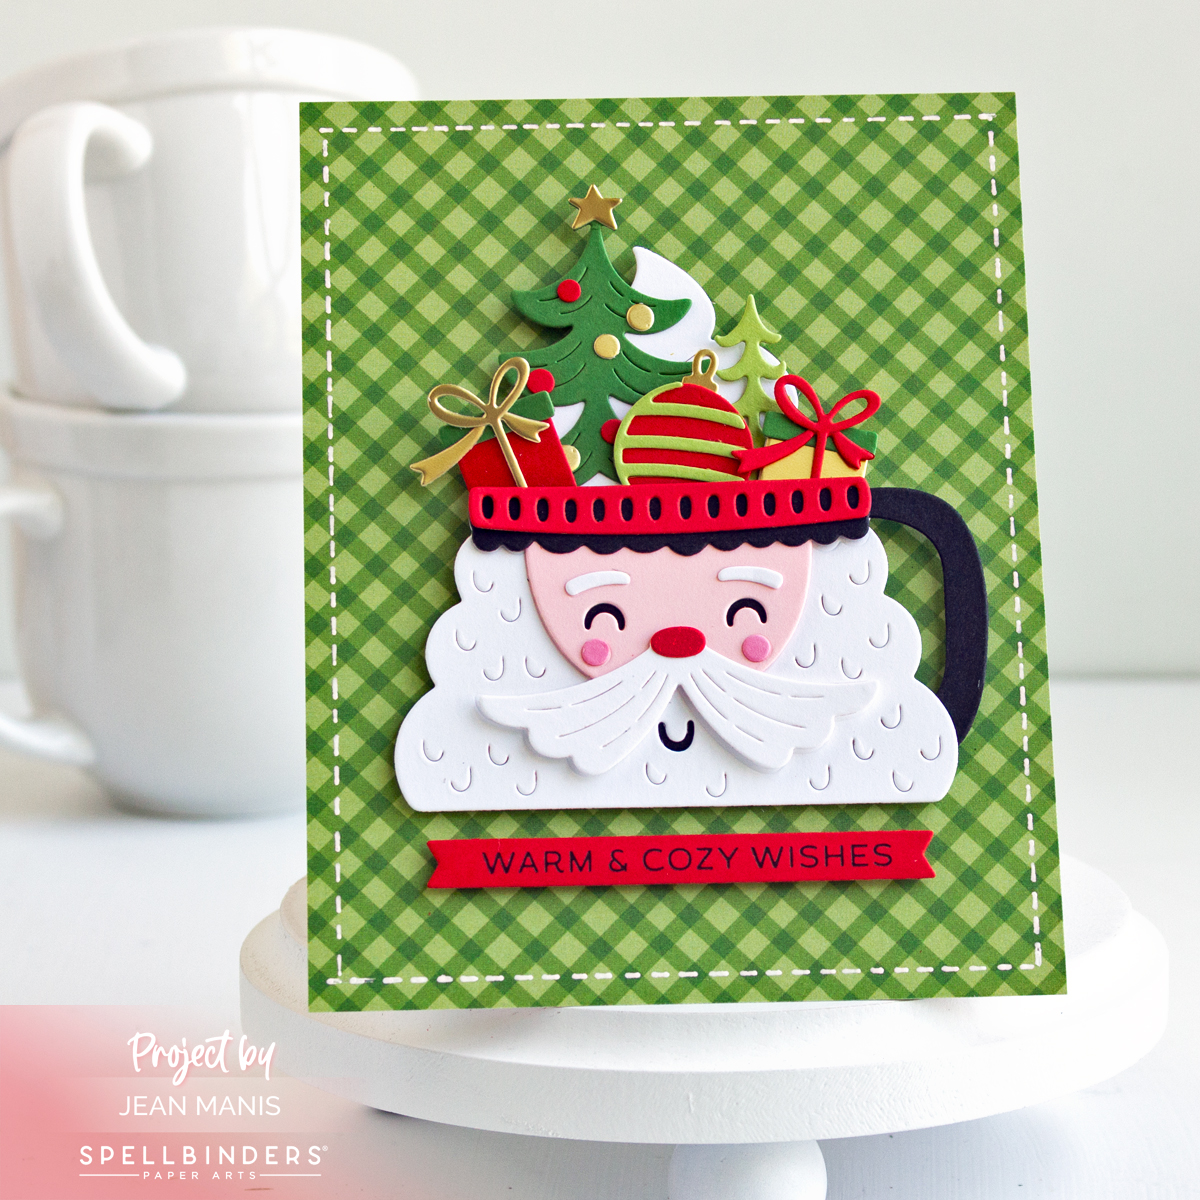
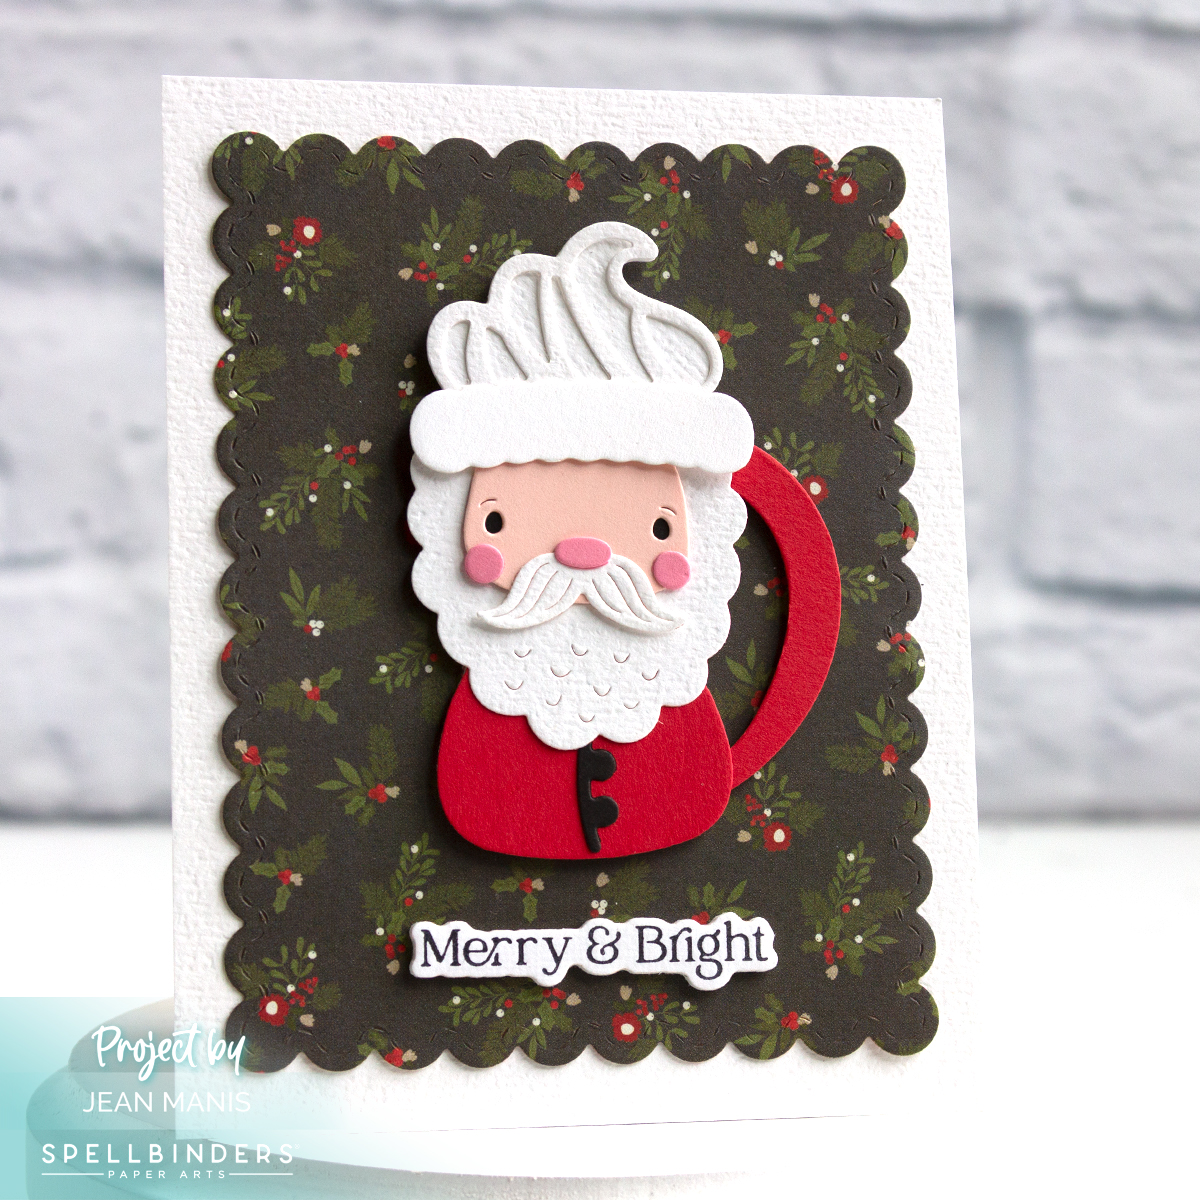
Santa mugs have been a holiday favorite for generations, often collected as cheerful kitchen décor. They make a delightful focal point on a card, recalling the warmth of cocoa and Christmas mornings.
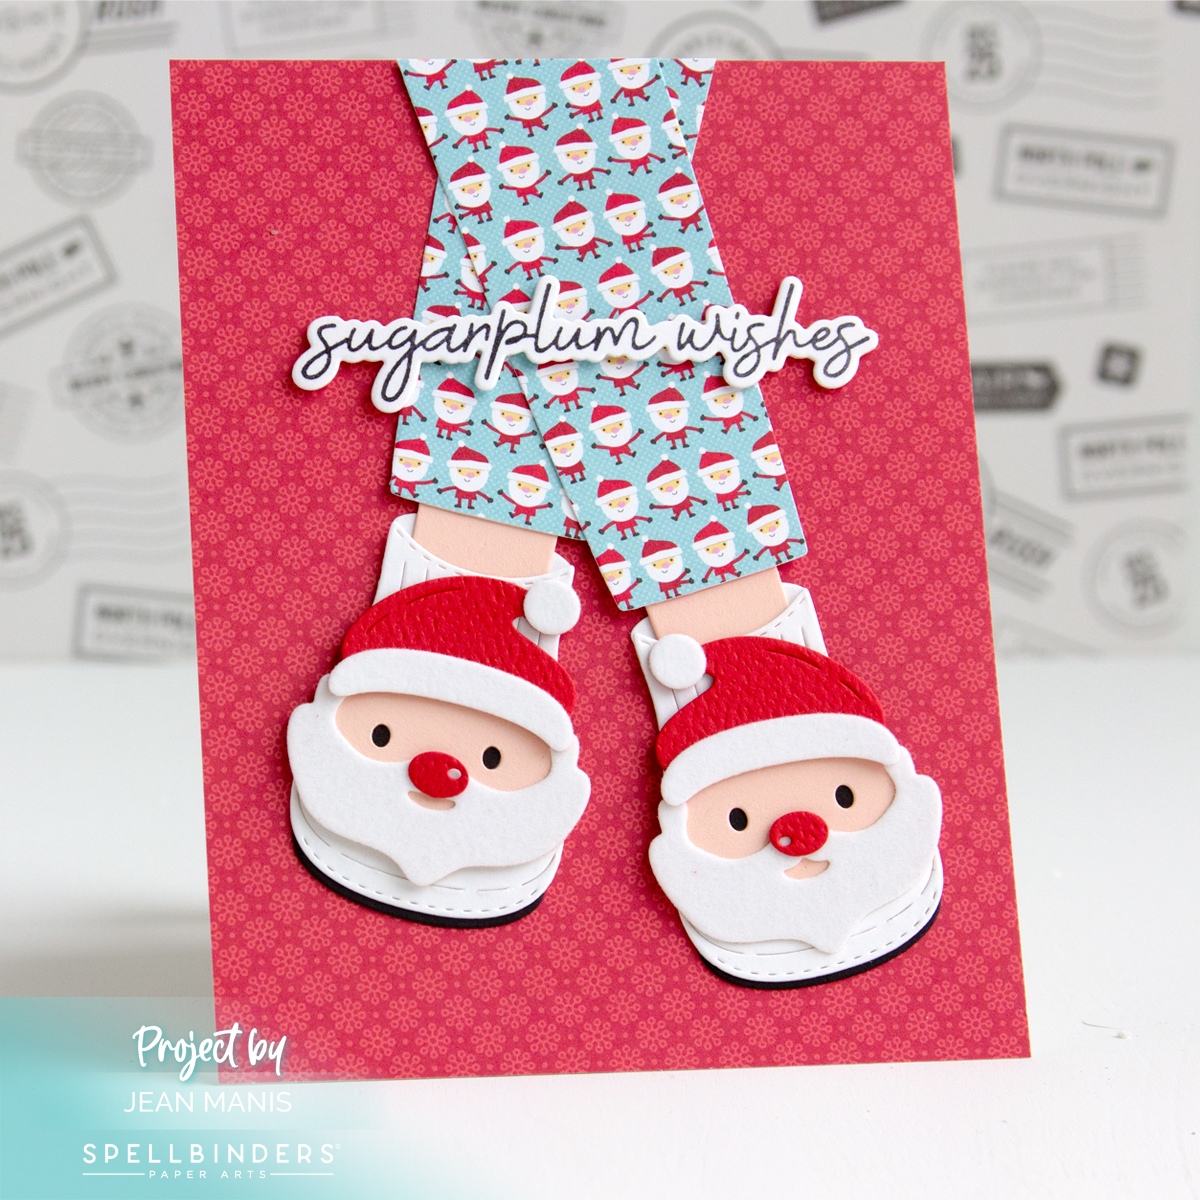
Santa pajamas with matching slippers celebrate the playful tradition of festive holiday sleepwear and the joy of Christmas morning.
These Santa cards are a mix of nostalgia and cozy holiday charm. Do you use Santa as a motif in your own cardmaking? I hope these designs will spark new inspiration for your holiday crafting!