Spellbinders Halloween – Boo!

Hello! Today I am sharing two cards created with the just-released Halloween Collection at Spellbinders. Spellbinders has added Halloween-themed die sets to the previously-released Open House Collection – Open House Halloween and Open House Boo!. I shared Christmas cards created with the Open House Collection here and here. Halloween is one of my favorite holidays, and I am delighted with these additions!

Spellbinders Halloween - Boo!

Spellbinders Halloween - Boo!

The first card measures 6 inches tall by 6 1/4 inches wide when fully opened. When closed, the card is 3 1/8 inches wide. I used 12 inch x 12 inch double-sided patterned paper for the base. The paper was scored so that two panels open to reveal the Halloween door (including Side Panels) in the center, with pumpkins, ghosts, and a scary cat on the sides. I covered the front and back with coordinating patterned paper (the back side of the pattern used on the inside would not have worked for the front).

I cut the sentiment for the front (twice for depth) with the dies in the Open House Boo! set, which I added to a rectangle closure. I used the Open House Topiary set to cut the pots on the front of the card in which to place the ghosts.

Spellbinders Halloween - Boo!

I die-cut elements from both the Open House Halloween and Open House Boo! sets to decorate the door and the interior panels.

Spellbinders Halloween - Boo!

The second card combines Halloween elements with the Sweet Shoppe set. I previously used that die set here. I envisioned a store window decorated ghoulishly for the holidays.

Spellbinders Halloween - Boo!

I used patterned paper for my base and added a rectangle cut from coordinating paper to mat the store front window frame.

Spellbinders Halloween - Boo!

To decorate the shop, I die-cut elements from both the Open House Halloween and Open House Boo! sets. I die-cut the sentiment twice, offsetting the bottom layer (as a drop shadow).


Rubbernecker School Spirit Gnomes

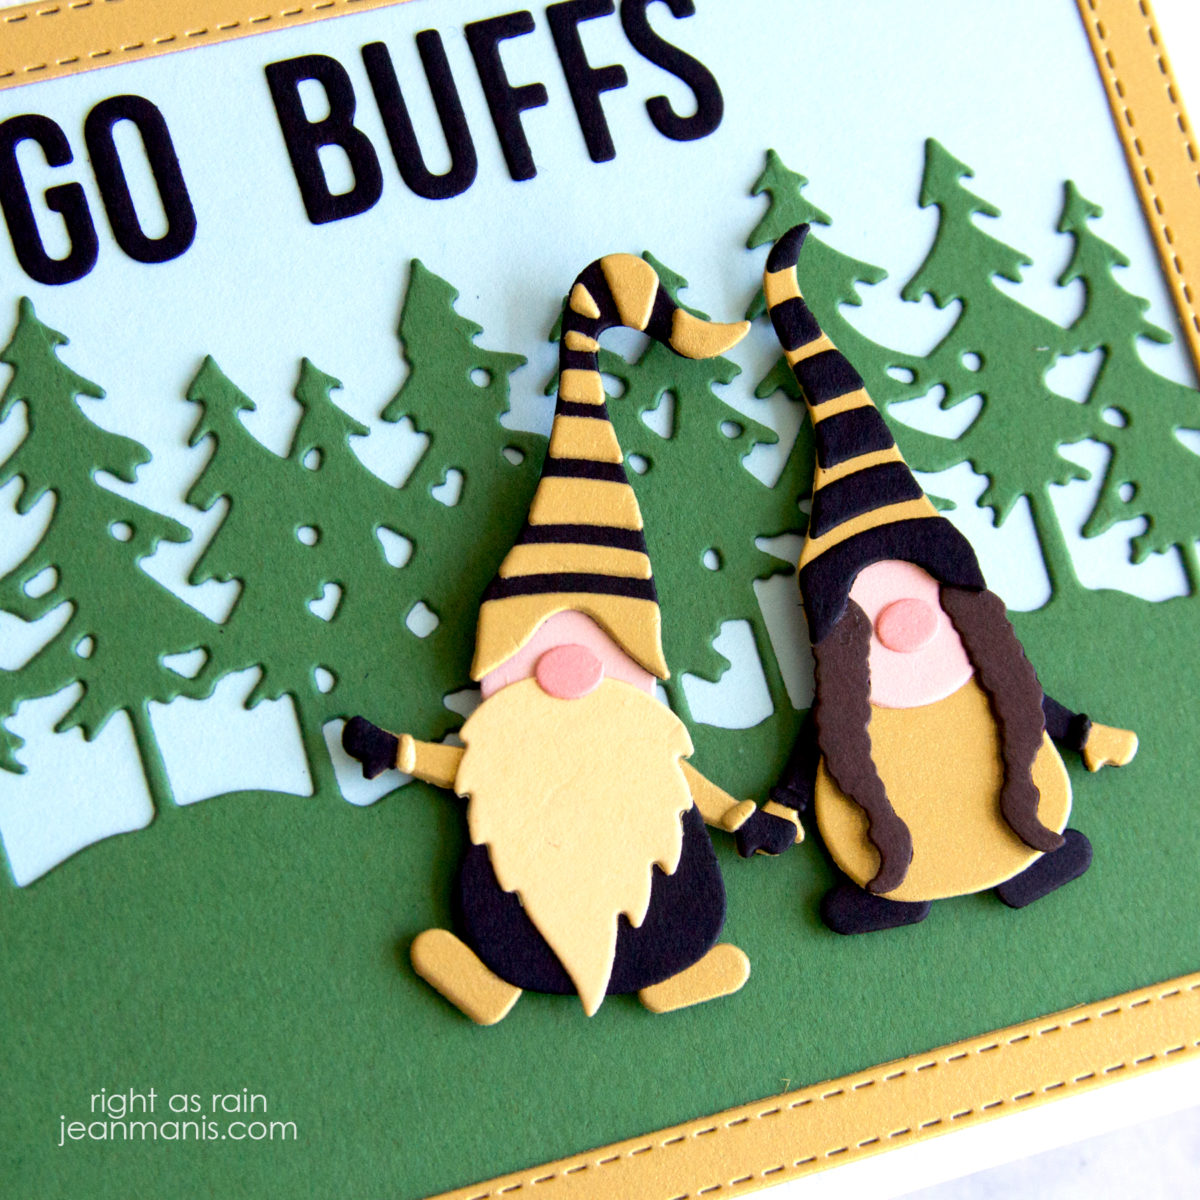
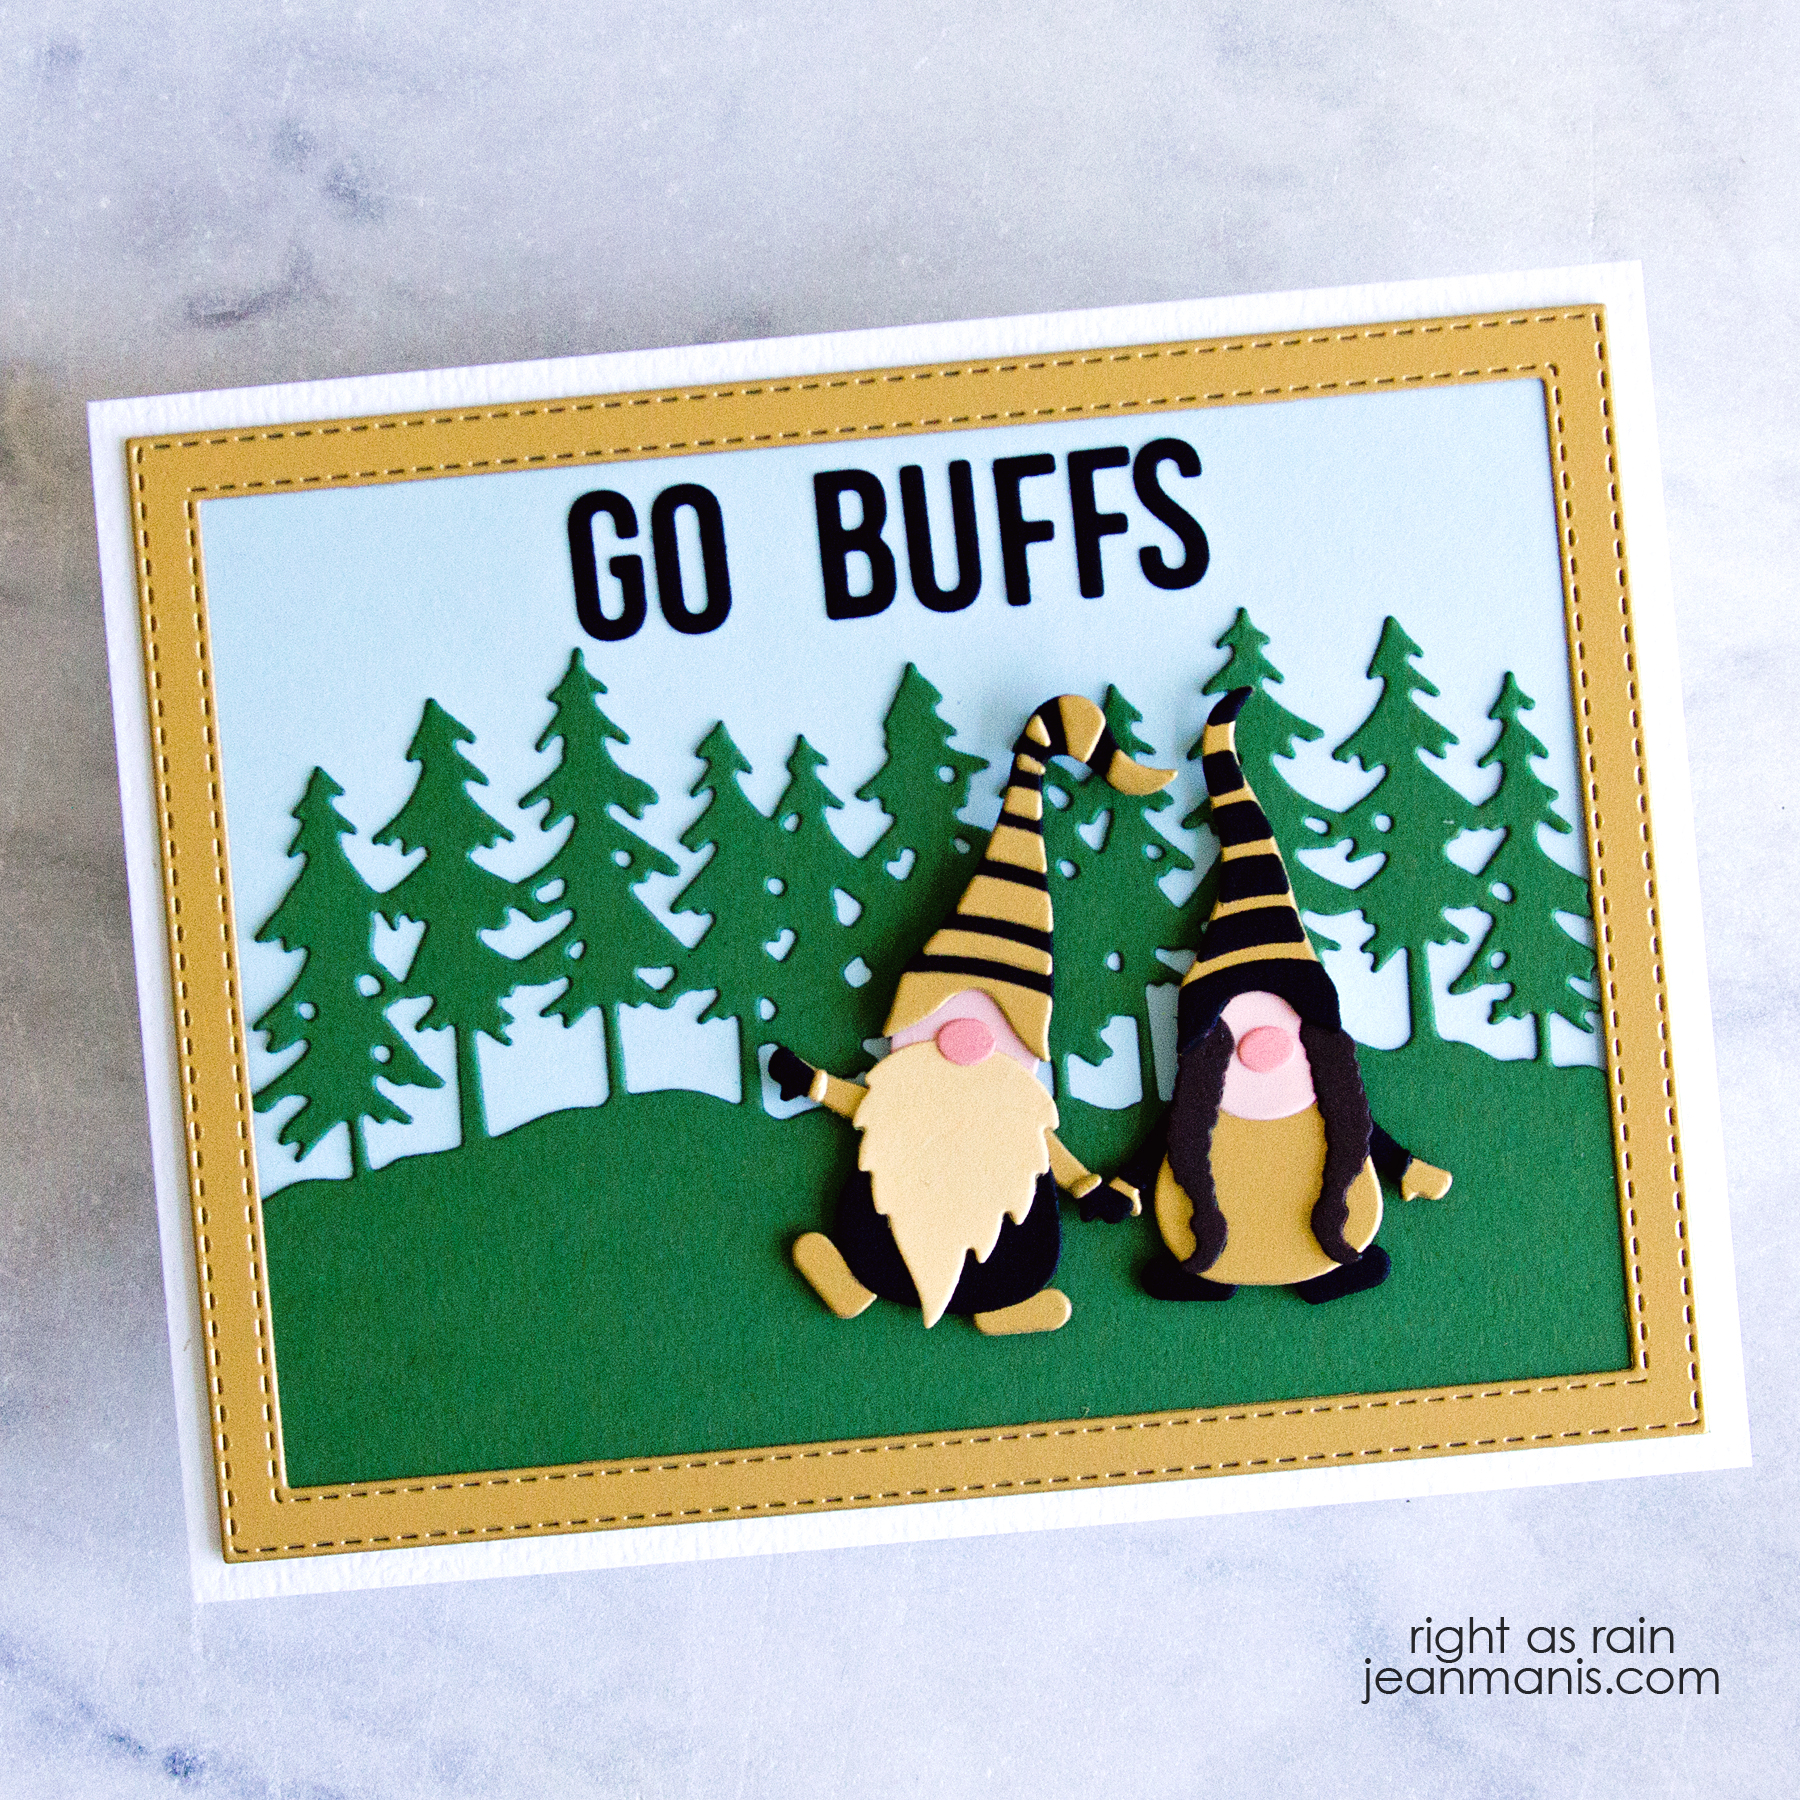
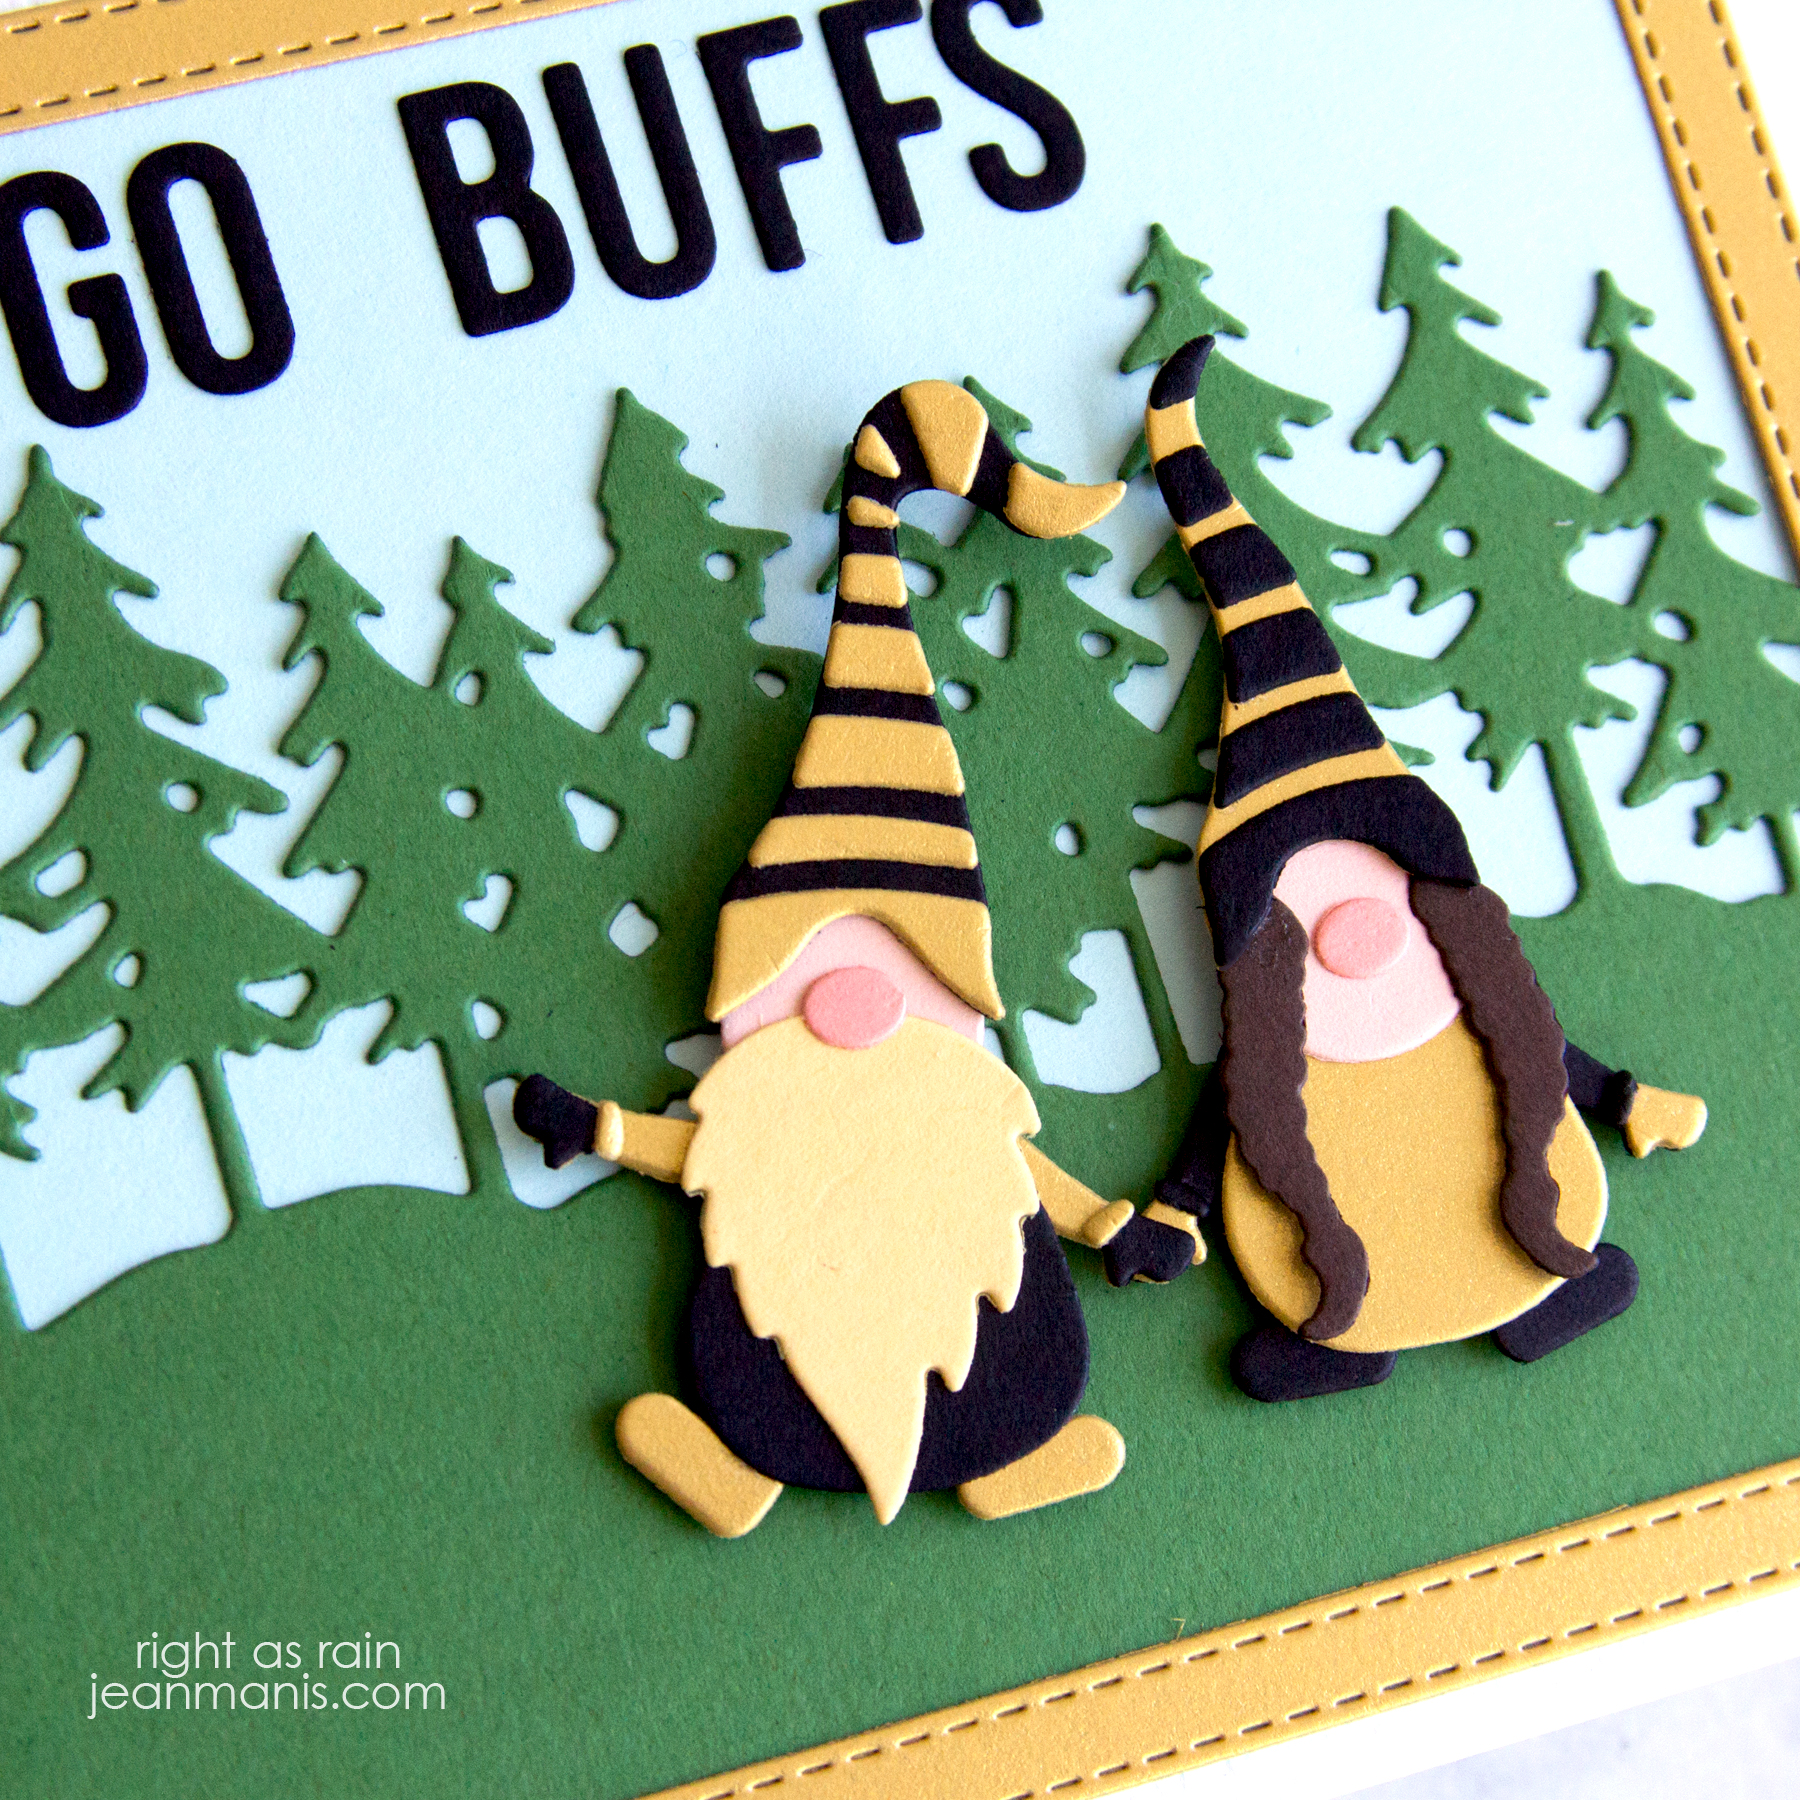
Hello! Can you believe it is almost time for fall football? I created a card featuring the Rubbernecker Gnome Couple headed to a football game at the University of Colorado (my alma mater). CU’s colors are gold and black; the mascot is a buffalo.

Rubbernecker School Spirit Gnomes

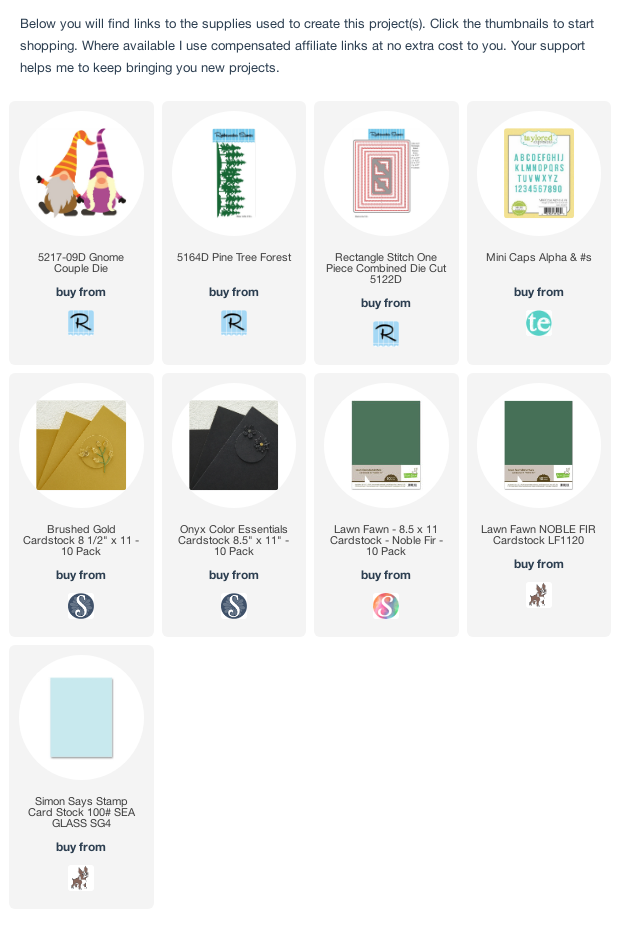
  • I die-cut the Gnome Couple from colored cardstock and assembled the pieces.
  • I die-cut the Rectangle Stitch frame from Brushed Gold cardstock.
  • I die-cut the Pine Tree Forest from Noble Fir cardstock.
  • I trimmed the Pine Tree Forest before attaching it to a panel of Sea Glass cardstock.
  • I attached the frame to the front of the panel.
  • I die-cut and attached the custom sentiment to the sky.
  • I added the gnomes to the scene with foam adhesive and added the assembly to a white card base.

Rubbernecker School Spirit Gnomes

I have previously featured the Gnome Couple here and here. I used the Pine Tree Forest here.

Introducing Spellbinders Trim the Tree Collection

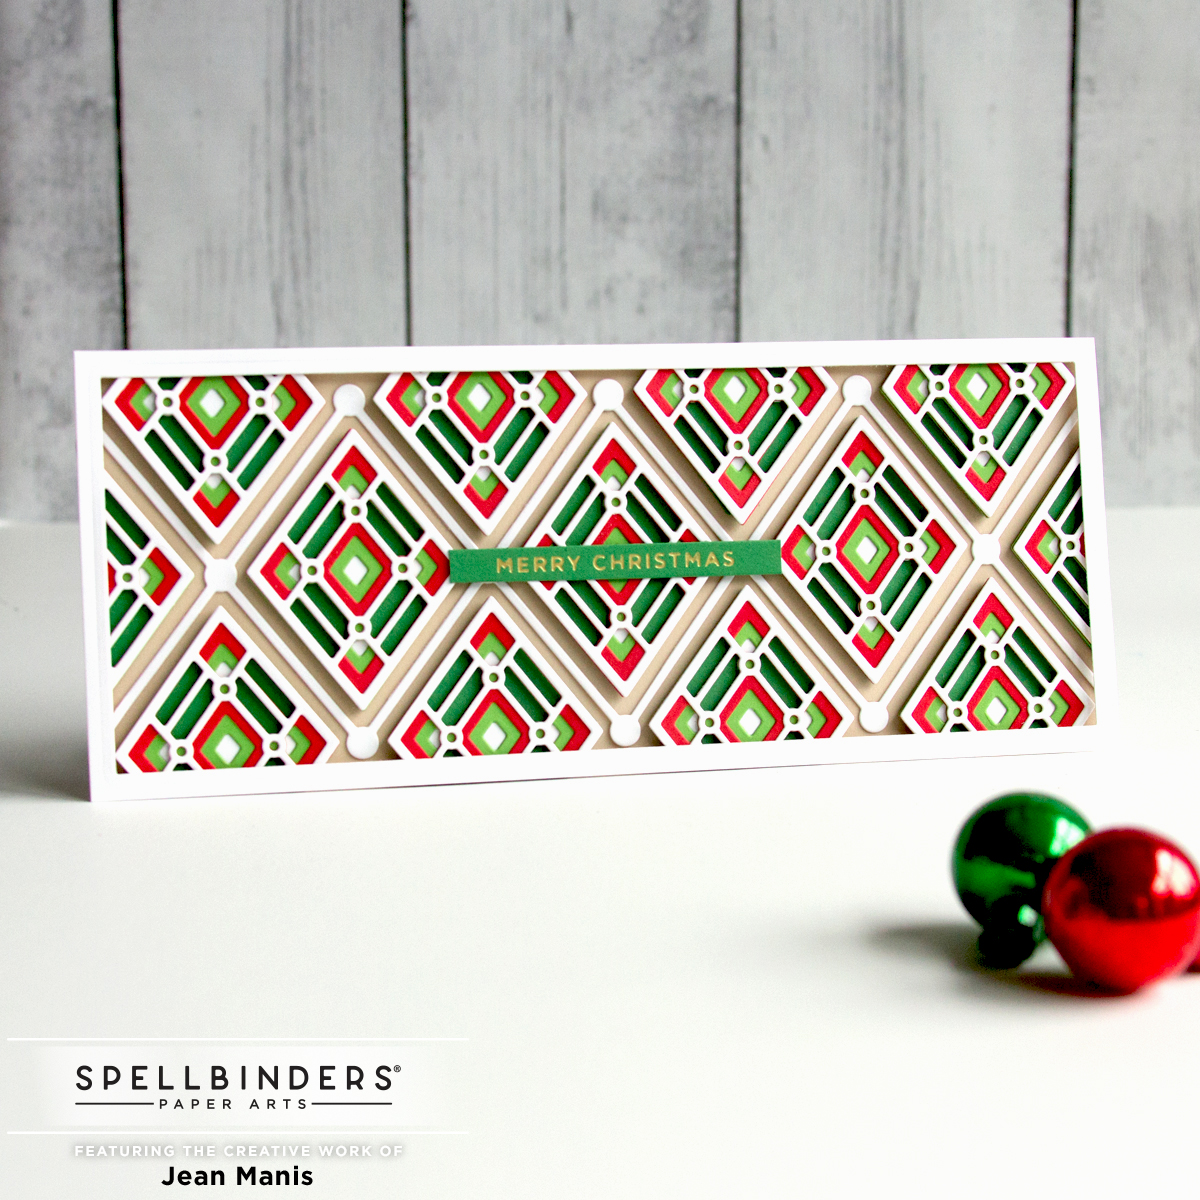
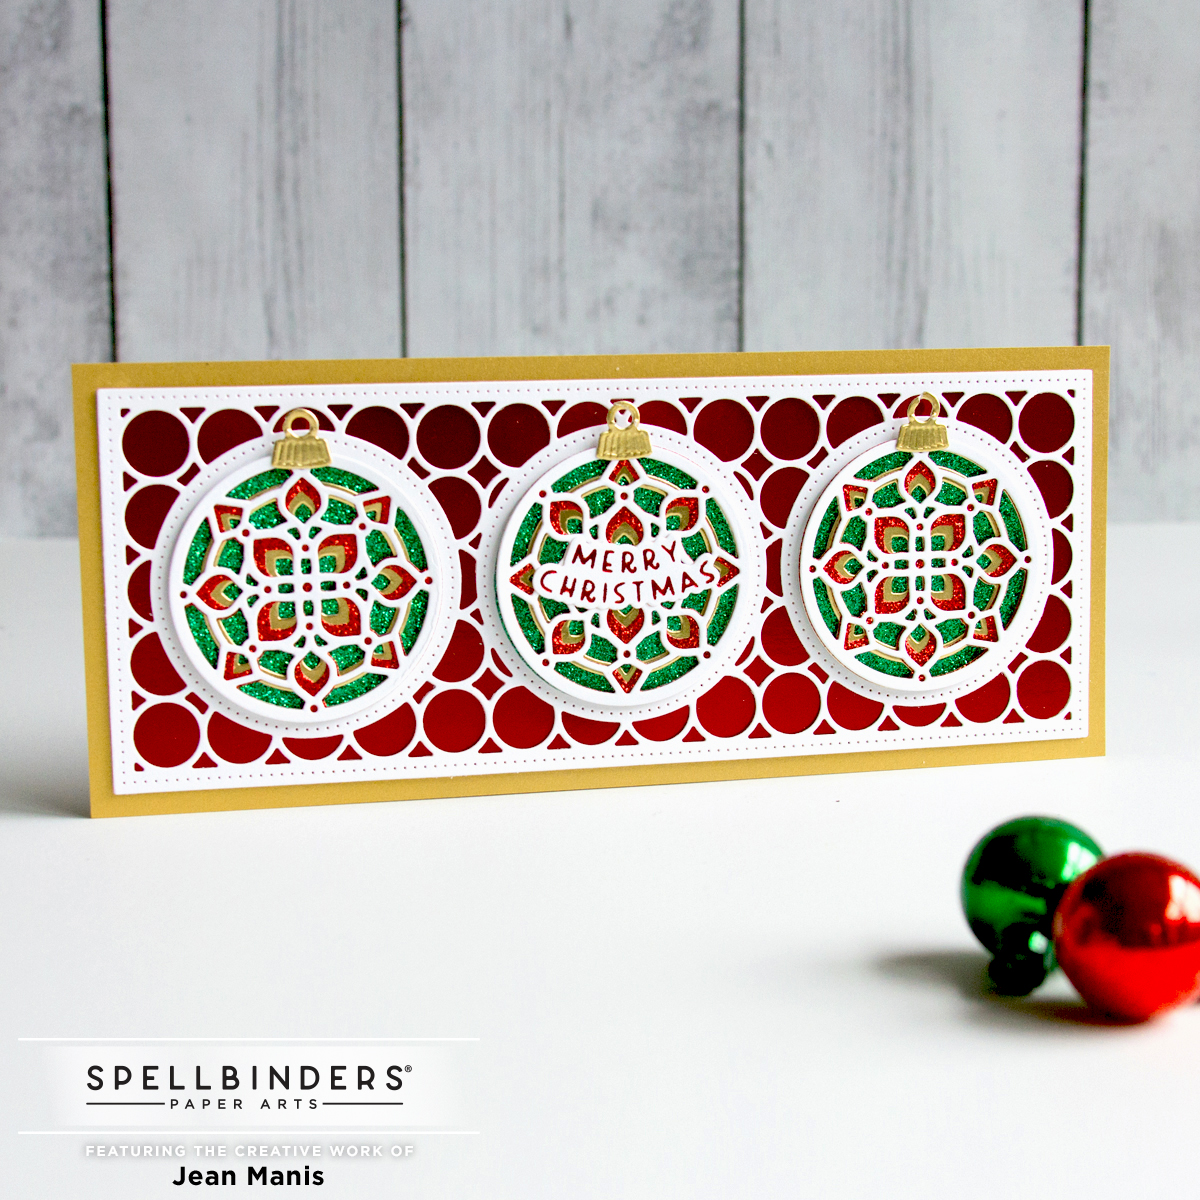
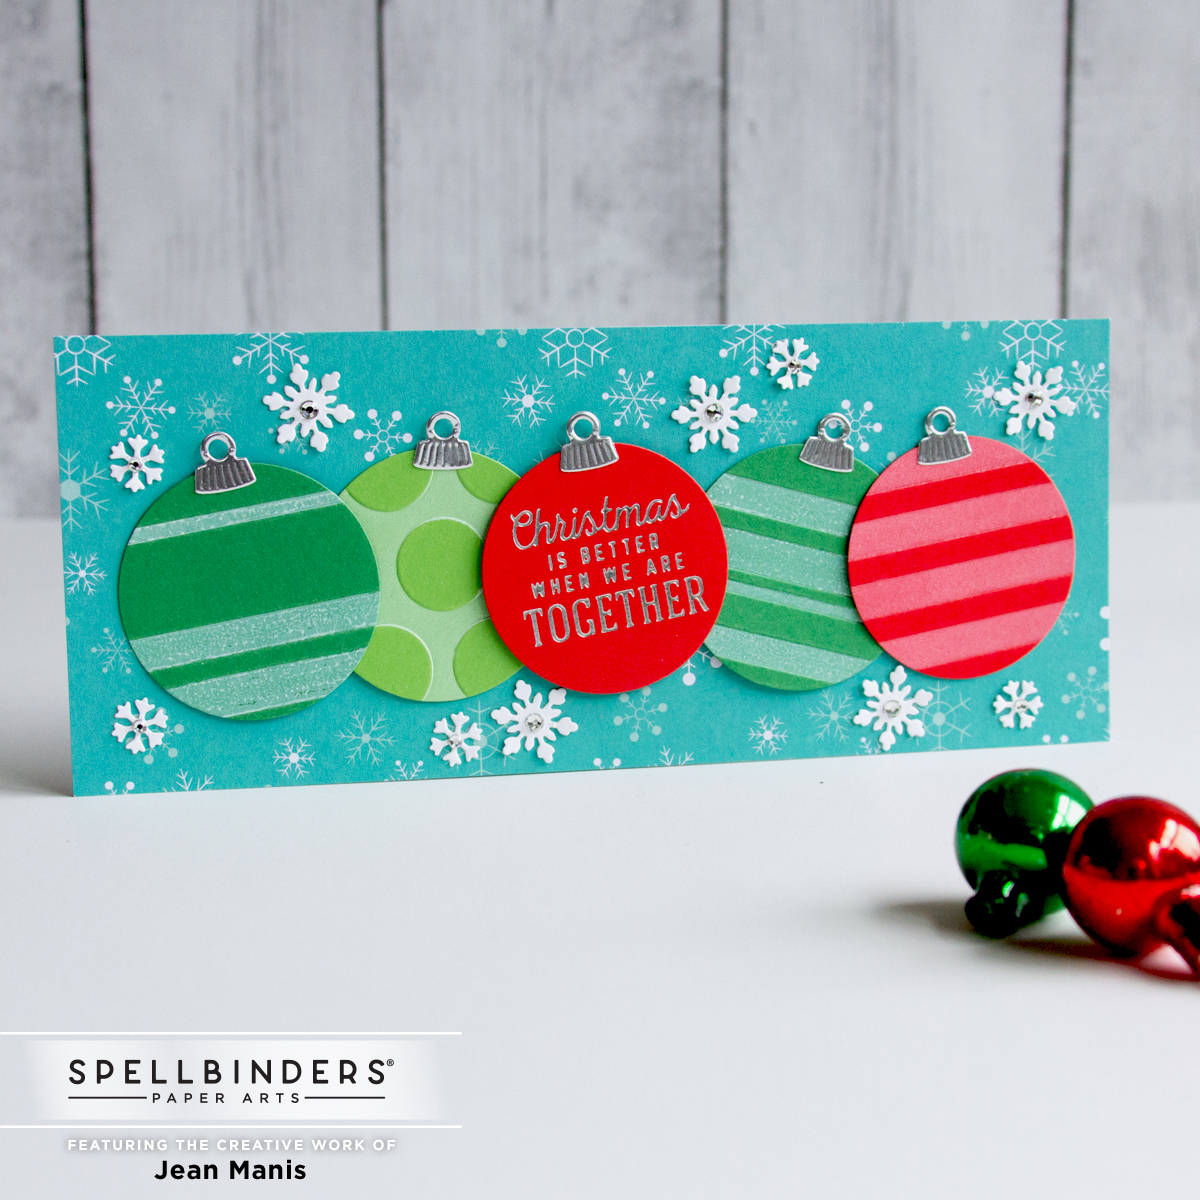
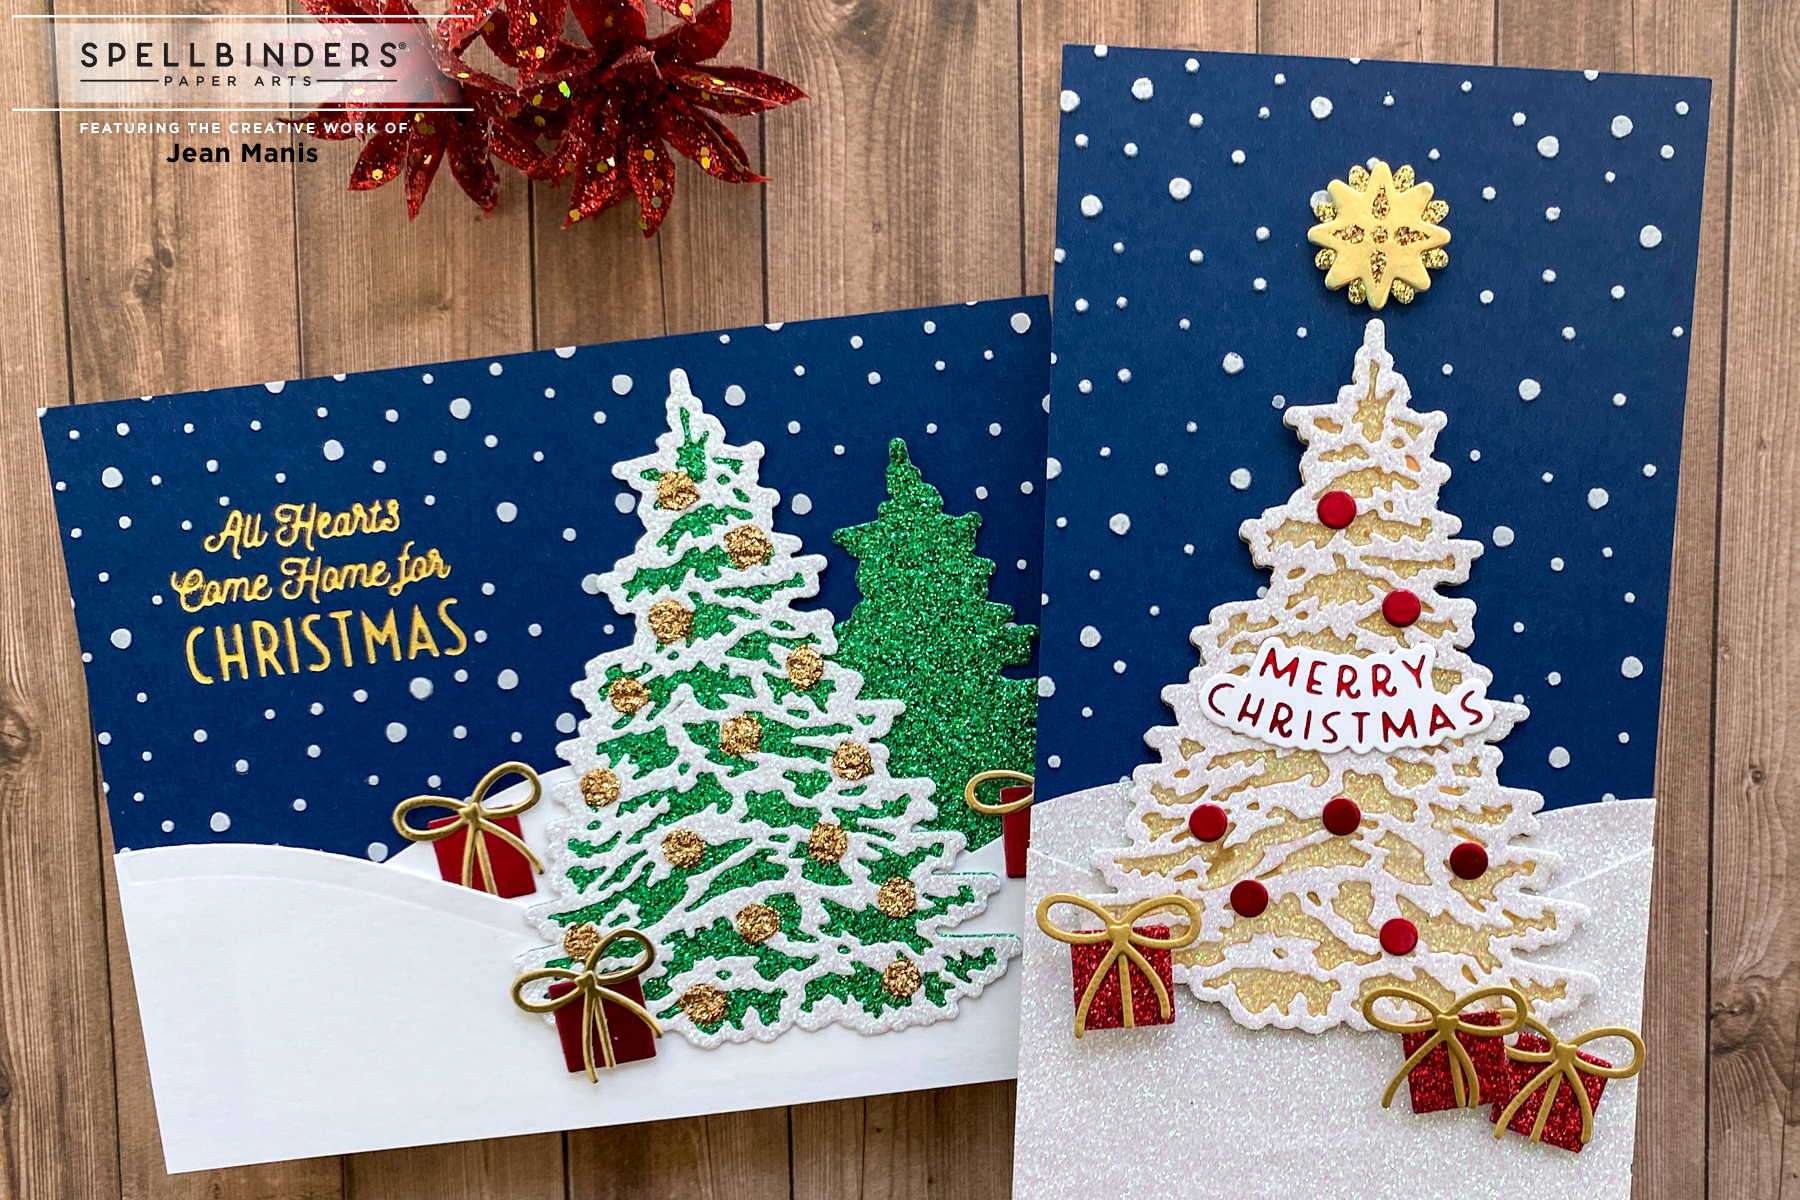
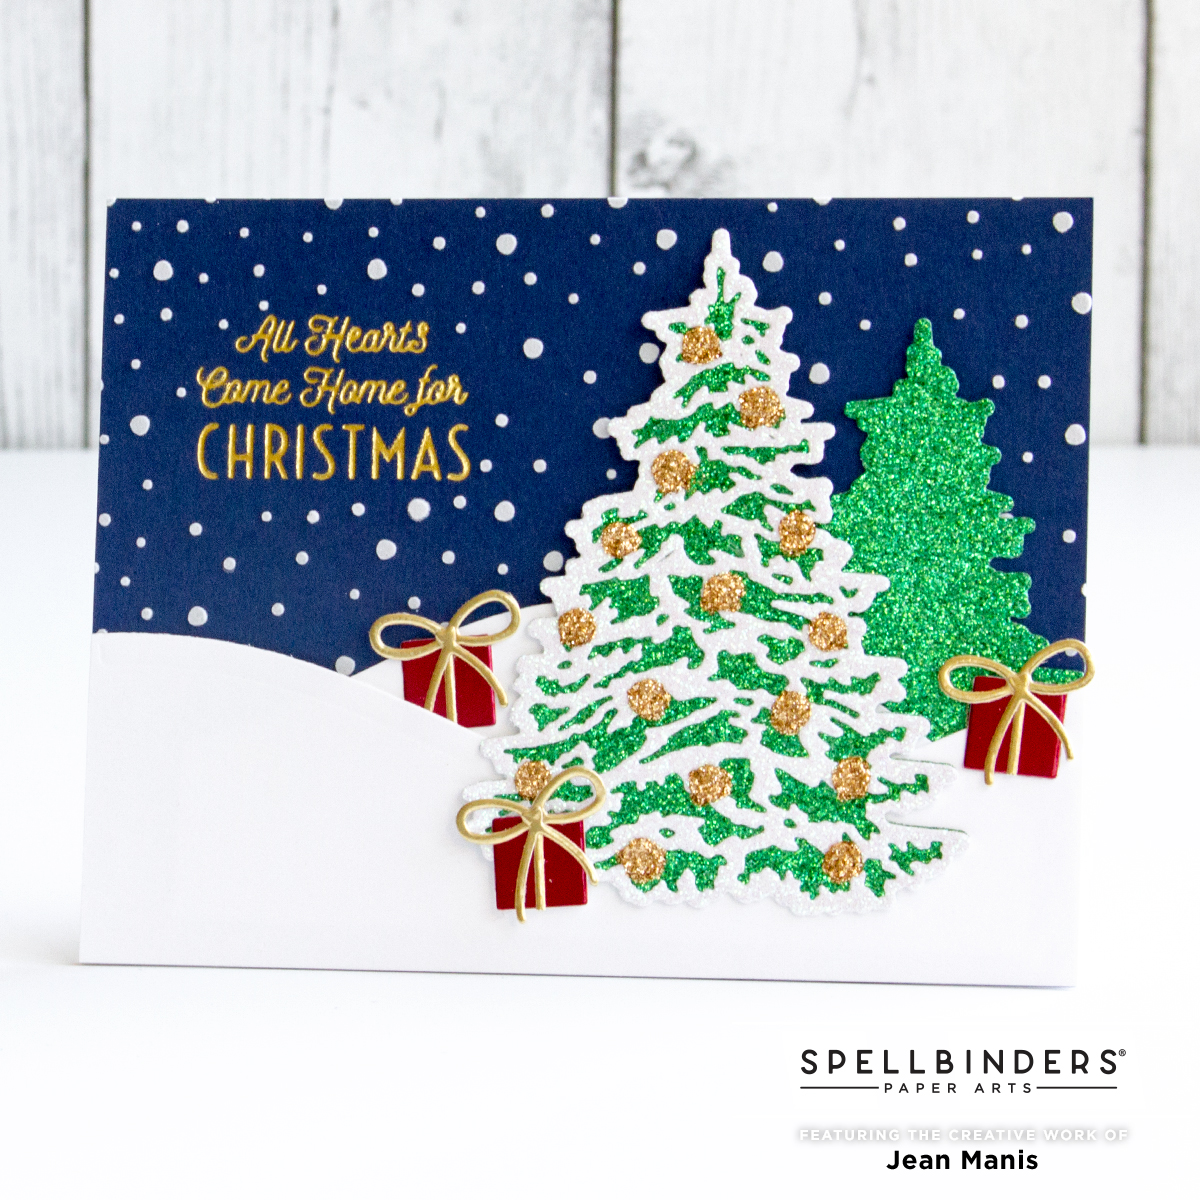
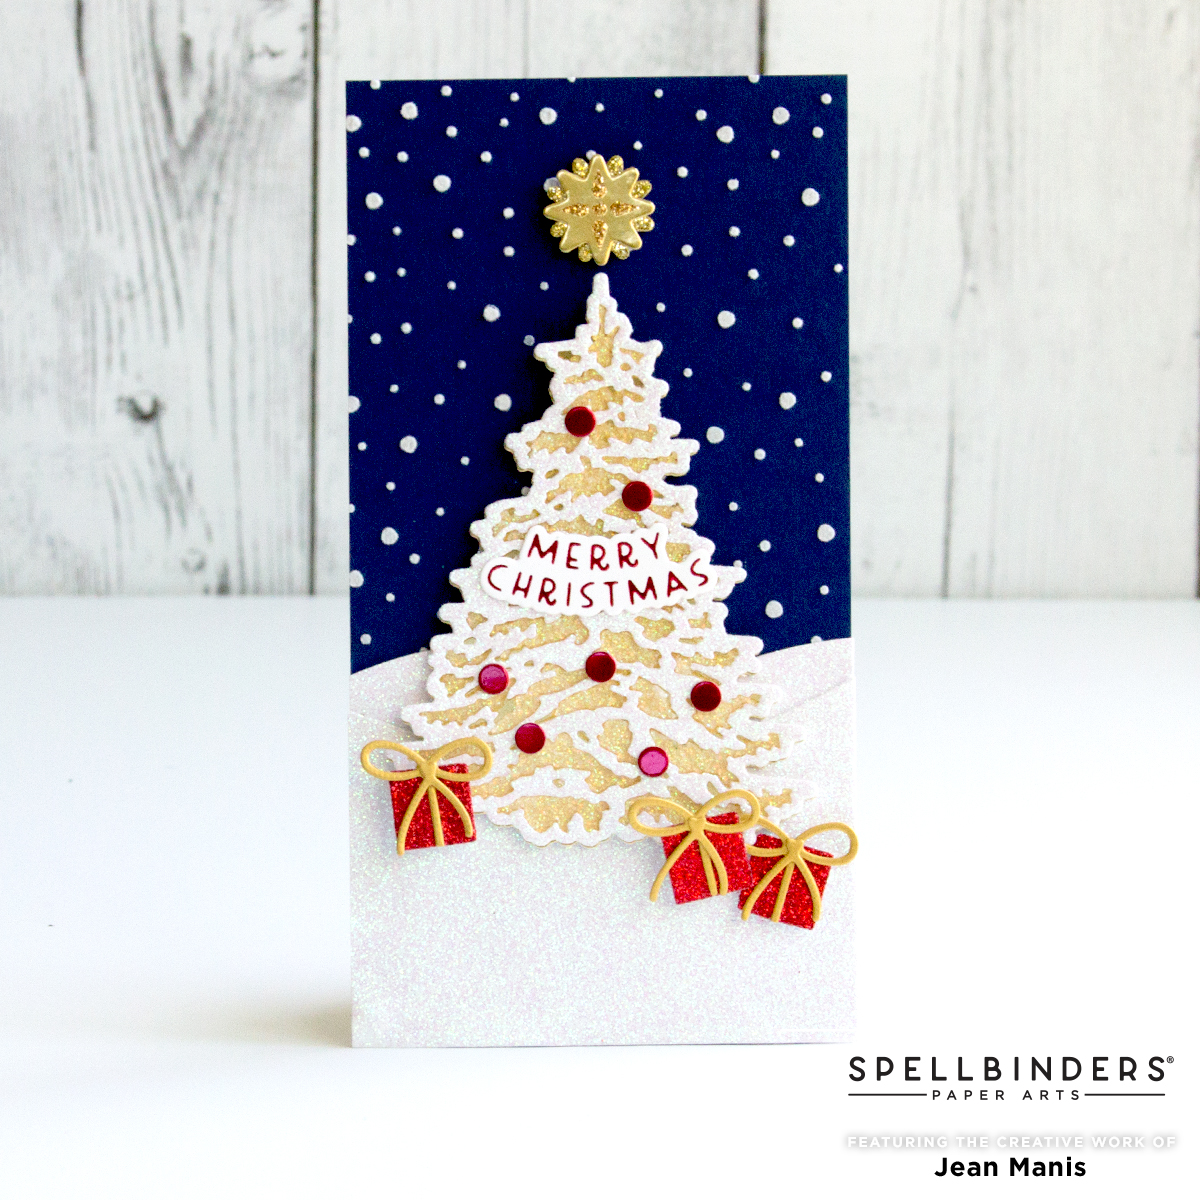
Hello! I am delighted to be a guest on the Spellbinders blog featuring two cards created with the recently-released Trim the Tree Collection, which includes dies, glimmer plates, and a stencil that work together or separately. I created the cards with a three-step approach: create the background, create the focal point(s), and embellish. Head to the post for all of the details!

Introducing Spellbinders Trim the Tree Collection

Introducing Spellbinders Trim the Tree Collection

Introducing Spellbinders Trim the Tree Collection

Introducing Spellbinders Trim the Tree Collection

Introducing Spellbinders Trim the Tree Collection


Elizabeth Craft Designs – On the Farm

Hello! Today I am sharing another farm-themed card created with Elizabeth Craft Designs die sets. You can see more about the ECD Life is Better on the Farm Collection here. I have shared similar cards created with this collection here and here.

Elizabeth Craft Designs – On the Farm

  • I die-cut the rooster, the hen, and the farmer from cardstock colored with Distress Oxide Inks and assembled the pieces.
  • I die-cut the grass from cardstock to which I had applied Mowed Lawn Distress Oxide ink.
  • I die-cut the fence and clouds from white cardstock.
  • I applied Tumbled Glass Distress Oxide ink to the background and added the die-cut greeting.
  • I added the layers to the card, popping the hen up with foam adhesive.